About this Build
I built/rebuilt this kit before I had a YouTube channel and
therefore, there are no video's for the build.
The page banner is a photo of the completed rebuild. I built the
original build of the model sometime in the early to mid 1960's.
According to Scalemates the kit was originally released as a
Revell #H-141:98 | 1:133 Scale, Air Power B-29 Four Engine Bomber.
I'm fairly sure the plane I rebuilt was the Revell 1961 release. This
plane is one of the molds that was sold to Atlantis Models.
When I looked up the Revell version, Scalemates list it as
a 1:133 Scale from their Air Power B-29 Four Engine Bomber series.
A picture of the original box art is in the
page banner photo on the lower right. The product timeline shows
the Revell kit becoming the Atlantis #H208. At the time of
this writing it is available from
Atlantis Models #H208.
There is a discrepancy between the Atlantis Models website
and the listing on Scalemates. The Atlantis website states
that the plane is 1:120 scale and Scalemates lists it as
1:133 scale. I have the Atantis Models version and it is
marked 1:120 scale. I can only assume Scalesmates is wrong?
I have some blue prints of an actual B-29, at some point,
I'll check the actual scale.
The rebuild is about 99% complete only because I haven't decided
what nose art to use. I used
Gimp GNU Image Manipulation Program
,
a free alternative to Adobe Photoshop, to place a photo
of the model on the sky background.
The following photos take you through the rebuild using
54-photos with descriptions.
I want to also say that I had been away from the hobby for
almost 50-years. In 50-years, there is so much great new
stuff and great new techniques, that I decided to use this
rebuild to practice a couple of these techniques because I
didn't care if I destroyed this model. As you can see, I
don't think I destroyed it. I have a long way to go, but I
feel that I'm higher up on the curve by completing this
build.
Skip's Messy Workbench ⇔ All rights reserved ⇔ Copyright © 2023-2025
Skip's Messy Workbench
⇔ Last updated: June 21, 2025

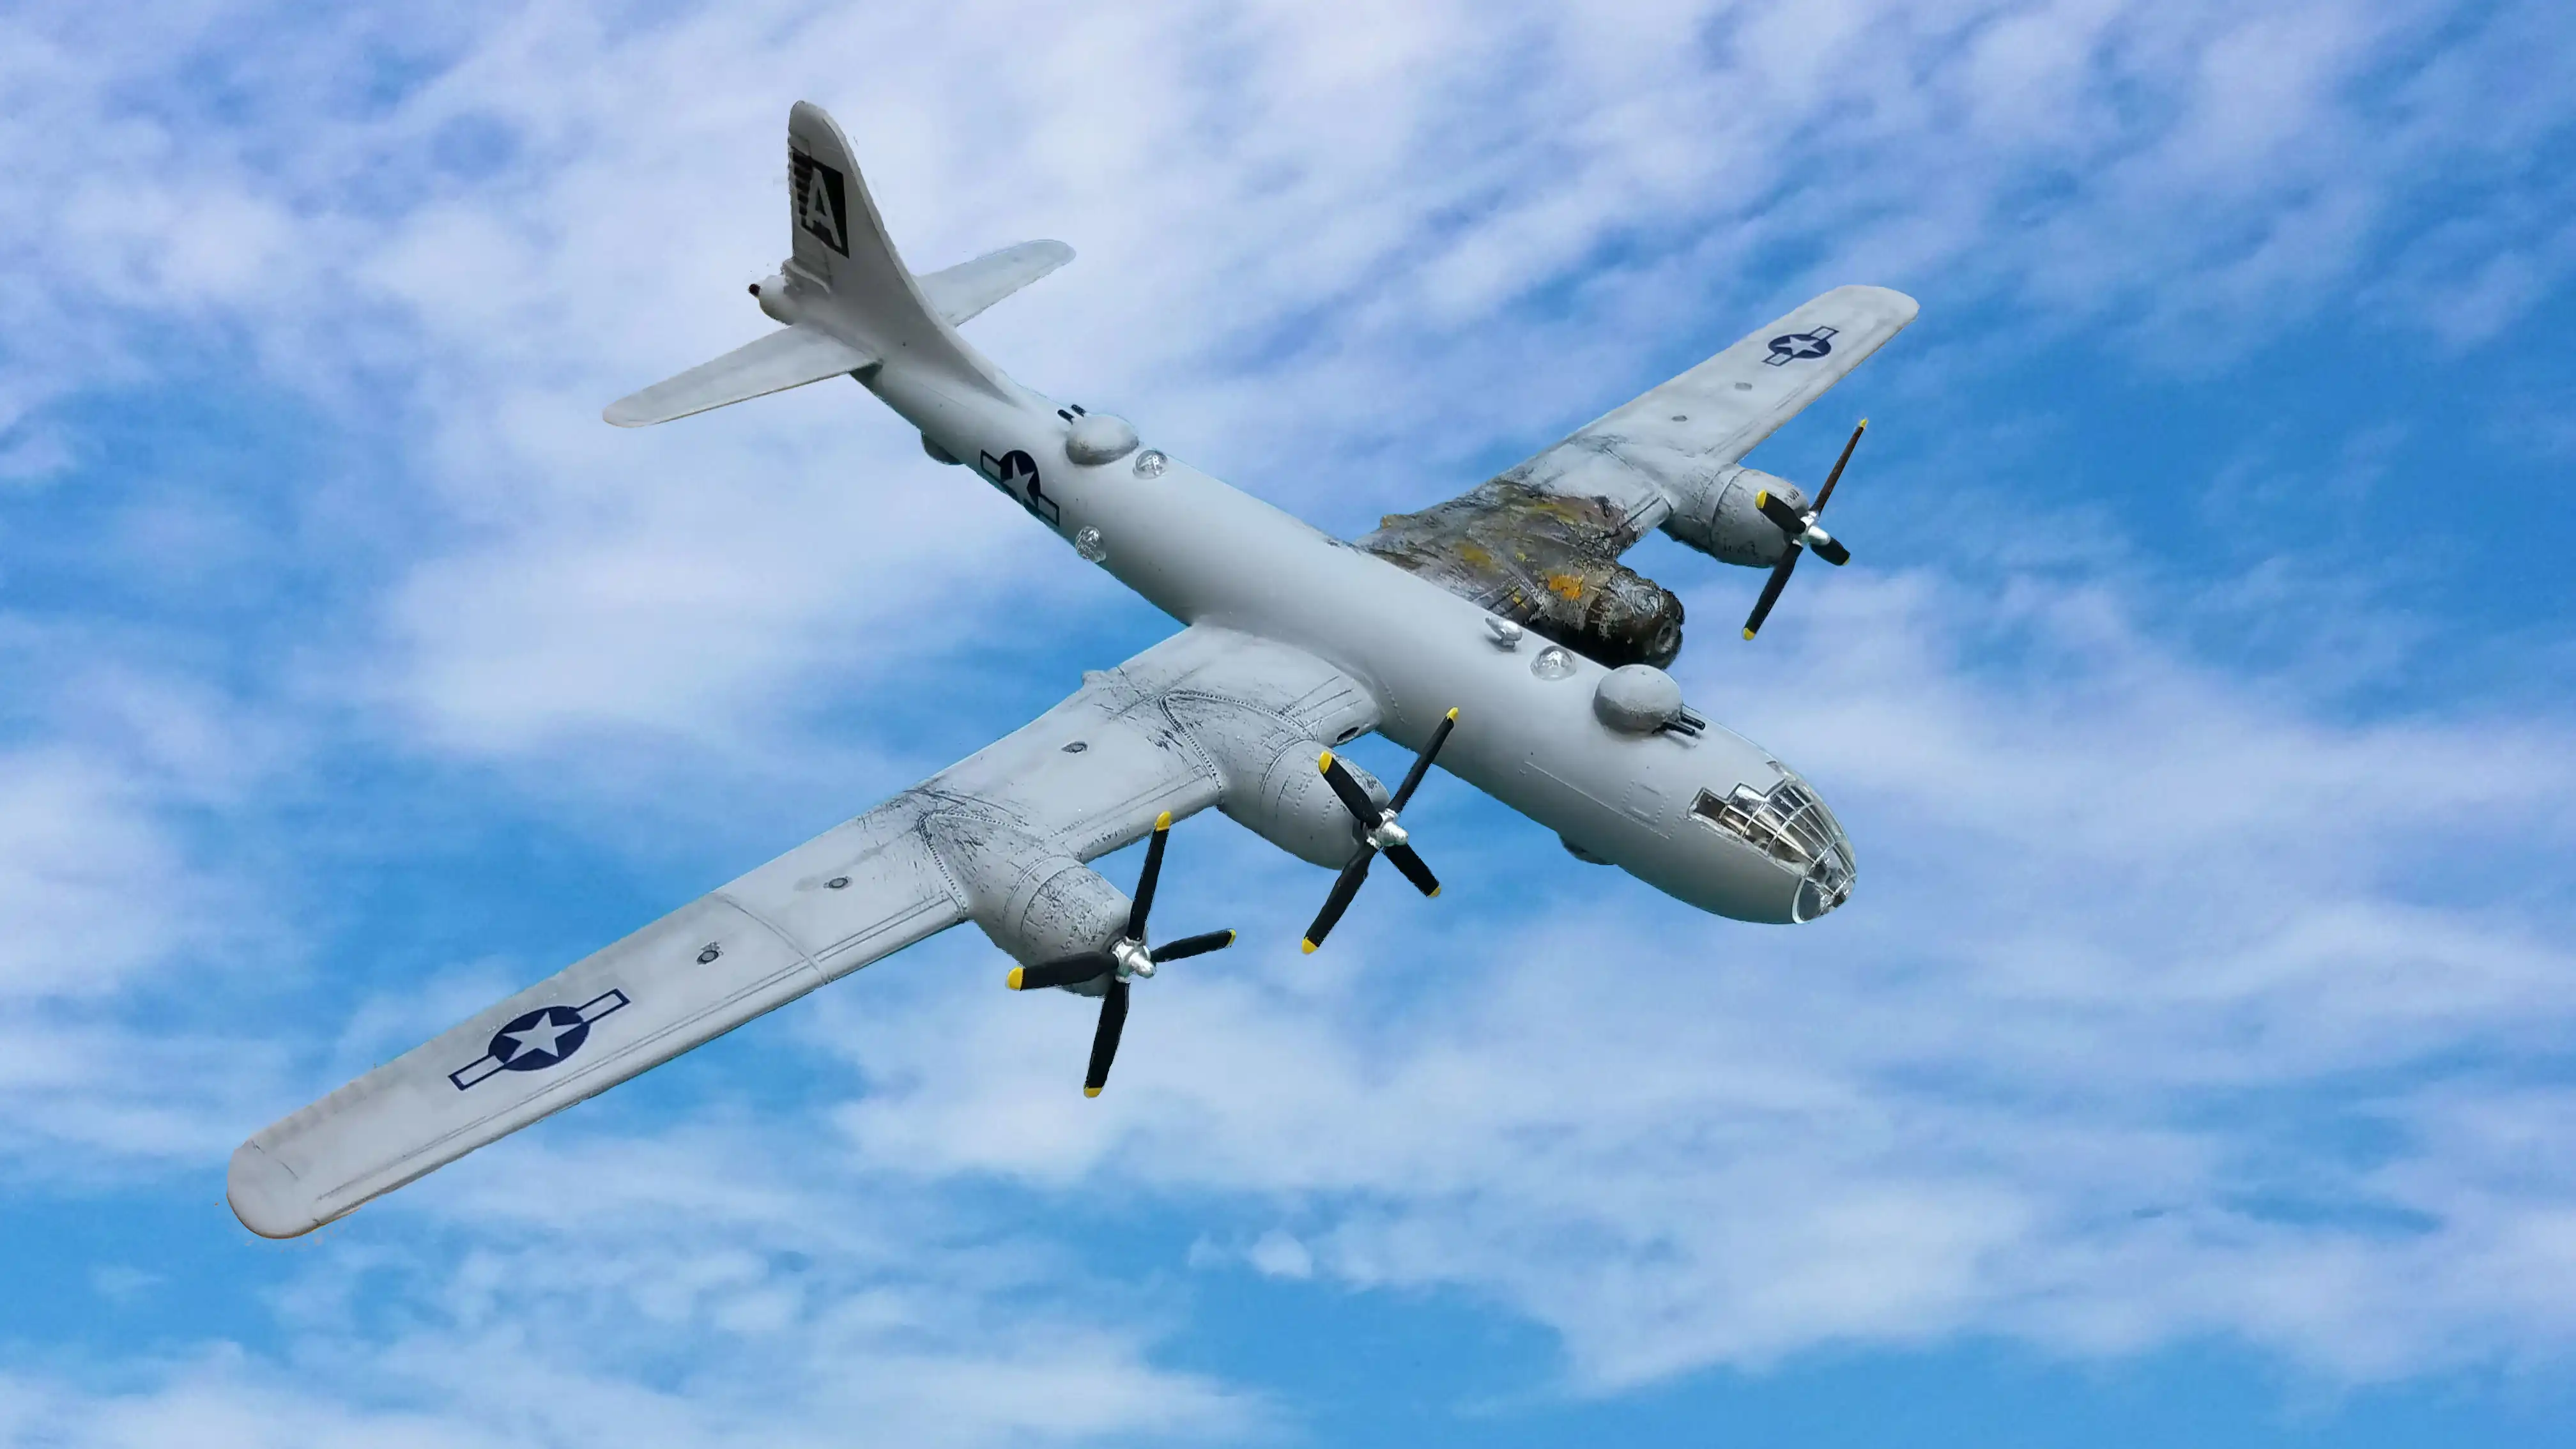 Photo of completed re-build
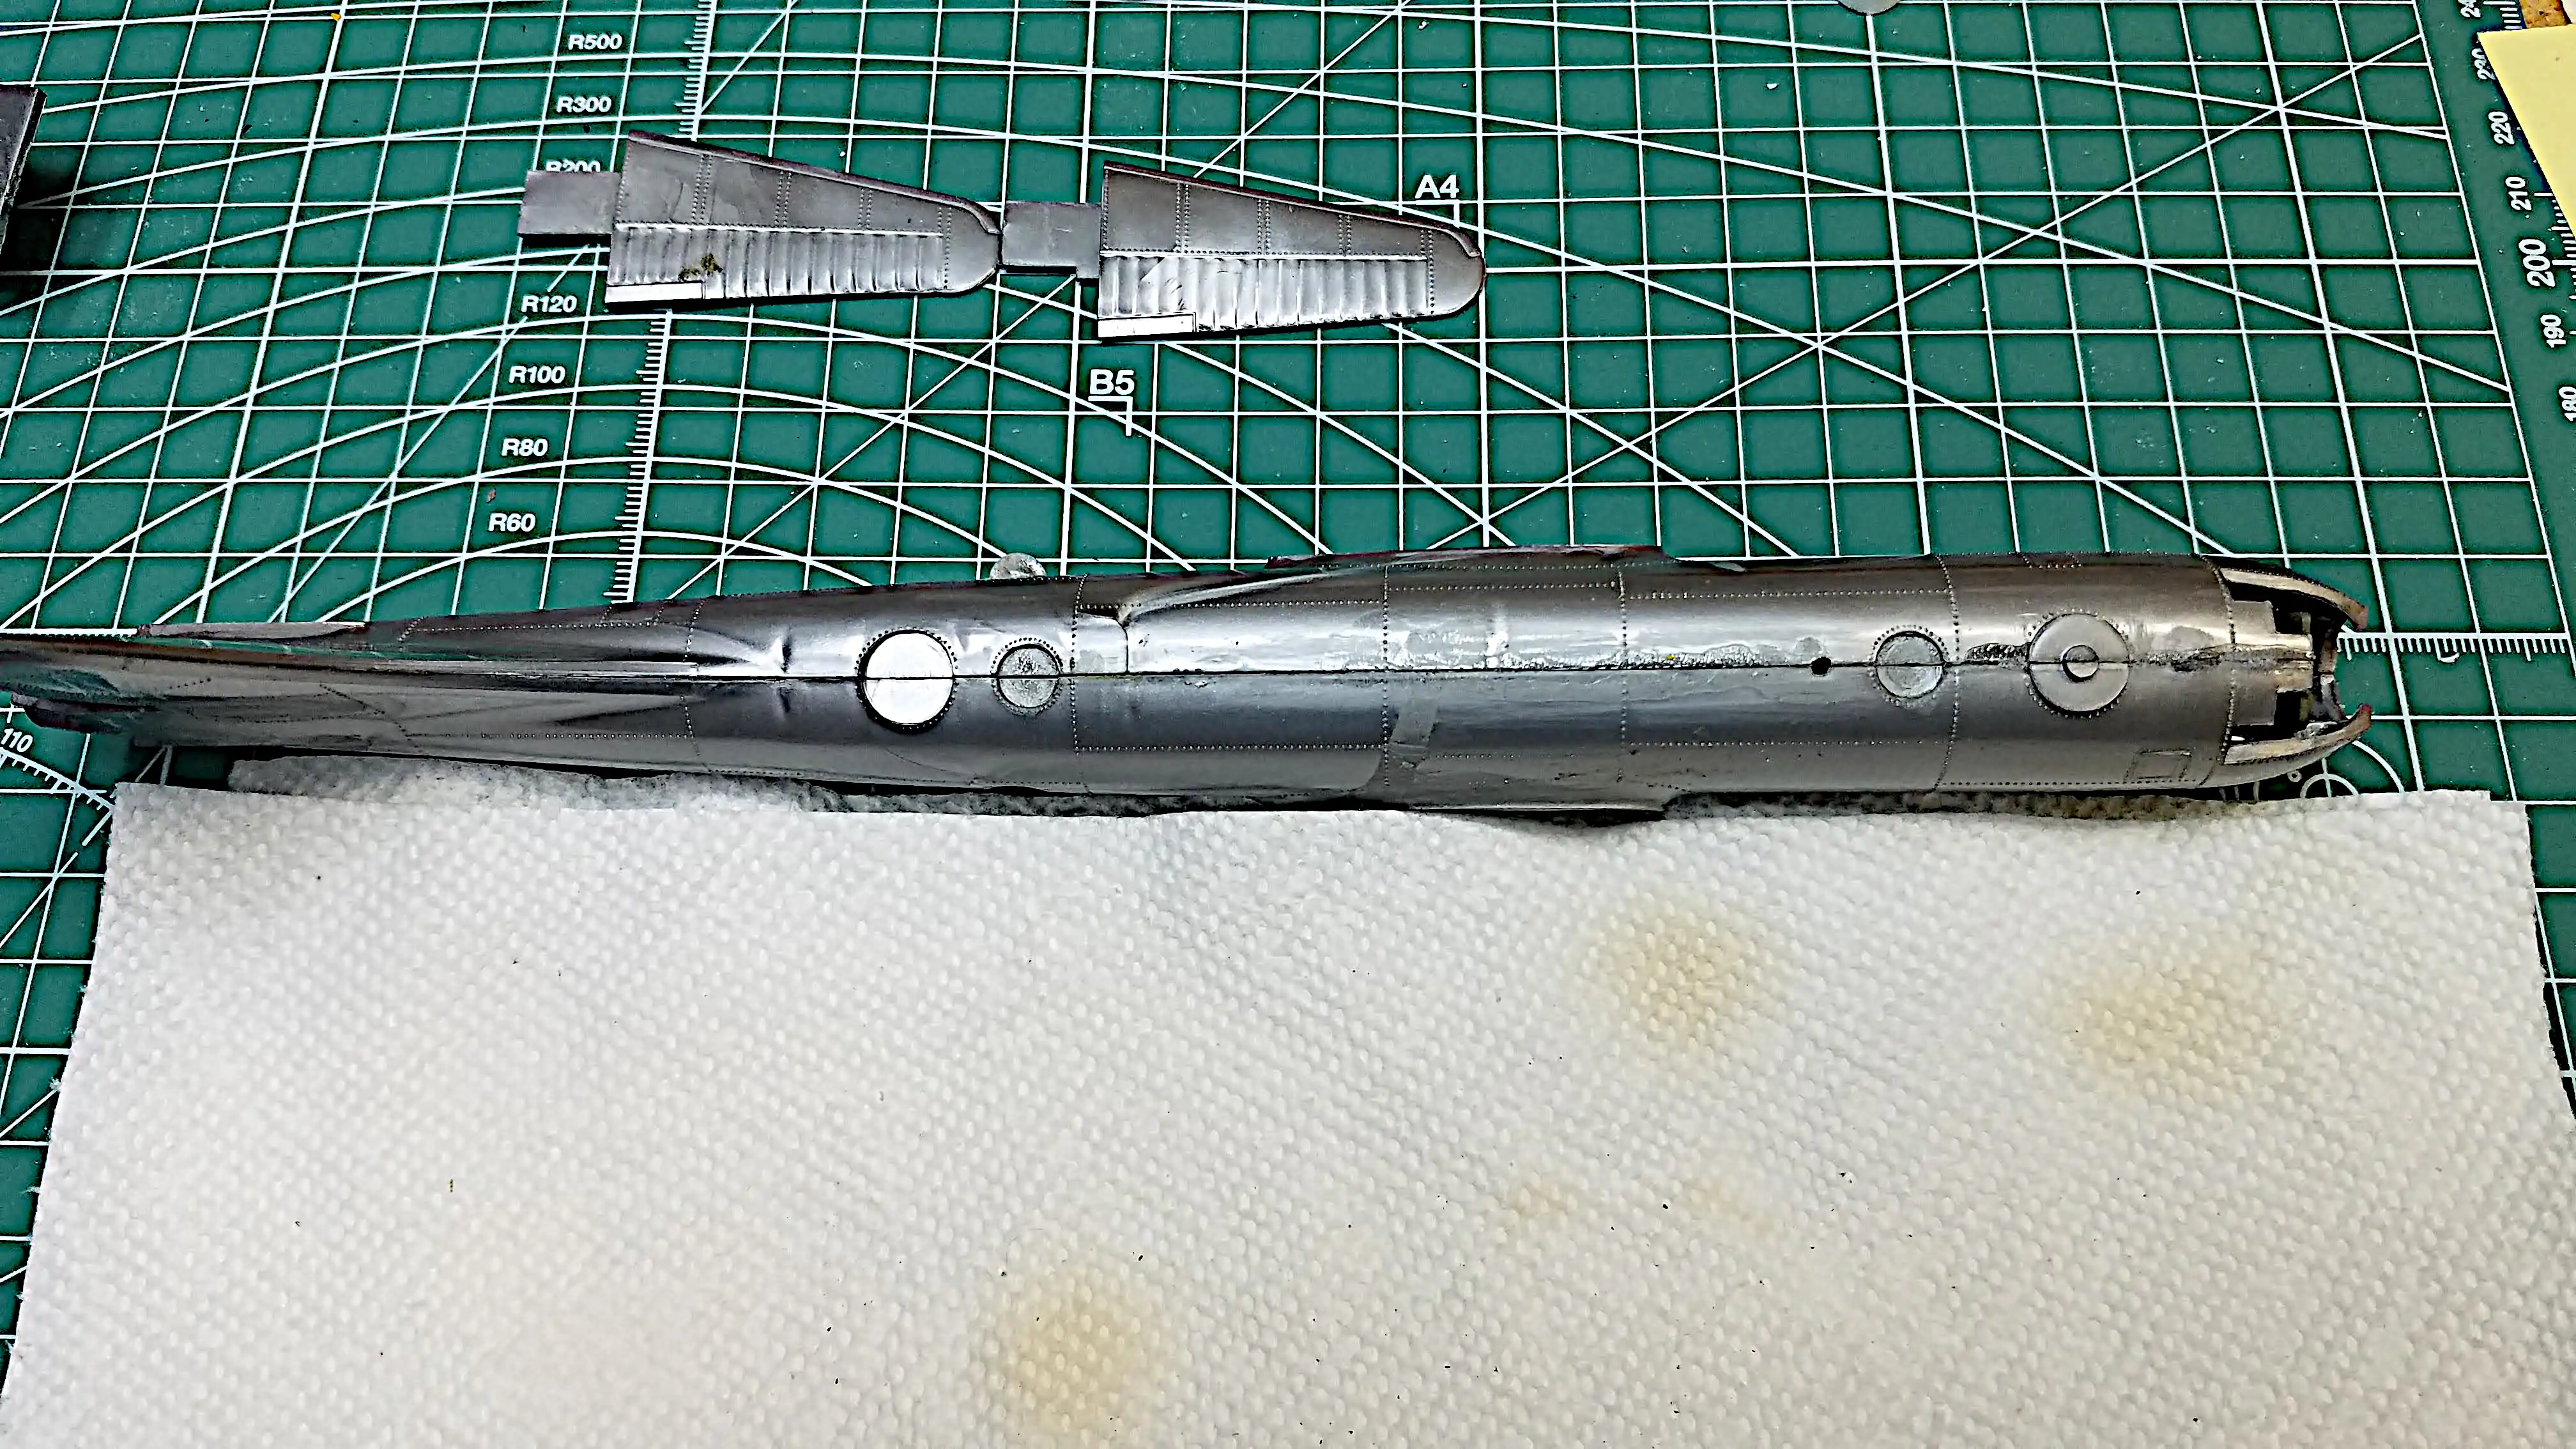
 Photo of B-29 taken apart
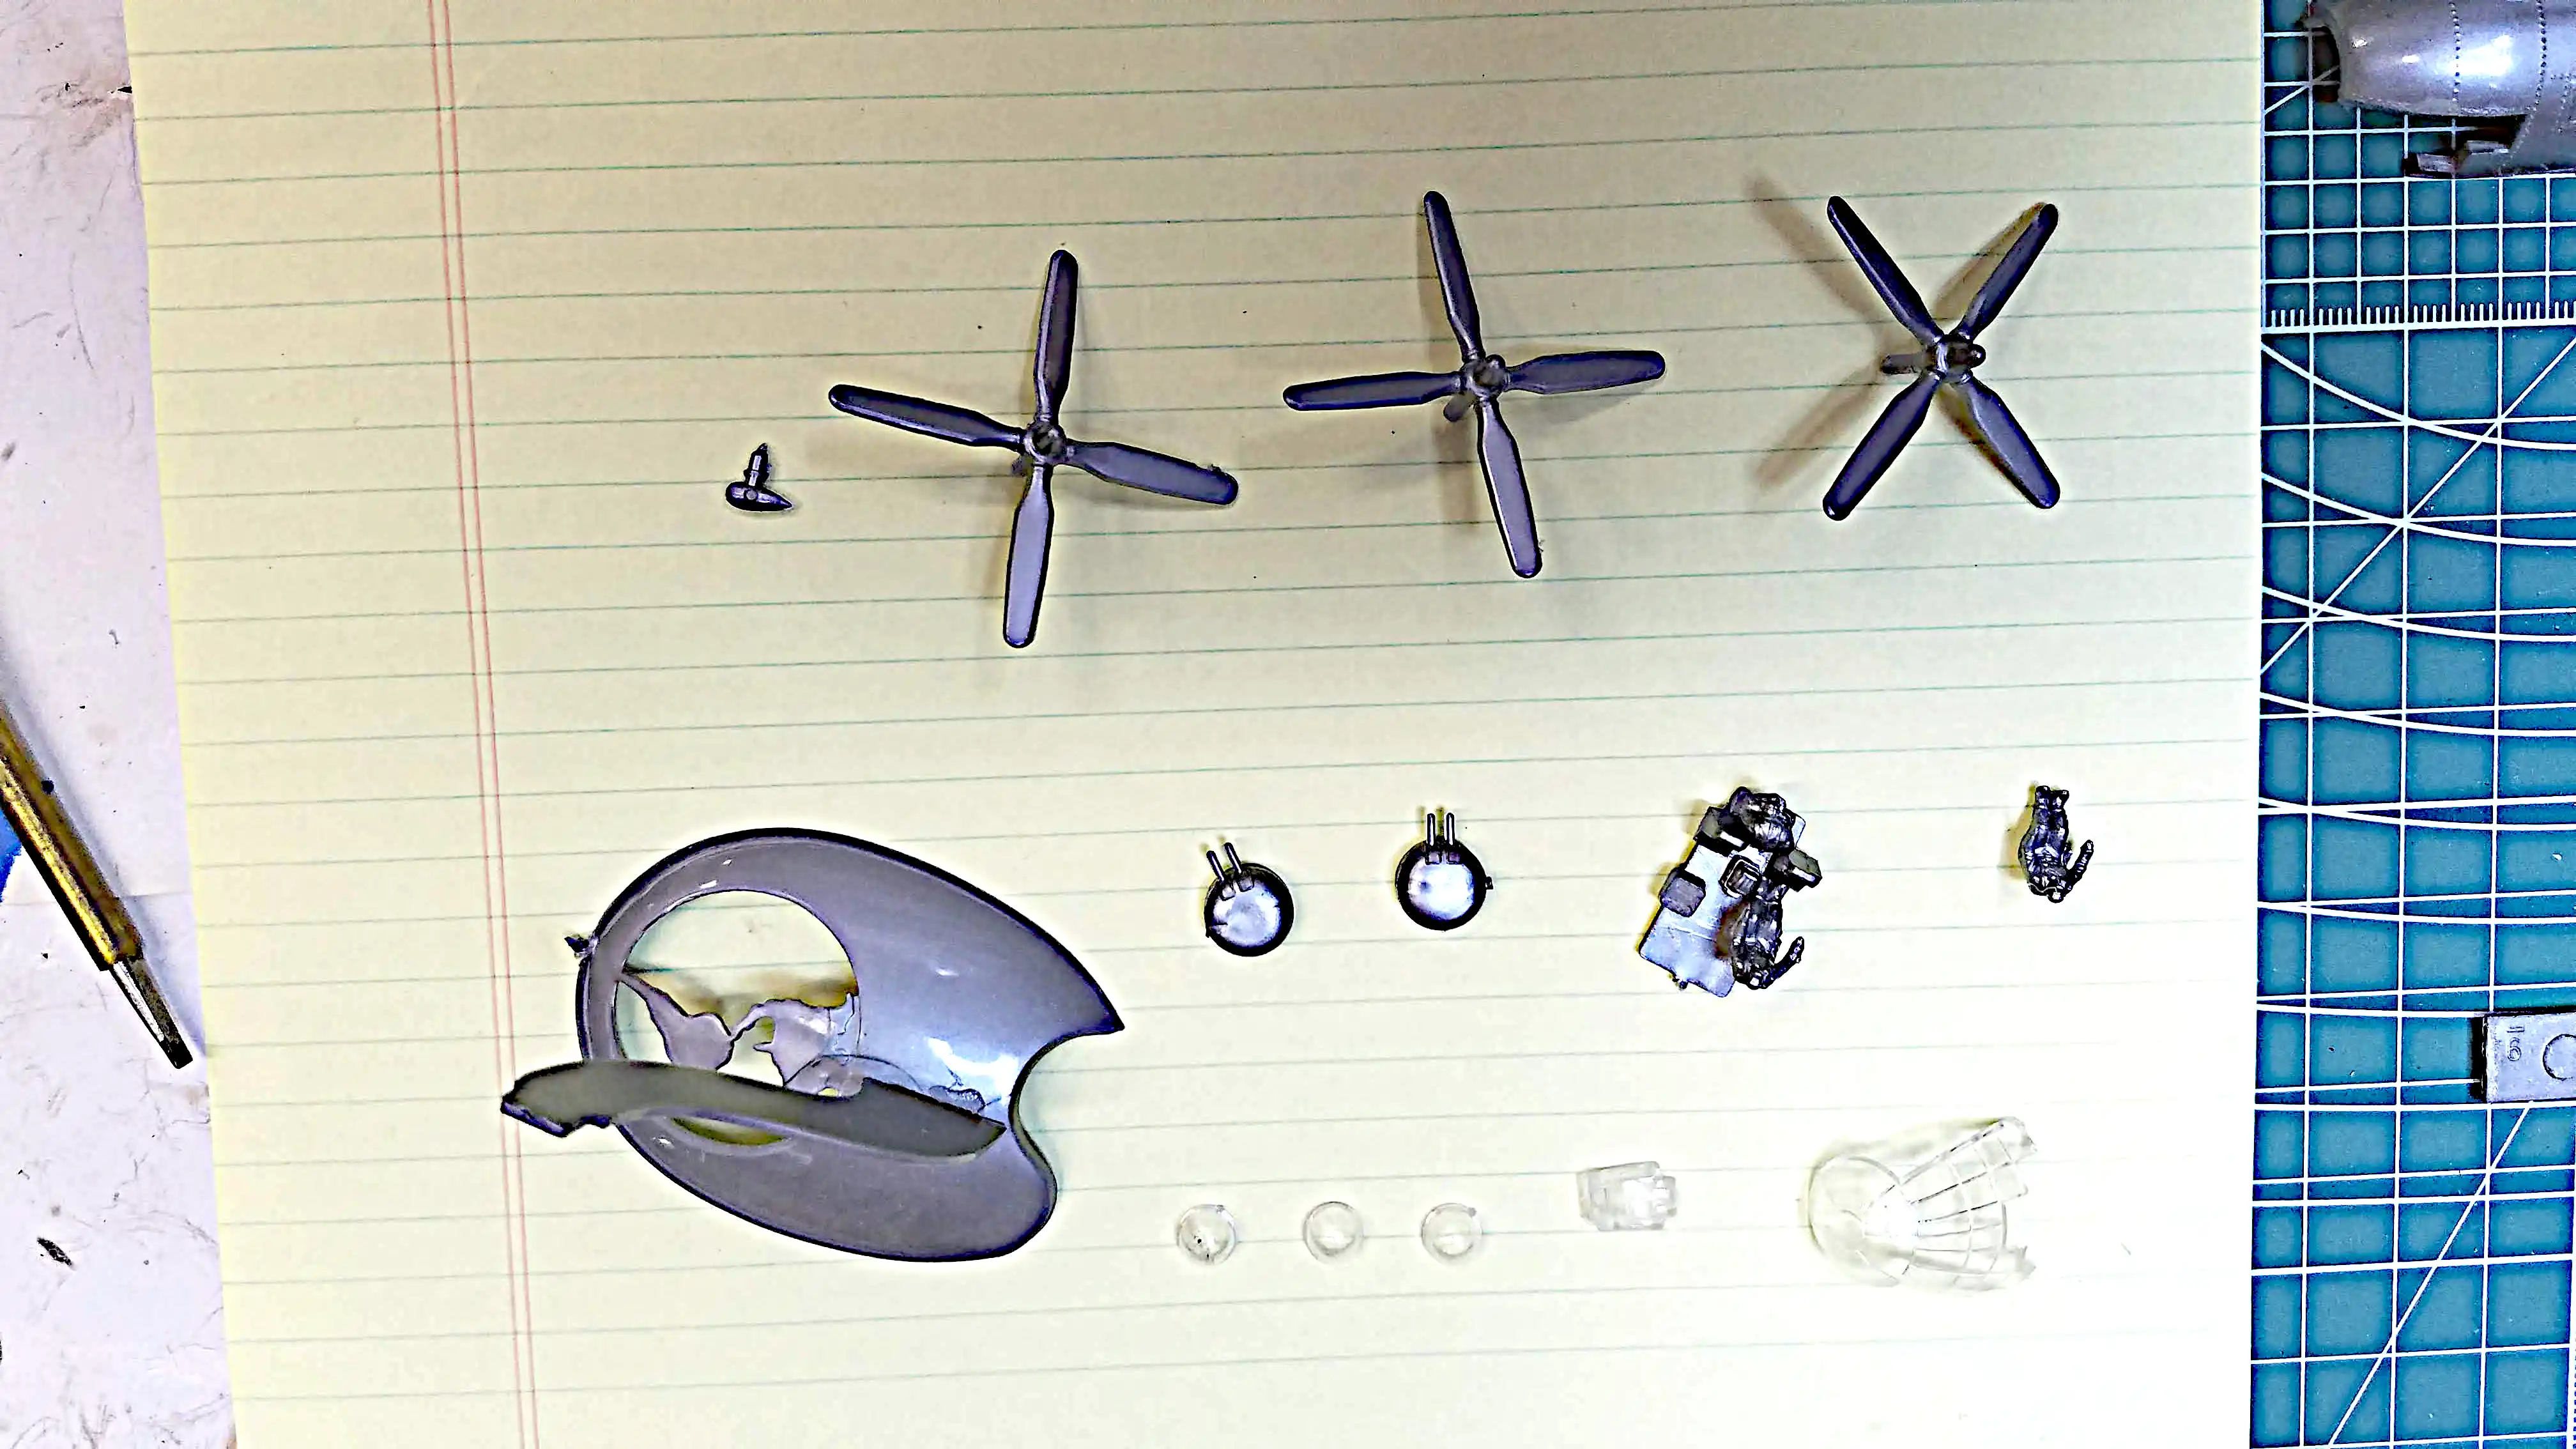 Photo of B-29 taken apart
 First attempt of scratch building gun turrets
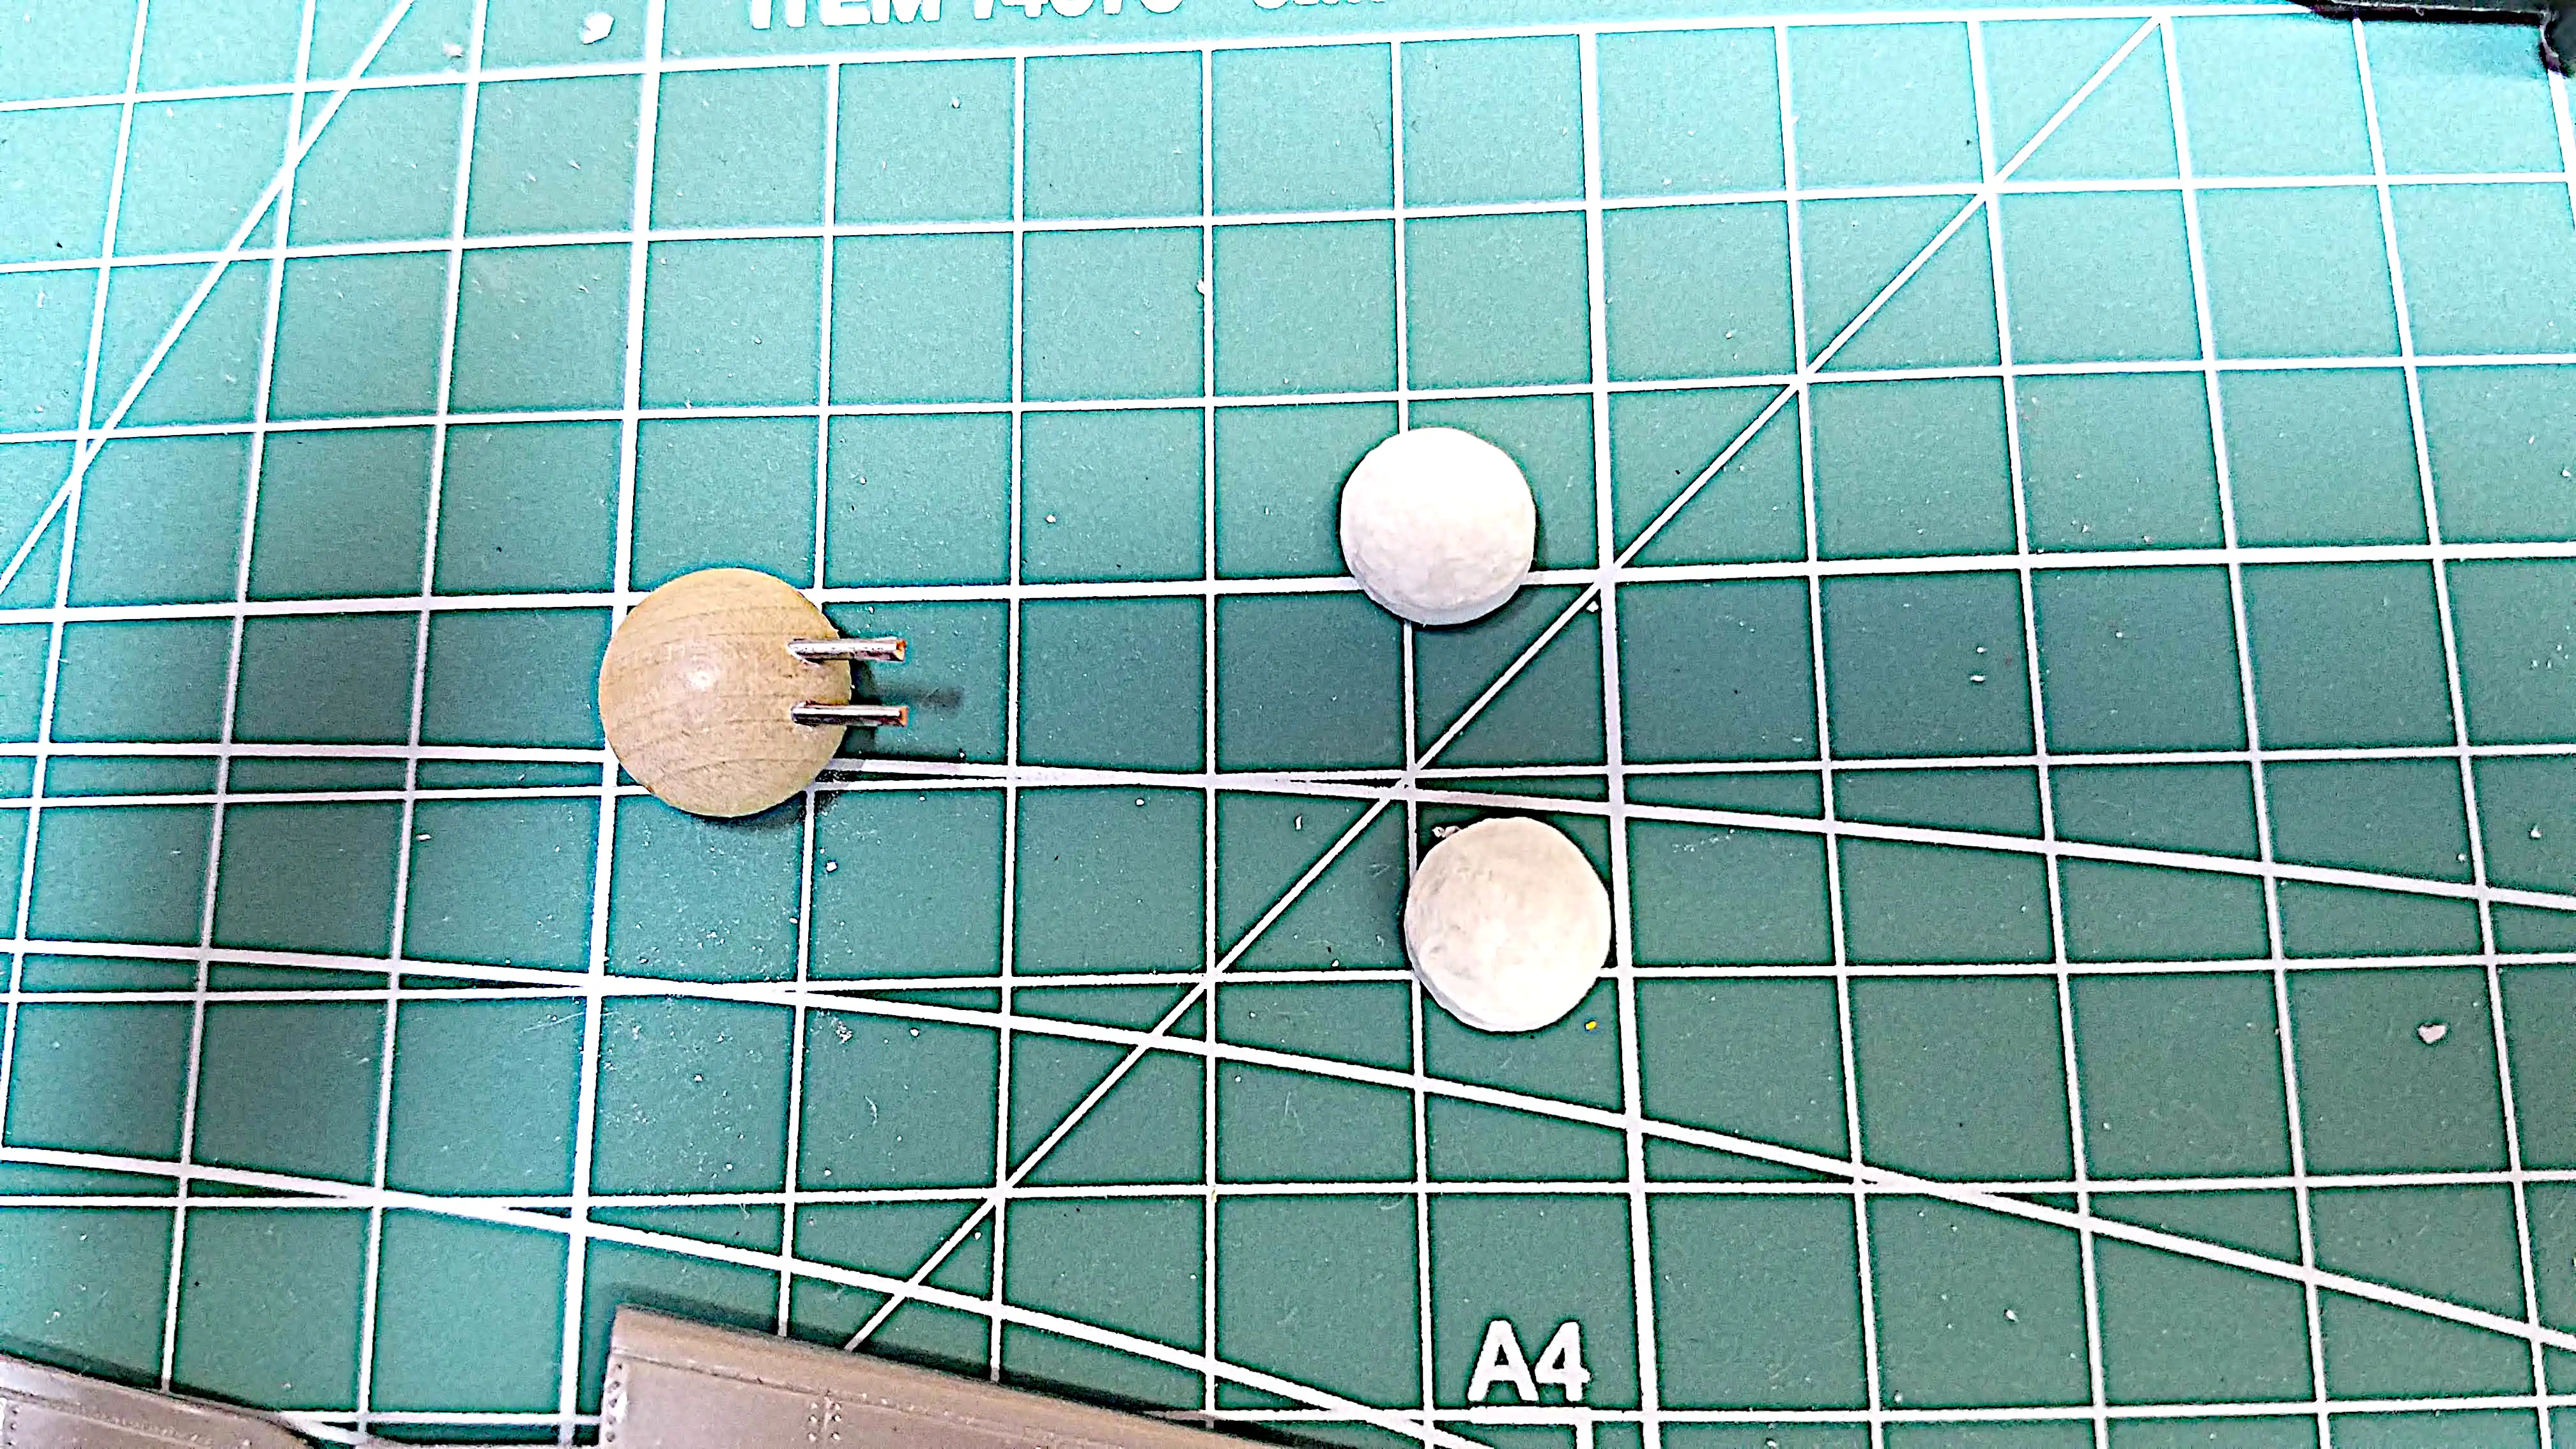 Scratch building gun turrets
 Gluing the fuselage halves
 Starting to putty the fuselage seam
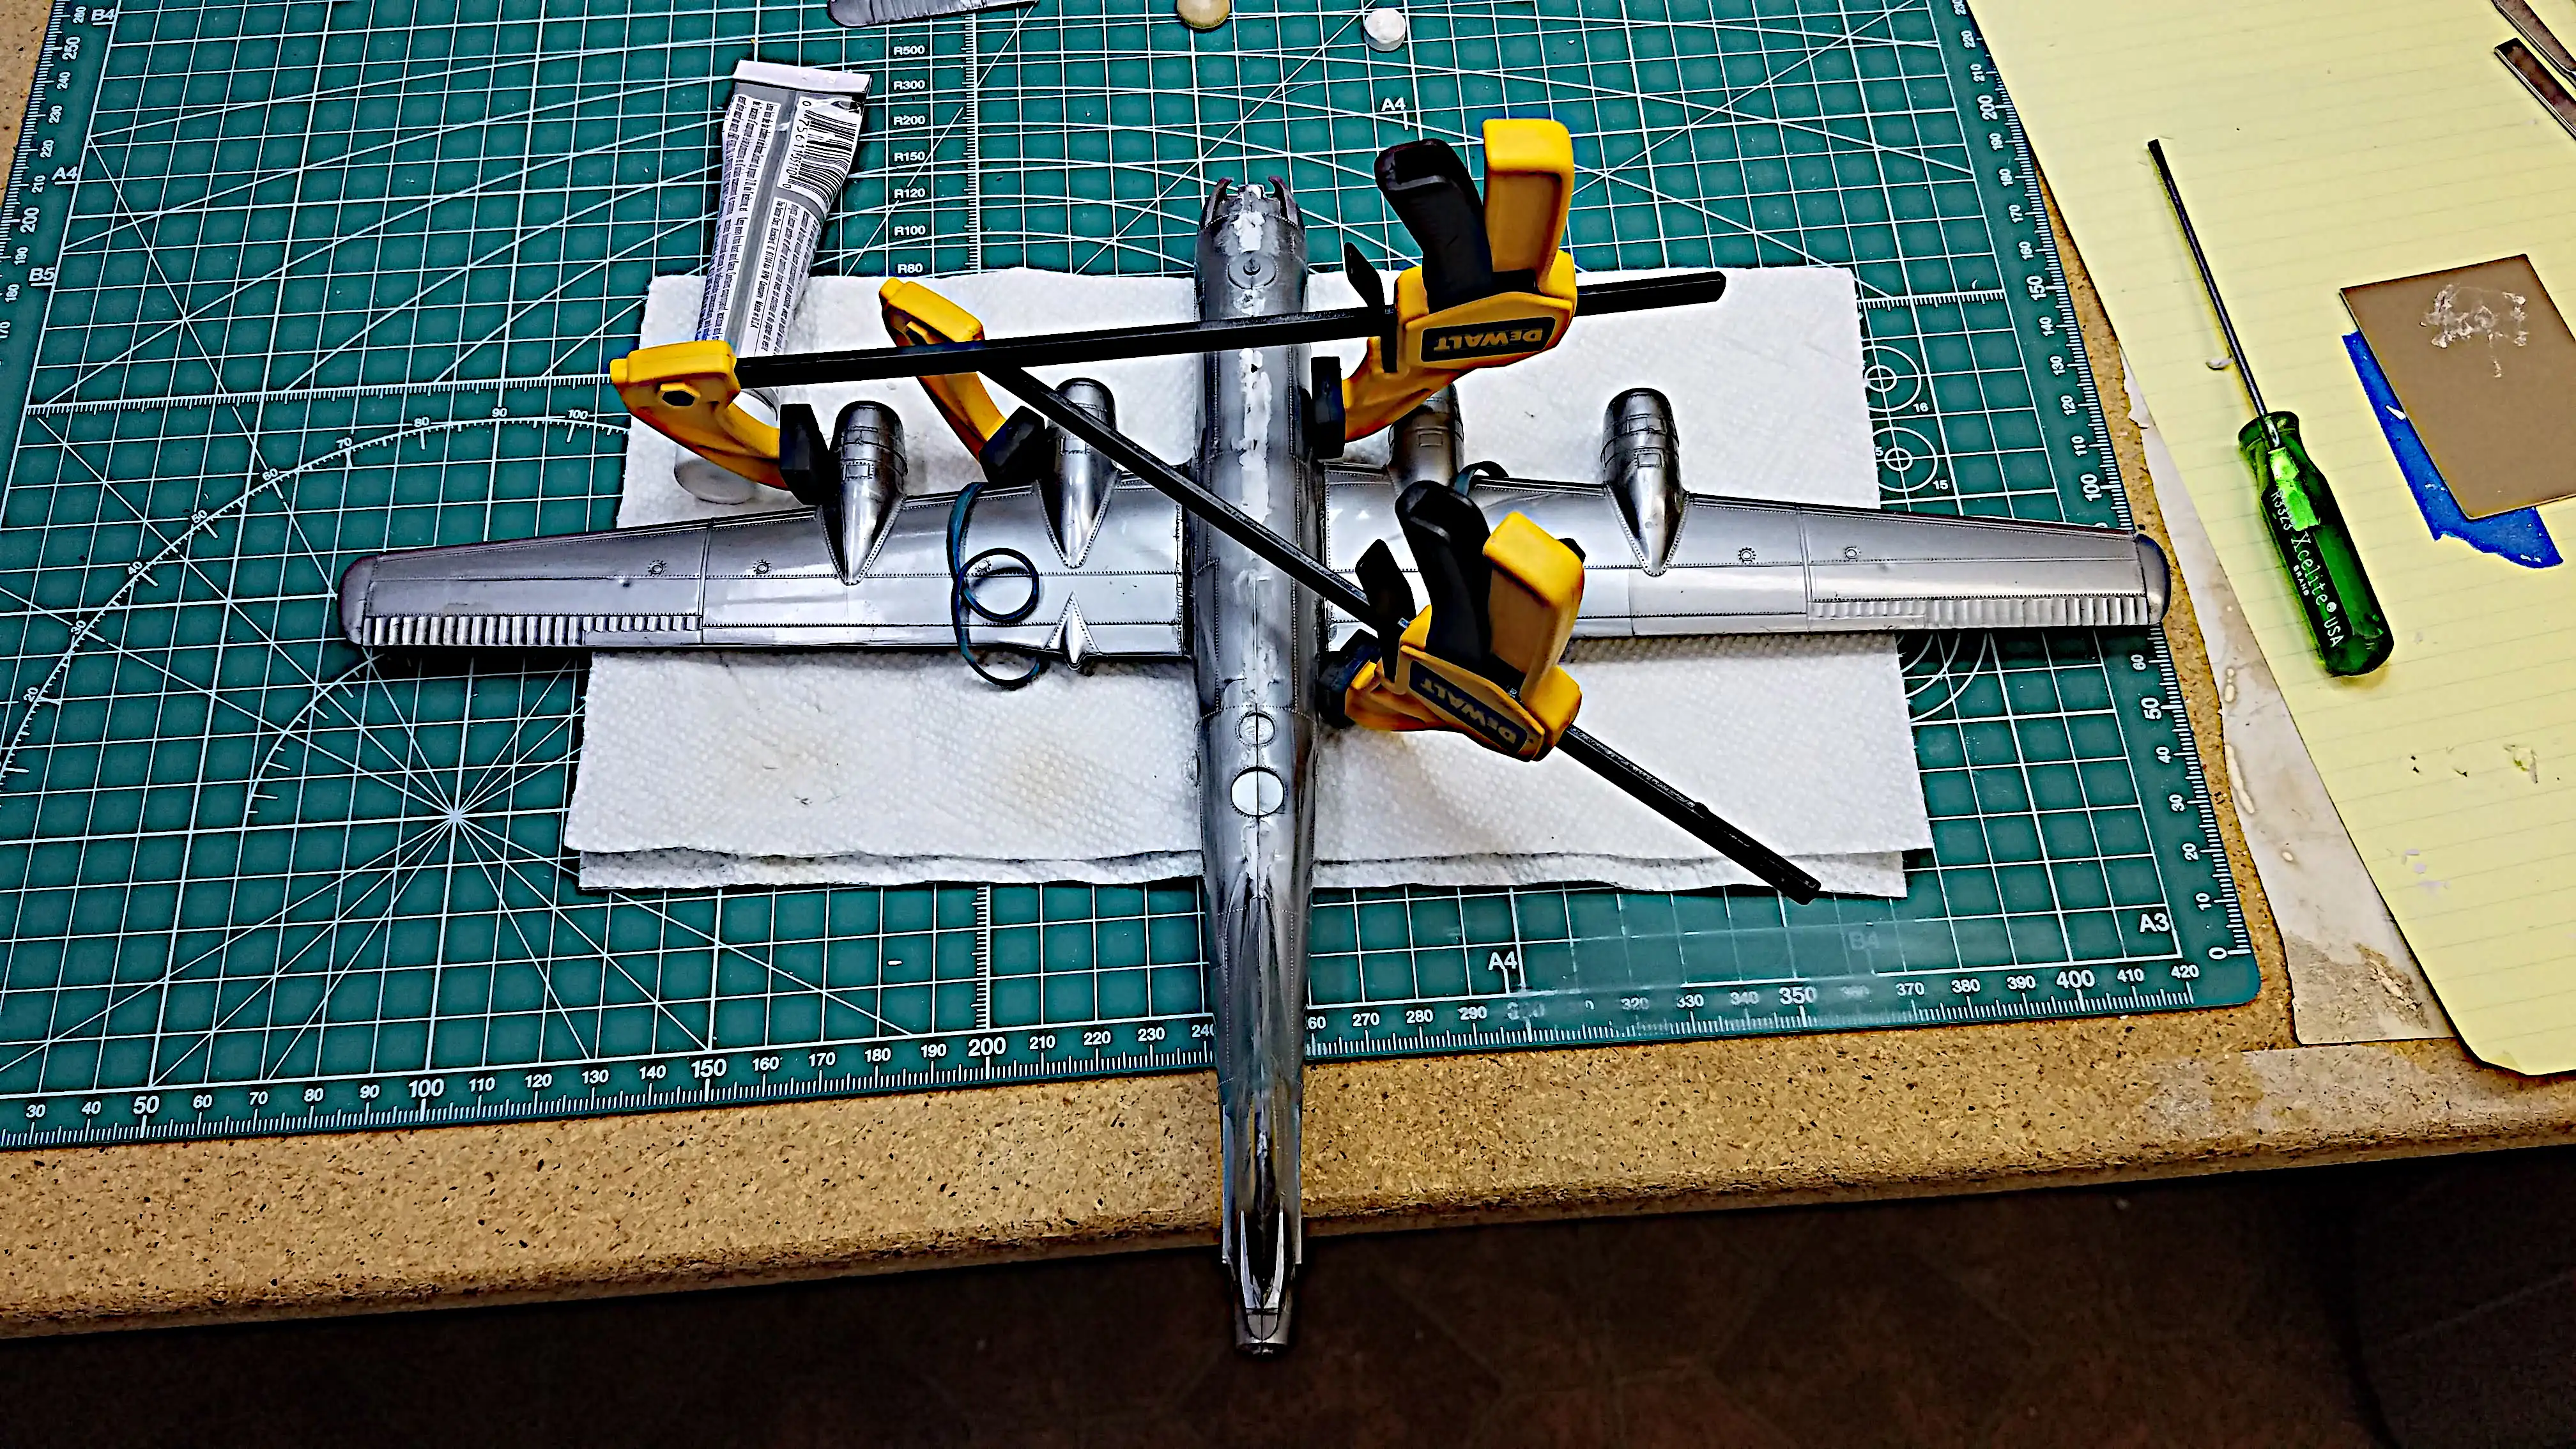 Gluing and clamping the wings in place
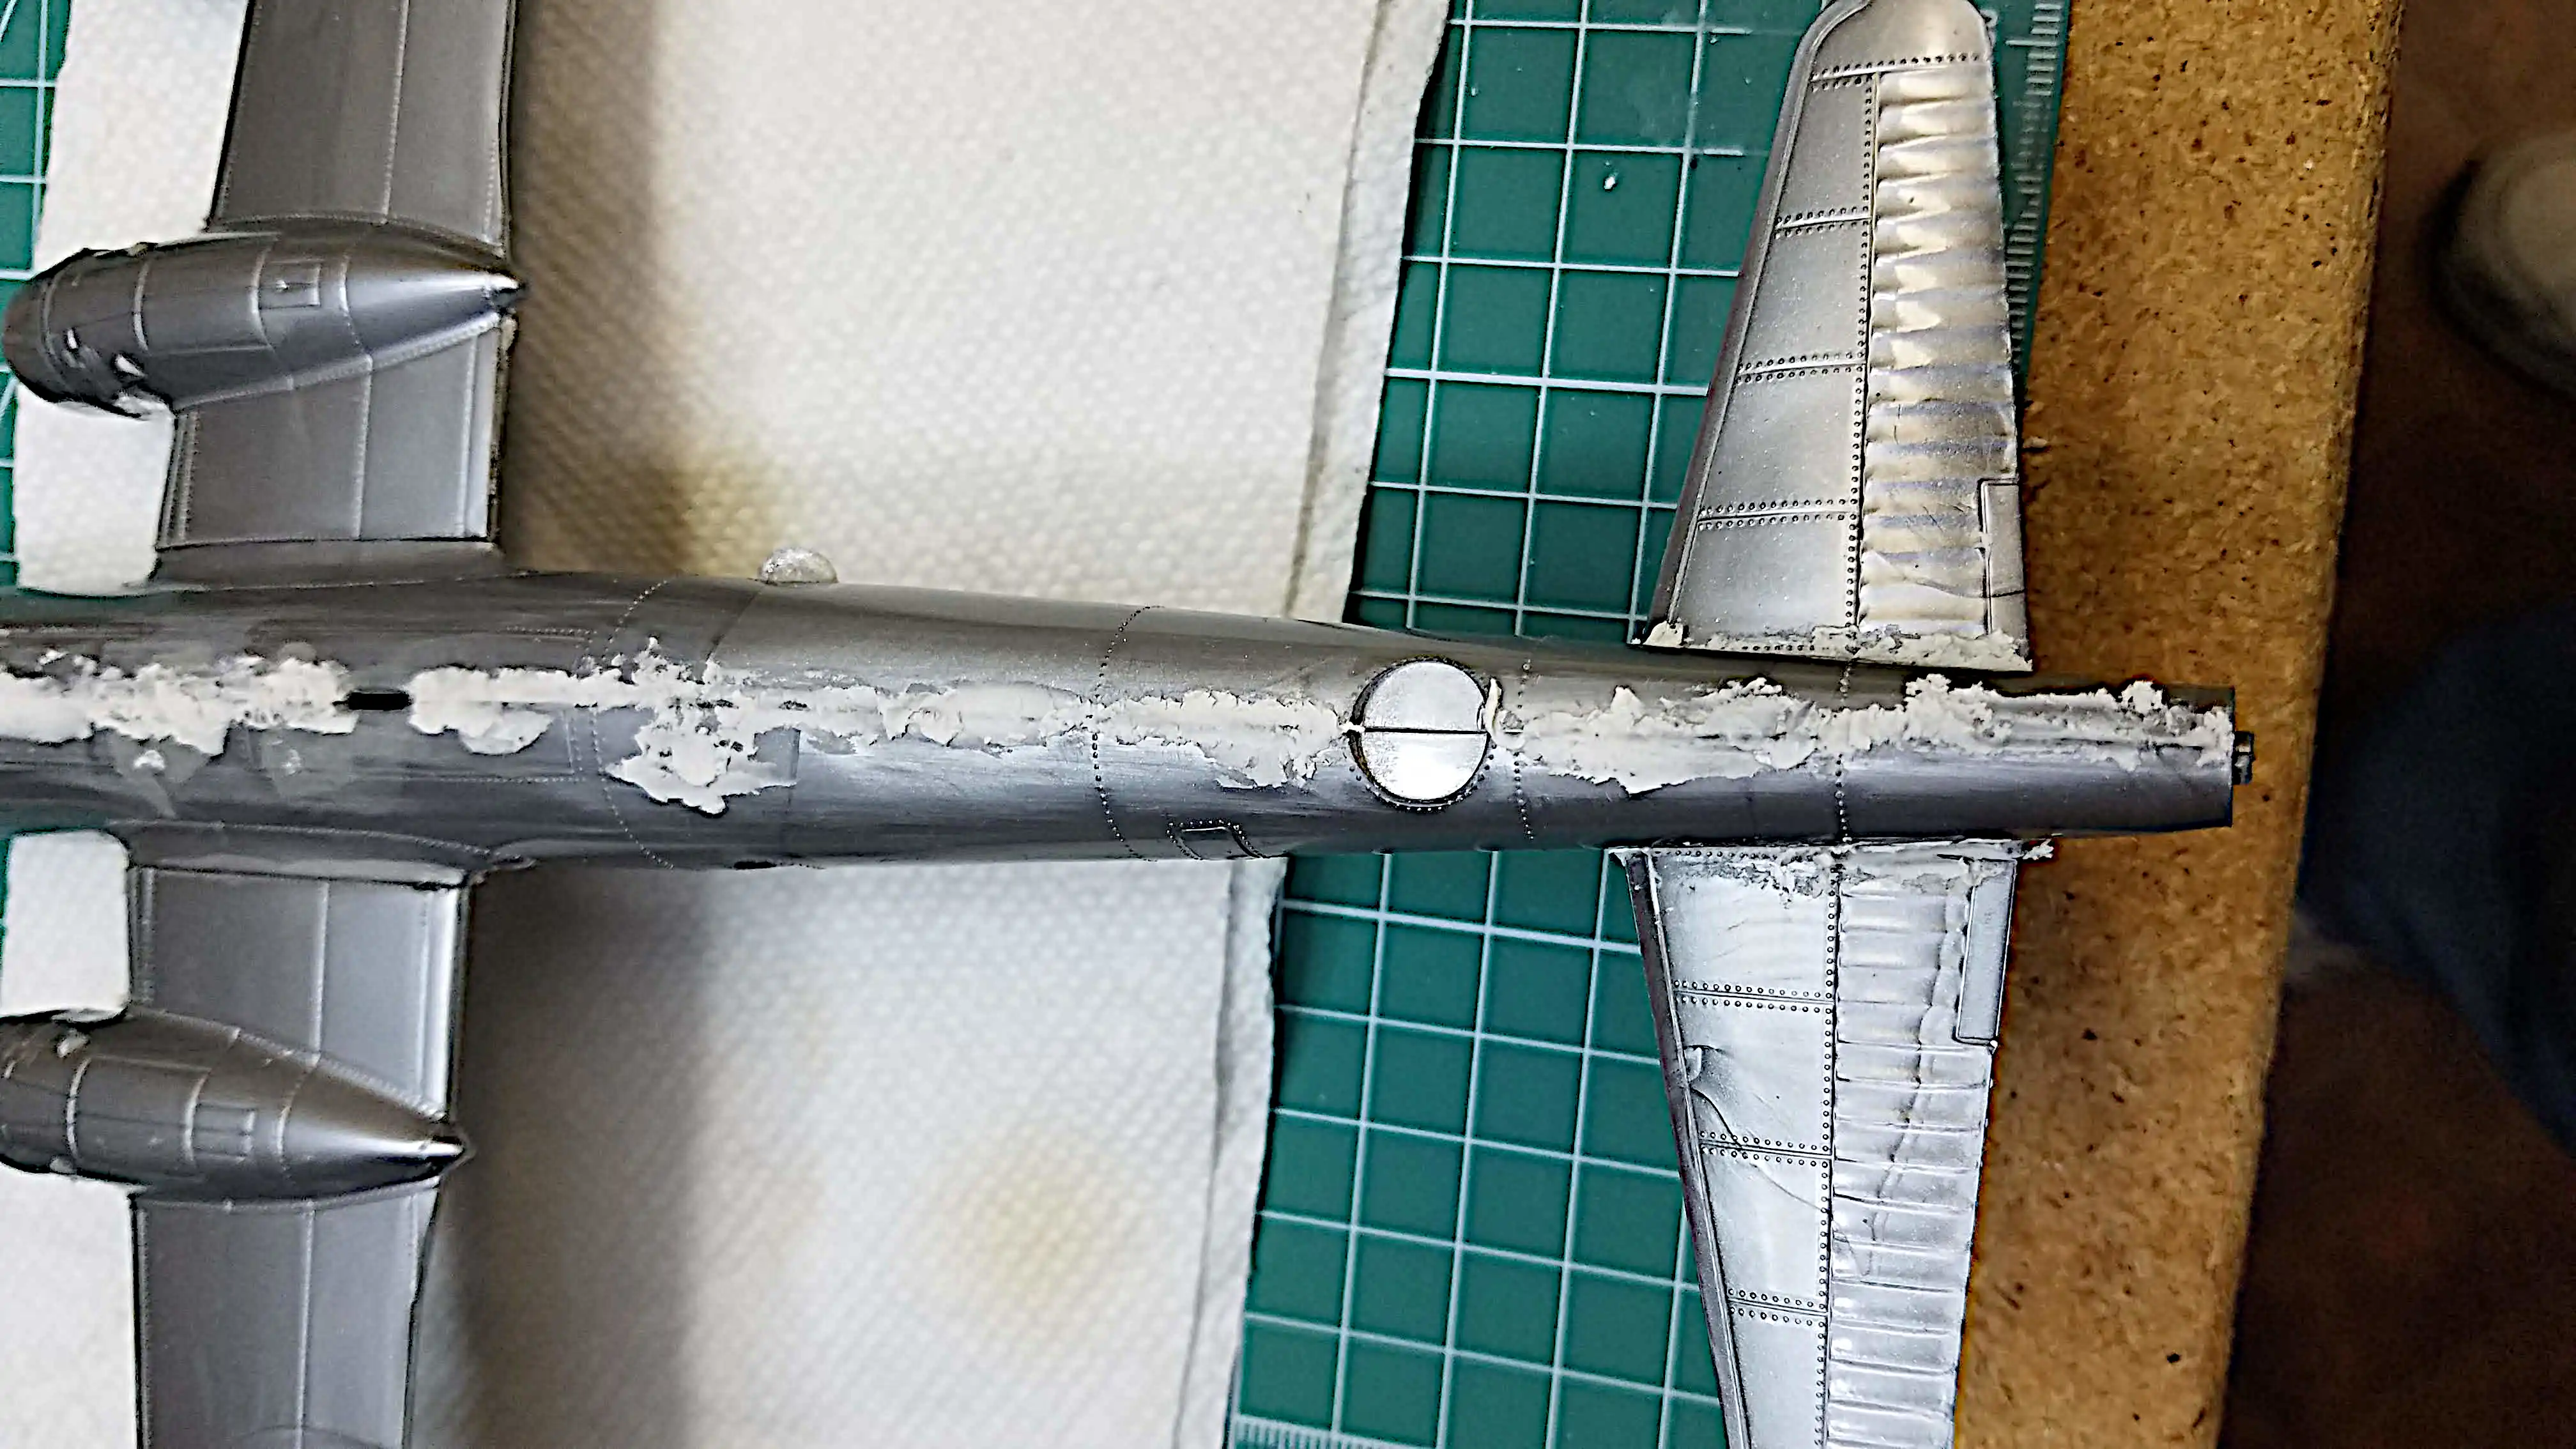
 Heavy putty on wing to fuselage joint
 Heavy putty on tail wings to fuselage joint
 Starting to file and sand the puttied seams
 After sanding, more putty was added
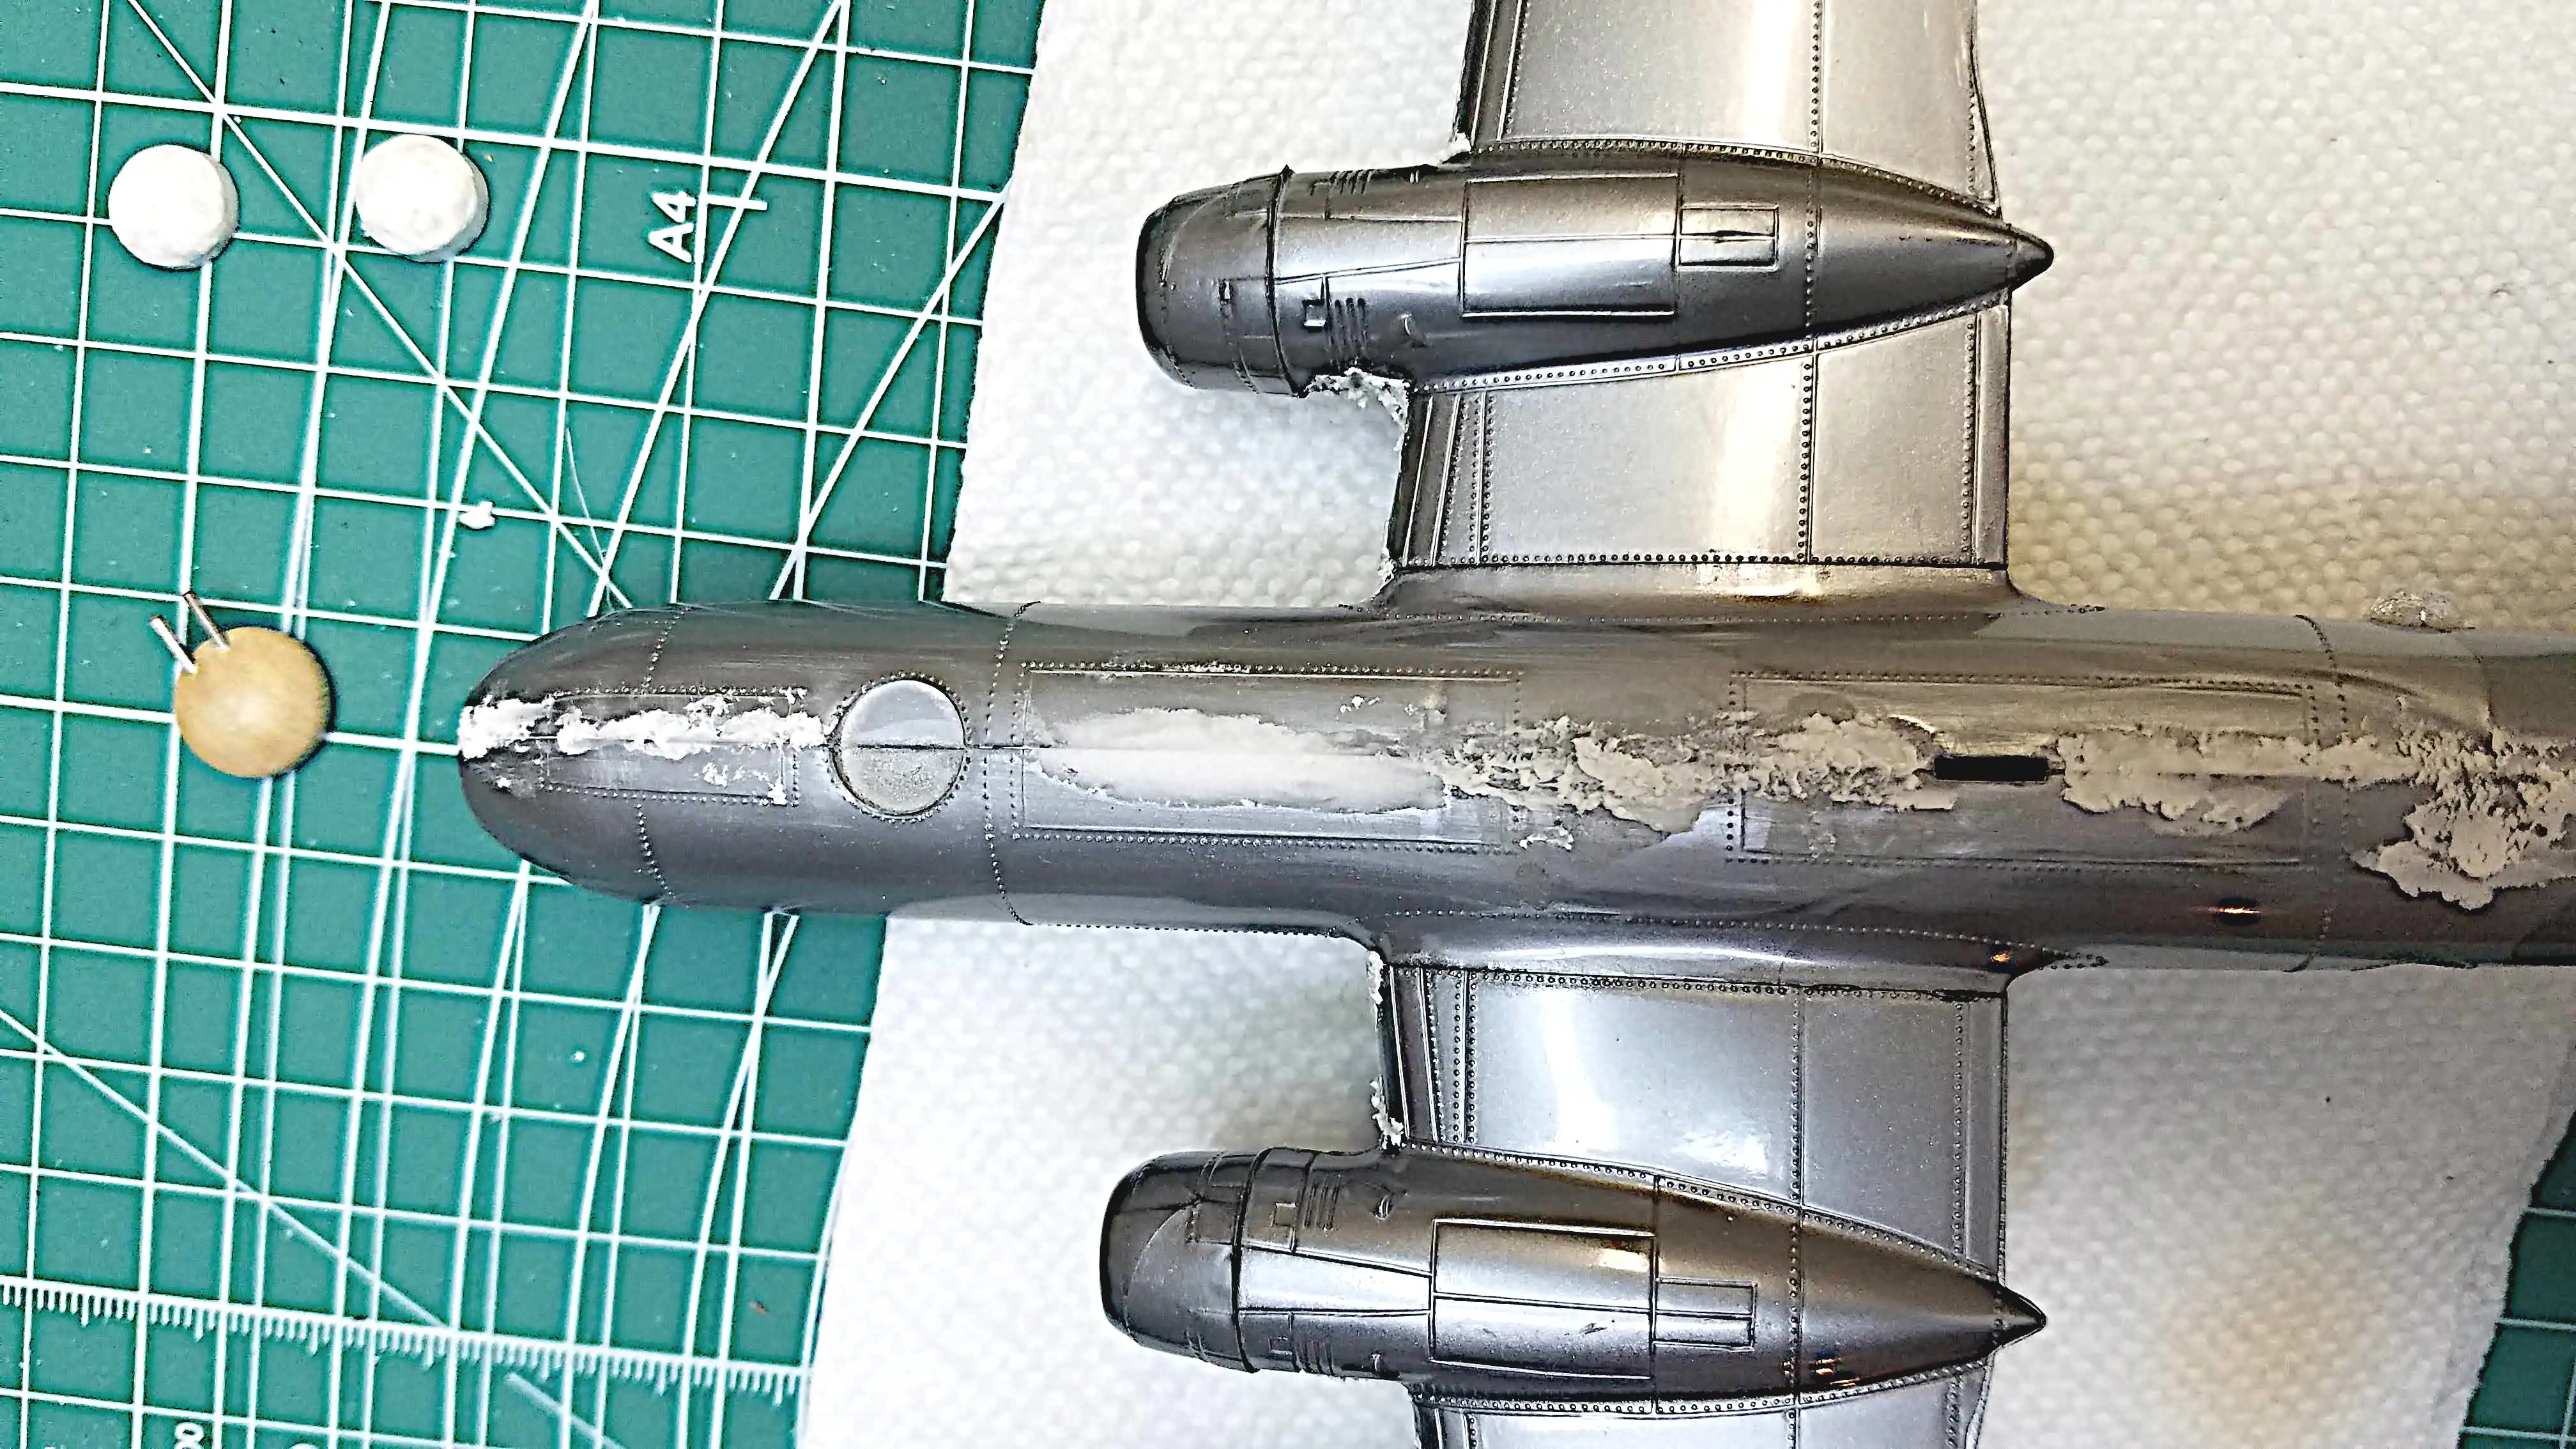 More thick putty
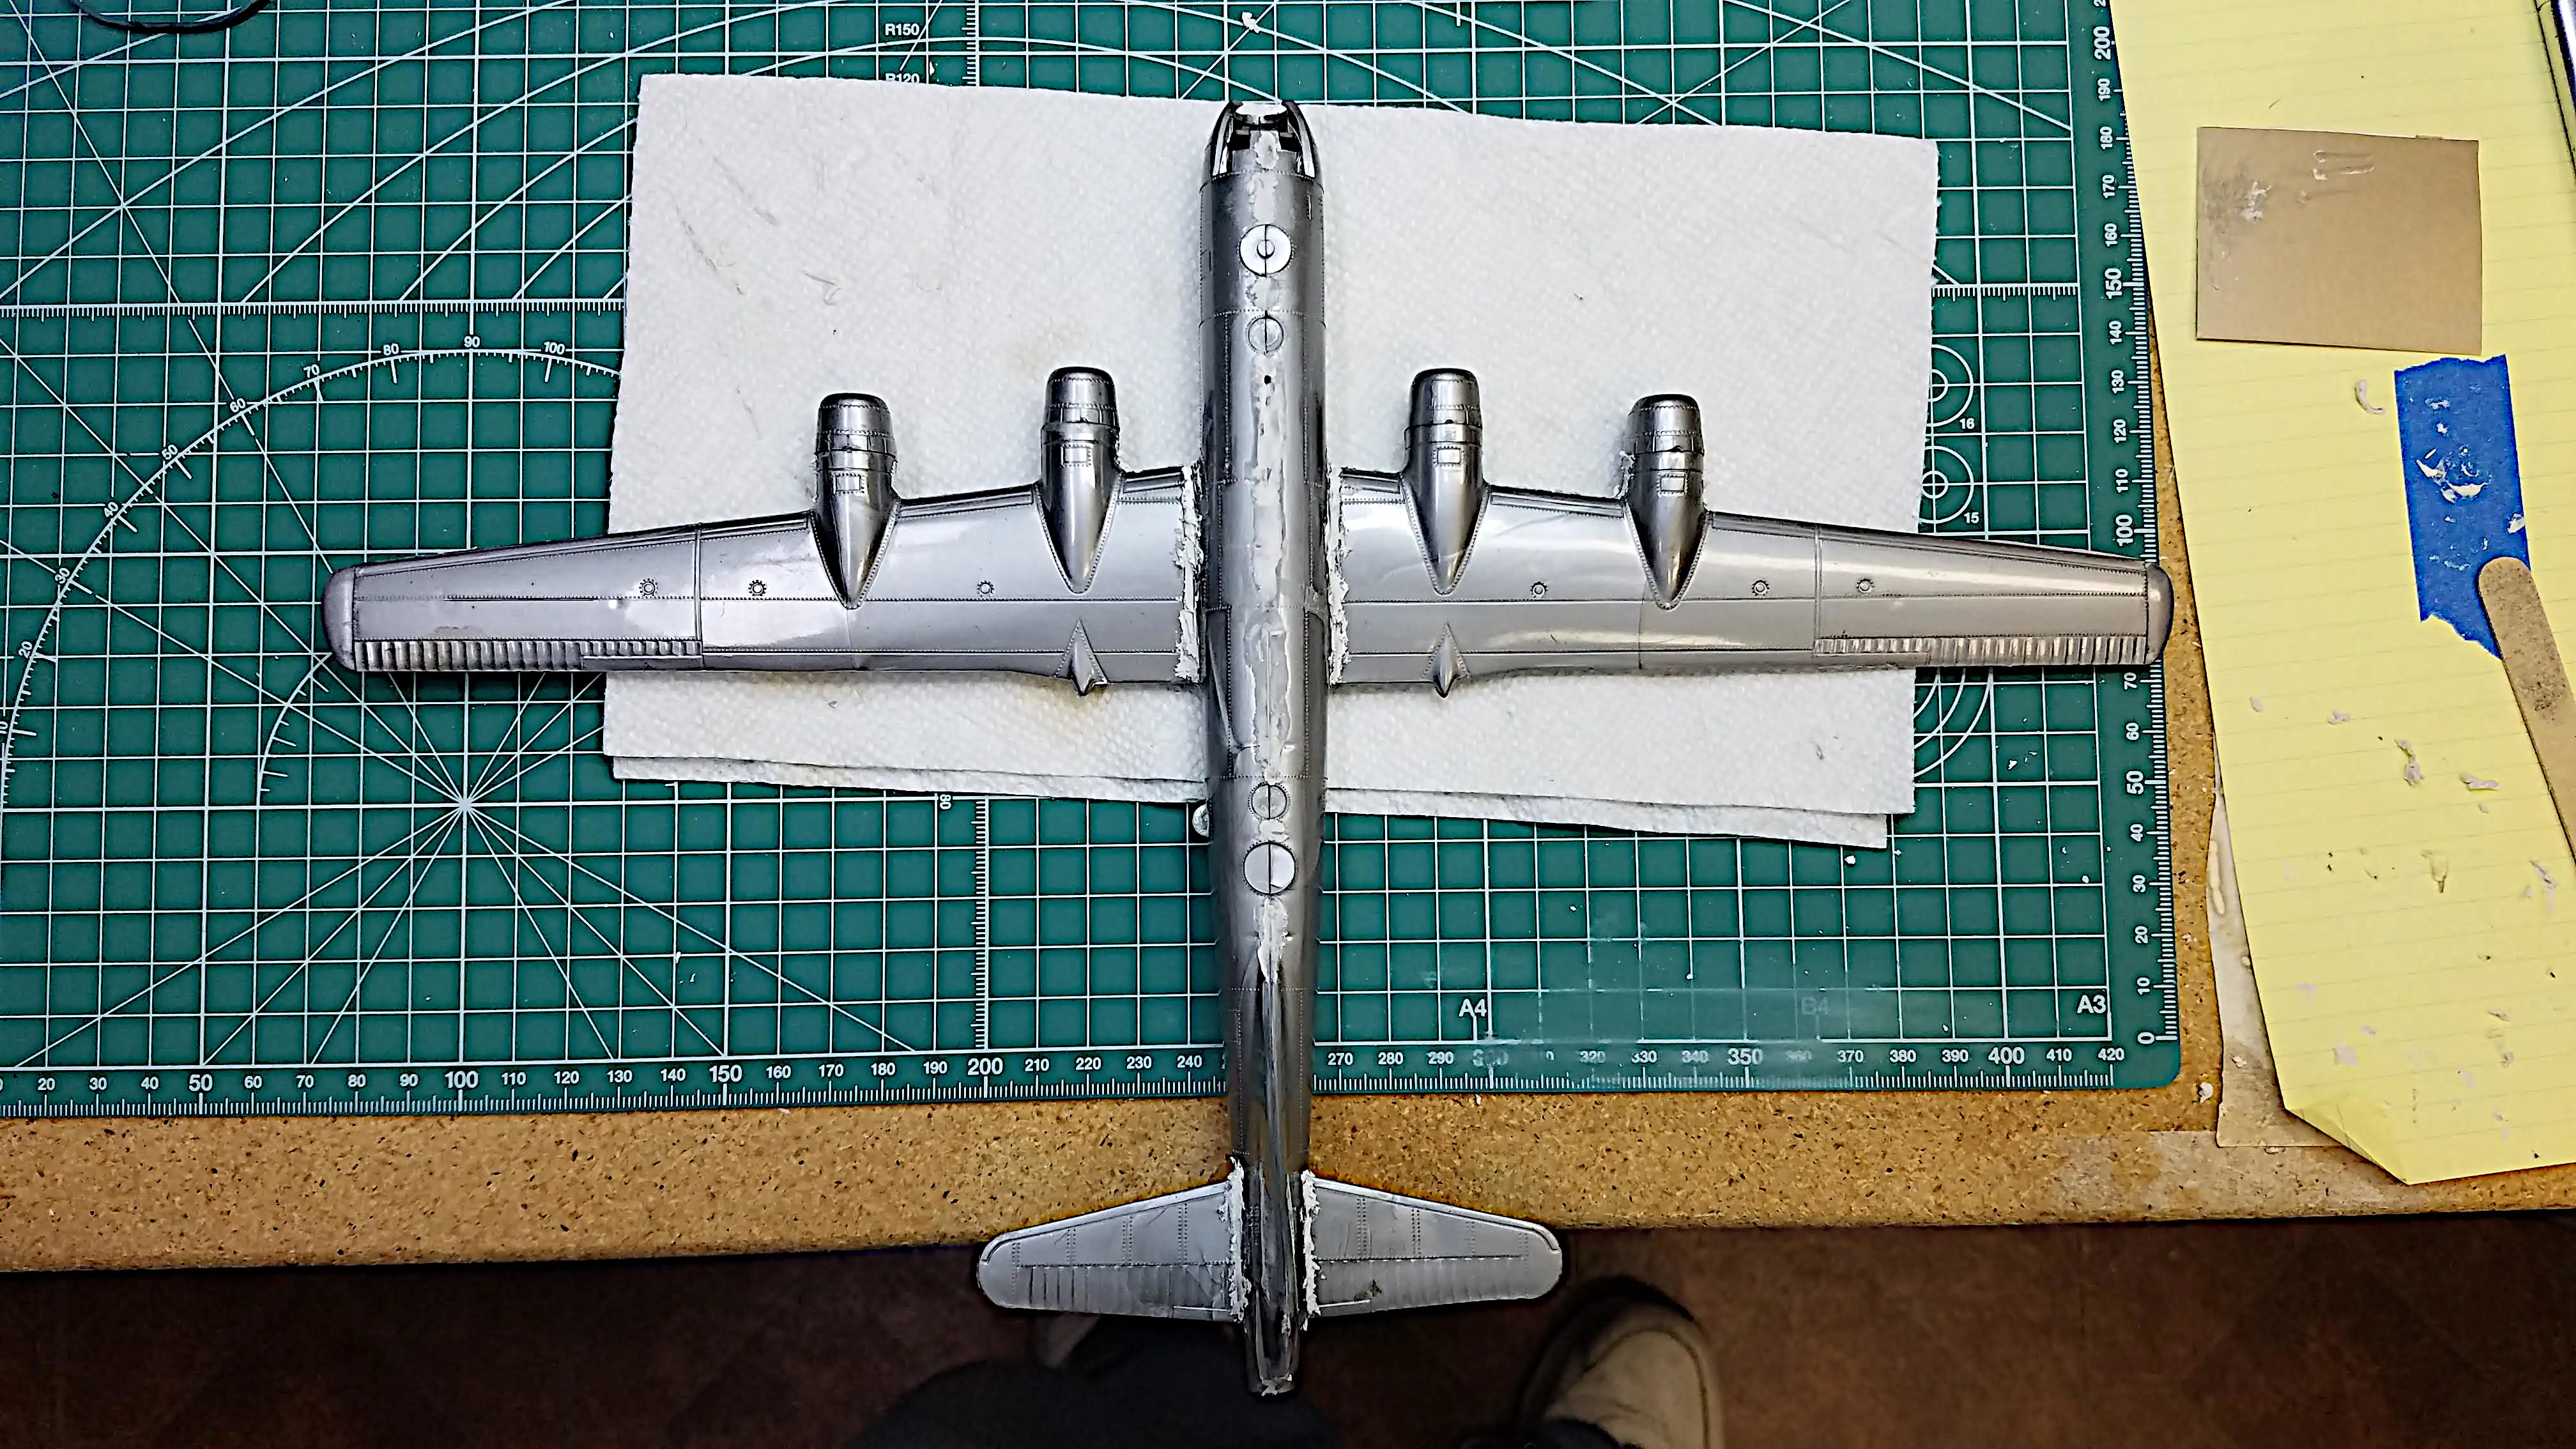
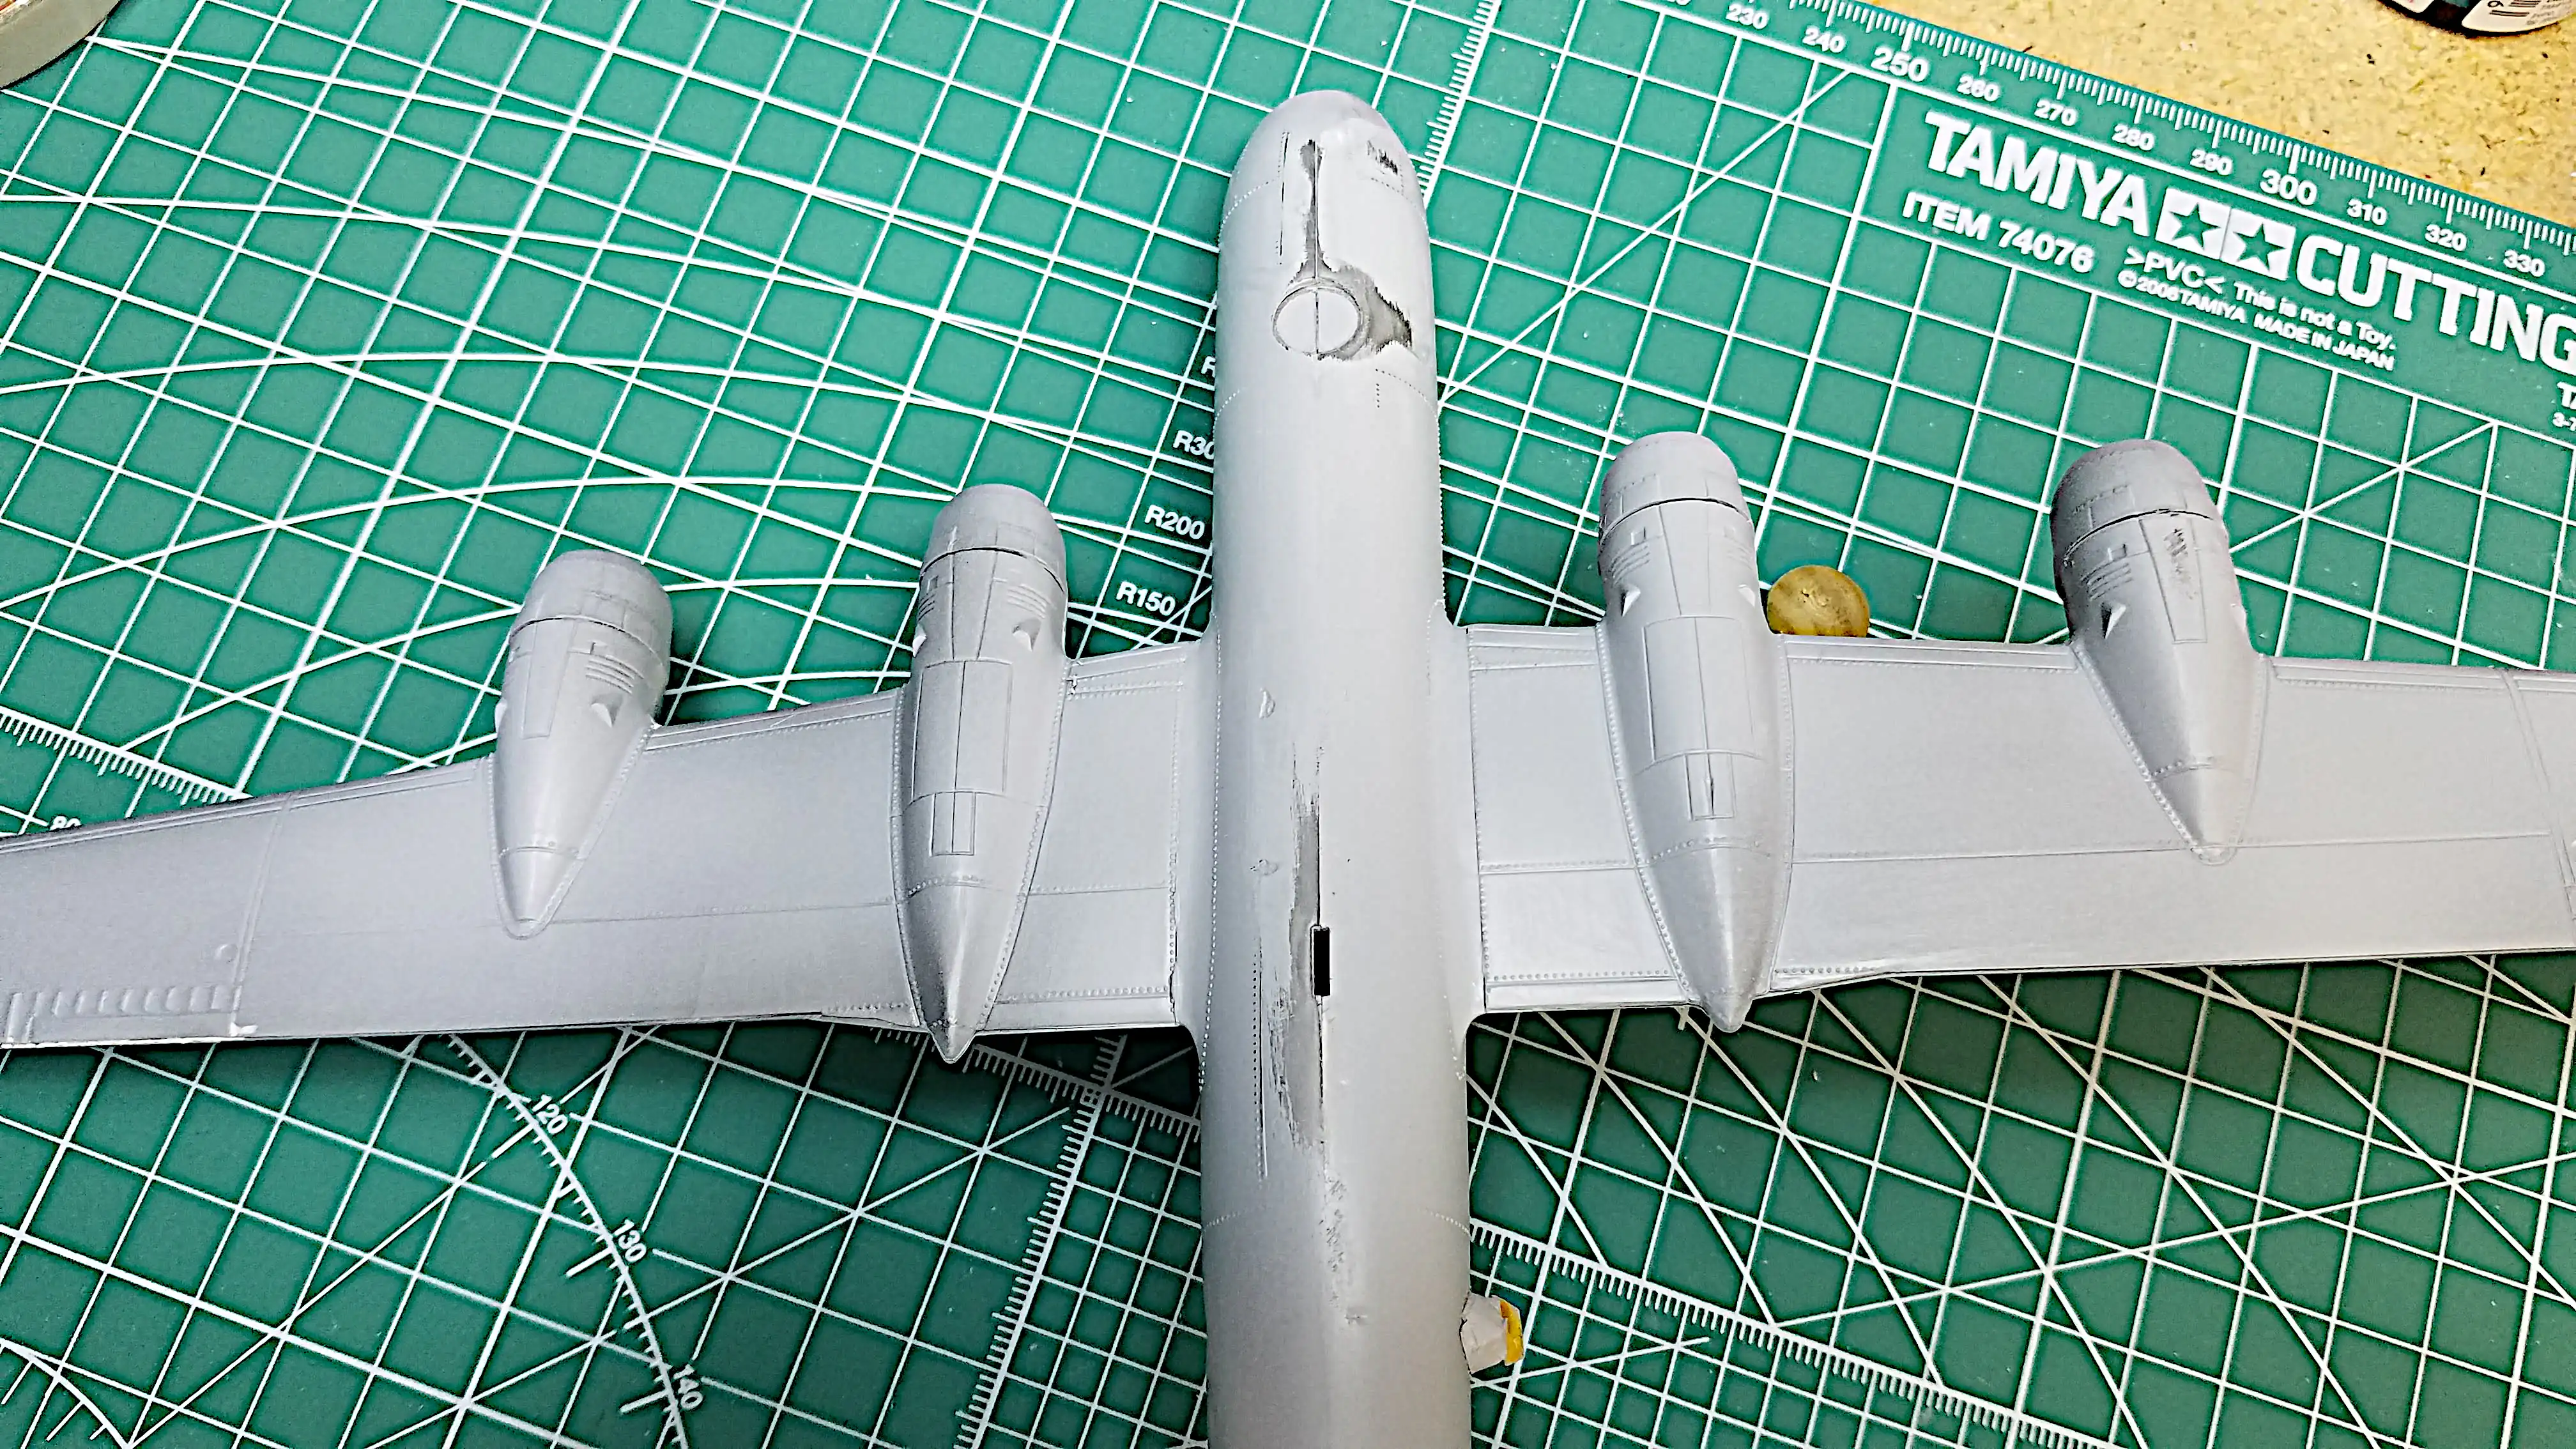
 Top of the aircraft has been sanded
 Bottom of the aircraft has been sanded
 Doing more sanding and smoothing
 Doing more sanding and smoothing
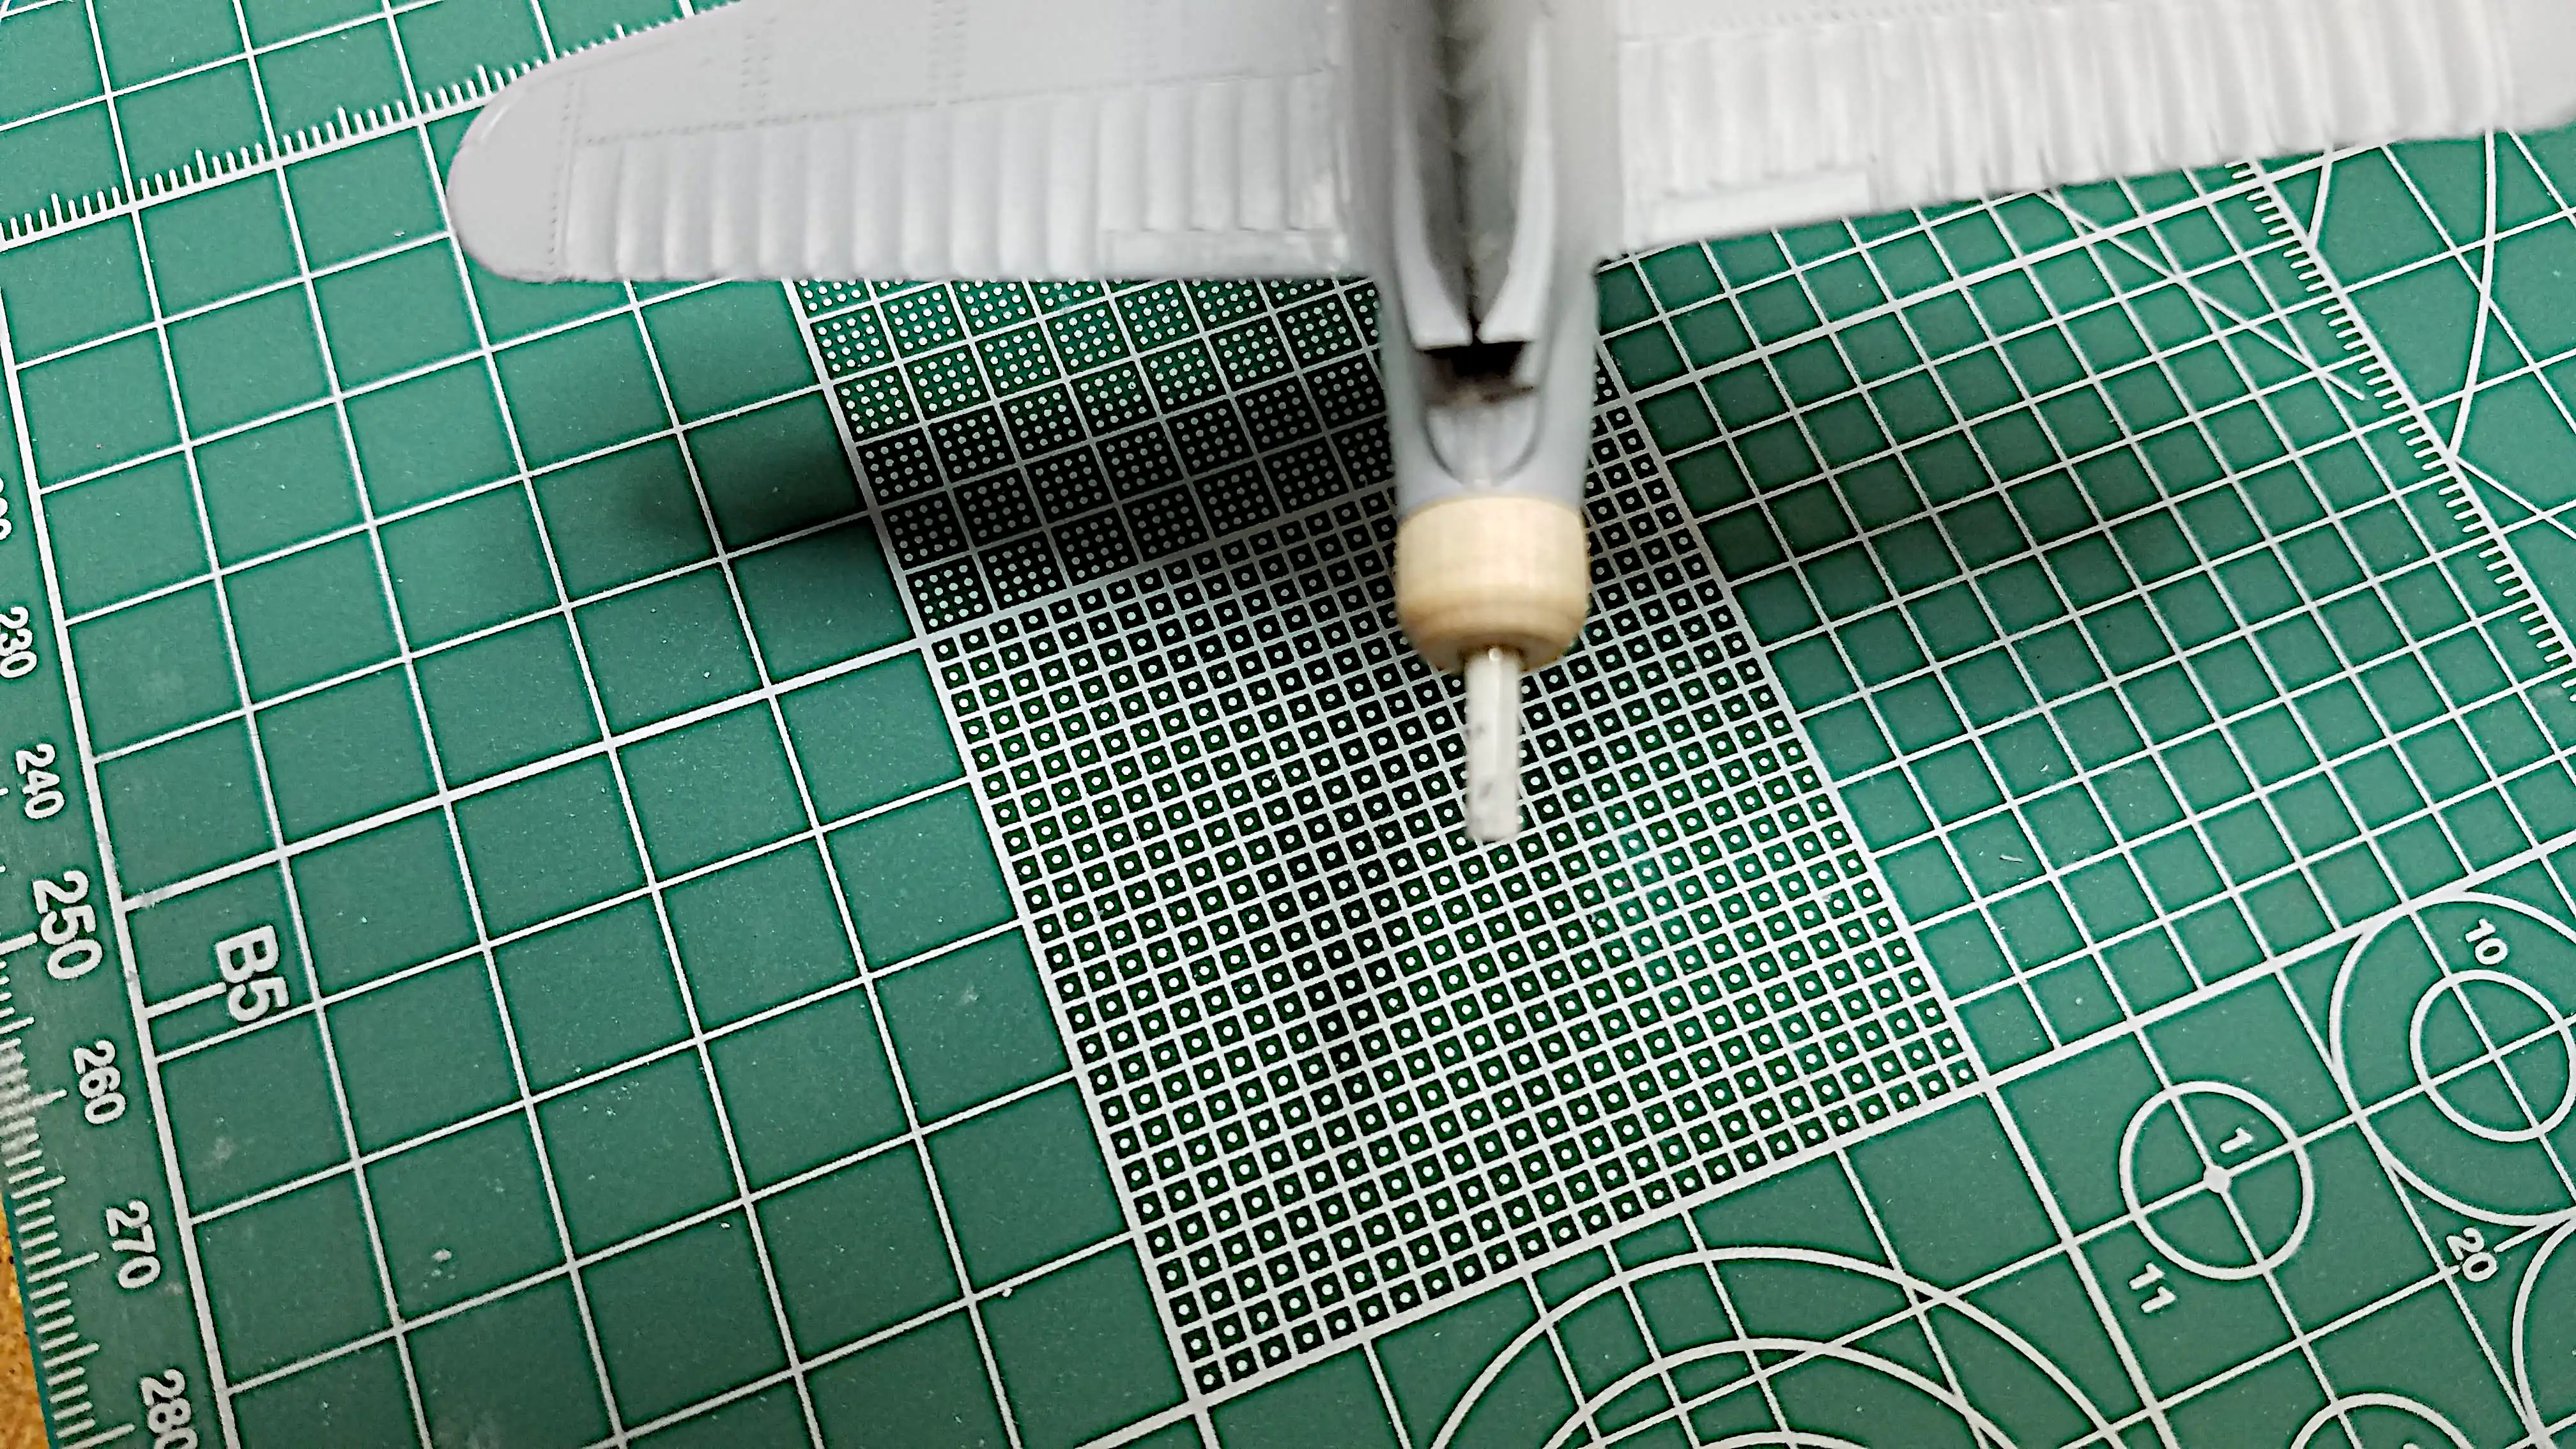
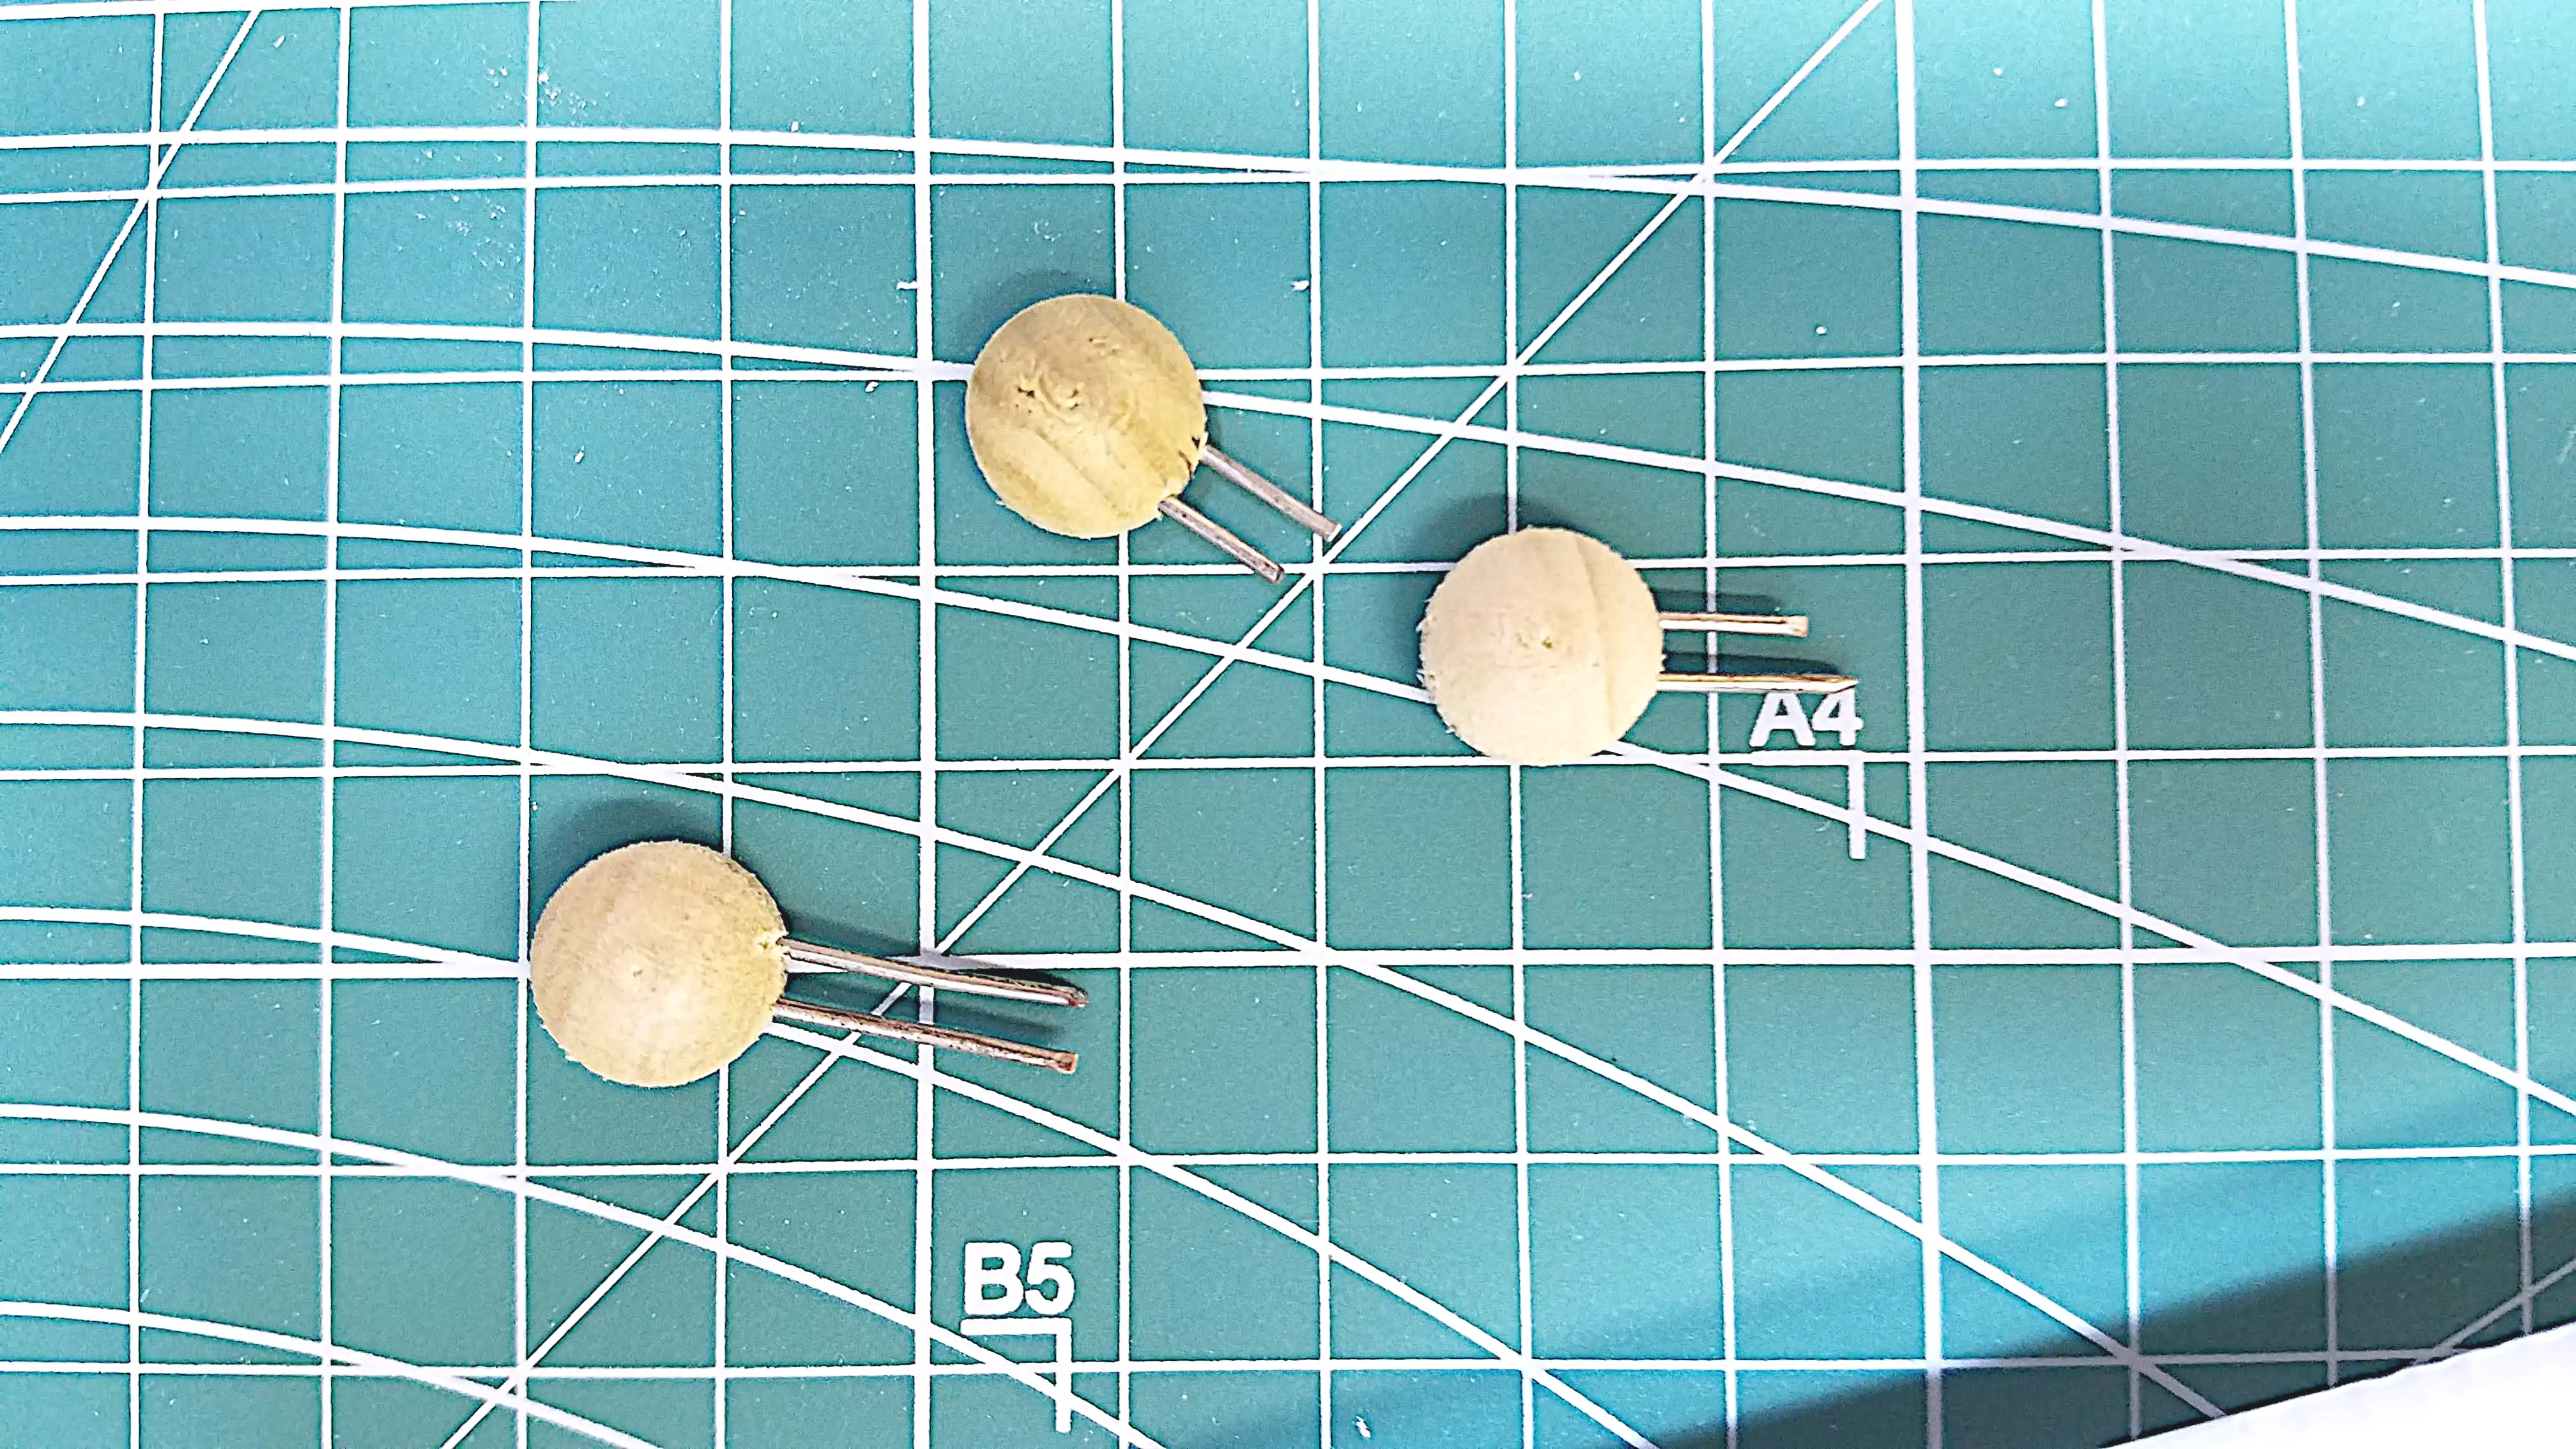 Scratch building new gun turrets
 Masking the cockpit so primer can be sprayed
 A coat of primer on the plane
 More work needed after primer
 More work needed after primer
 Mounting the scratch built gun turrets
 Scratch built a tail cannon
 View of scratch built cannon
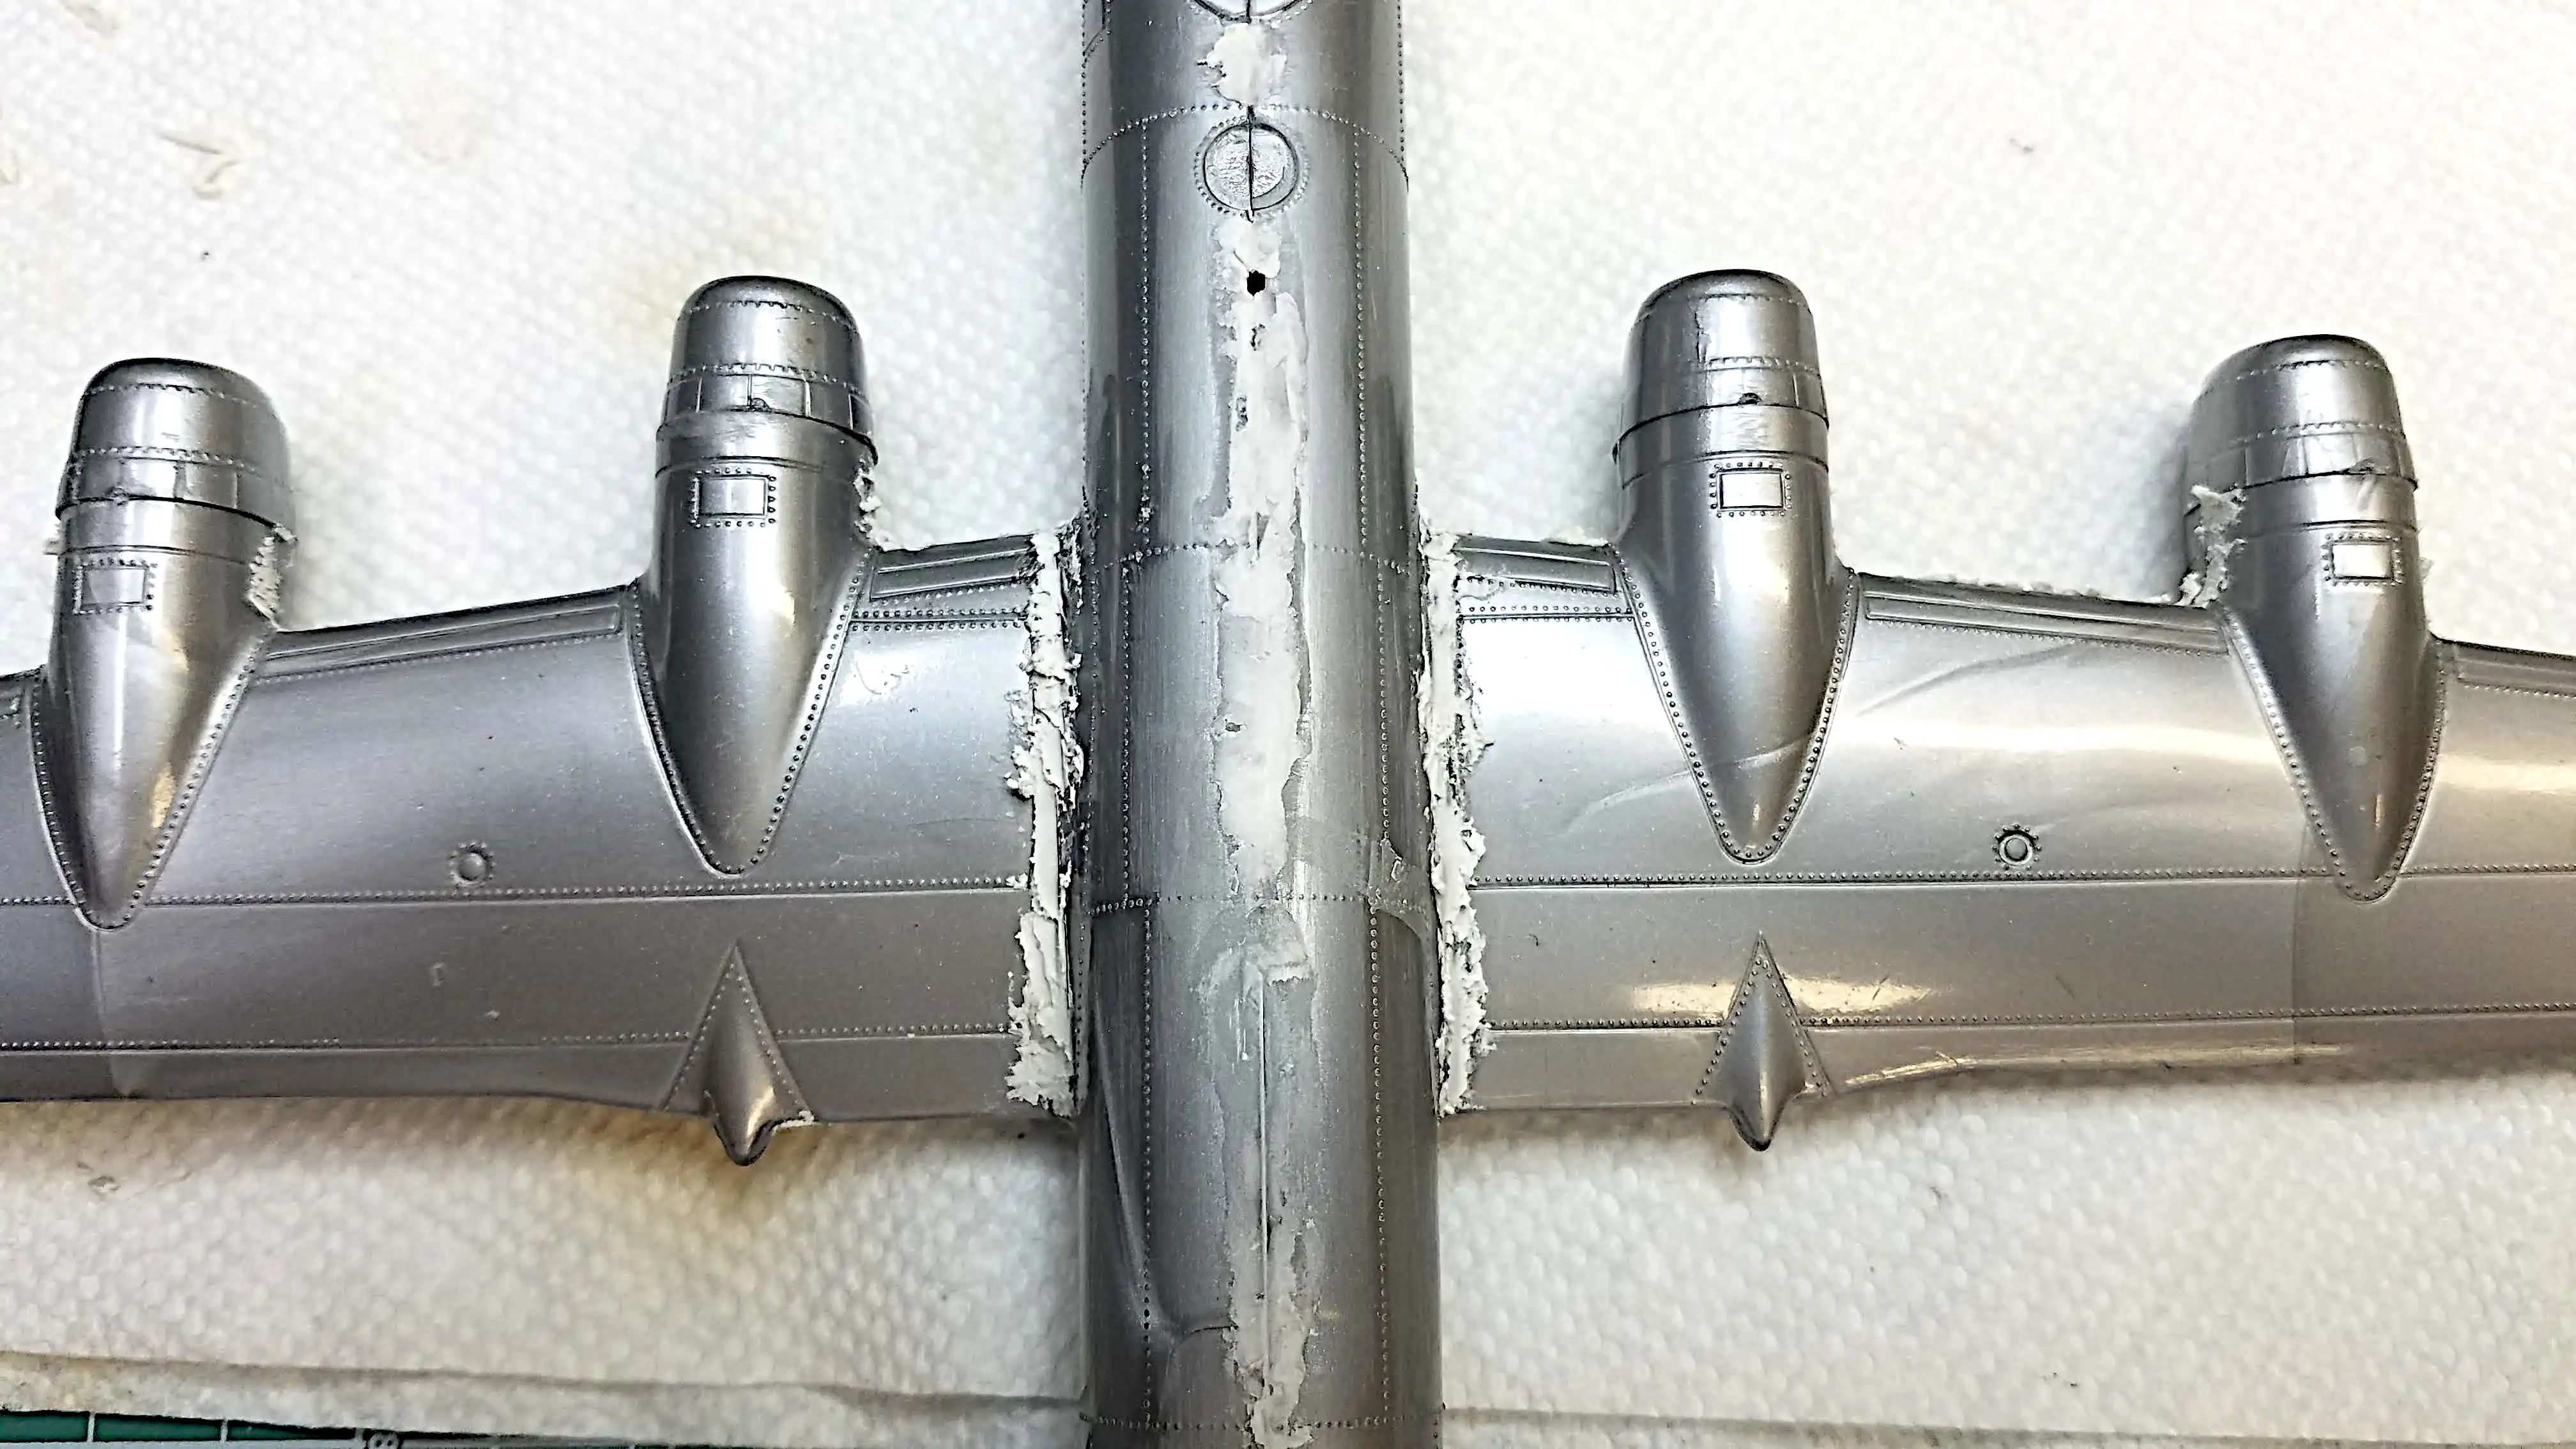
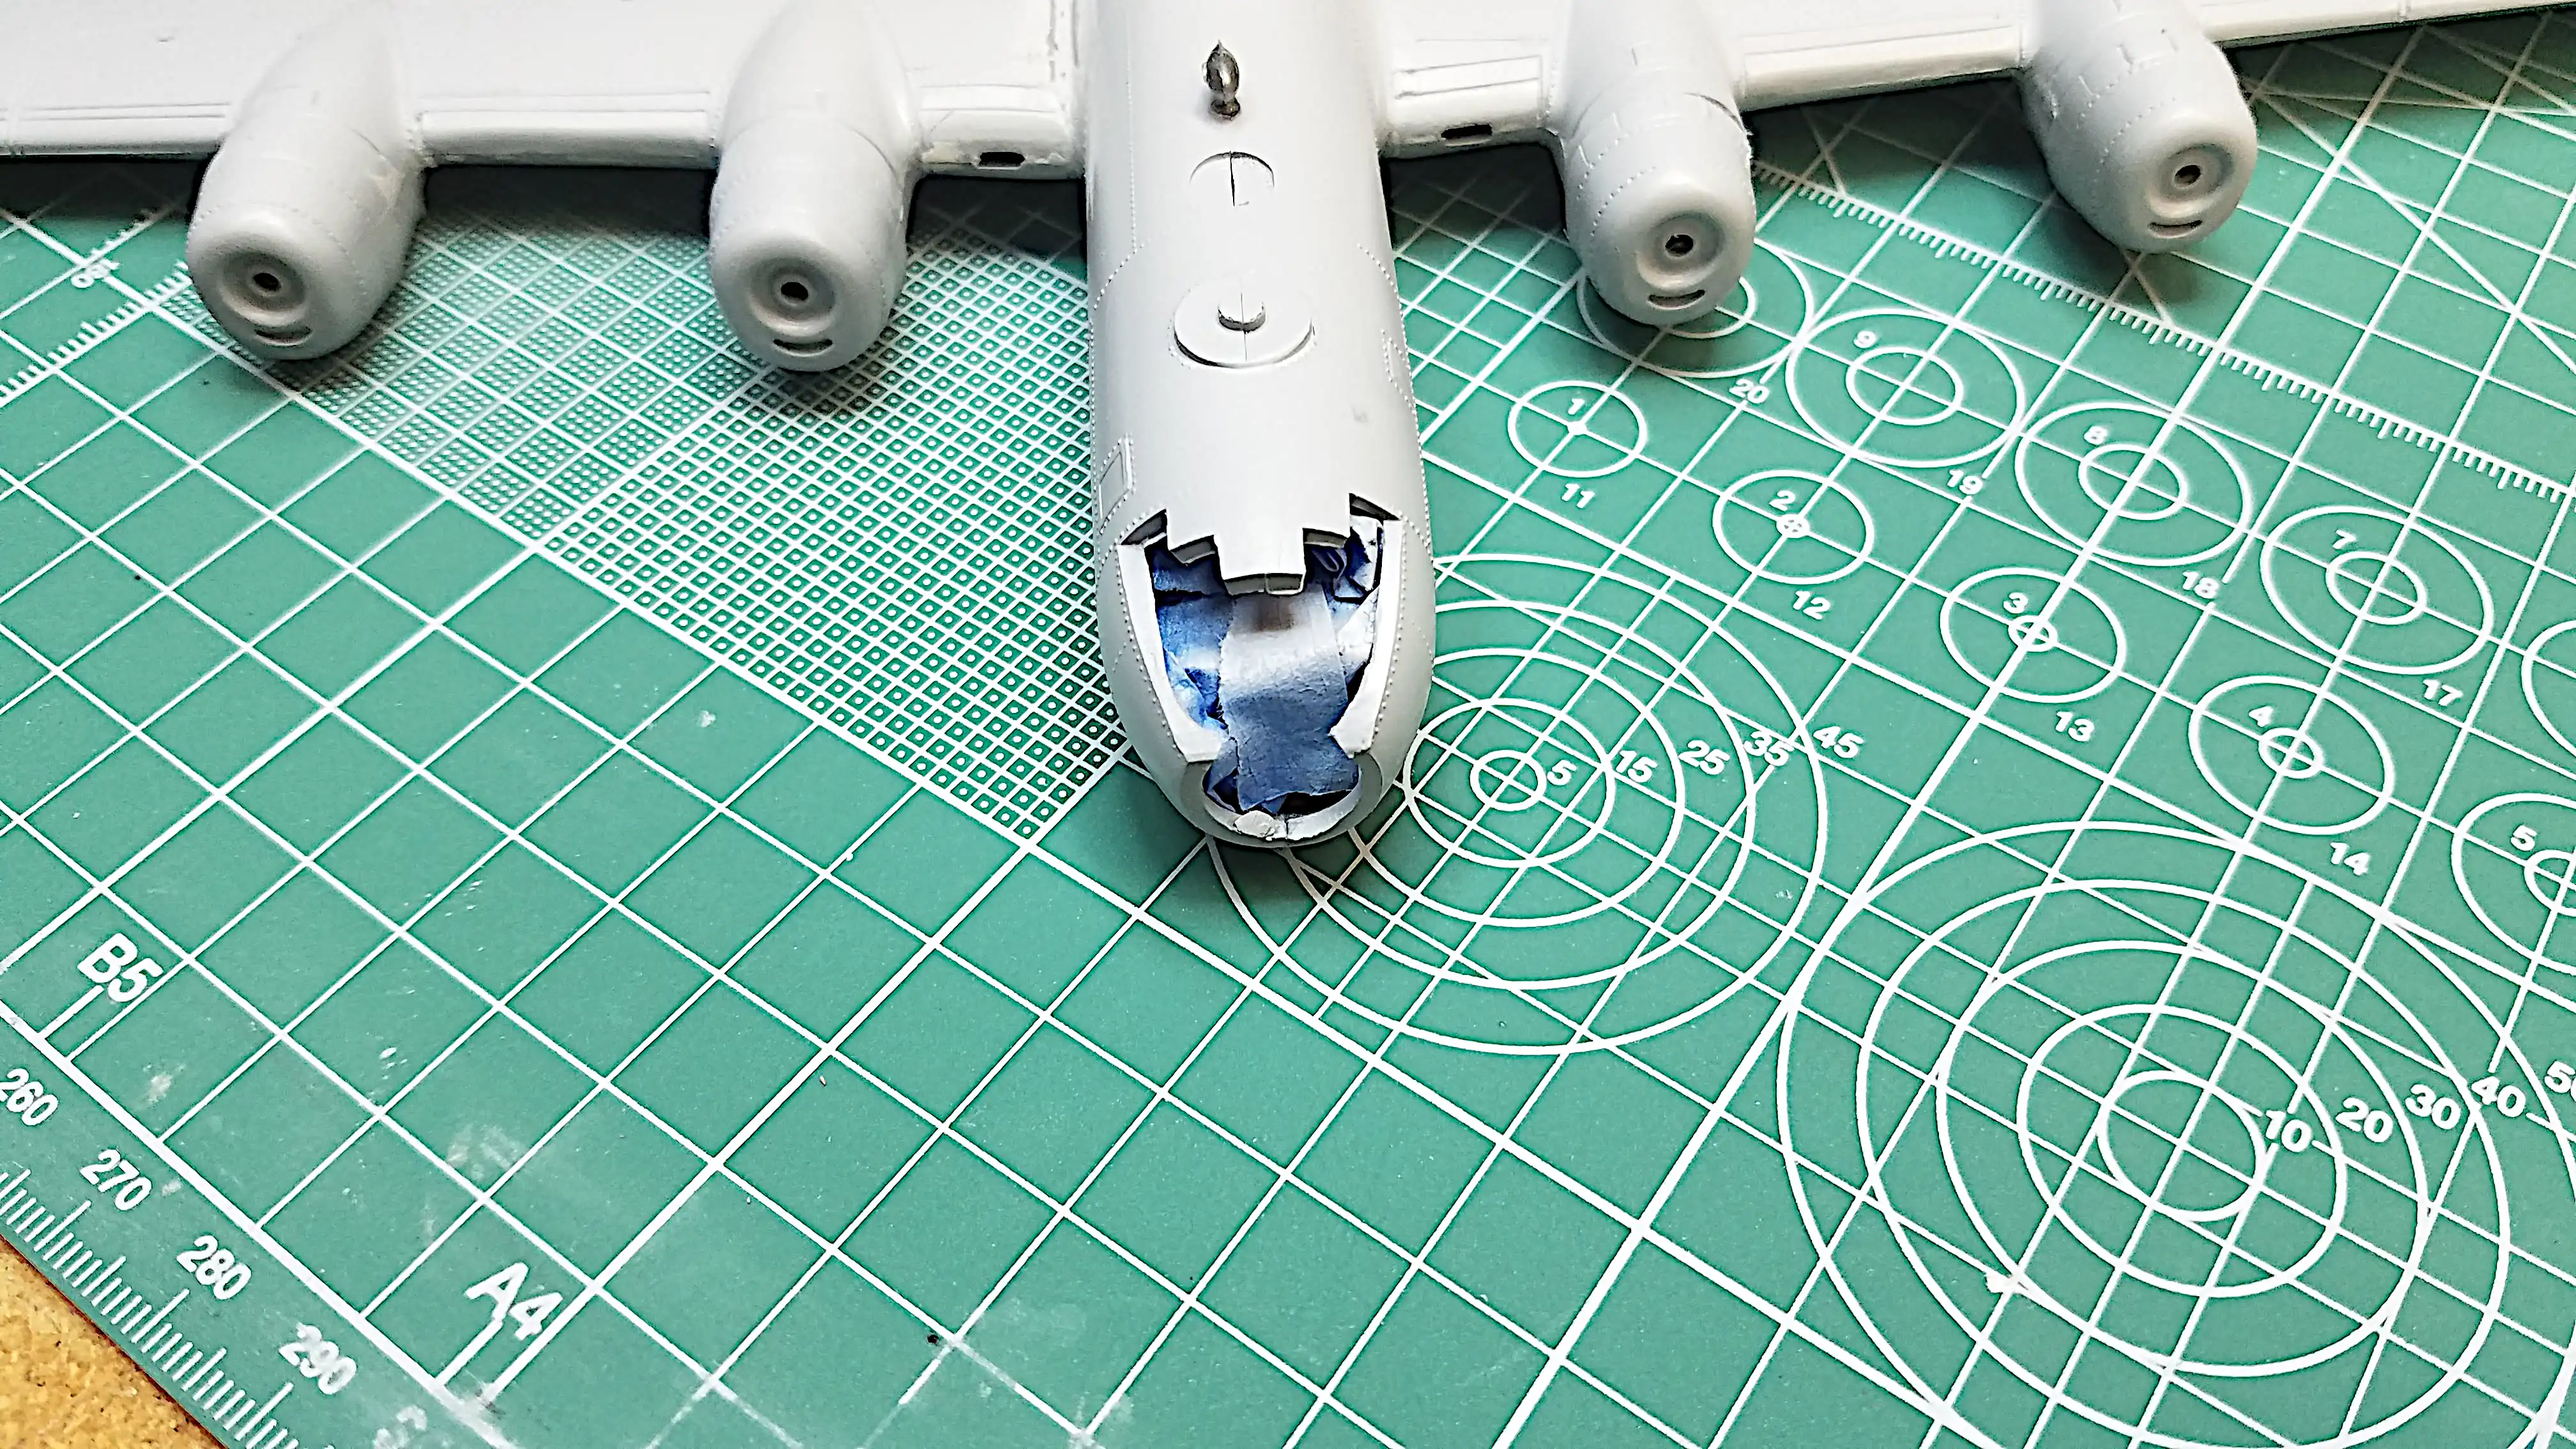
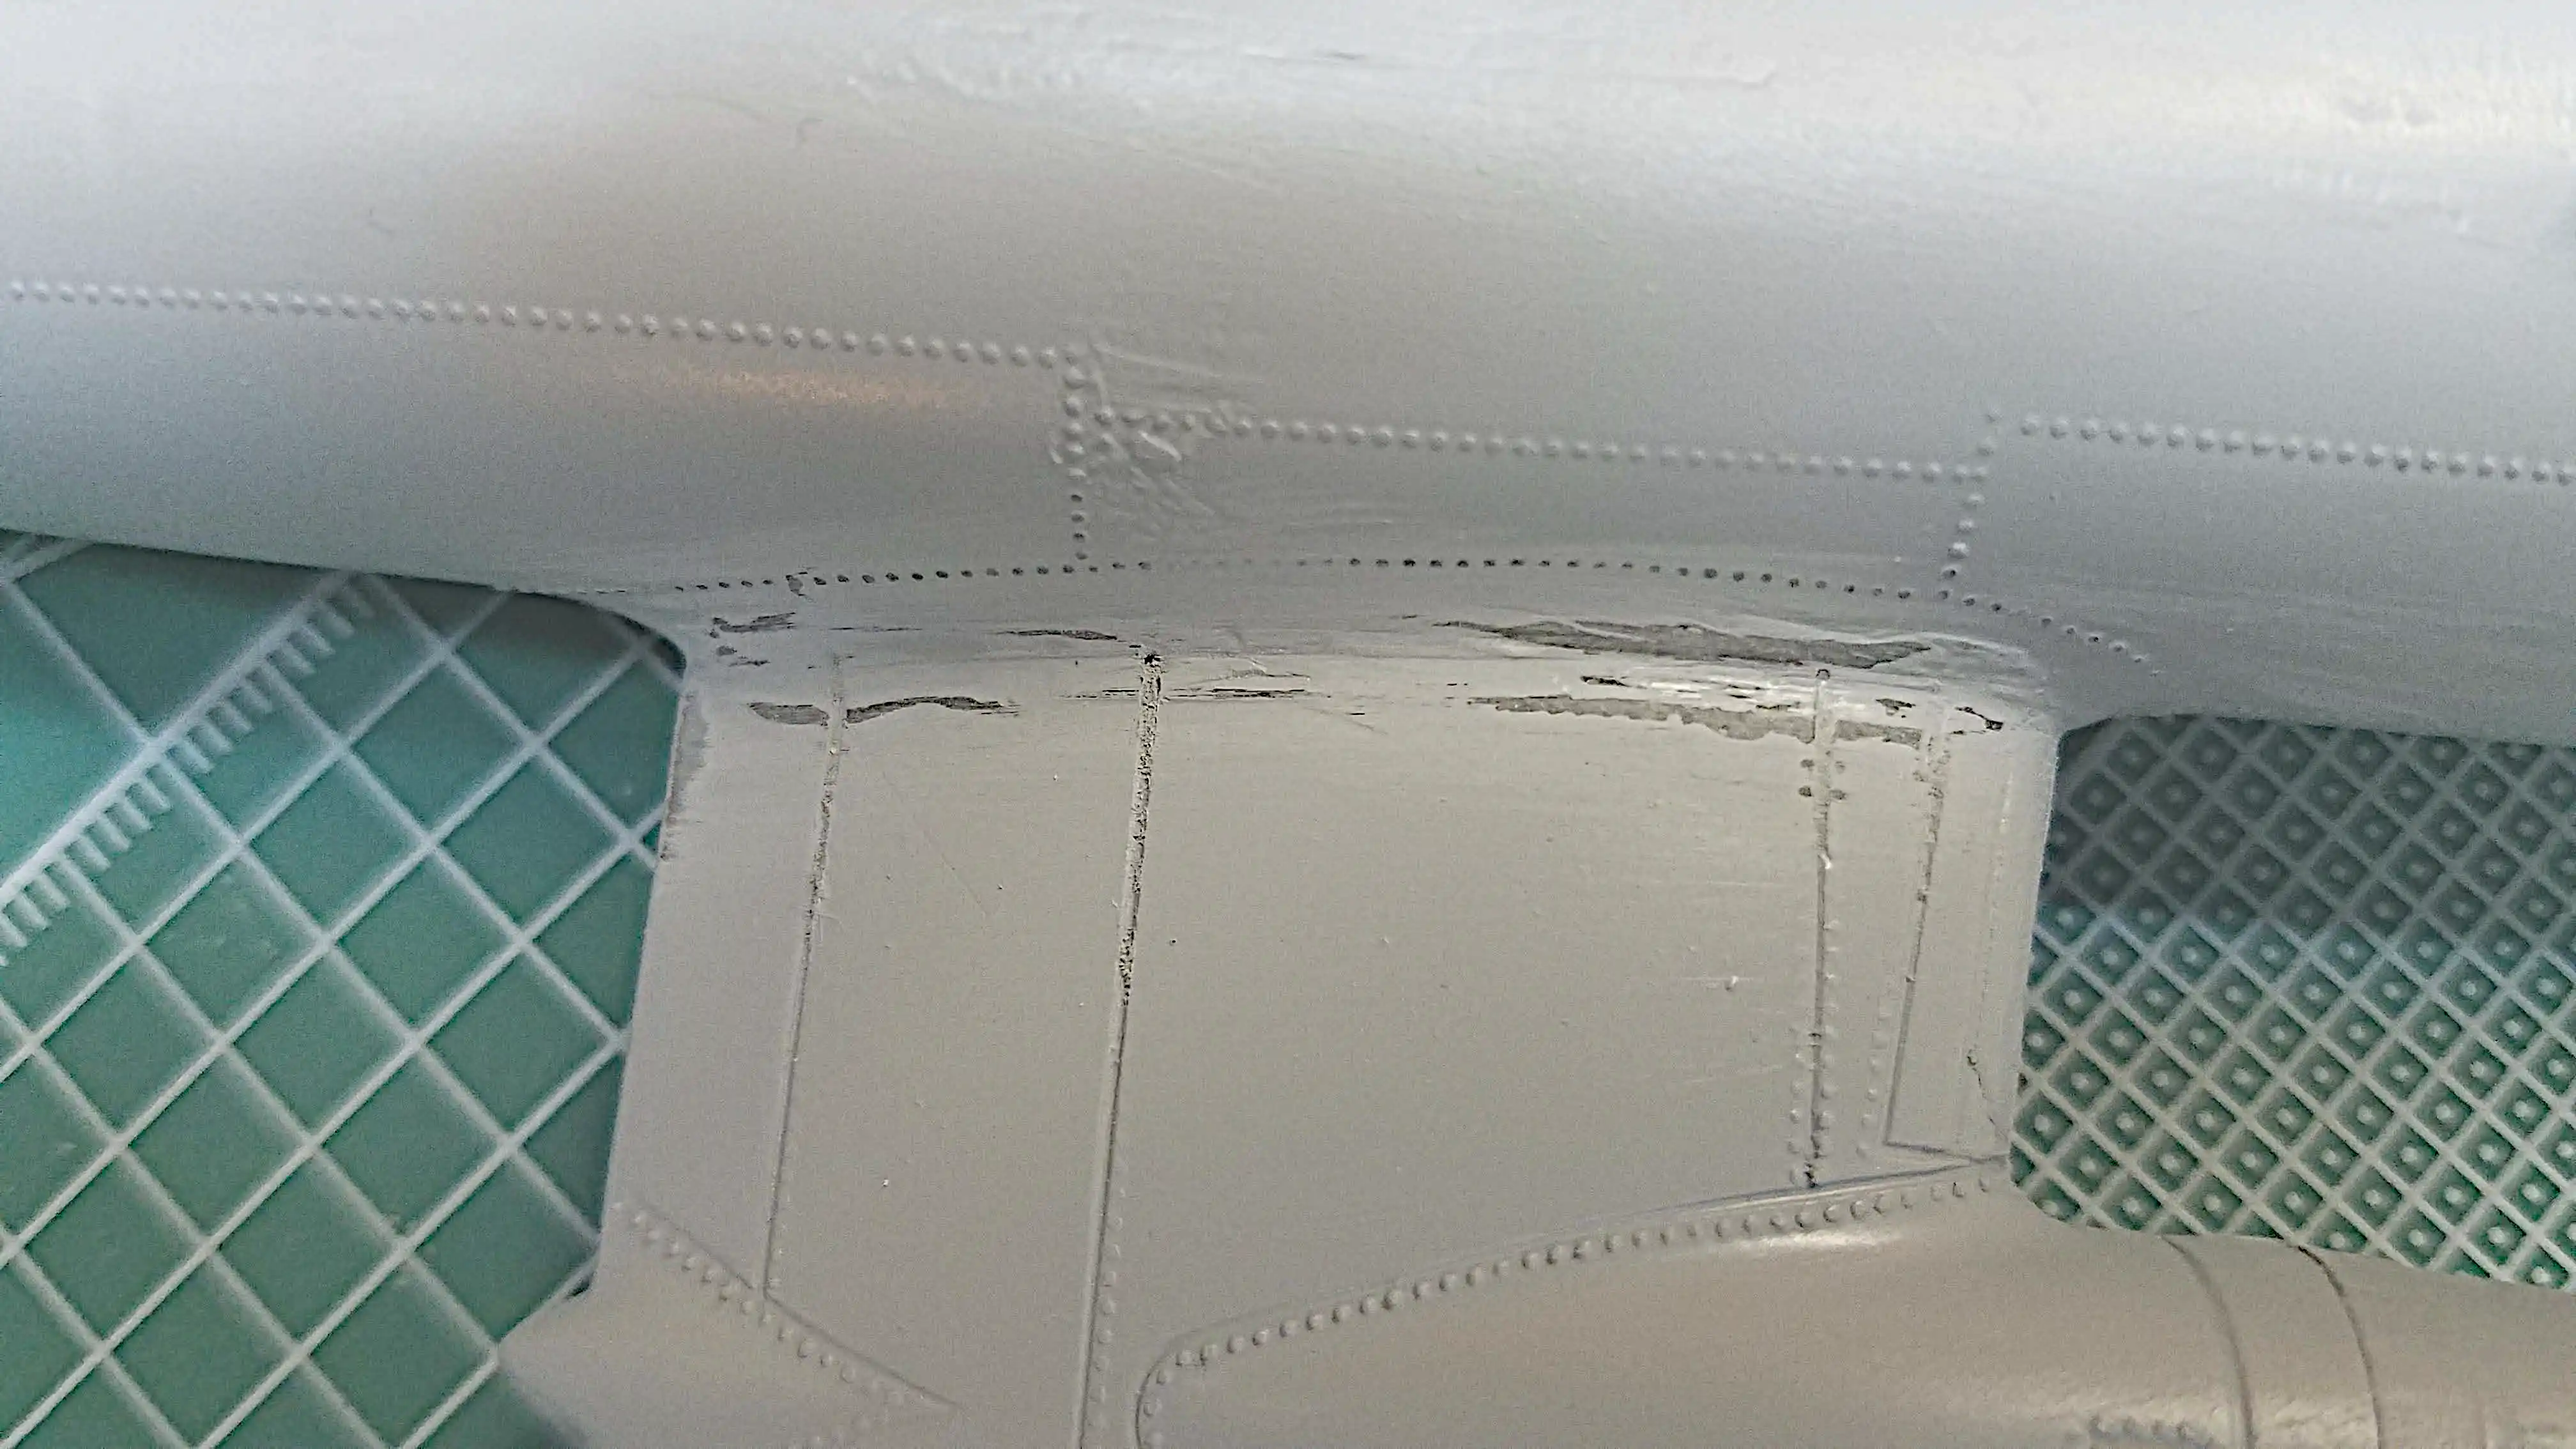
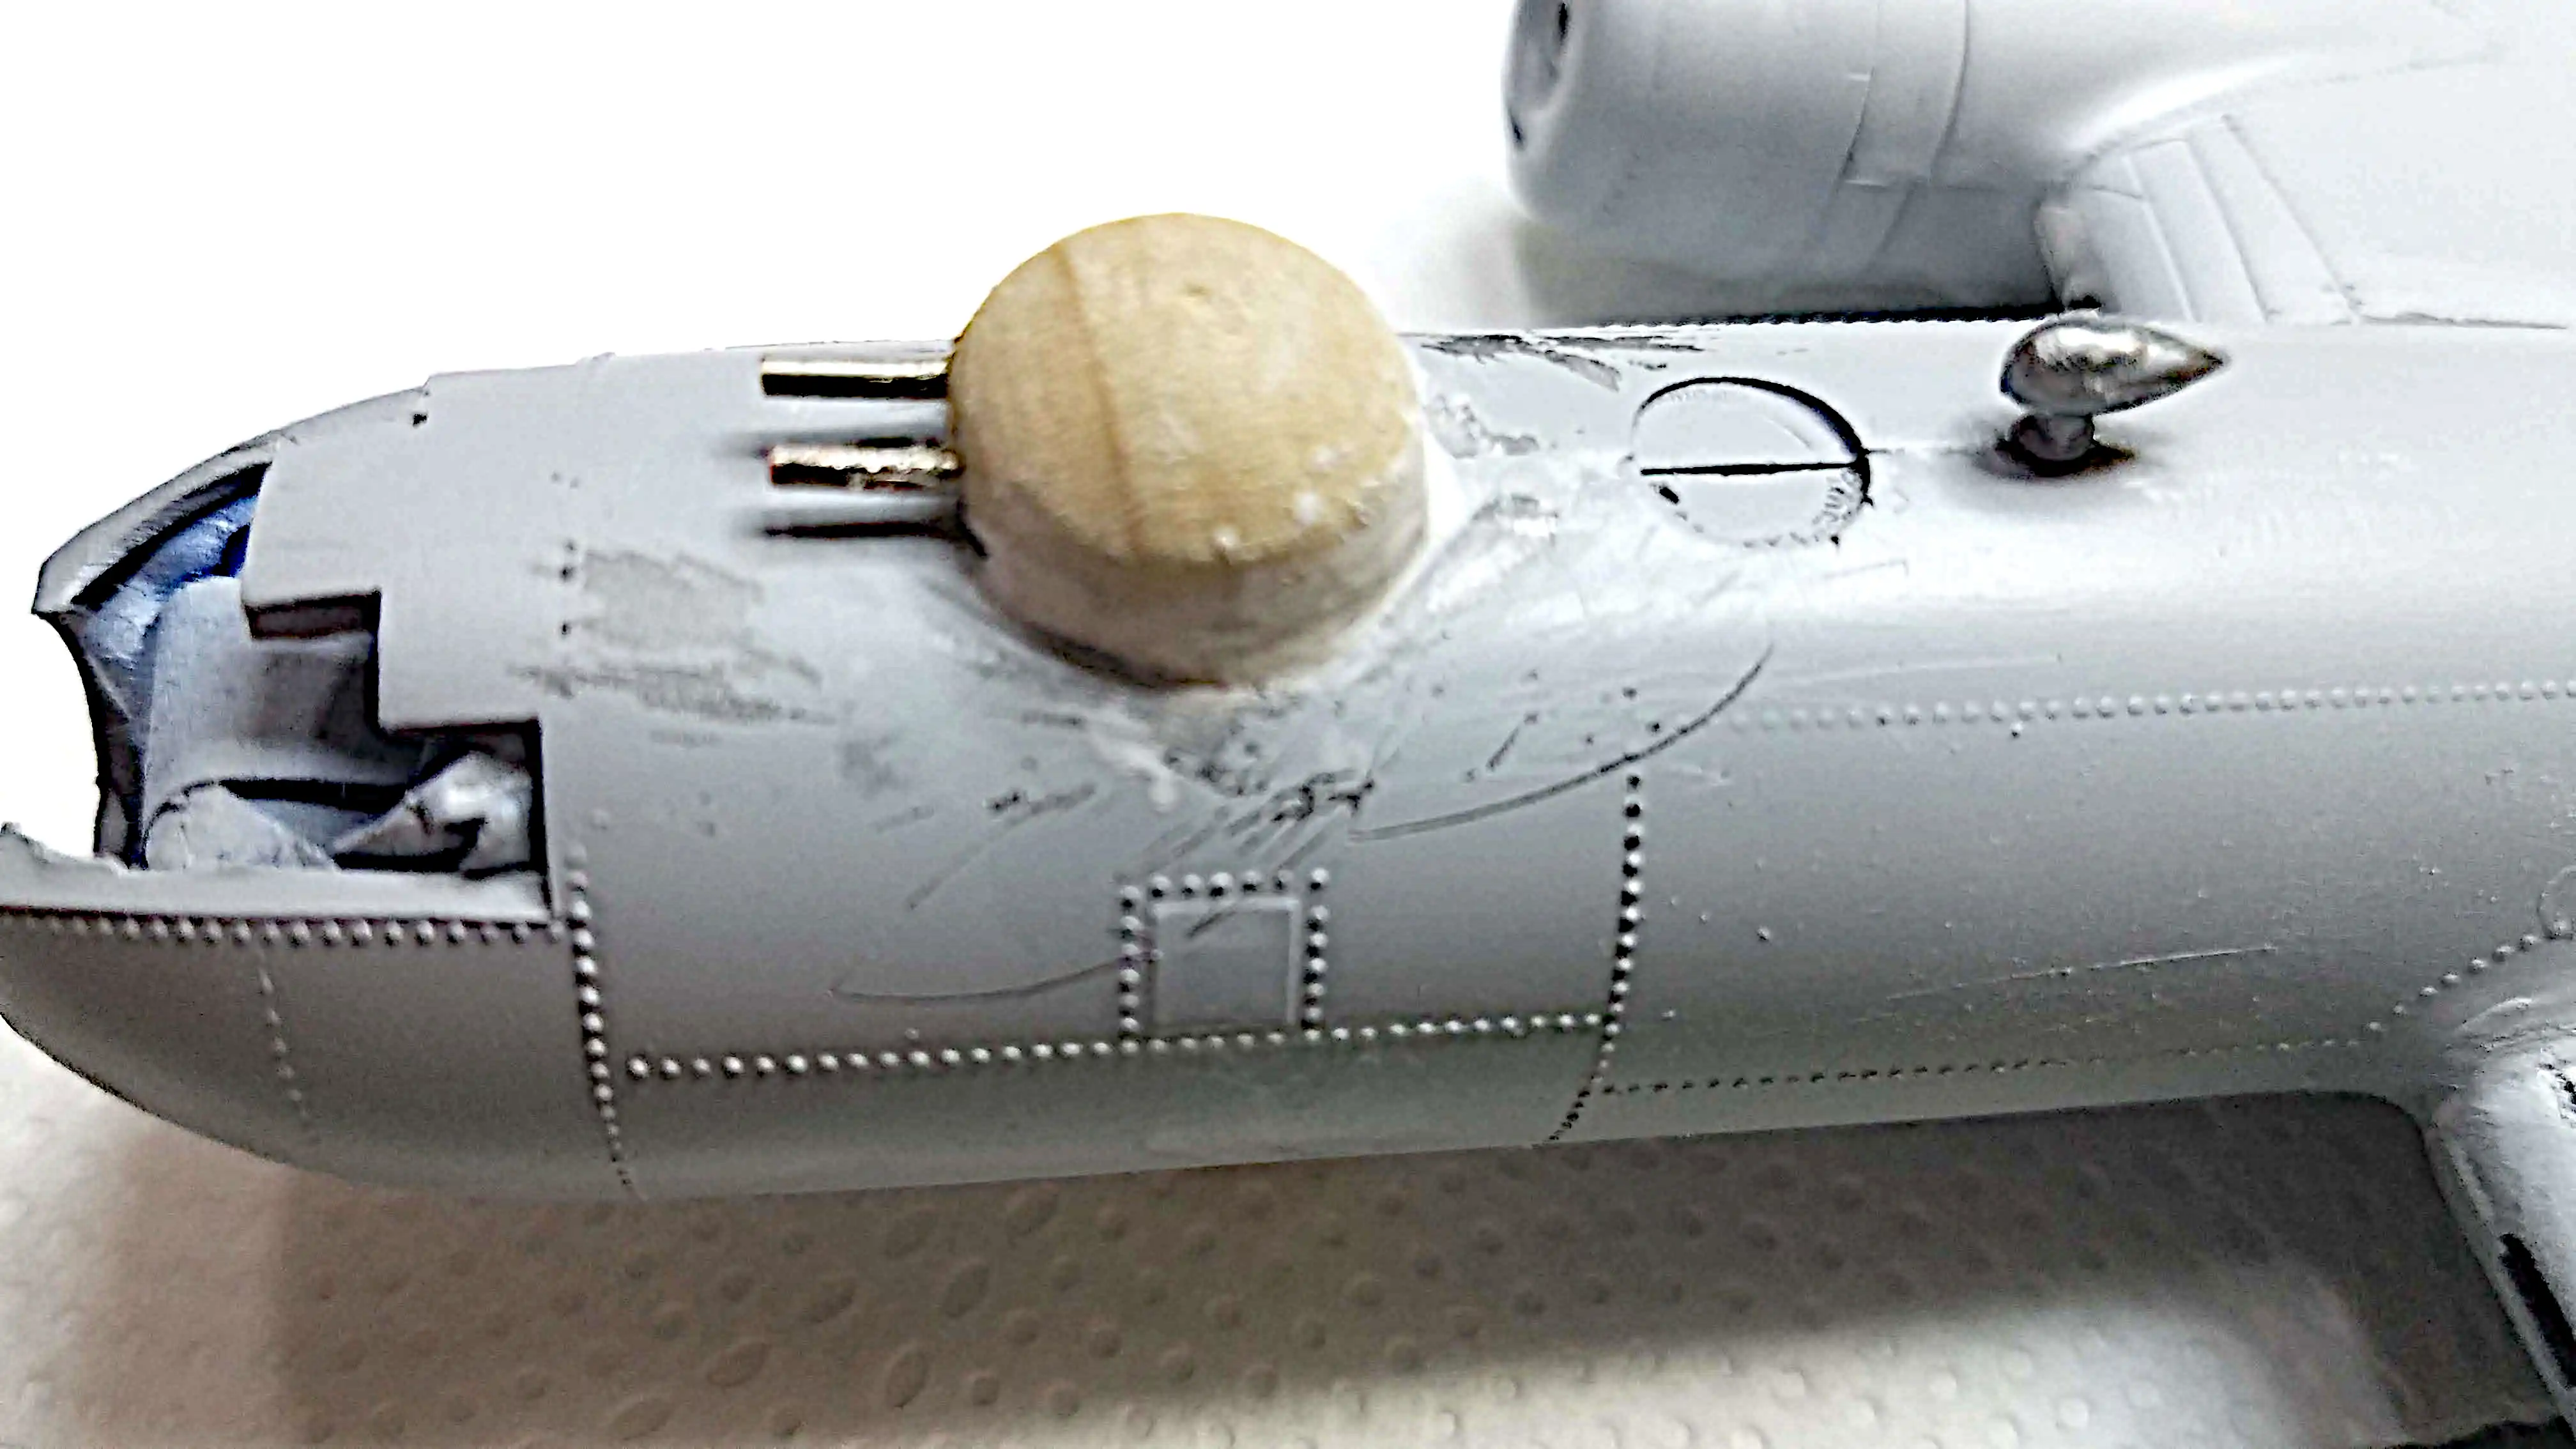
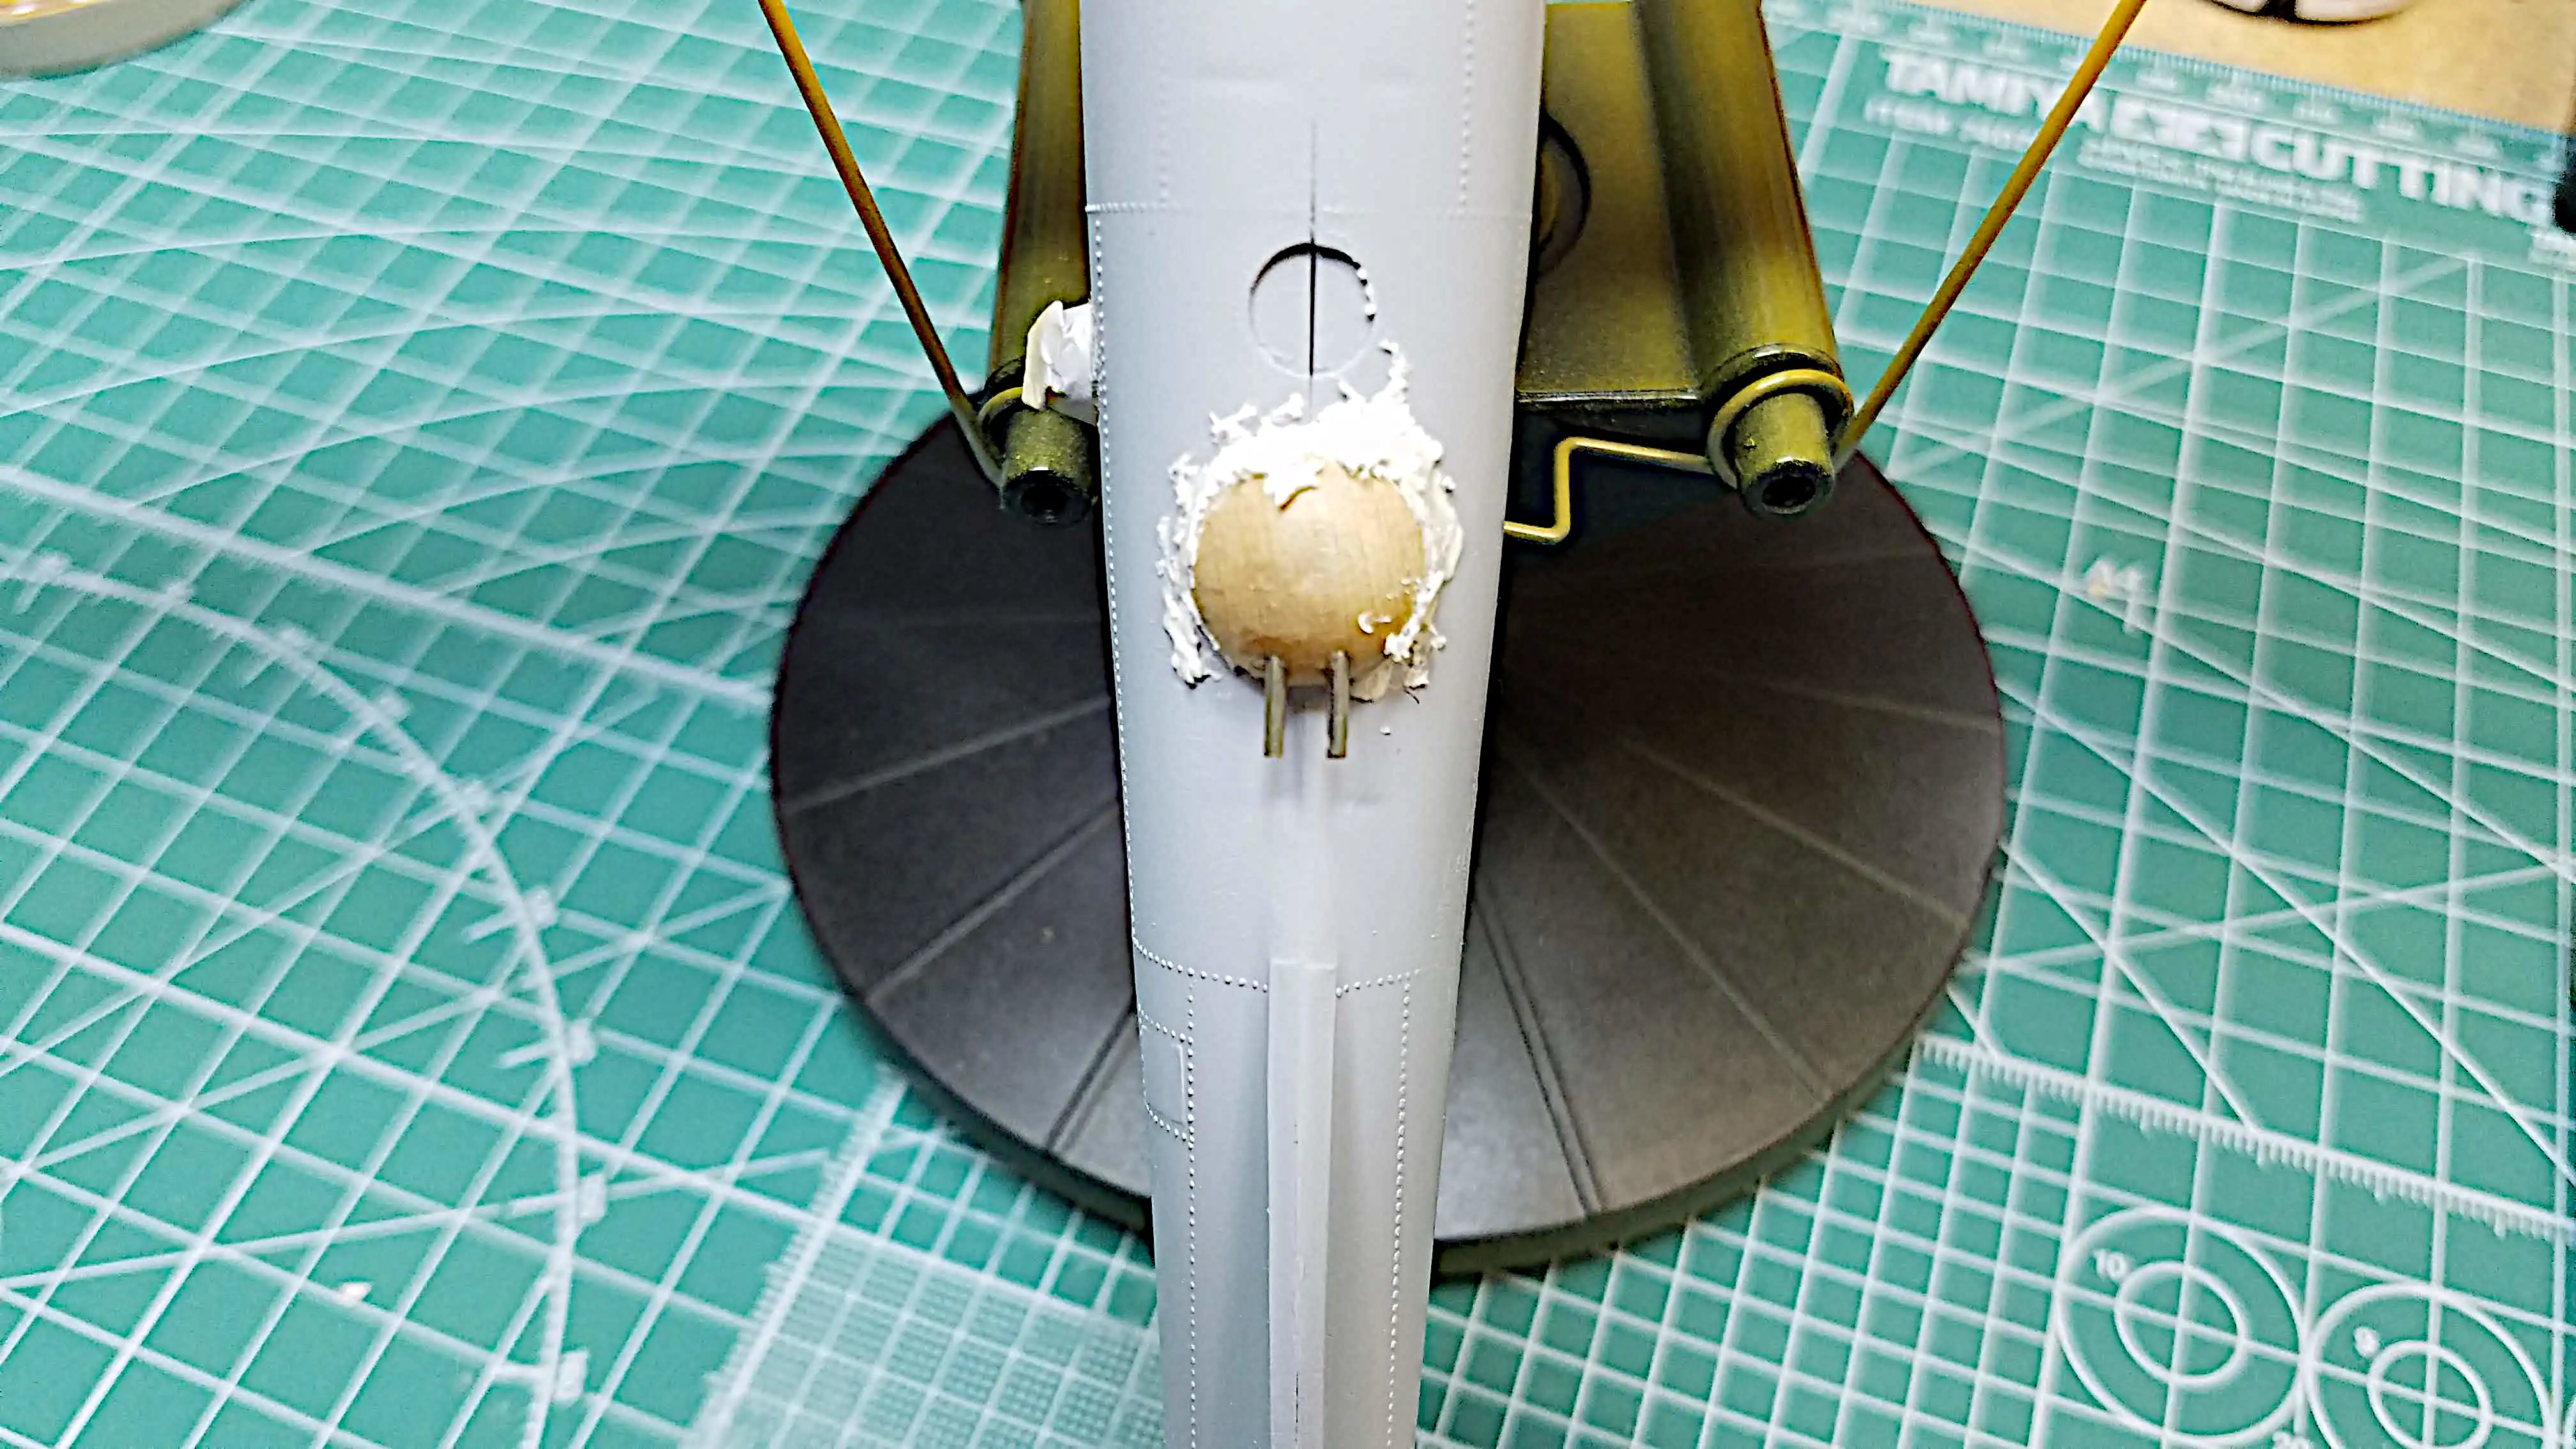 Filling gap between the gun turrets and fuselage
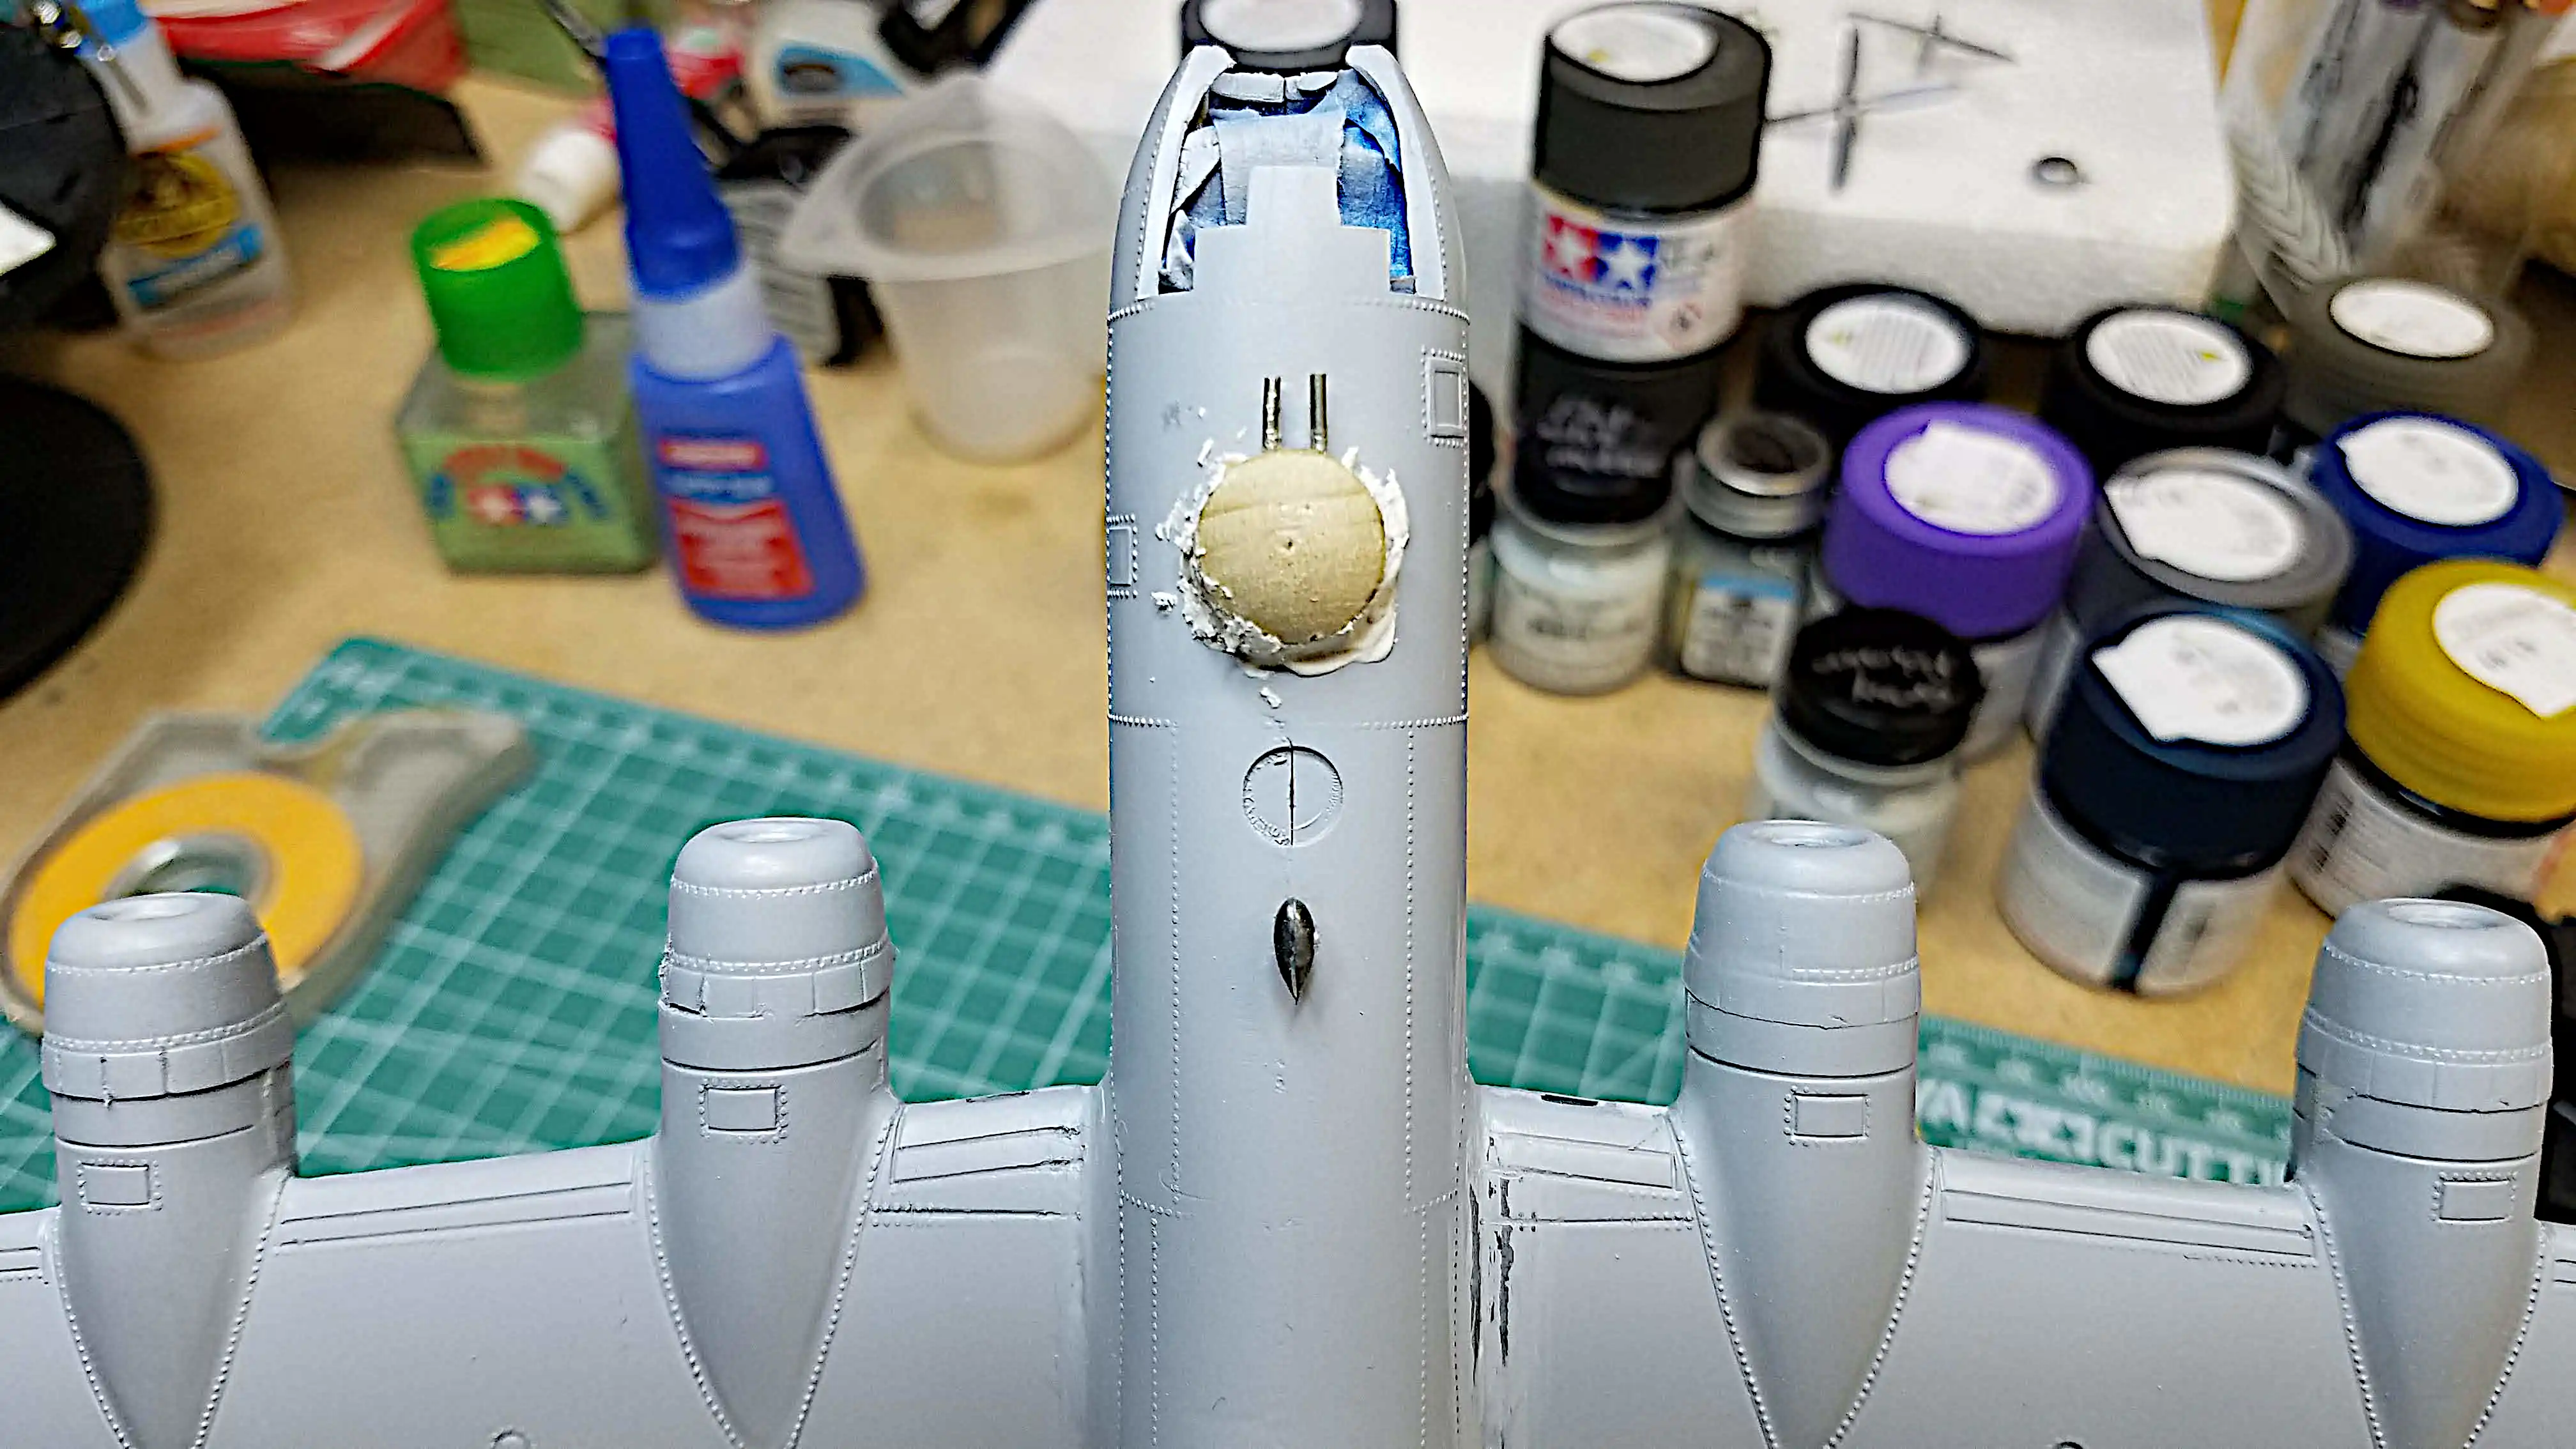 Filling gap between the gun turrets and fuselage
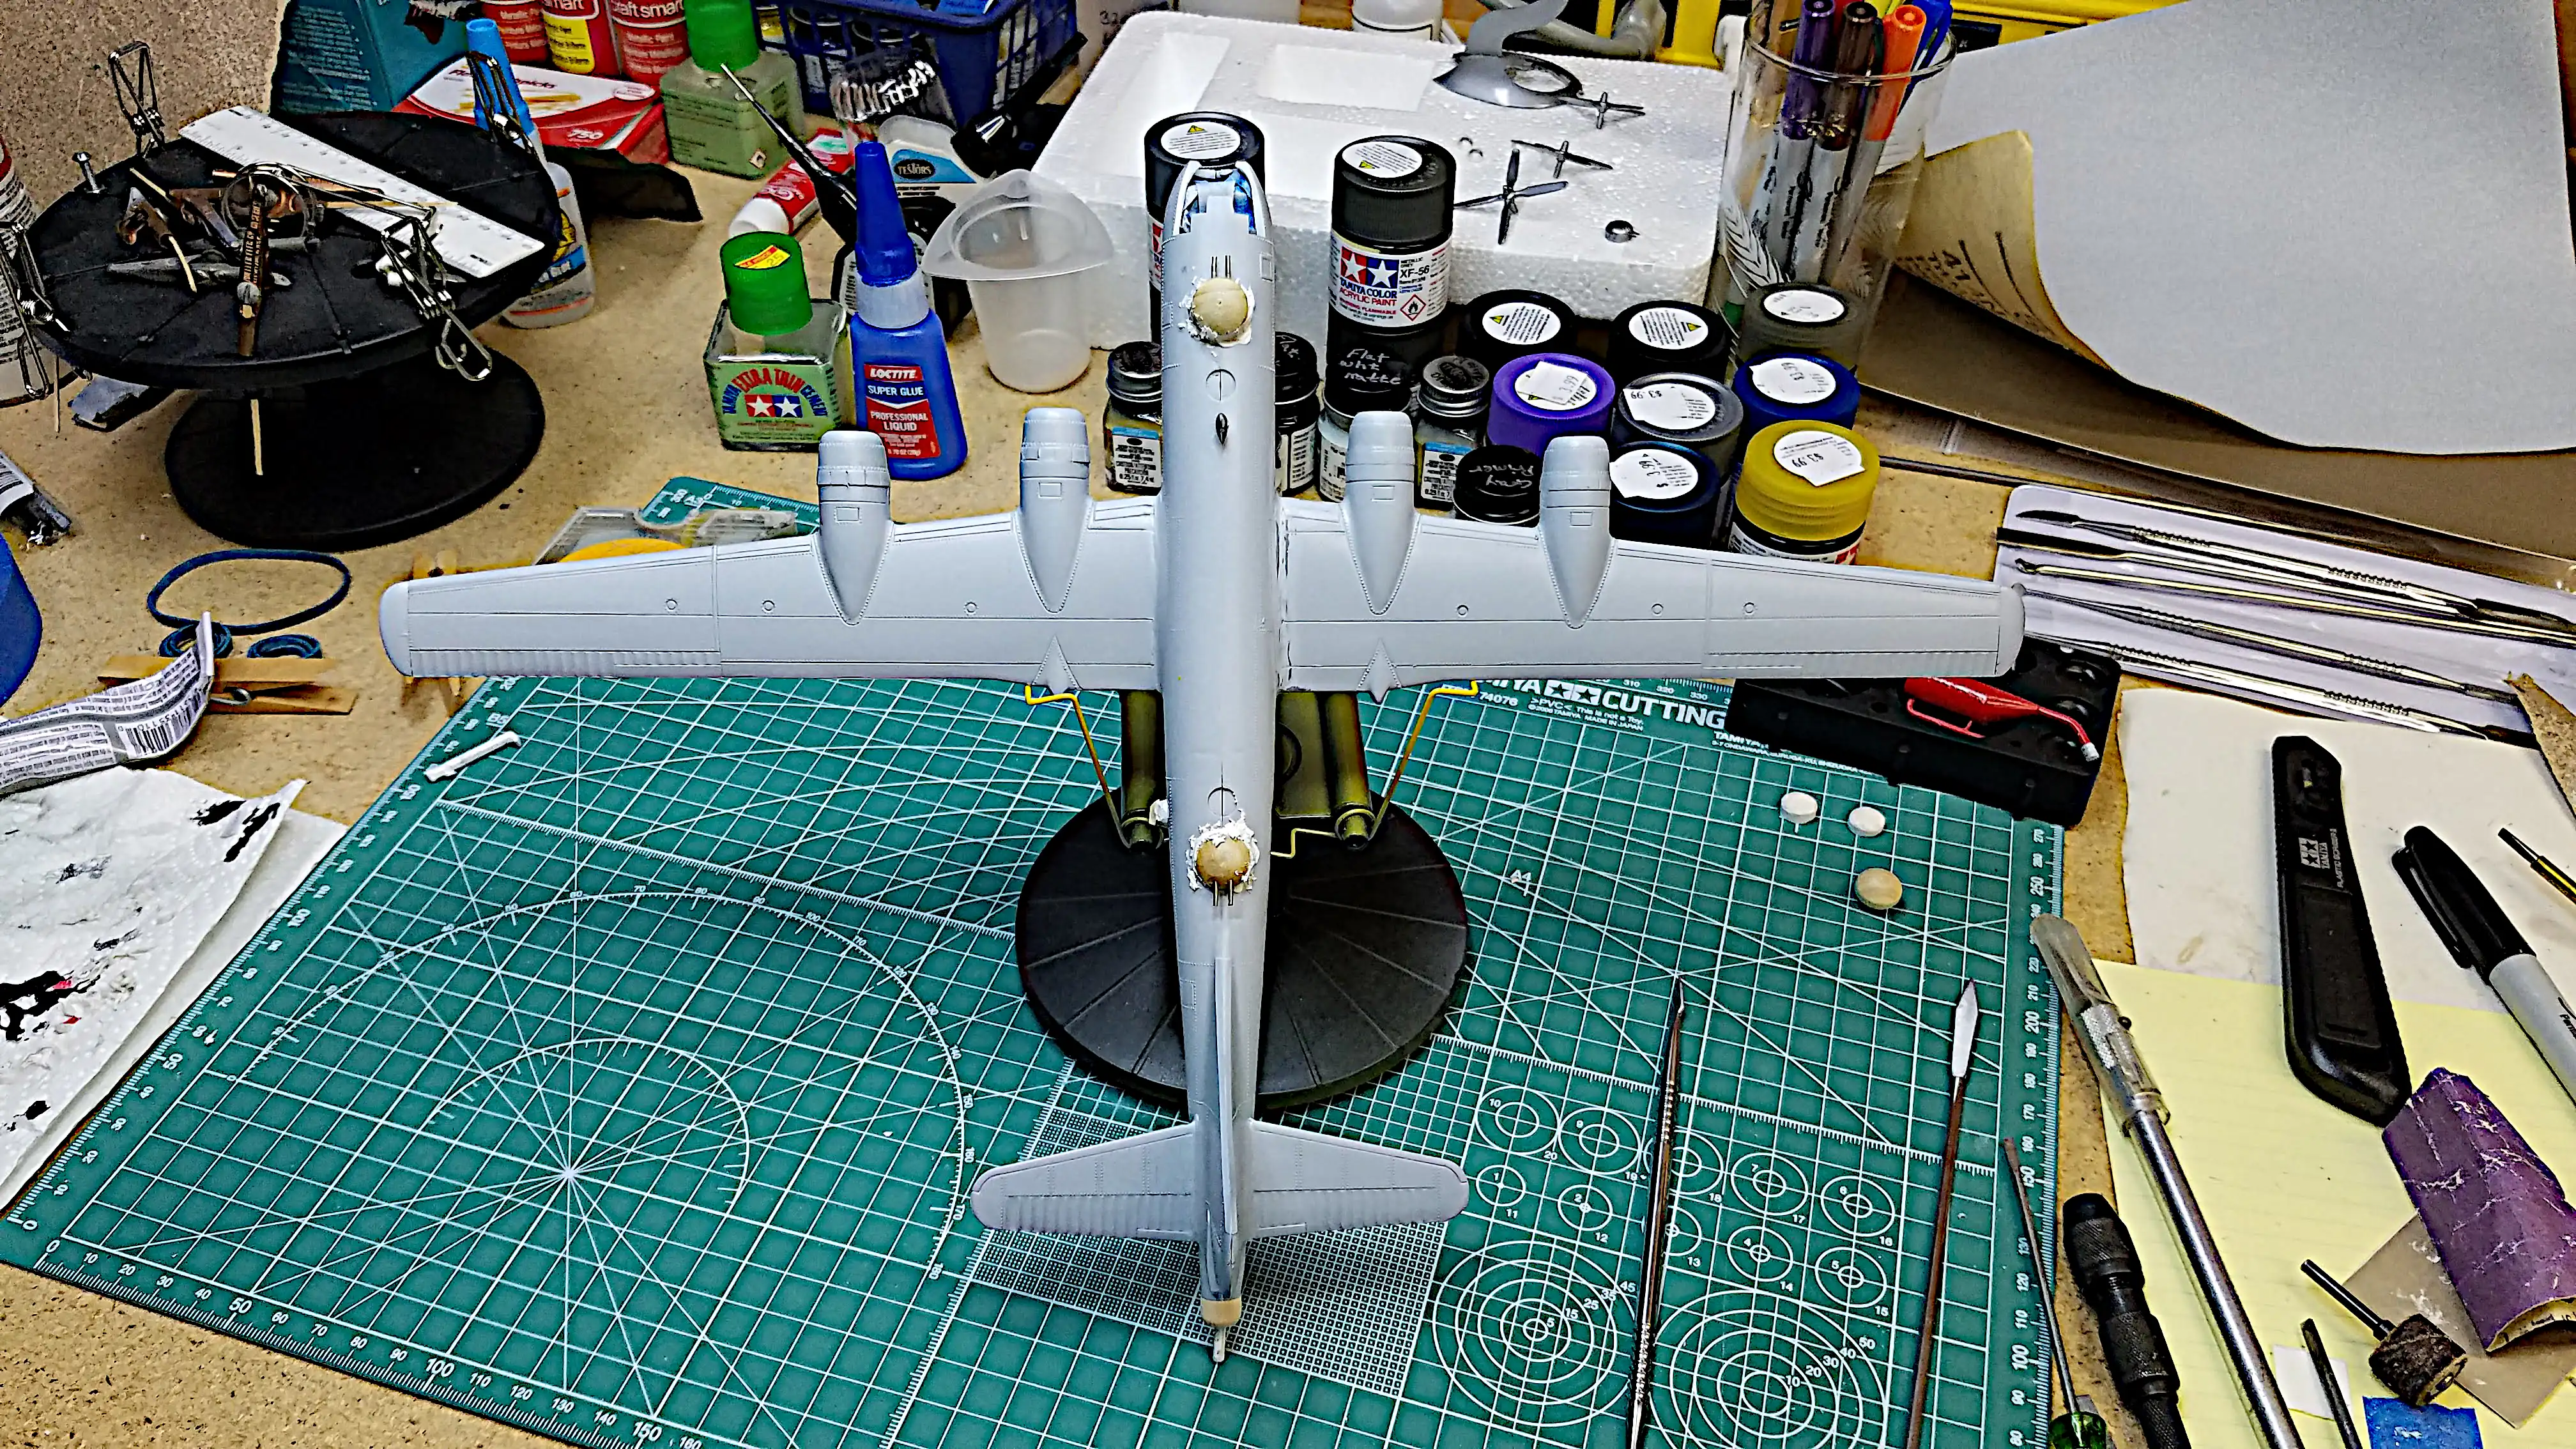 Filling gap between the gun turrets and fuselage
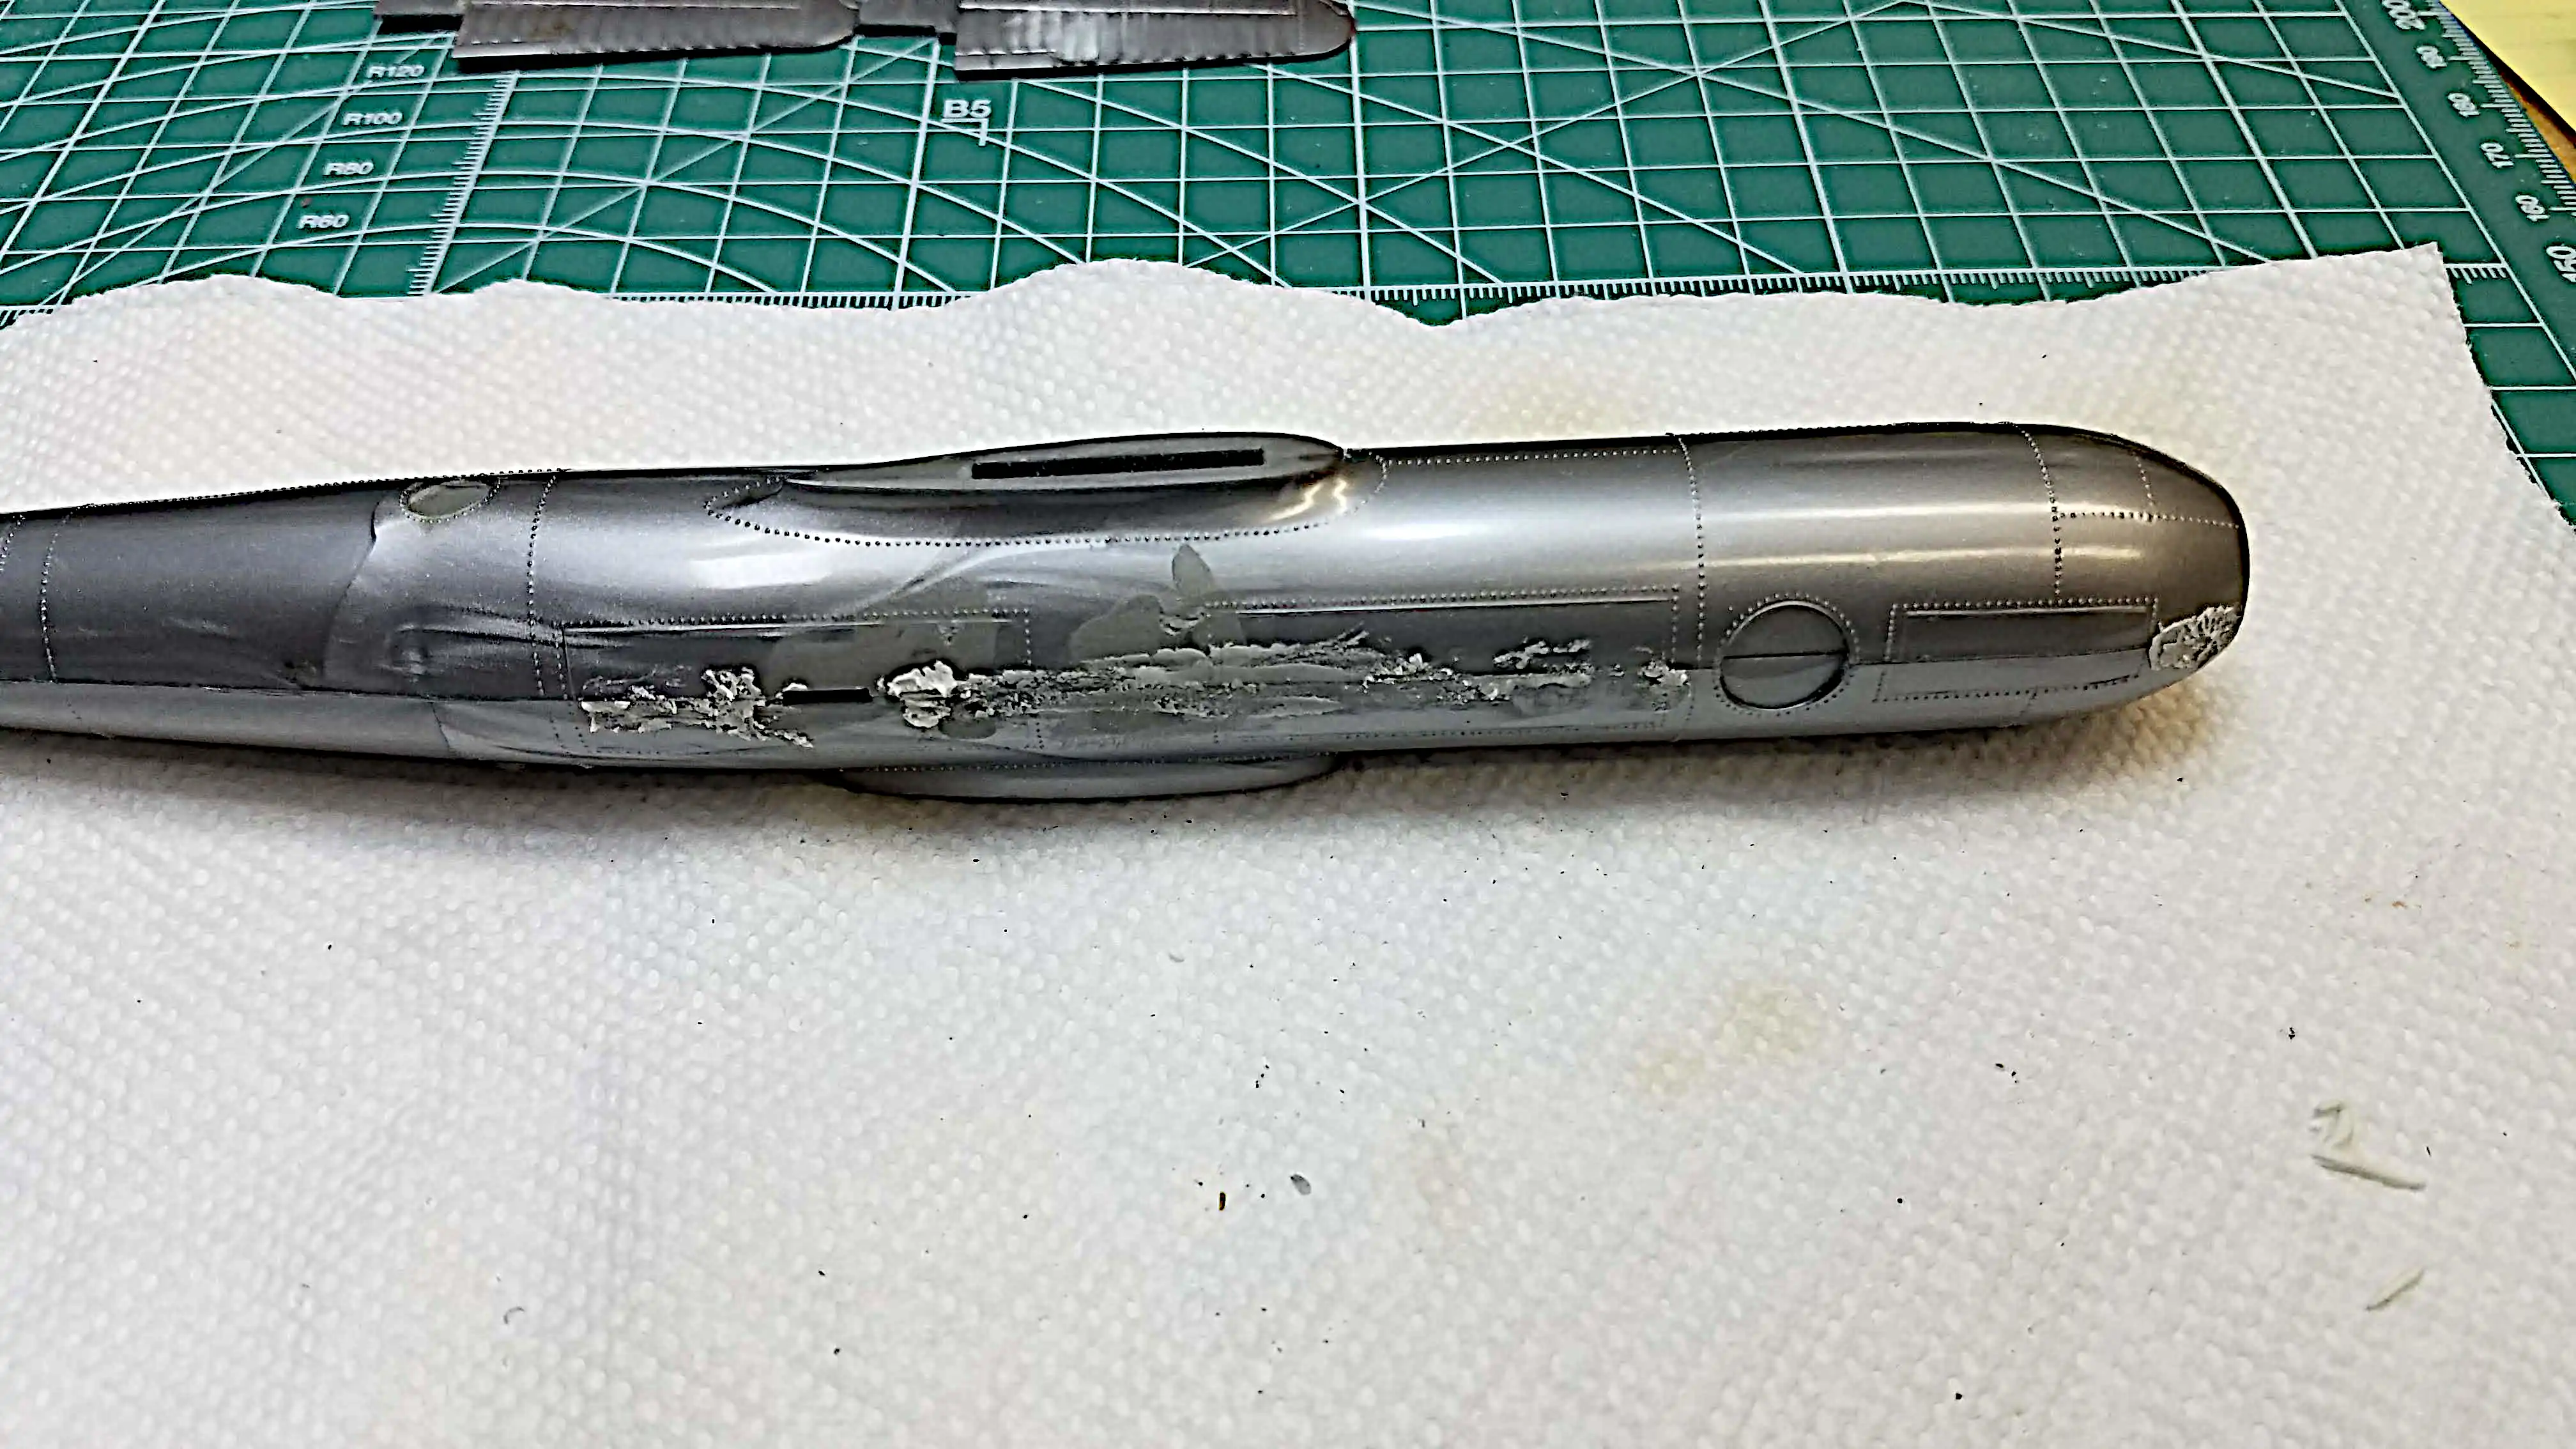
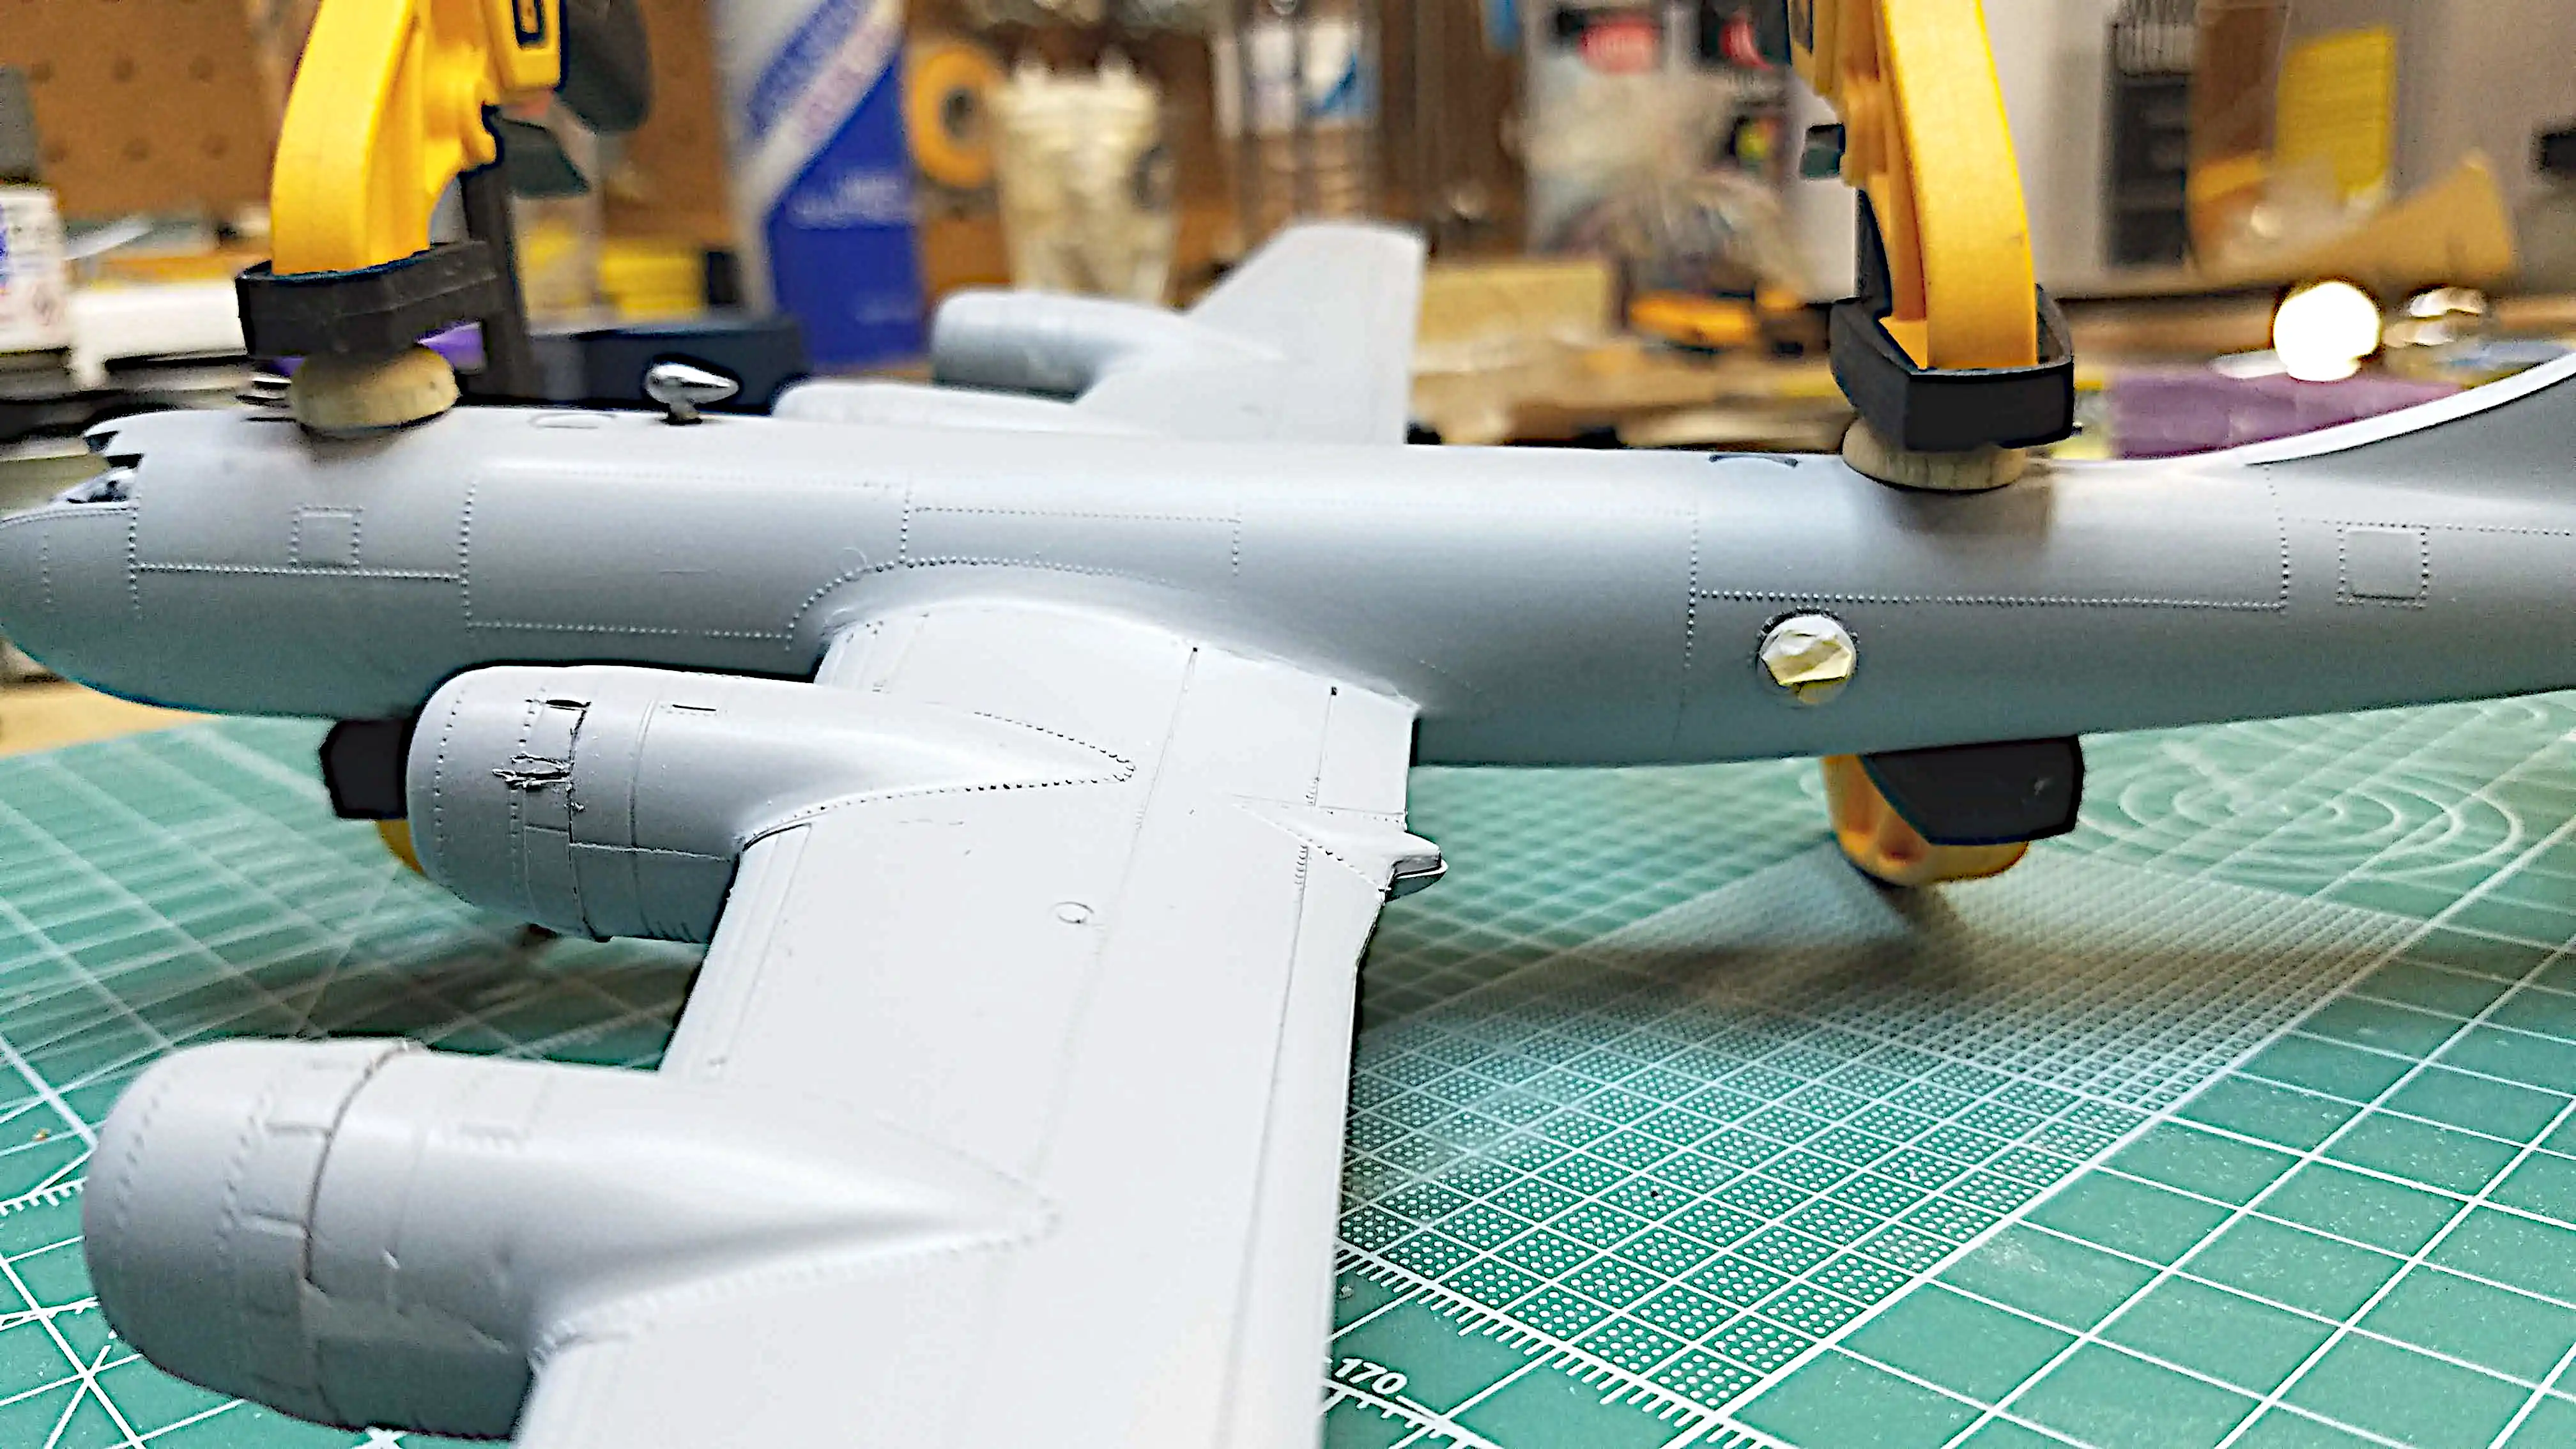
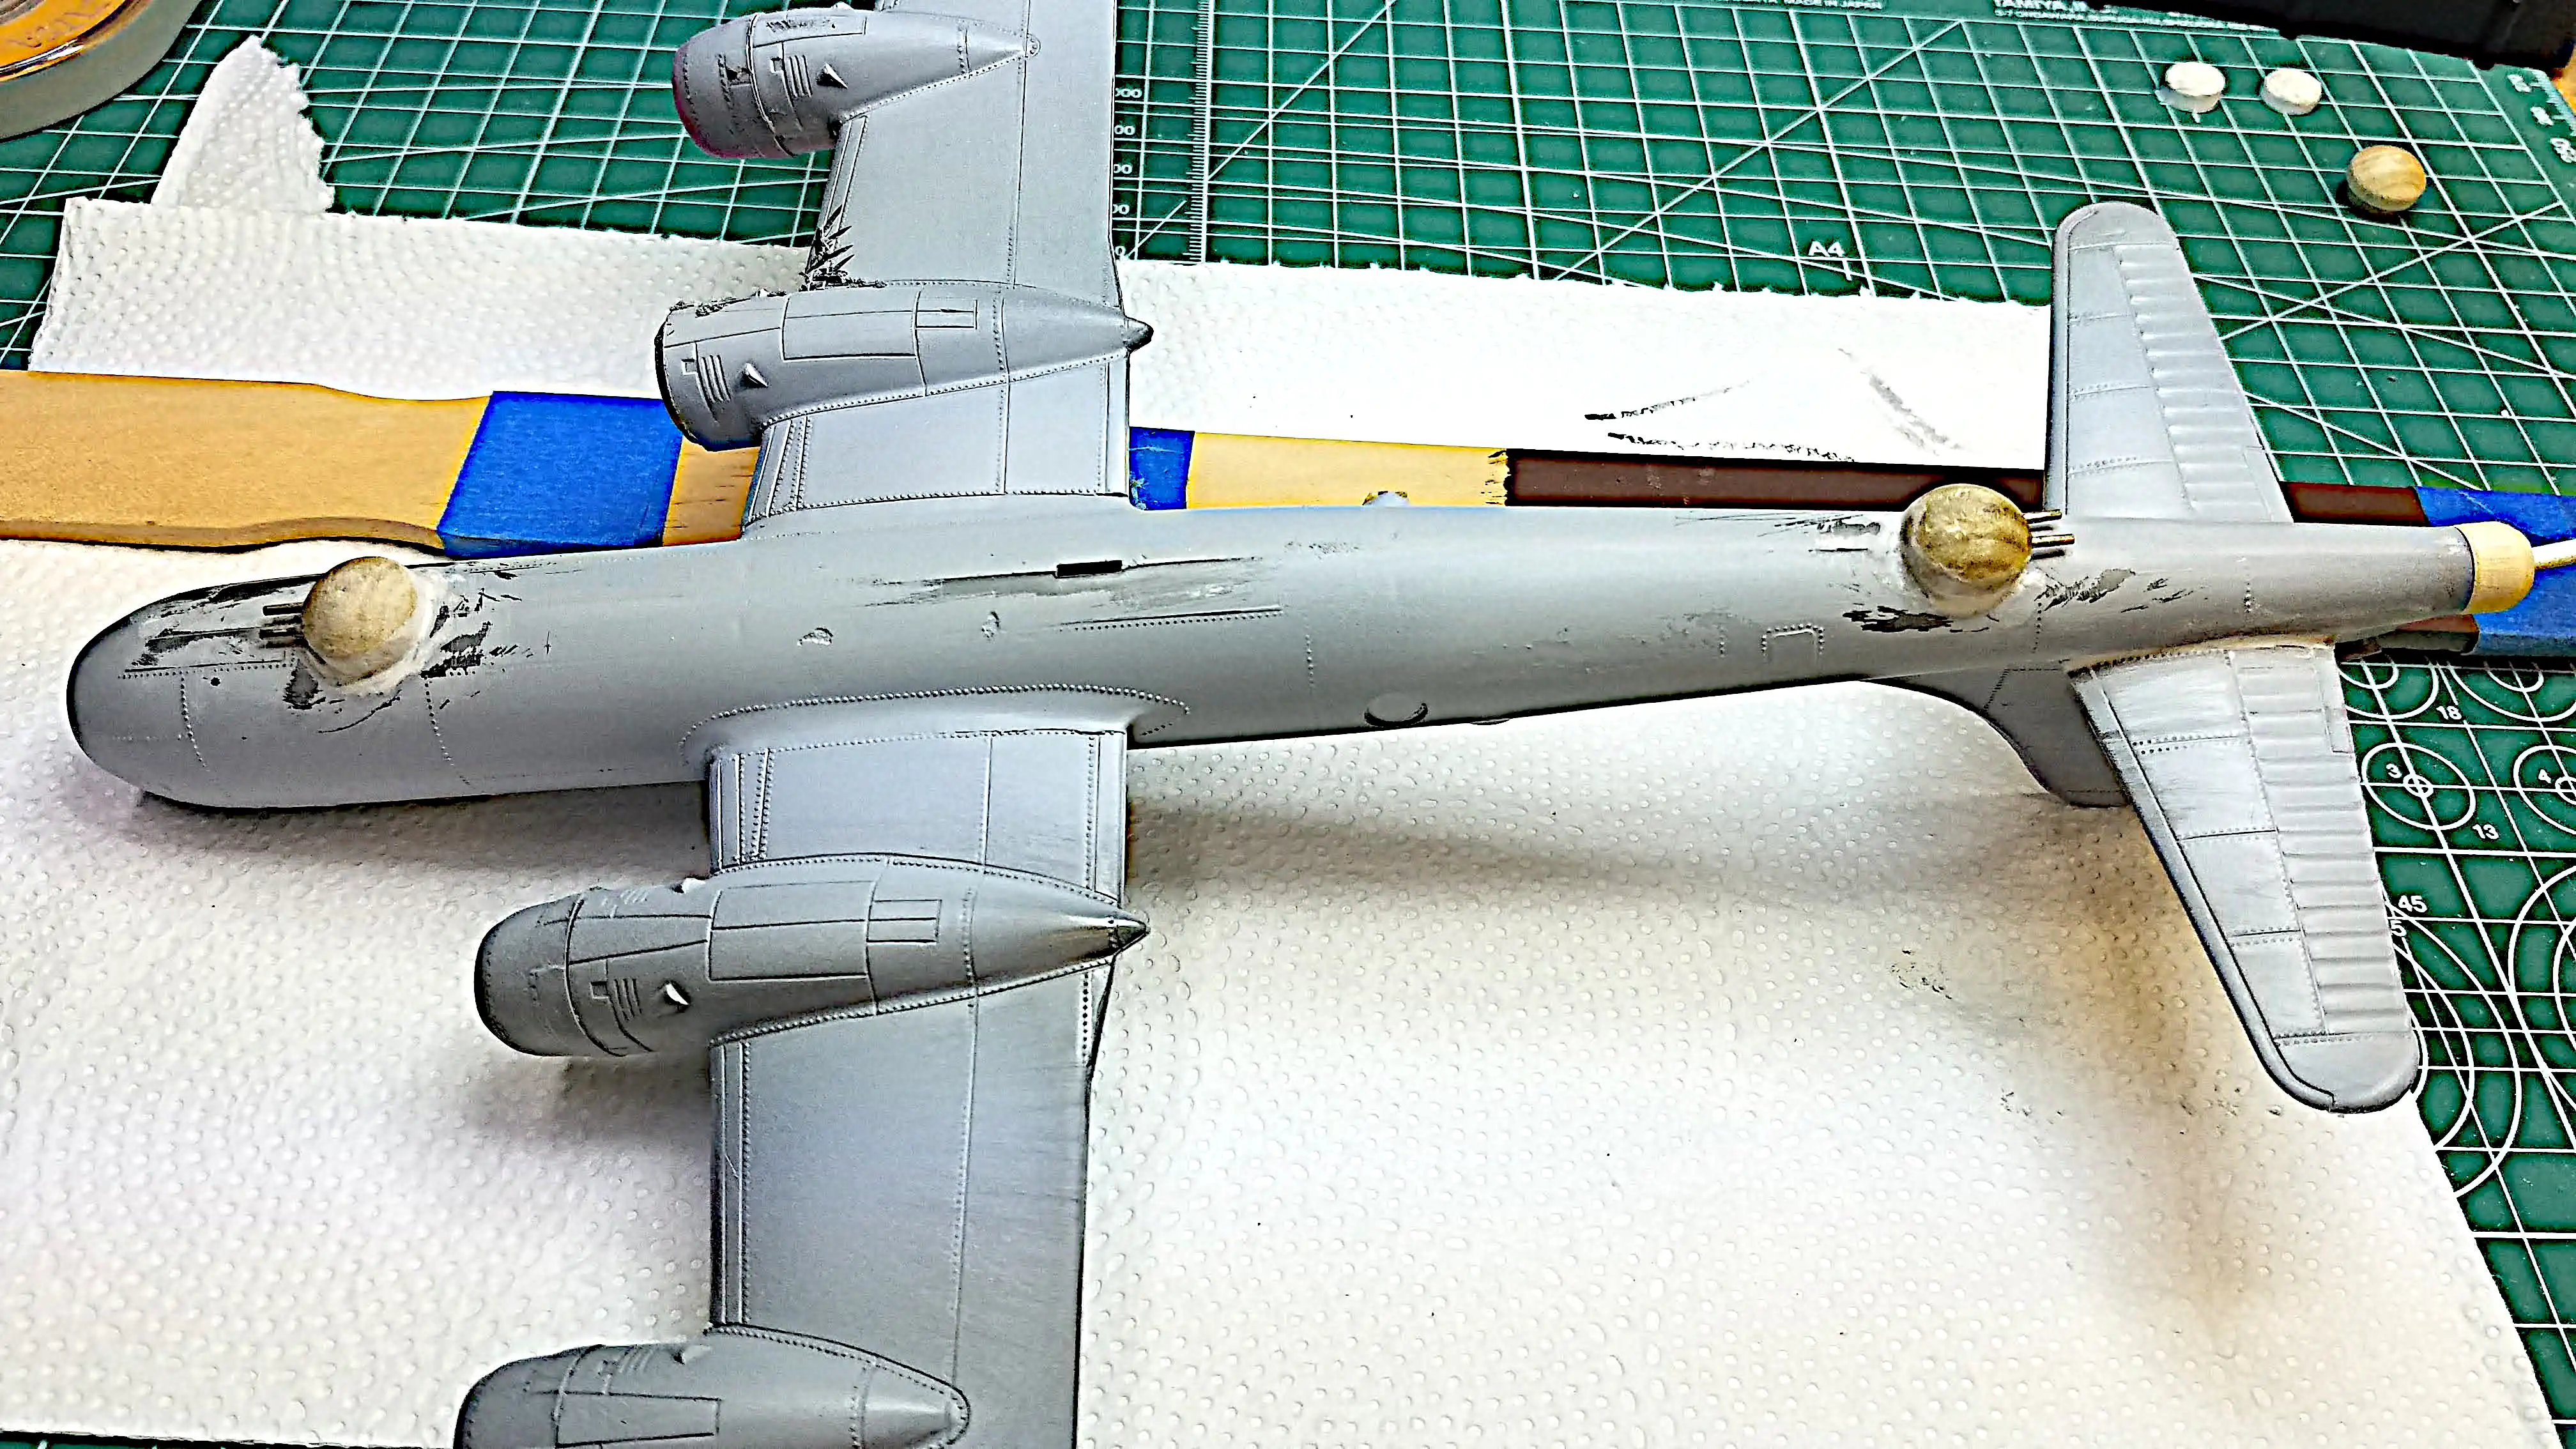
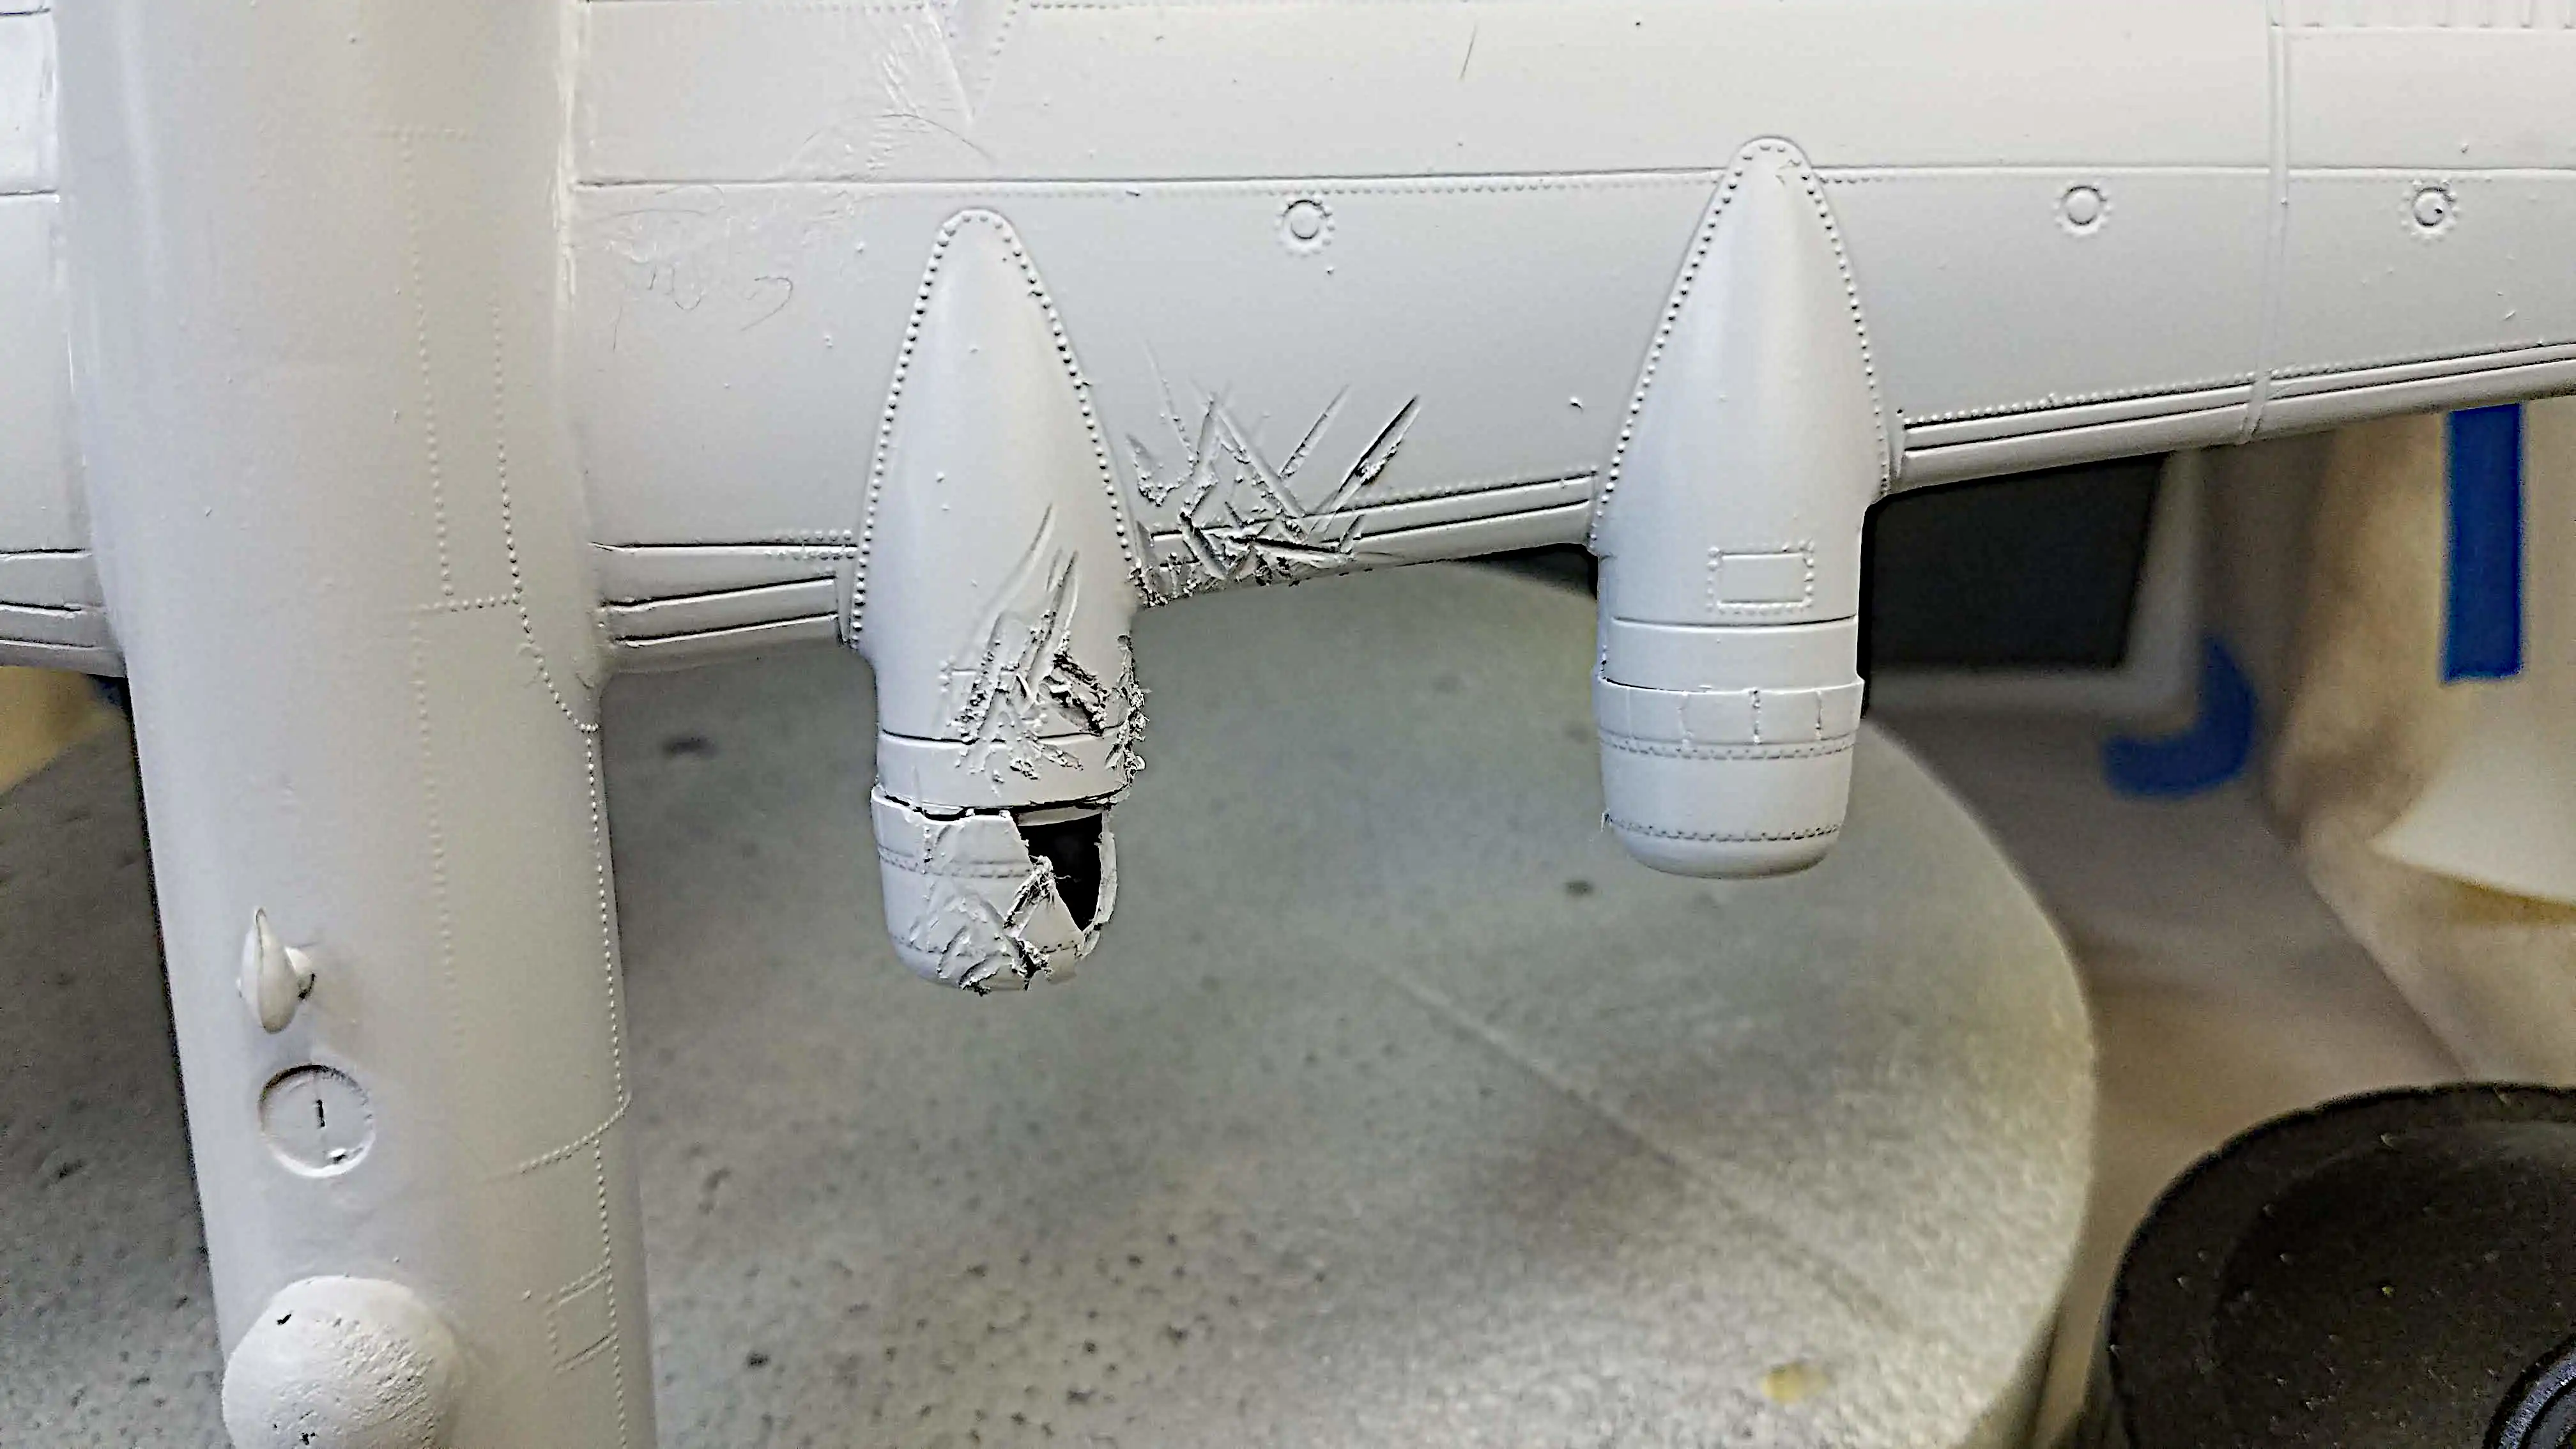
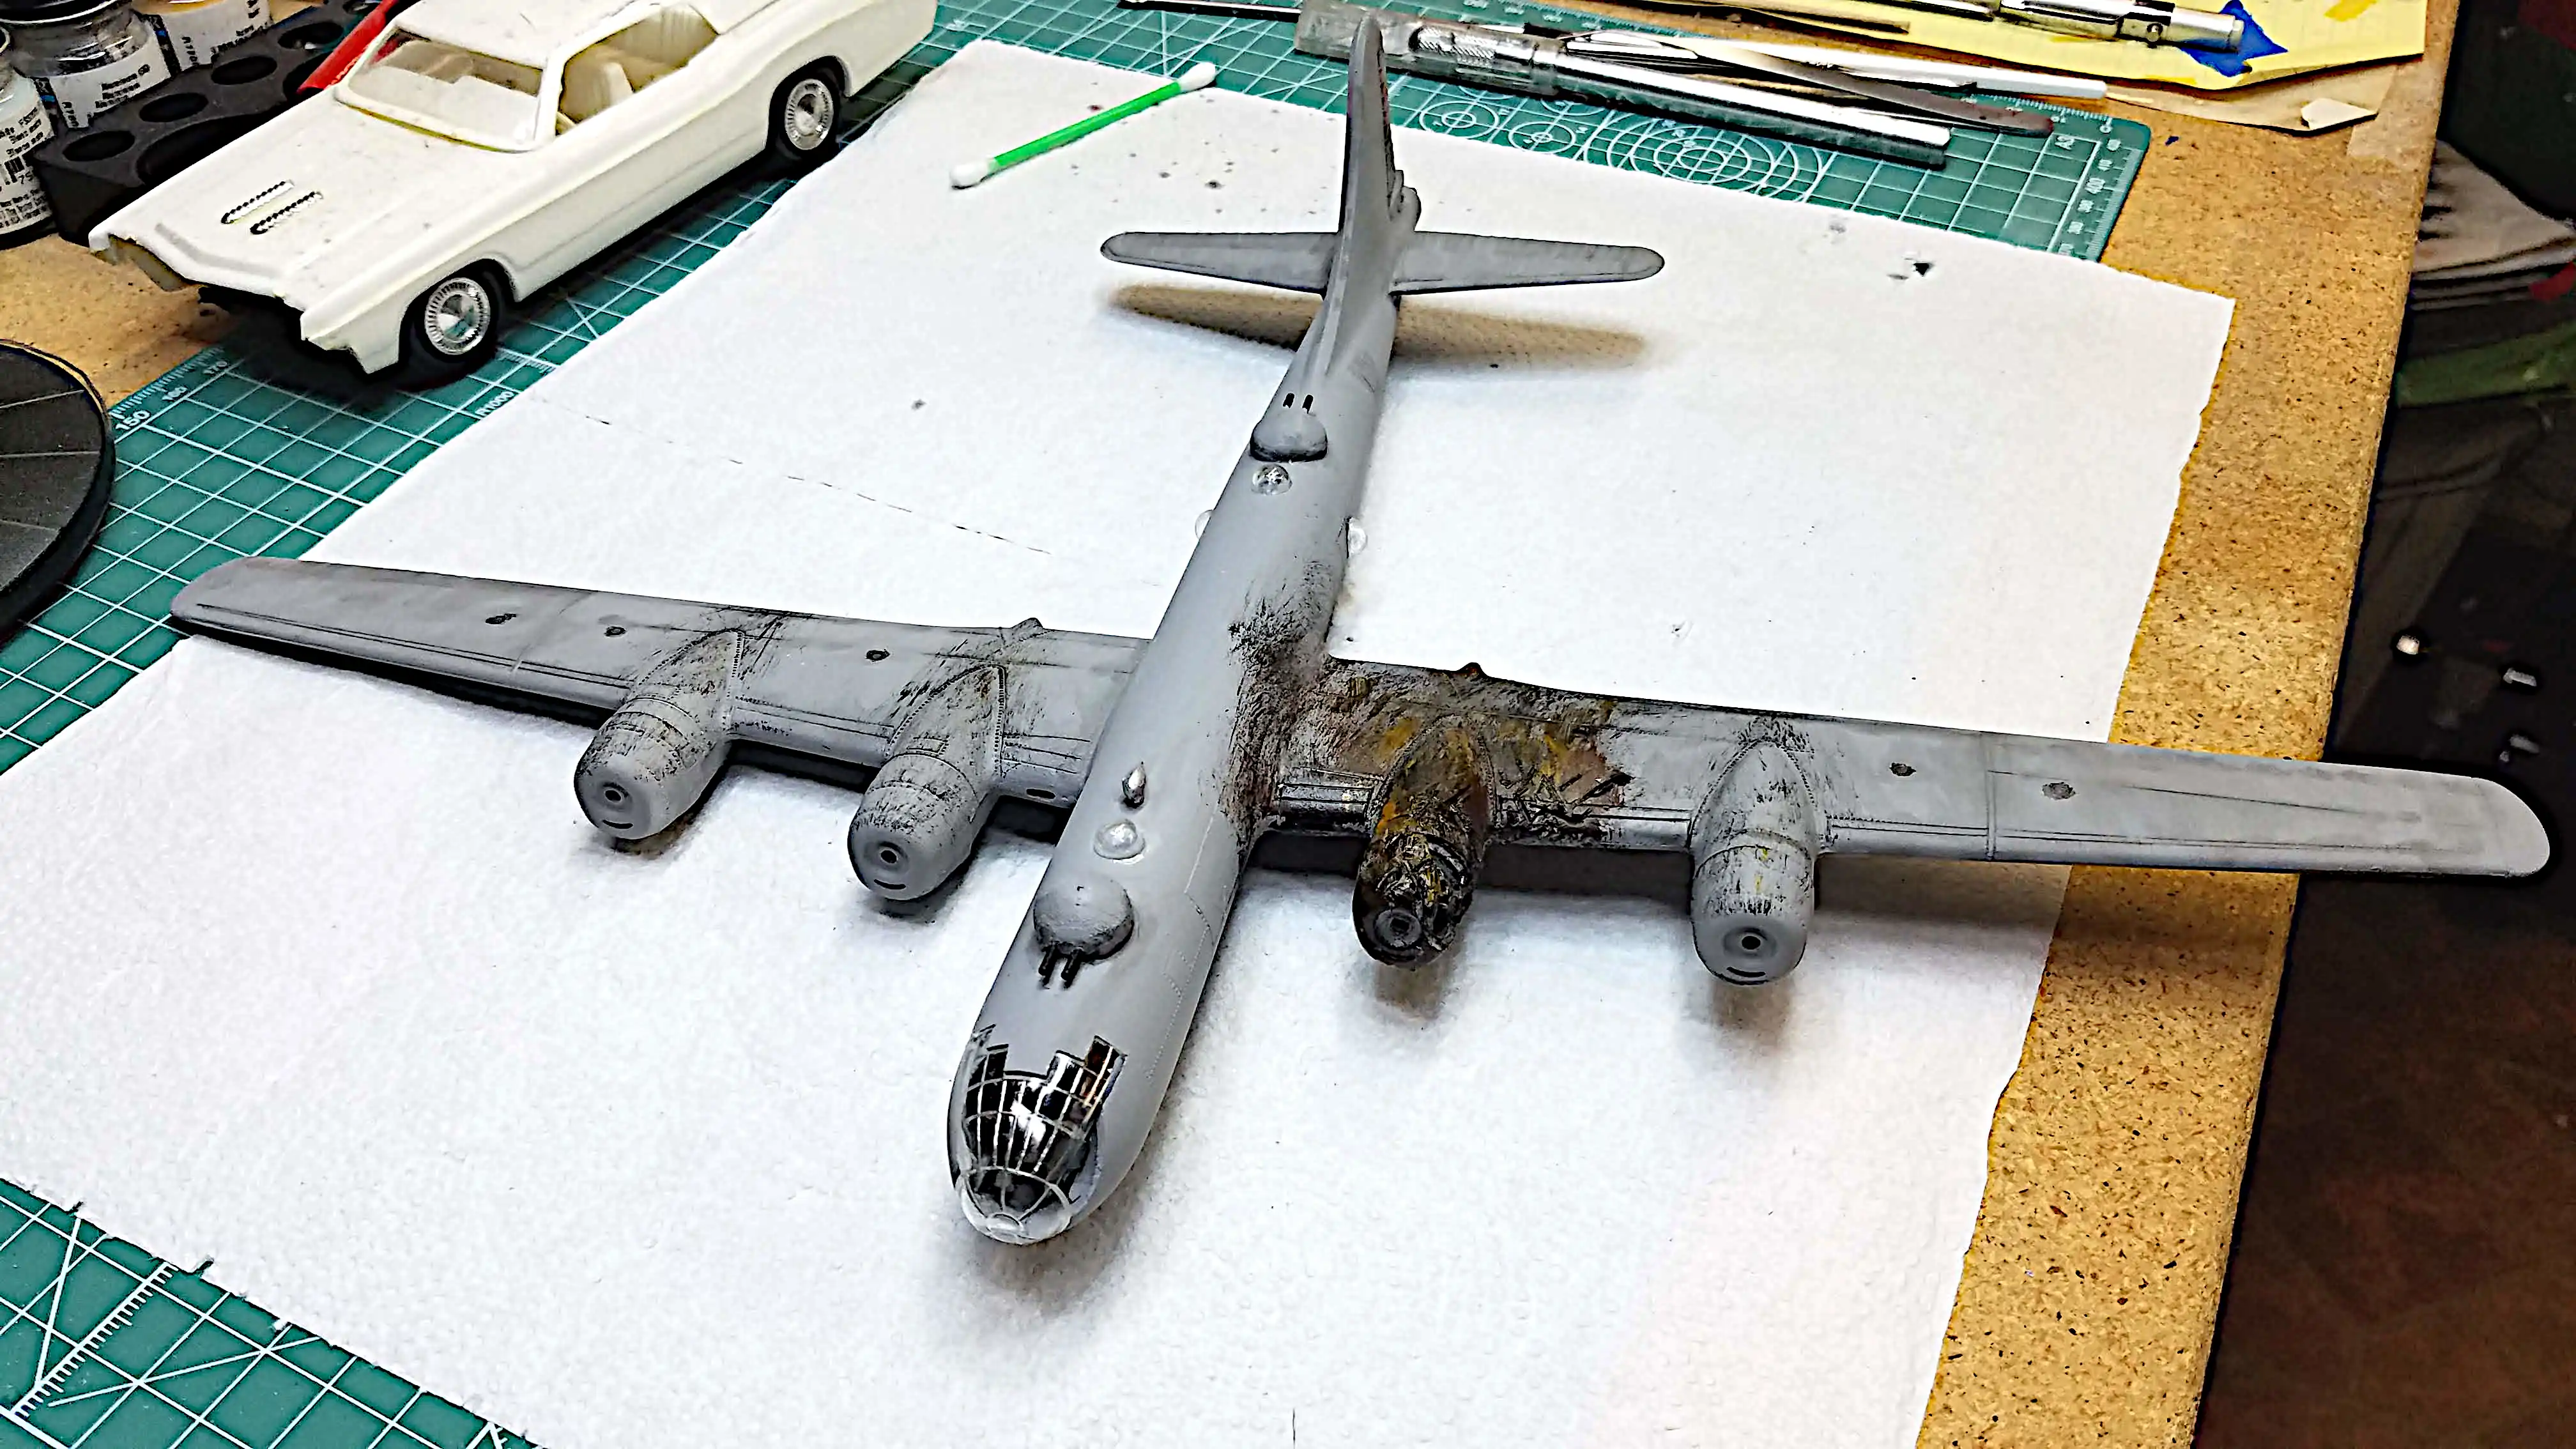
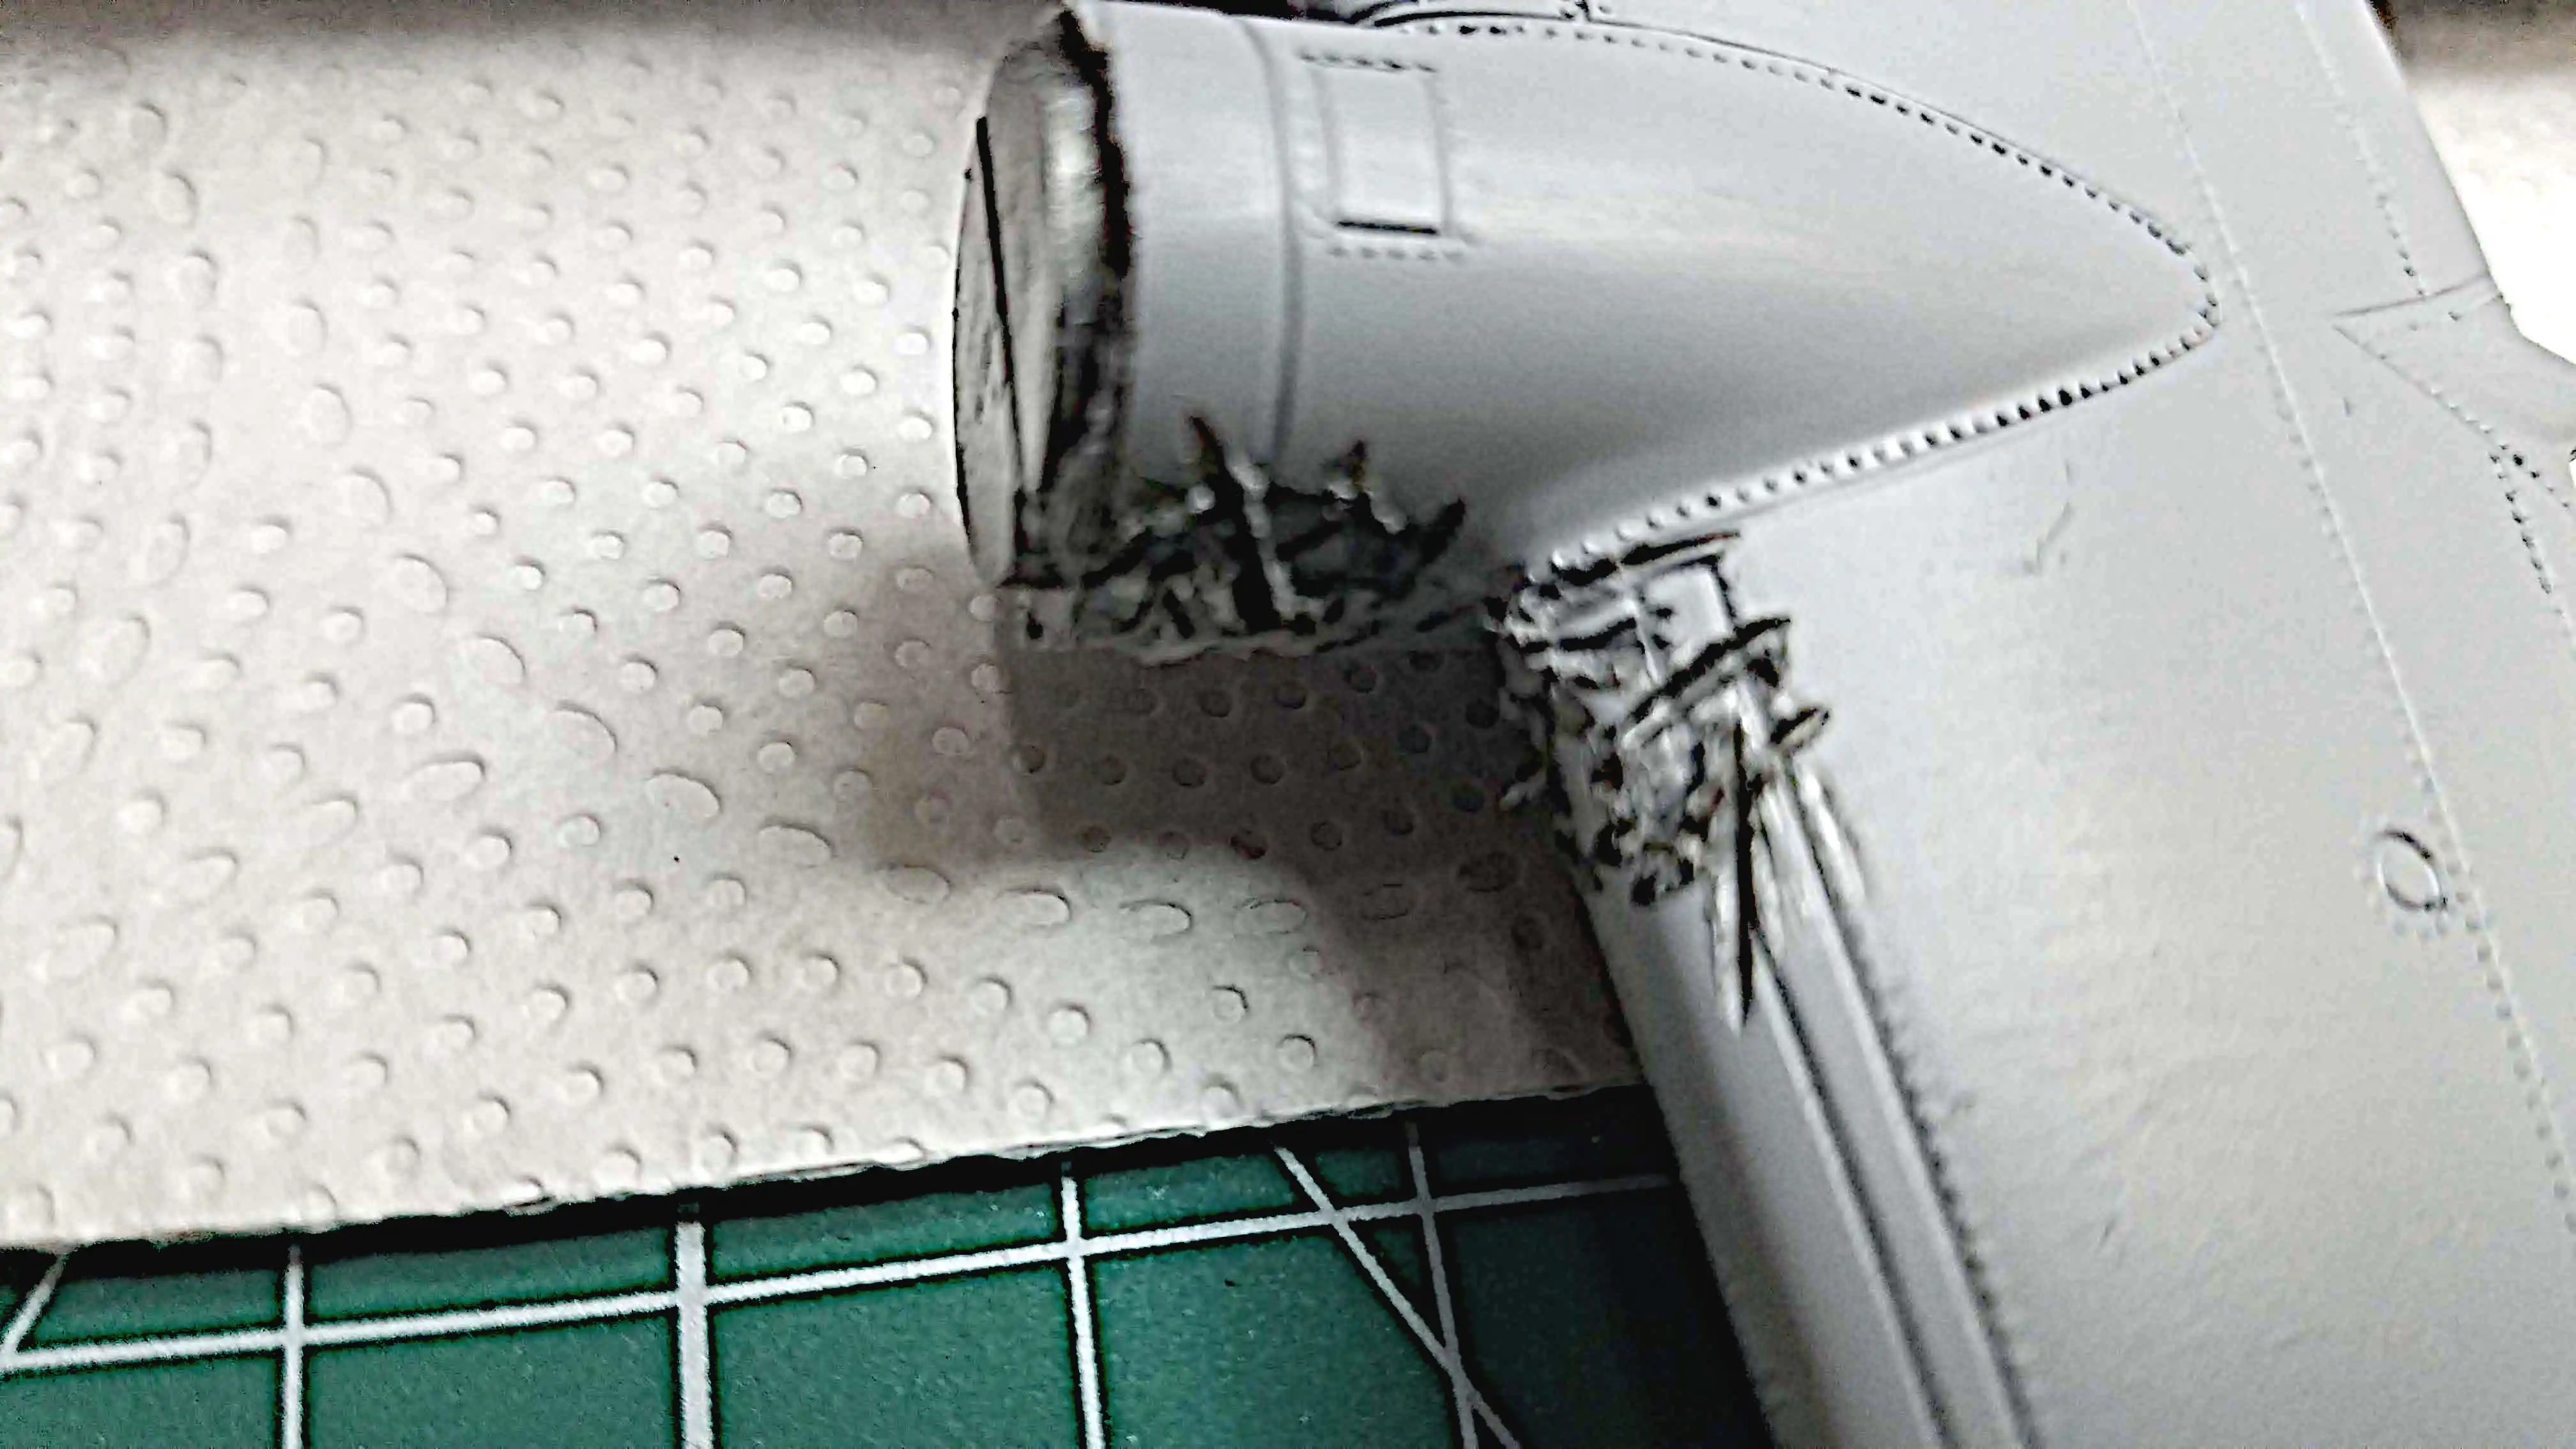 Making an engine look like it was hit
 Creating more engine damage
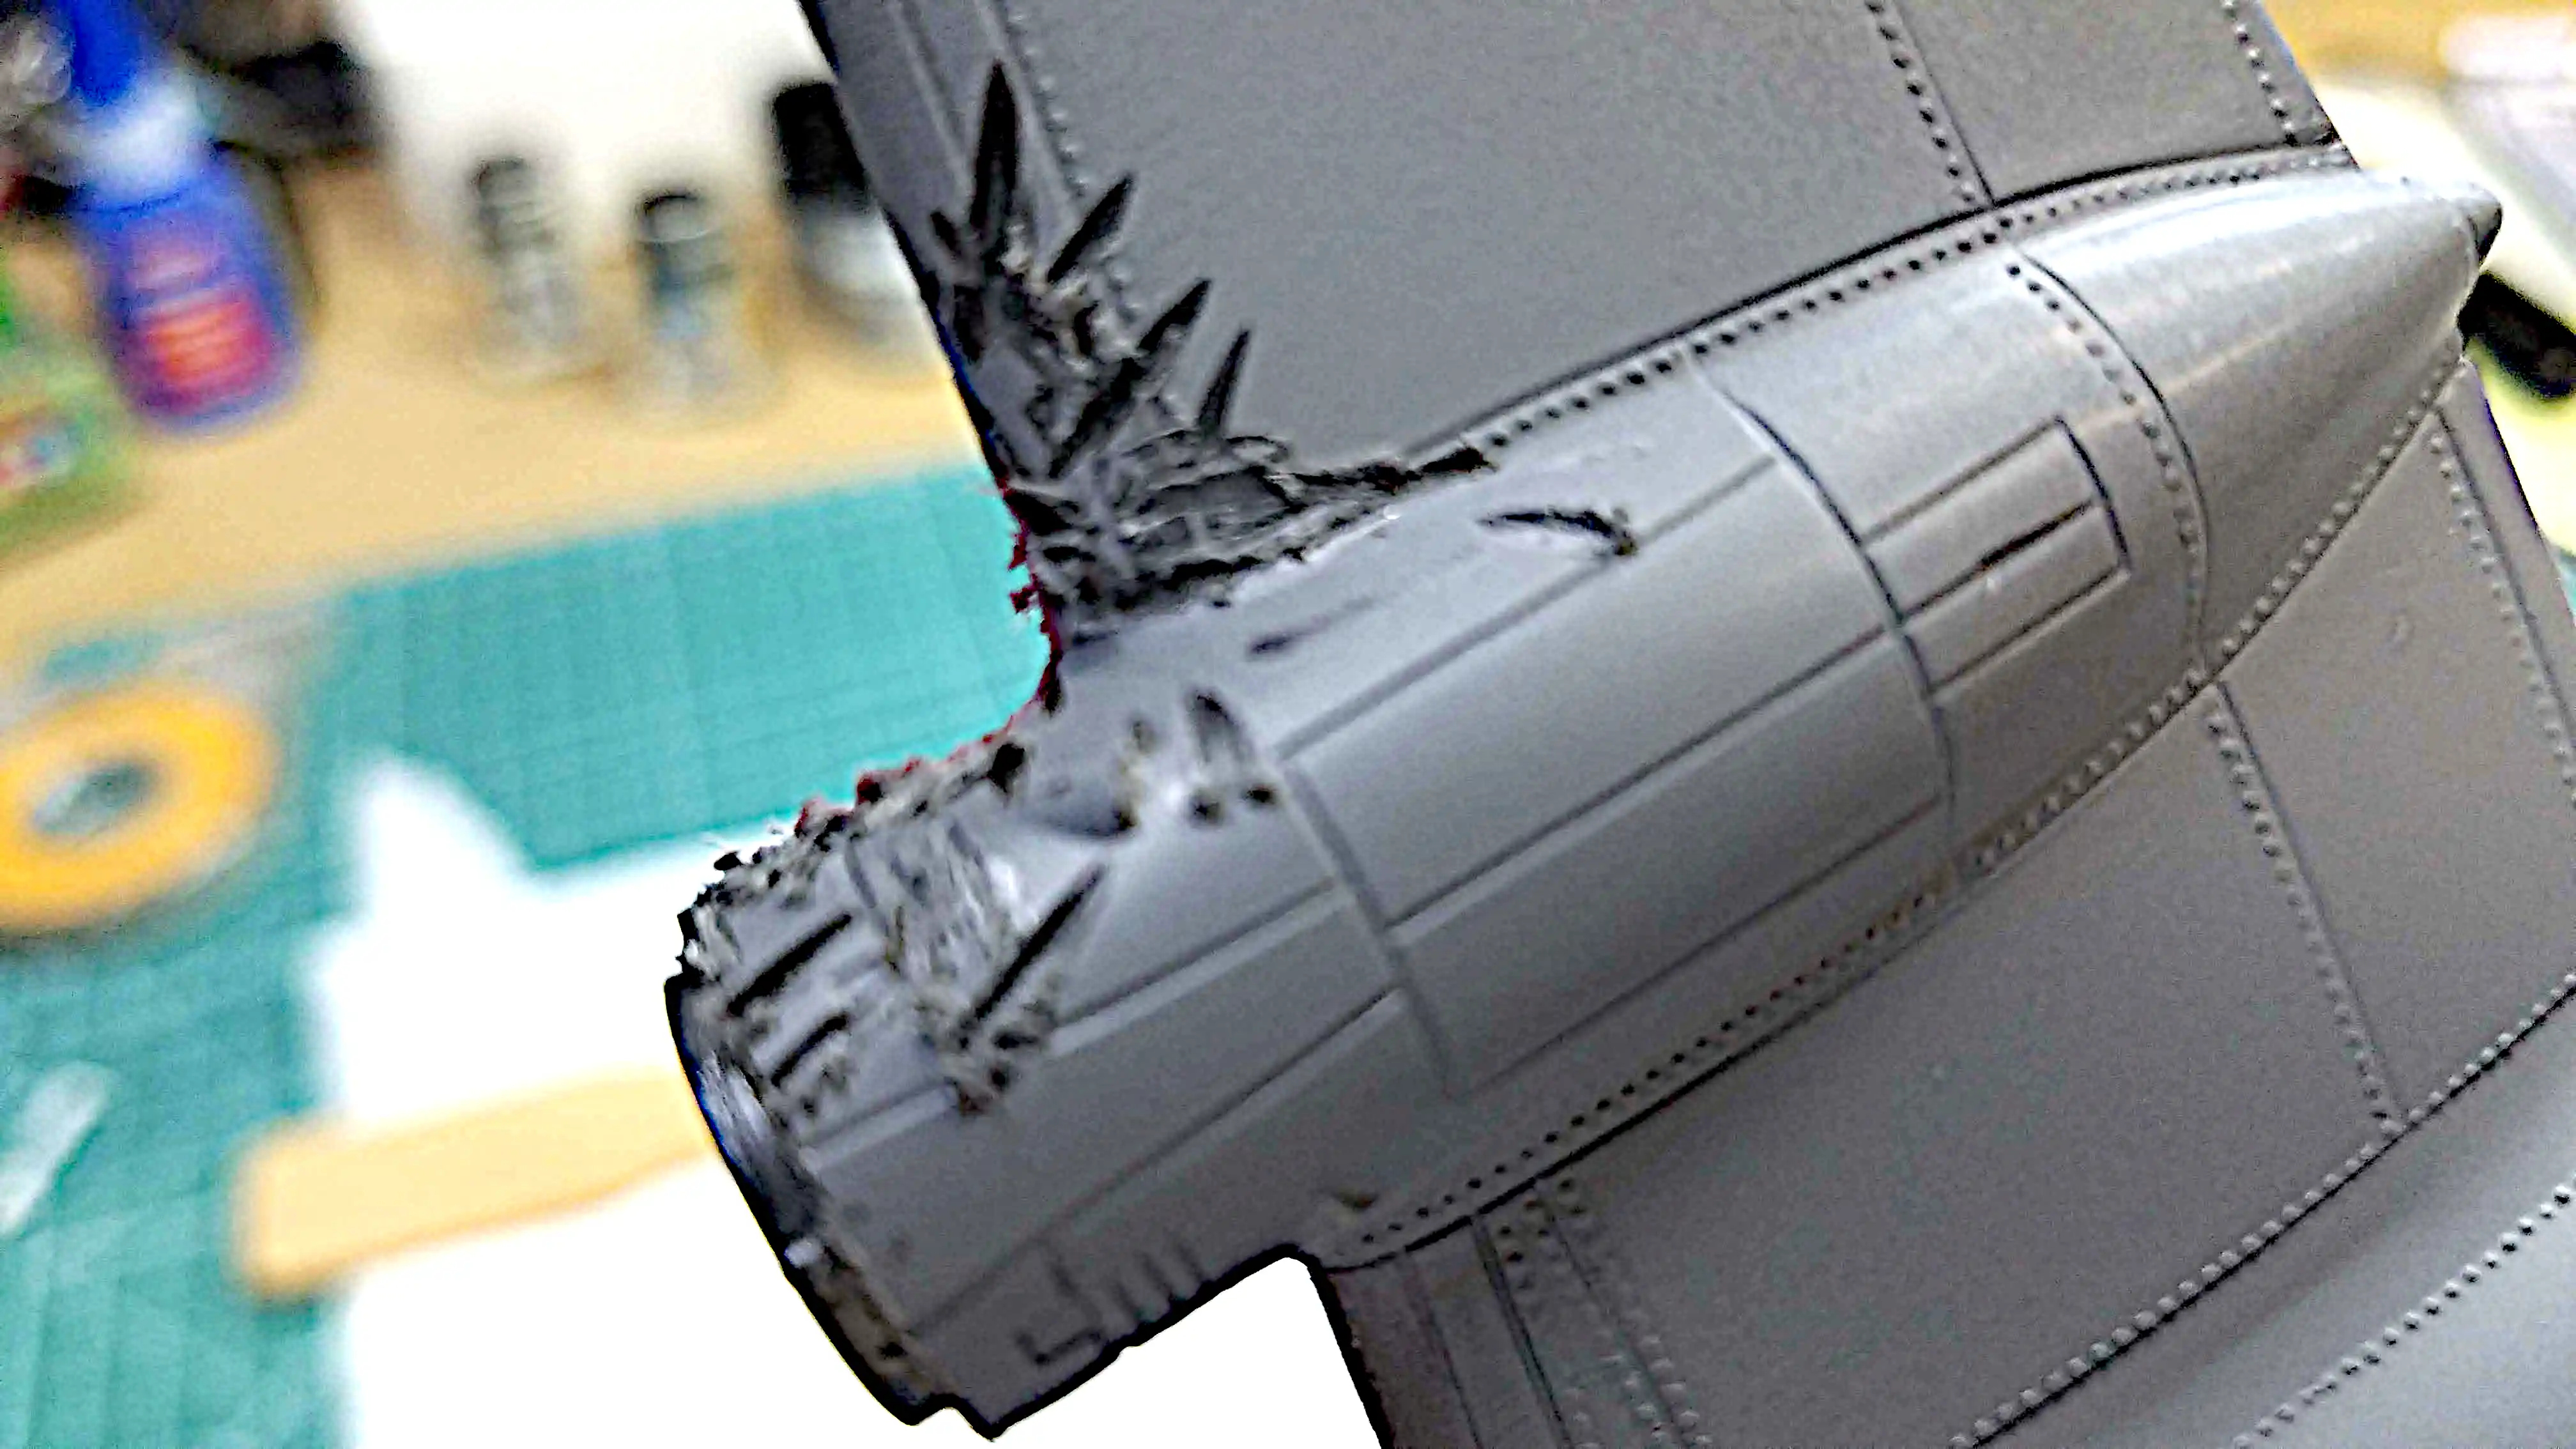
 Damaging the engine cowling
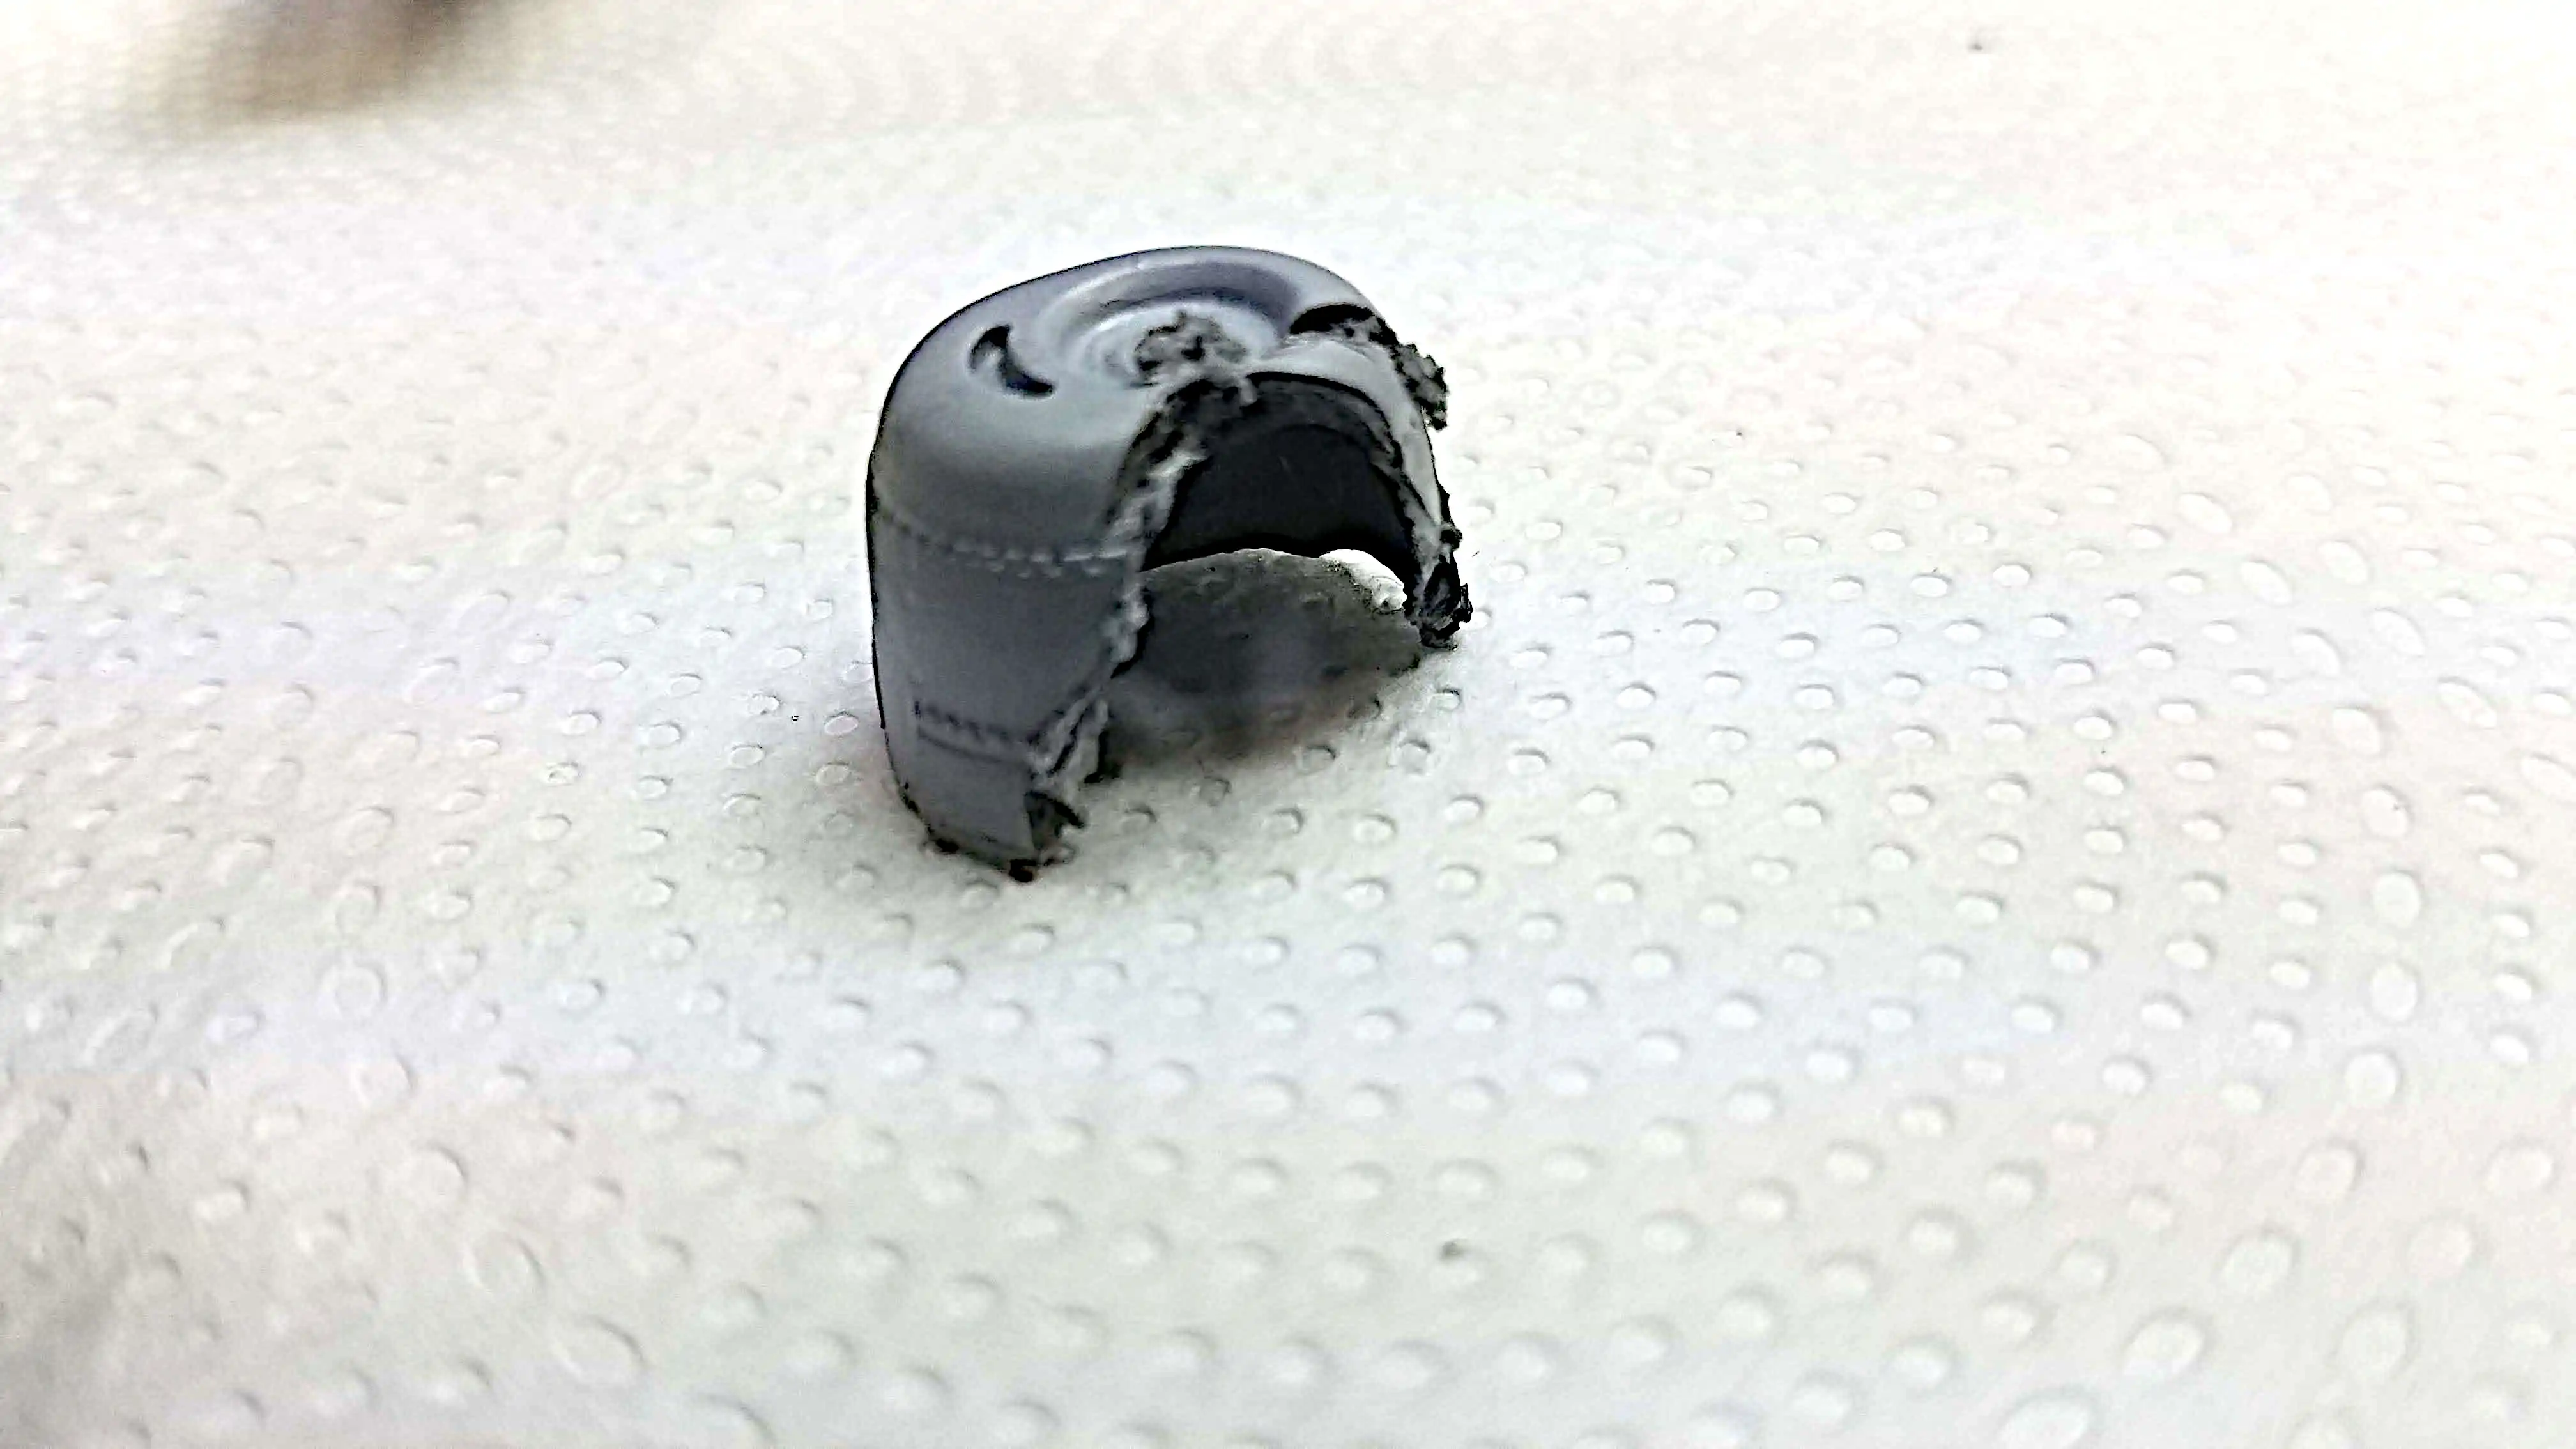
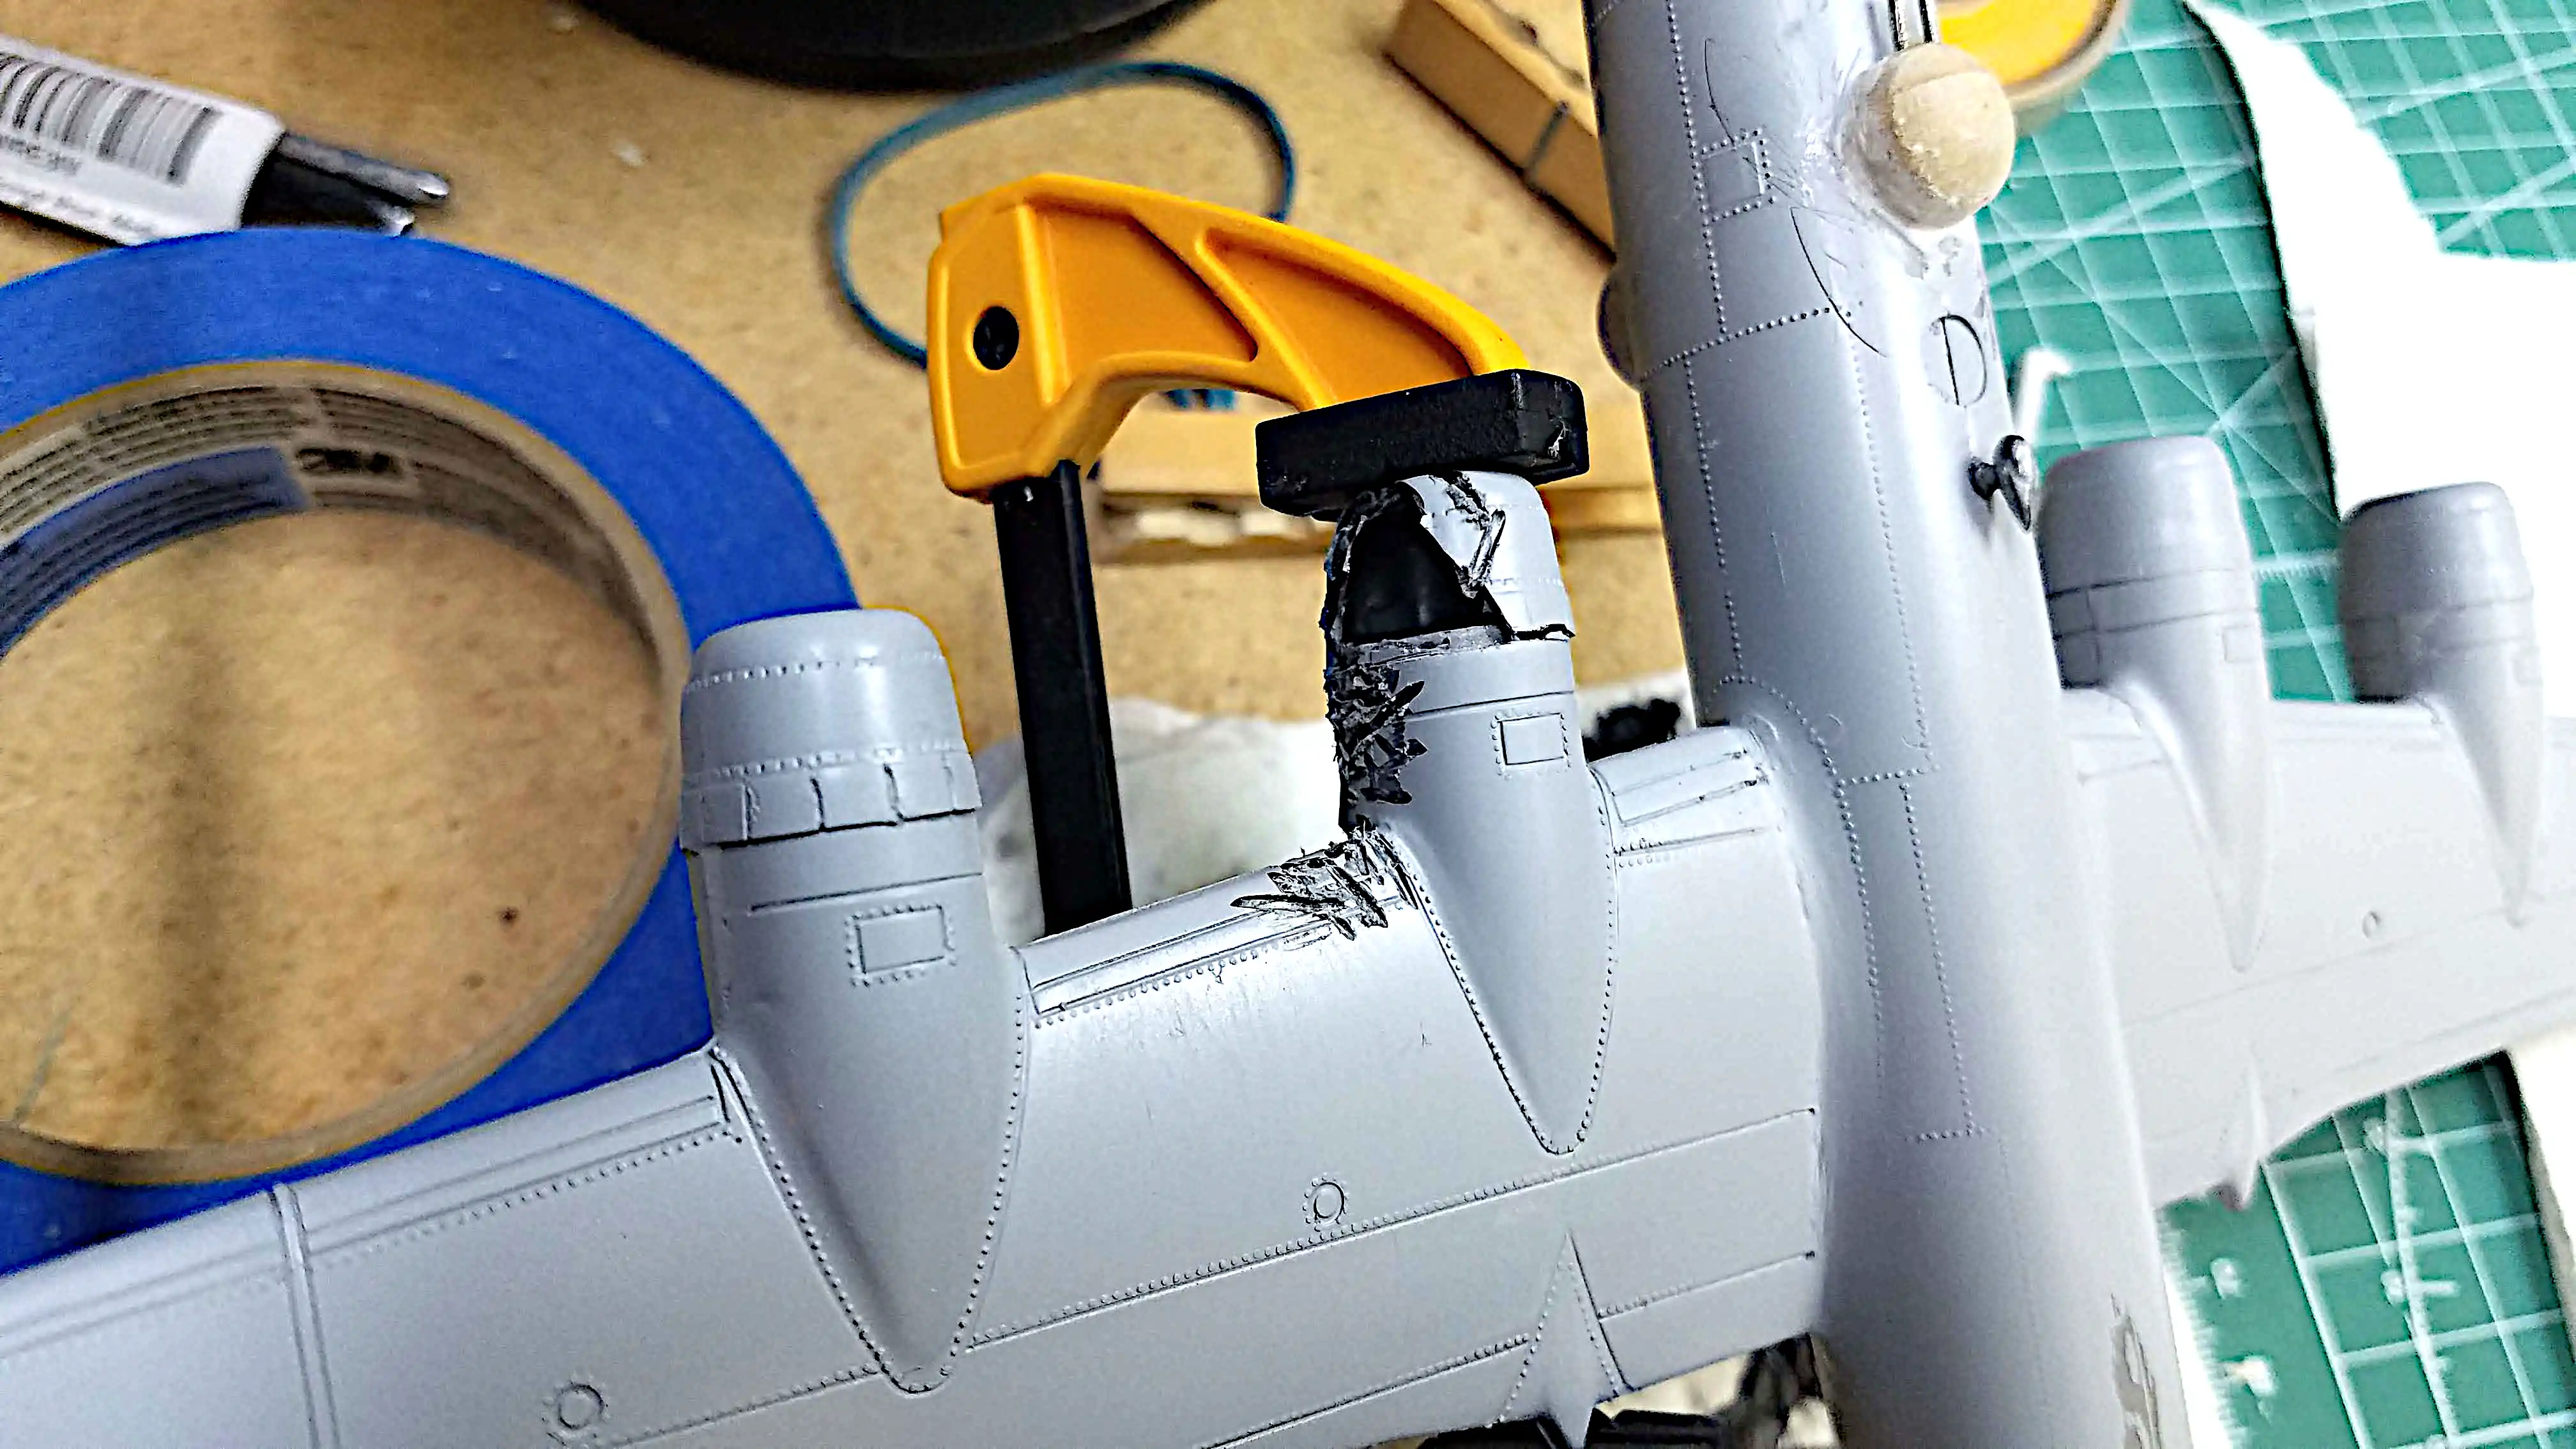
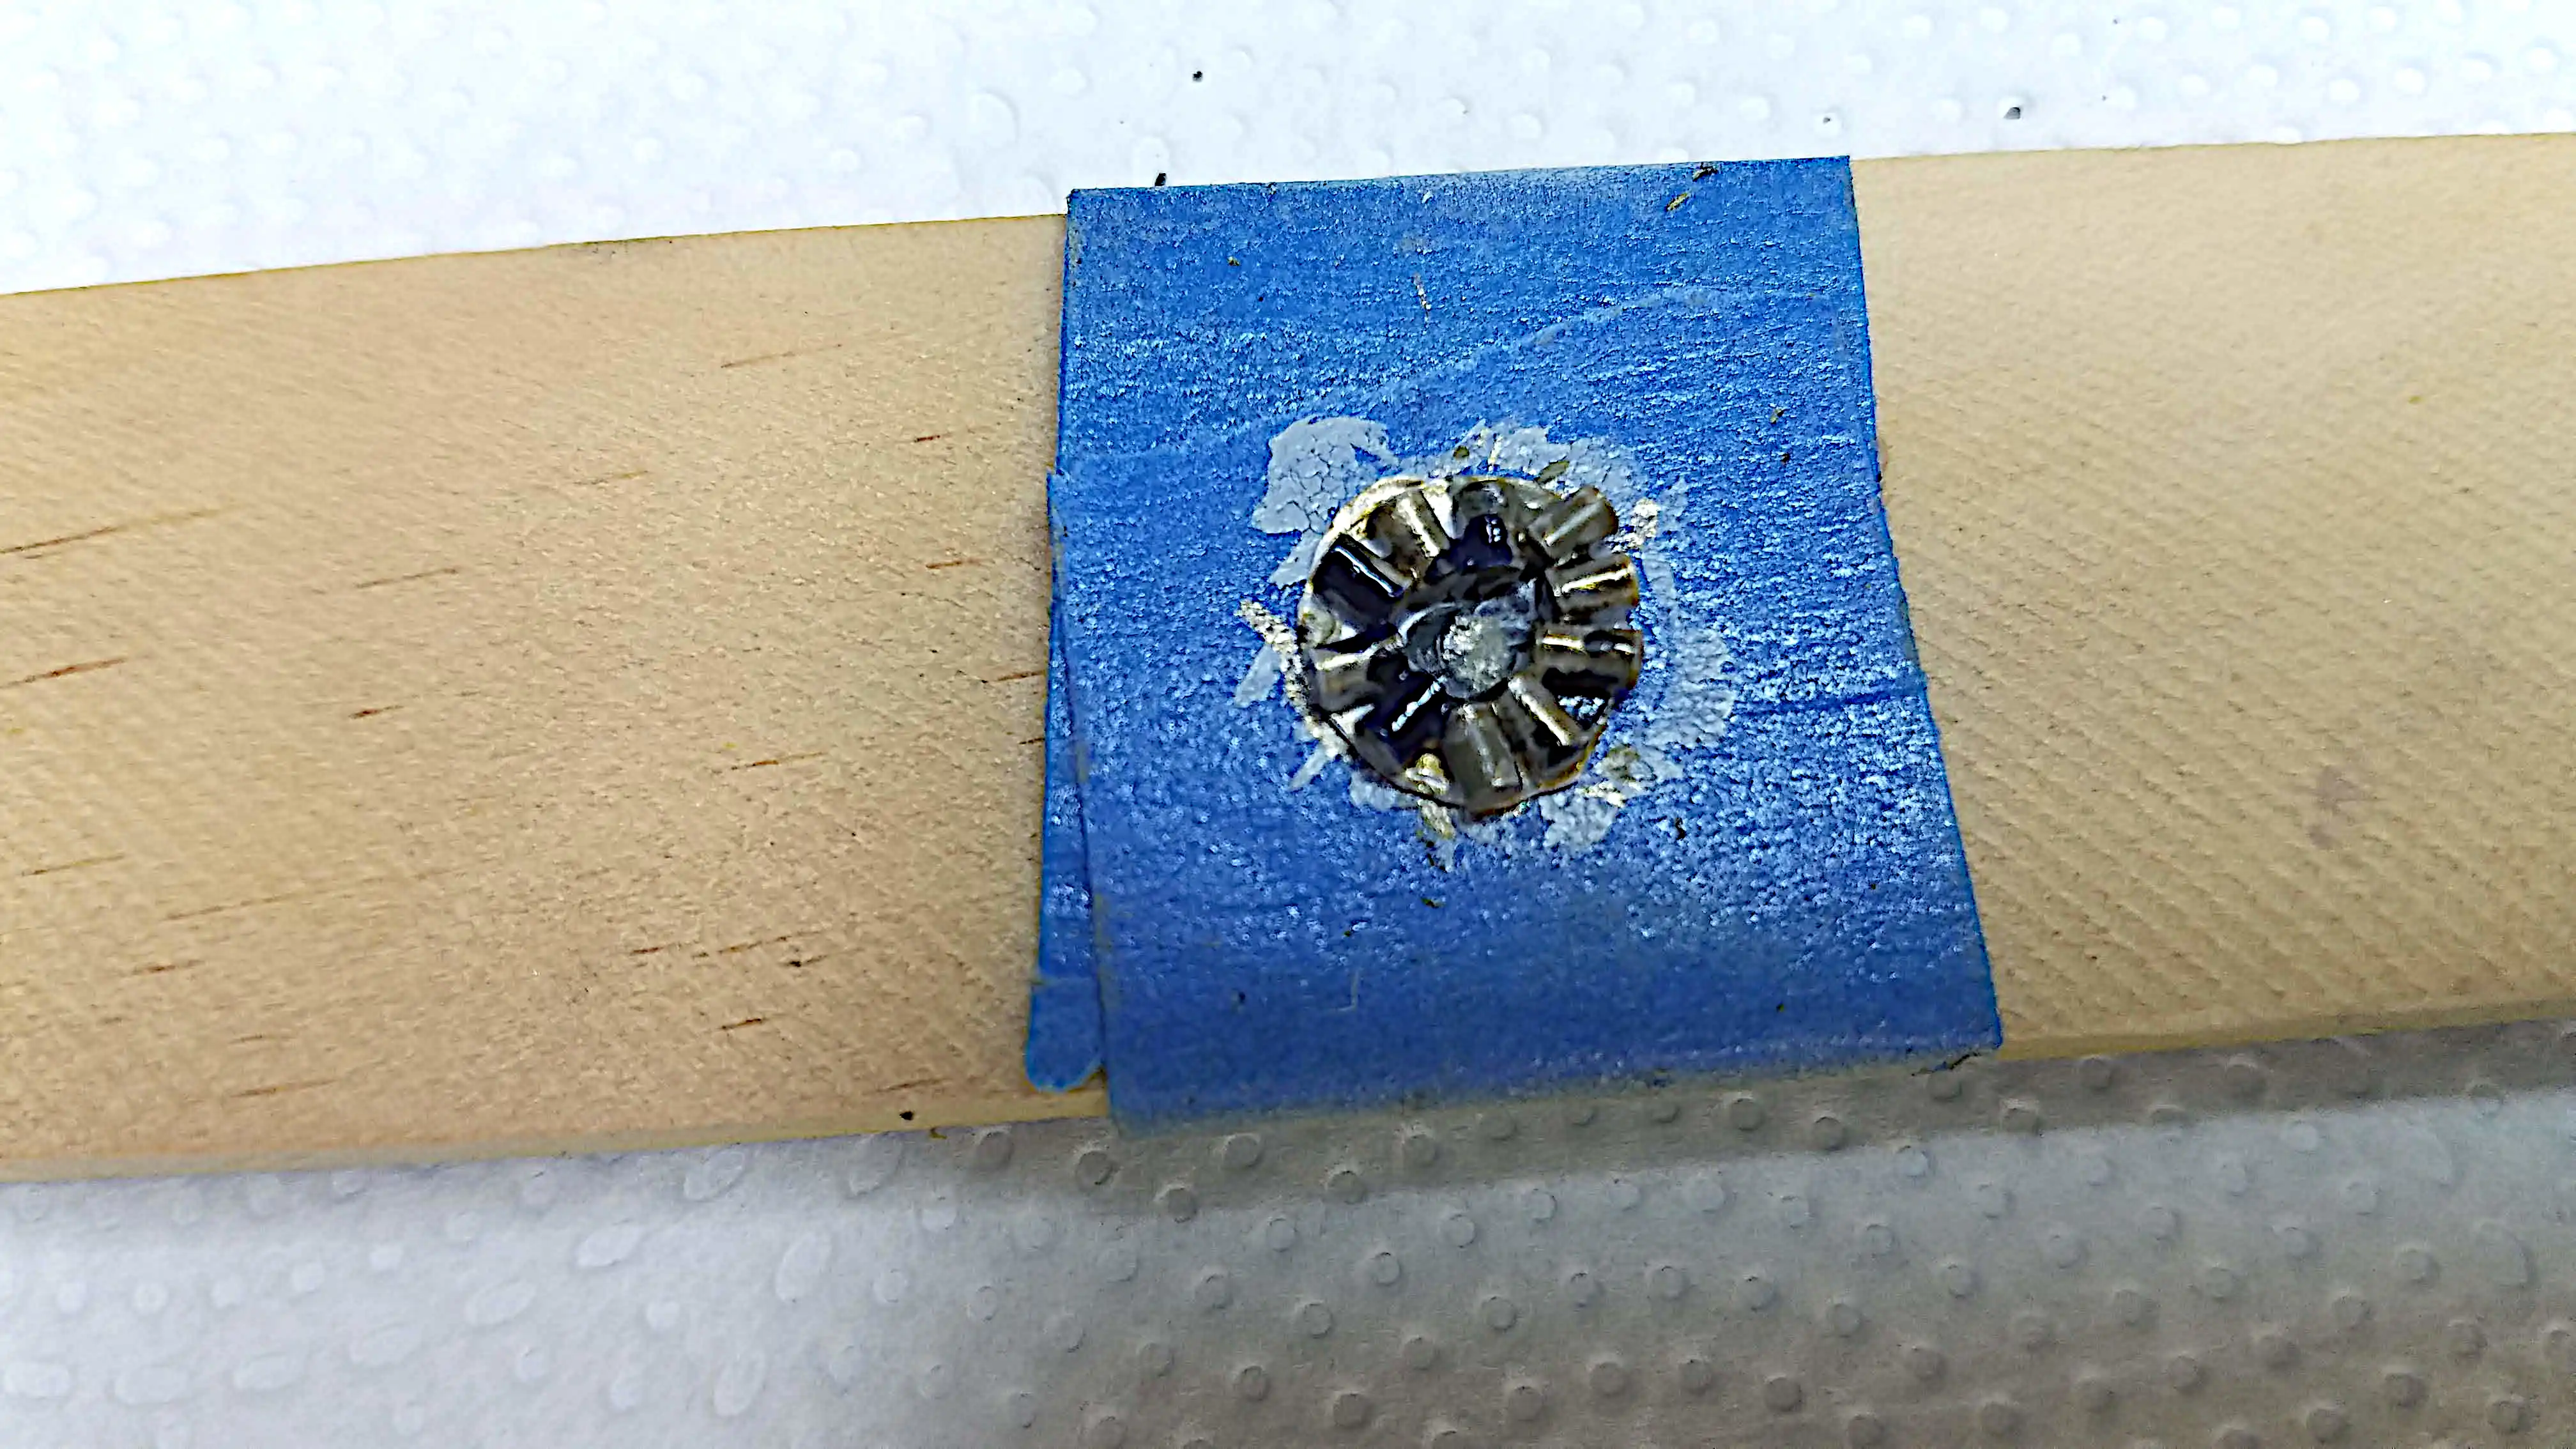 Scratch building a rough engine cylinder
 Filing and sanding the putty around the turrets
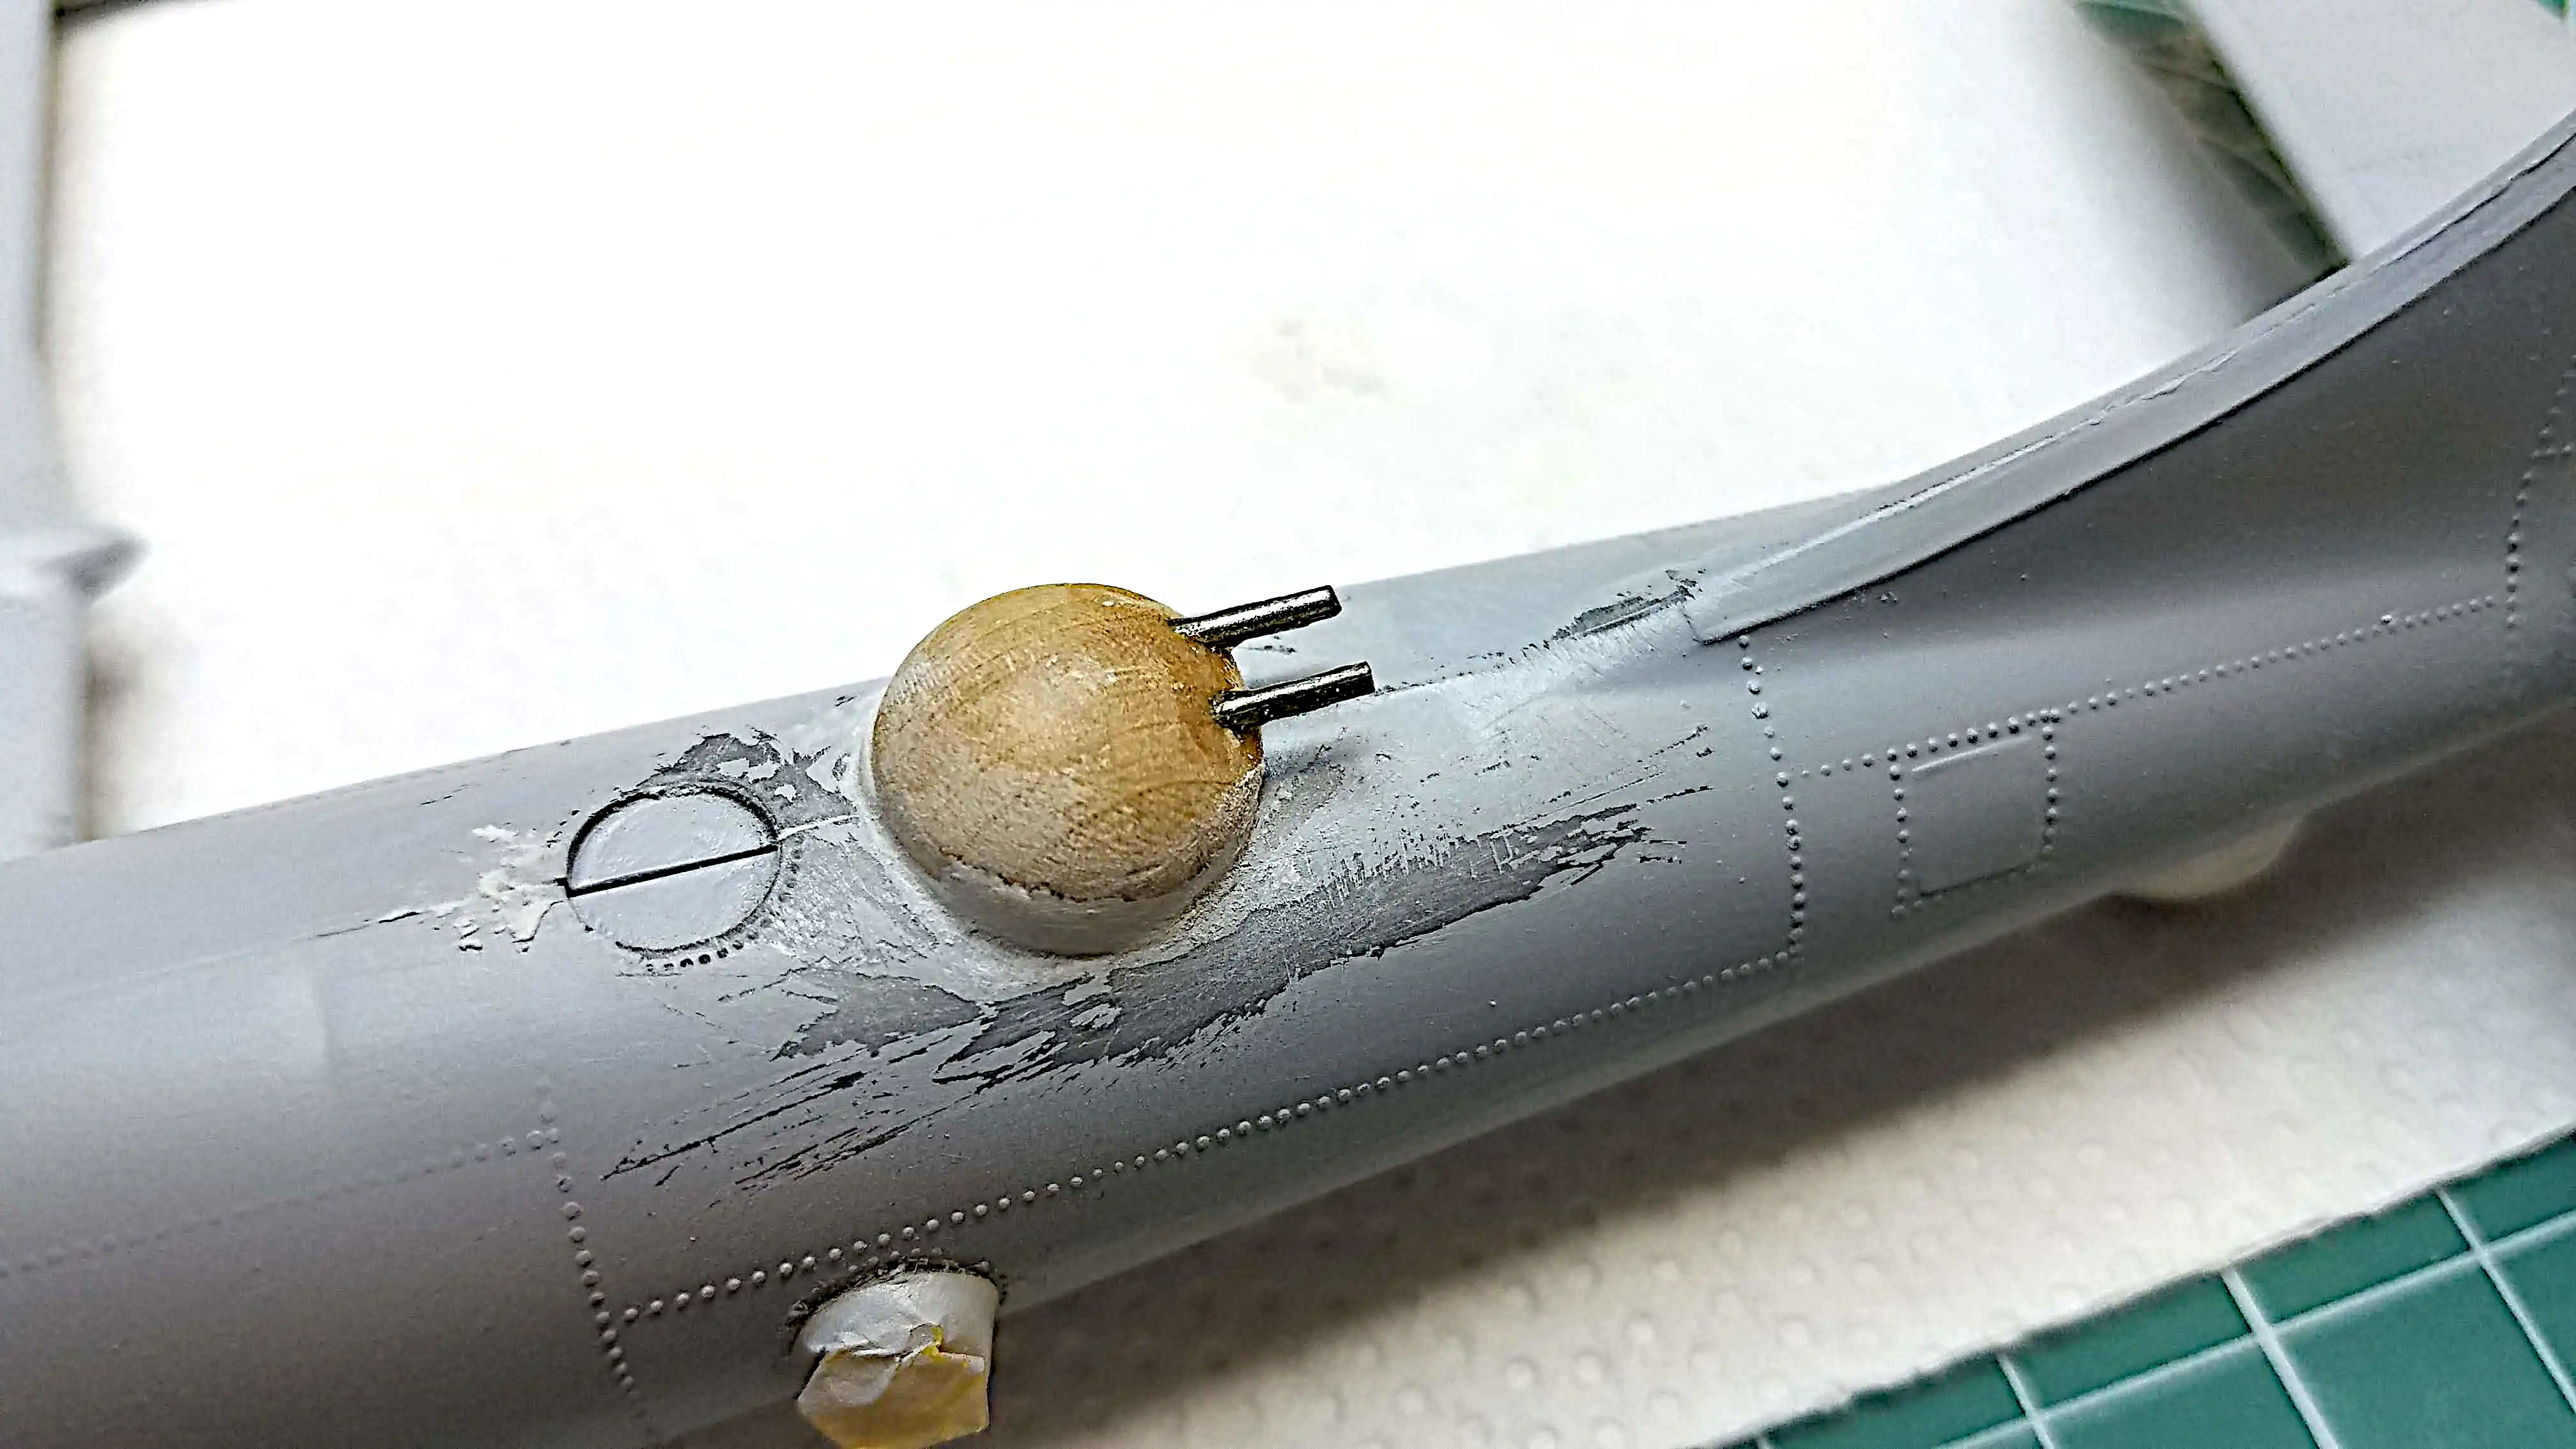 Filing and sanding the putty around the turrets
 Filing and sanding the putty around the turrets
 Installing the front engine shroud
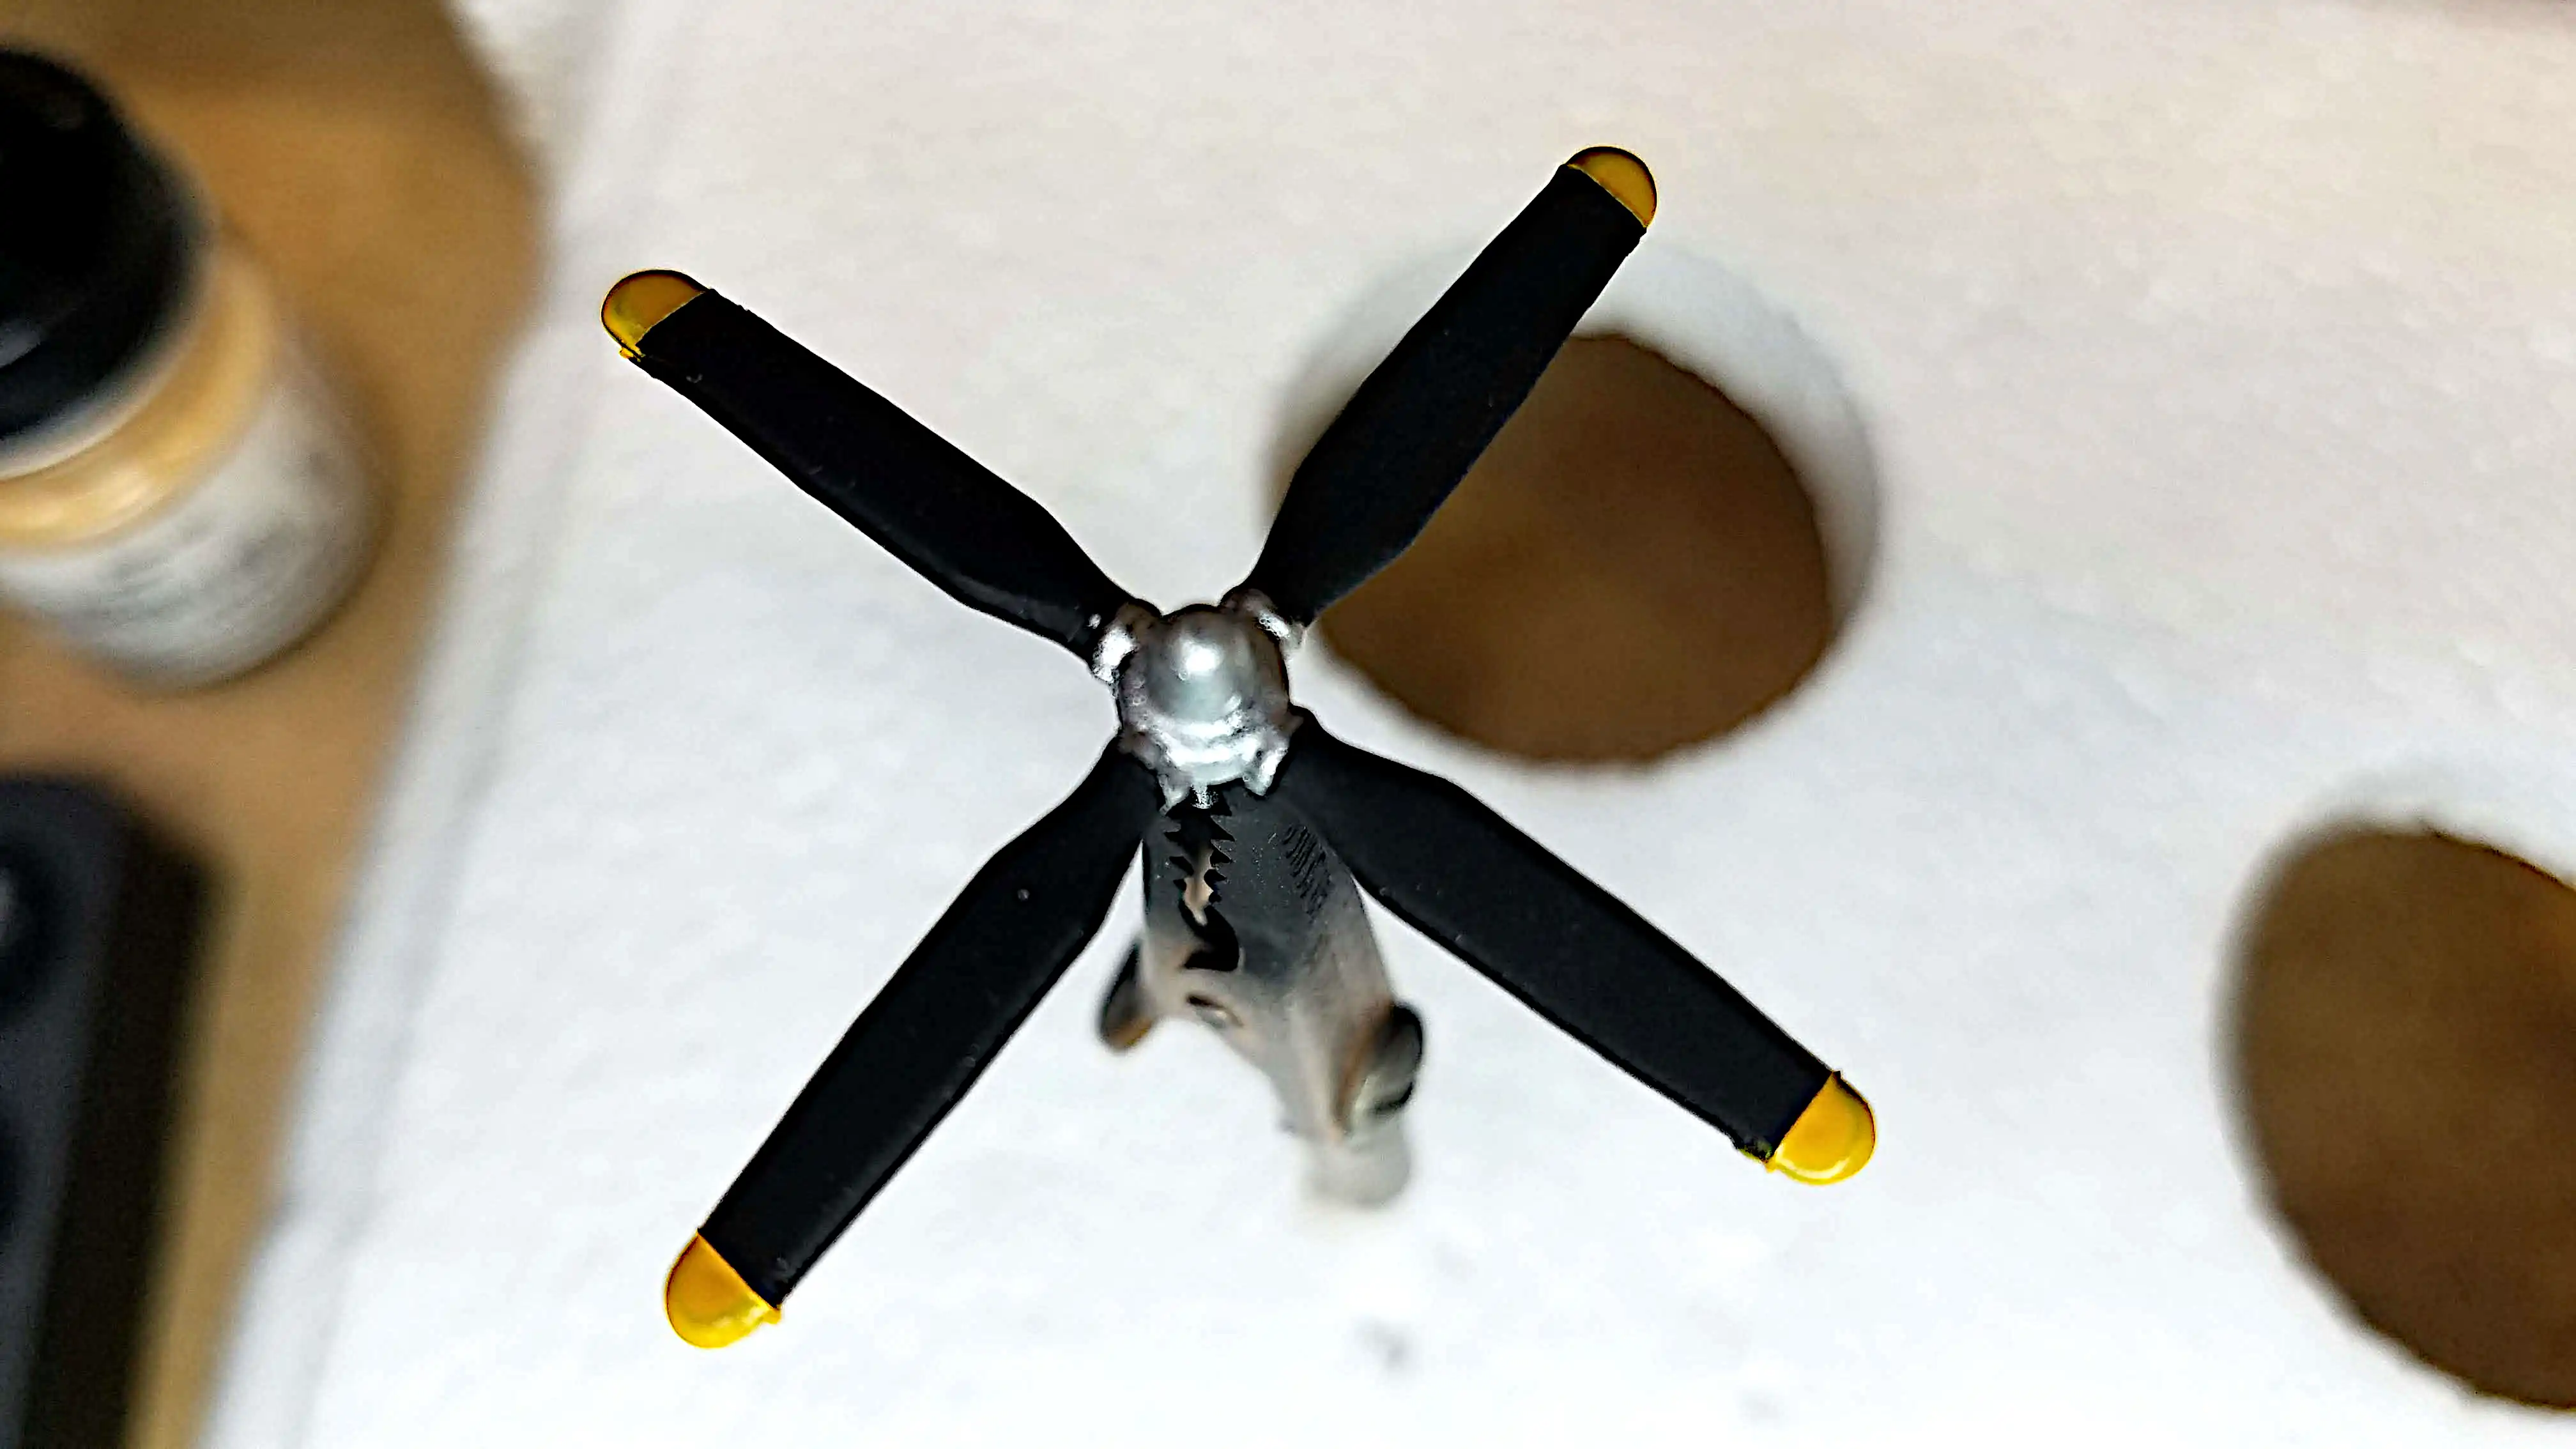 Painting the prop
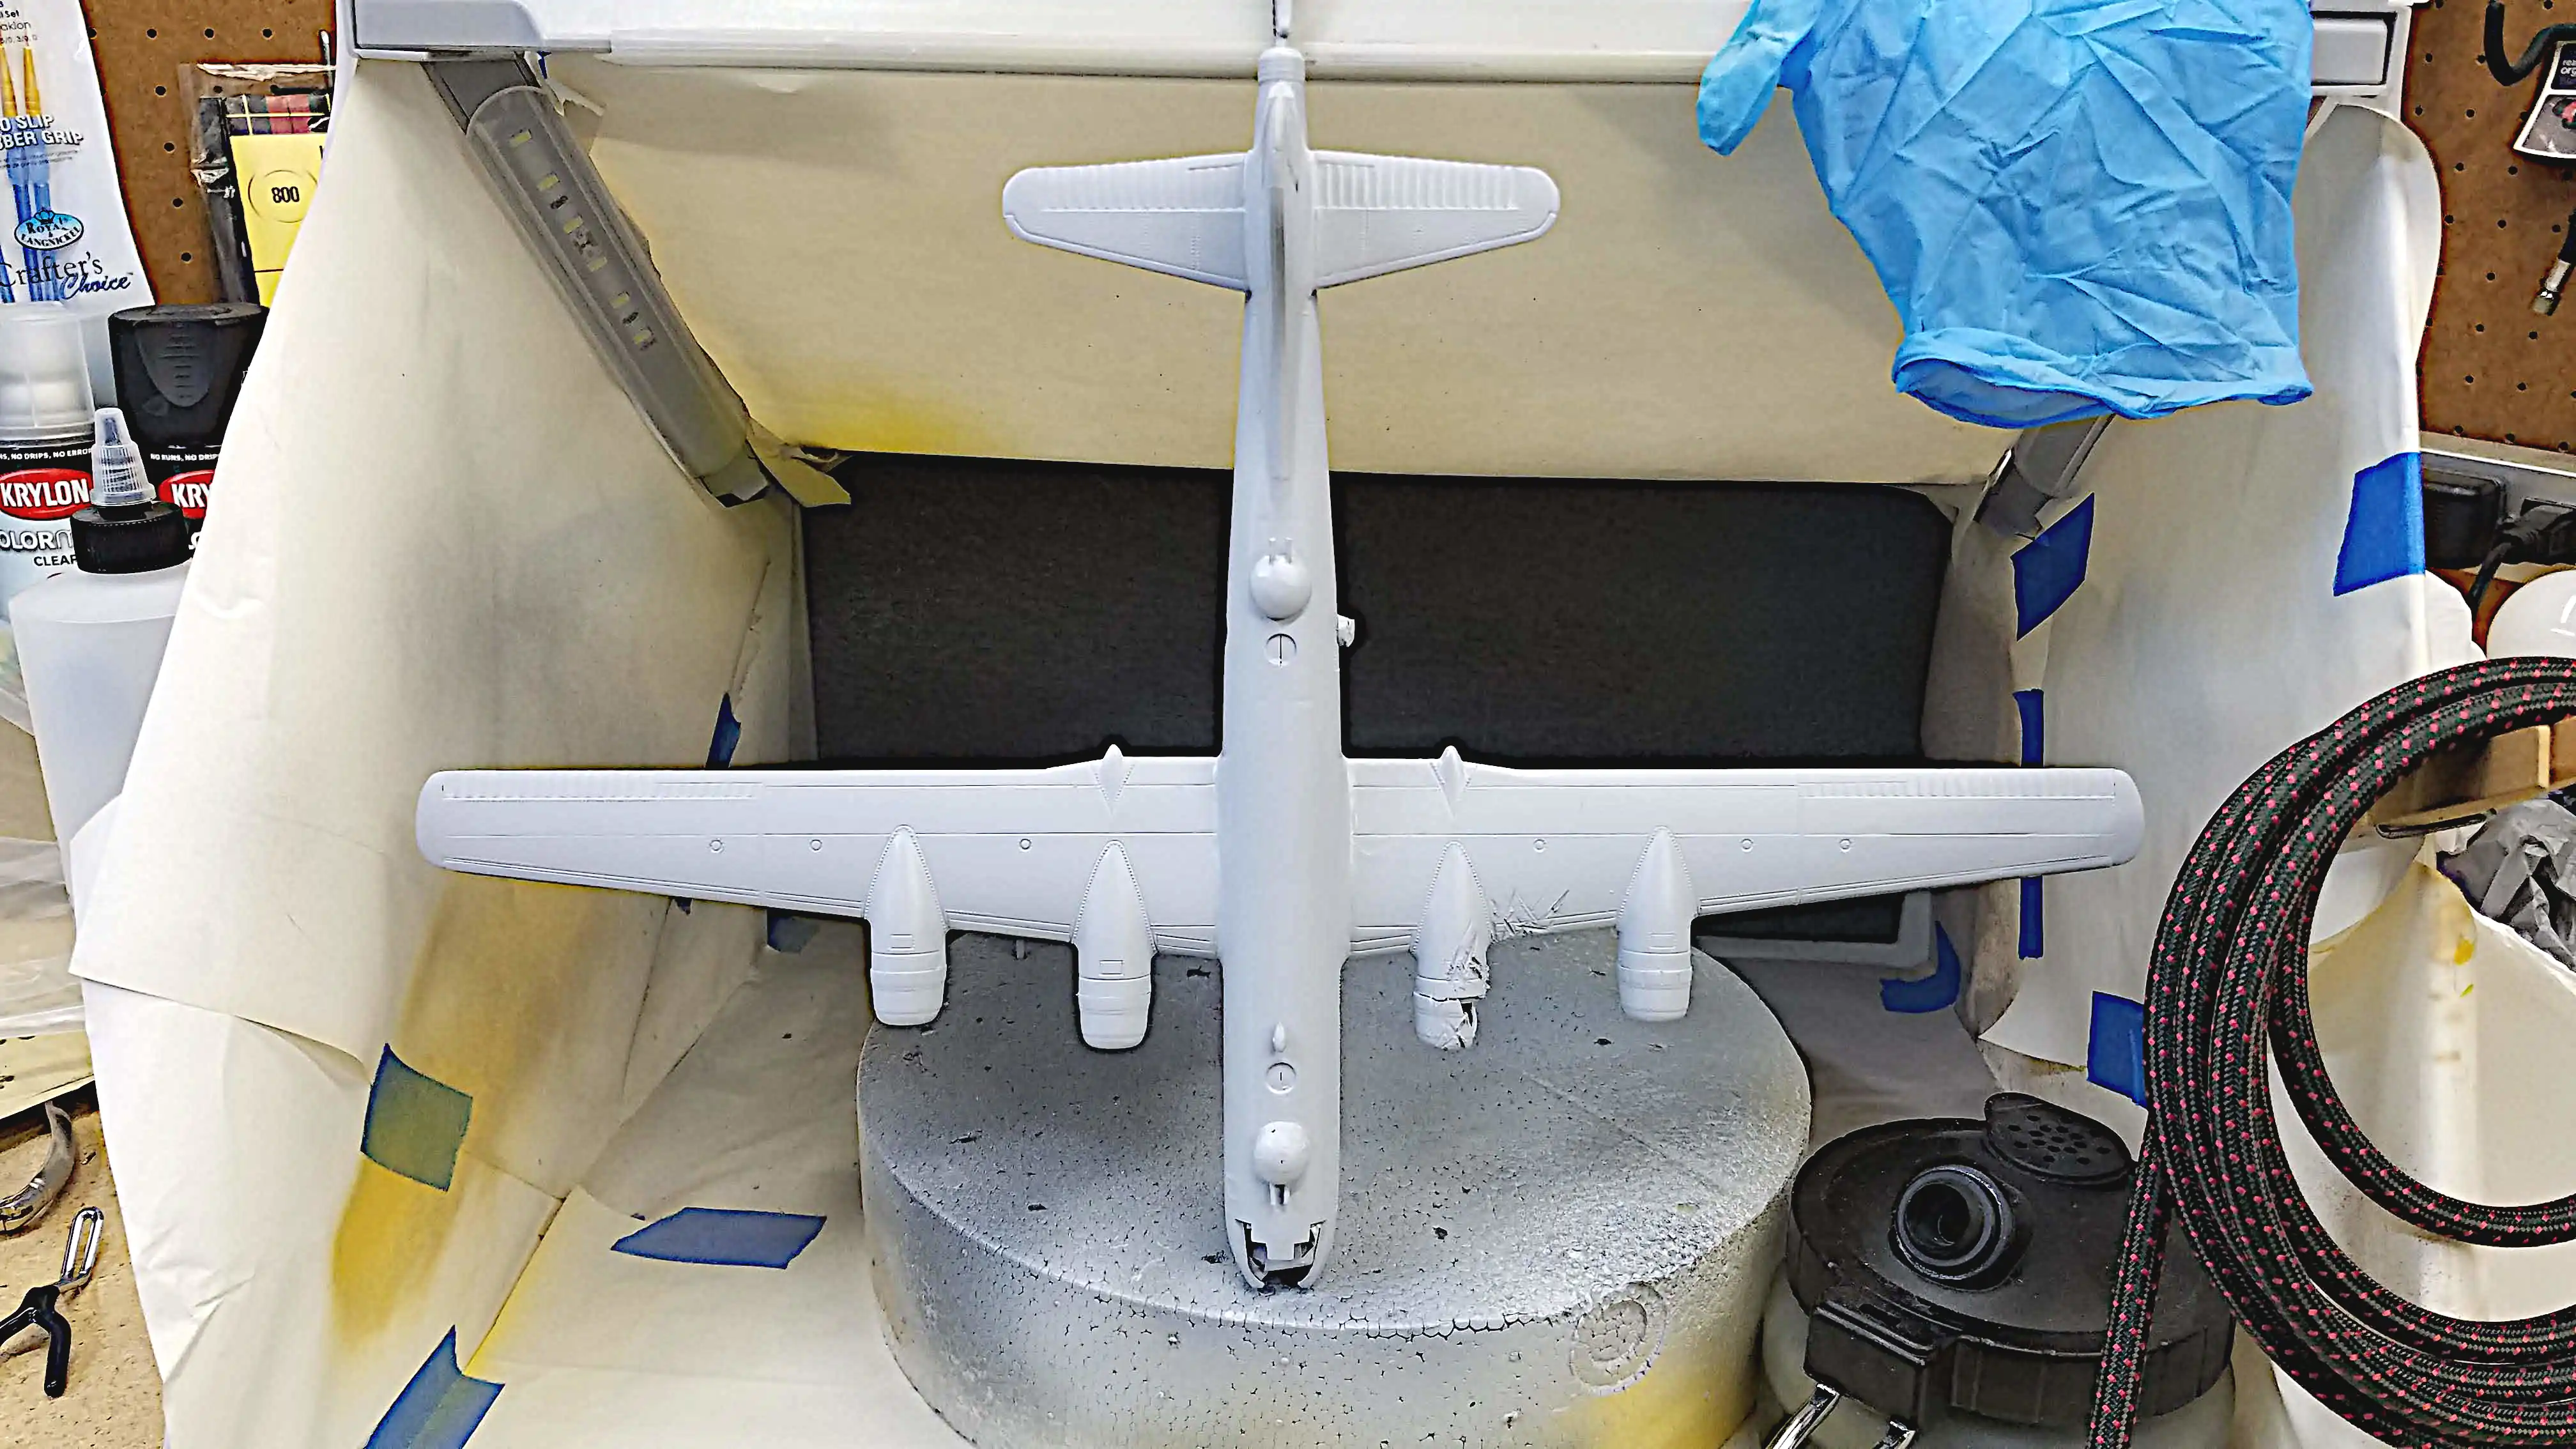 Another coat of primer
 Another coat of primer
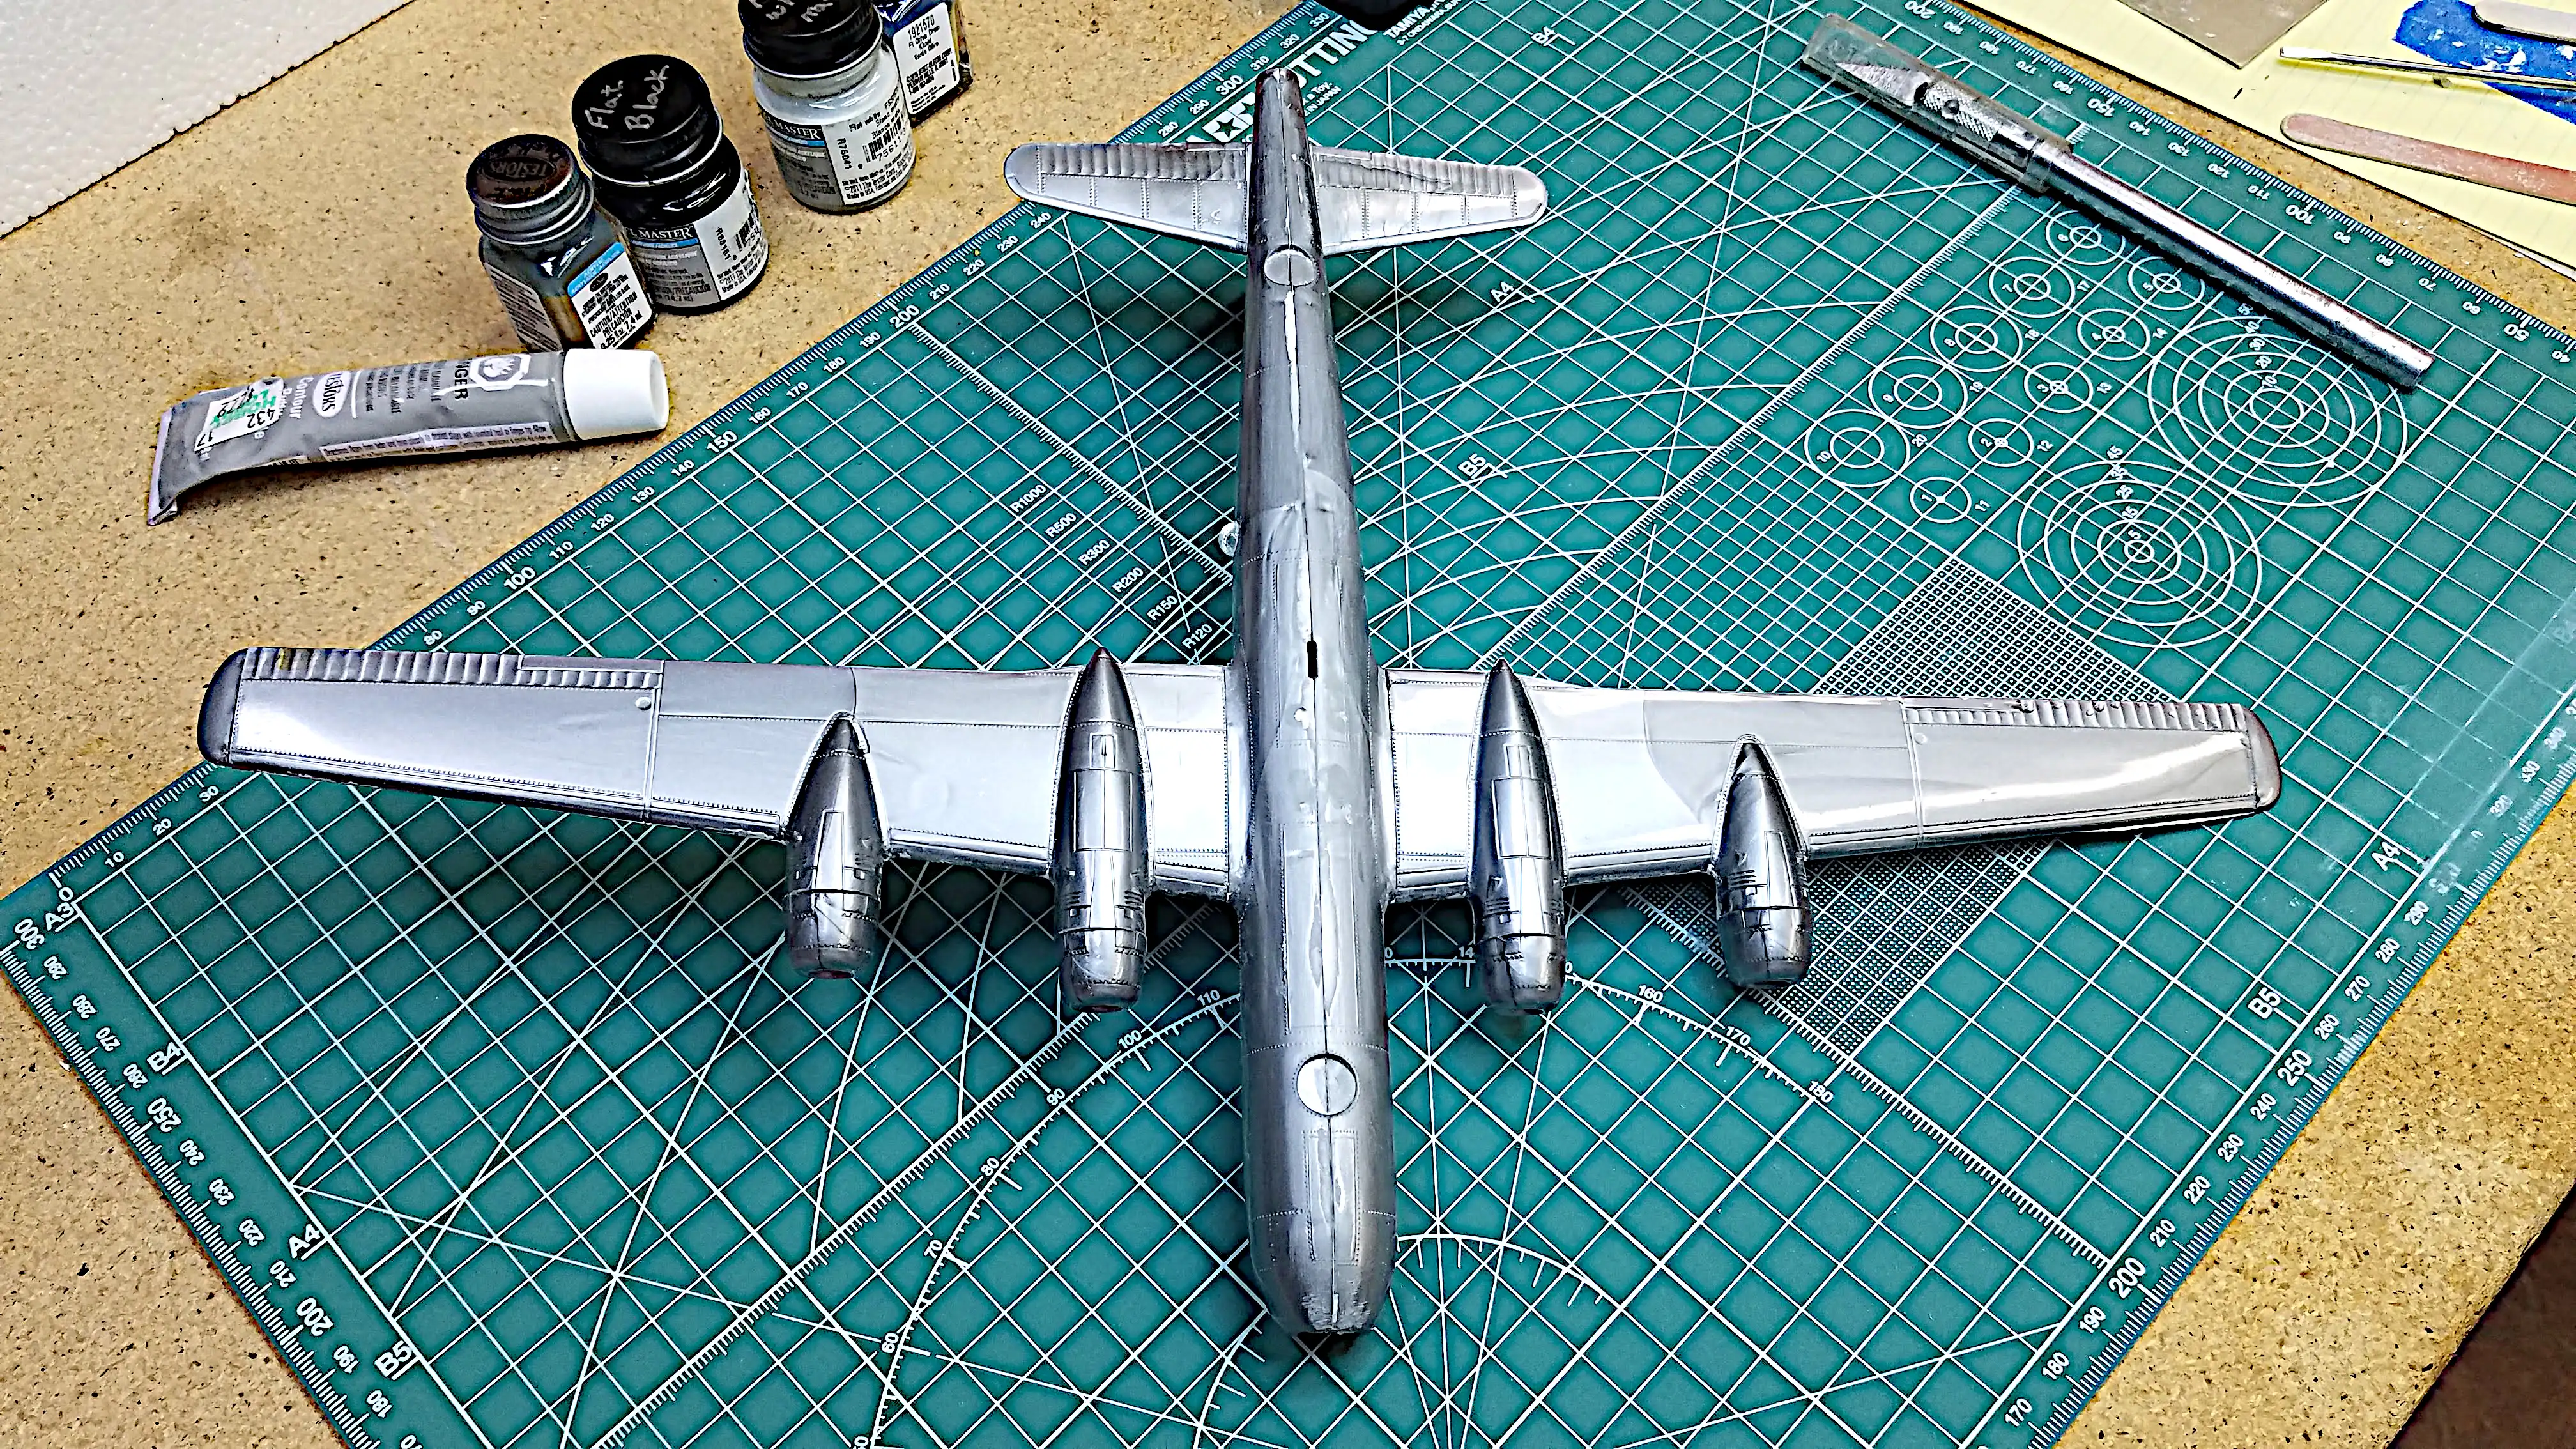
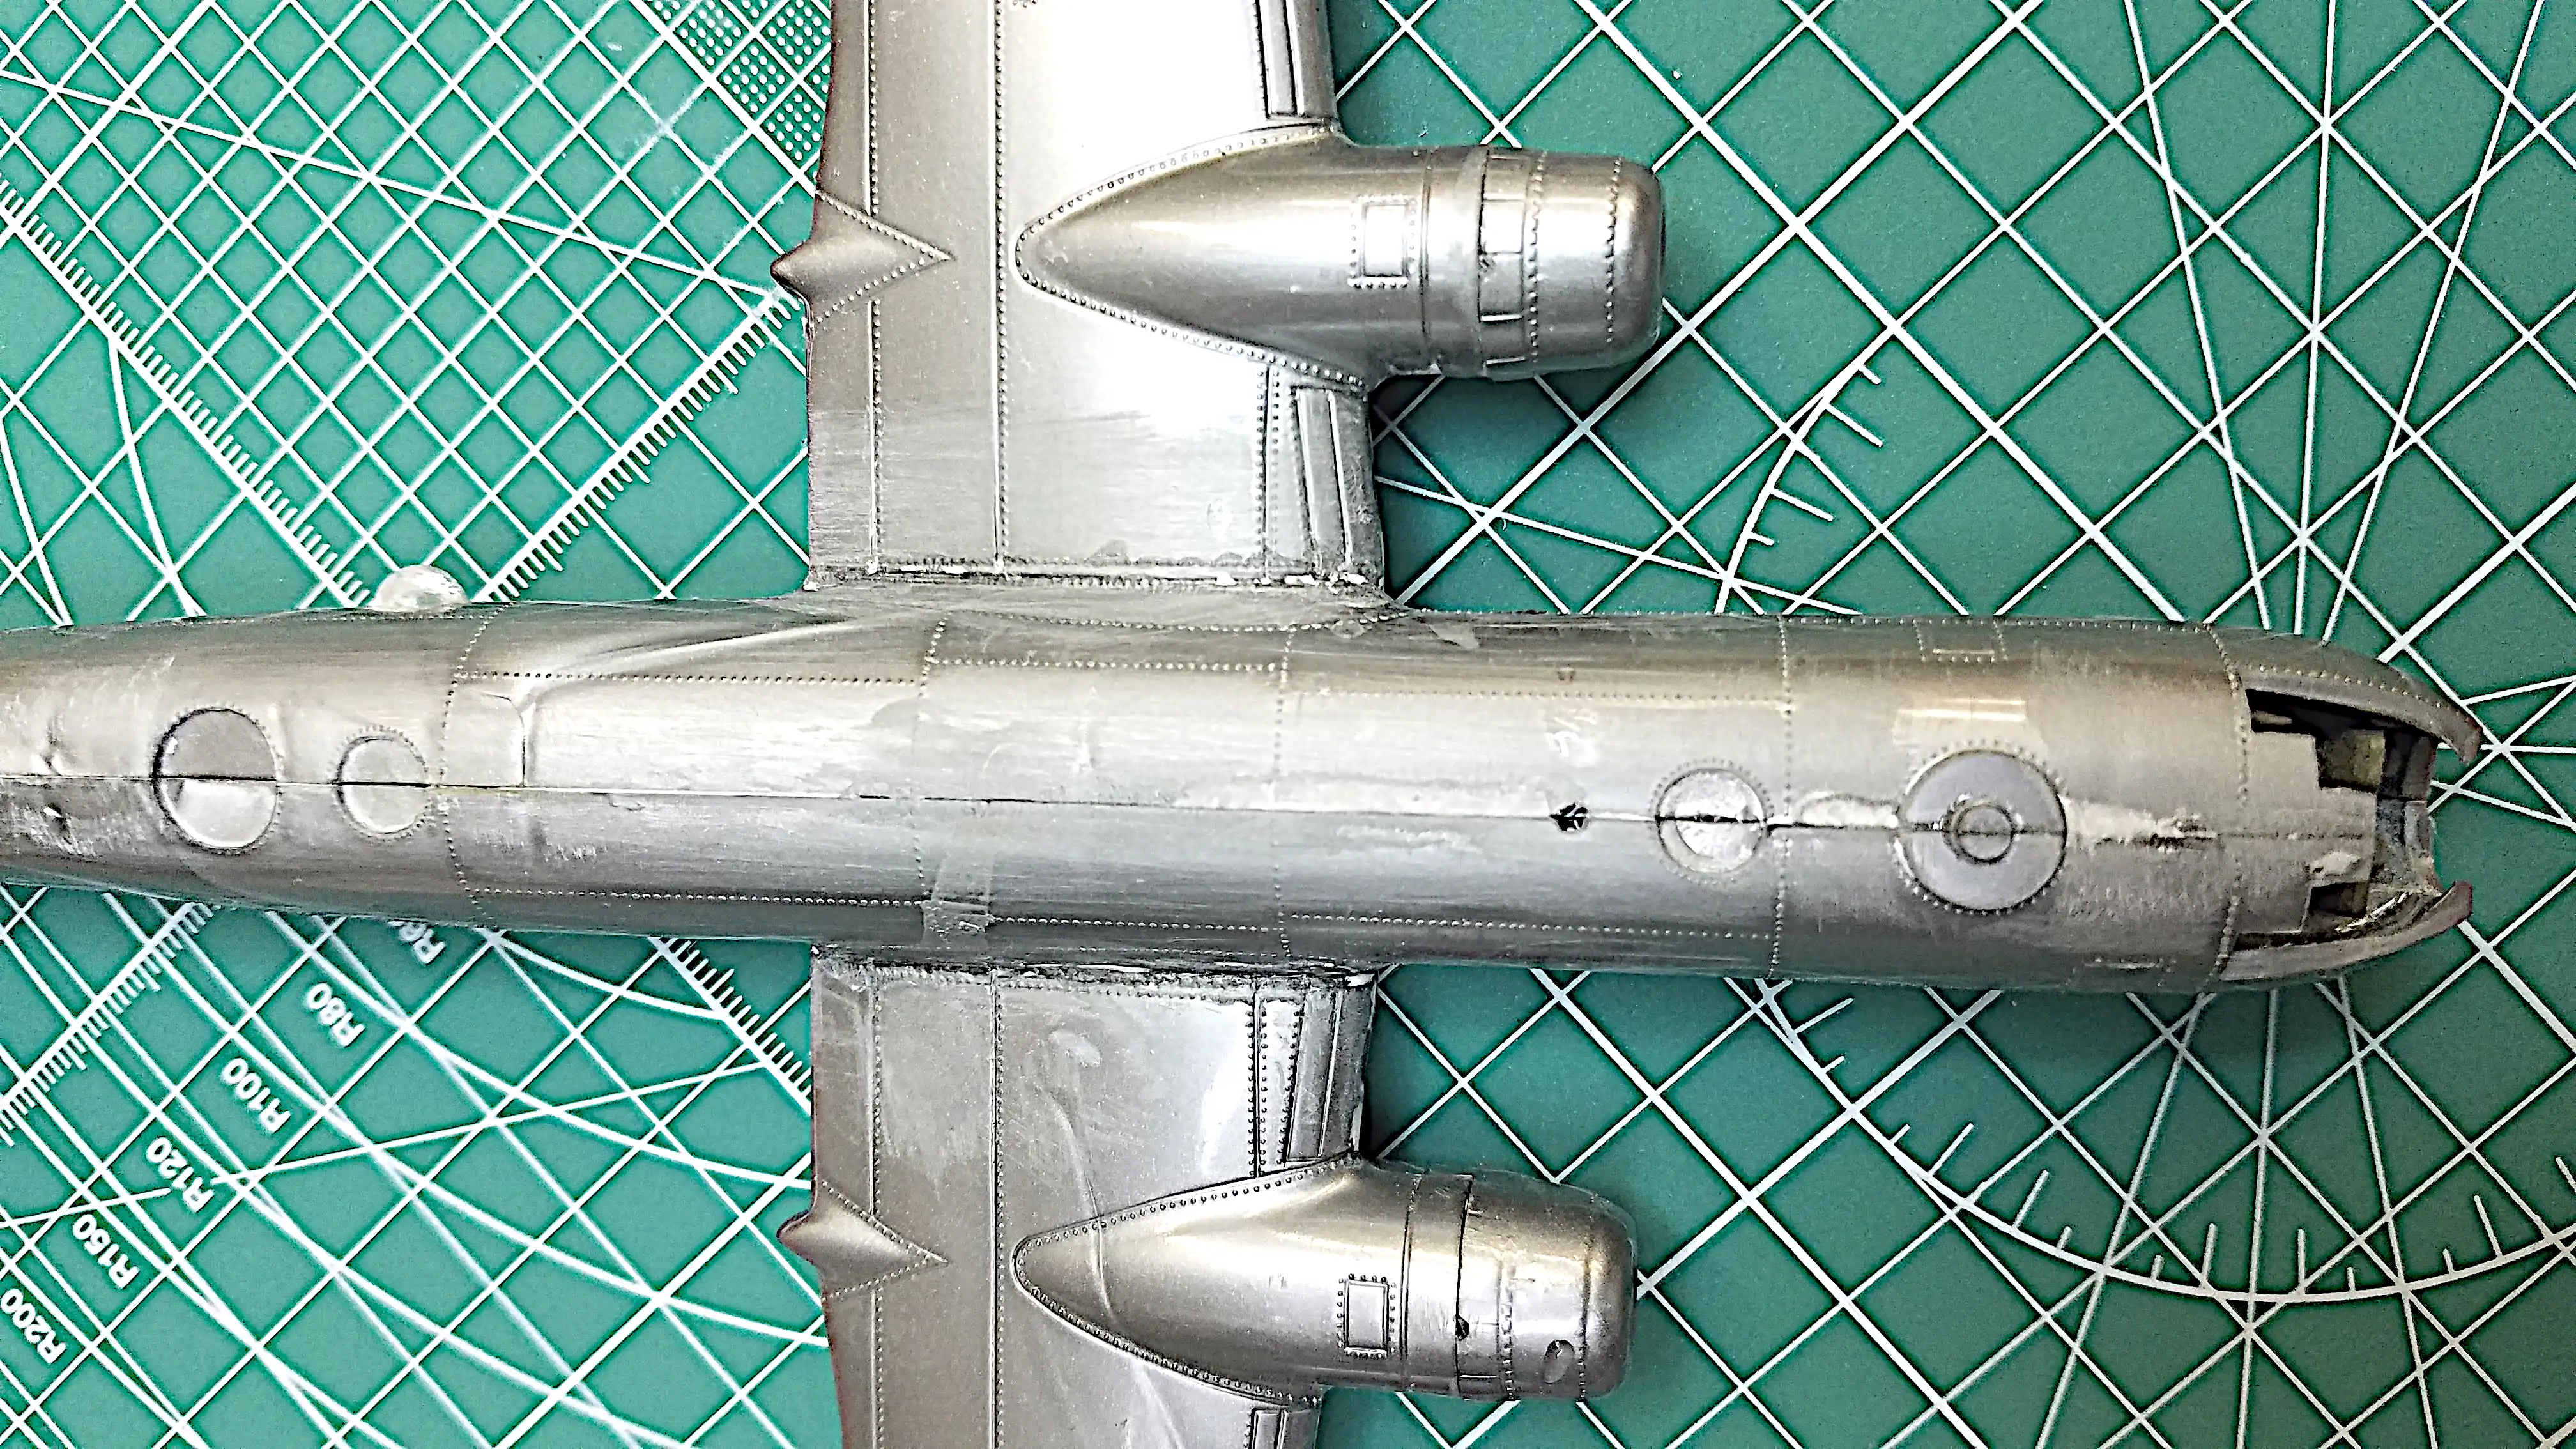
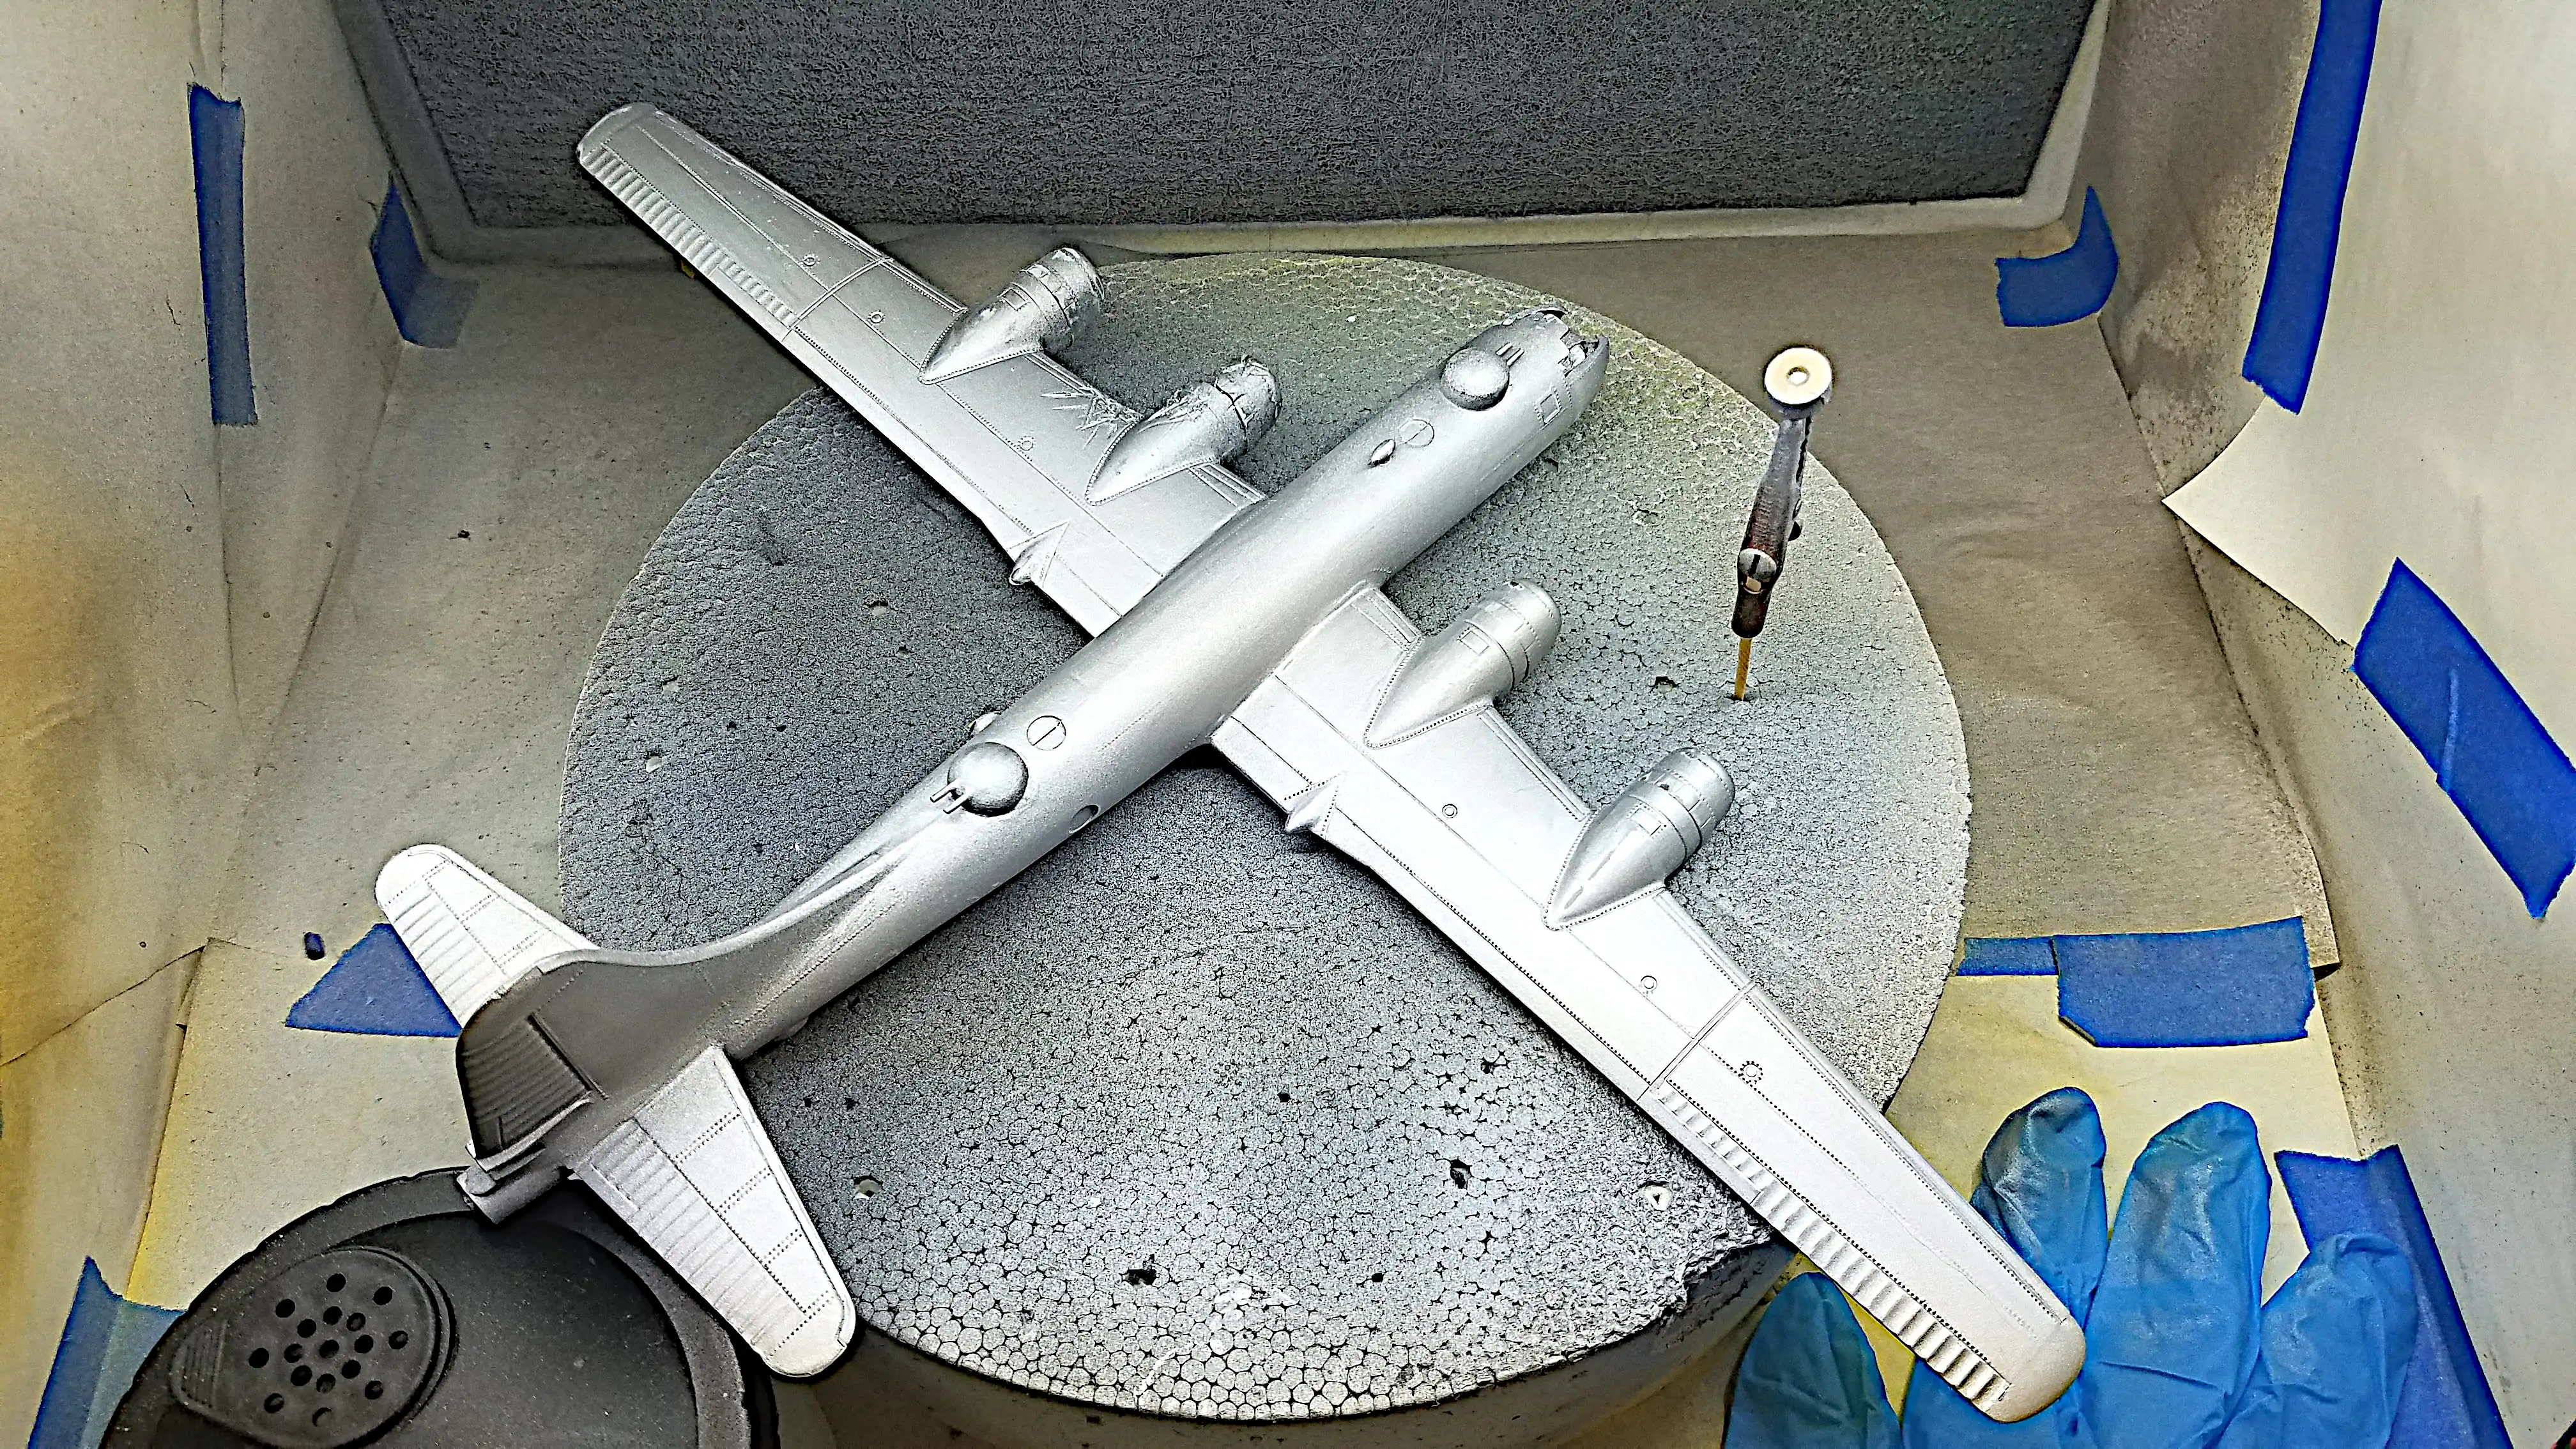 Airbrushed plane with natural aluminum
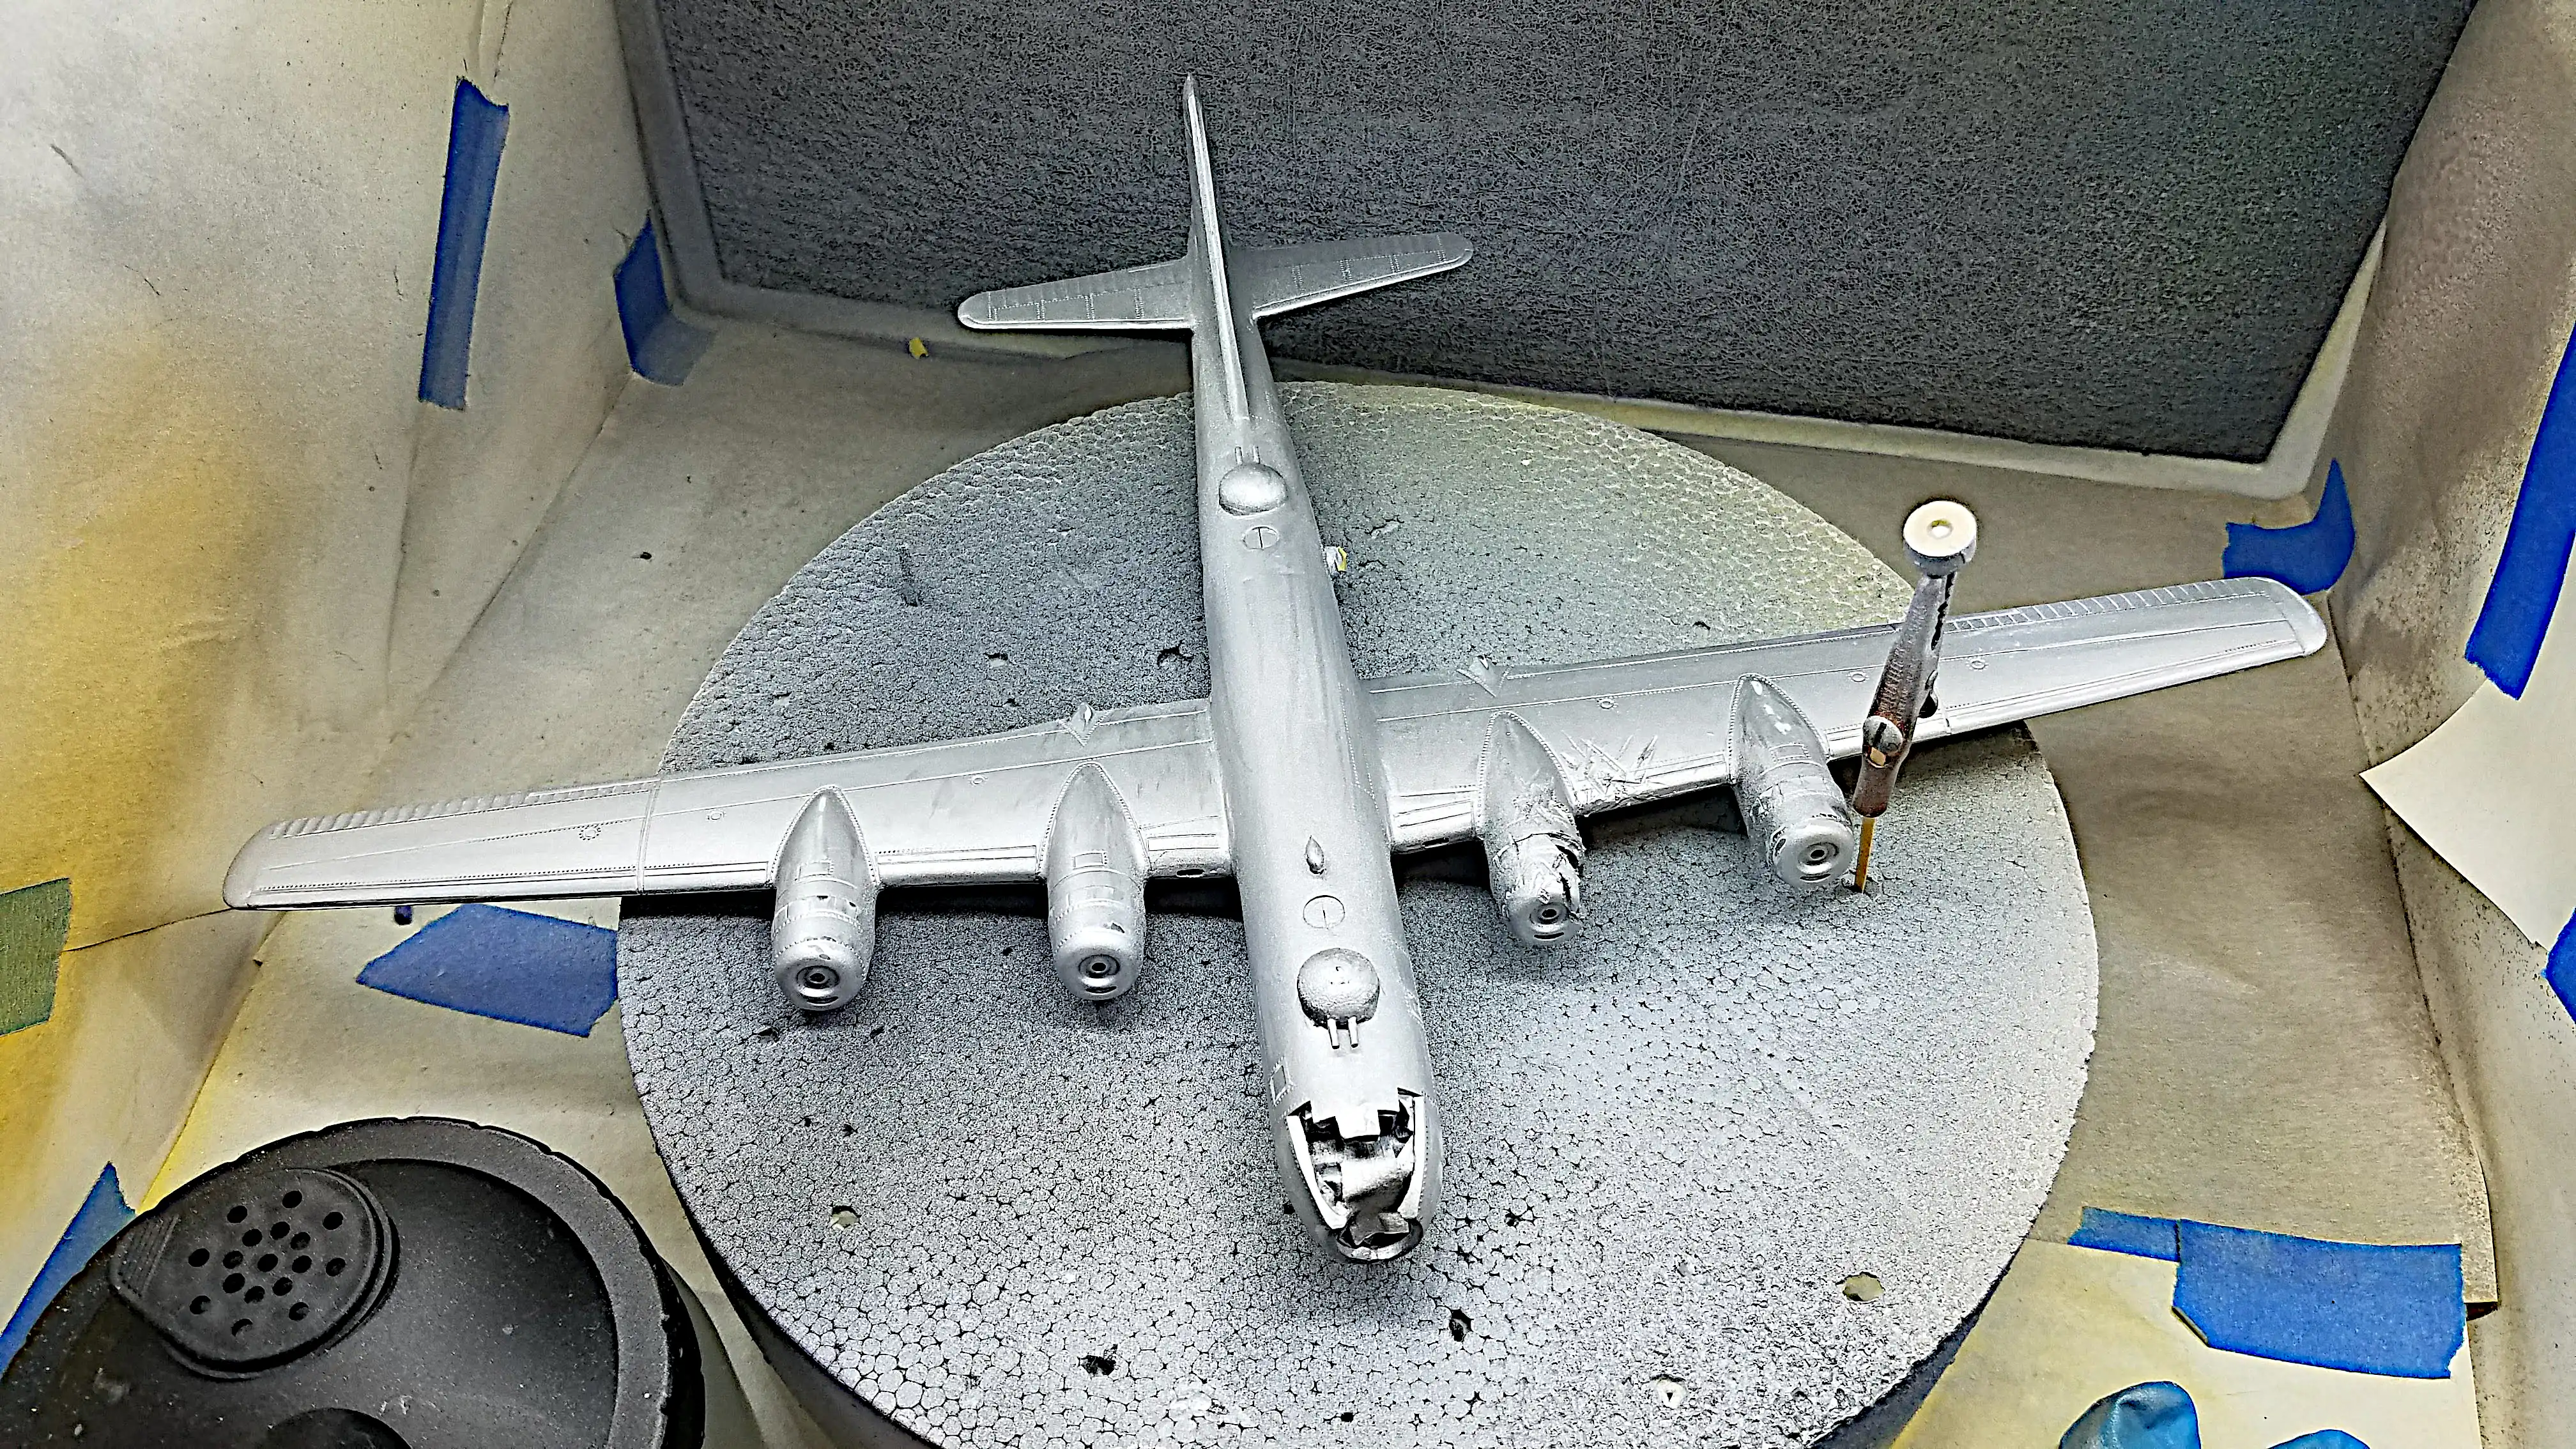 Airbrushed plane with natural aluminum
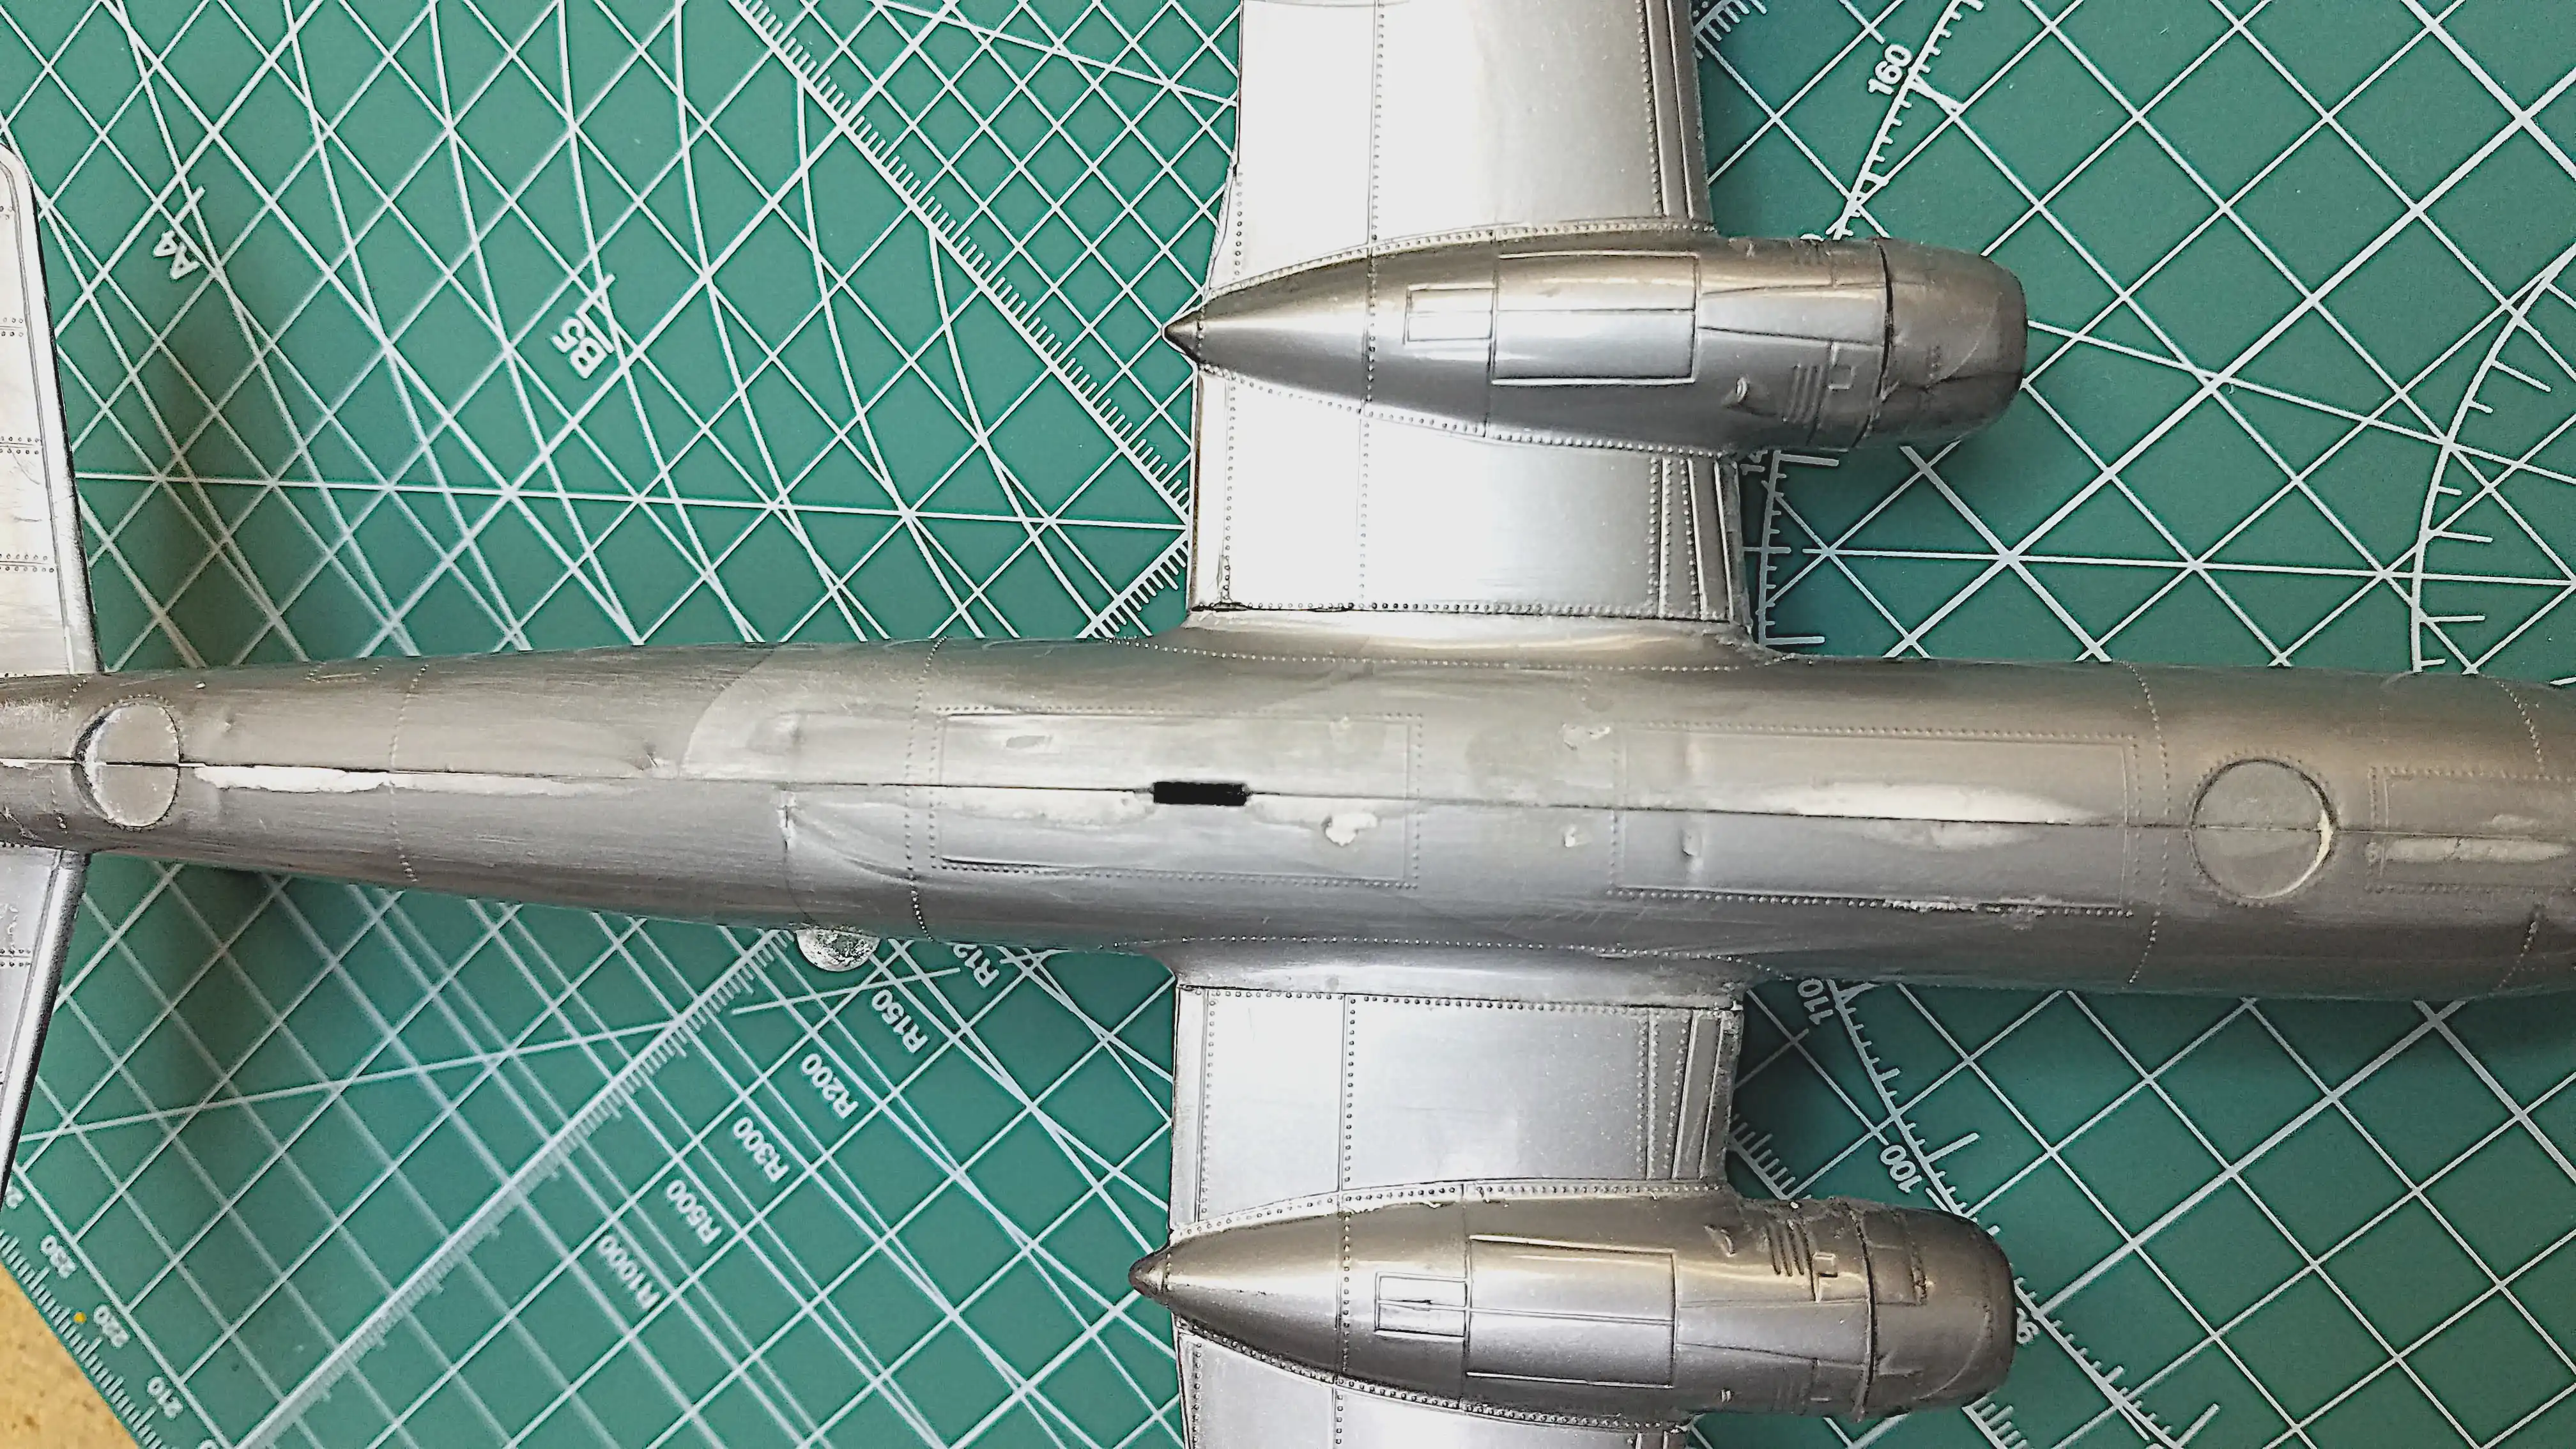
 Attempt to show panel affects
 Attempt to show panel affects
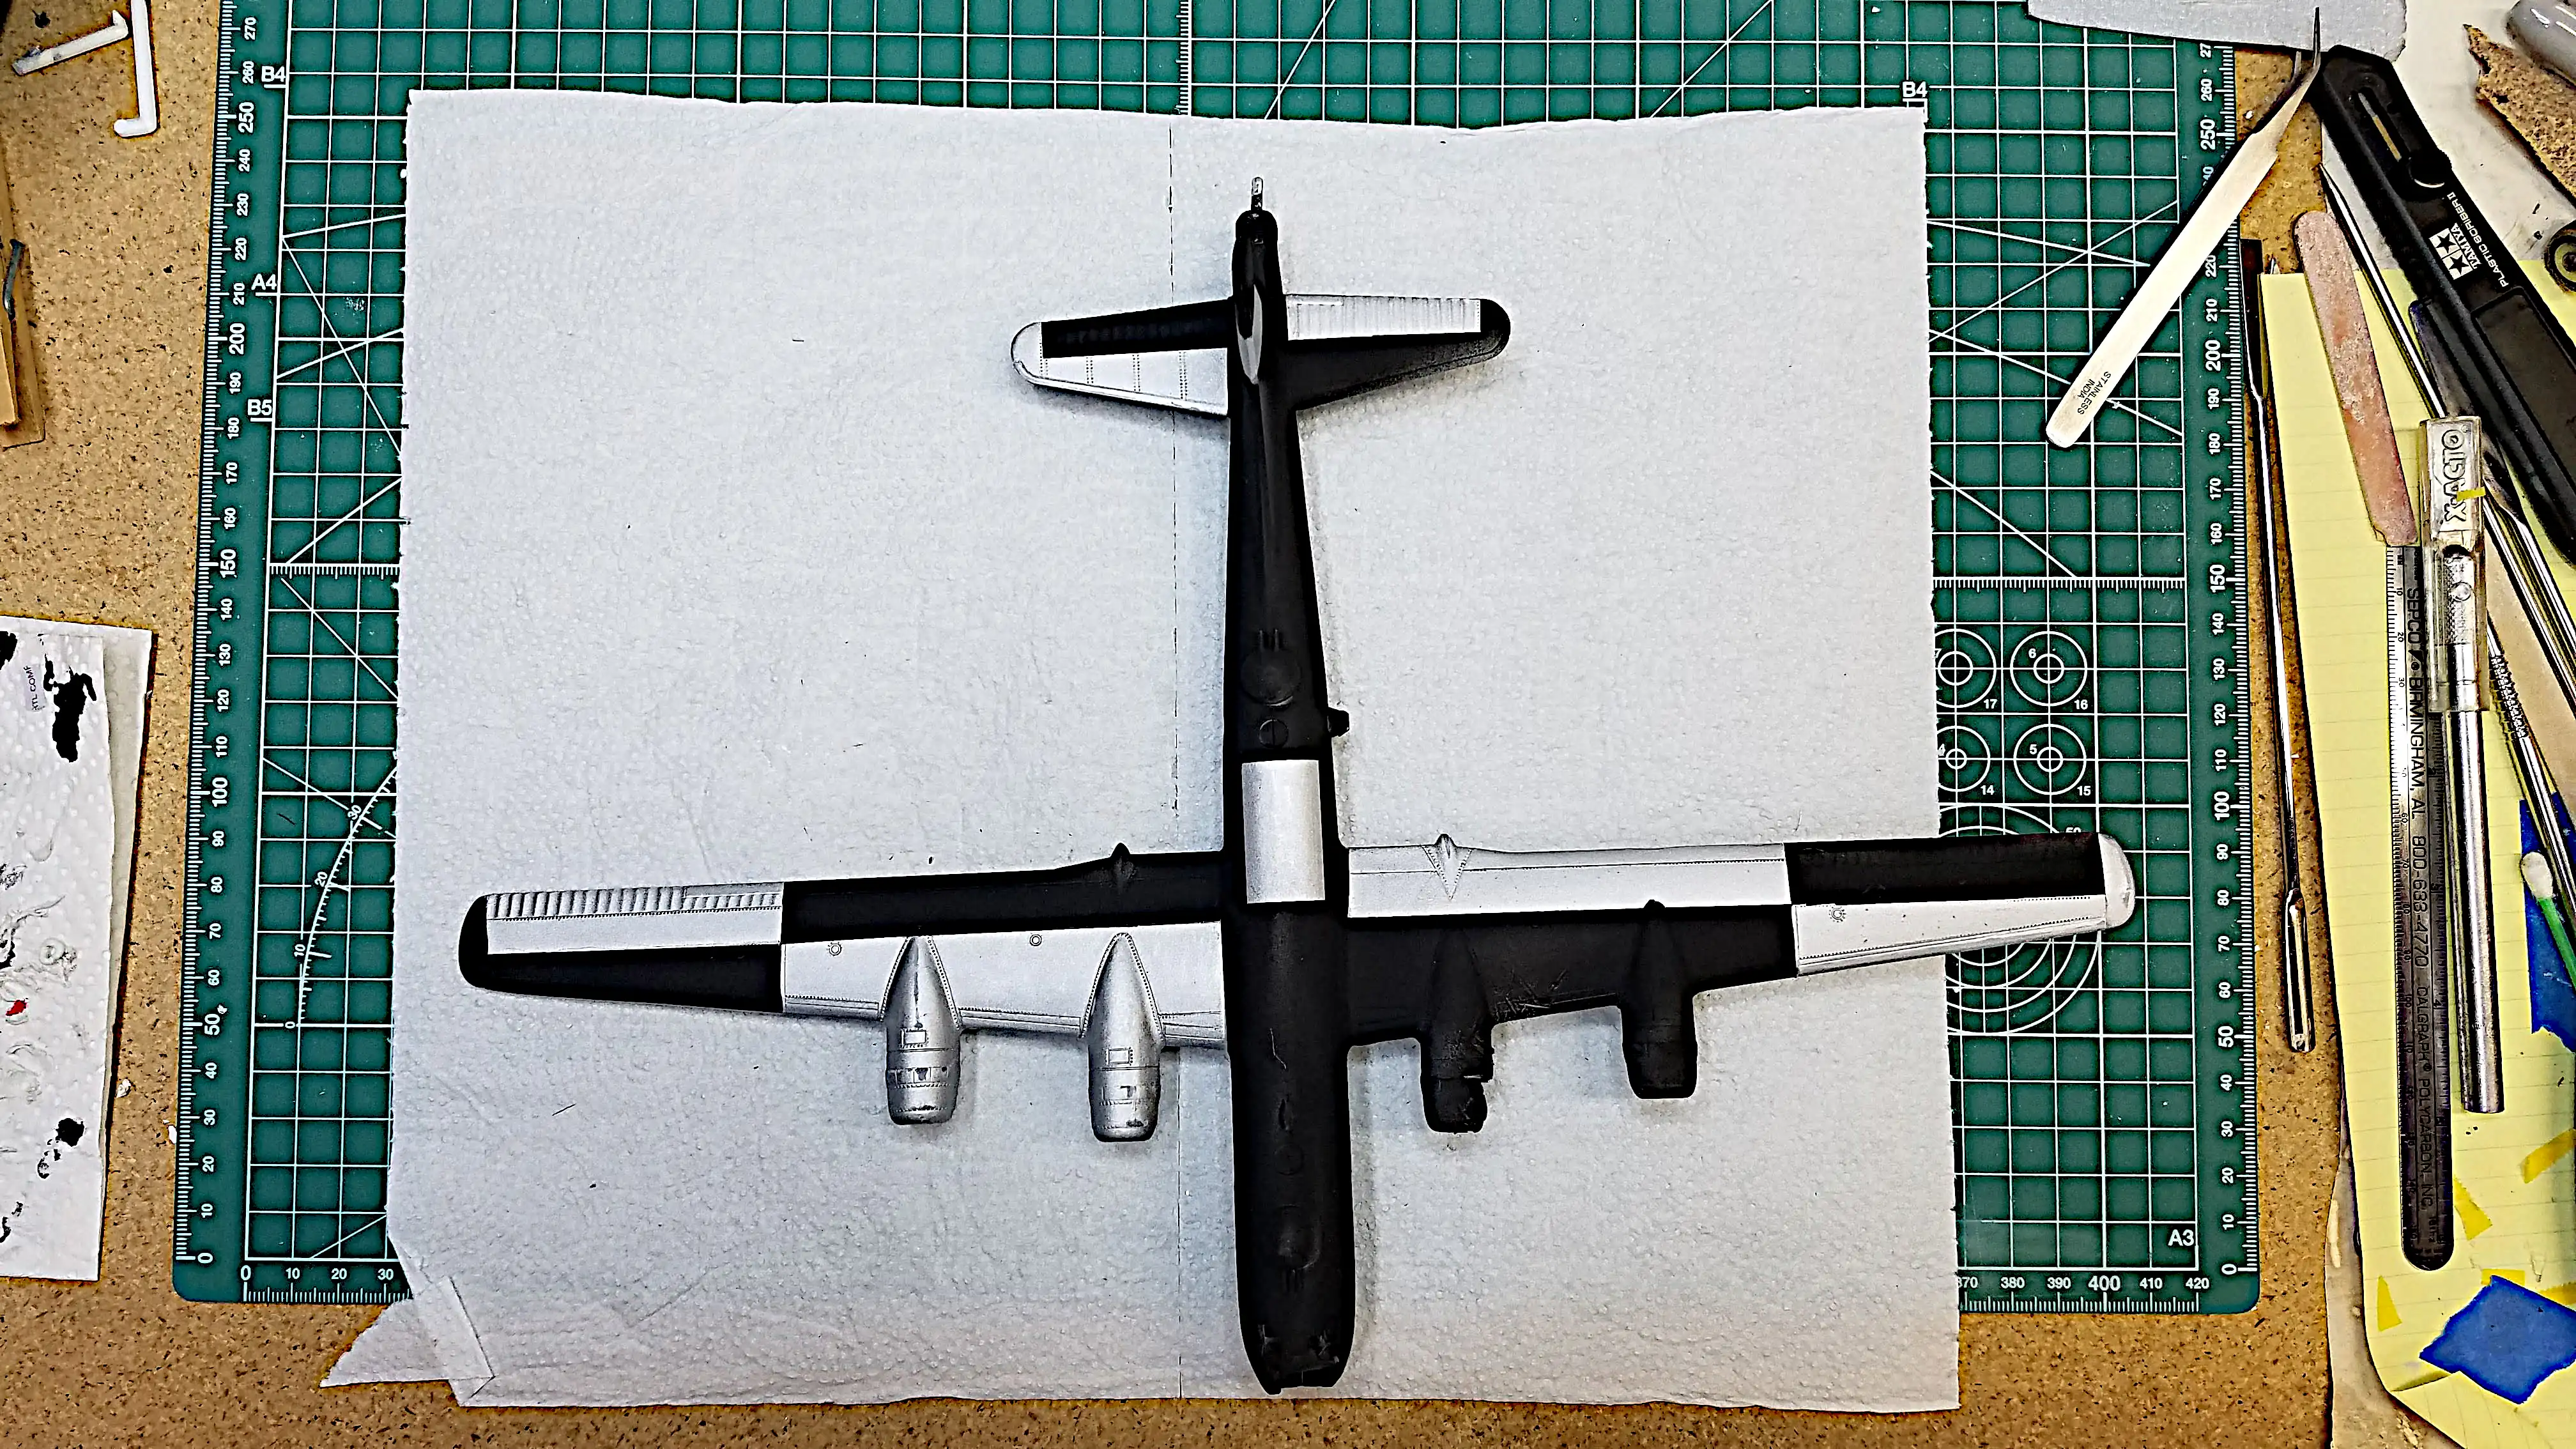
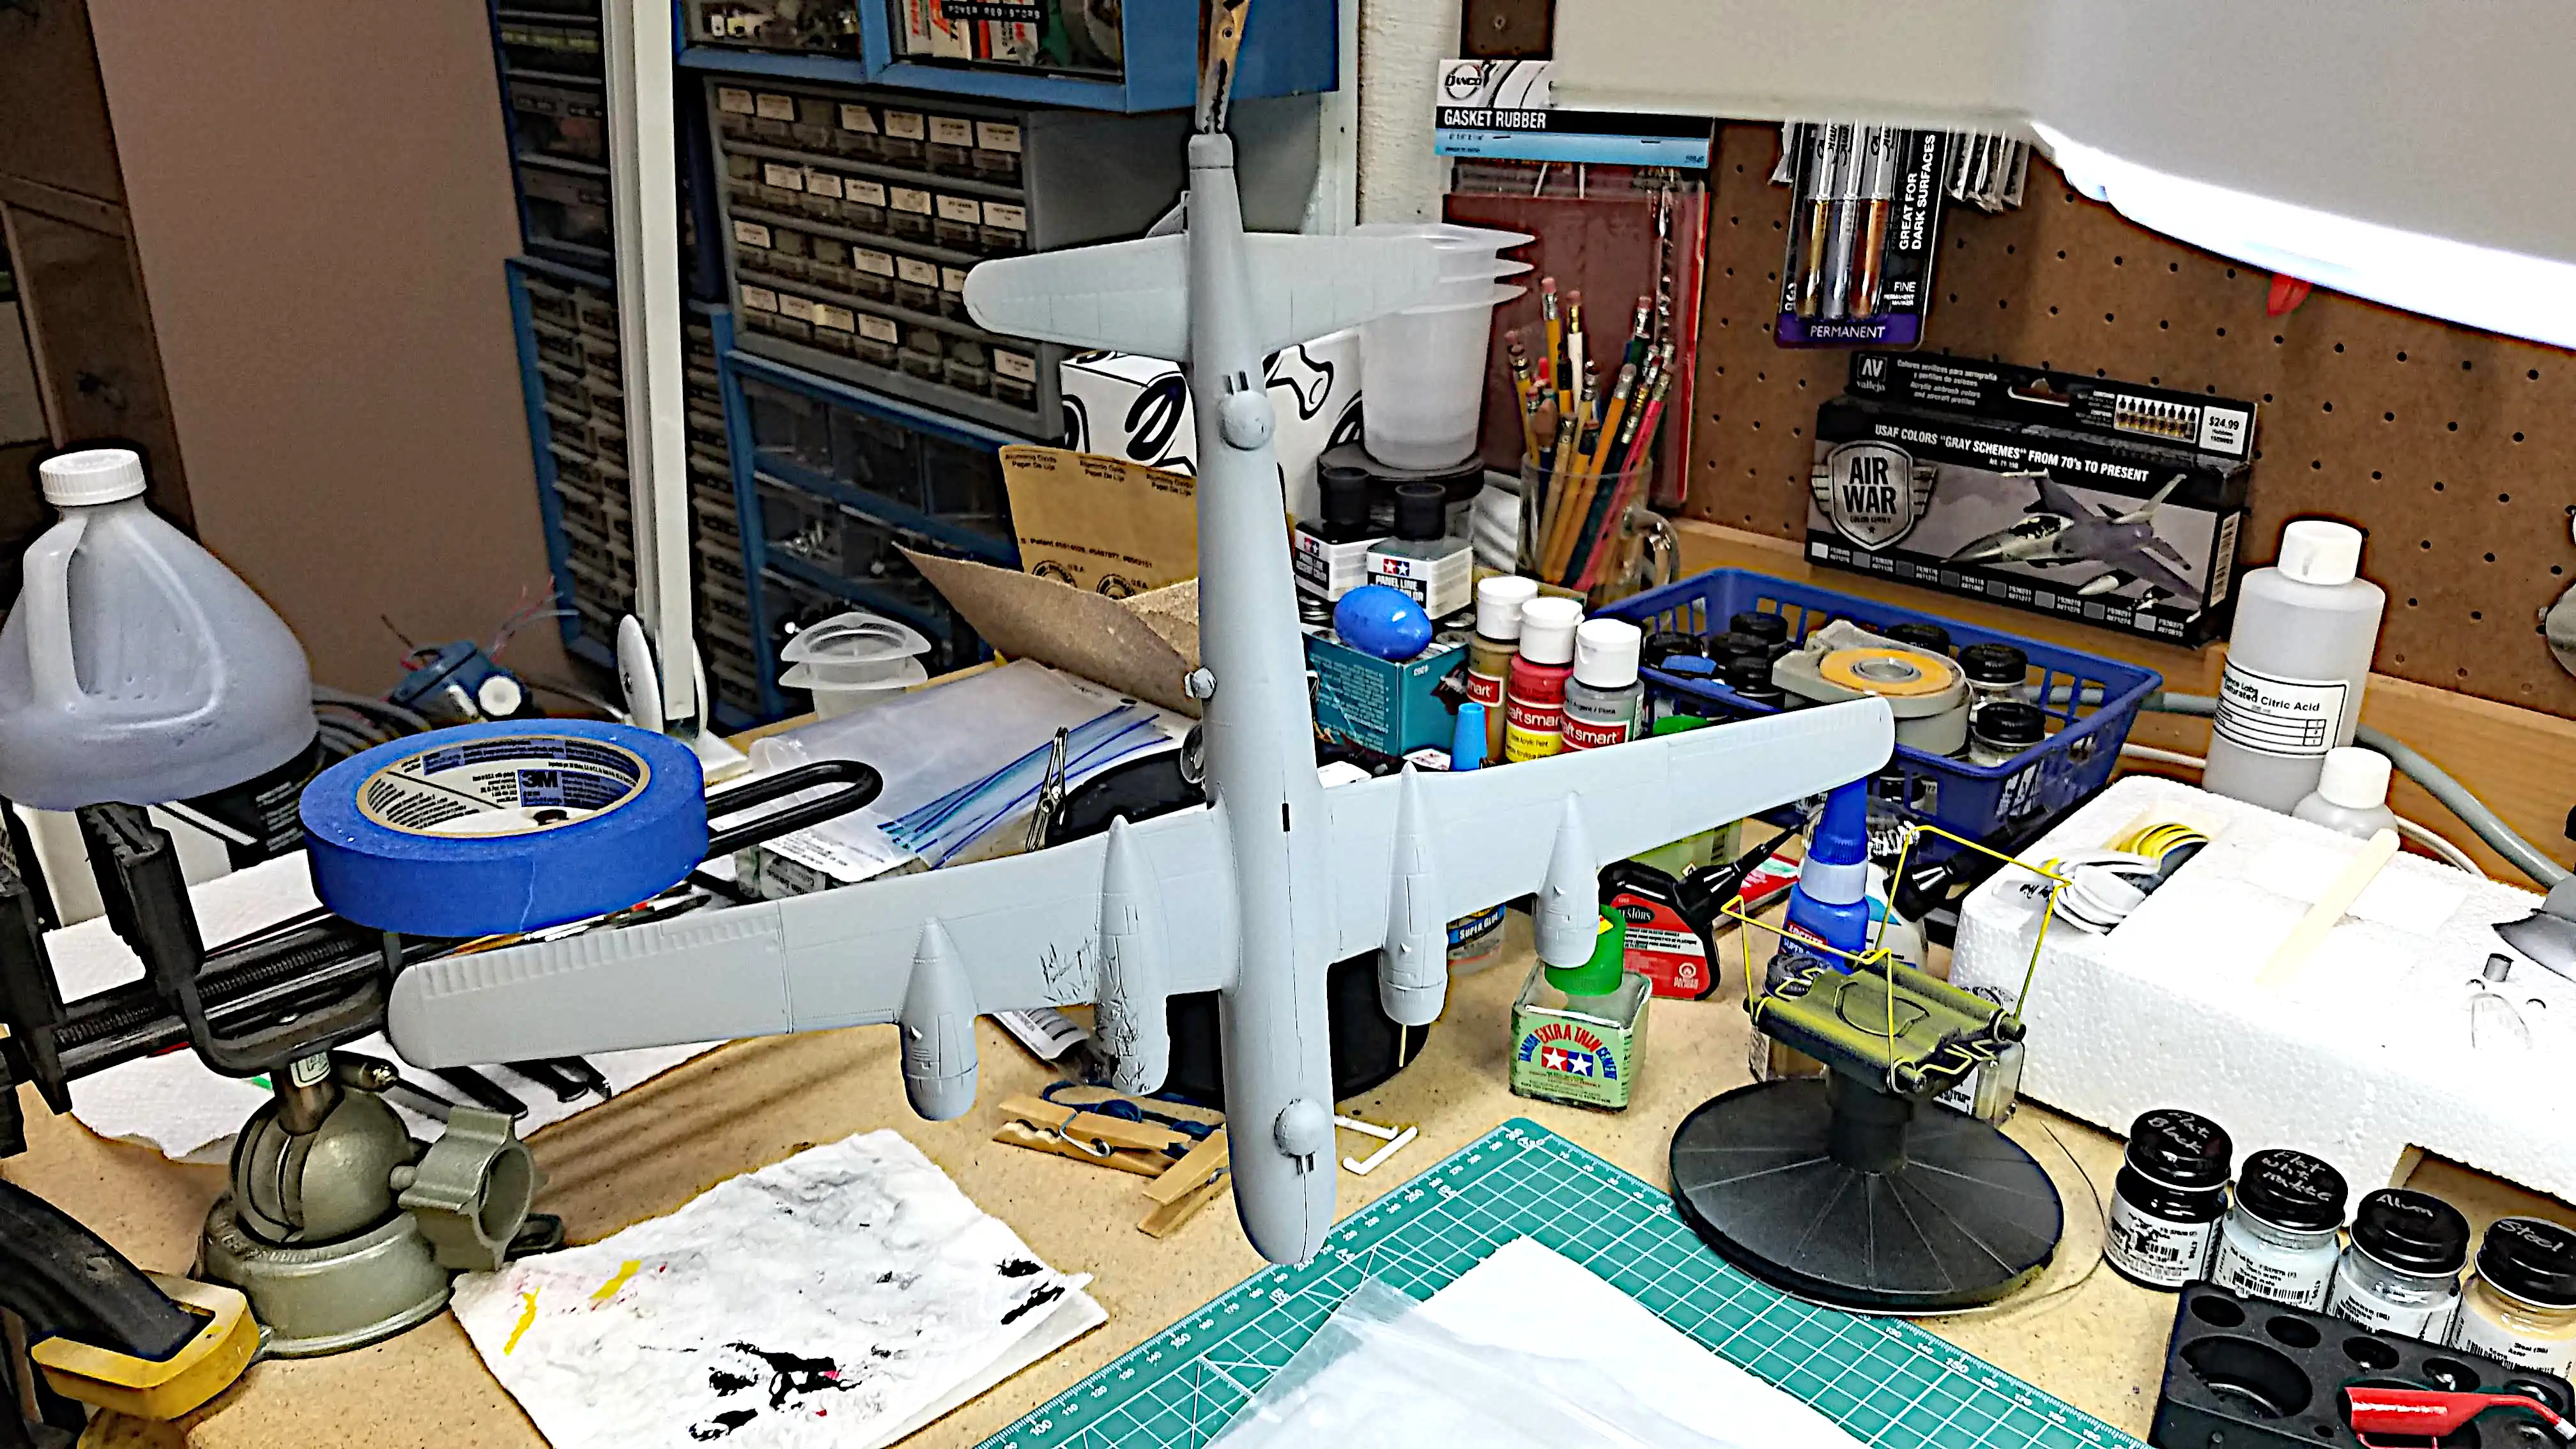 Gave the plane a coat of Gray
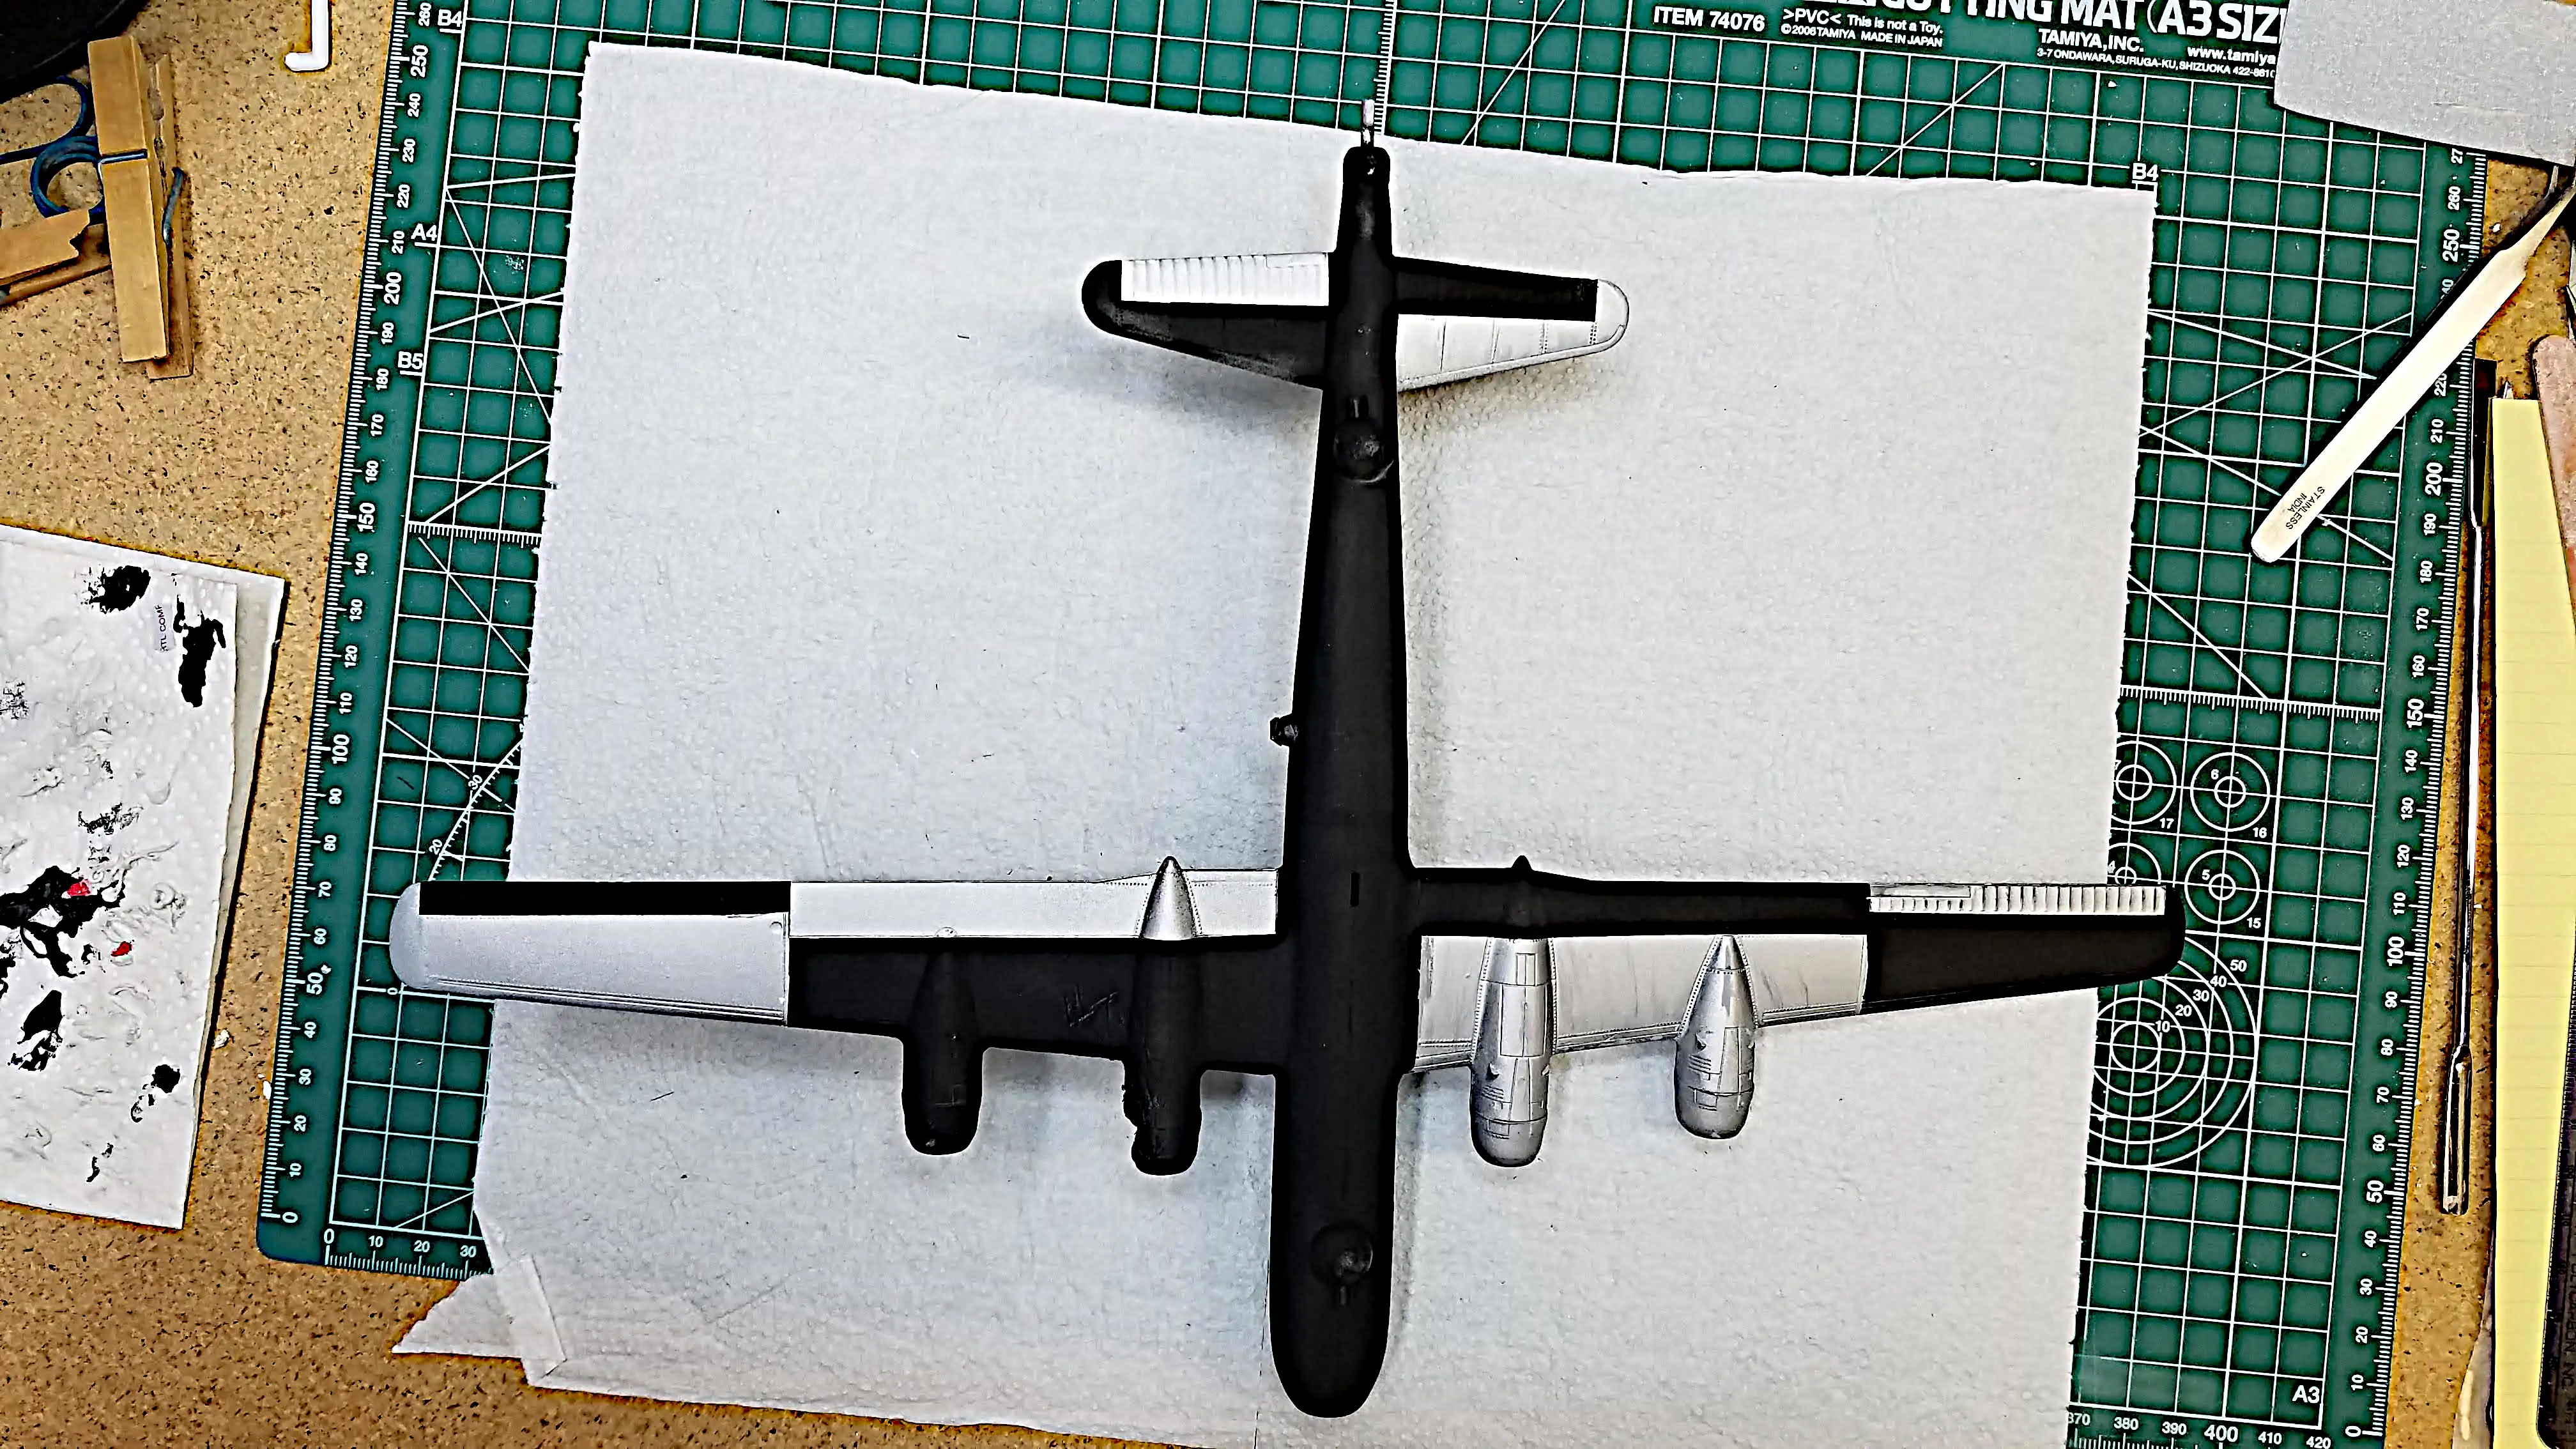
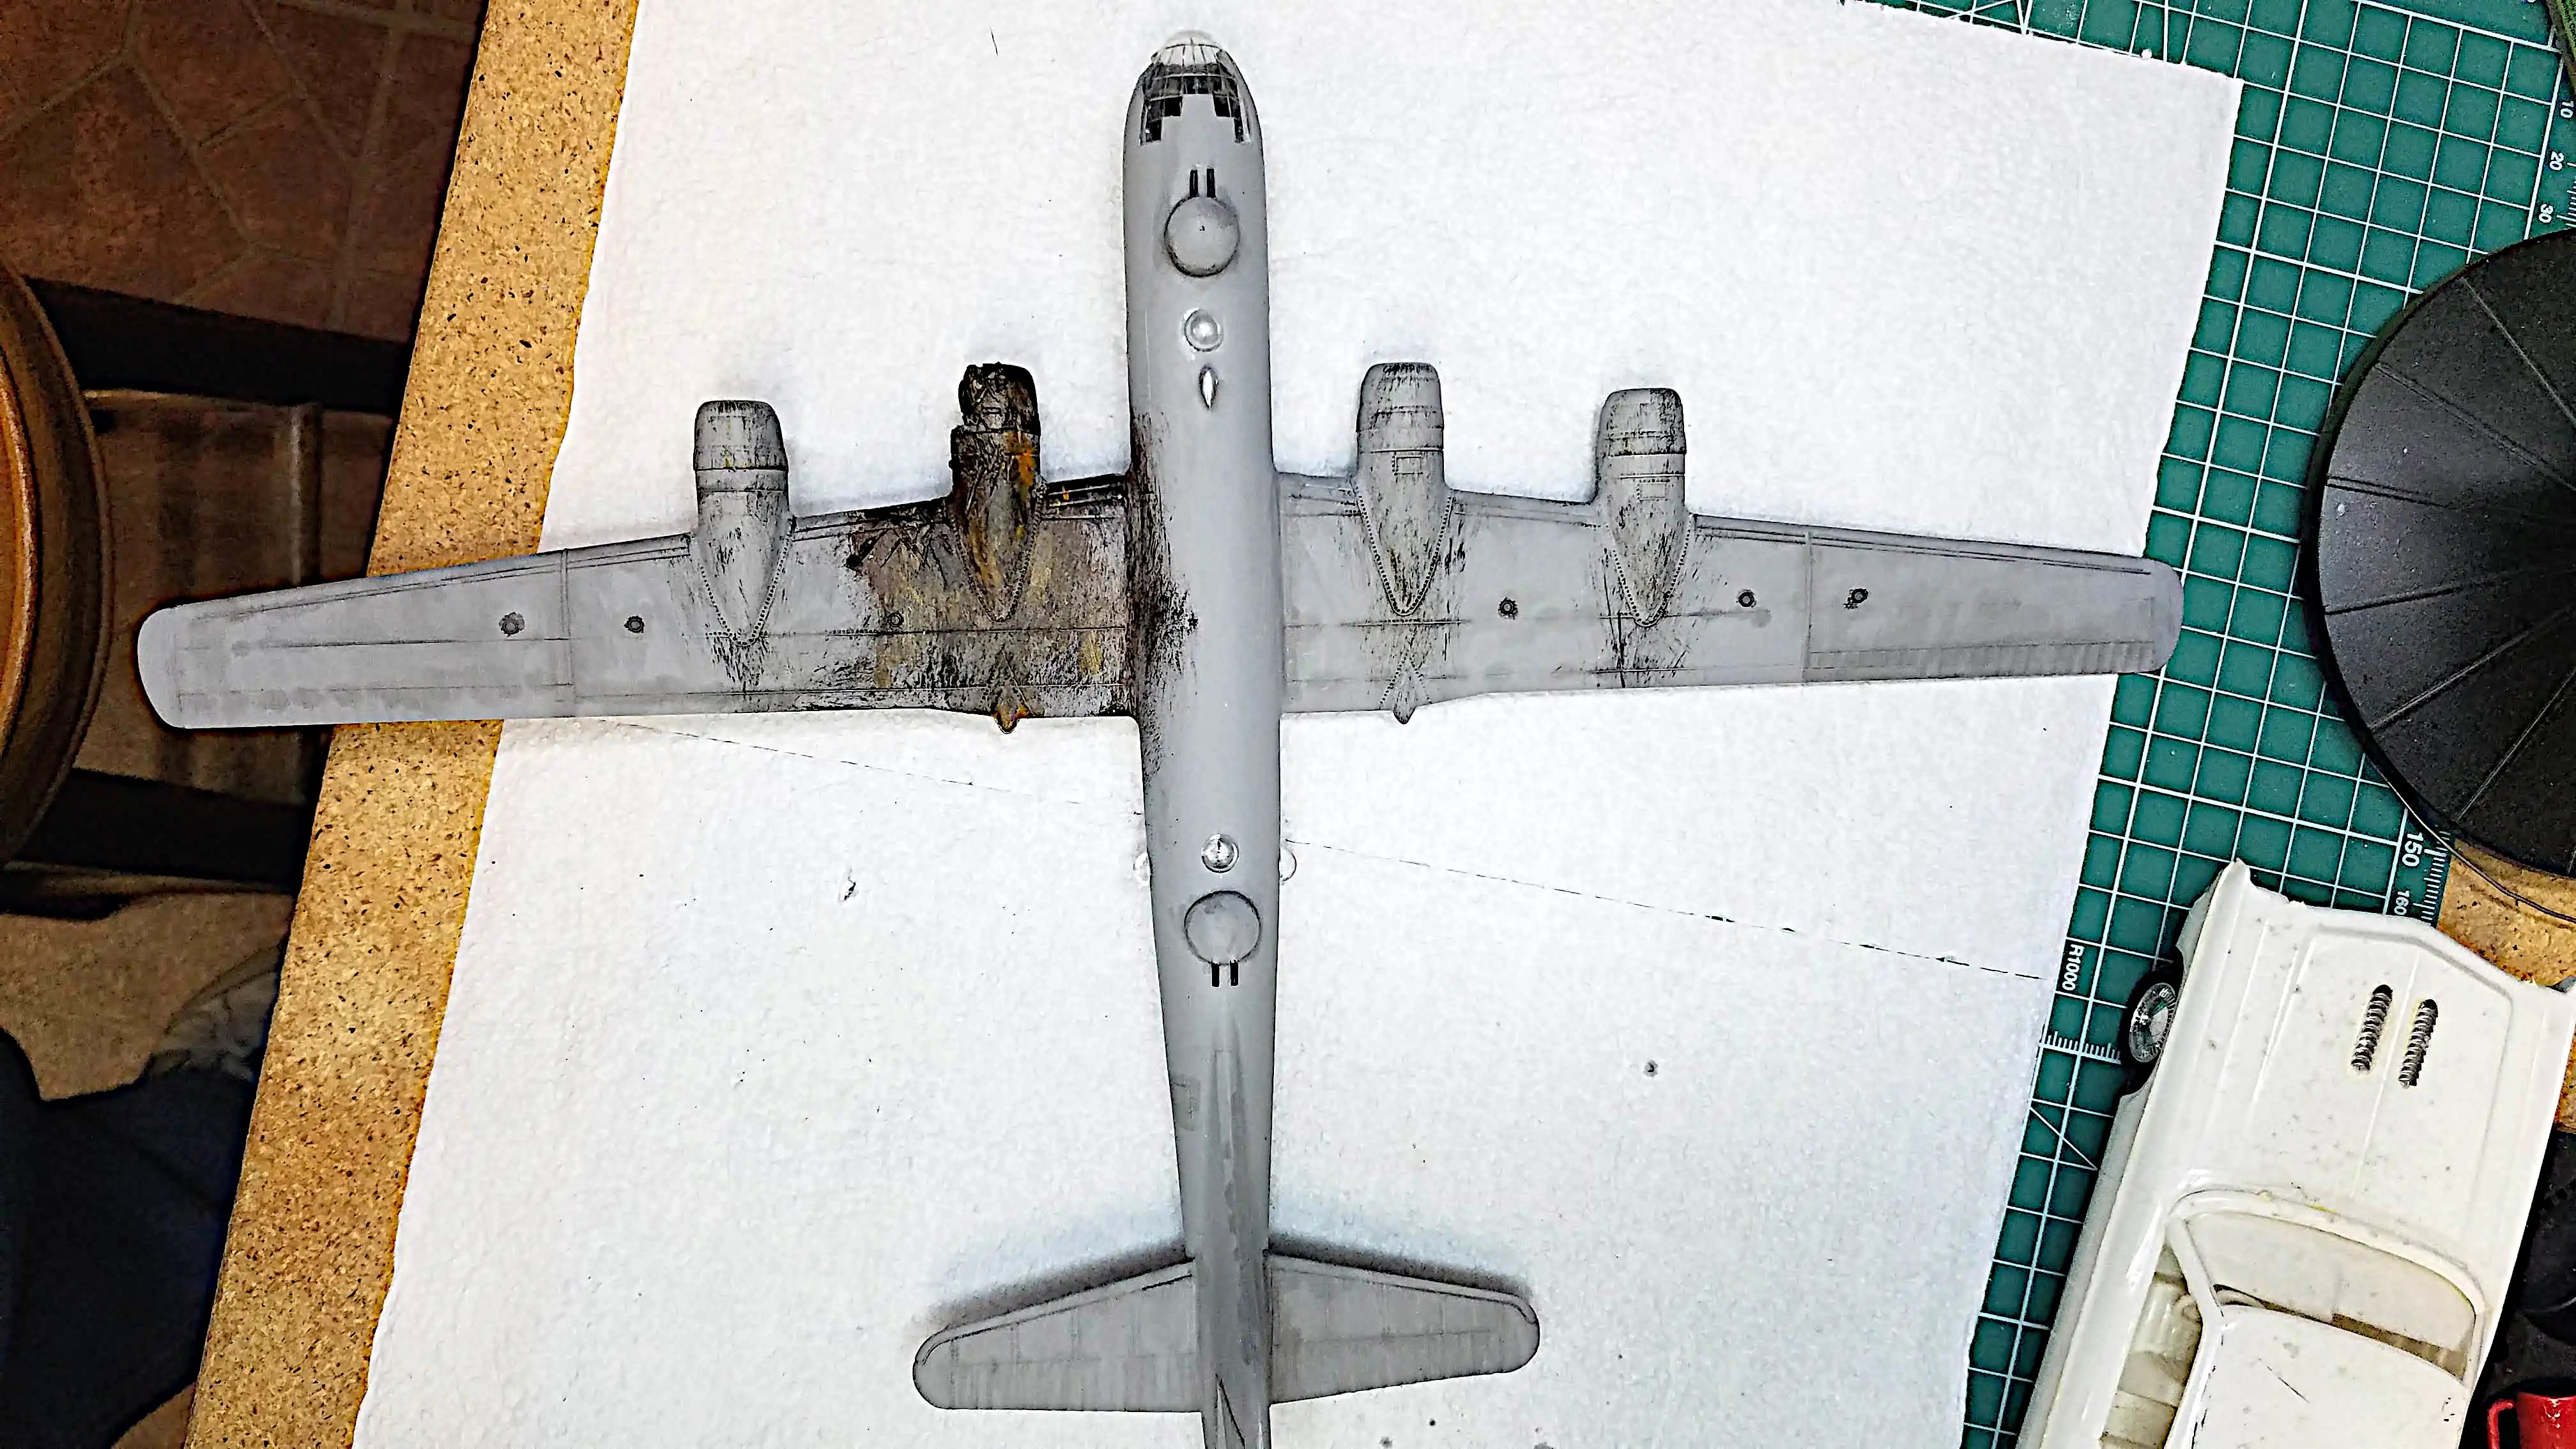
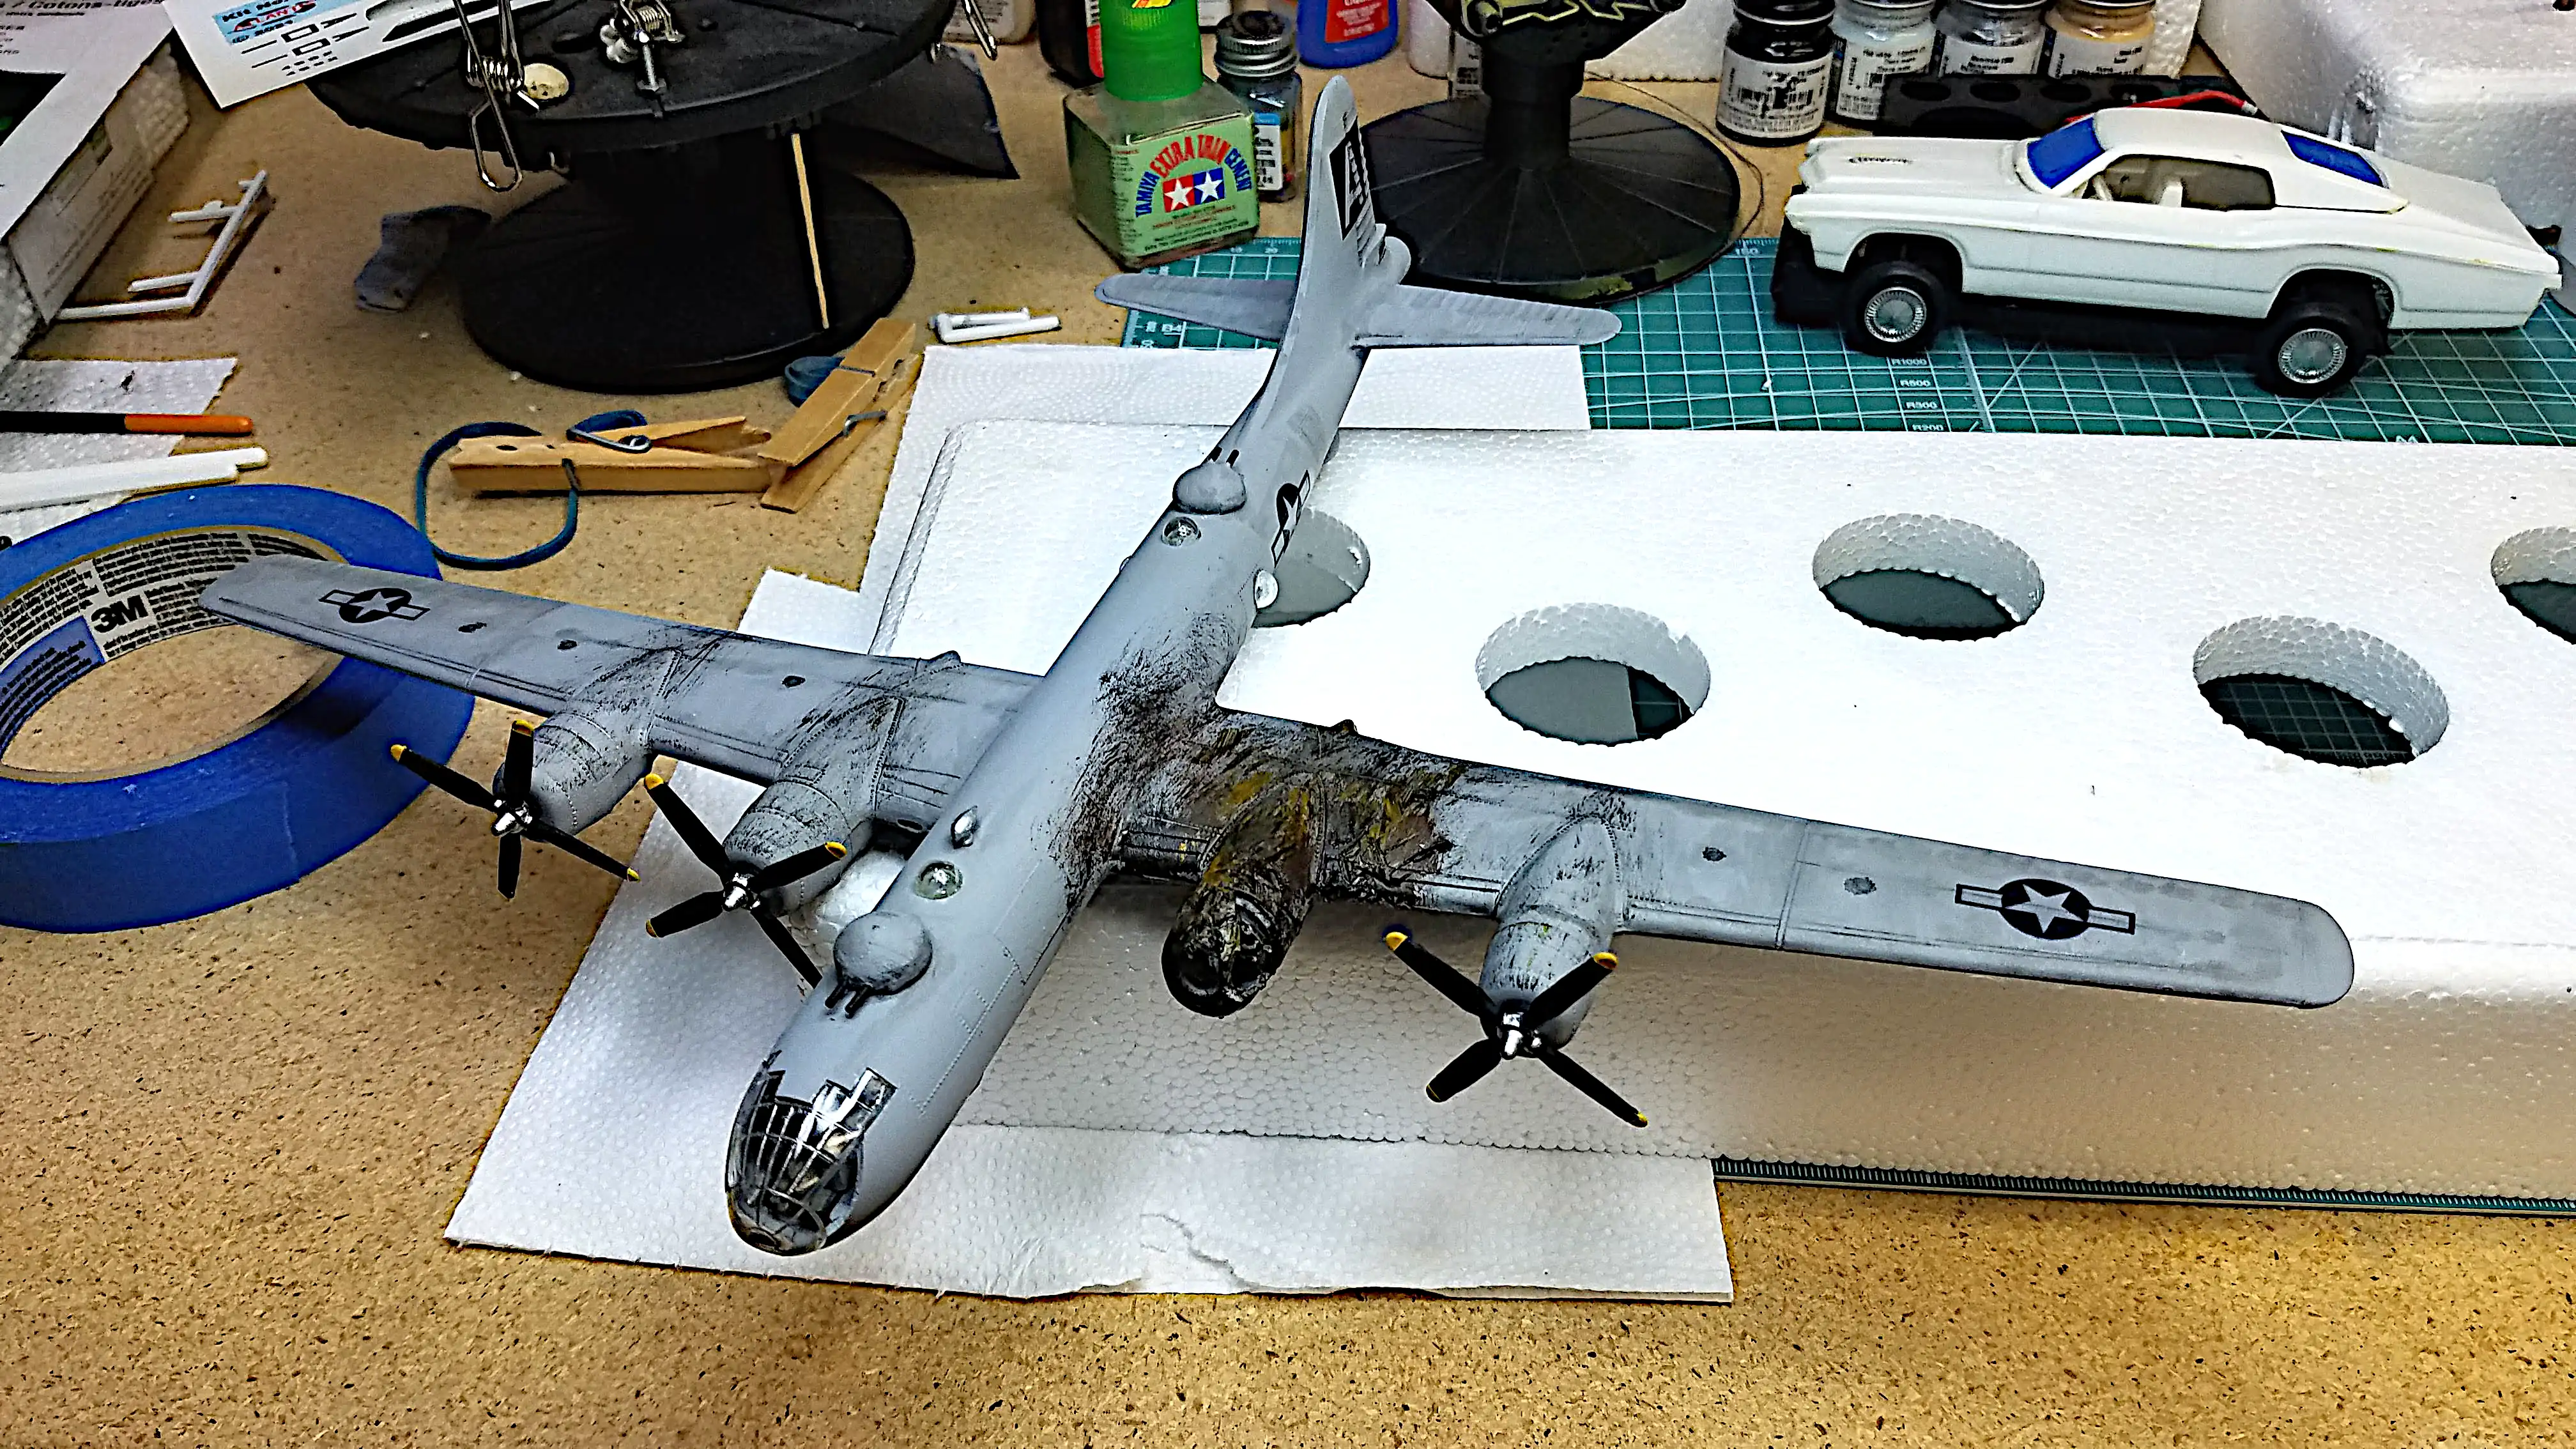
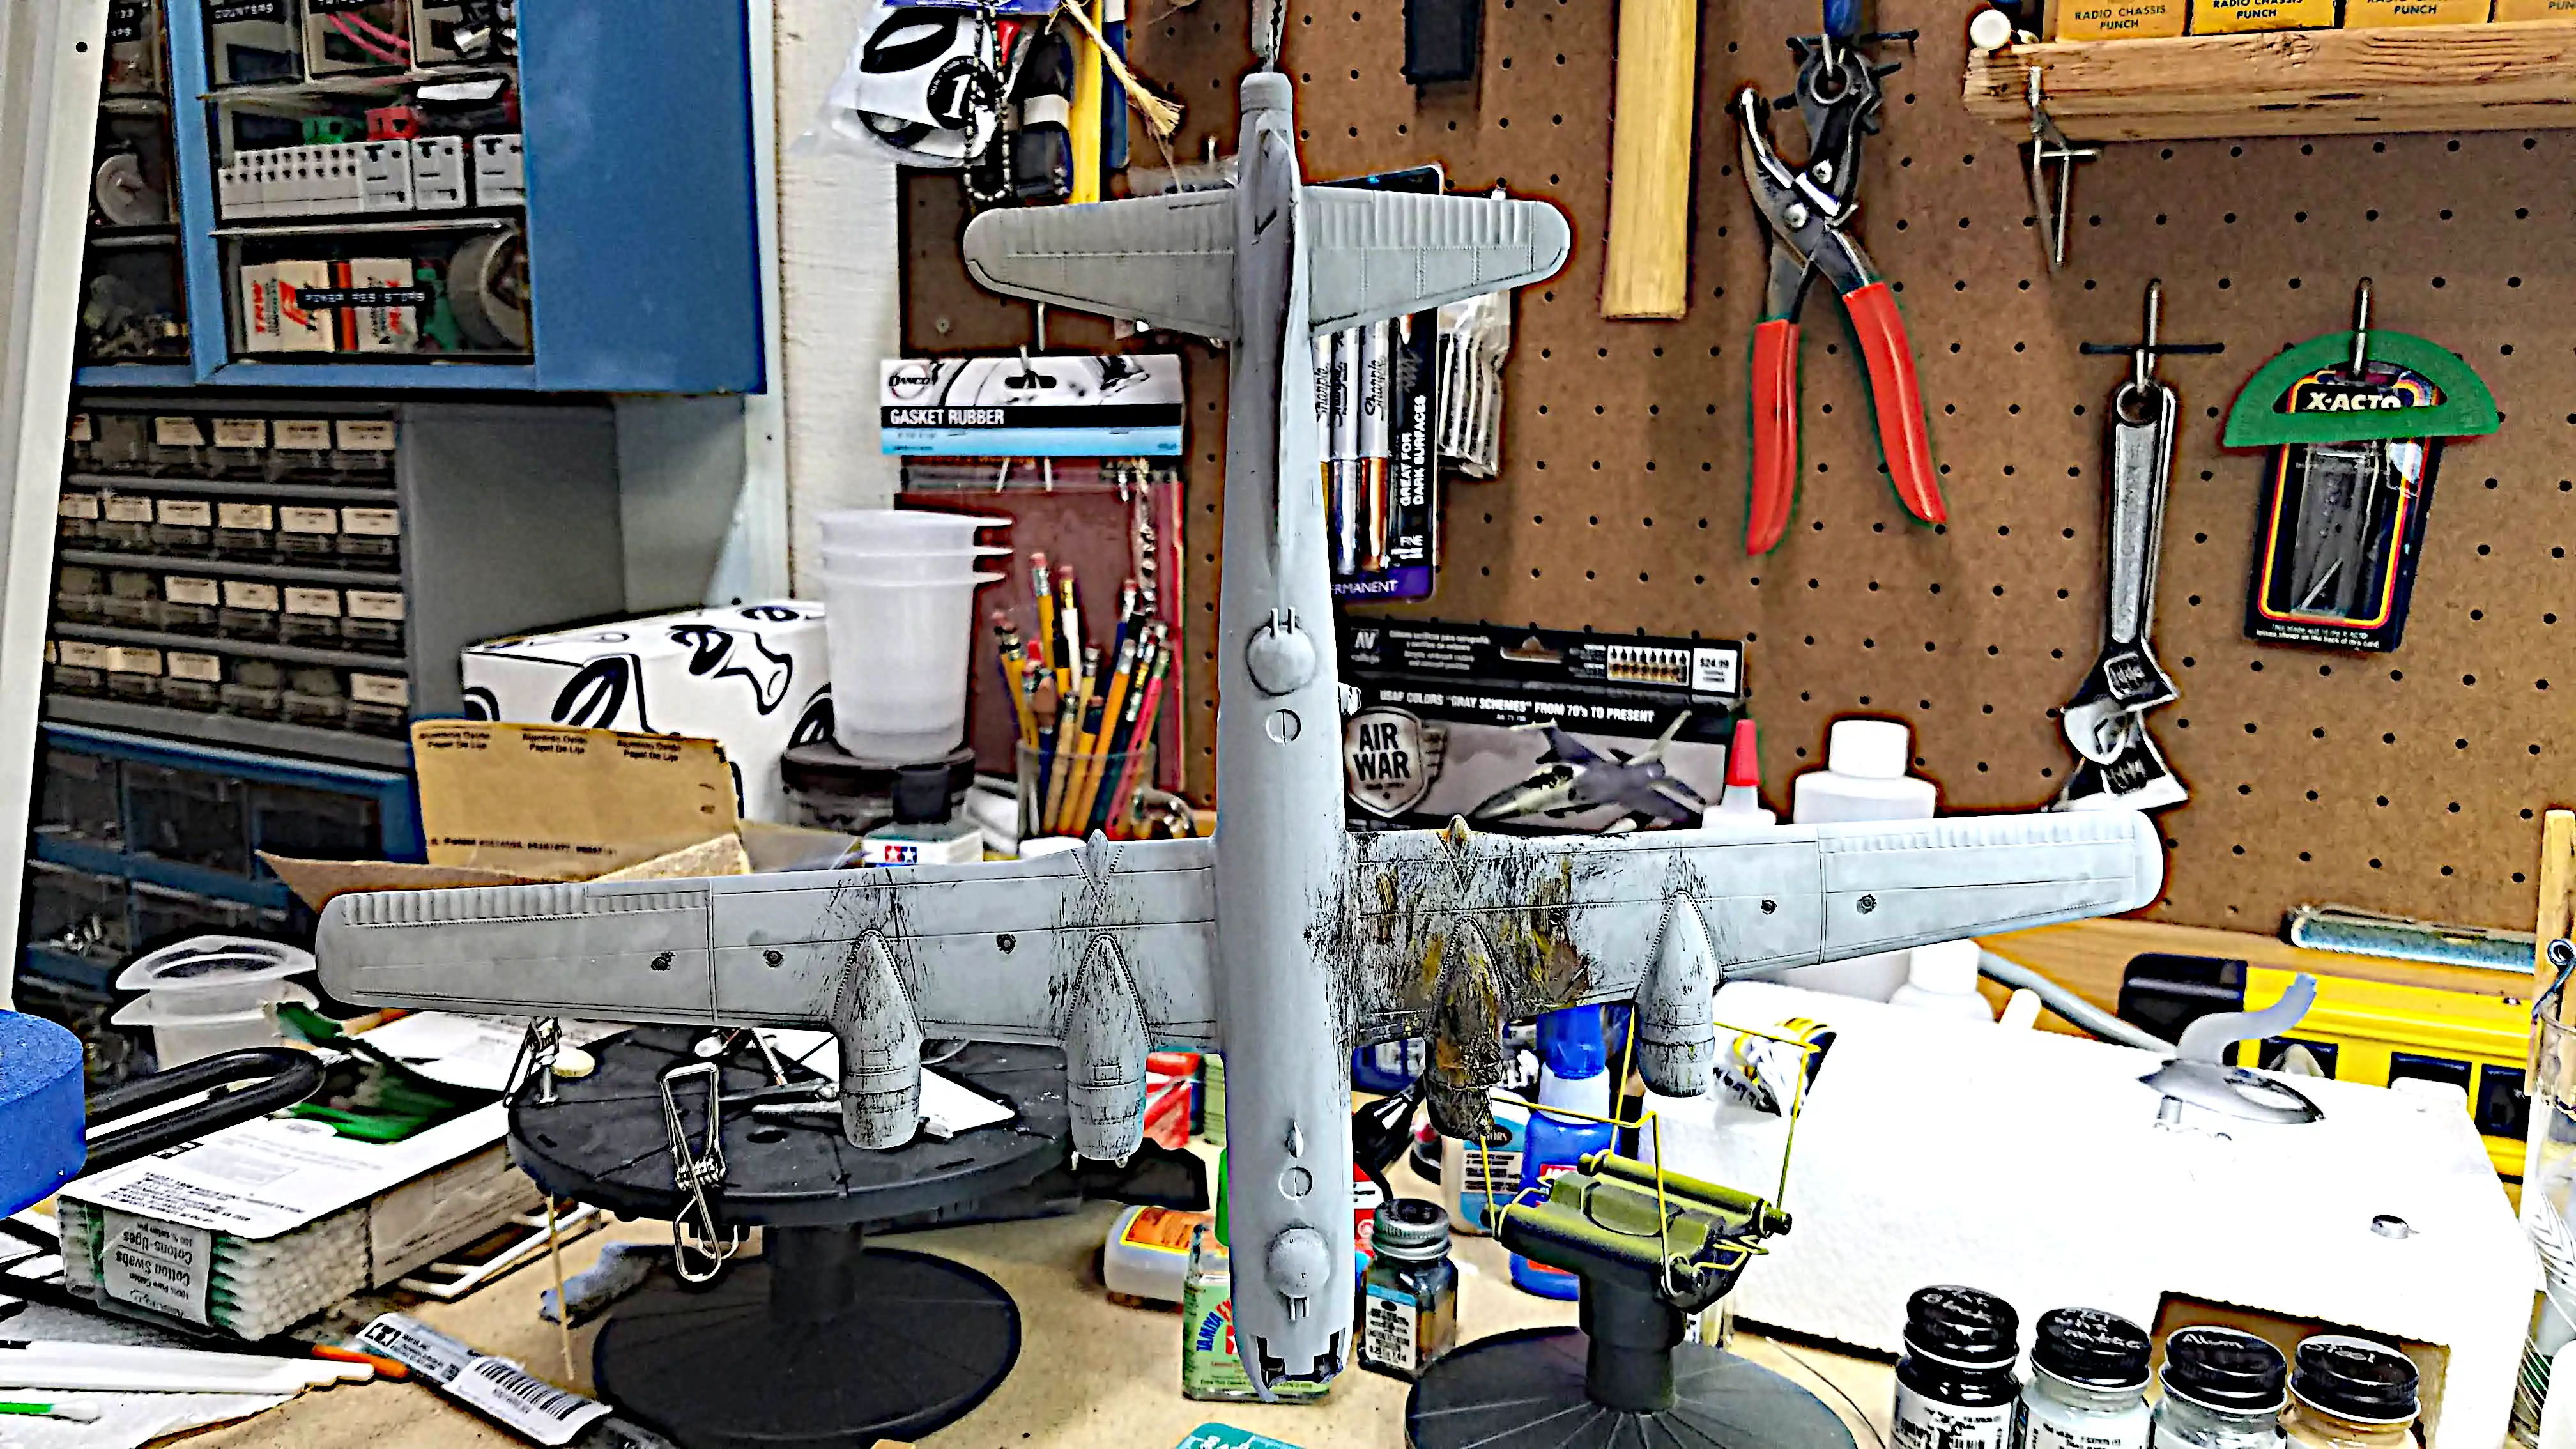 Started weathering the plane
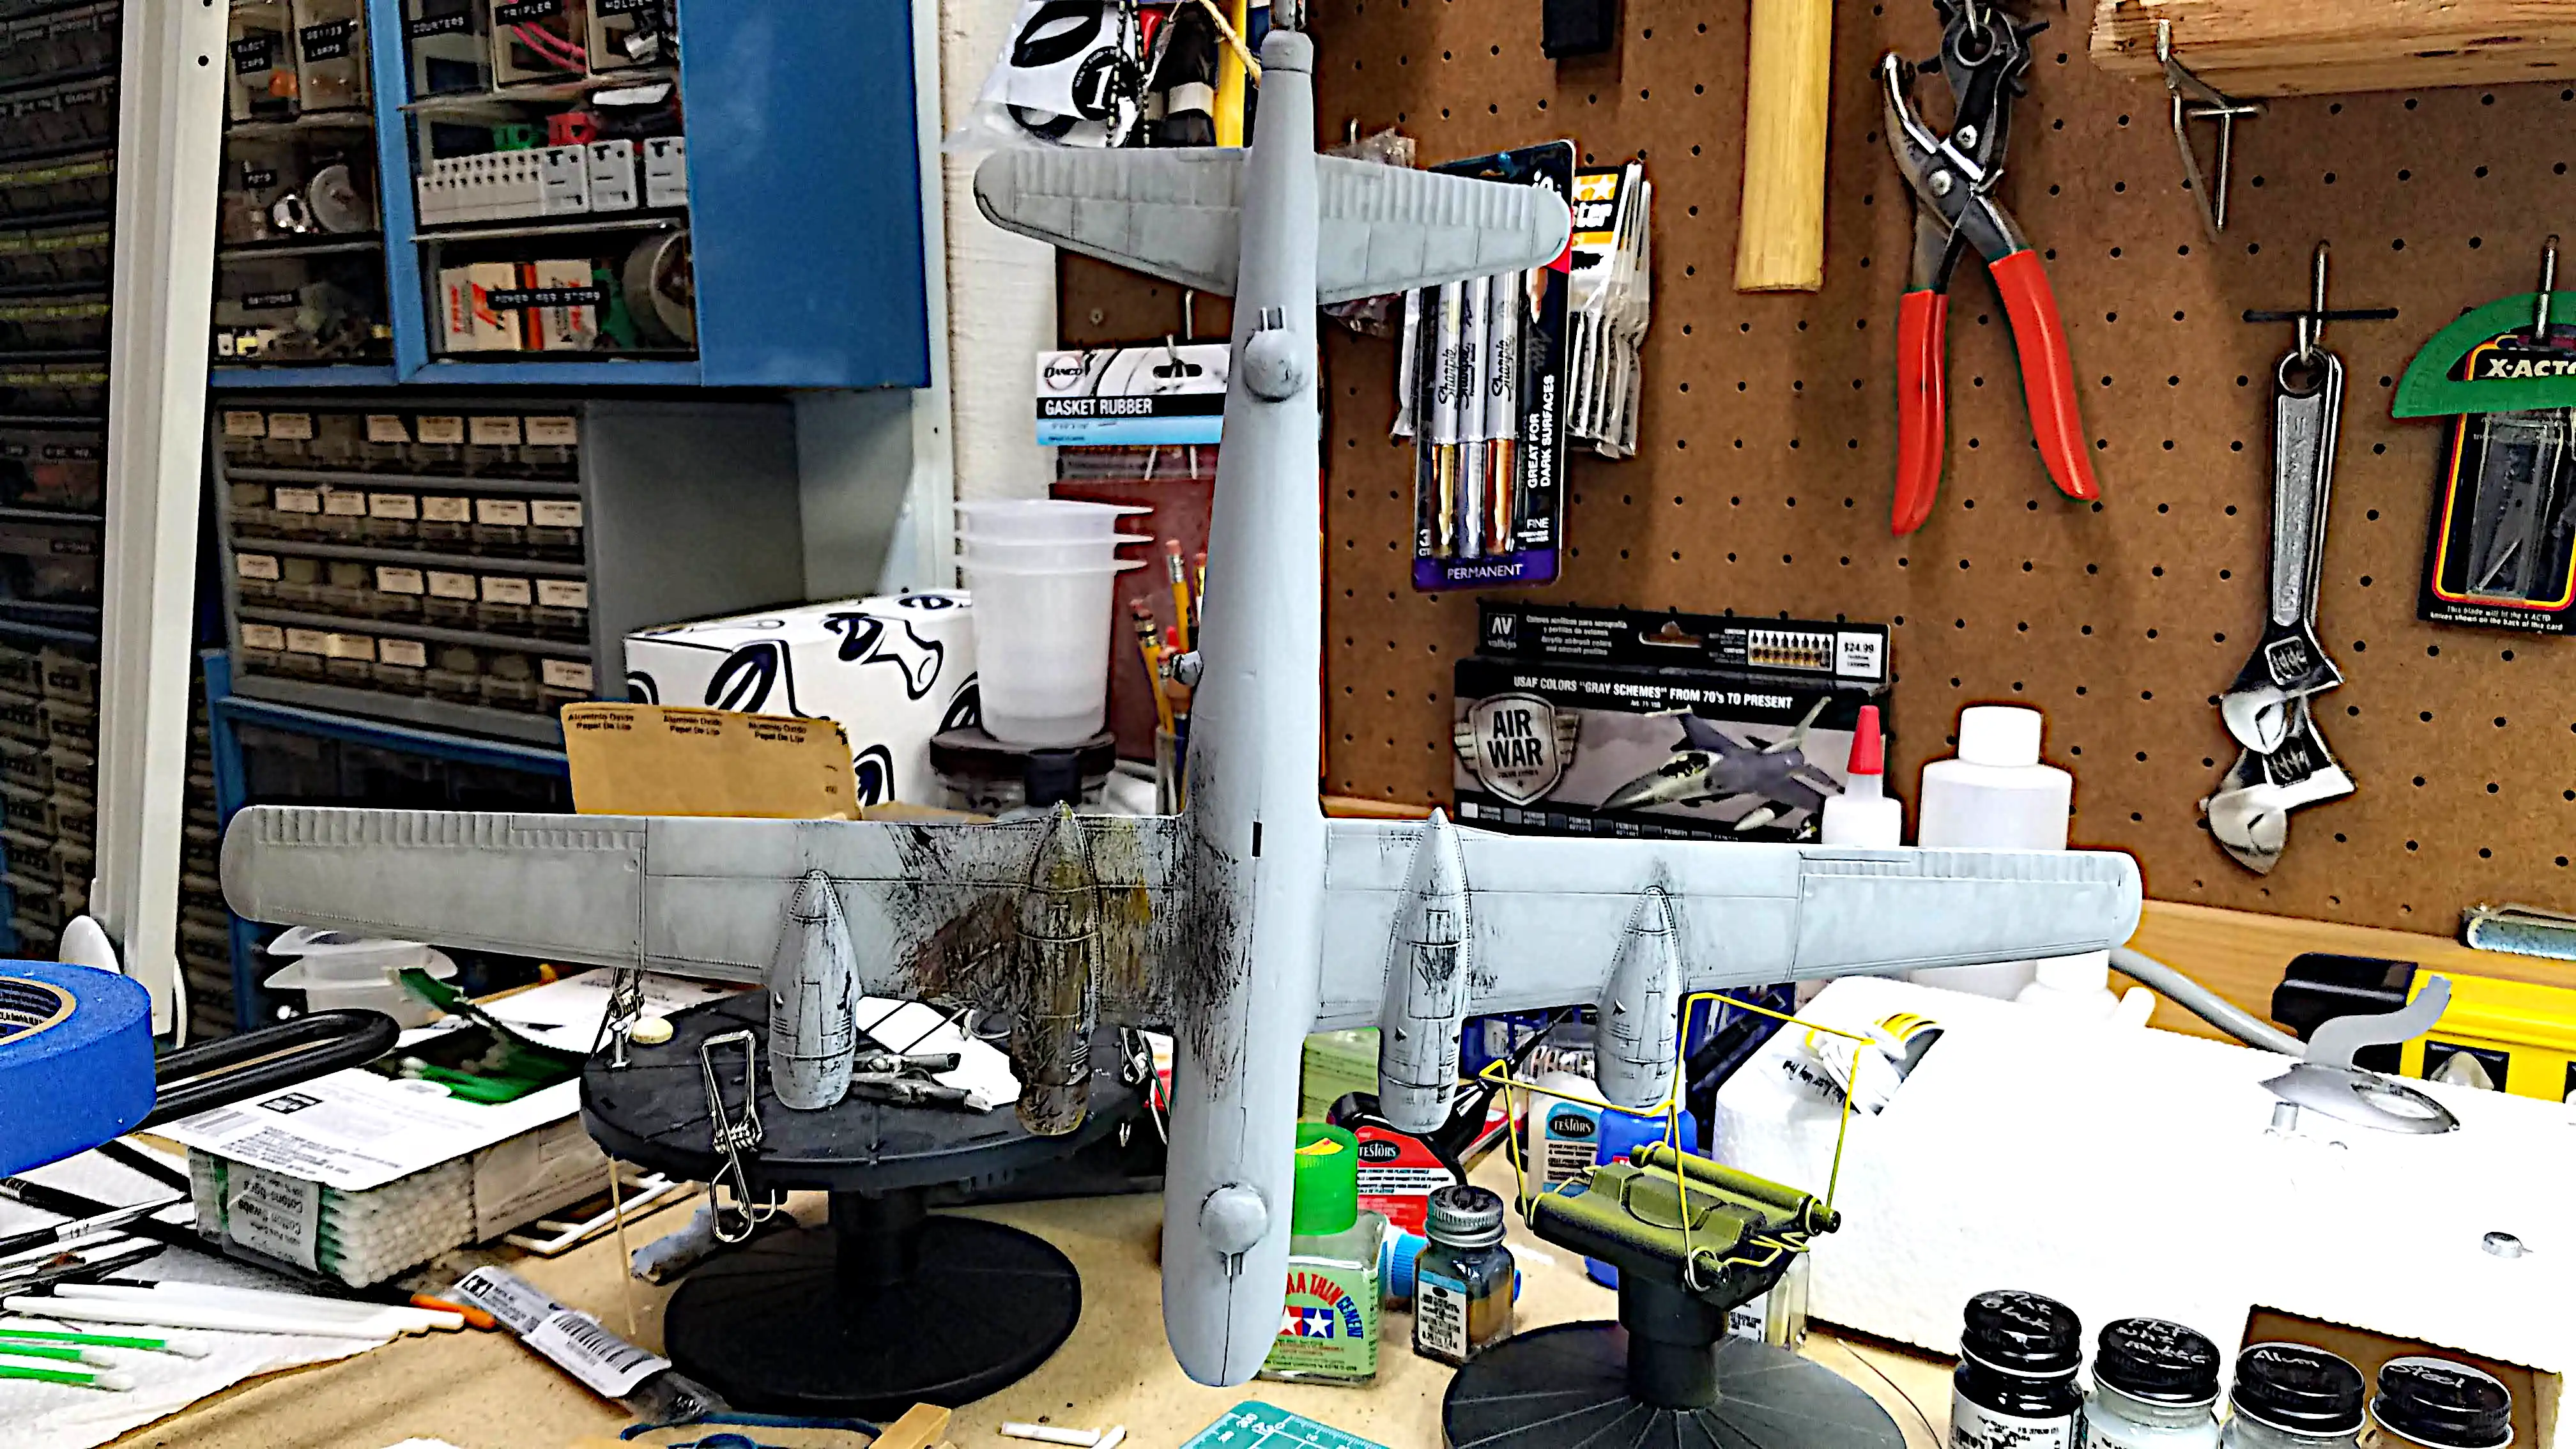 Started weathering the plane
 Installed the cockpit canopy
 Installed the cockpit canopy
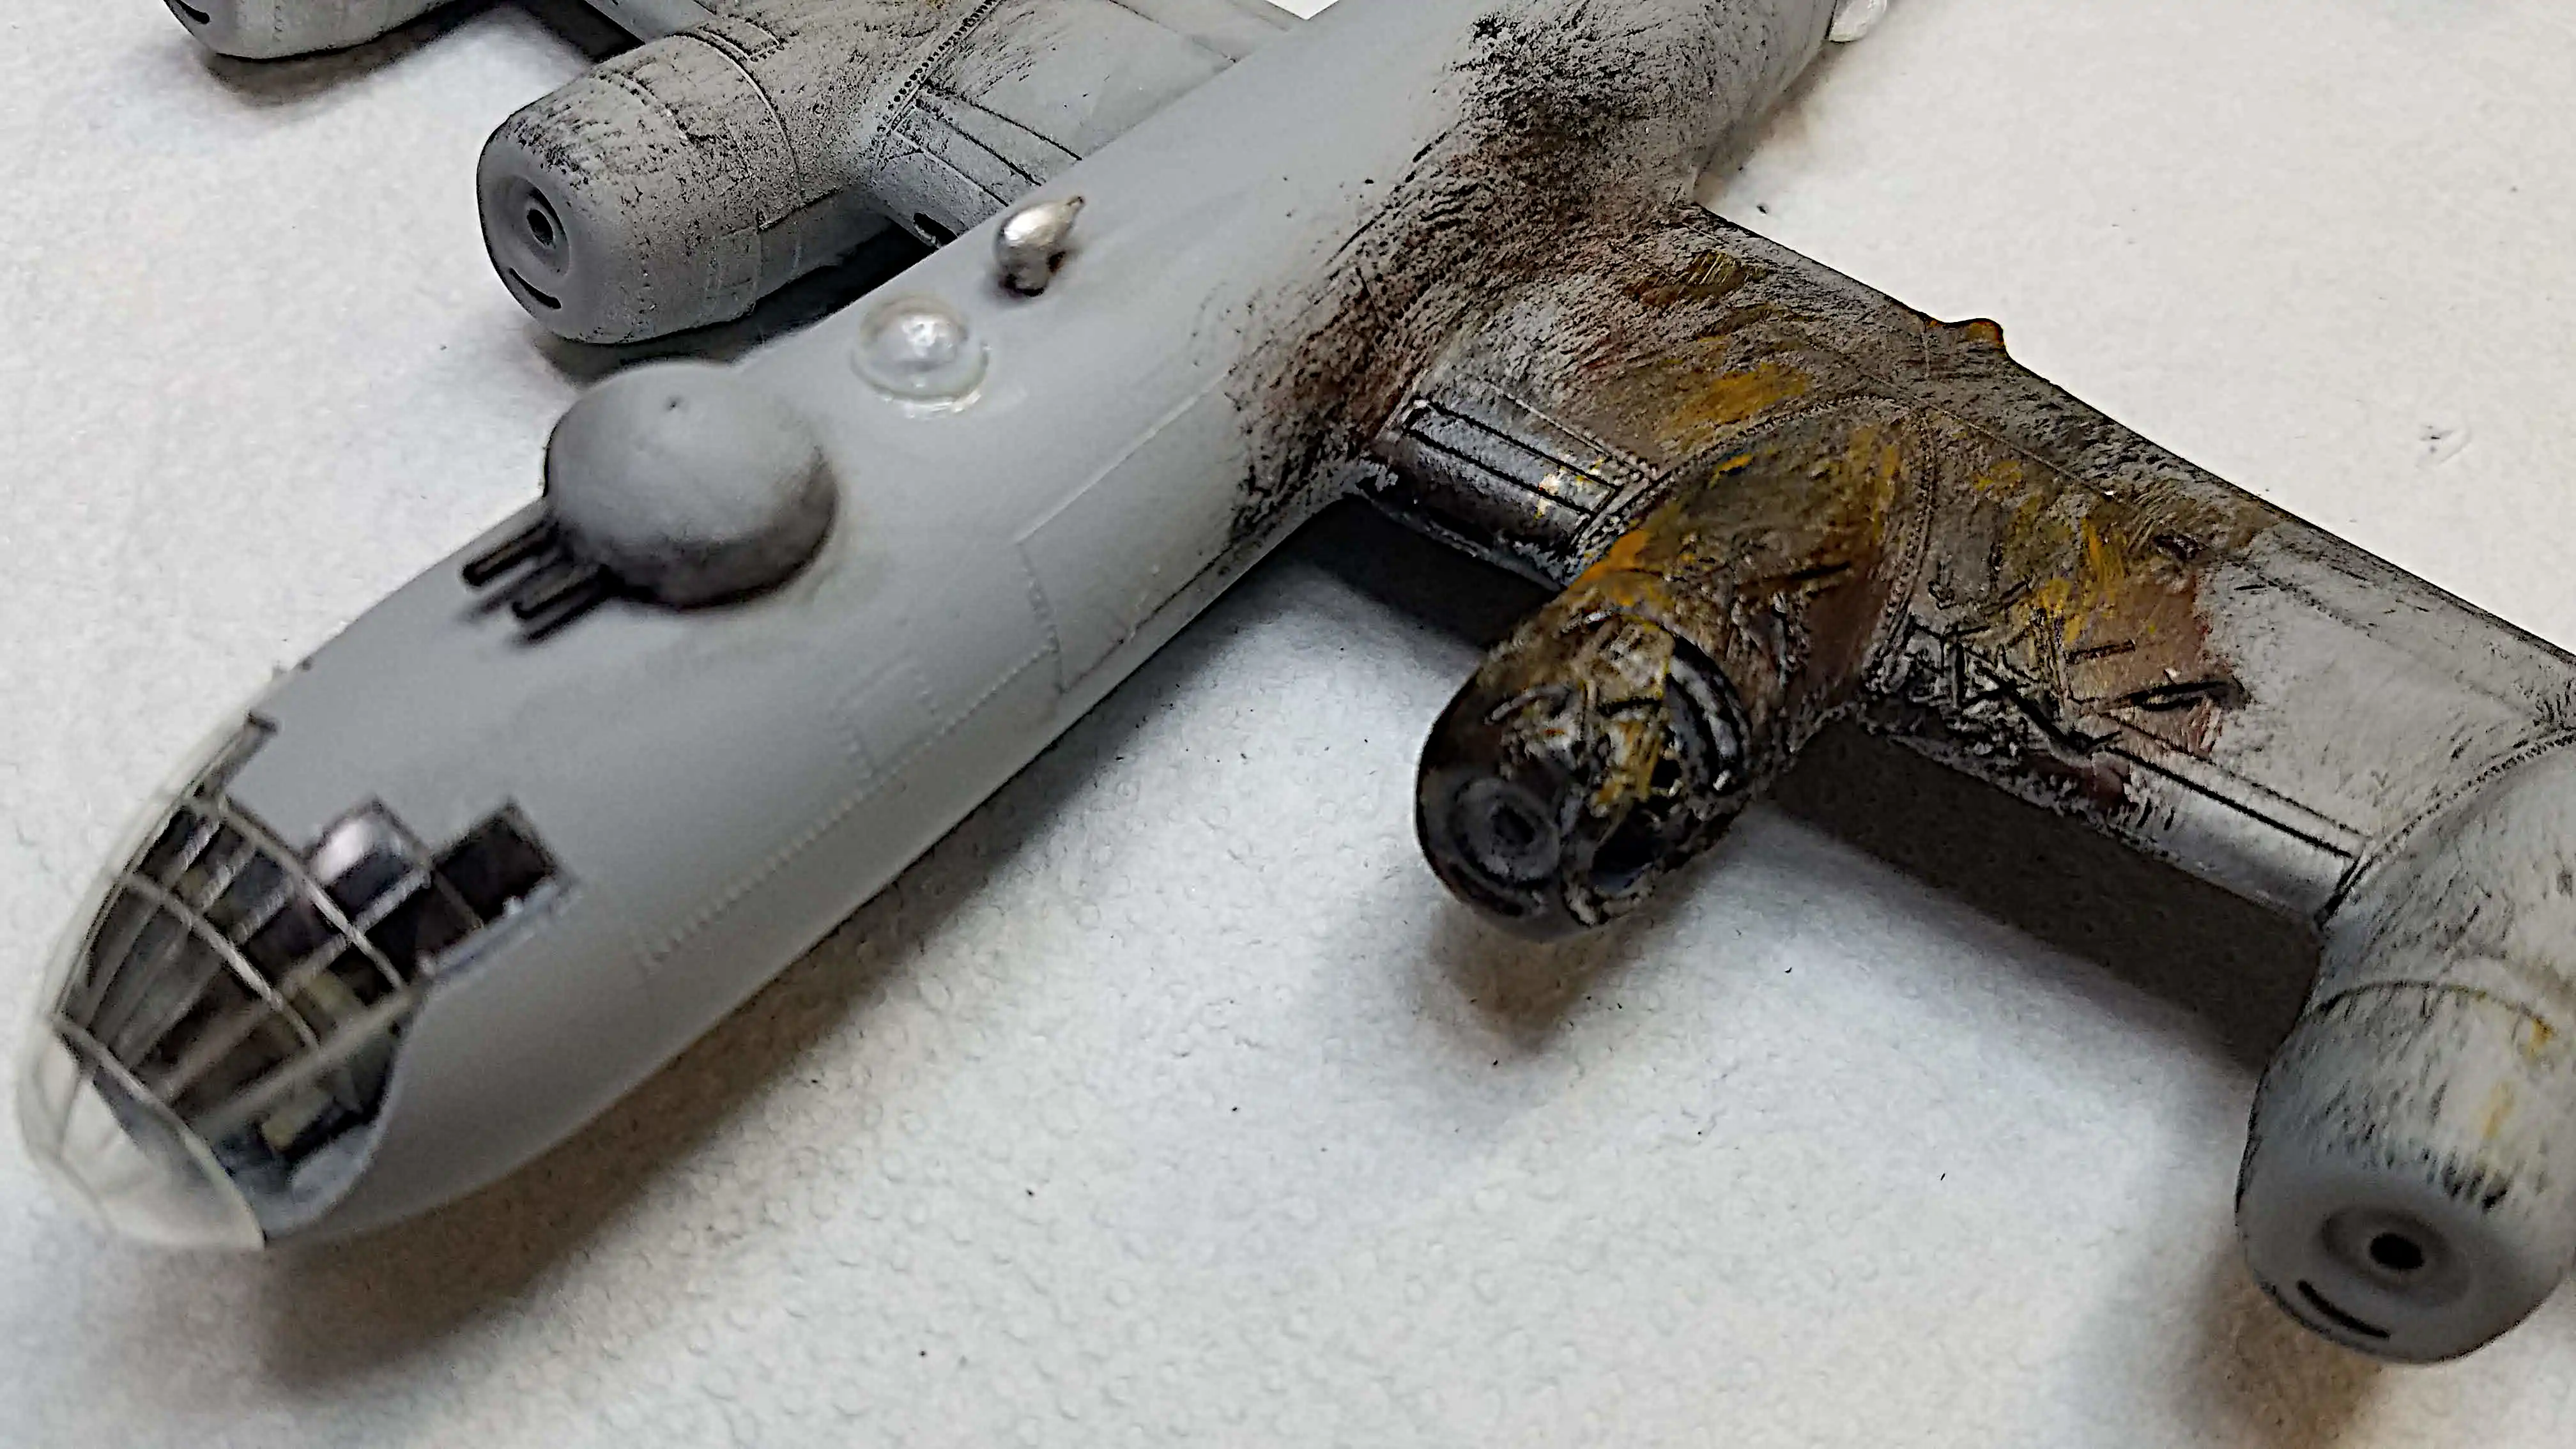 Closeup of hit engine
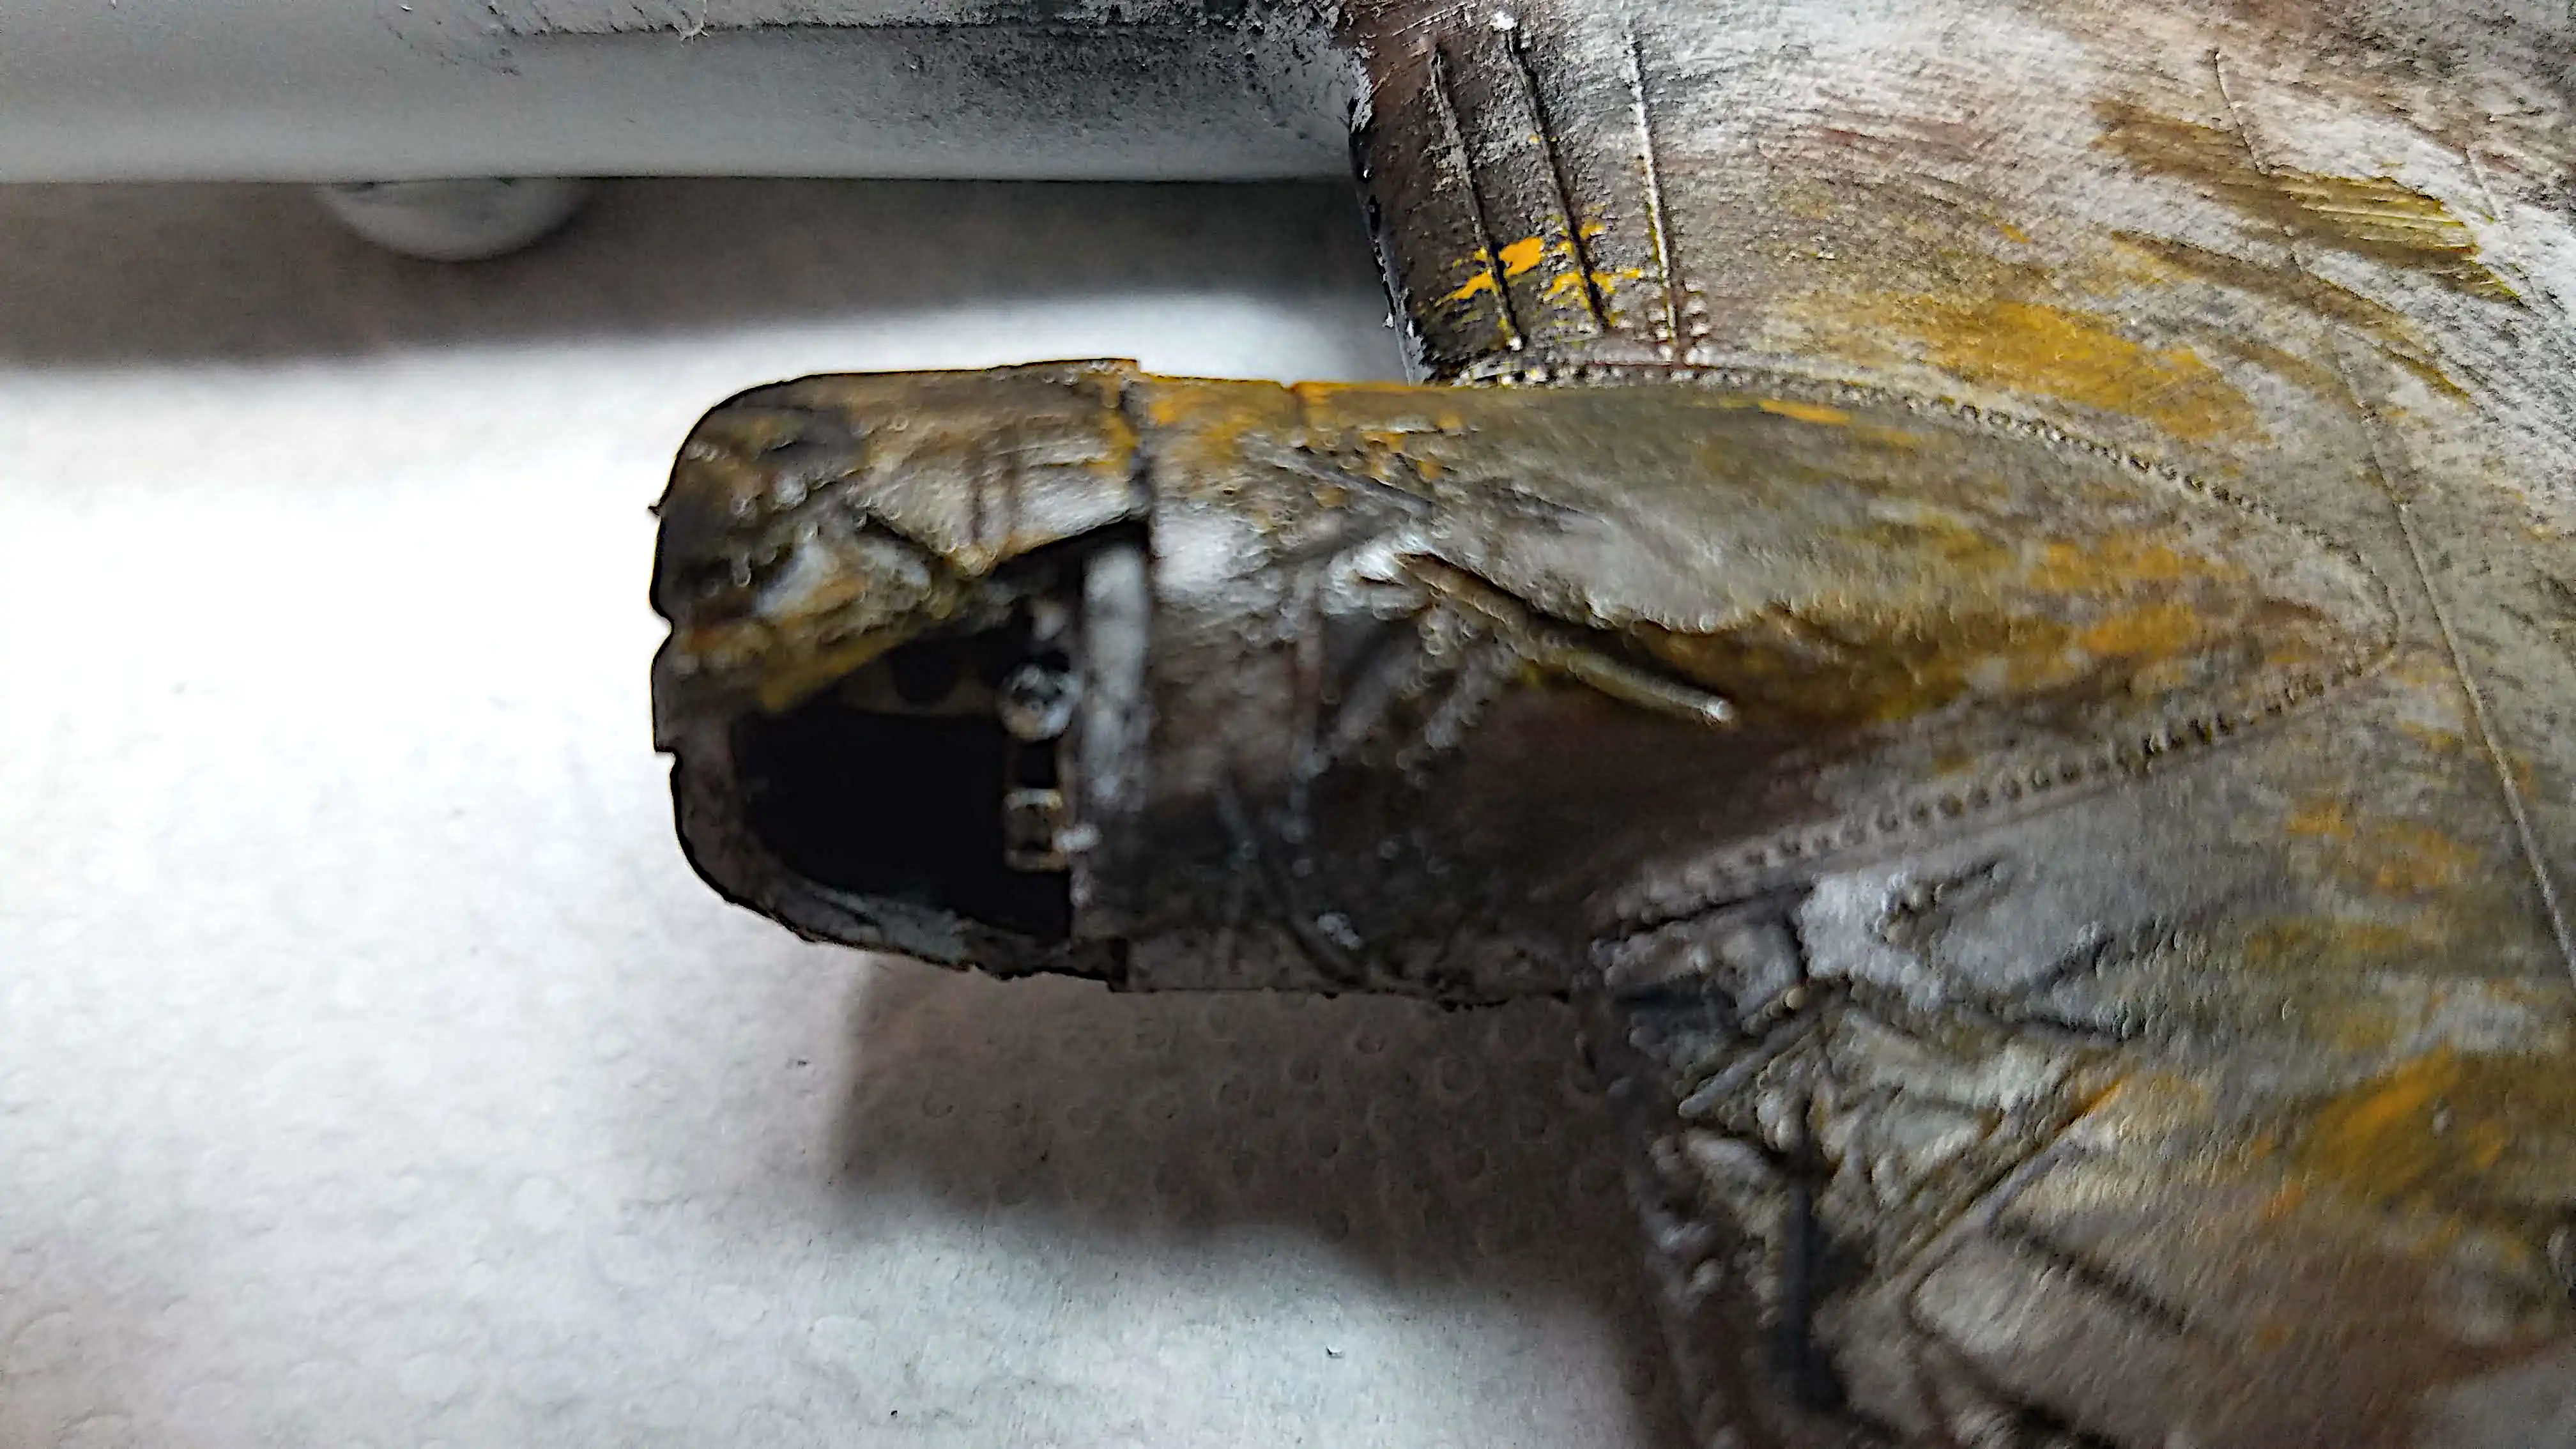 Closeup of hit engine showing cylinders
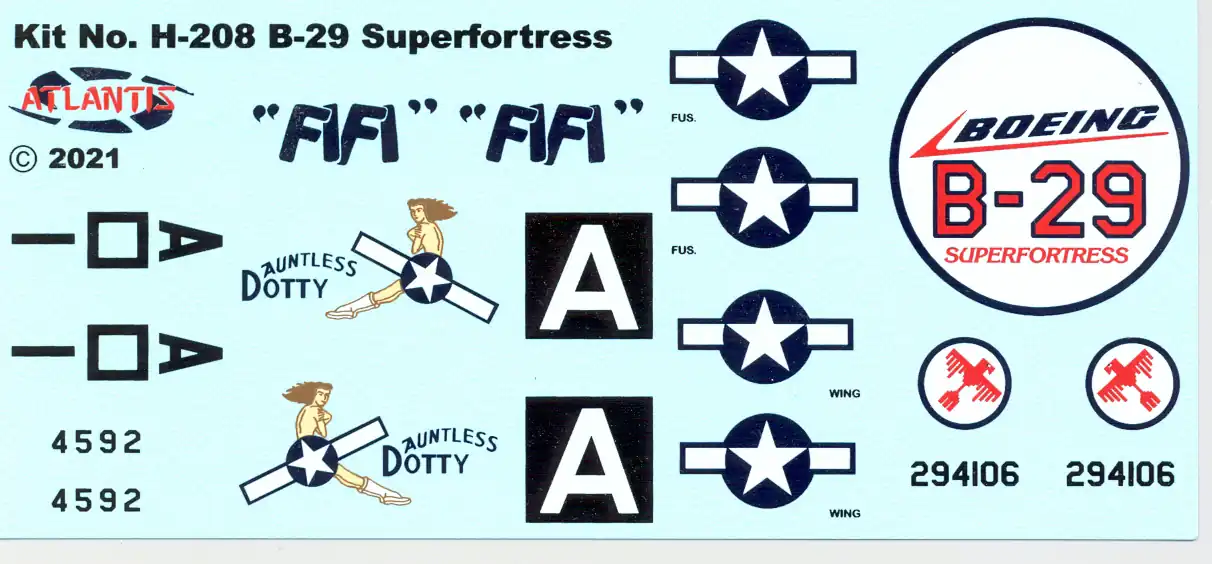 Decal Sheet
 Printed decal sheet modification
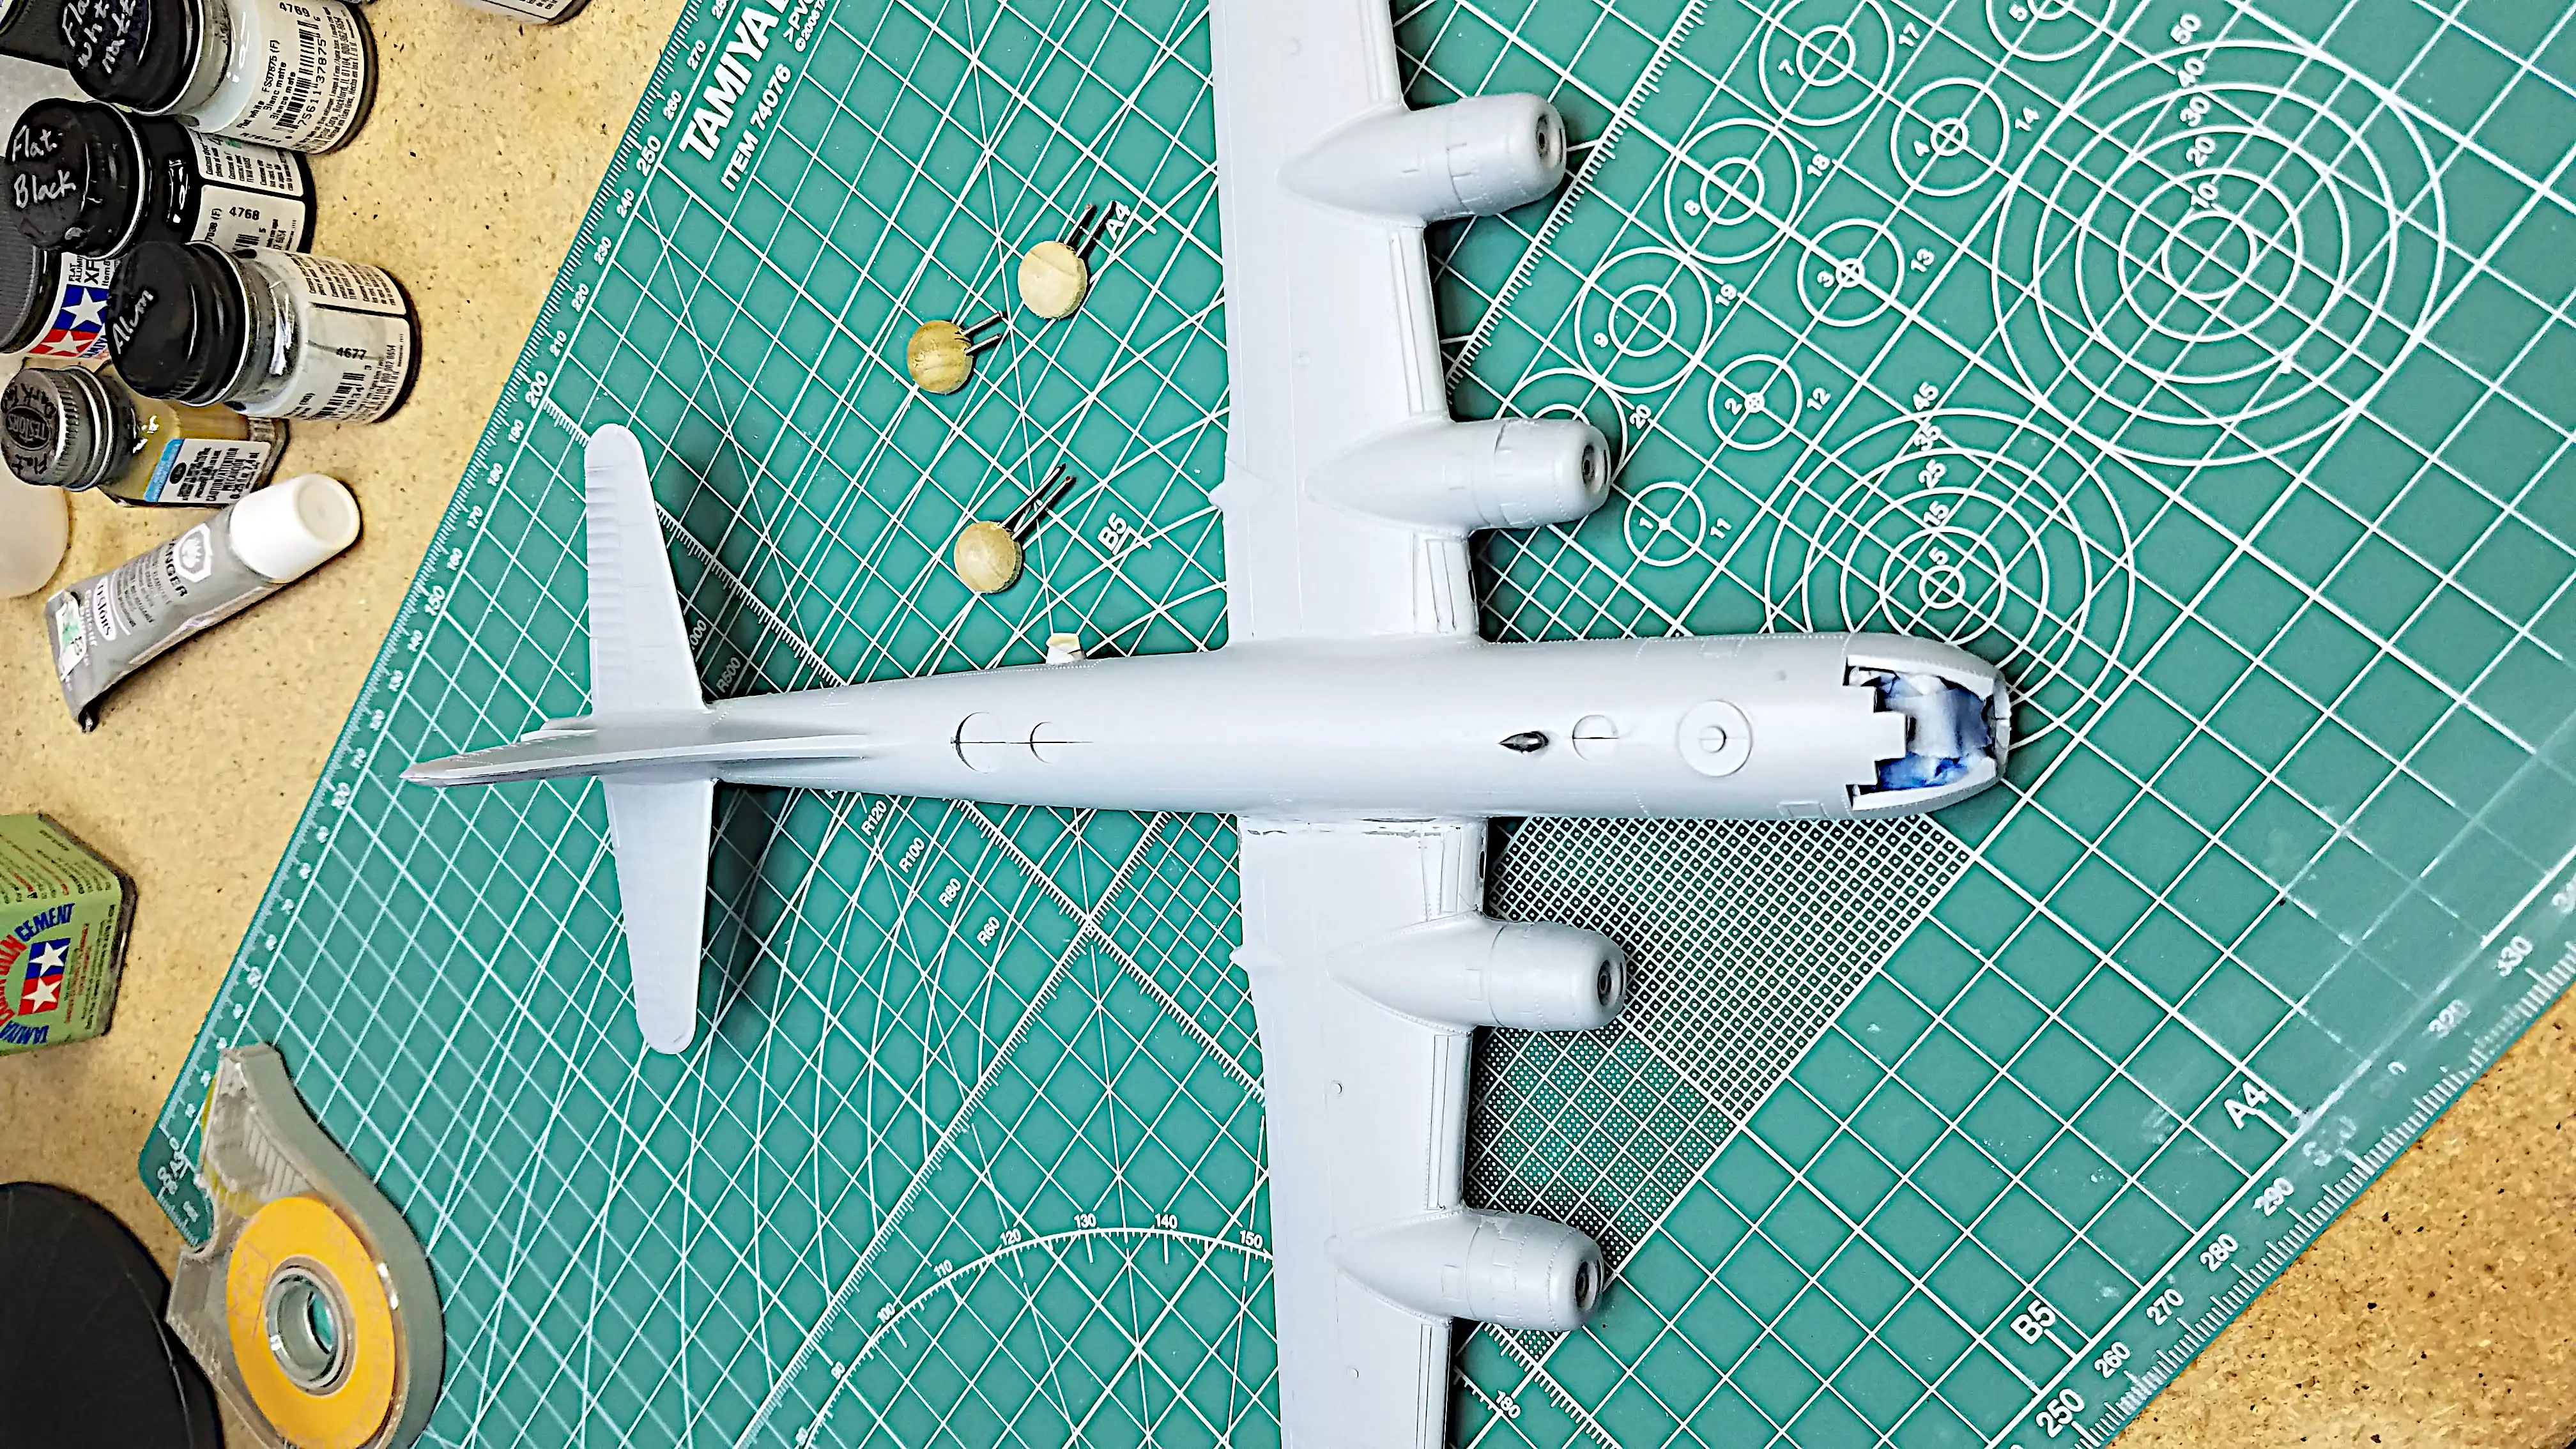
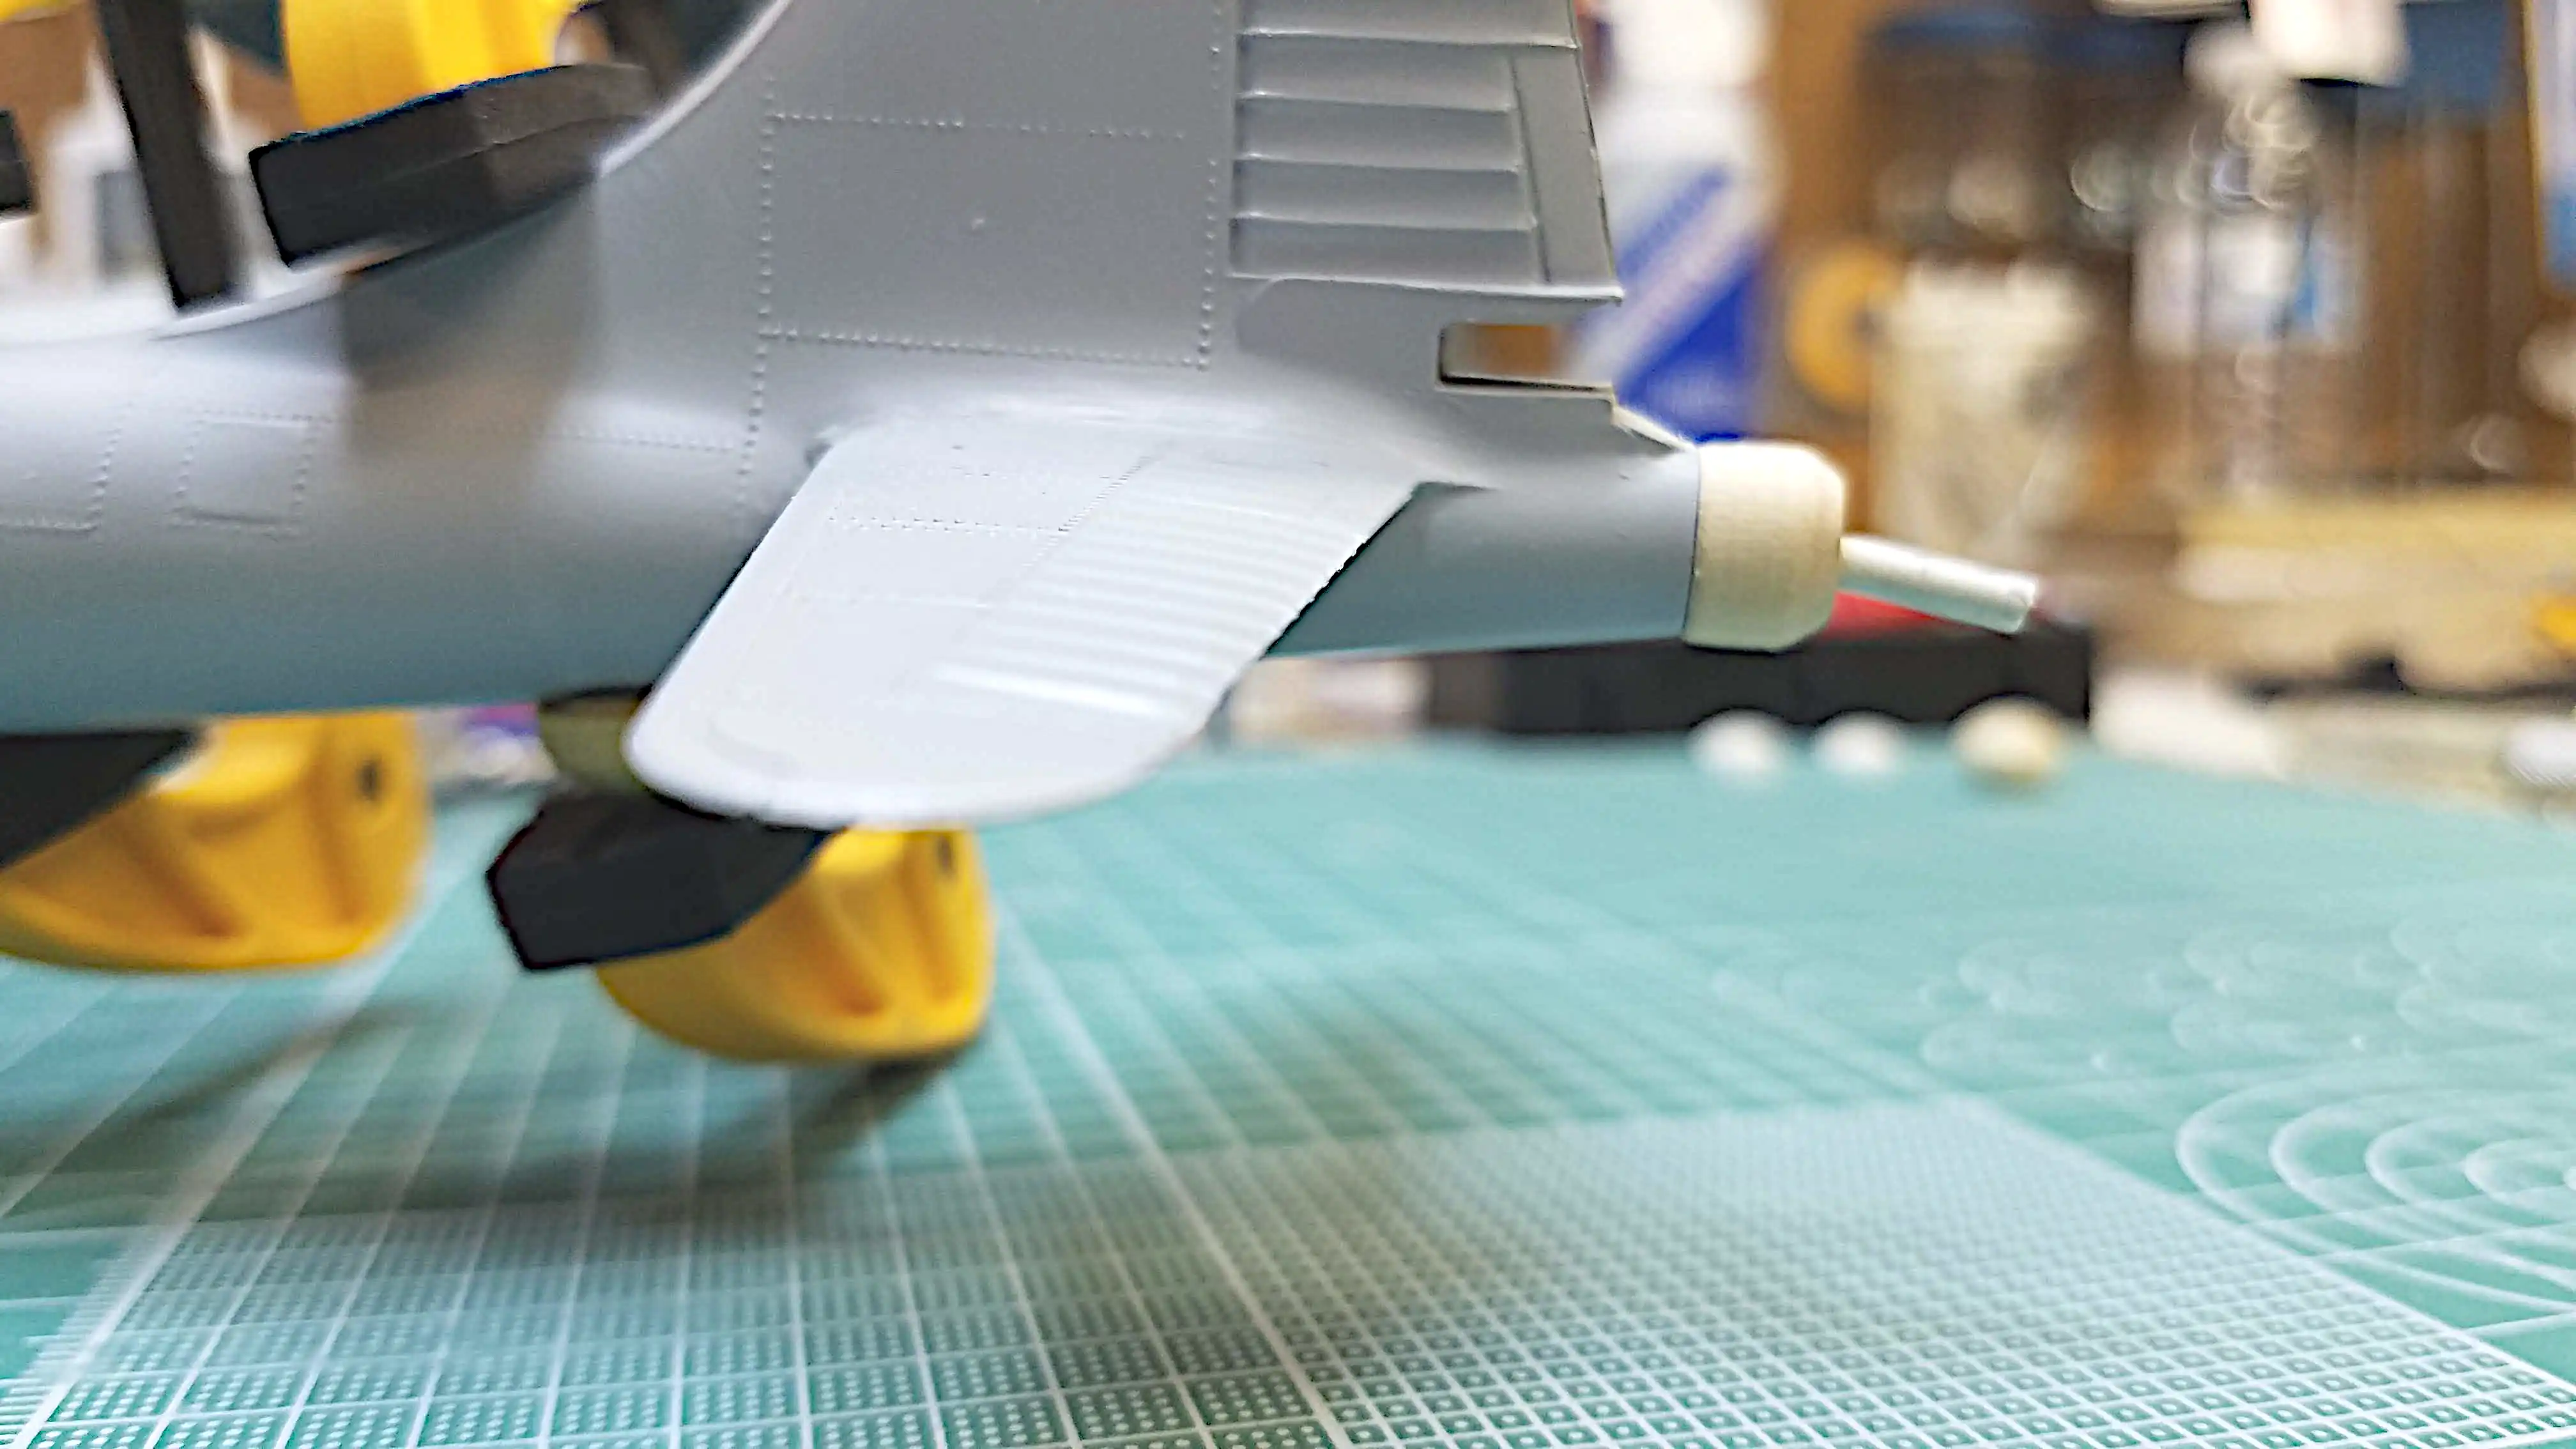
 Prop's installed
 Prop's installed

