Opening
Click/tap photo to enlarge
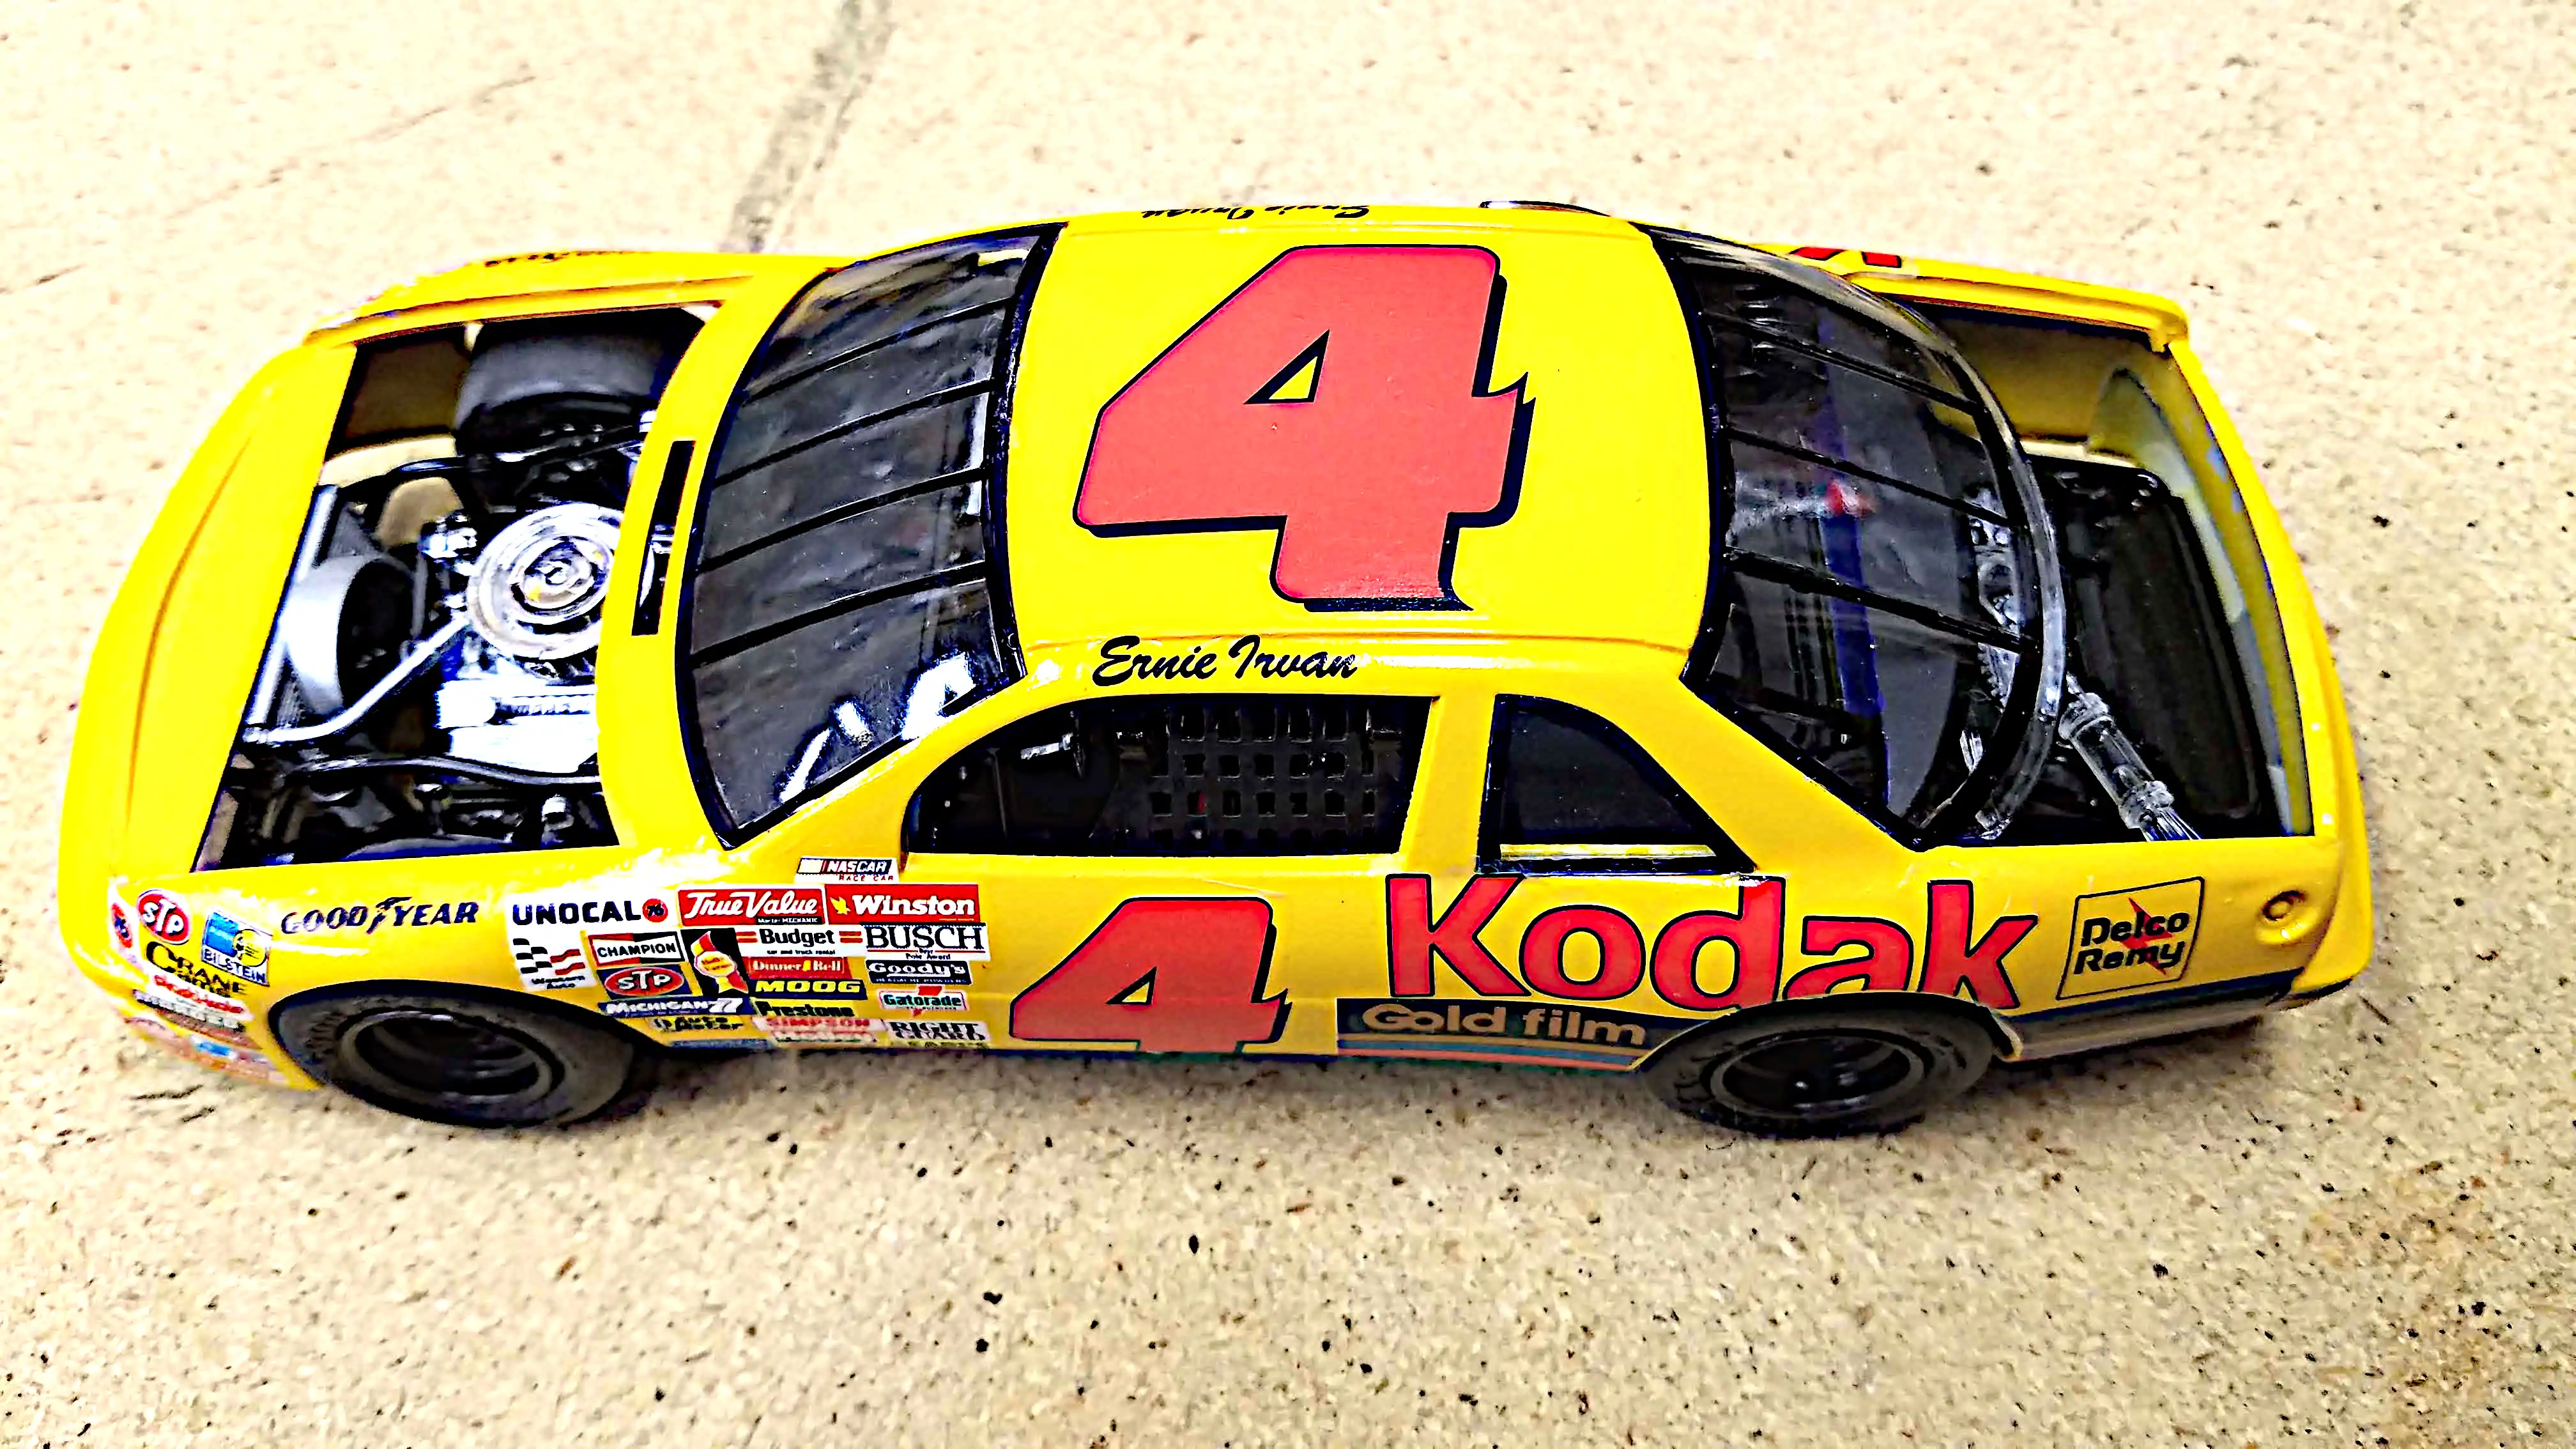
 Ernie on checkered garage floor
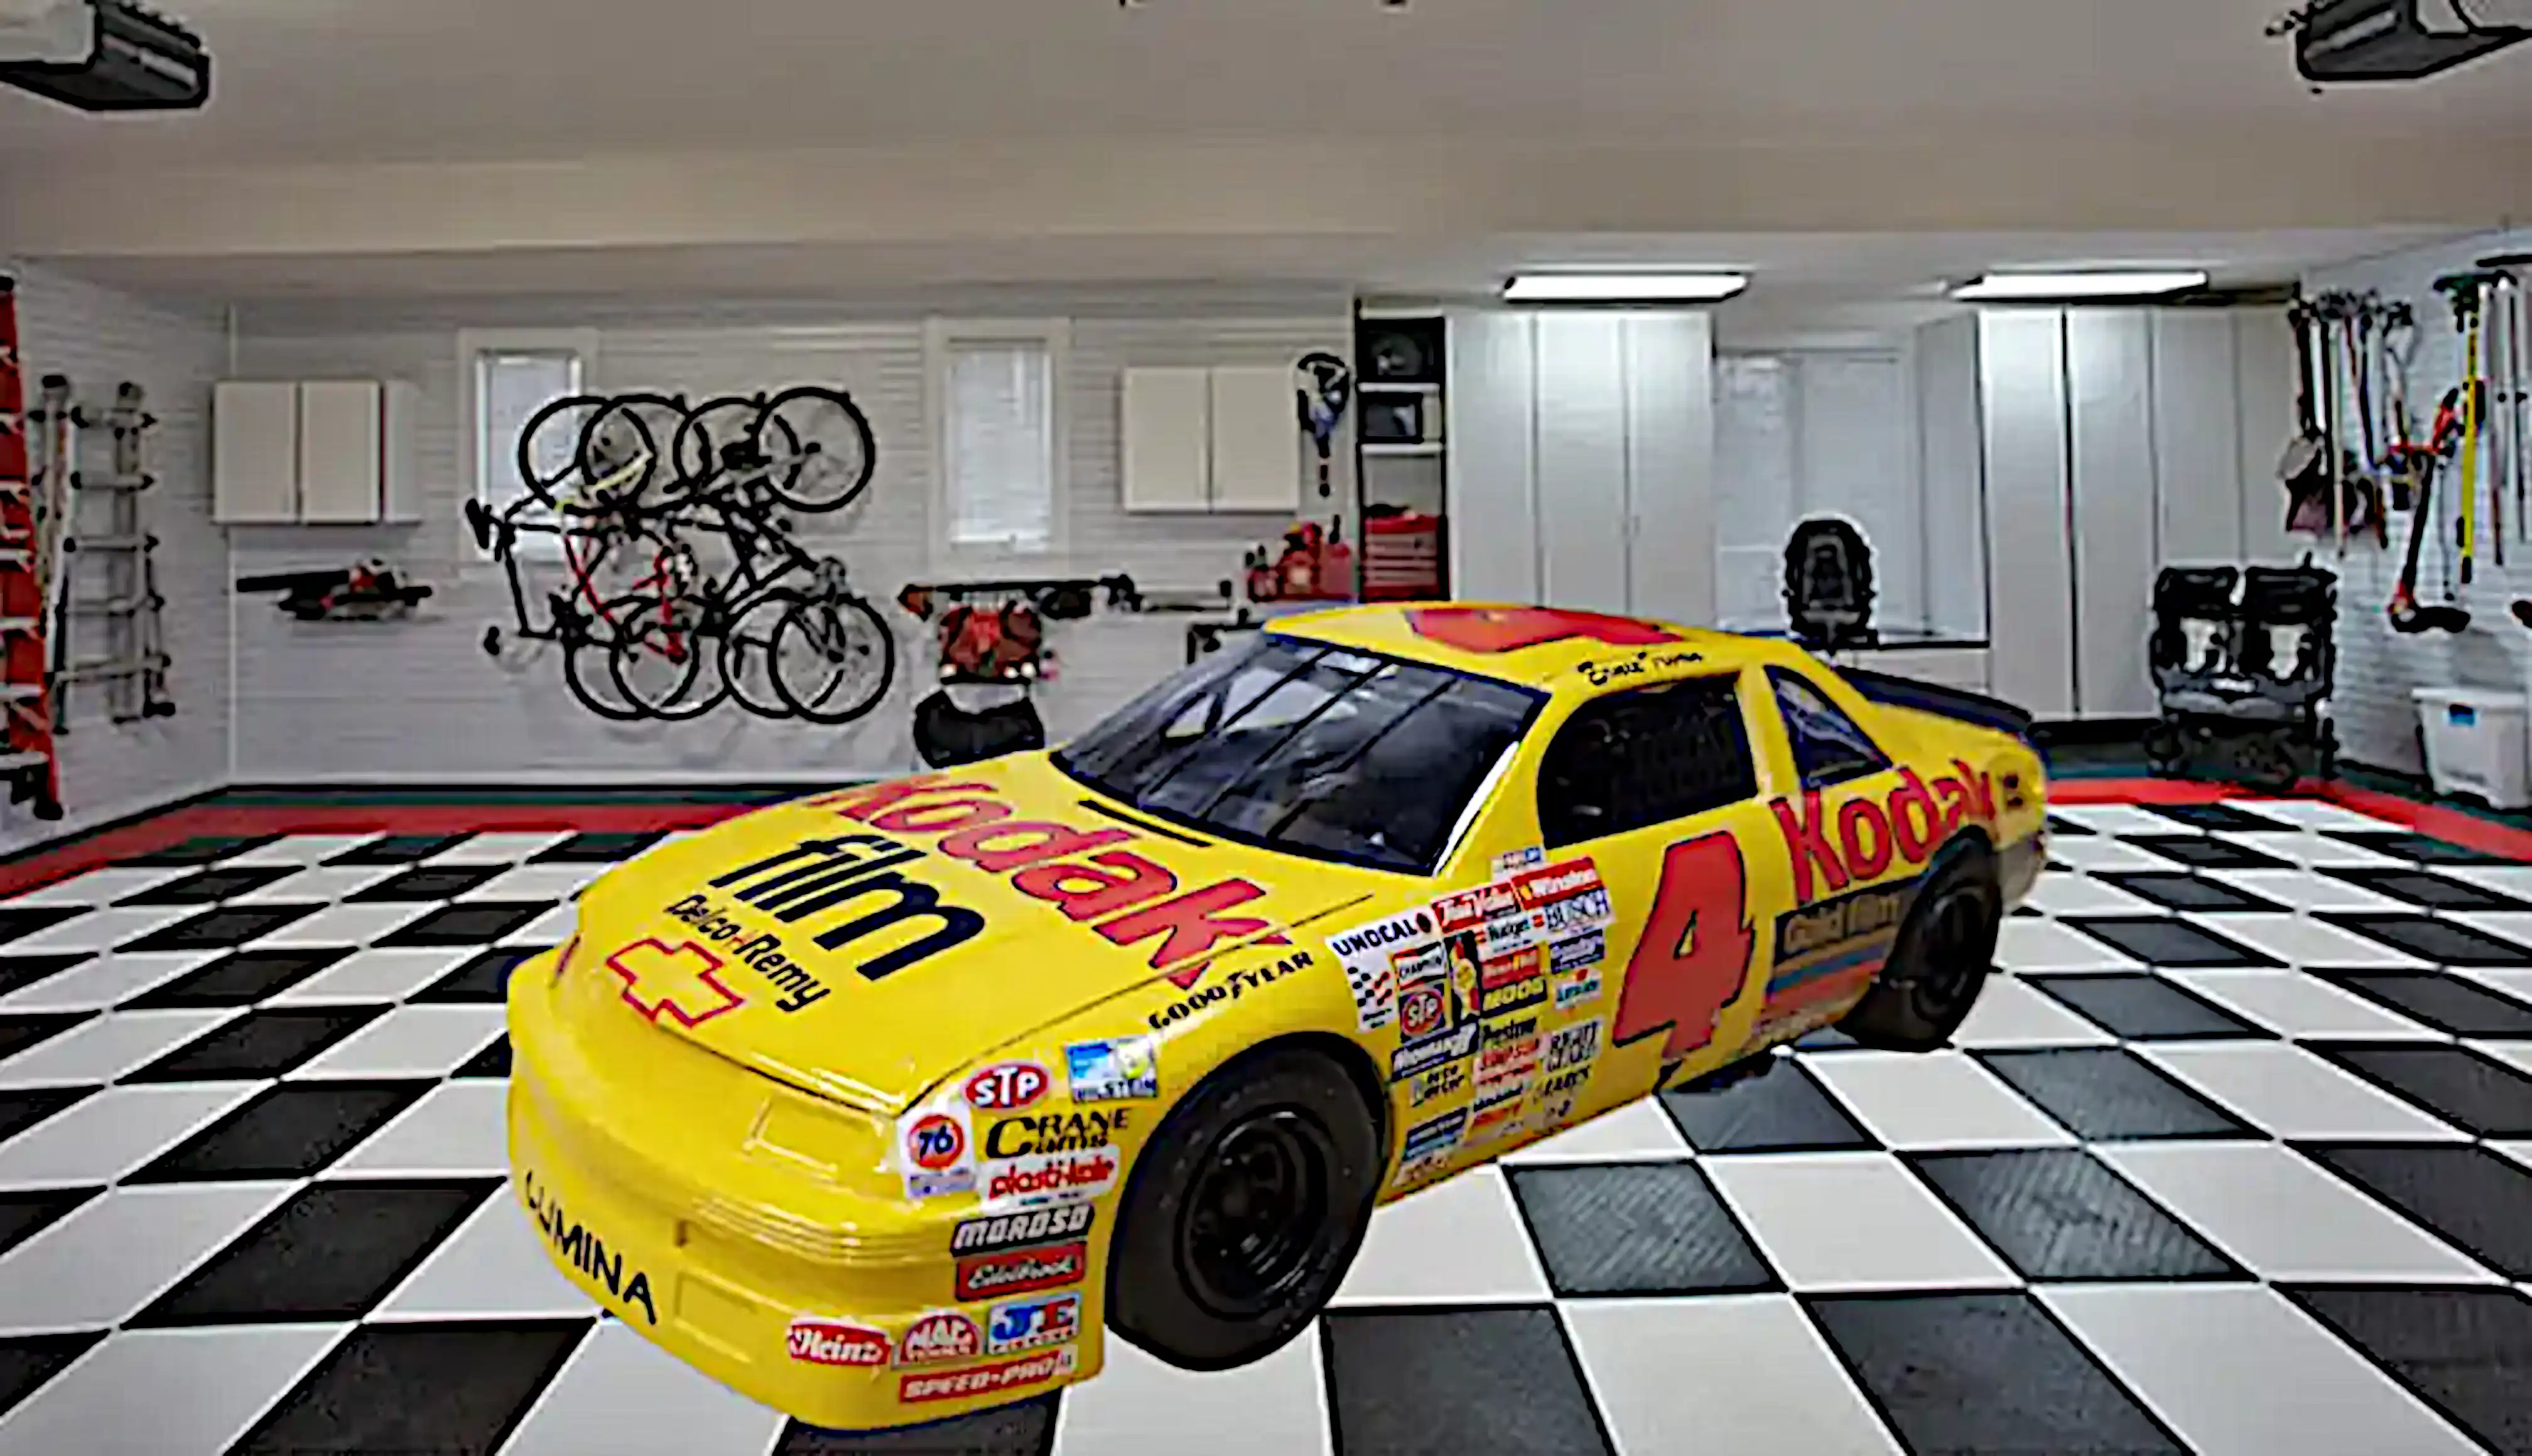
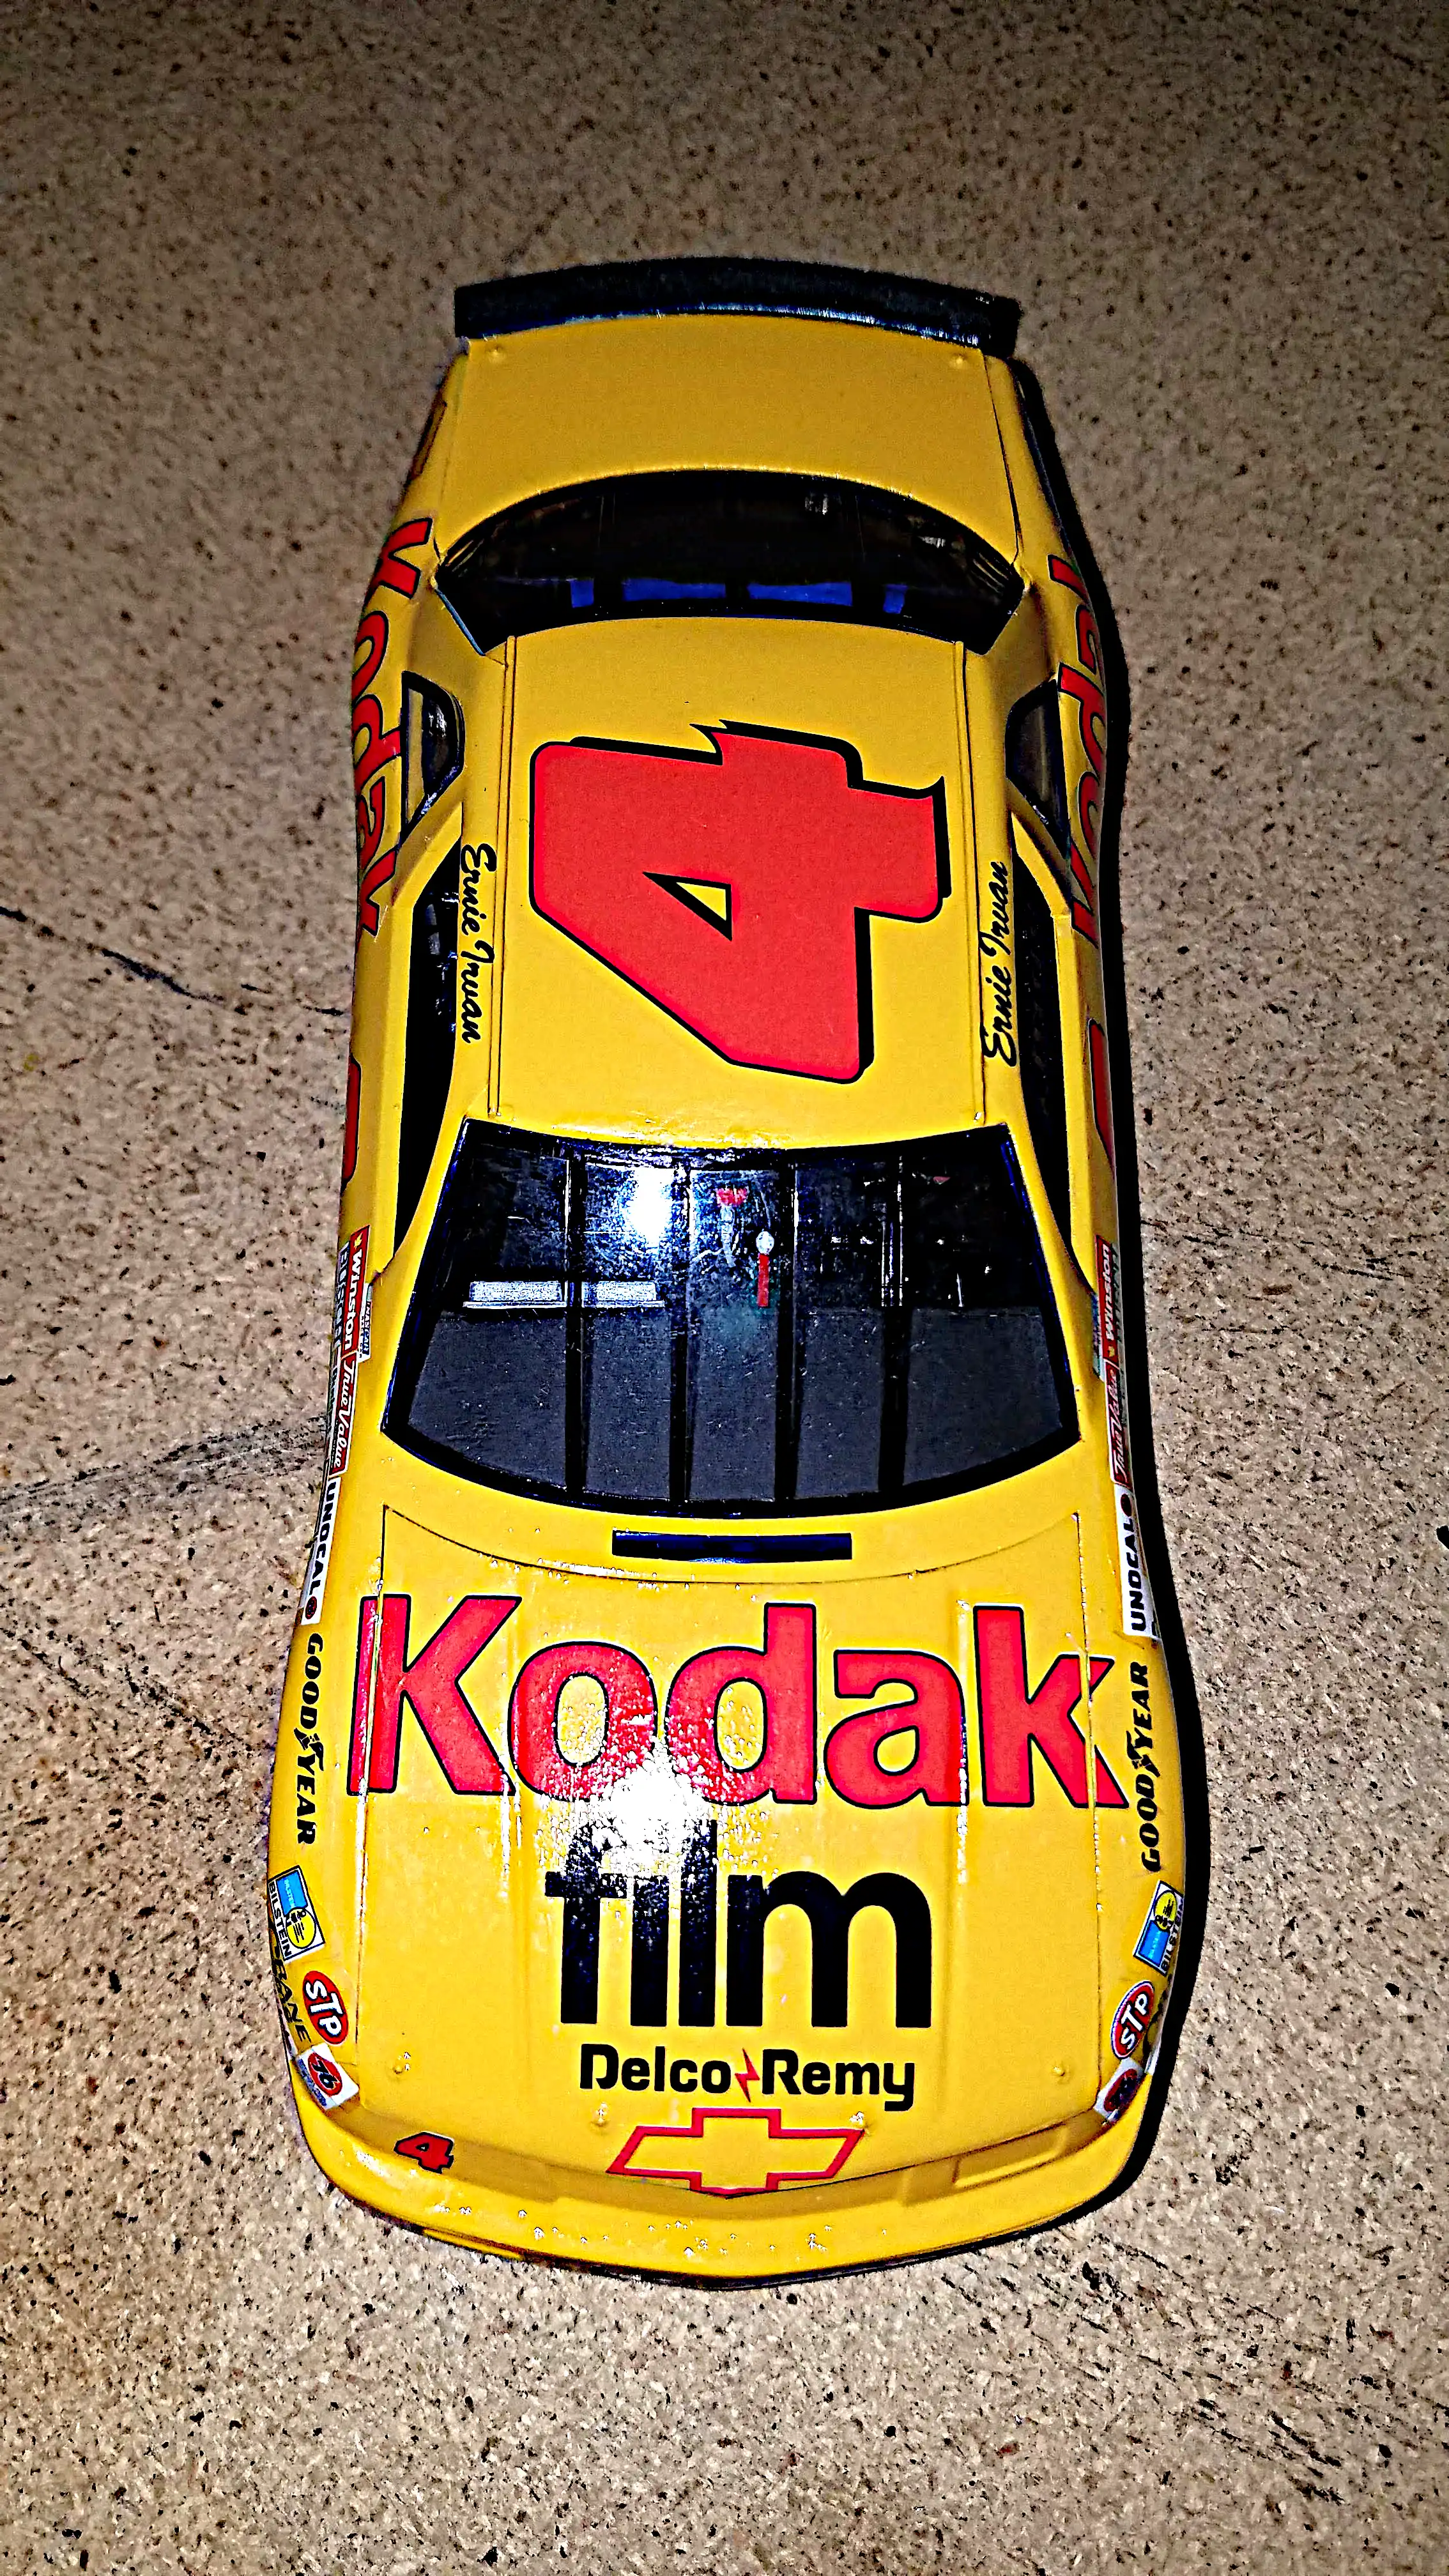
This is a photo of the completed build superimposed on a tiled race garage.

I did this build before I had a YouTube channel for my model building; therefore, there are no videos of the build. The original build was completed February 07, 2022.
Opening
Click/tap photo to enlarge
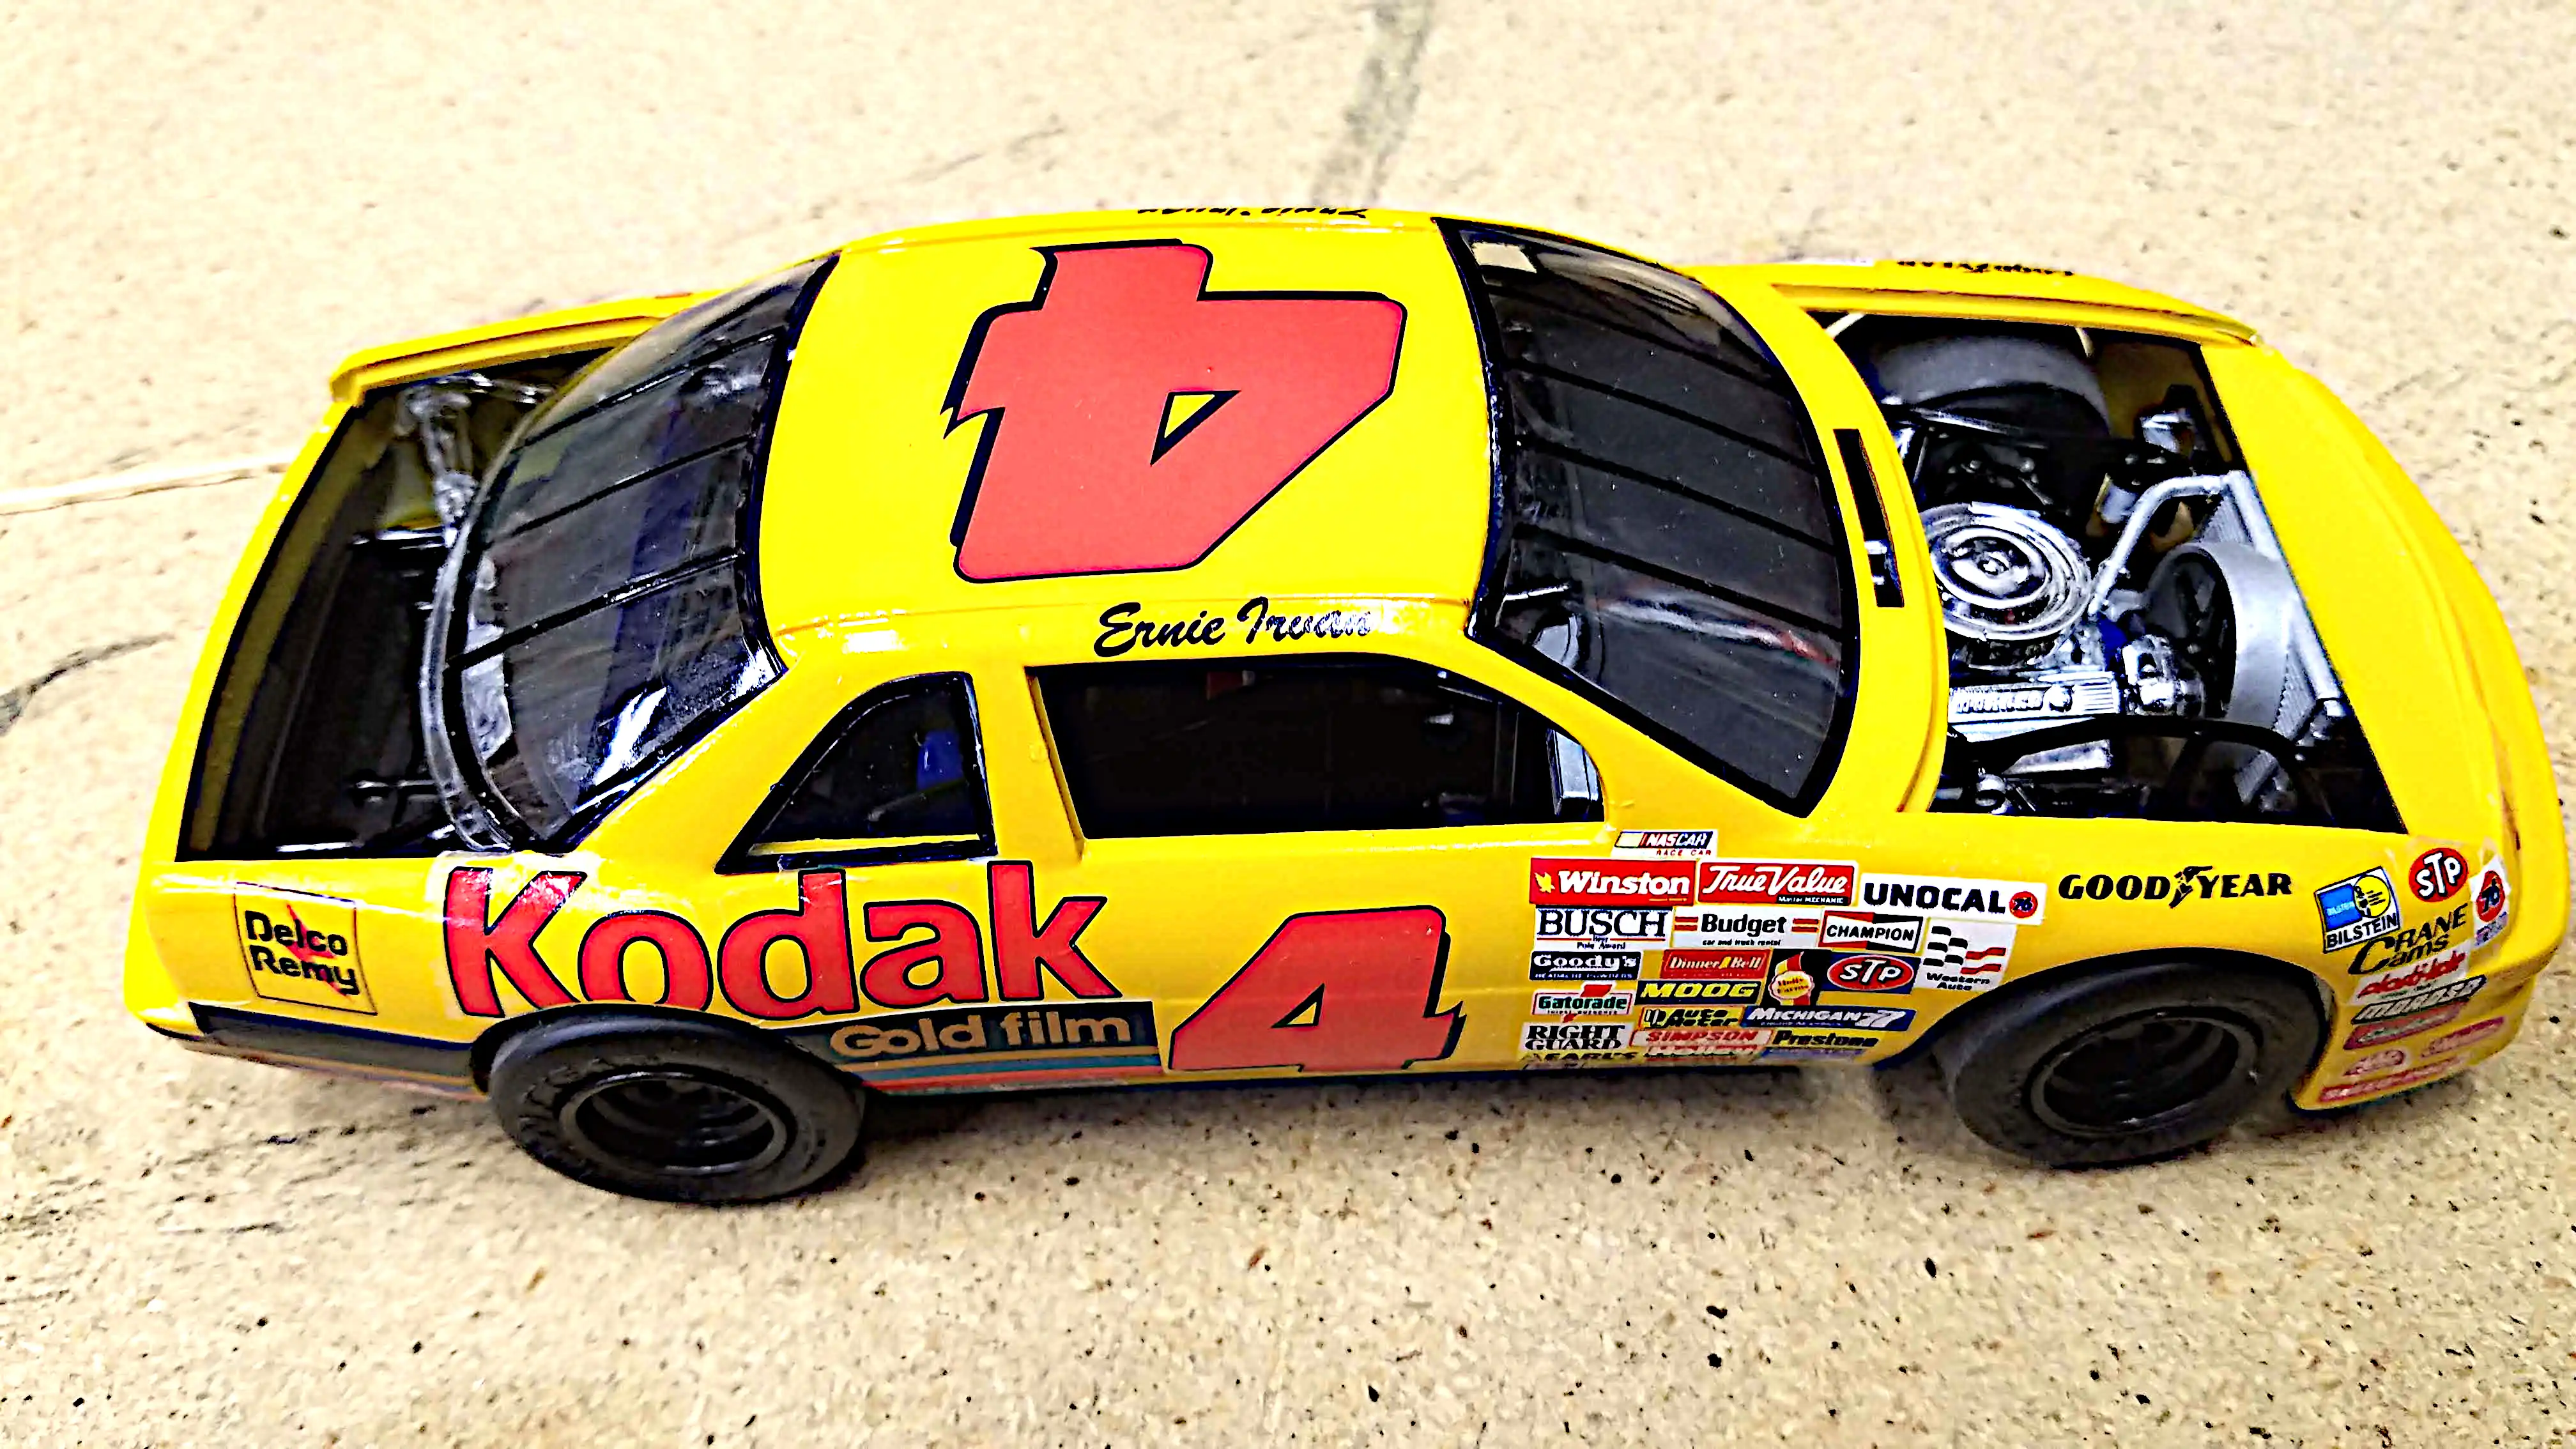
Ernie on checkered garage floor
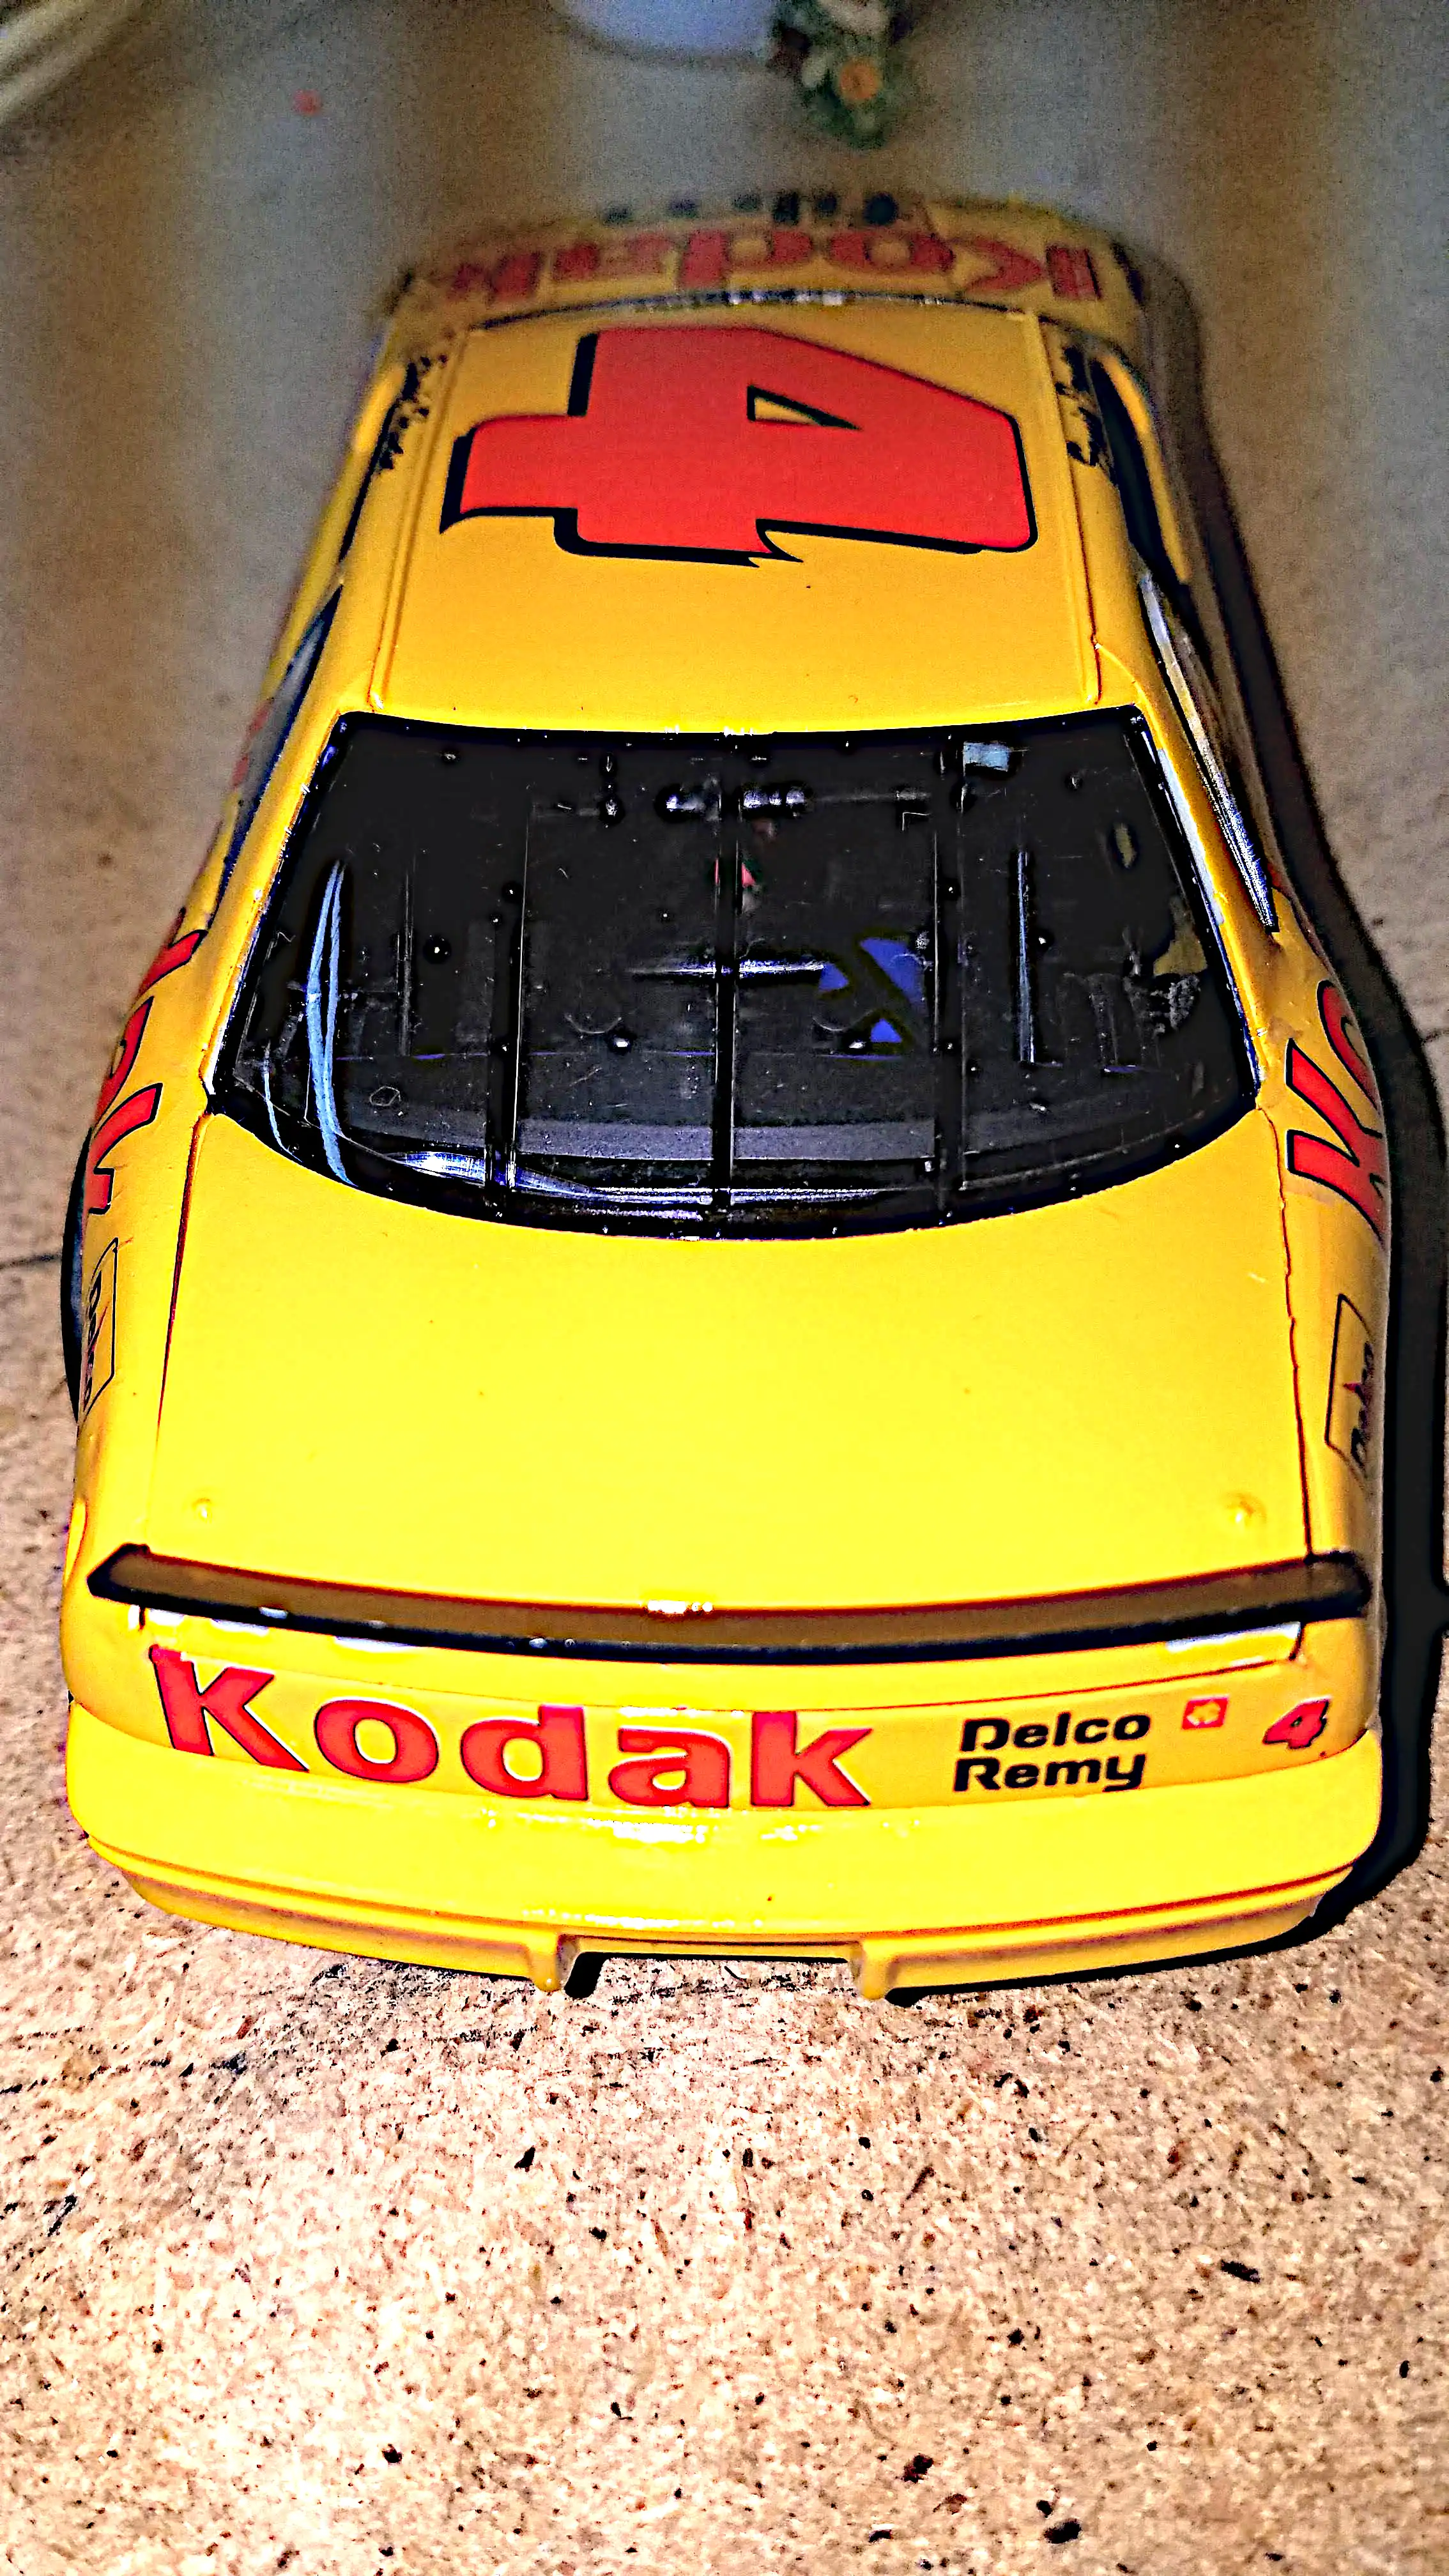
This is a photo of the completed build superimposed on a tiled race garage.
Photo 001
Click/tap photo to enlarge
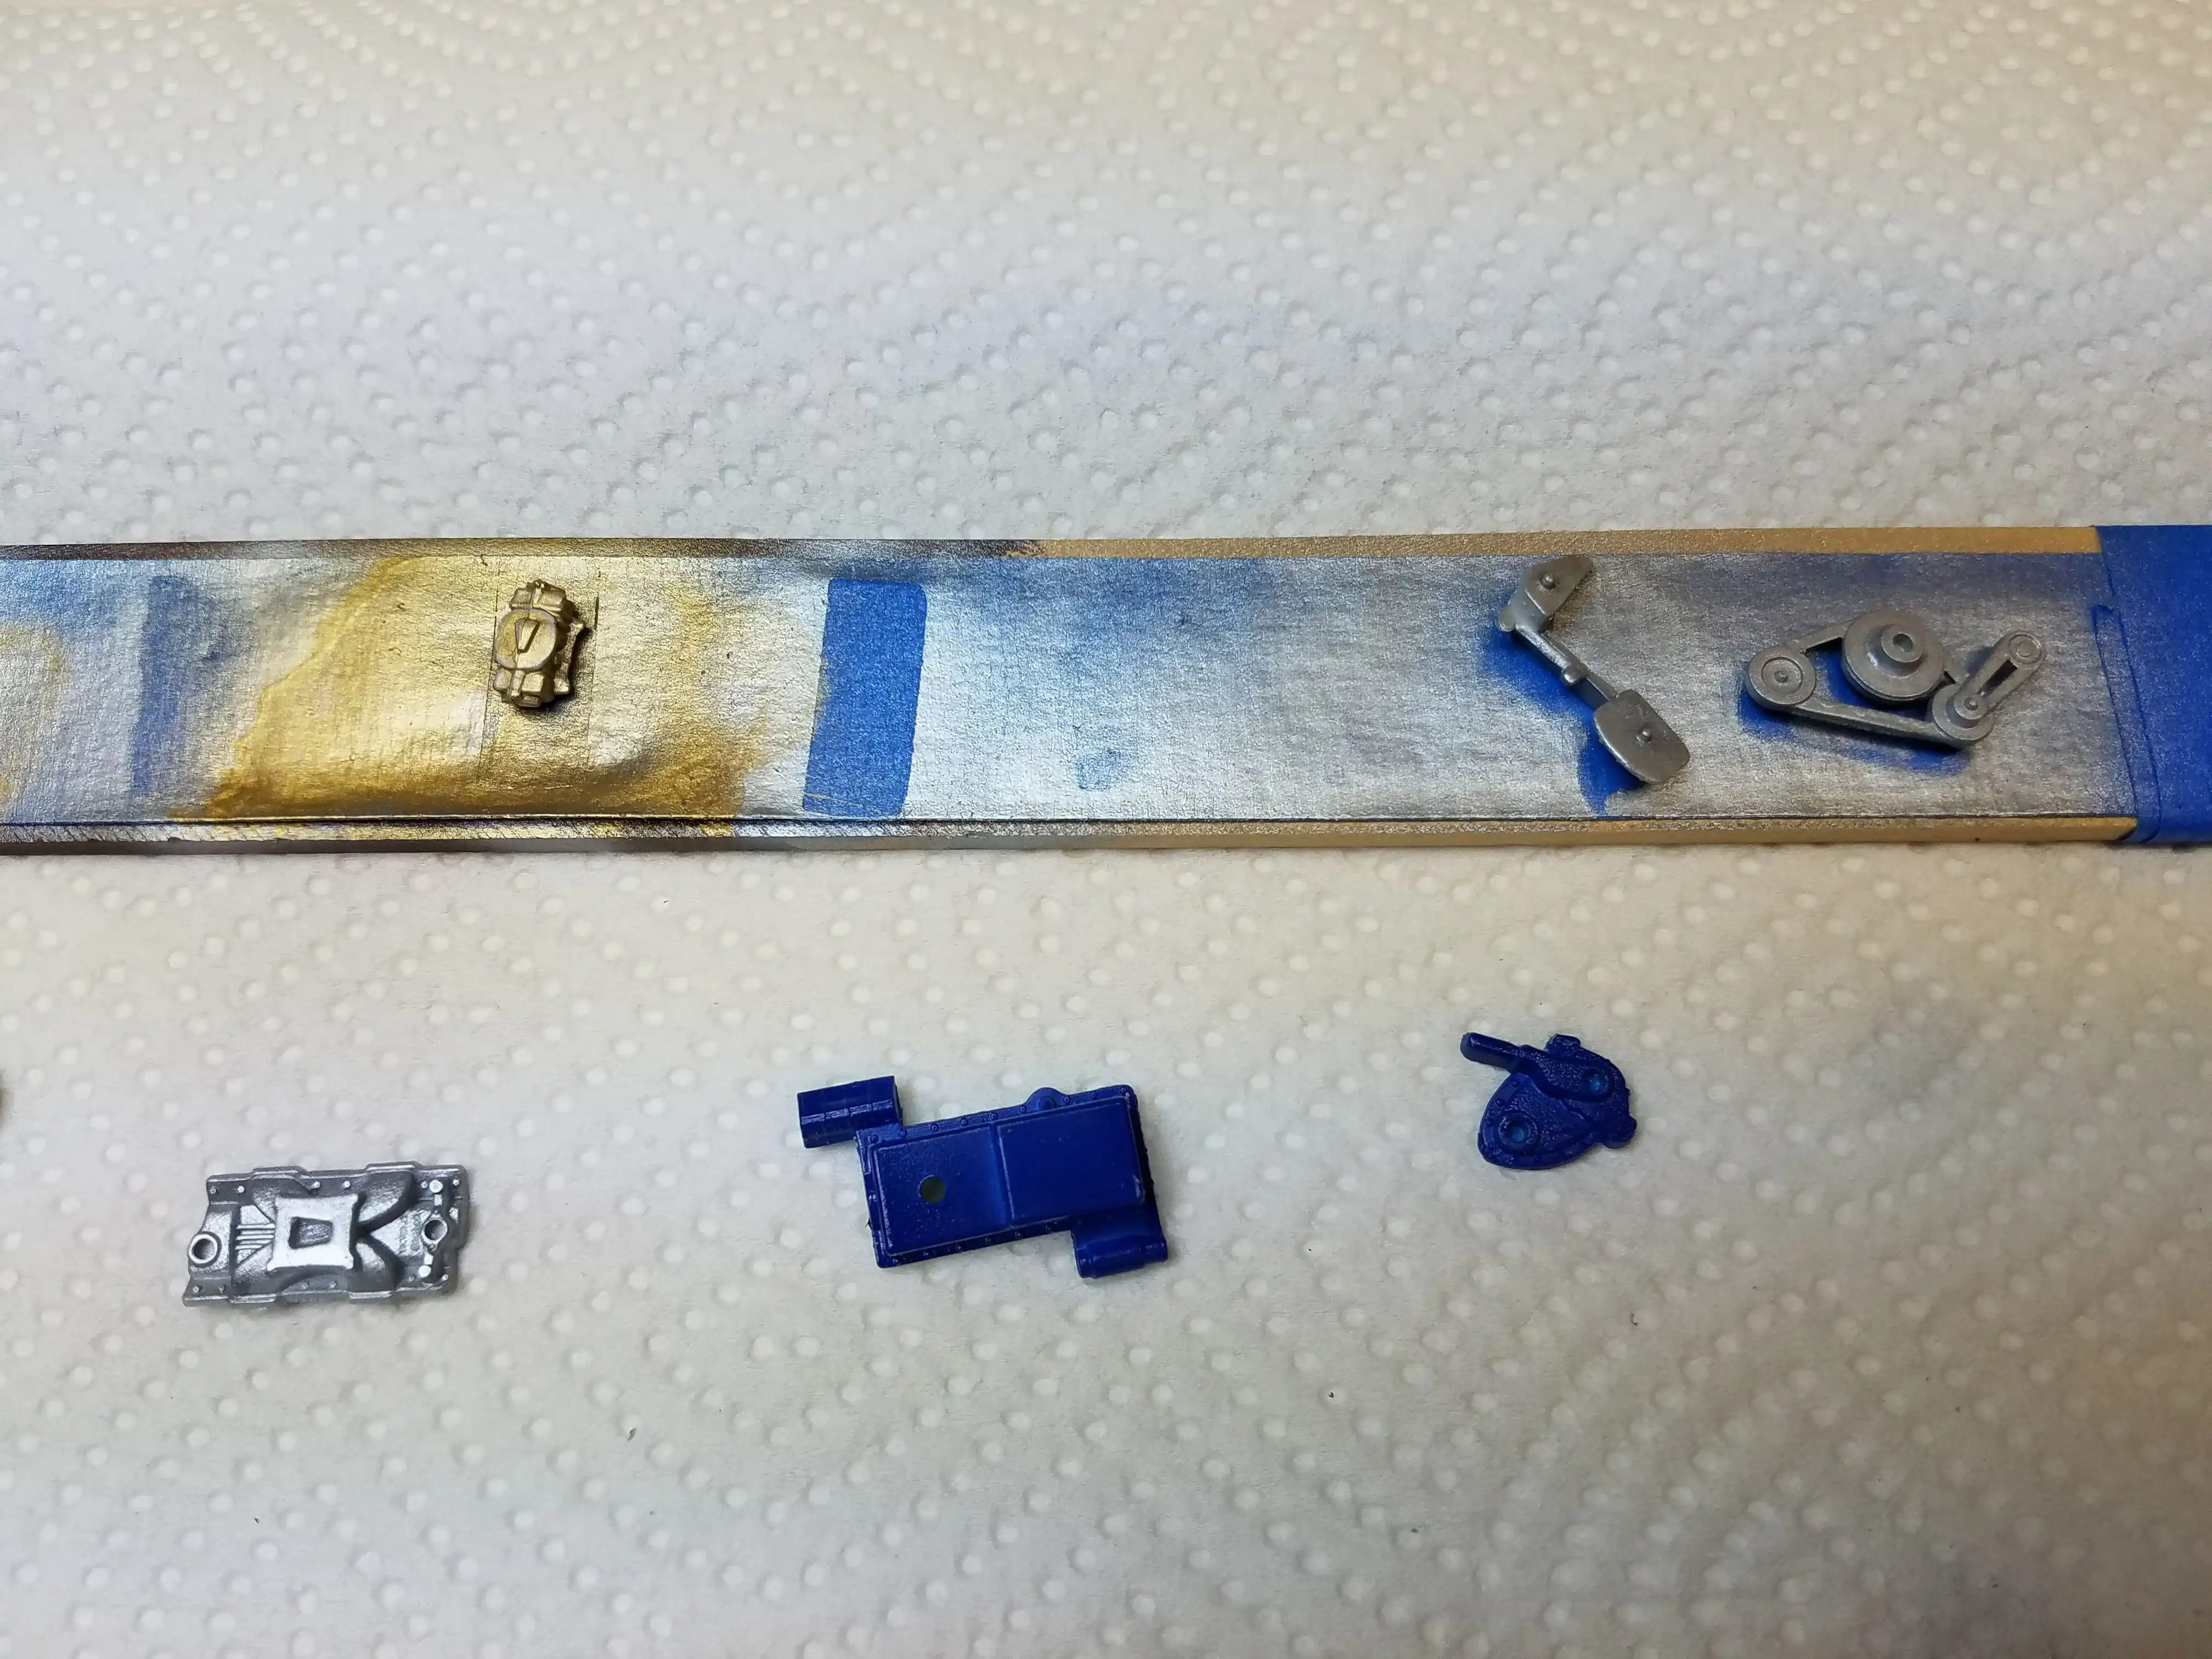
 Started painting engine parts
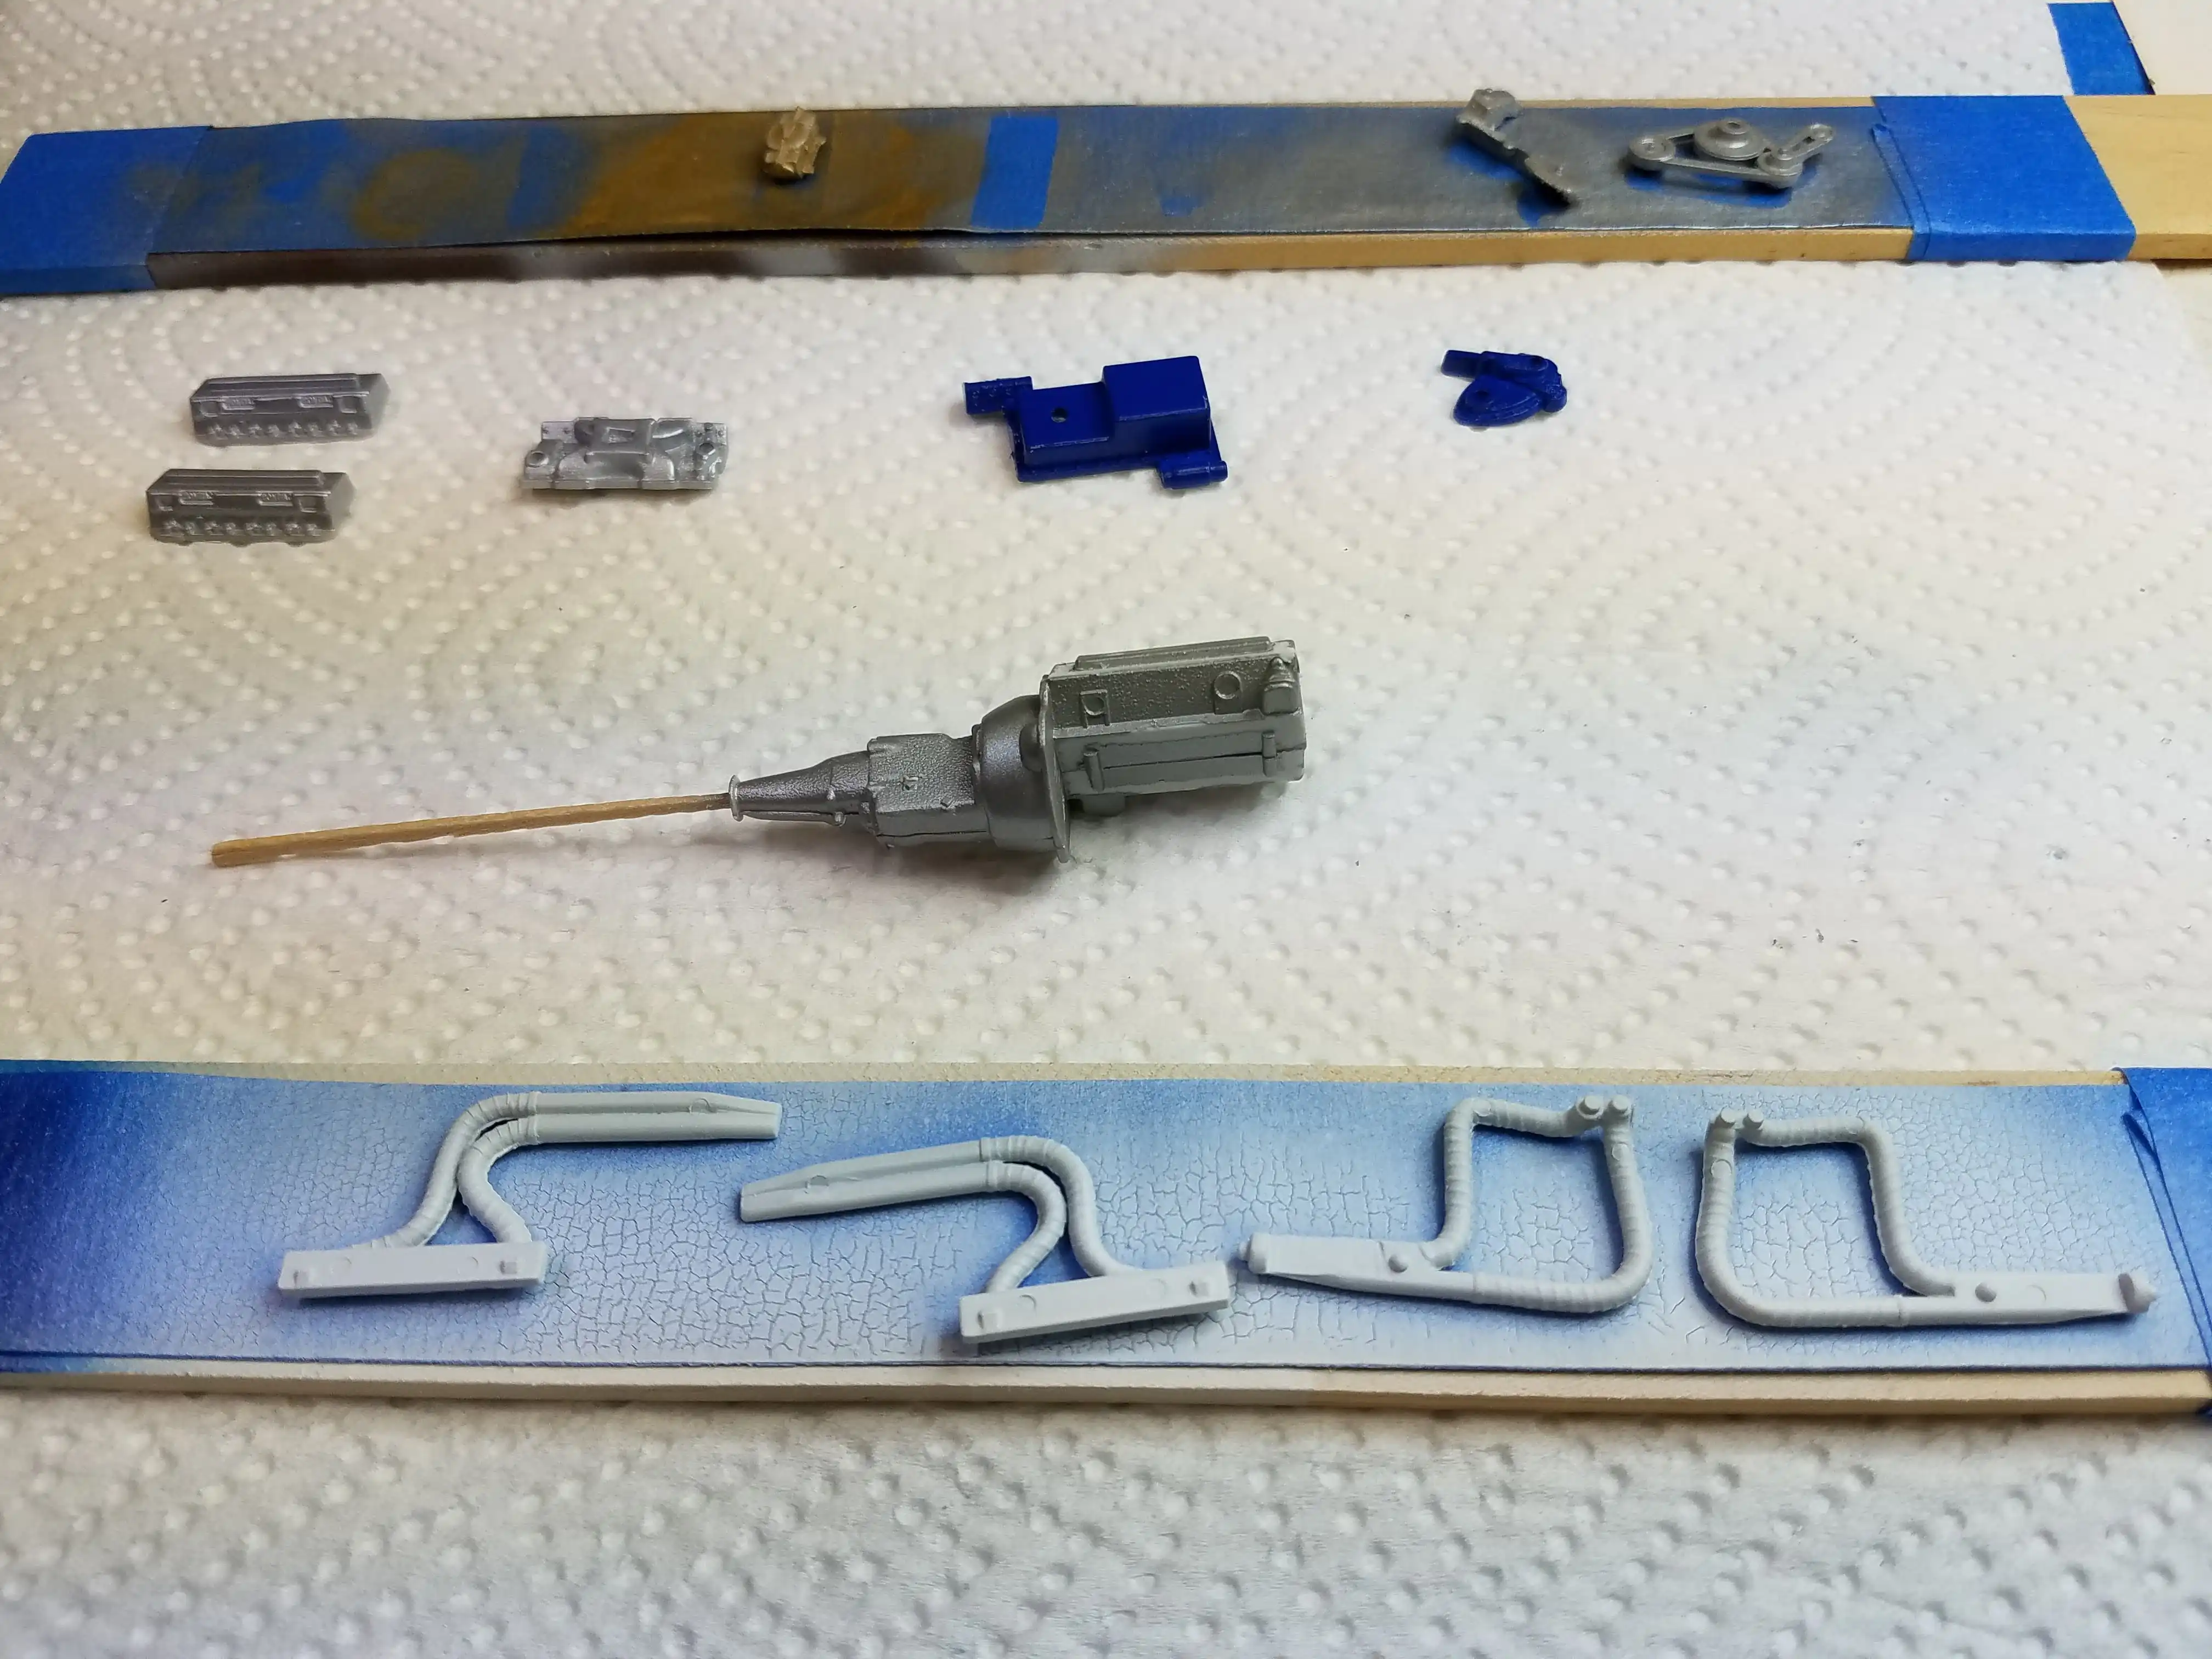
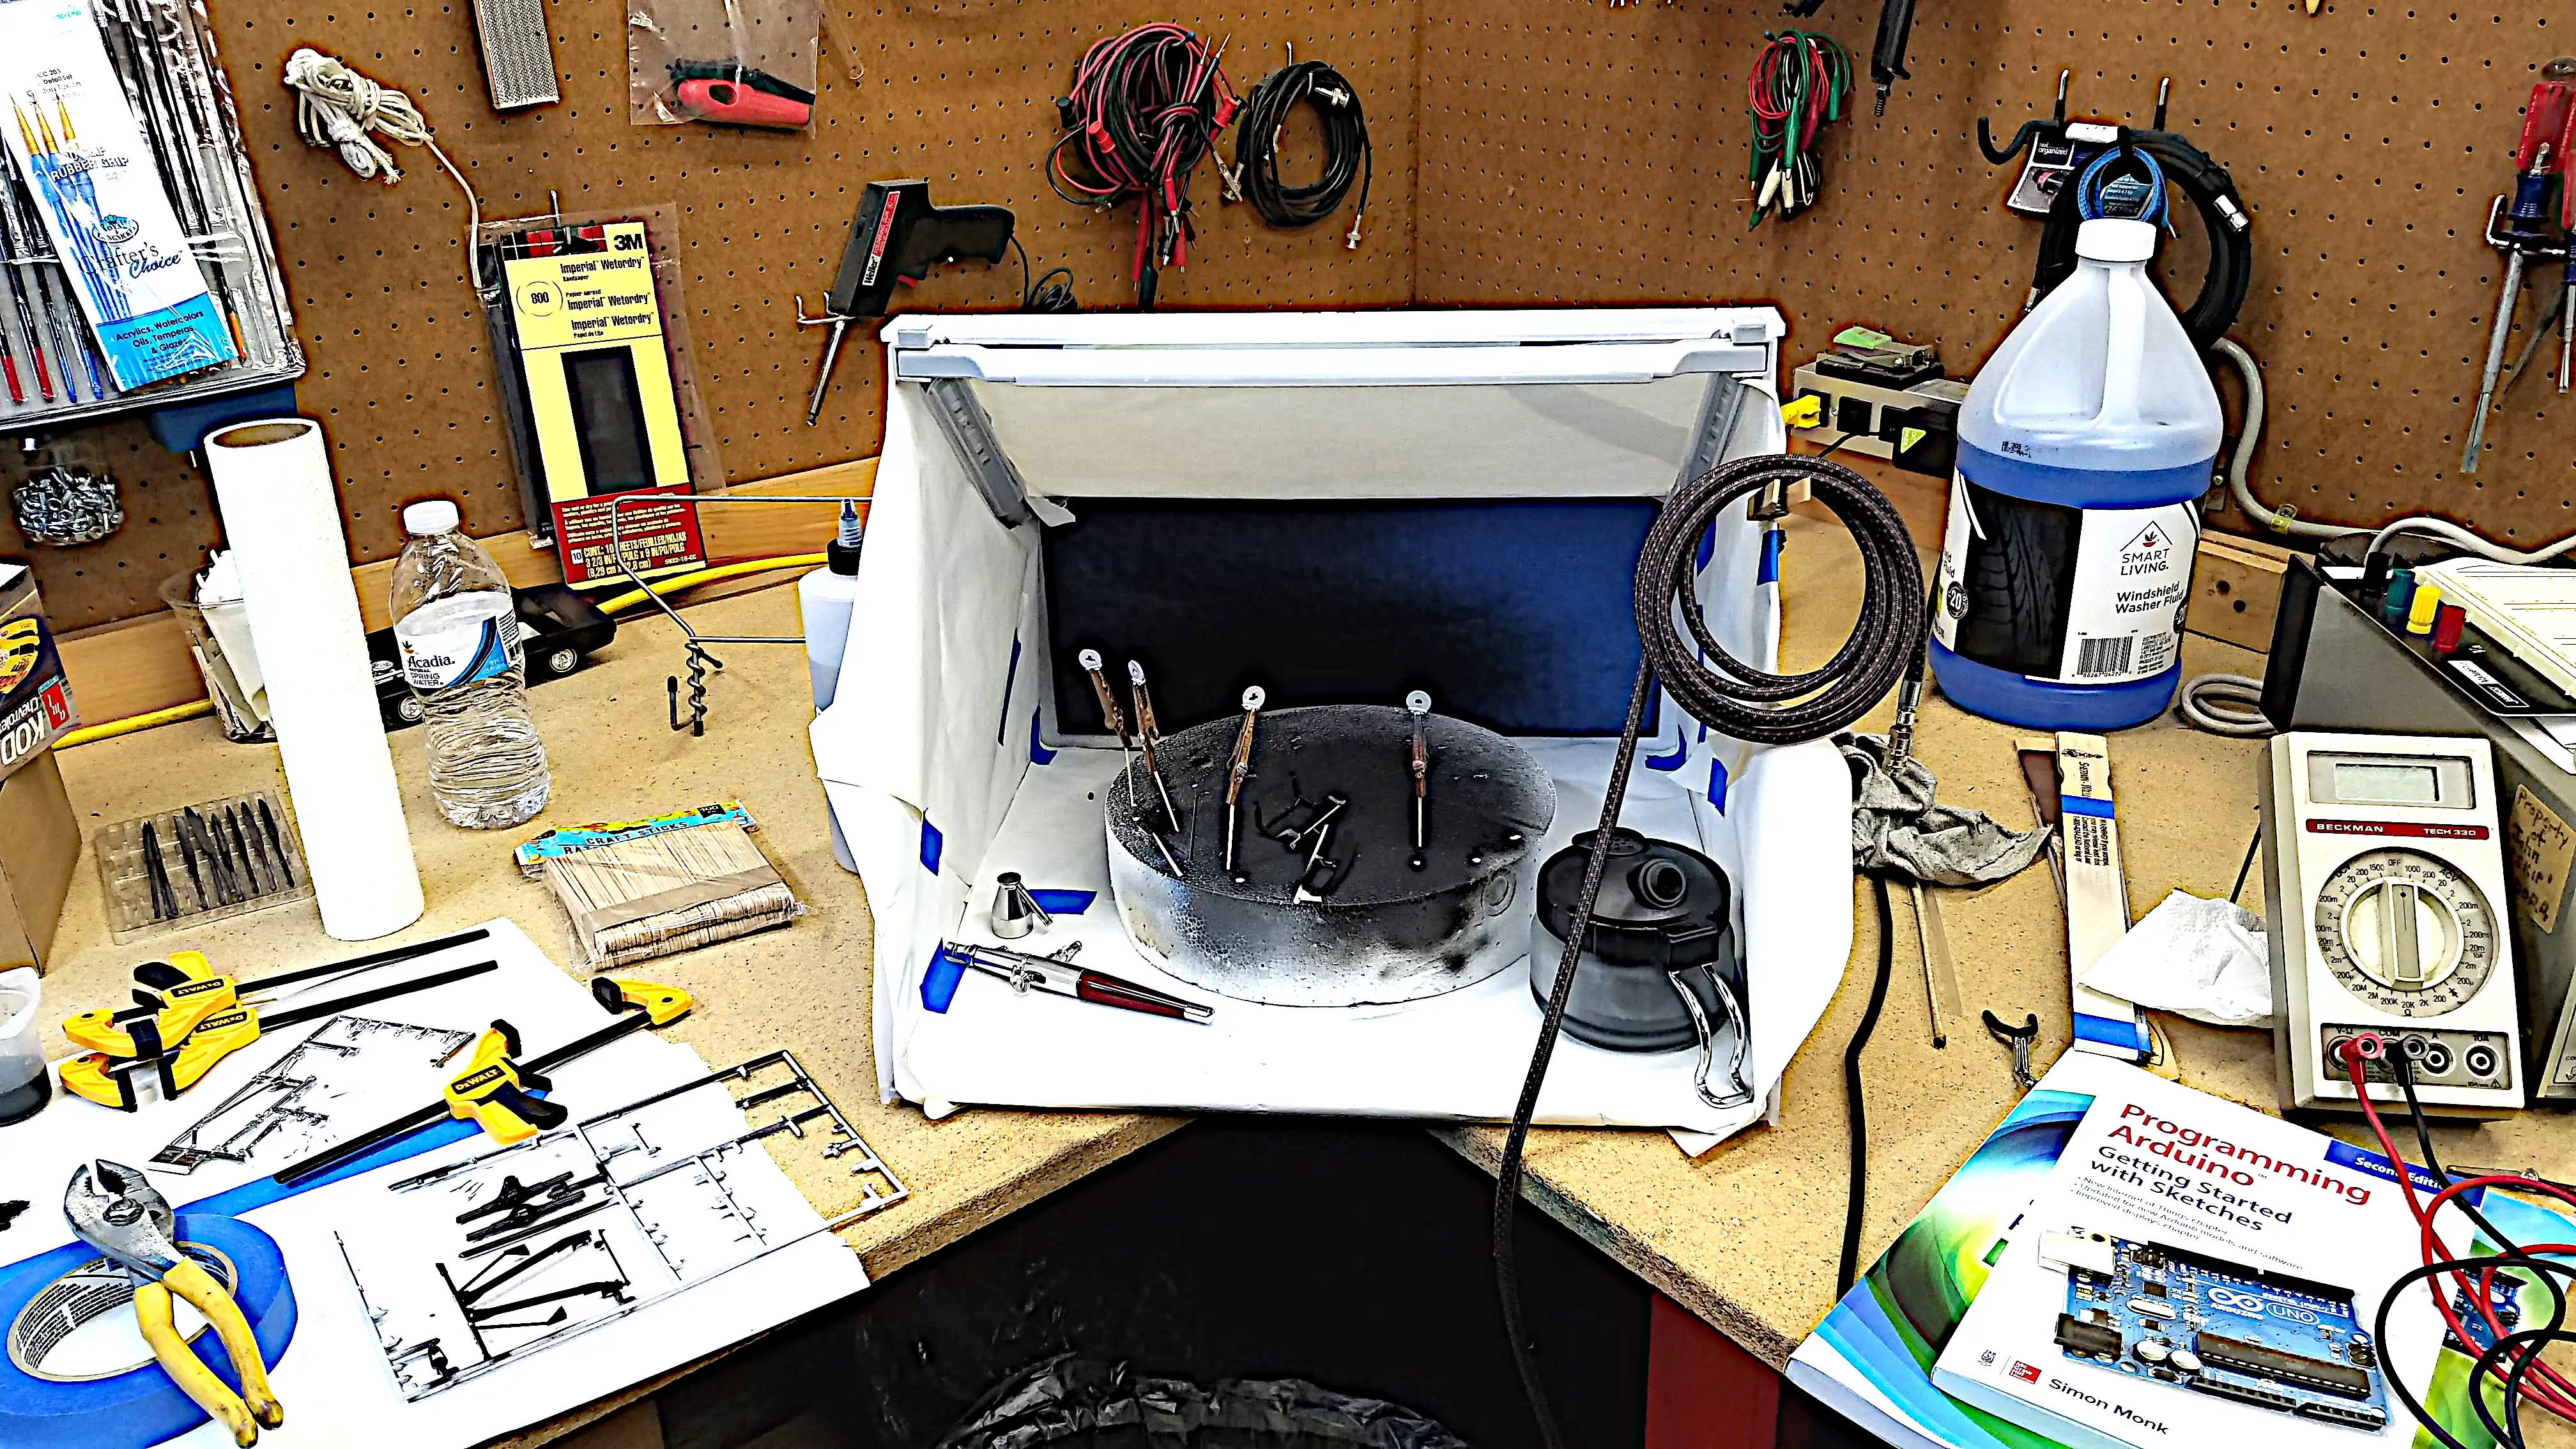
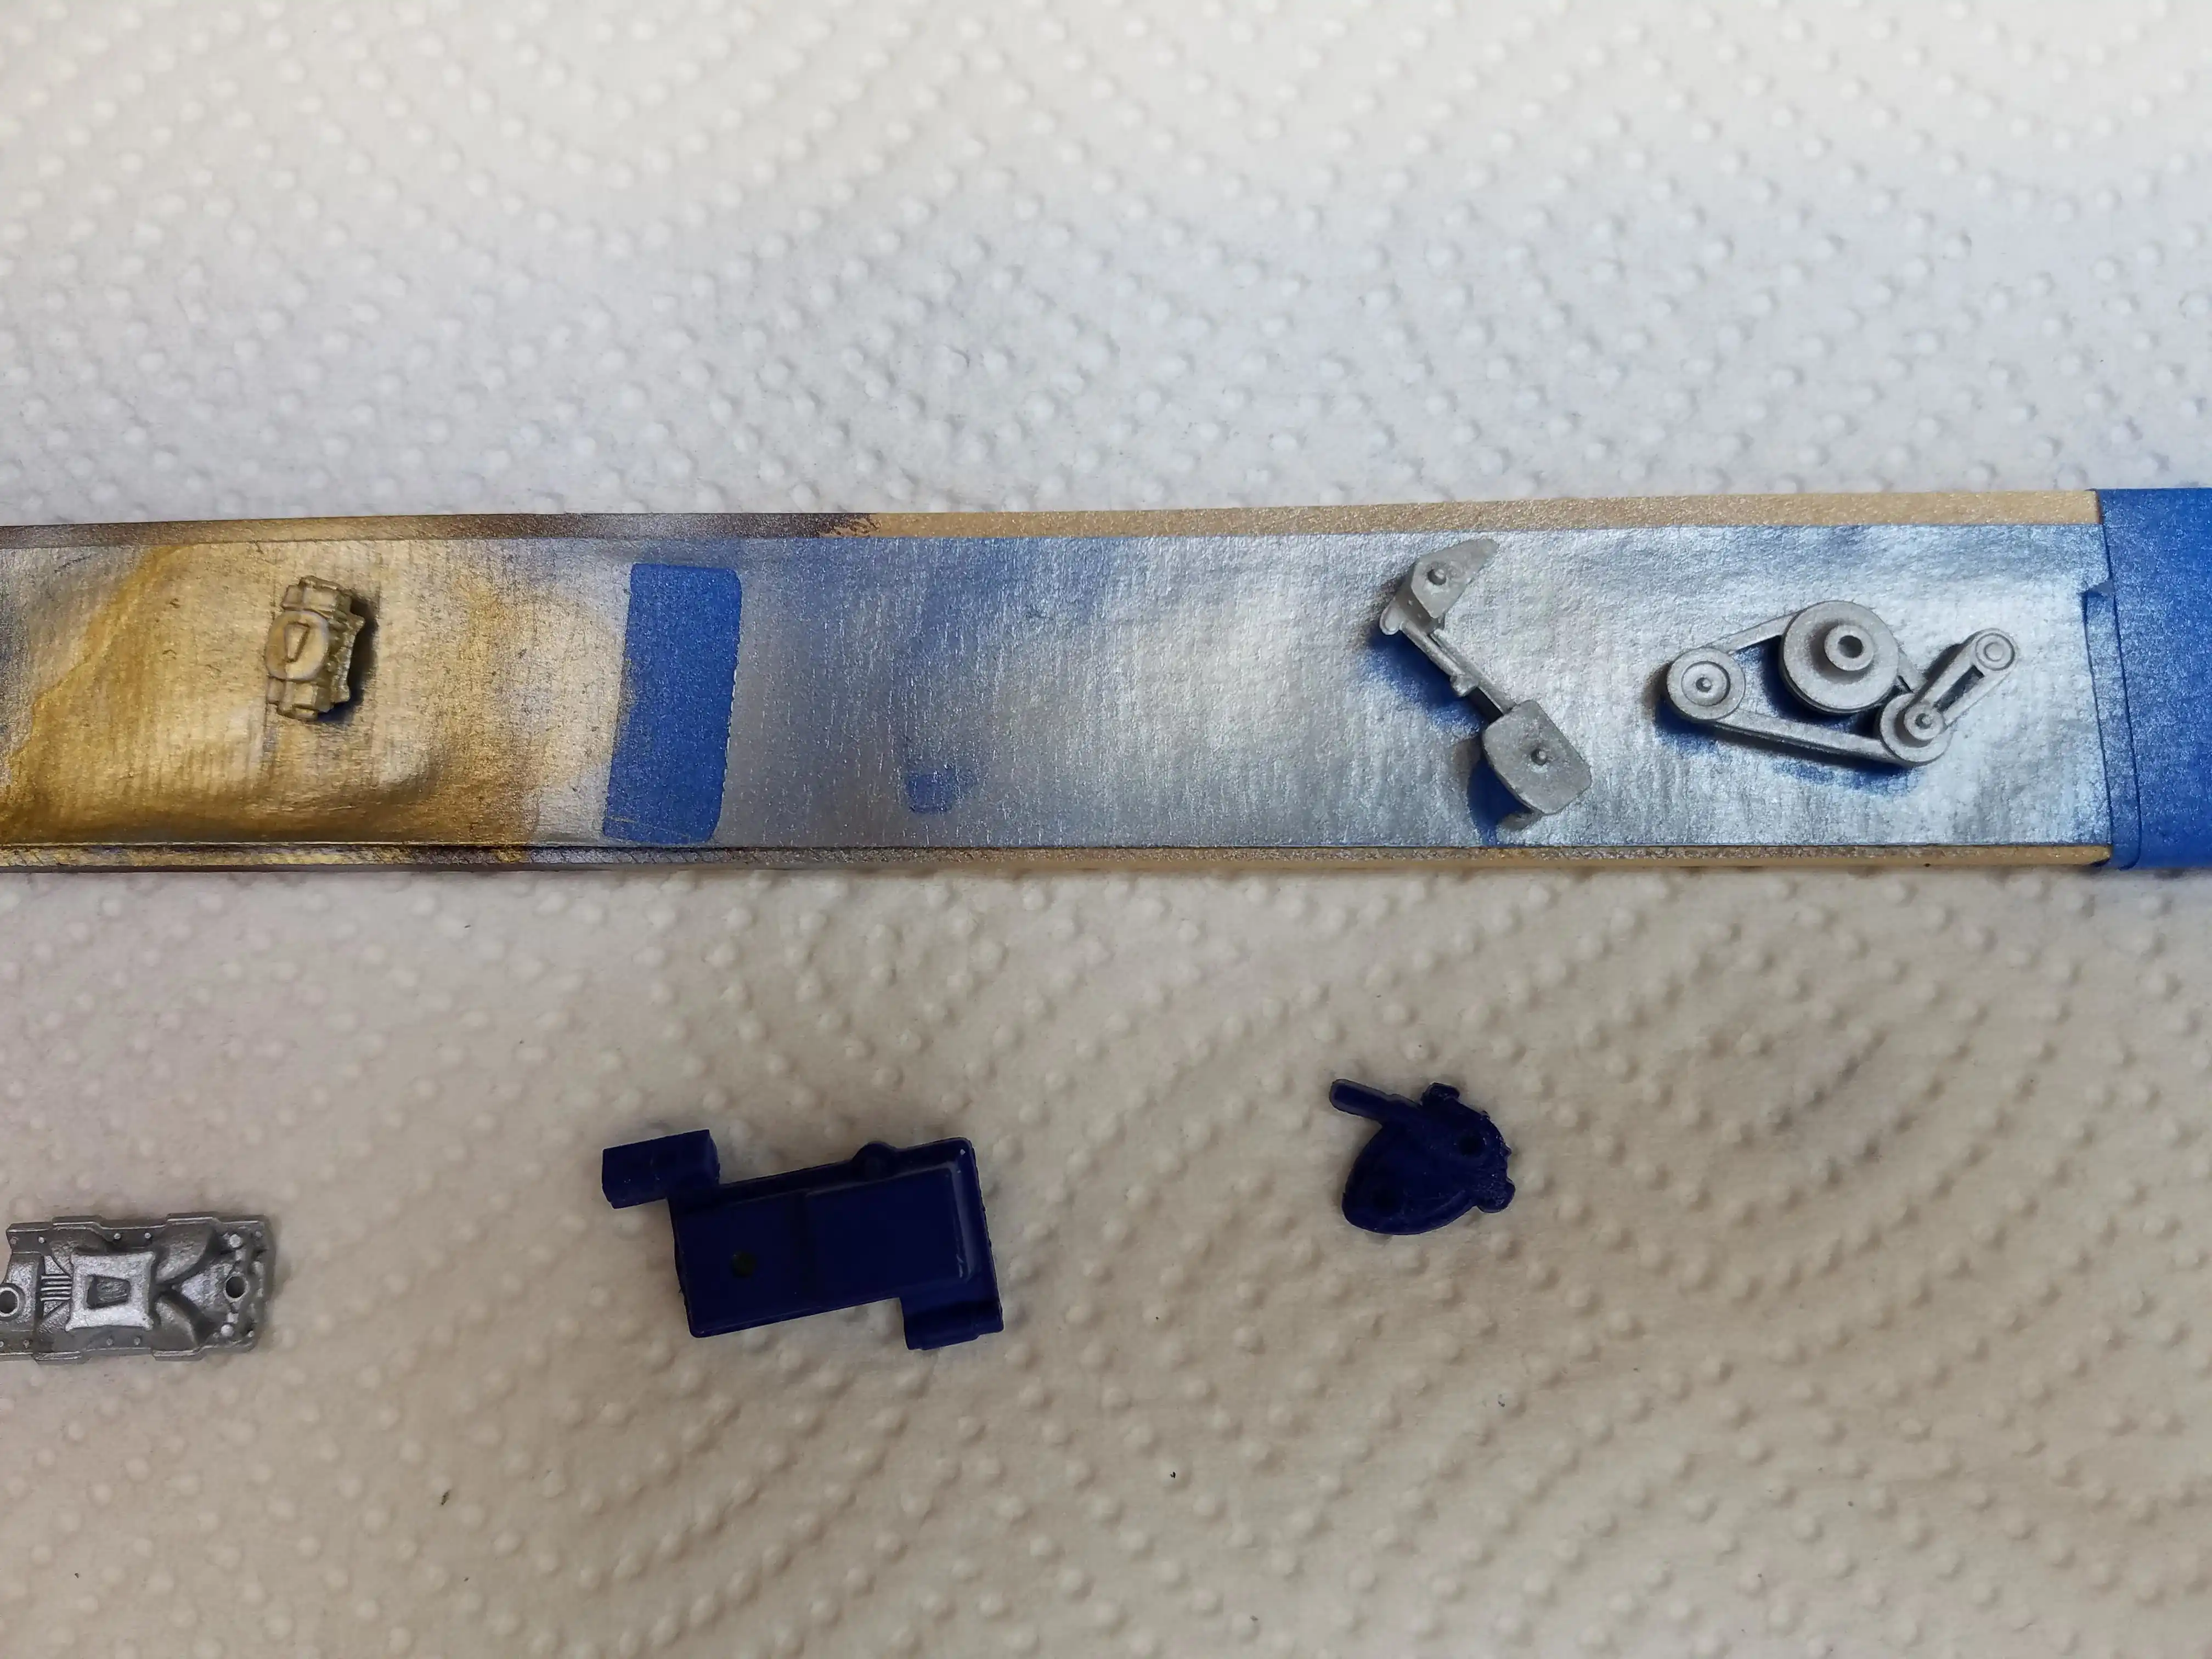
I started this project by painting the engine parts. Thanks to YouTube I learned that many builders stick small parts to tape for spraying. It works great. I'm still learning how to use an airbrush, so this was a good lesson in the spray pattern and how the brush and the objects need to be moved around to get fully coated. I also did some traditional brush painting on the engine.
Photo 004
Click/tap photo to enlarge
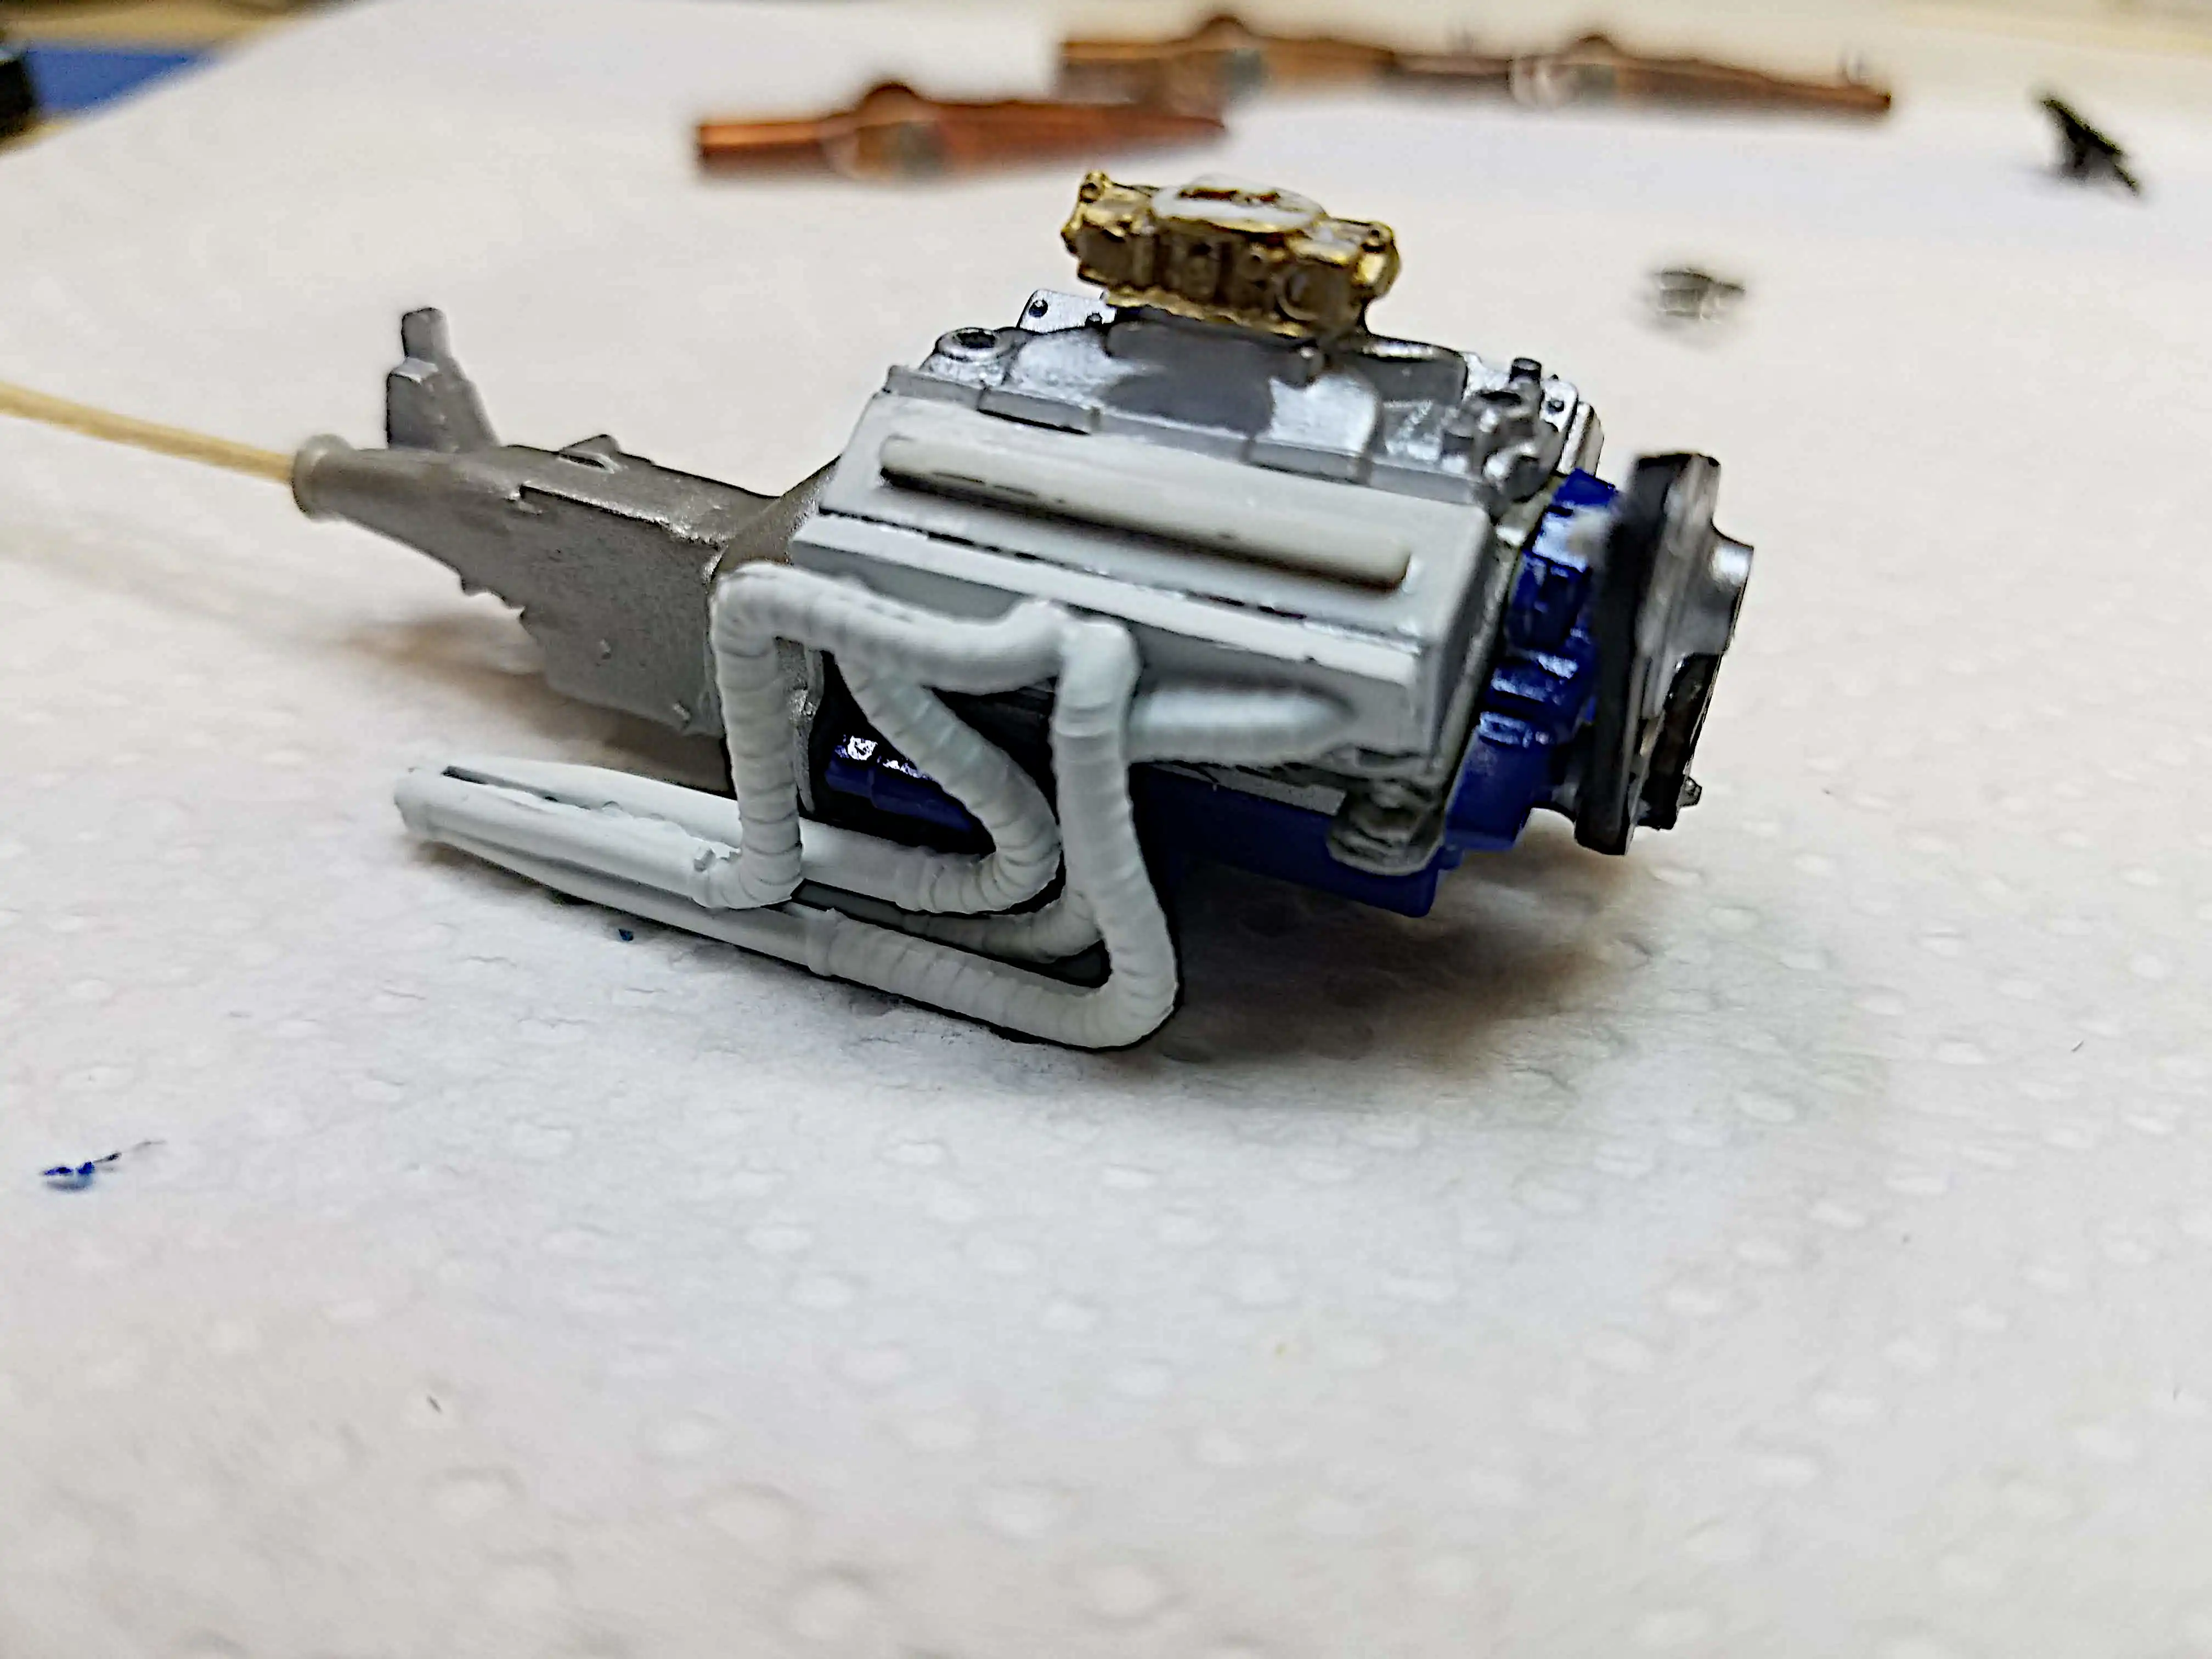
 Started assembling engine
I started assembling the engine. Being from the "Old School" I scrapped the paint from the gluing surfaces before applying the glue using Testors liquid glue. I see so many modelers online that do not remove paint from the gluing surfaces and using plastic cement. I'm not sure how that glue holds the parts together because the glue actually melts the styrene together, and it won't do that if the surface is painted. I also see modelers using super glue, but I'm not sold on that glue for model parts, "yet". So... as of this writing, I'm still using plastic cement; however, I could change my mind as I get further back into the hobby.
Photo 005
Click/tap photo to enlarge
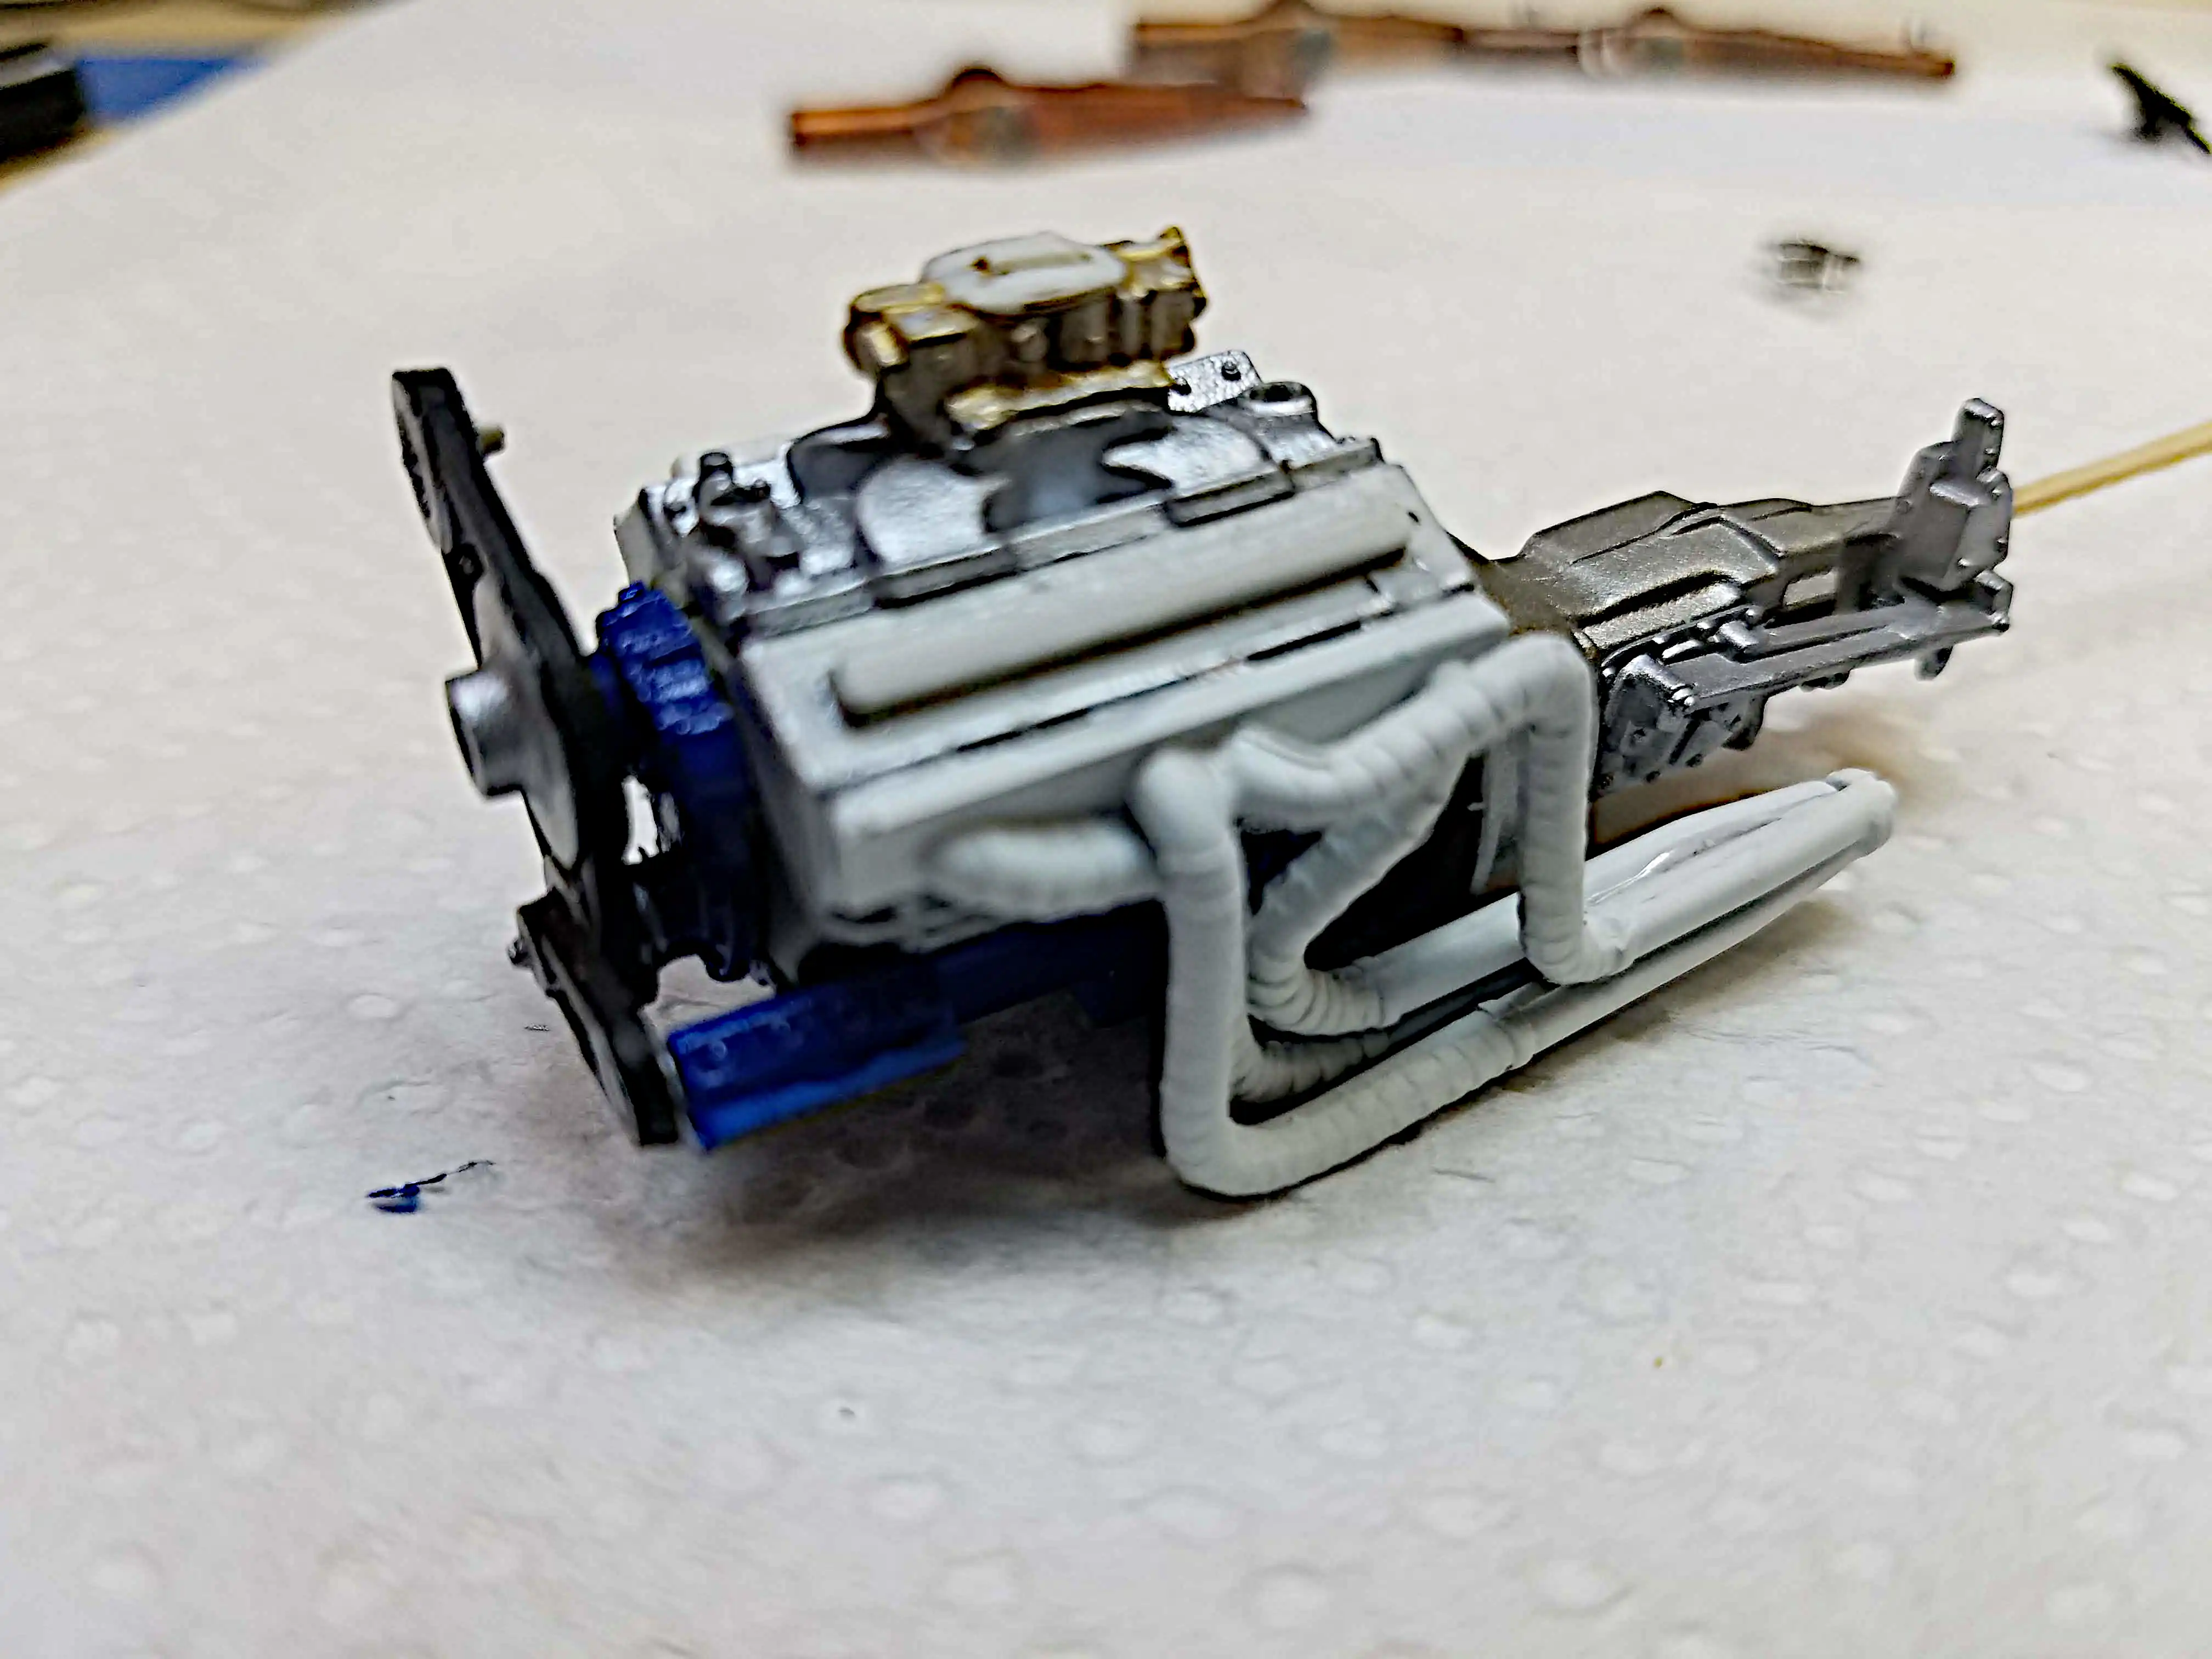
 Started assembling engine
Scrapping paint, gluing and doing some brush painting detailing and touch-up.
Photo 009
Click/tap photo to enlarge
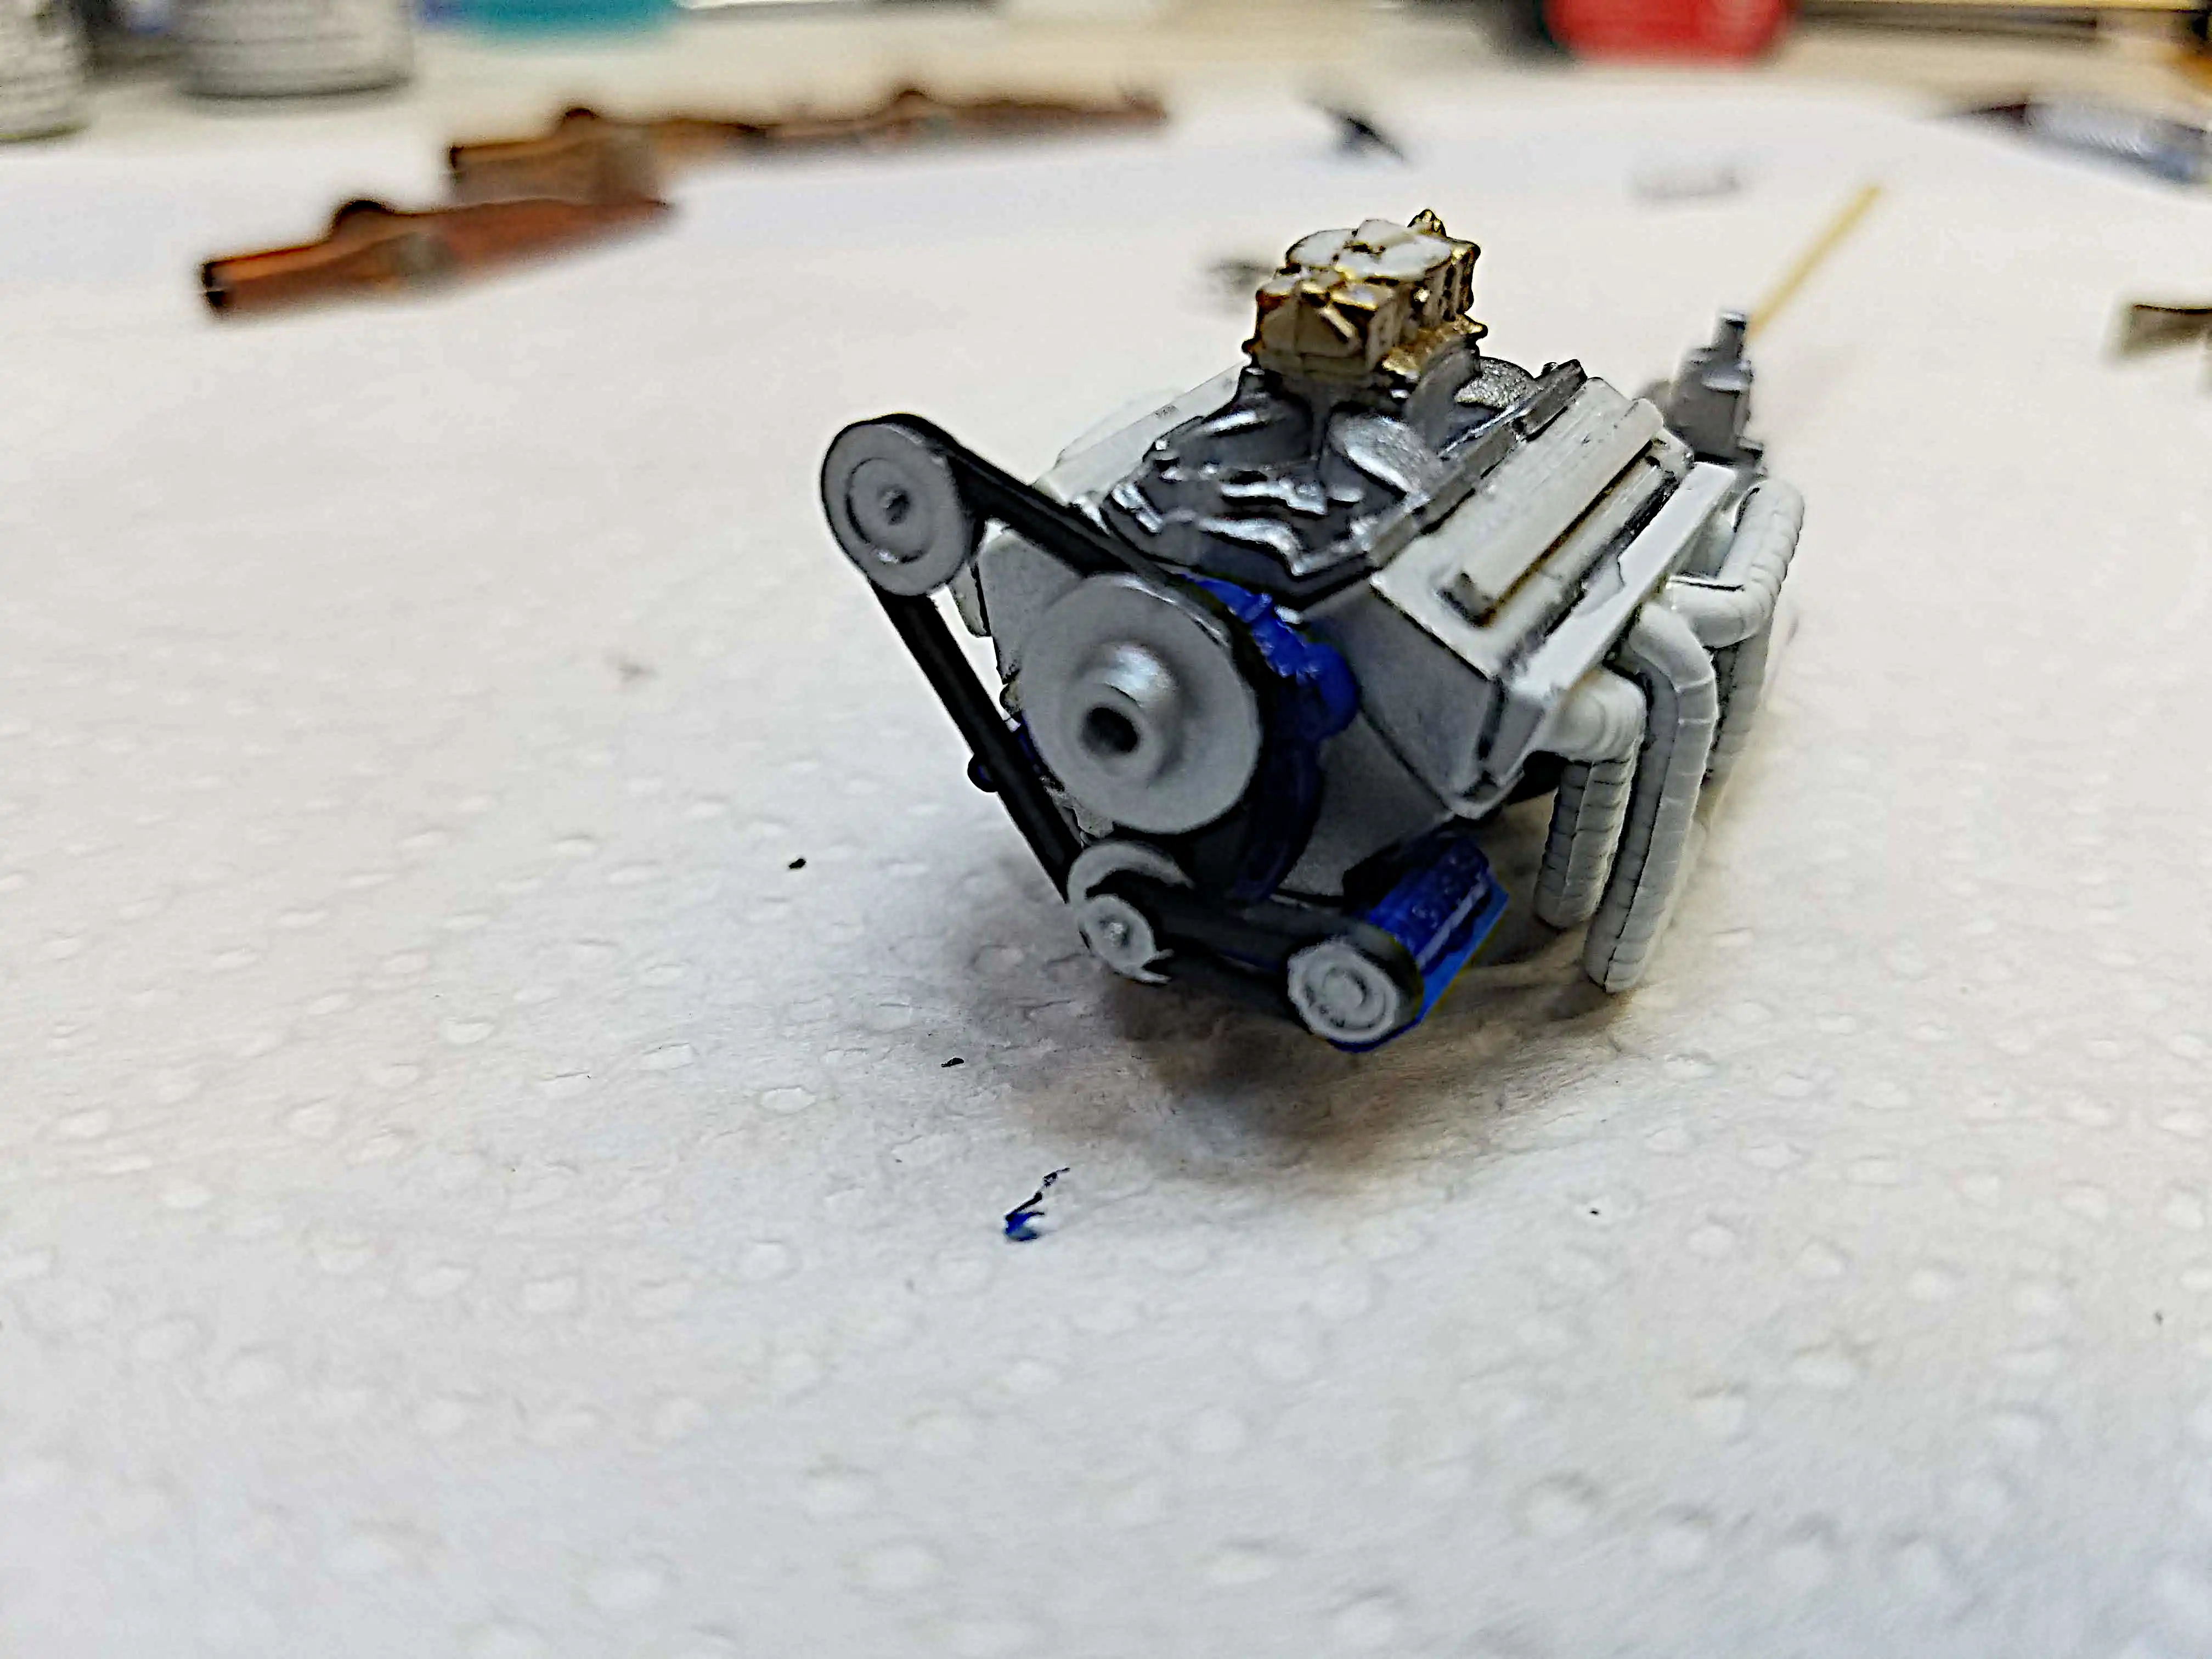
 Started assembling the engine
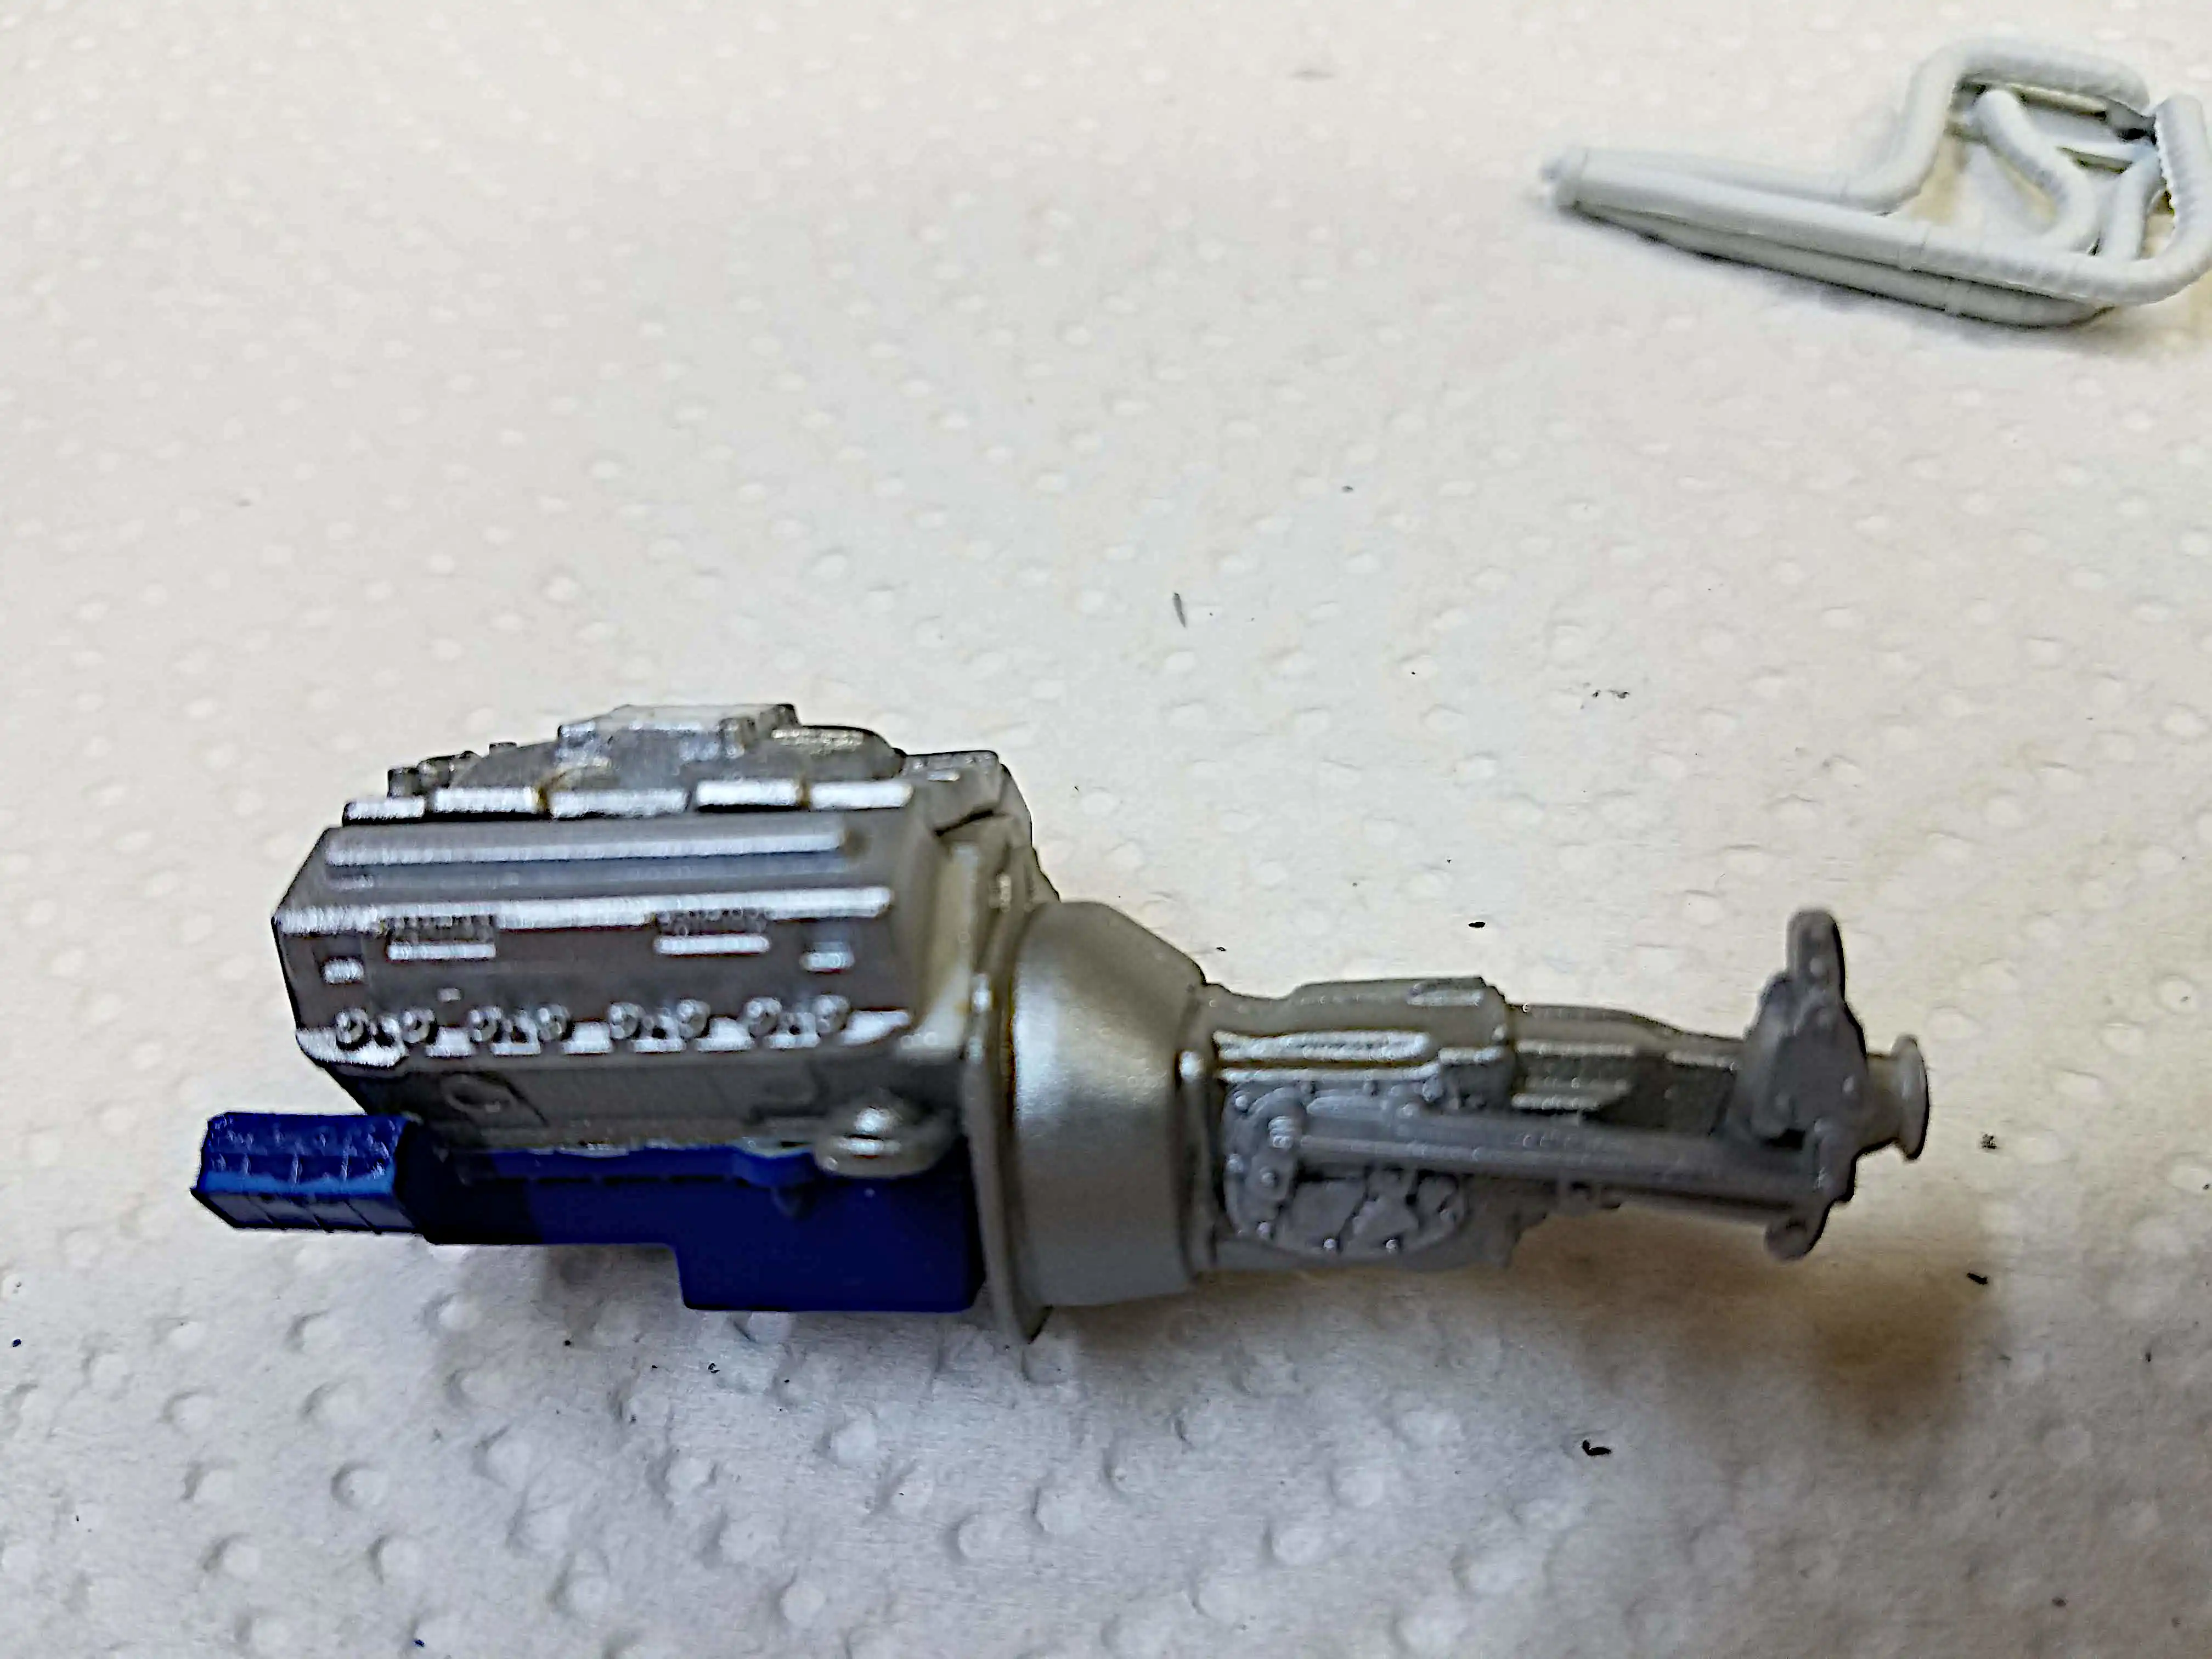
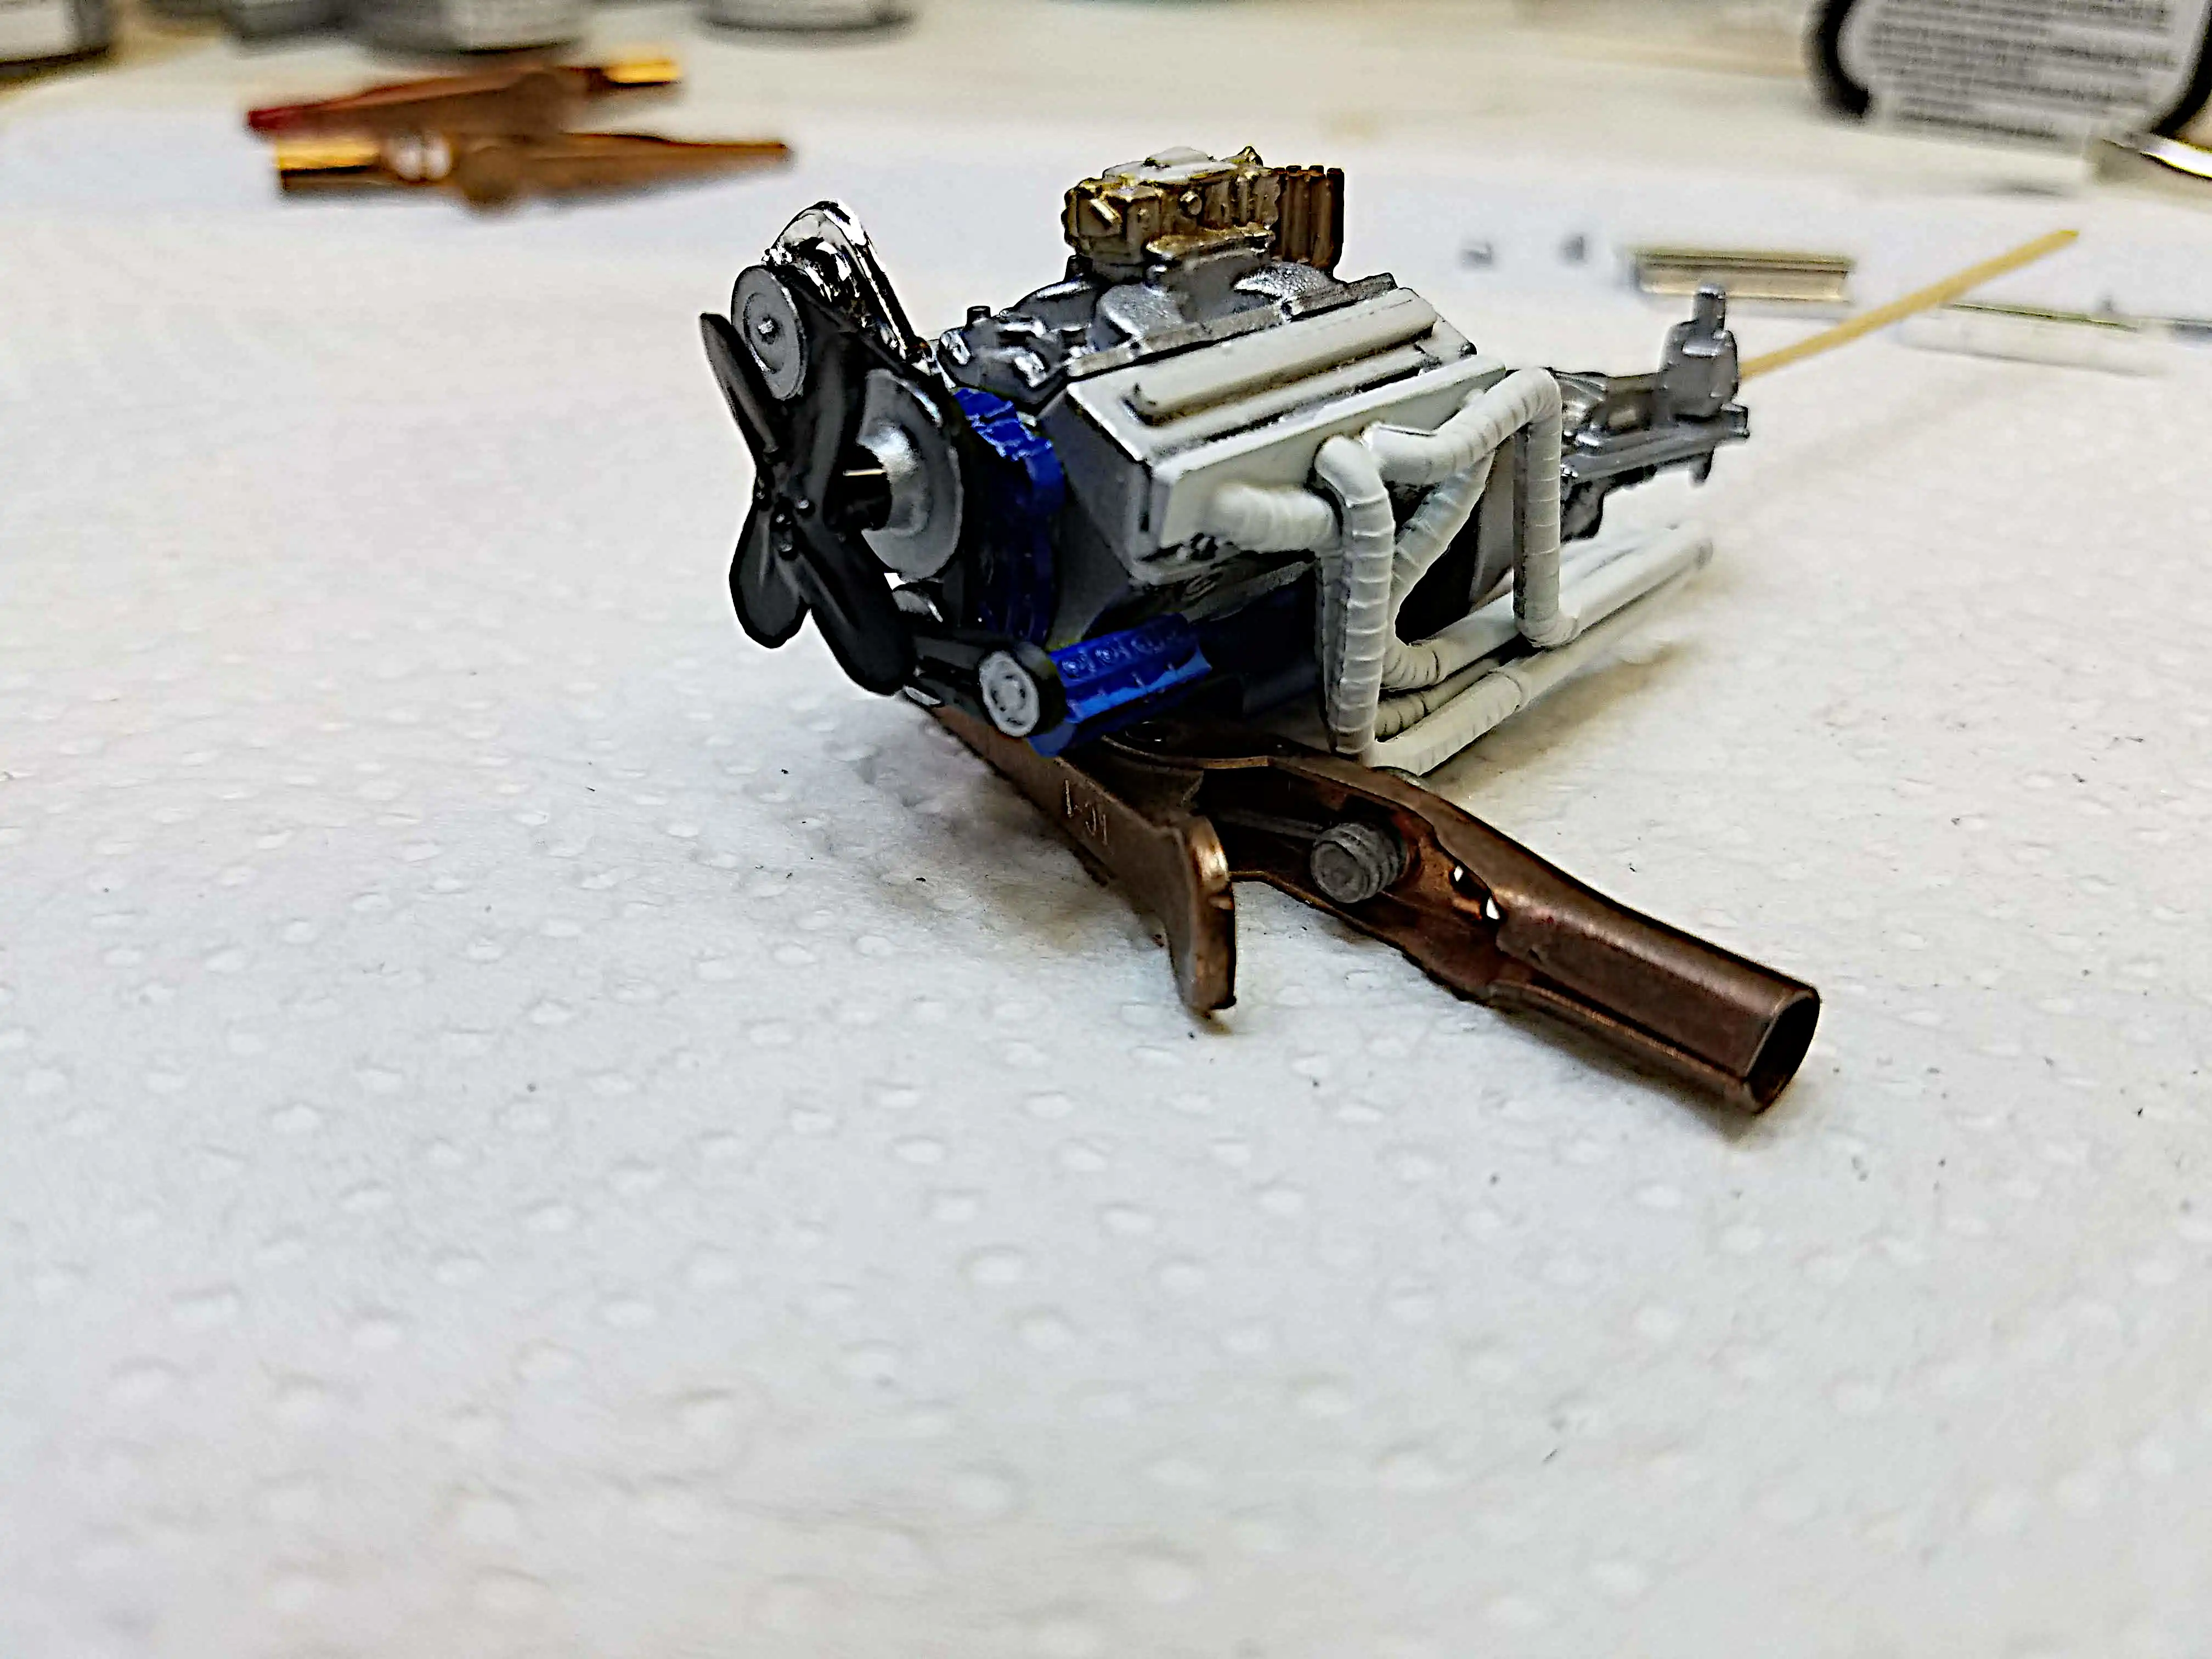
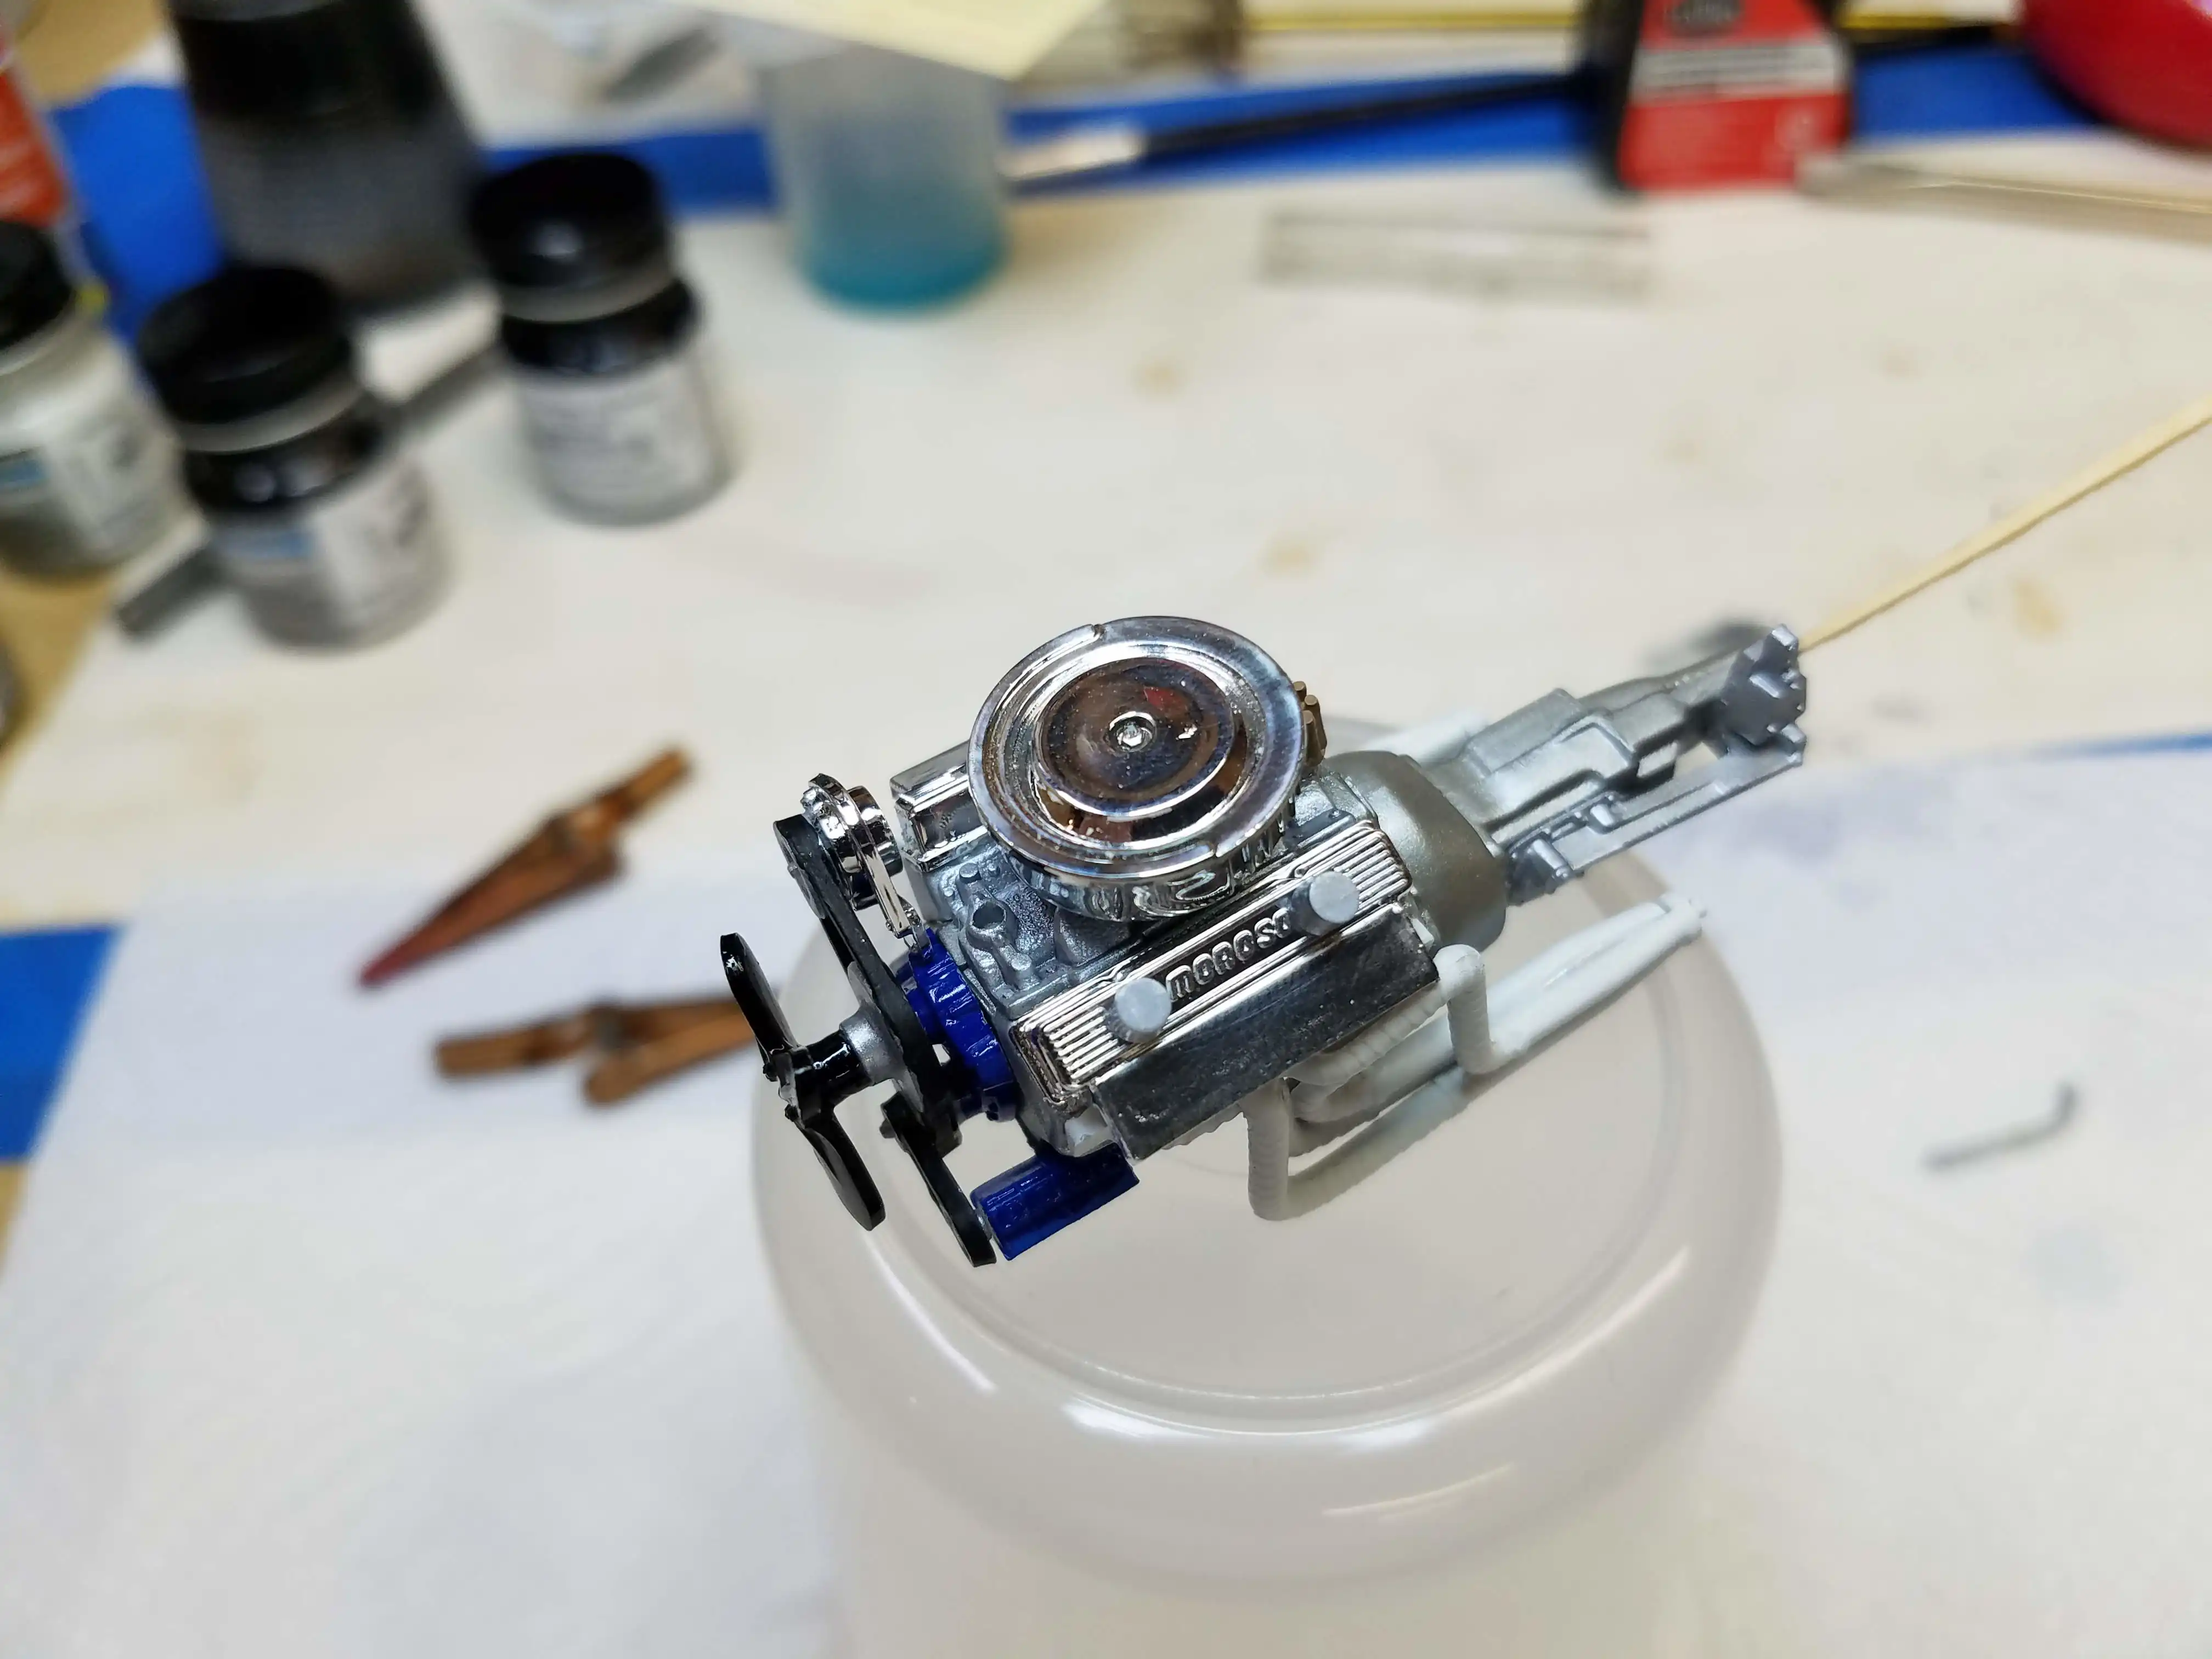
I added the alternator and the distributor cap. I'm not going to wire the engine on this build. I just want to get back in the groove. Looking back, I should have stripped the chrome from the alternator and painted it...hind sight is 20-20.
Photo 010
Click/tap photo to enlarge
 Started assembling the engine
I added the alternator and the distributor cap. I'm not going to wire the engine on this build. I just want to get back in the groove. Looking back, I should have stripped the chrome from the alternator and painted it...hind sight is 20-20.
Photo 011
Click/tap photo to enlarge
 Started assembling the engine
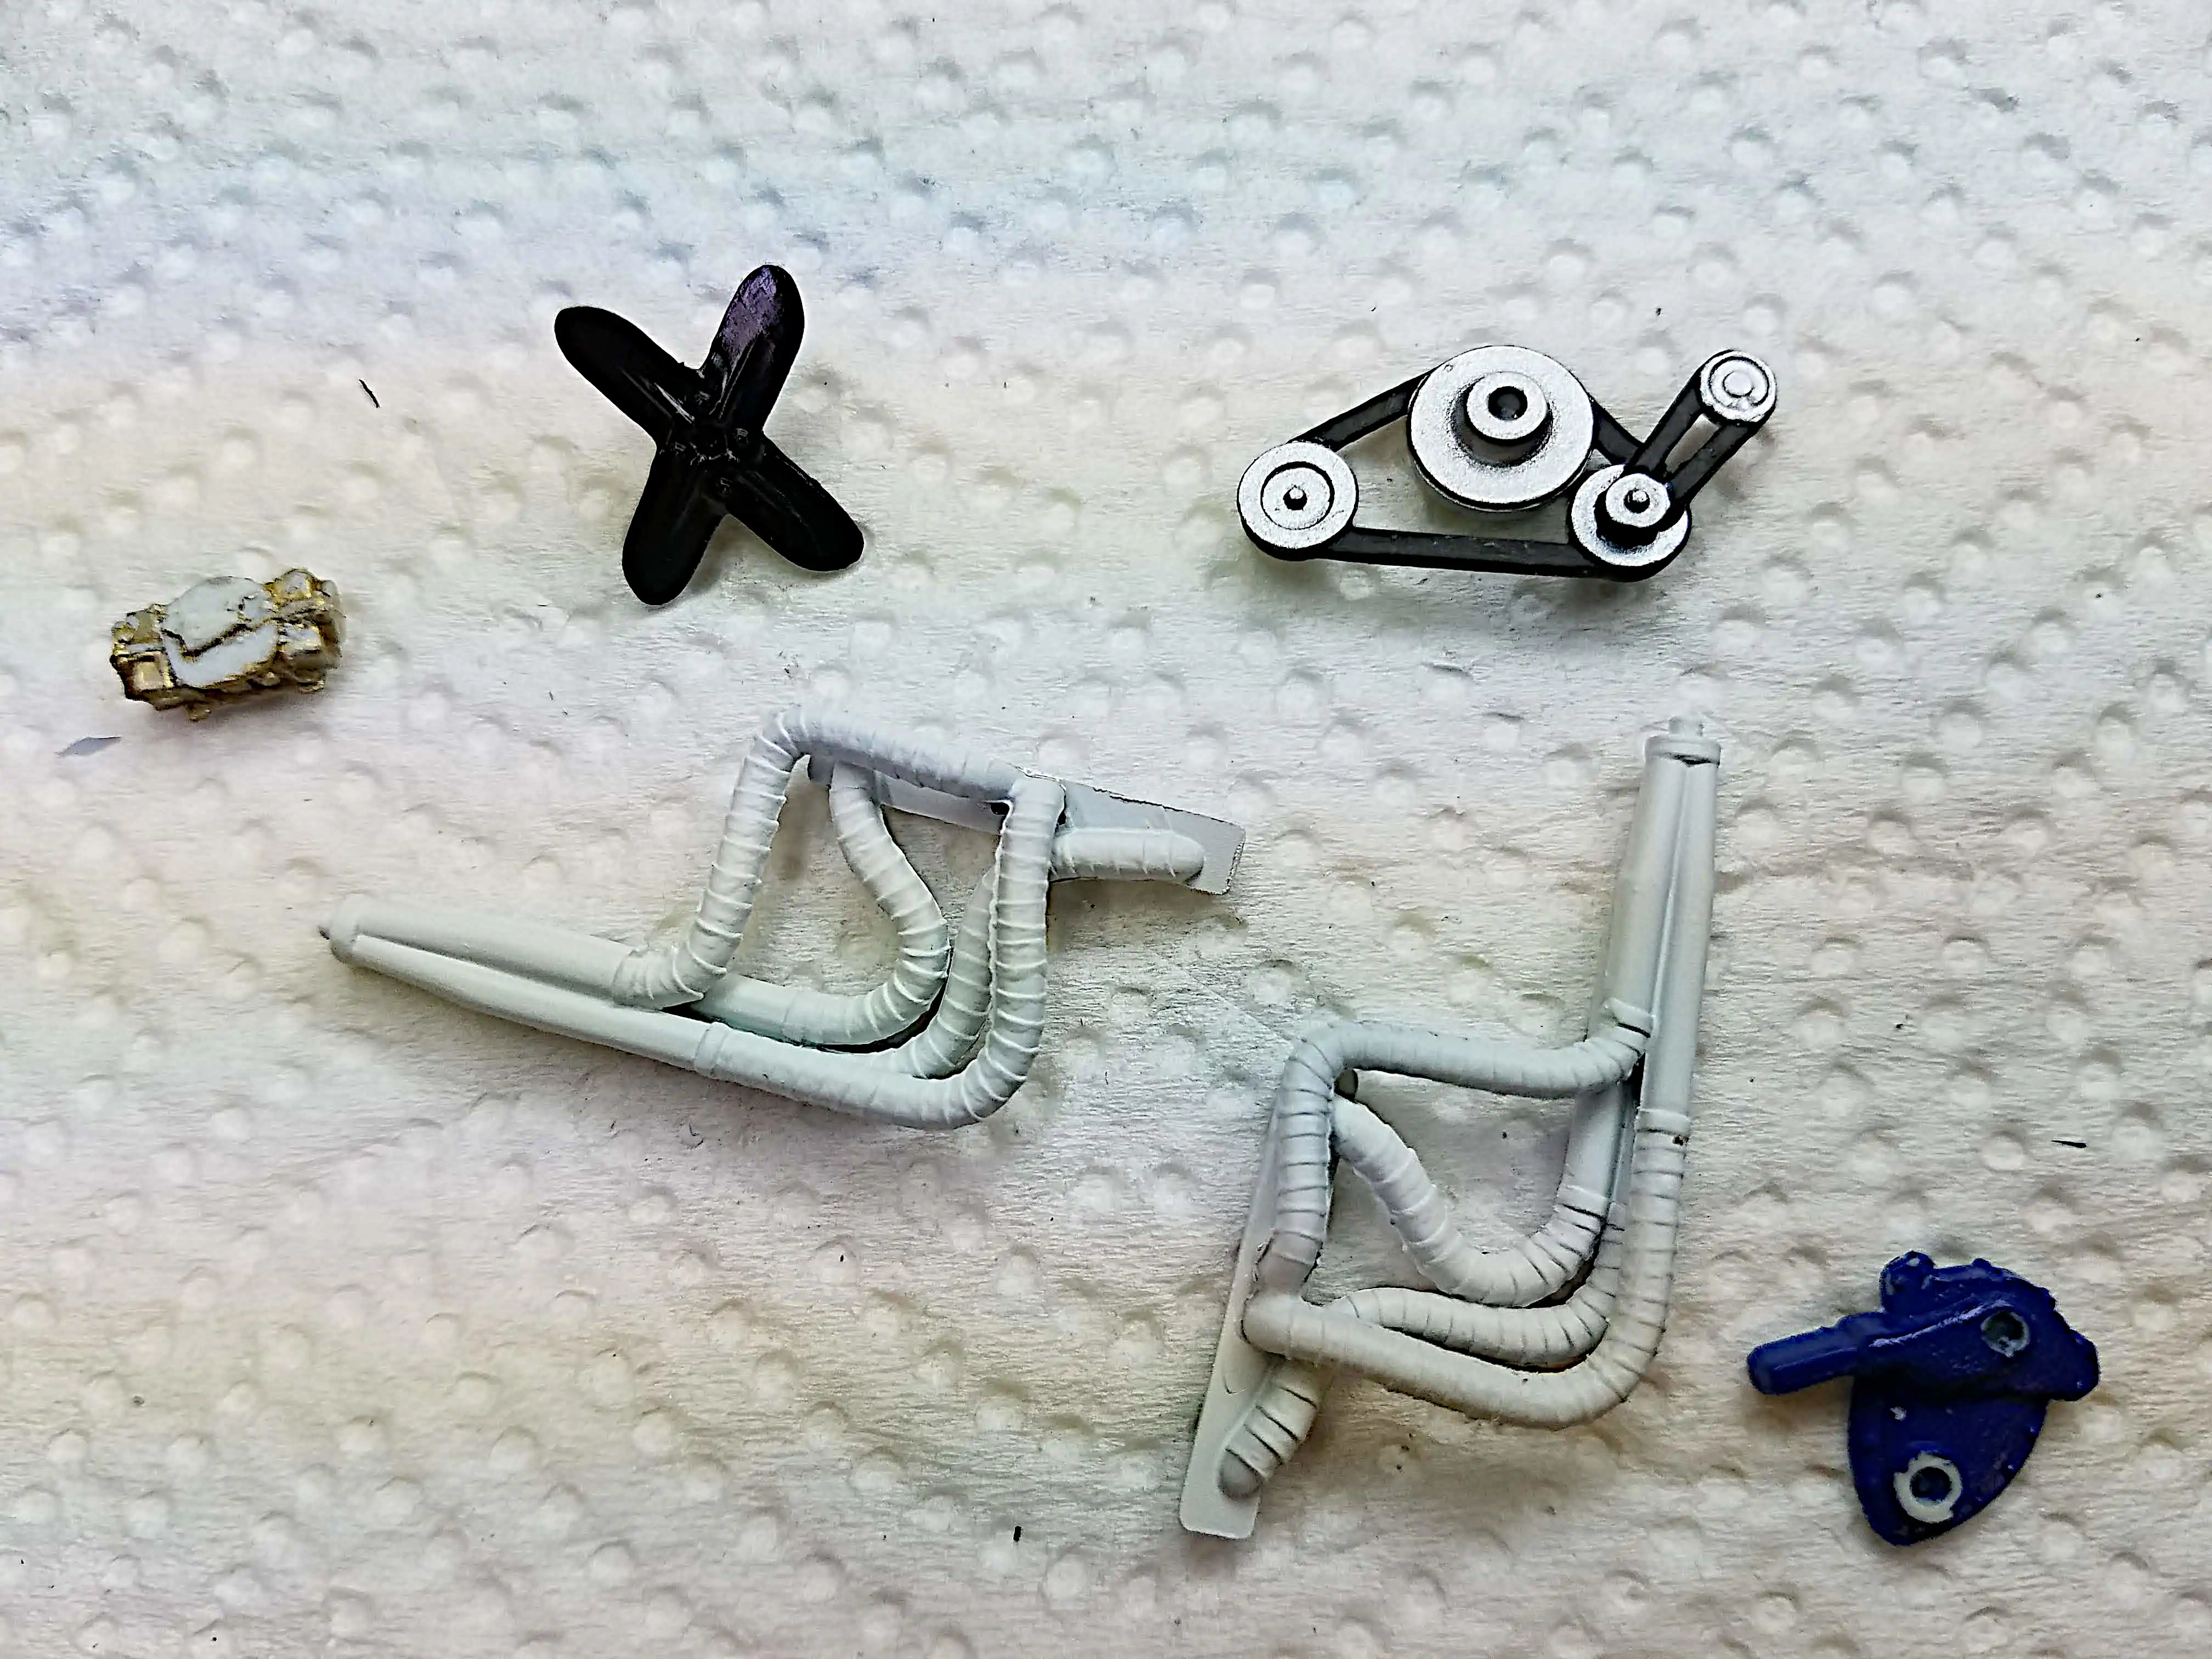
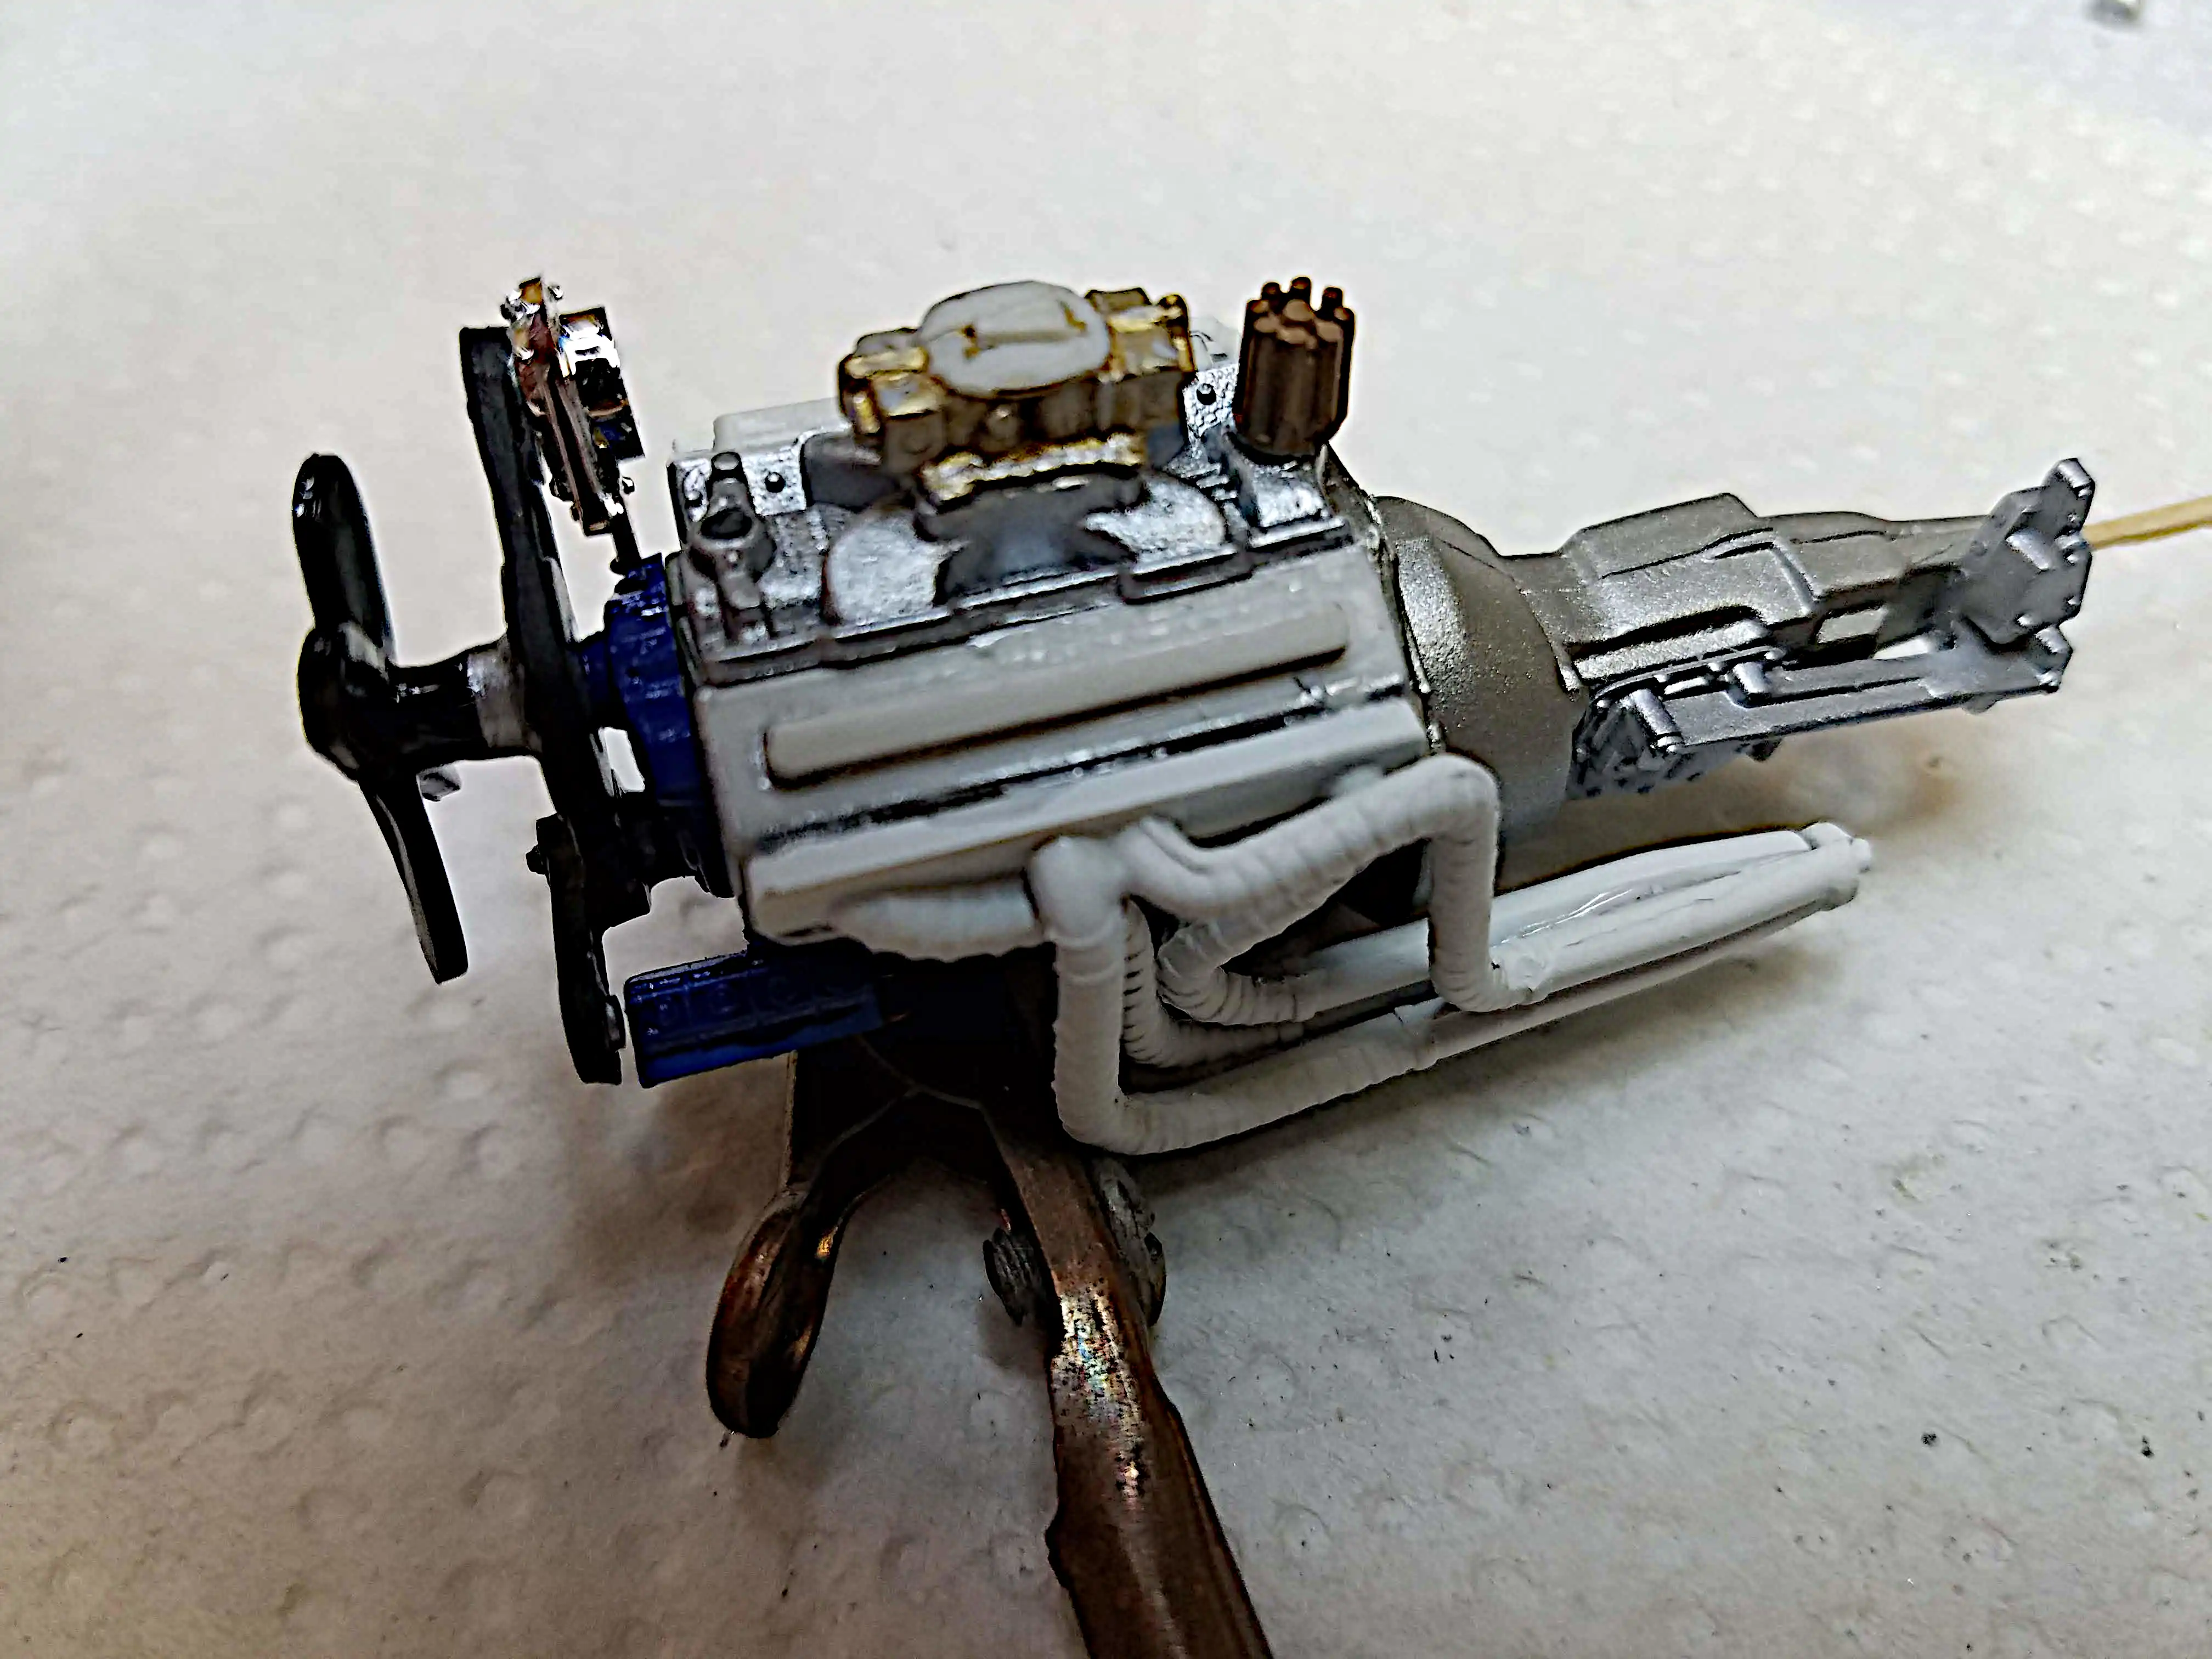
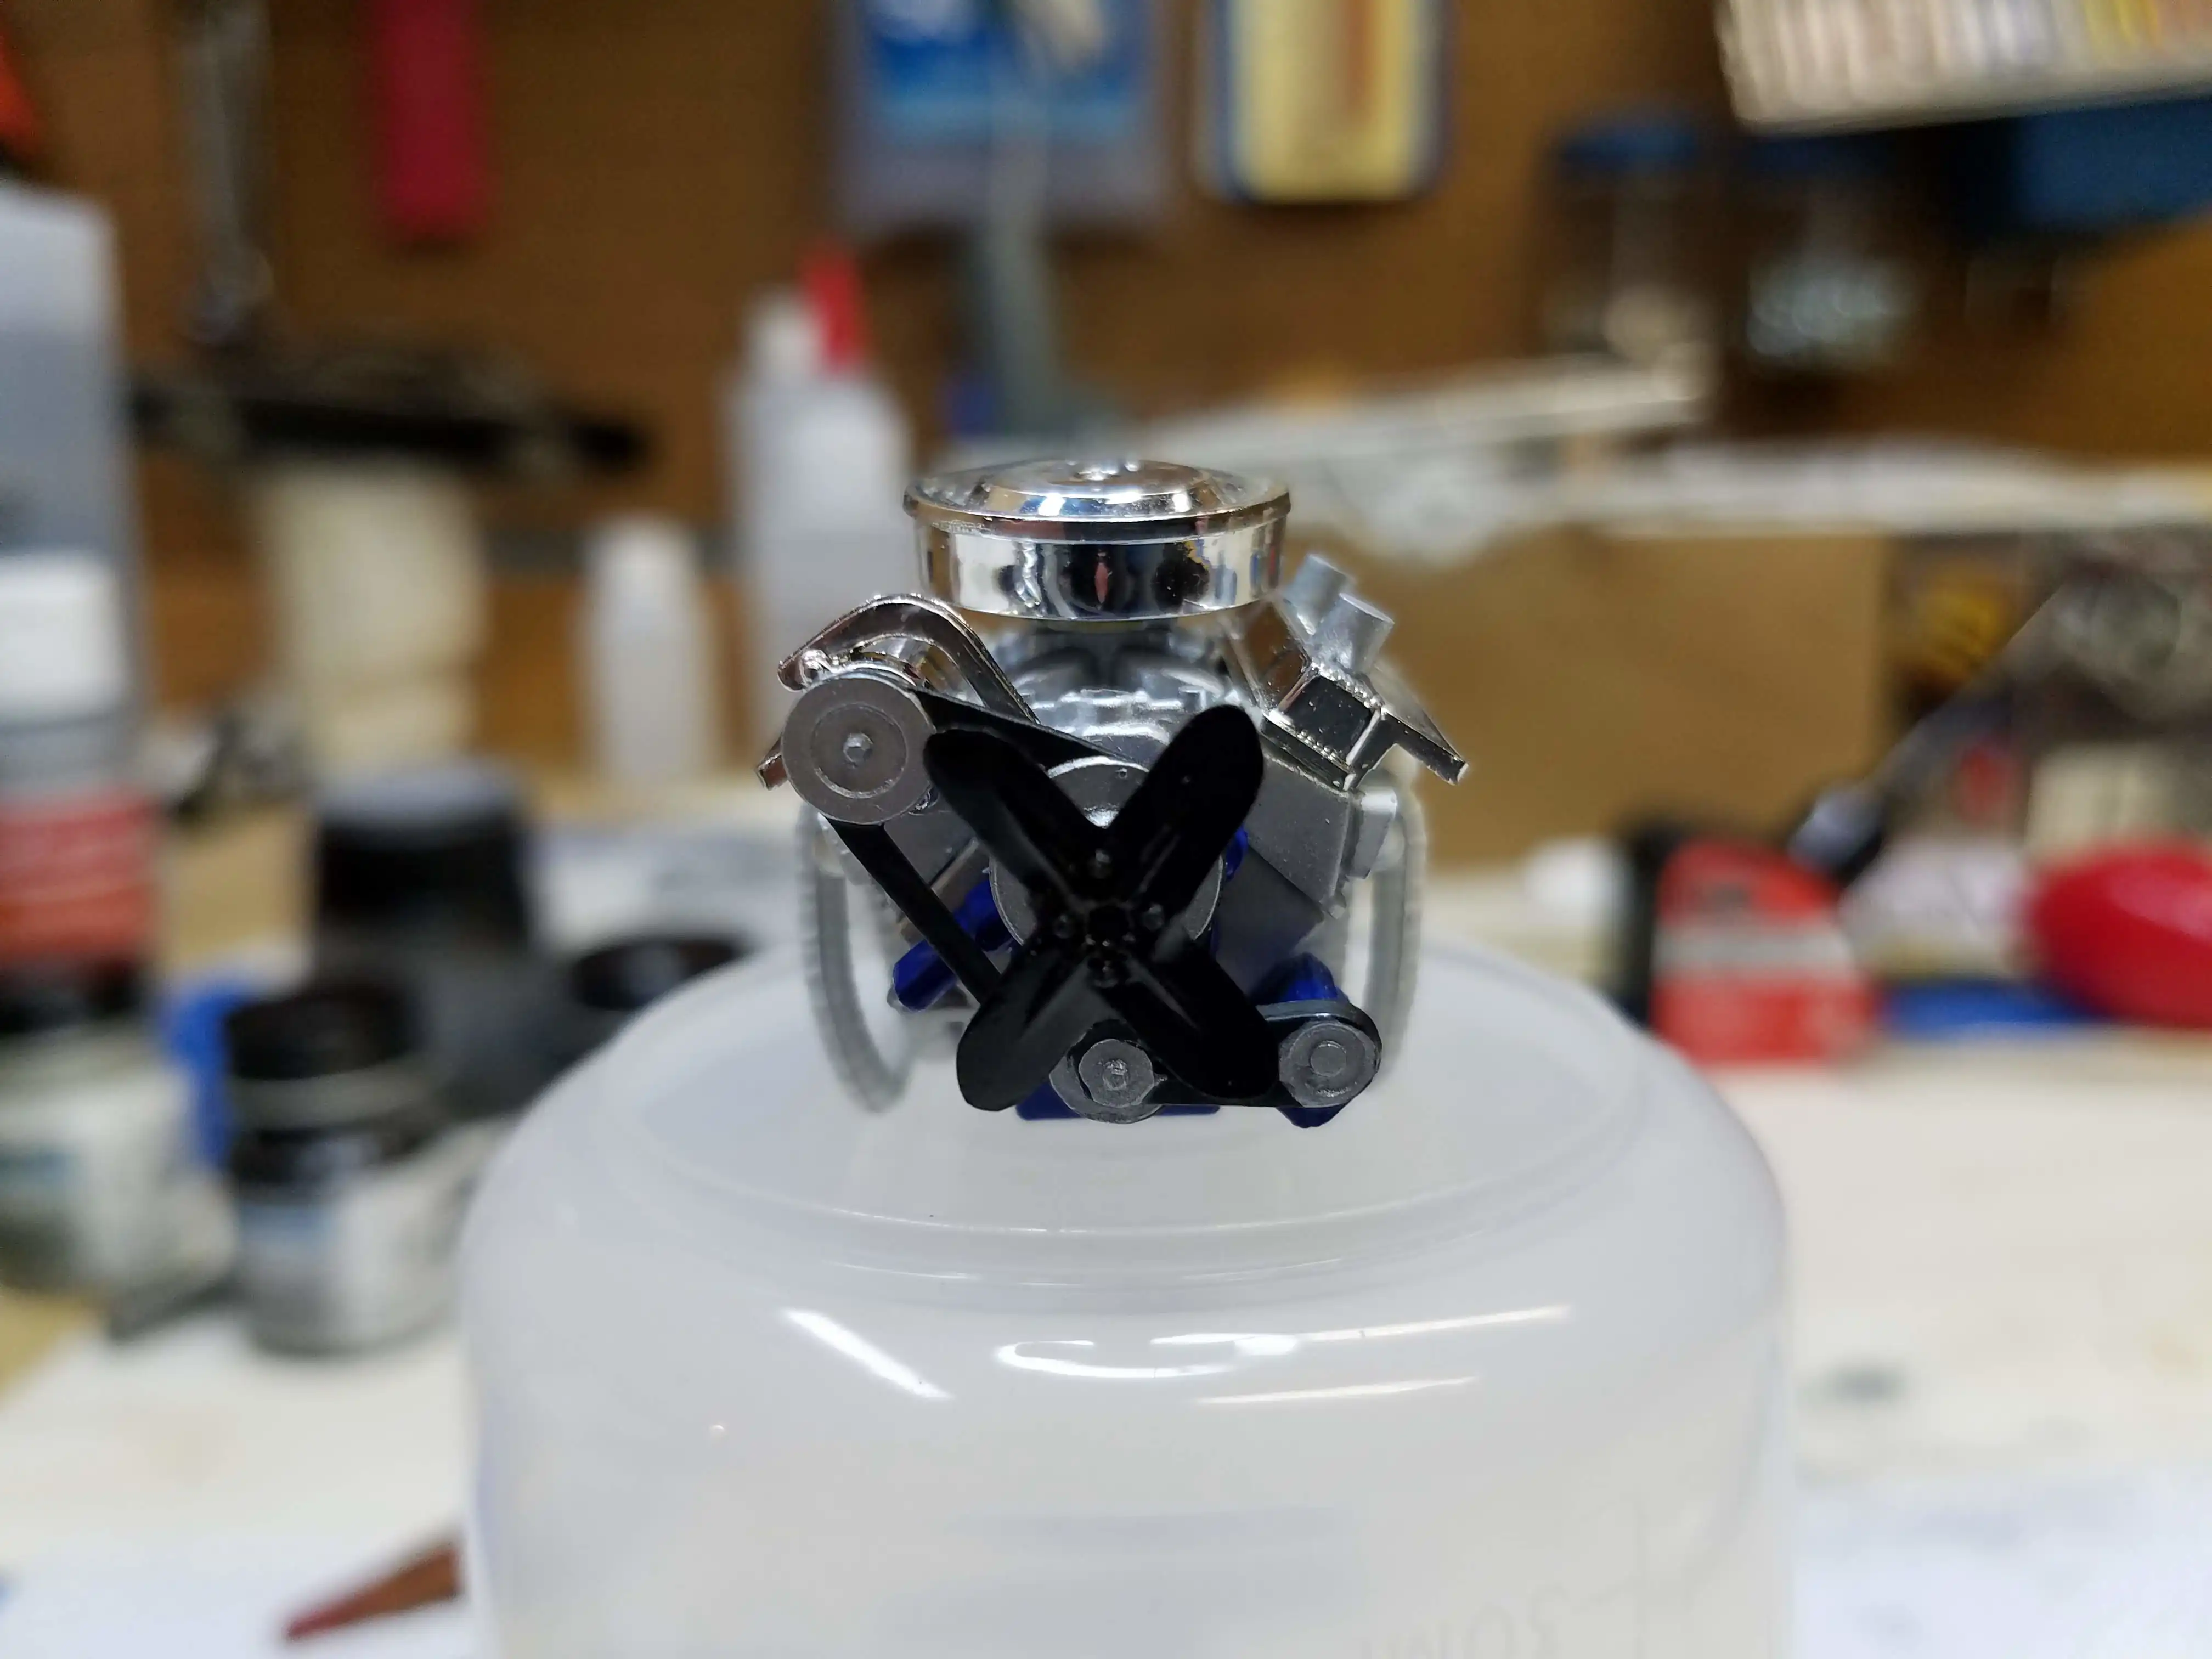
Added the valve covers and oil breathers.
Photo 012
Click/tap photo to enlarge
 Started assembling the engine
Added valve covers and oil breathers. The chrome on the heat shield, on the left side of the engine was wrinkled from the box. I was trying to figure out how to fix it, but then I thought, no...I'll leave it like that because it shows that it was very hot at one time.
Photo 014
Click/tap photo to enlarge
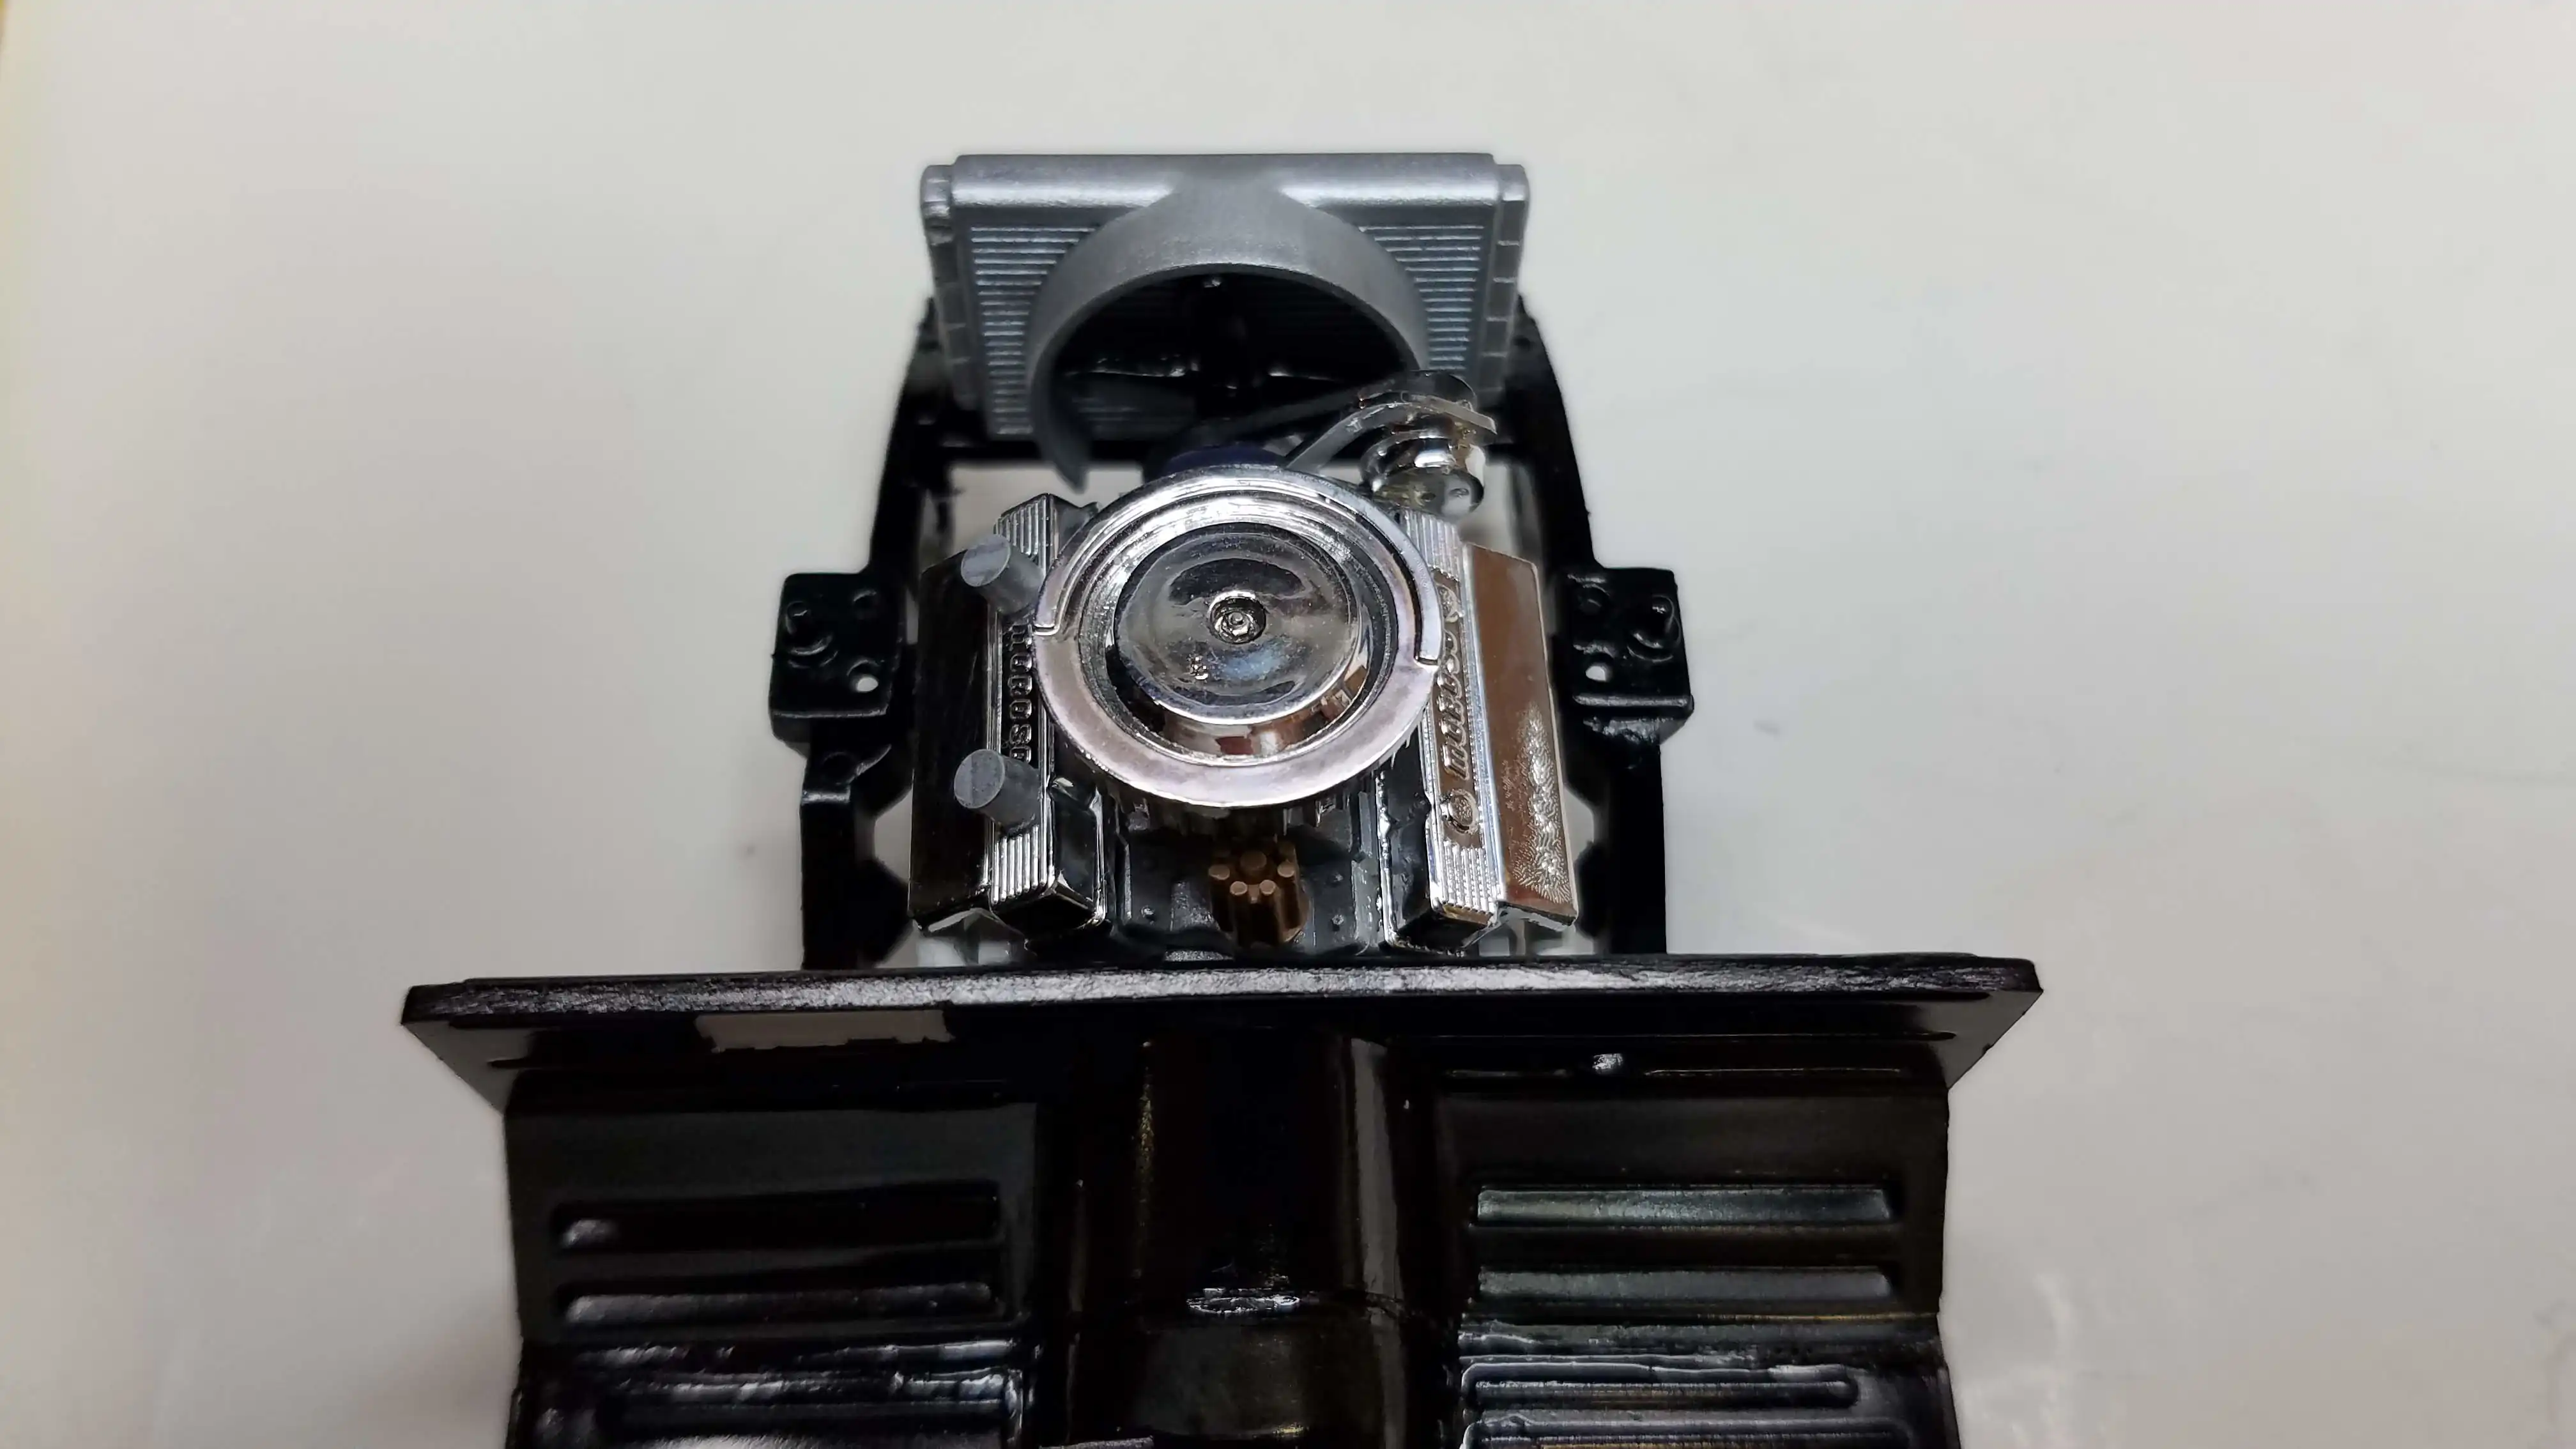
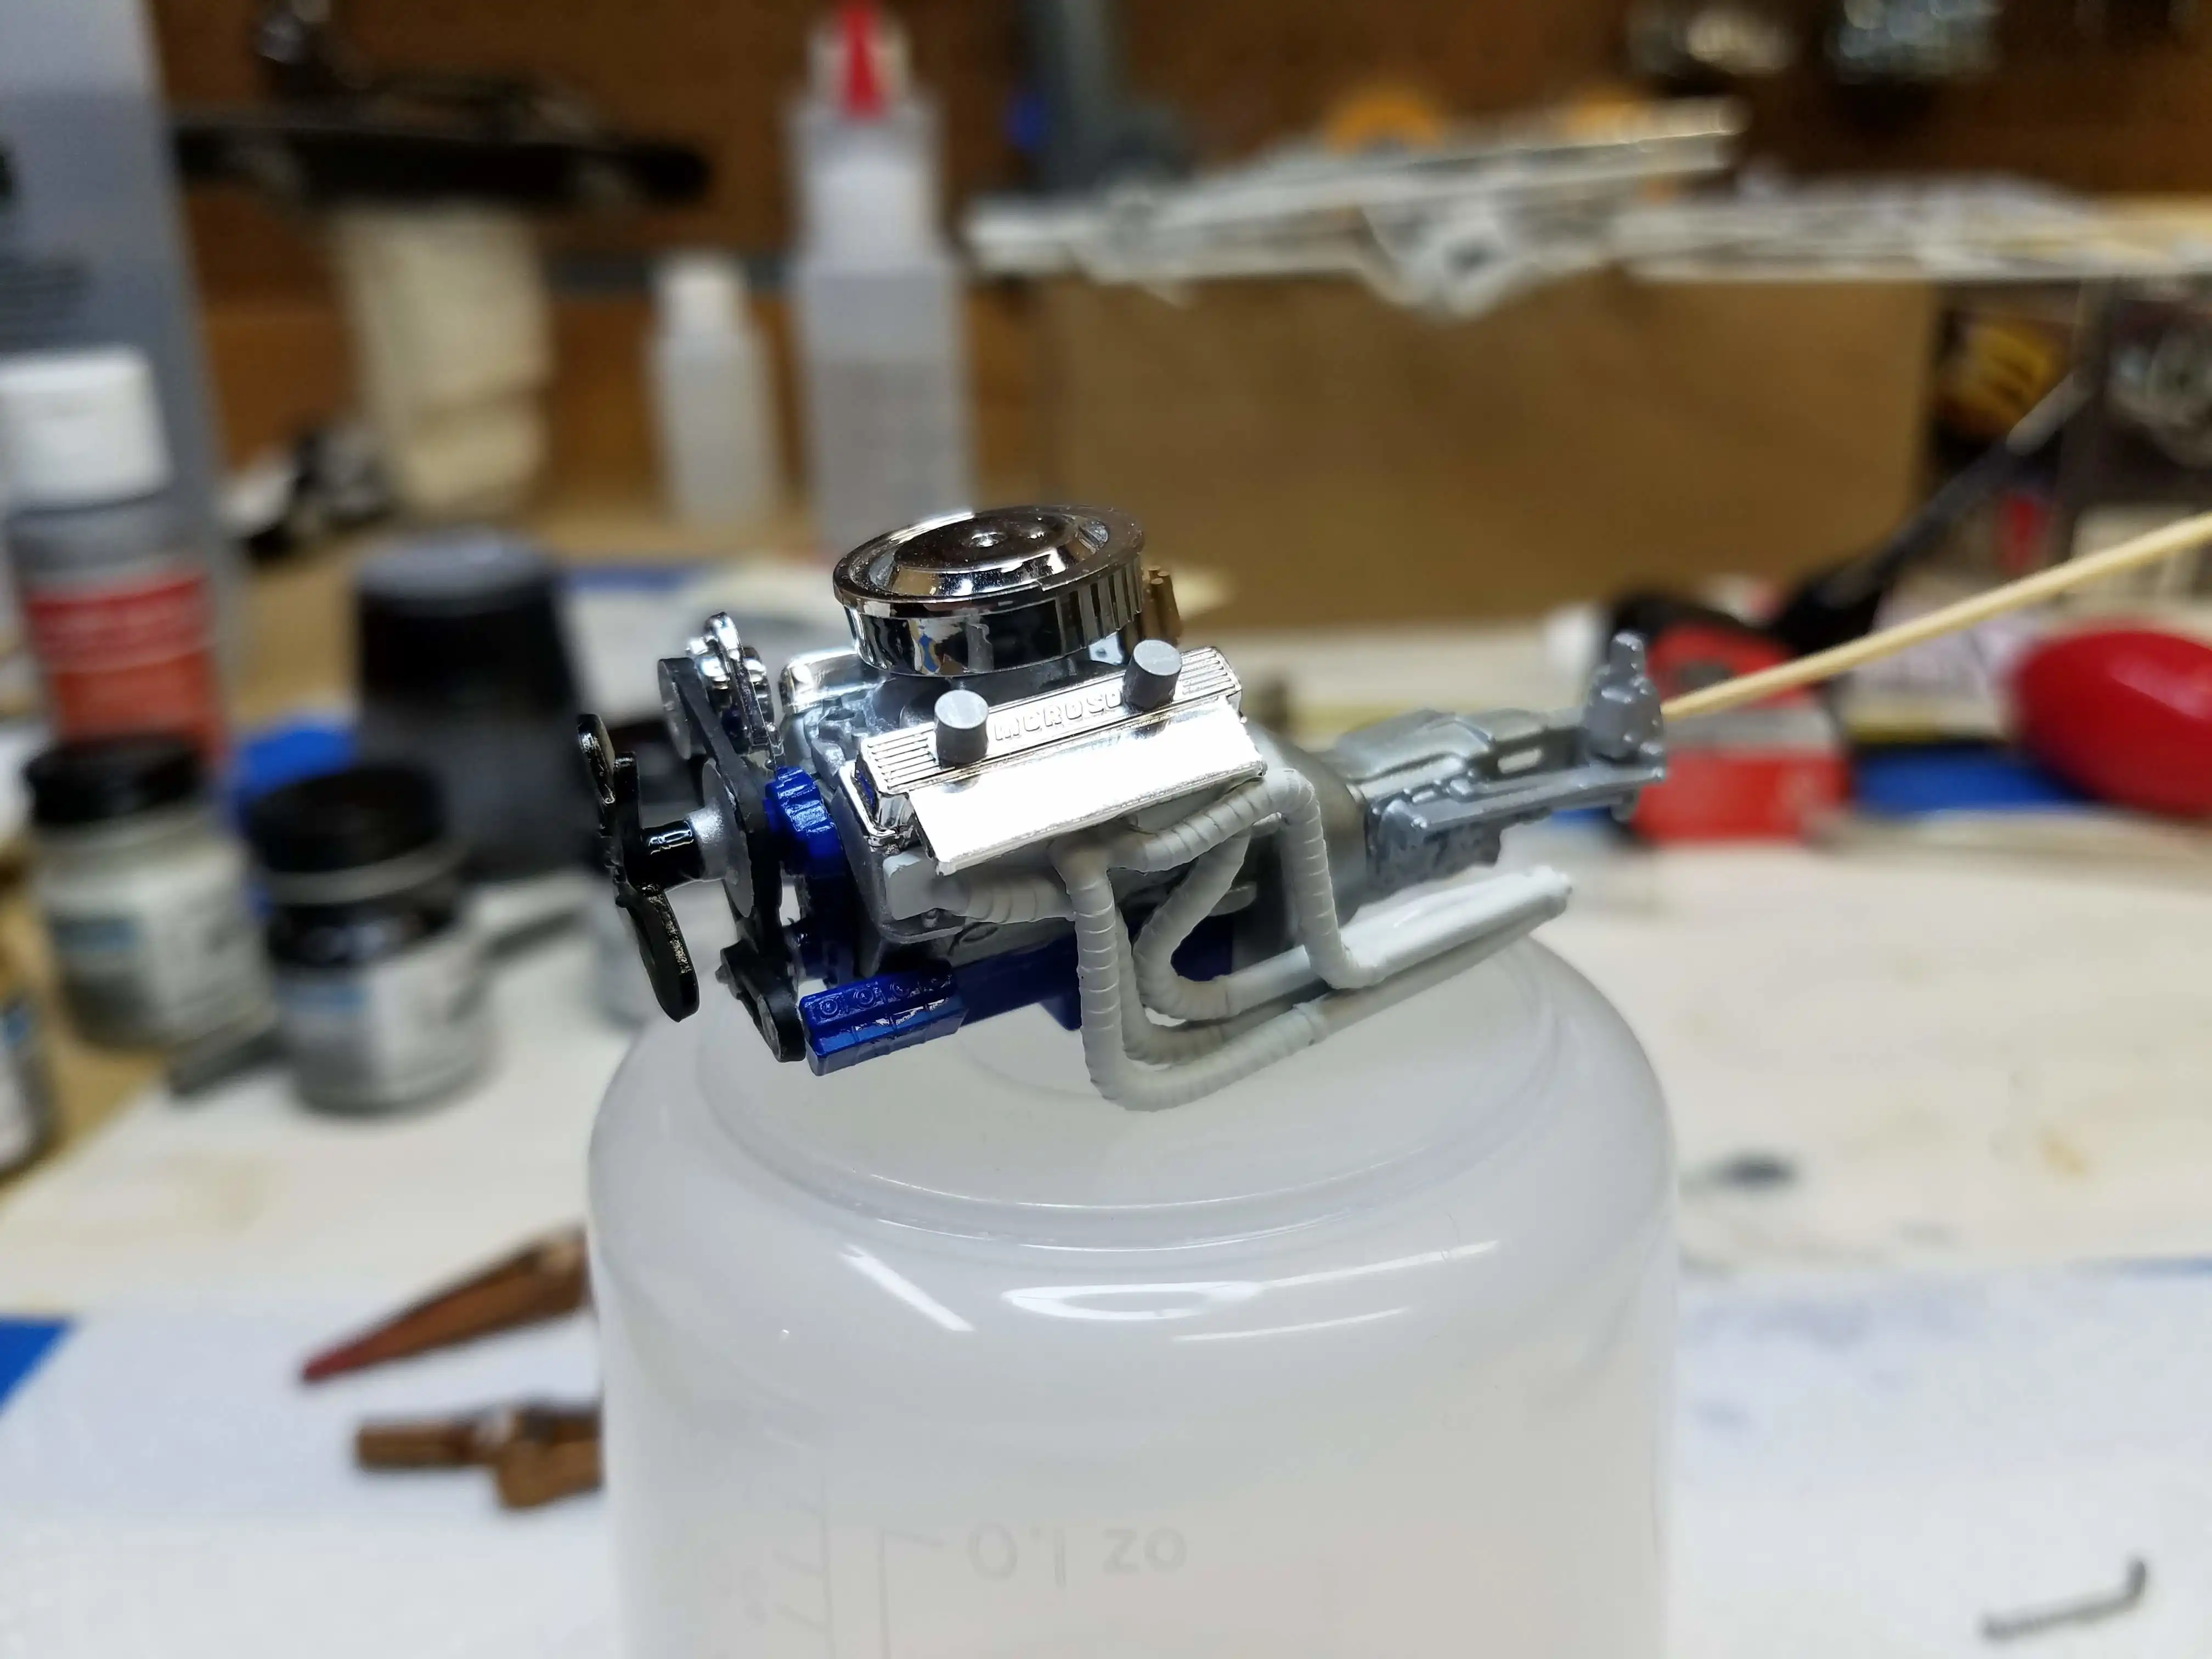
 Air cleaner installed and engine finished
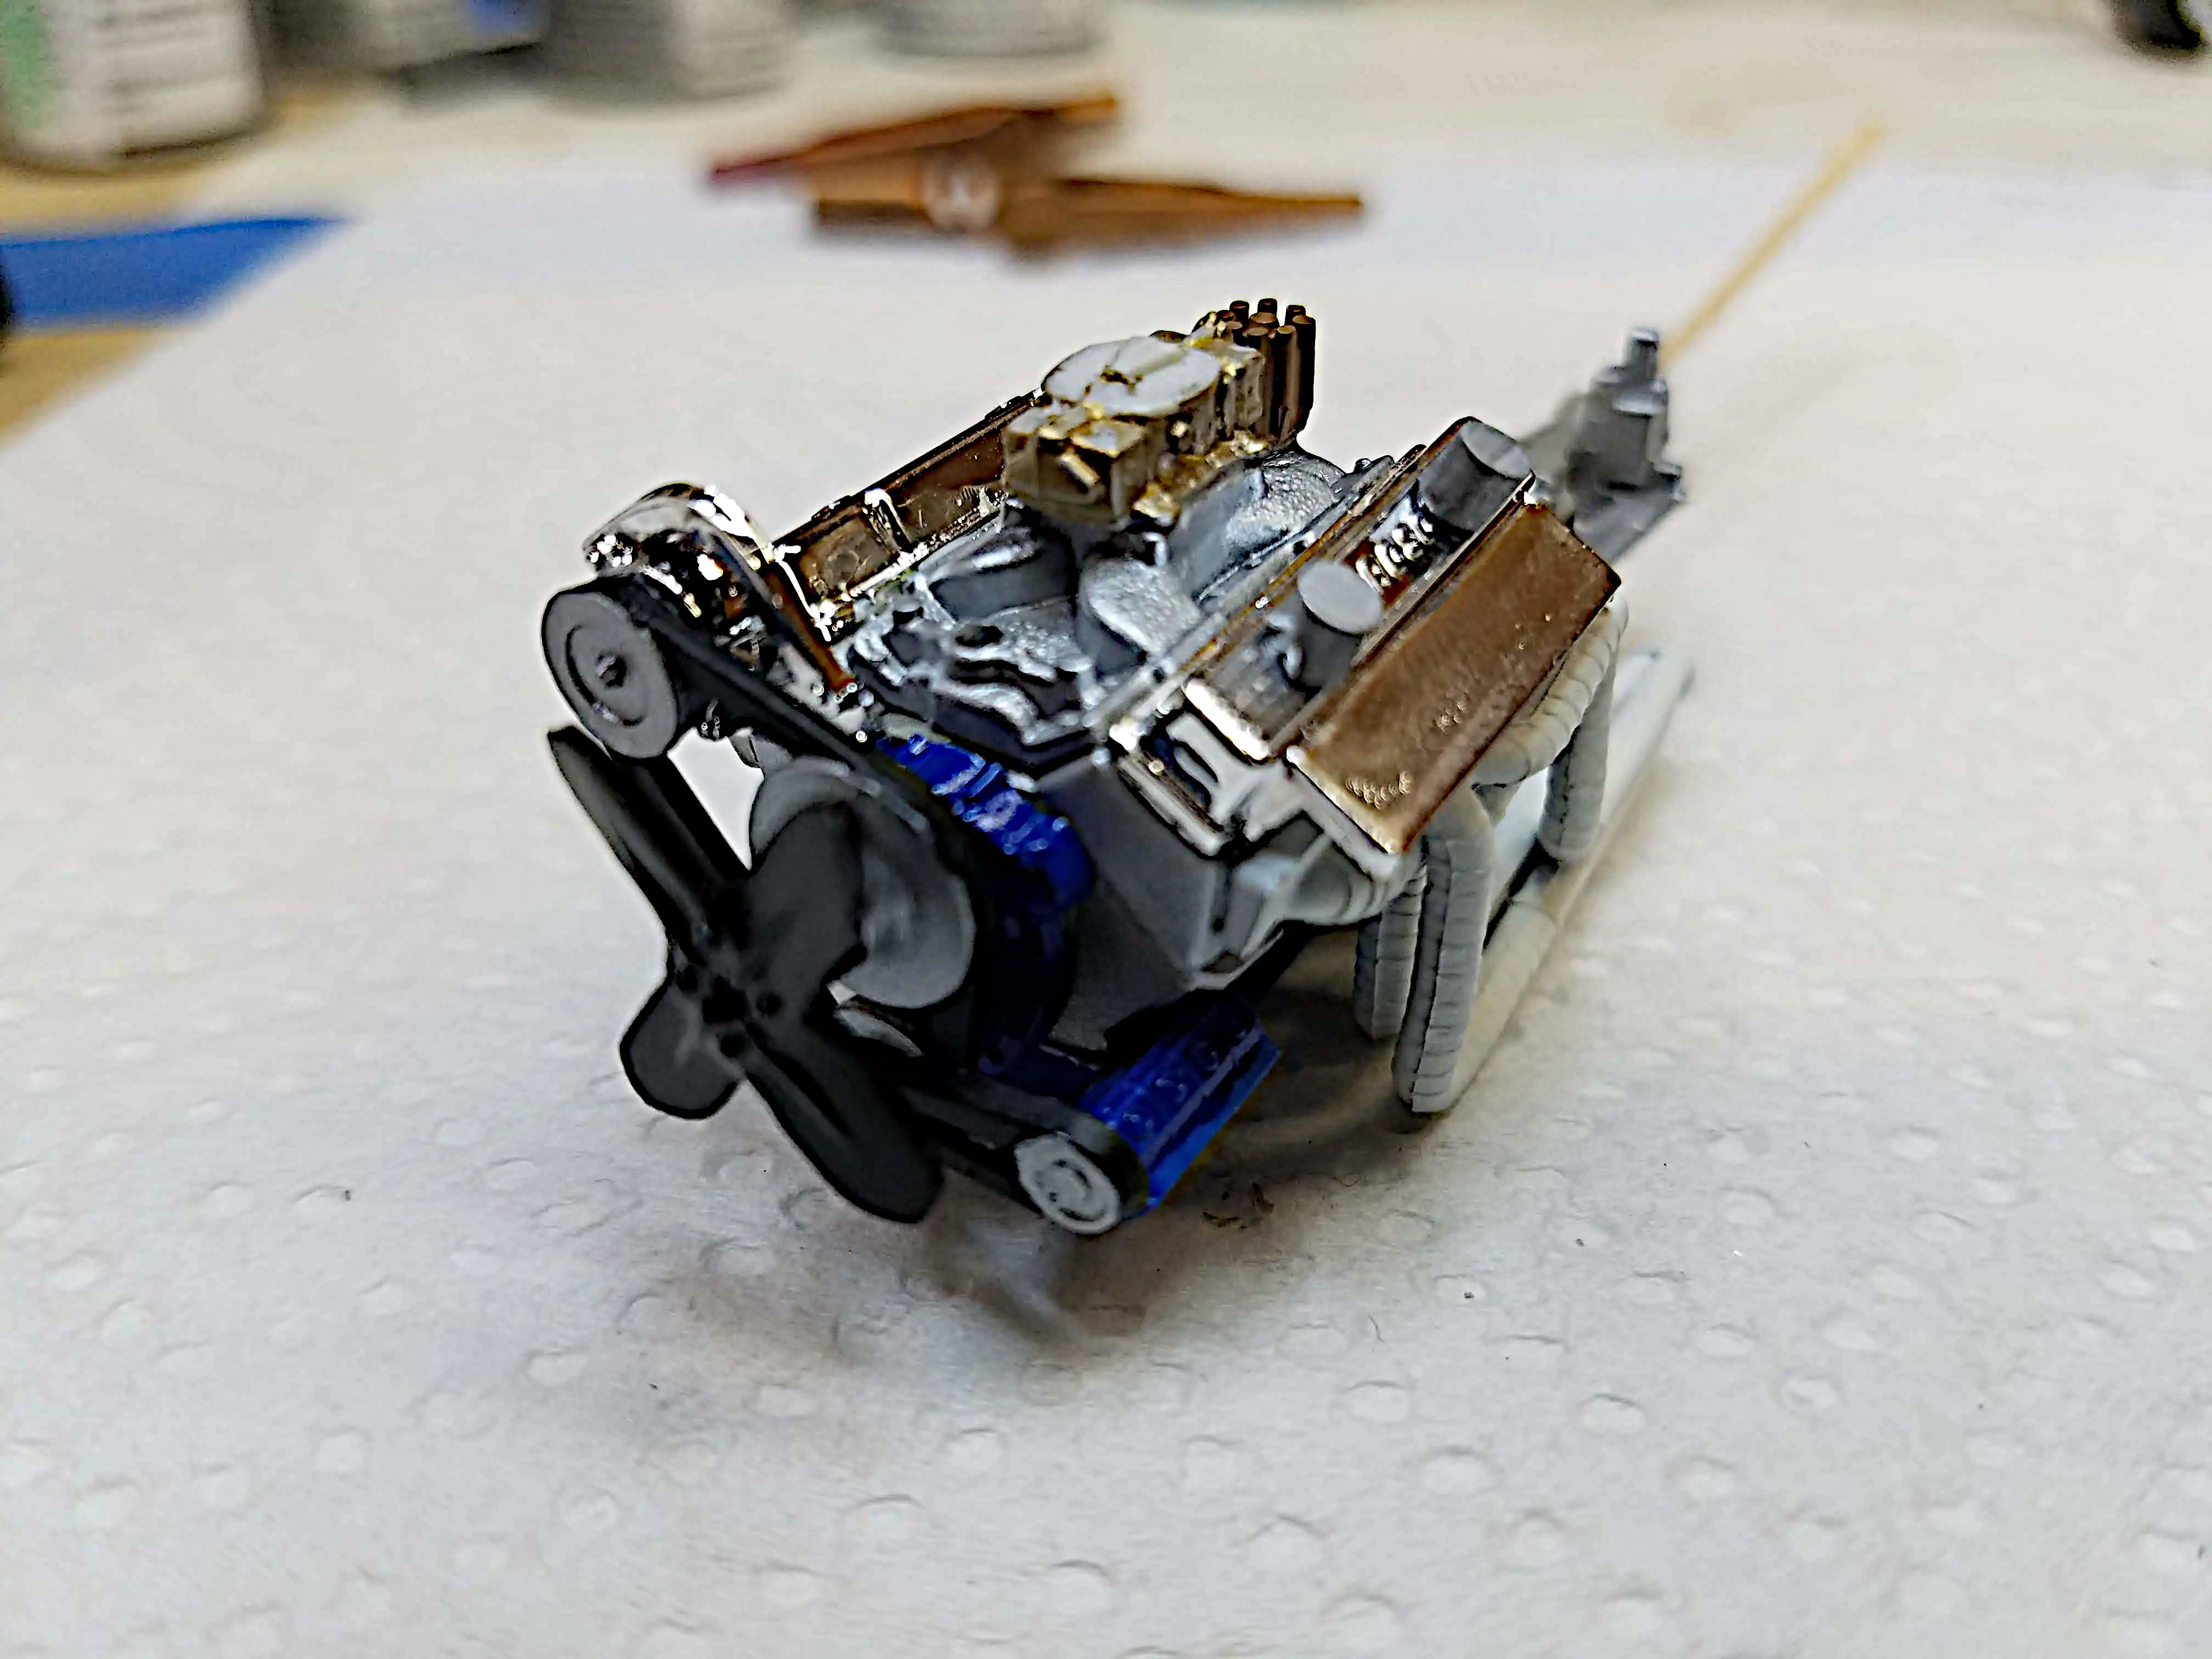
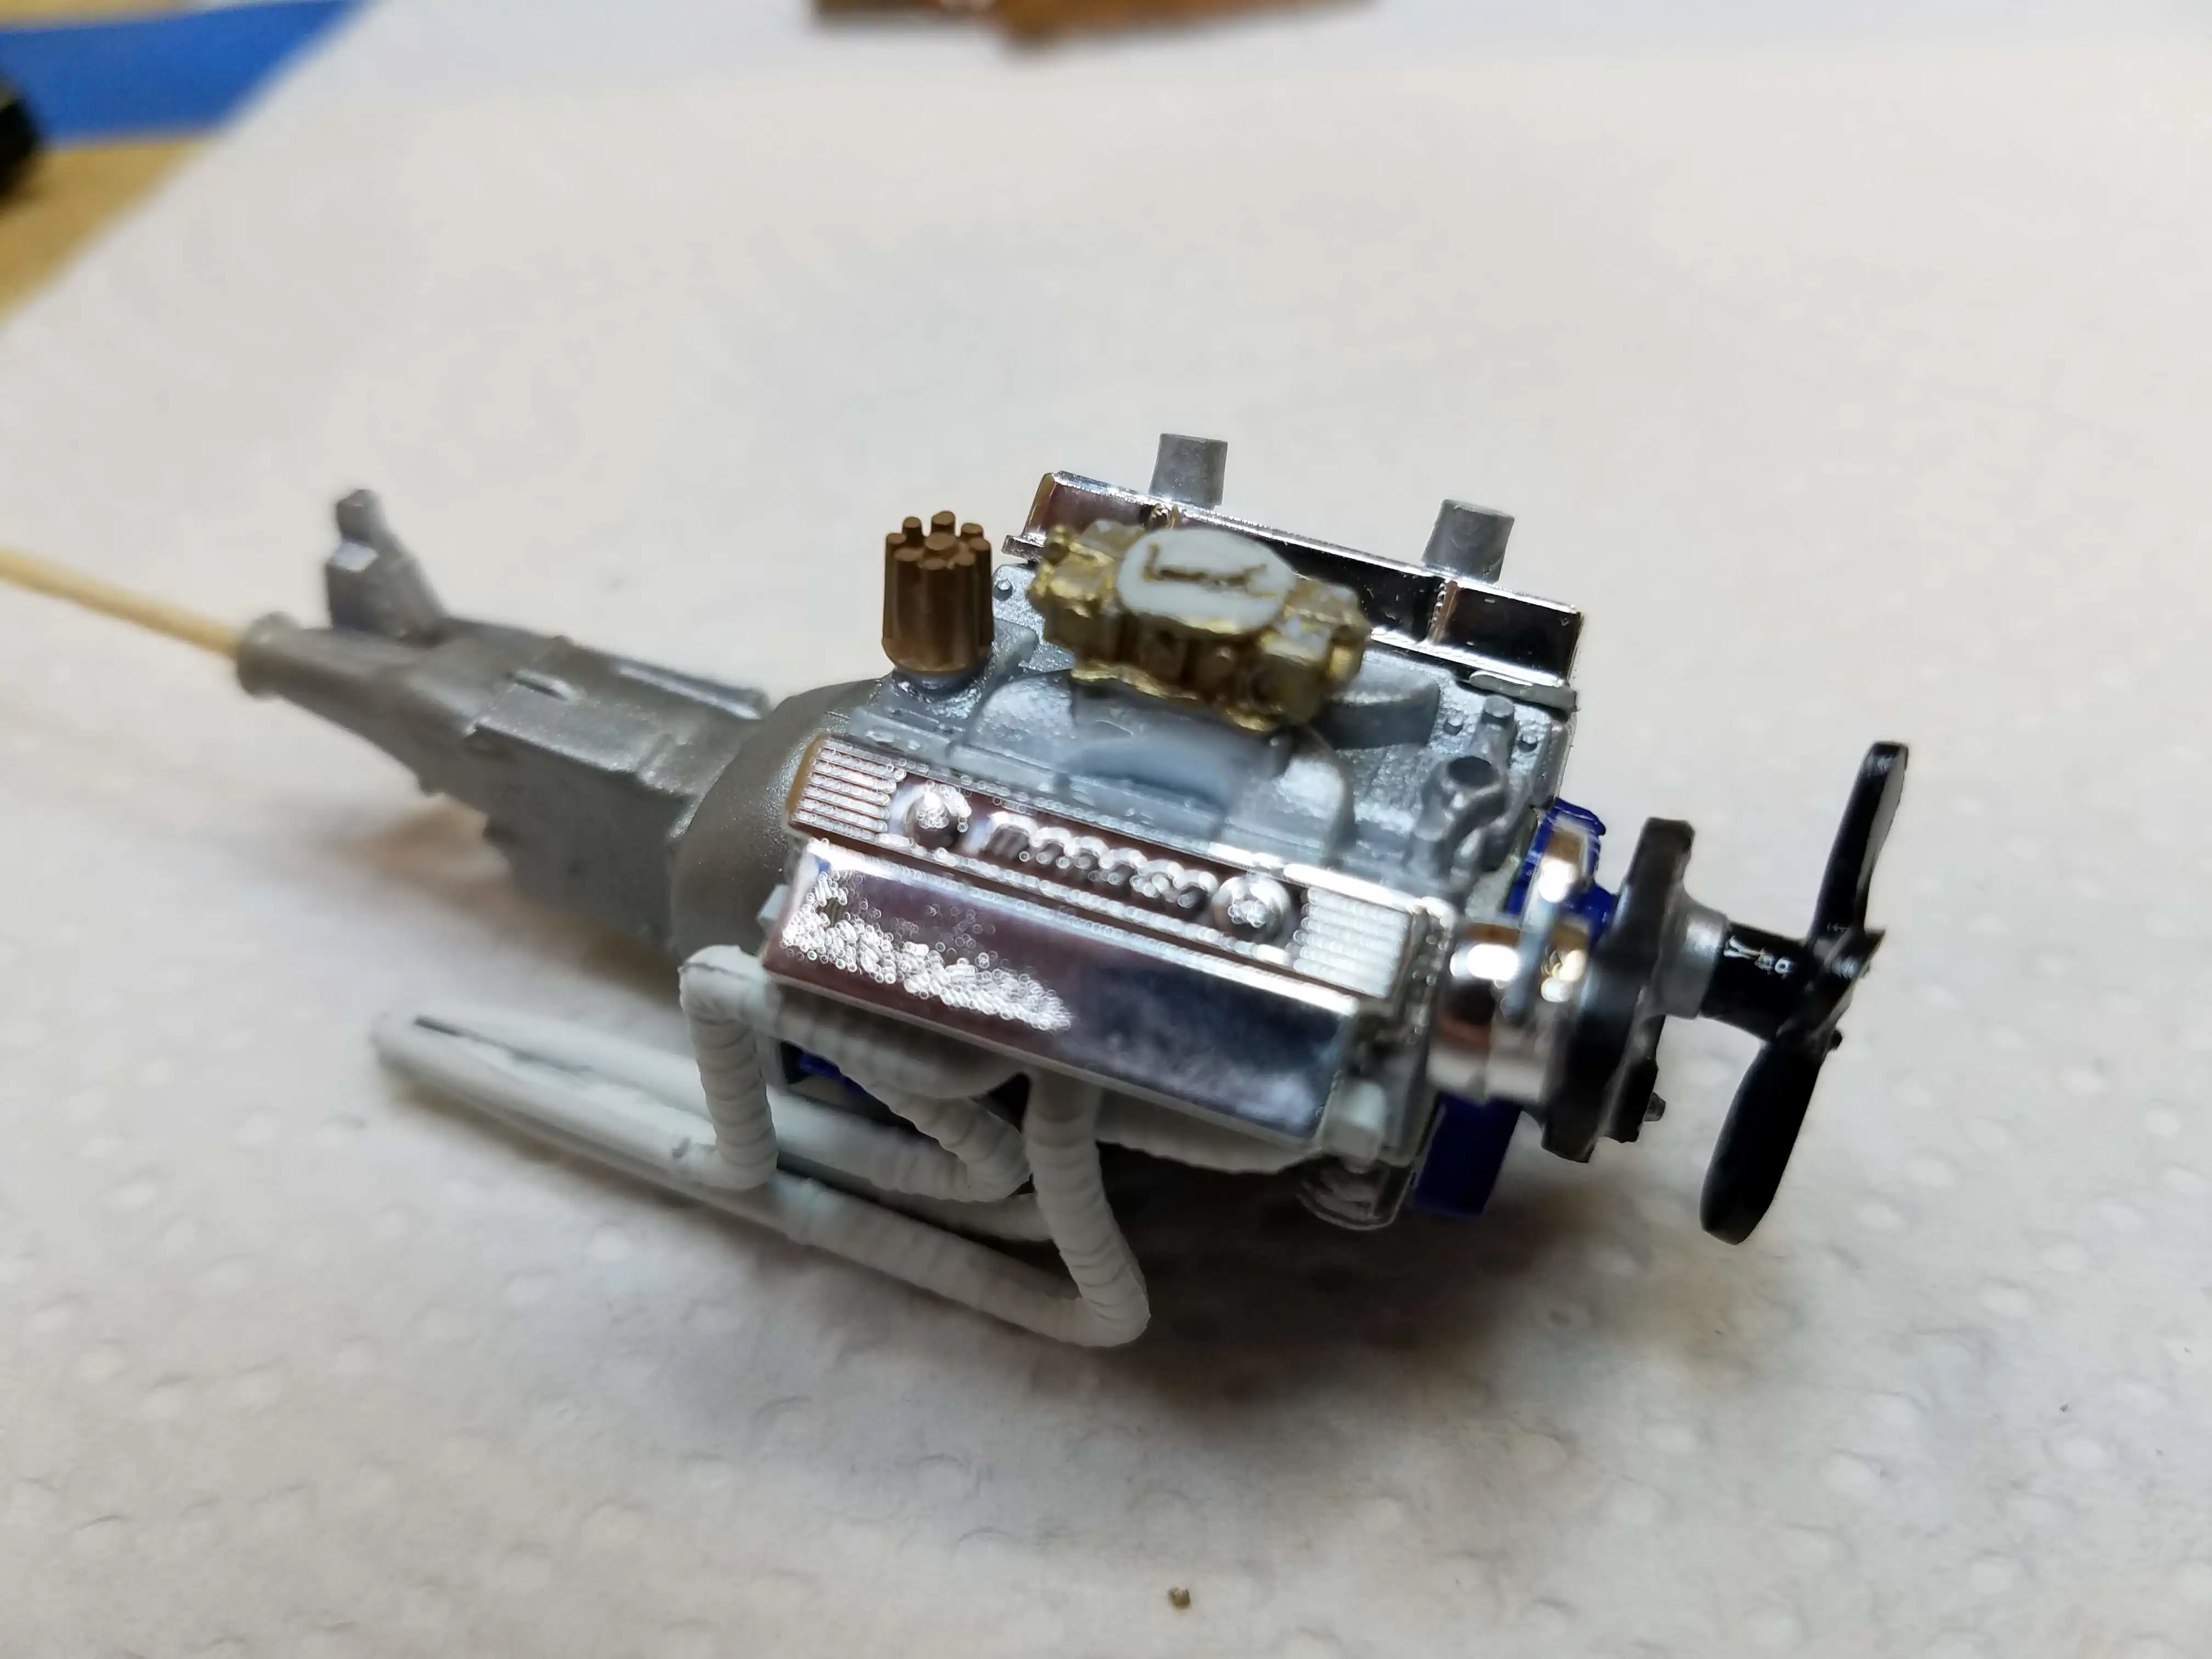
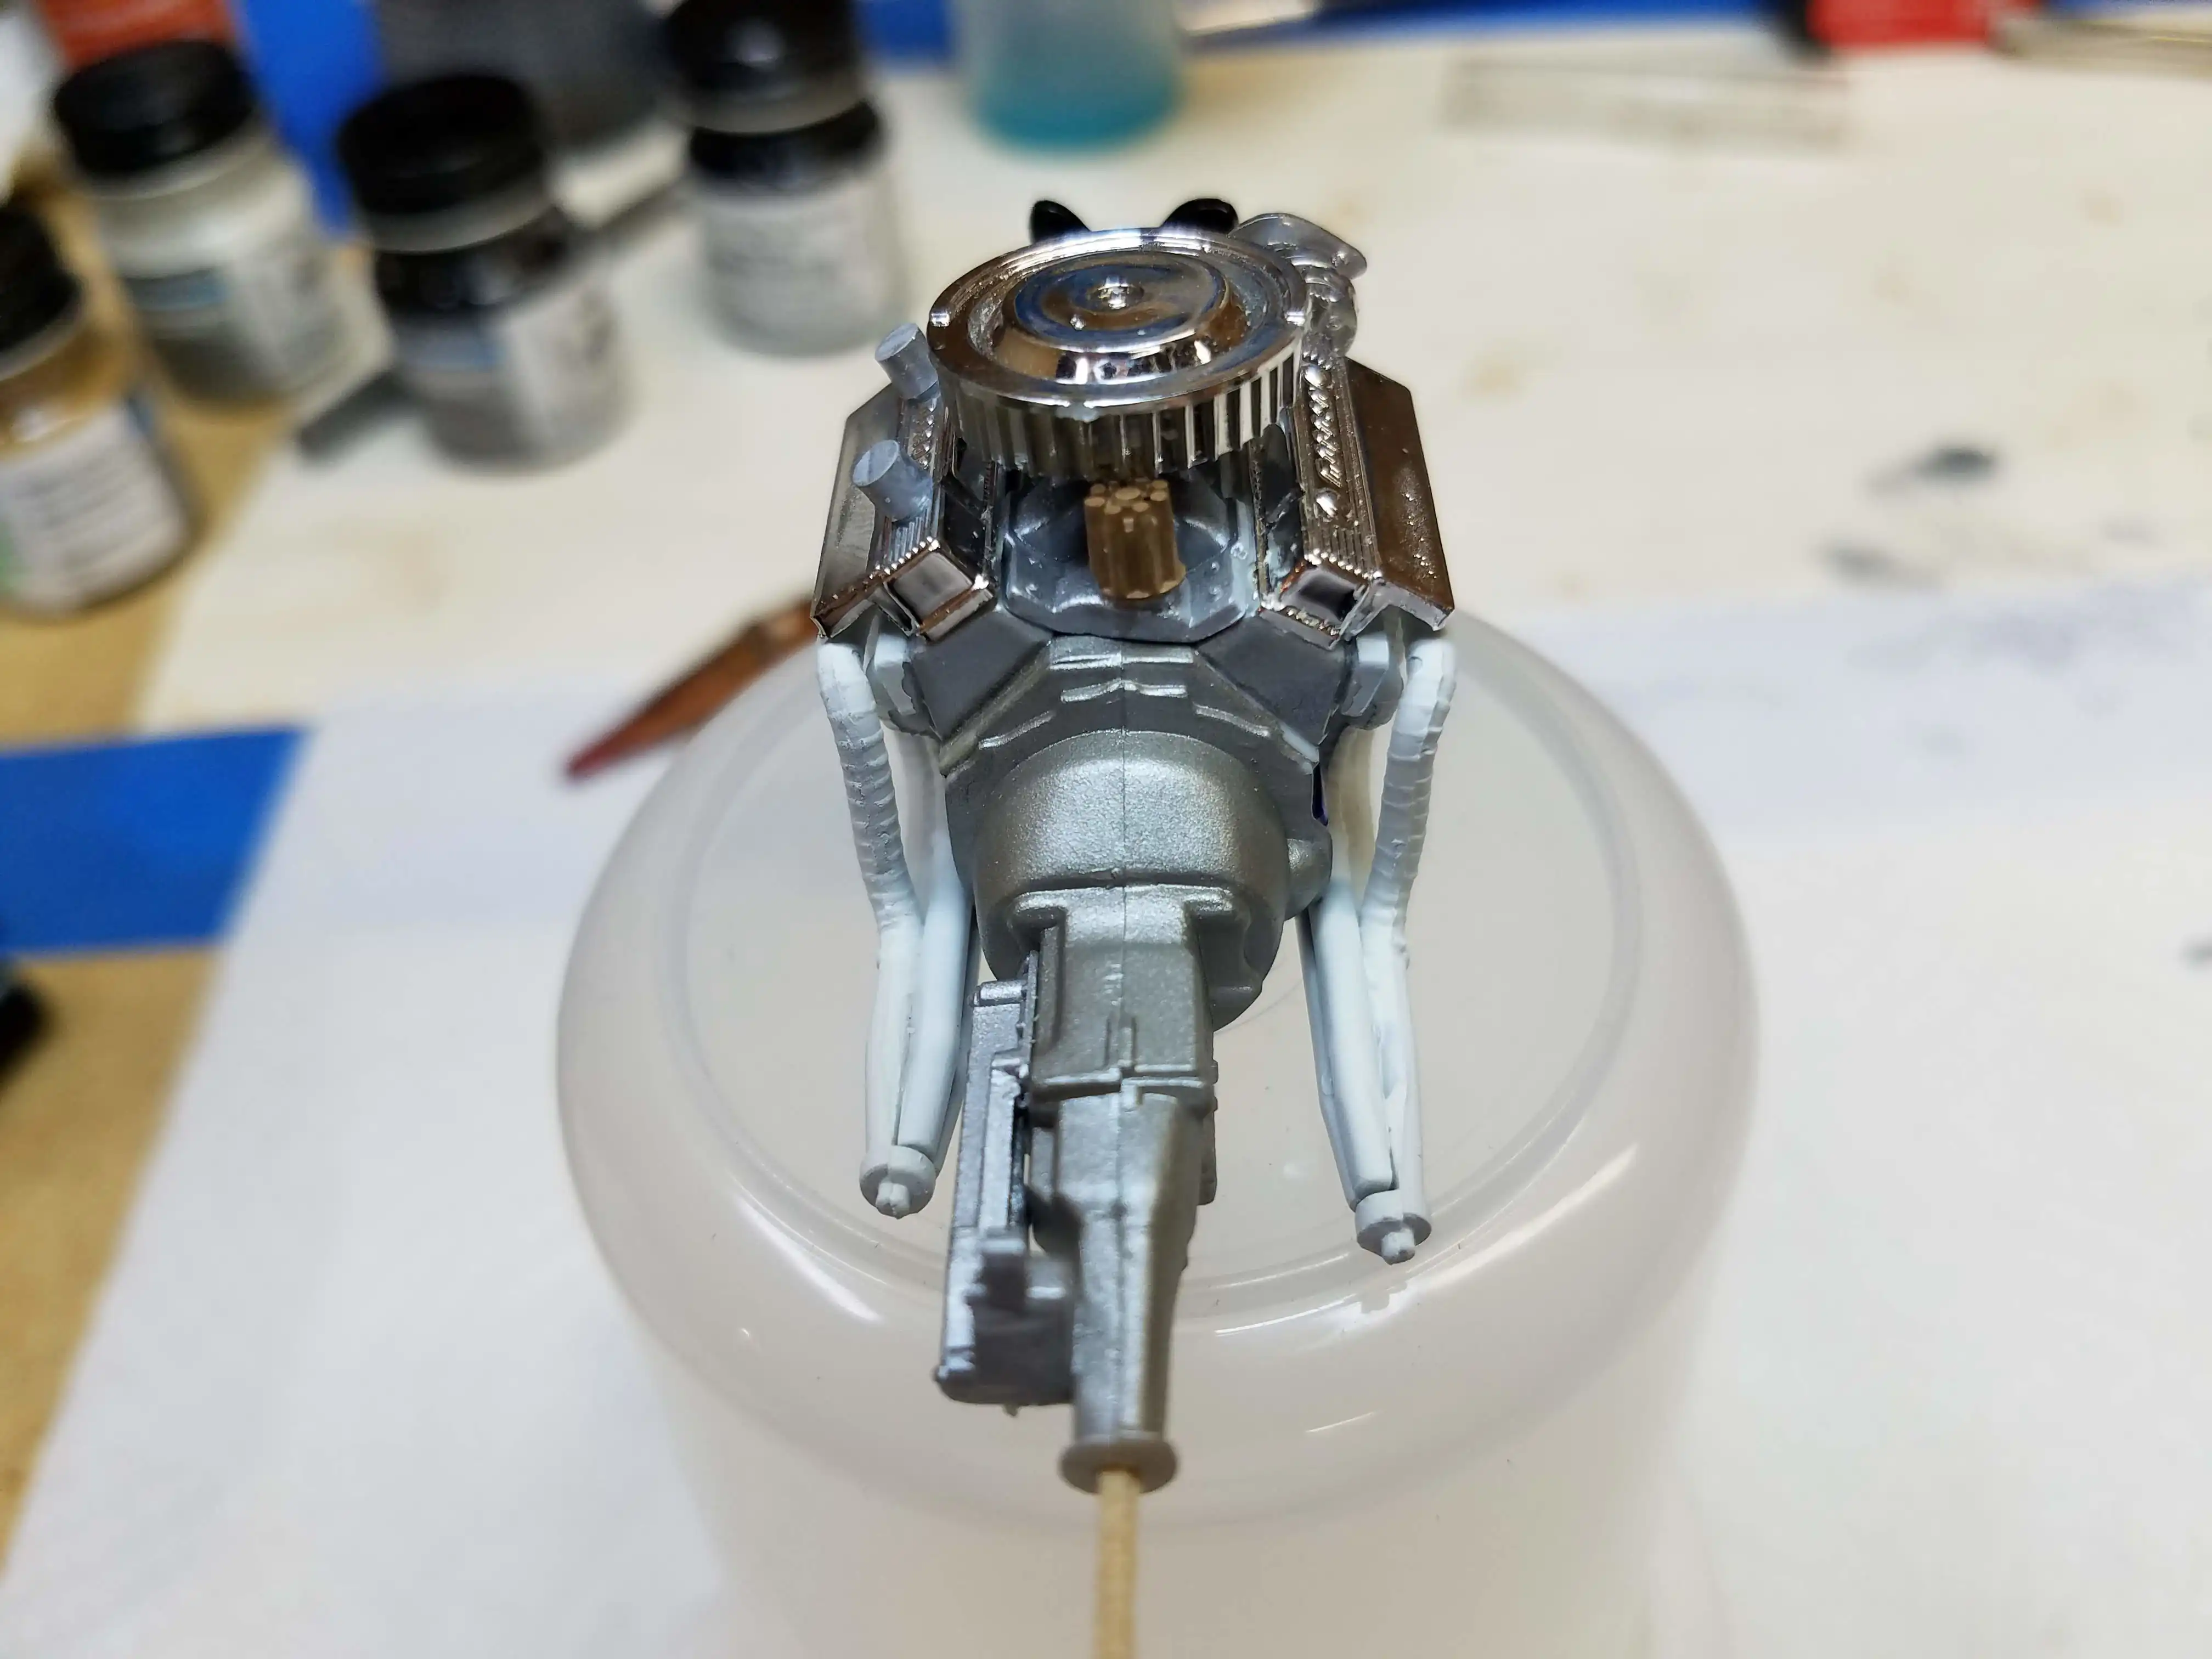
Installed the air cleaner. Finished engine.
Photo 015
Click/tap photo to enlarge
 Air cleaner installed and engine finished
Installed the air cleaner. Finished engine.
Photo 016
Click/tap photo to enlarge
 Air cleaner installed and engine finished
Installed the air cleaner. Finished engine.
Photo 017
Click/tap photo to enlarge
 Painted the chassis
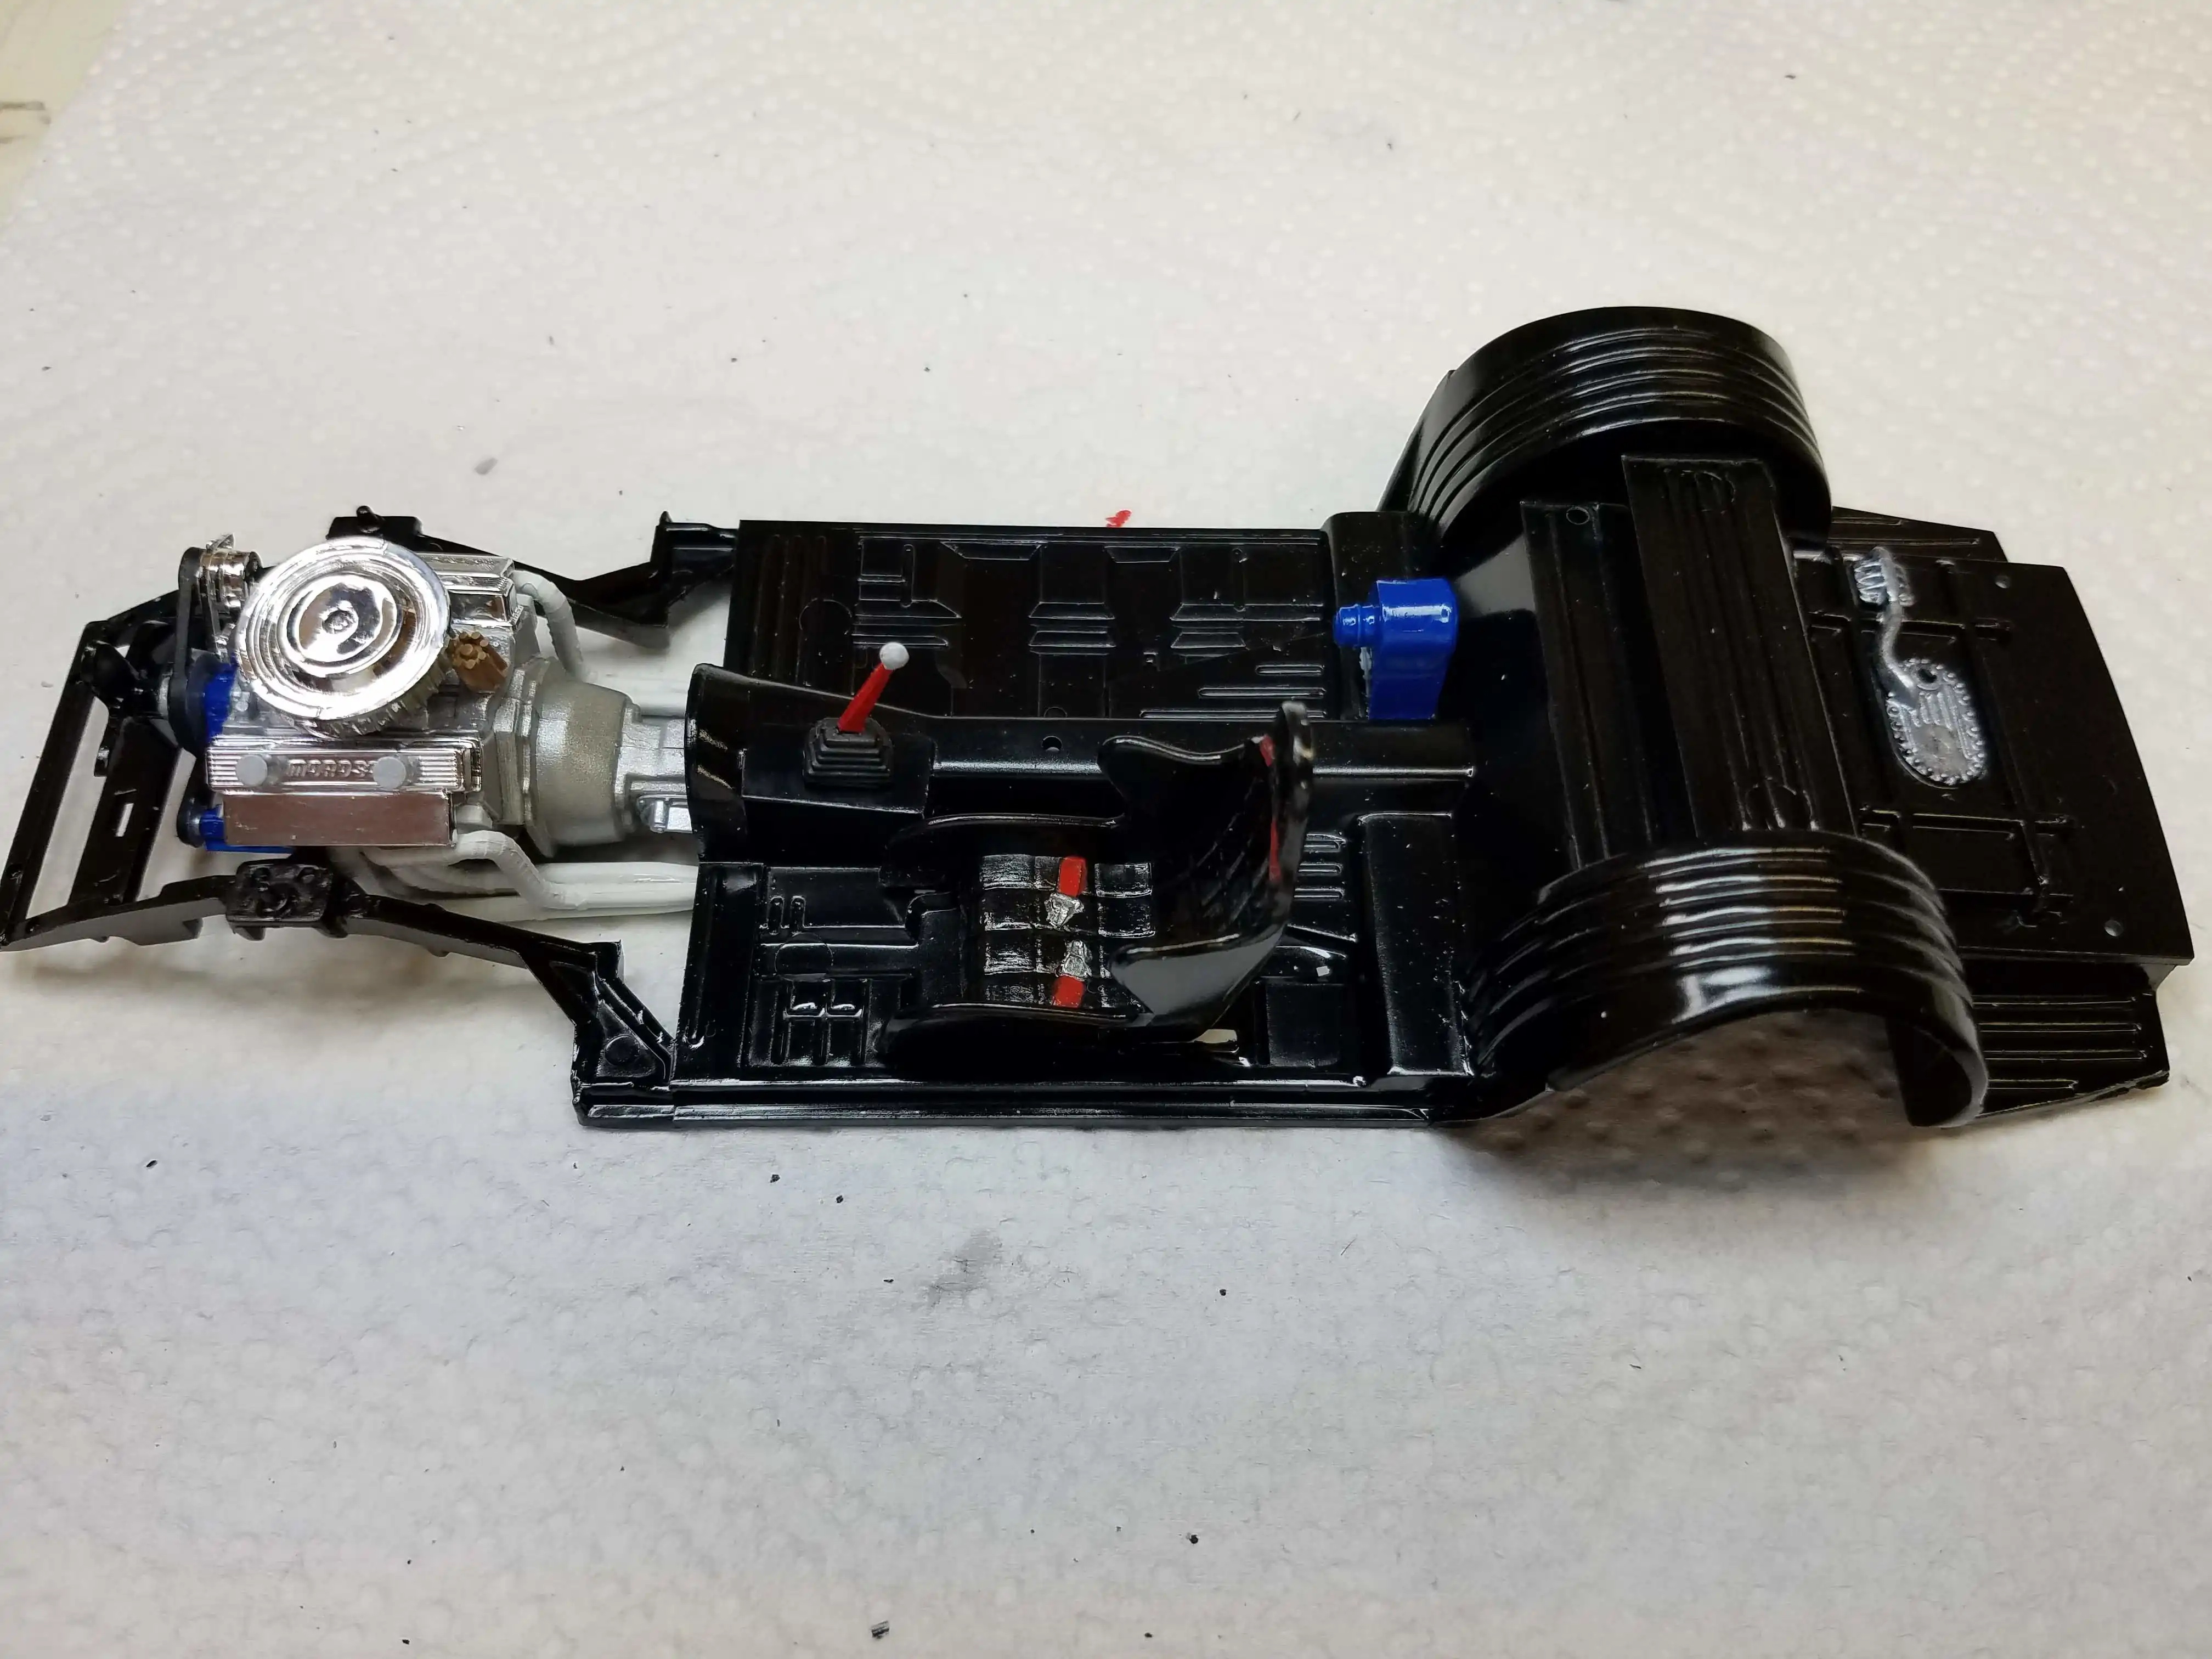
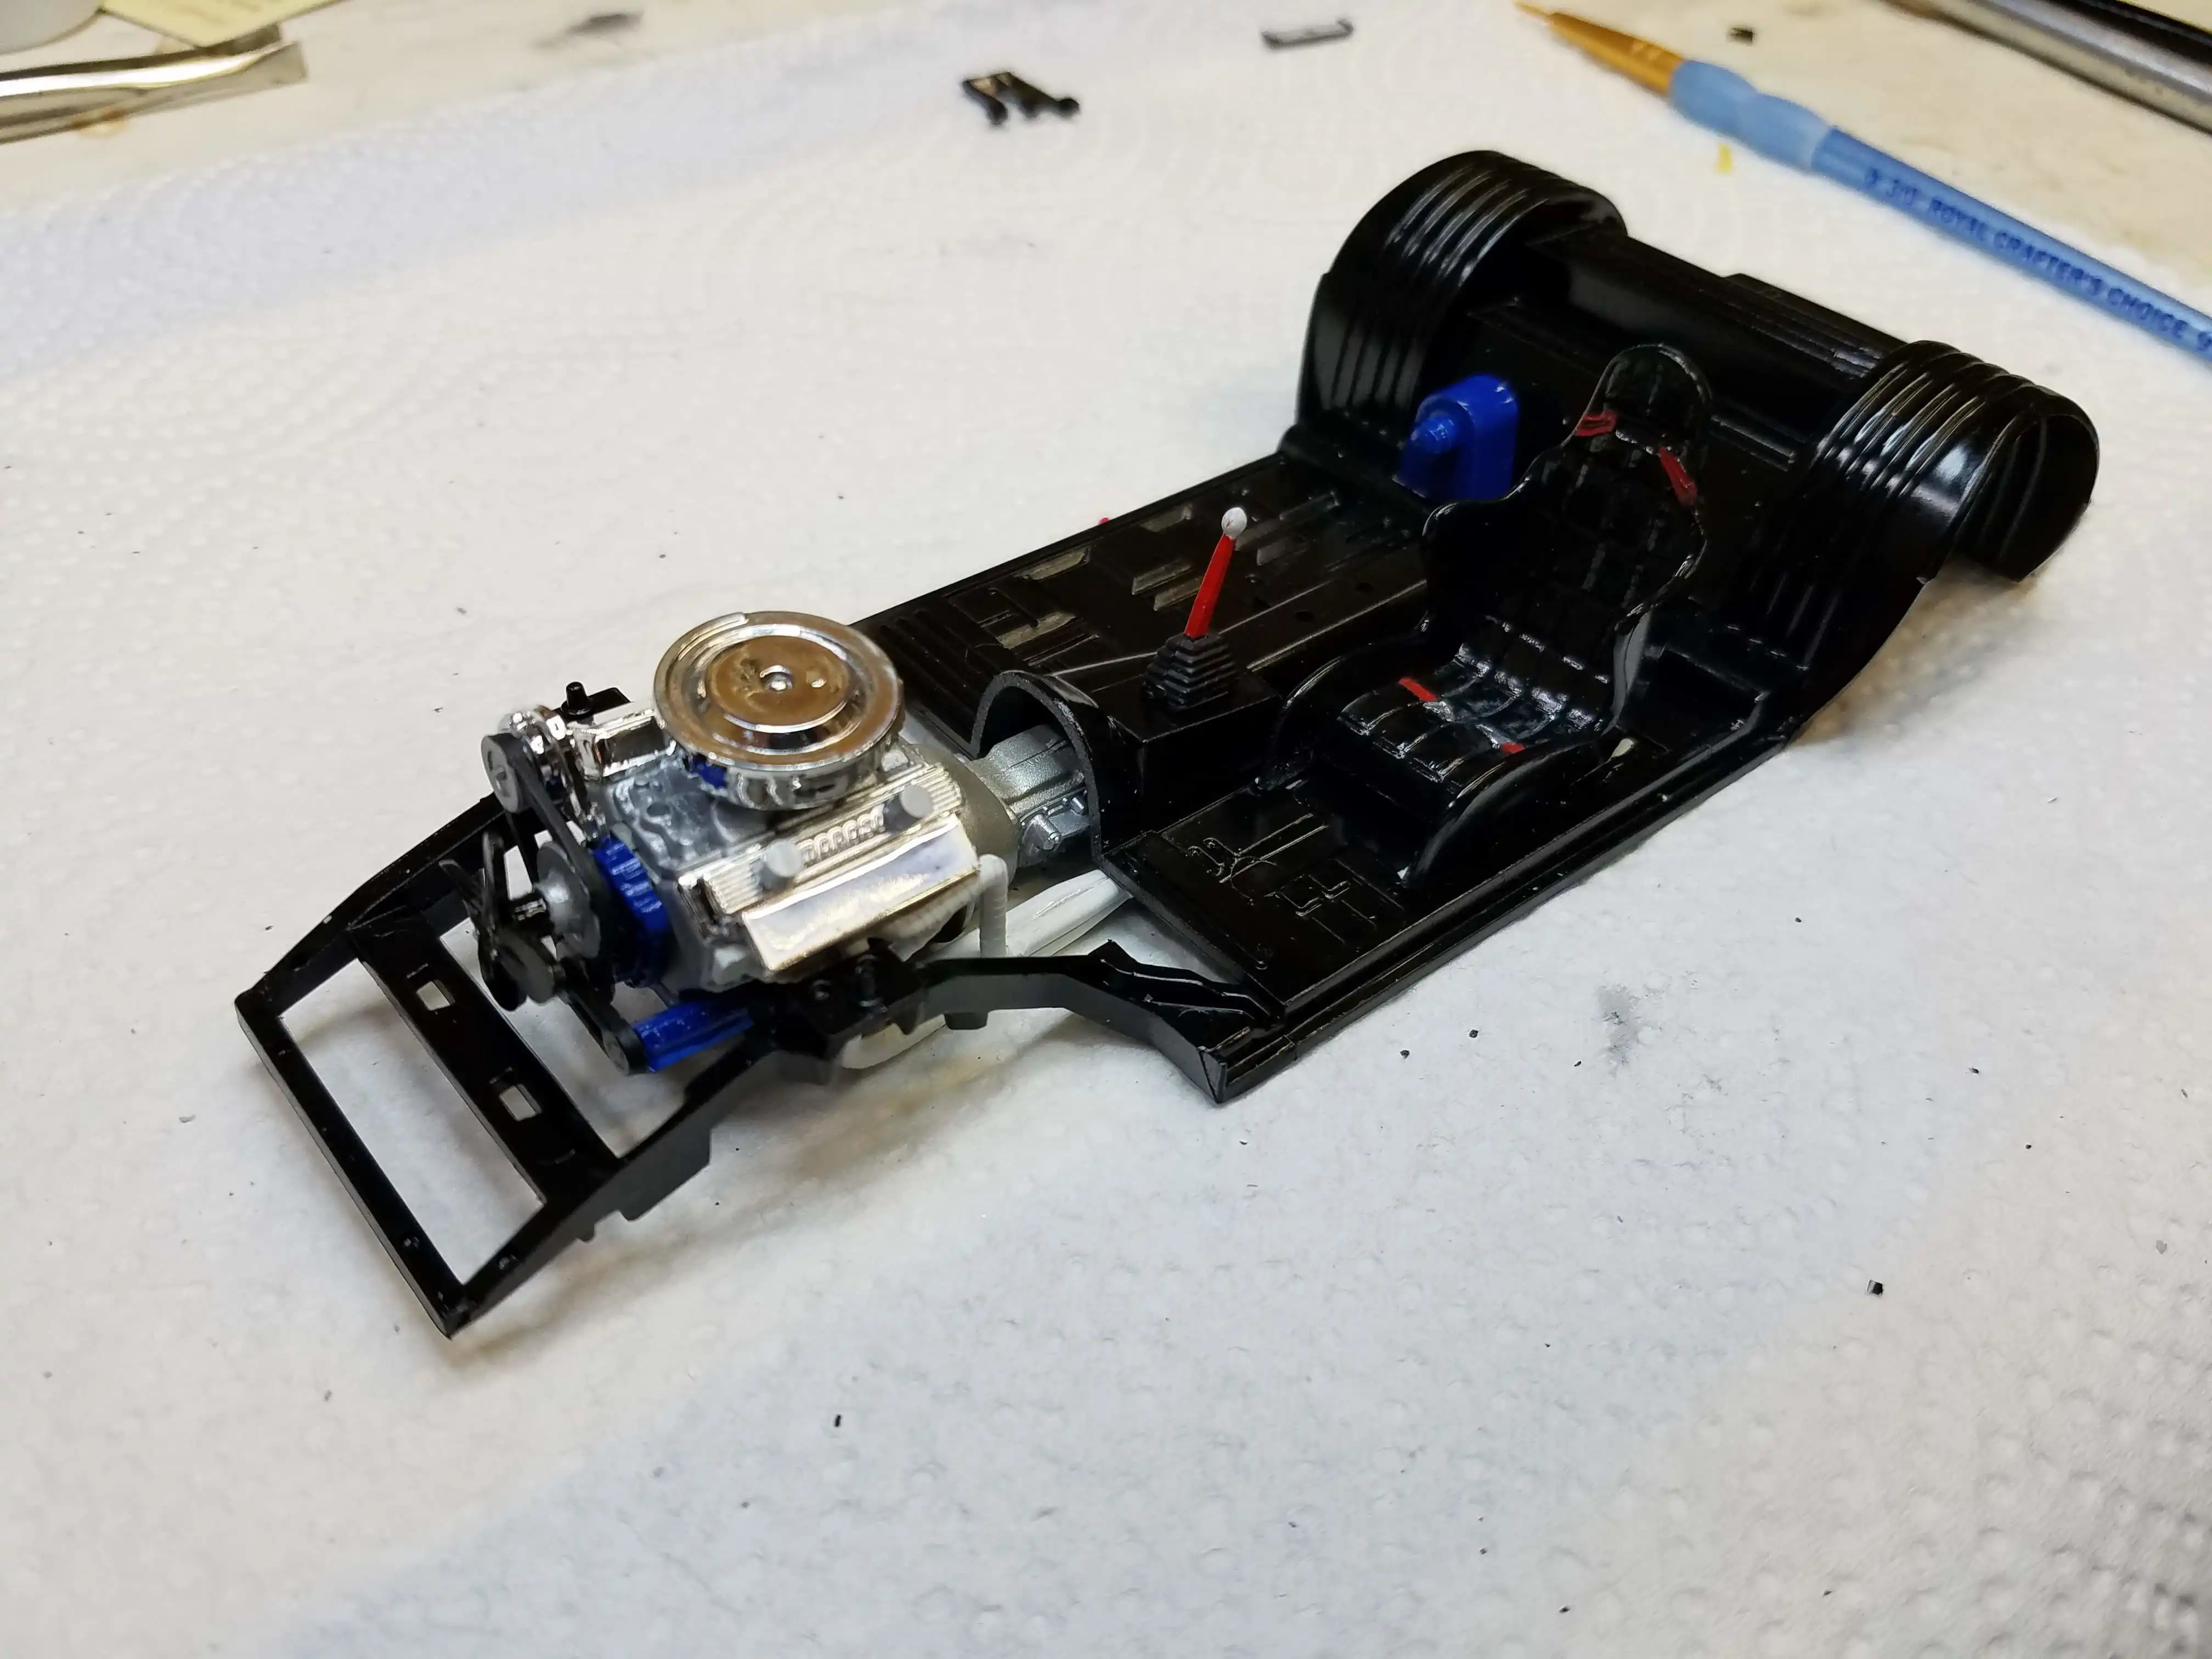
I airbrushed the chassis in Testors Model Master FS17038 Gloss Black. In hind sight, I wish I would have done it in Flat Black or Semi-Gloss Black. The seat was mounted and detailed to show safety belts and buckles, (I guess I should not have drank two cups of coffee before trying to do detail painting). The shifter and fuel cell were also detailed and mounted.
Photo 018
Click/tap photo to enlarge
 Painted the chassis
I airbrushed the chassis in Testors Model Master FS17038 Gloss Black. In hind sight, I wish I would have done it in Flat Black or Semi-Gloss Black. The seat was mounted and detailed to show safety belts and buckles, (I guess I should not have drank two cups of coffee before trying to do detail painting). The shifter and fuel cell were also detailed and mounted.
Photo 019
Click/tap photo to enlarge
 Fire extinguisher detailed and installed
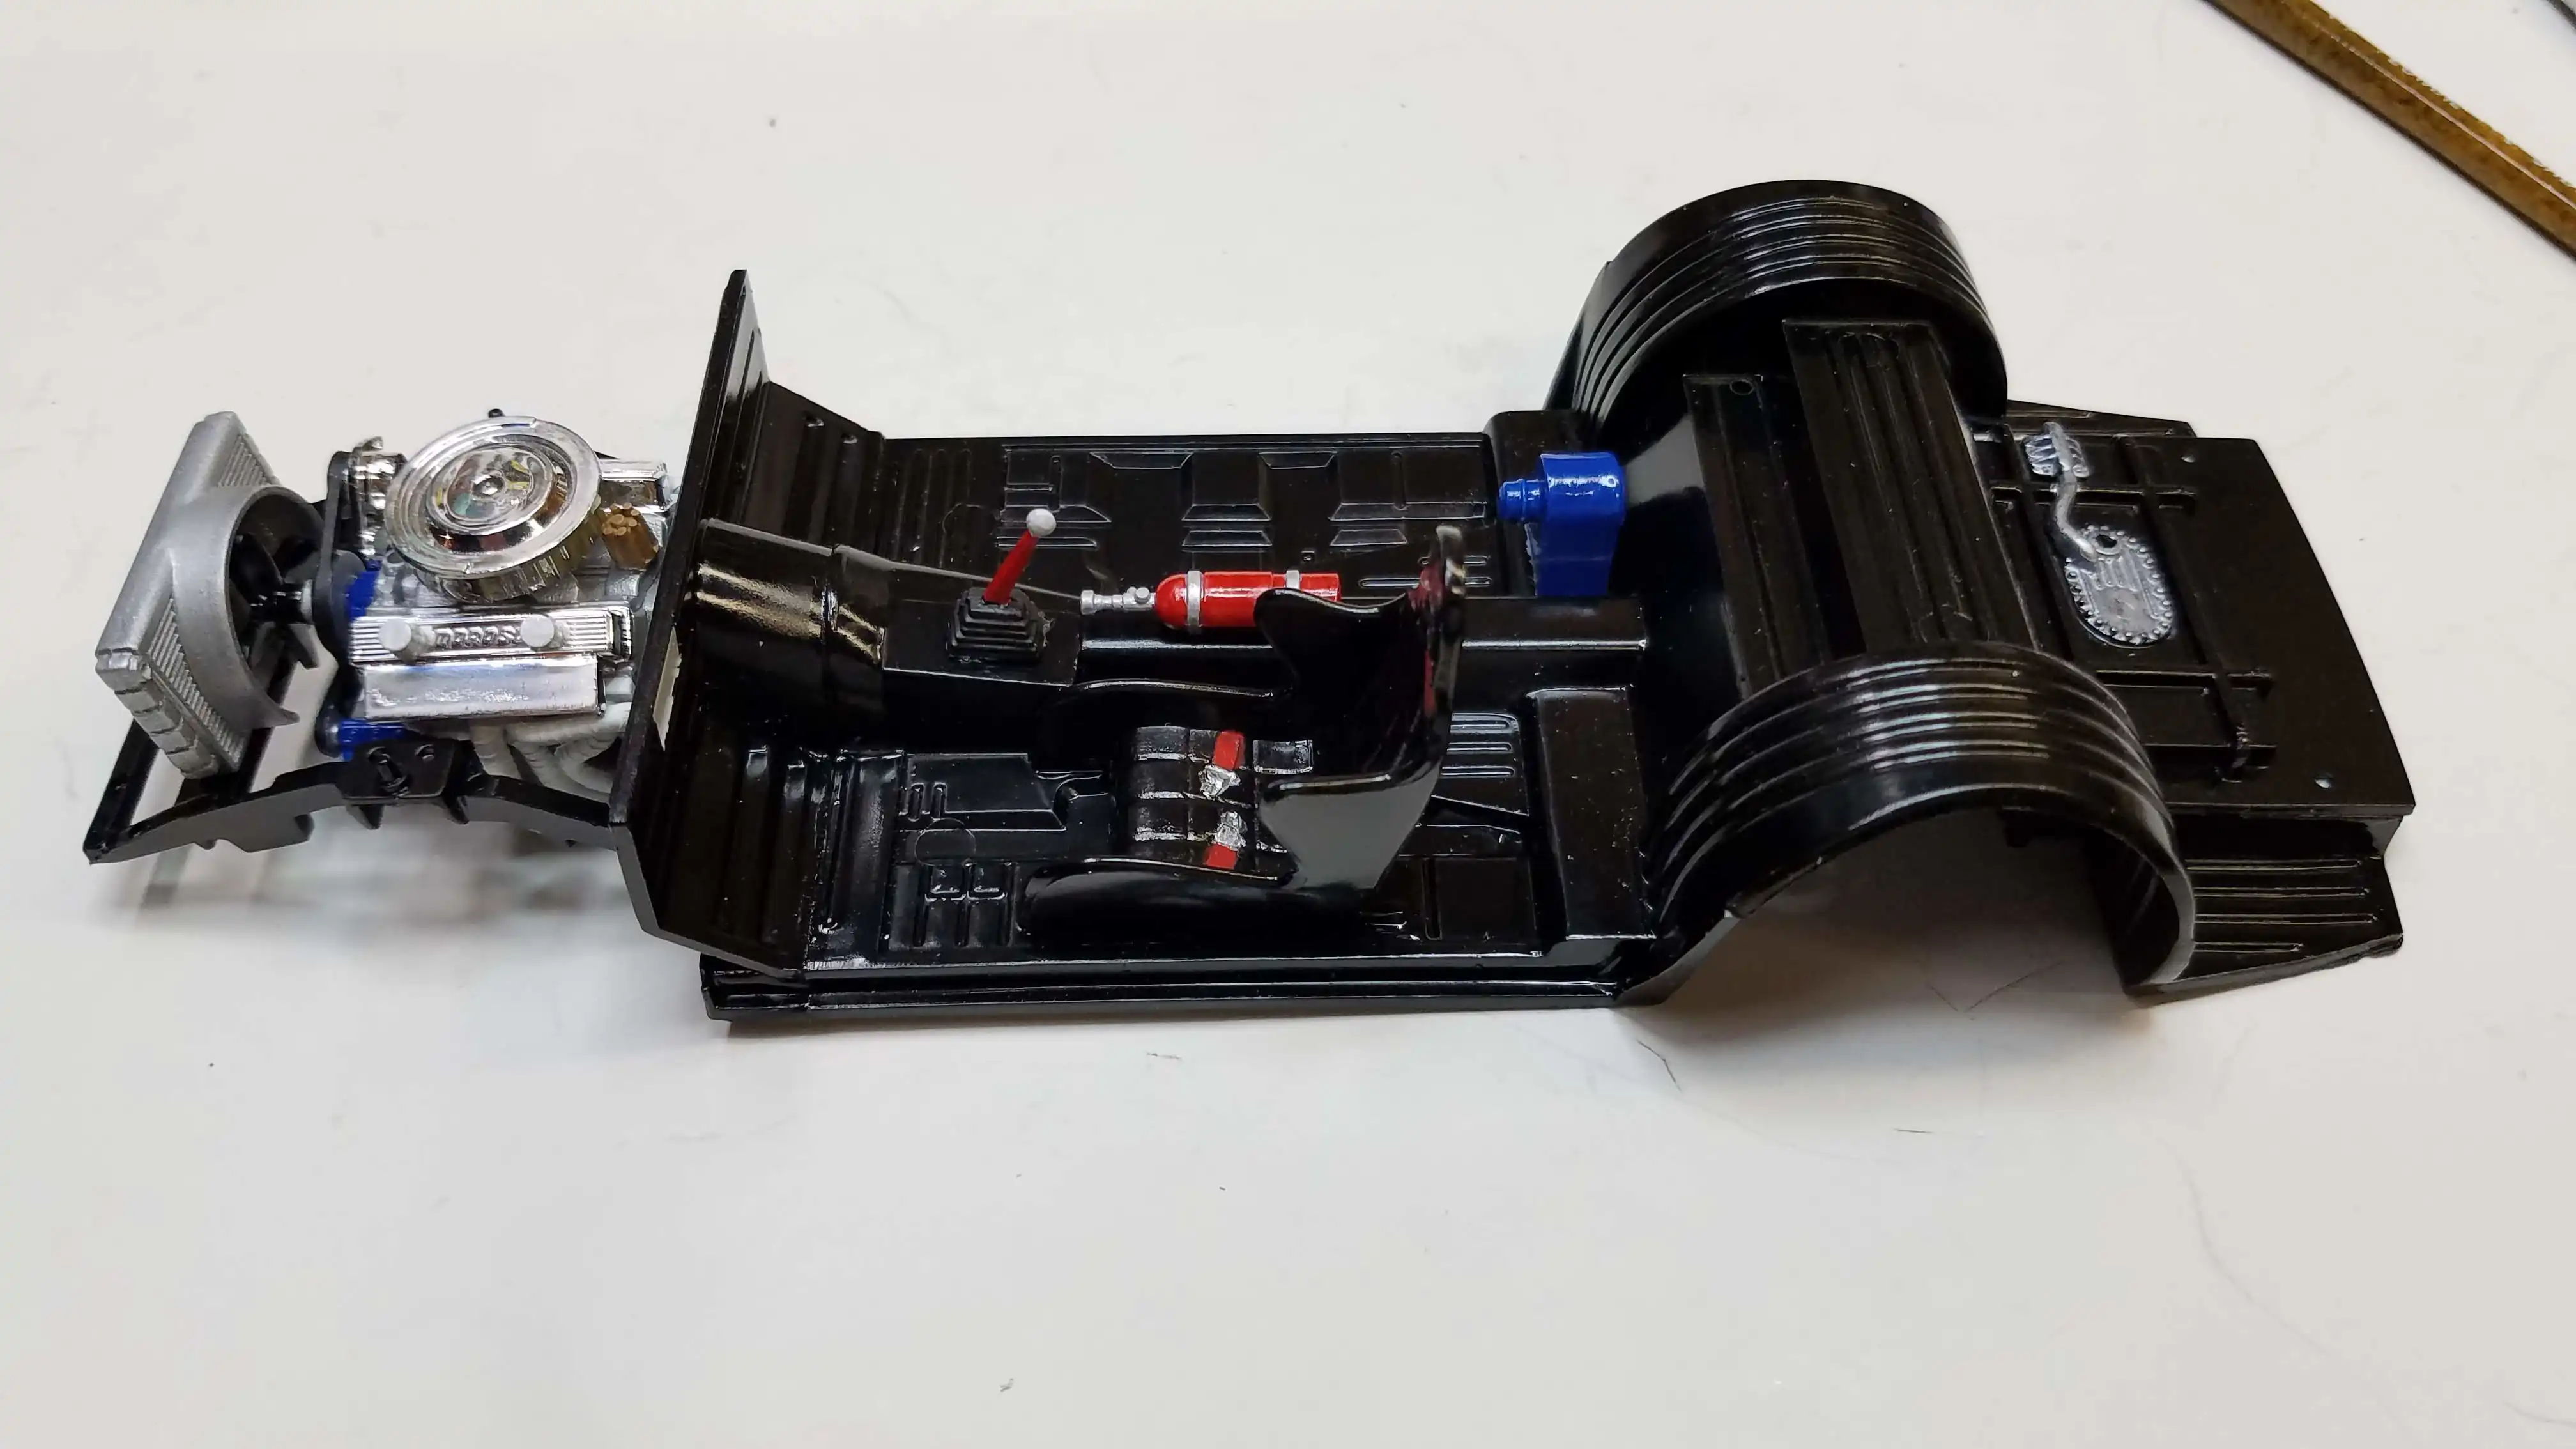
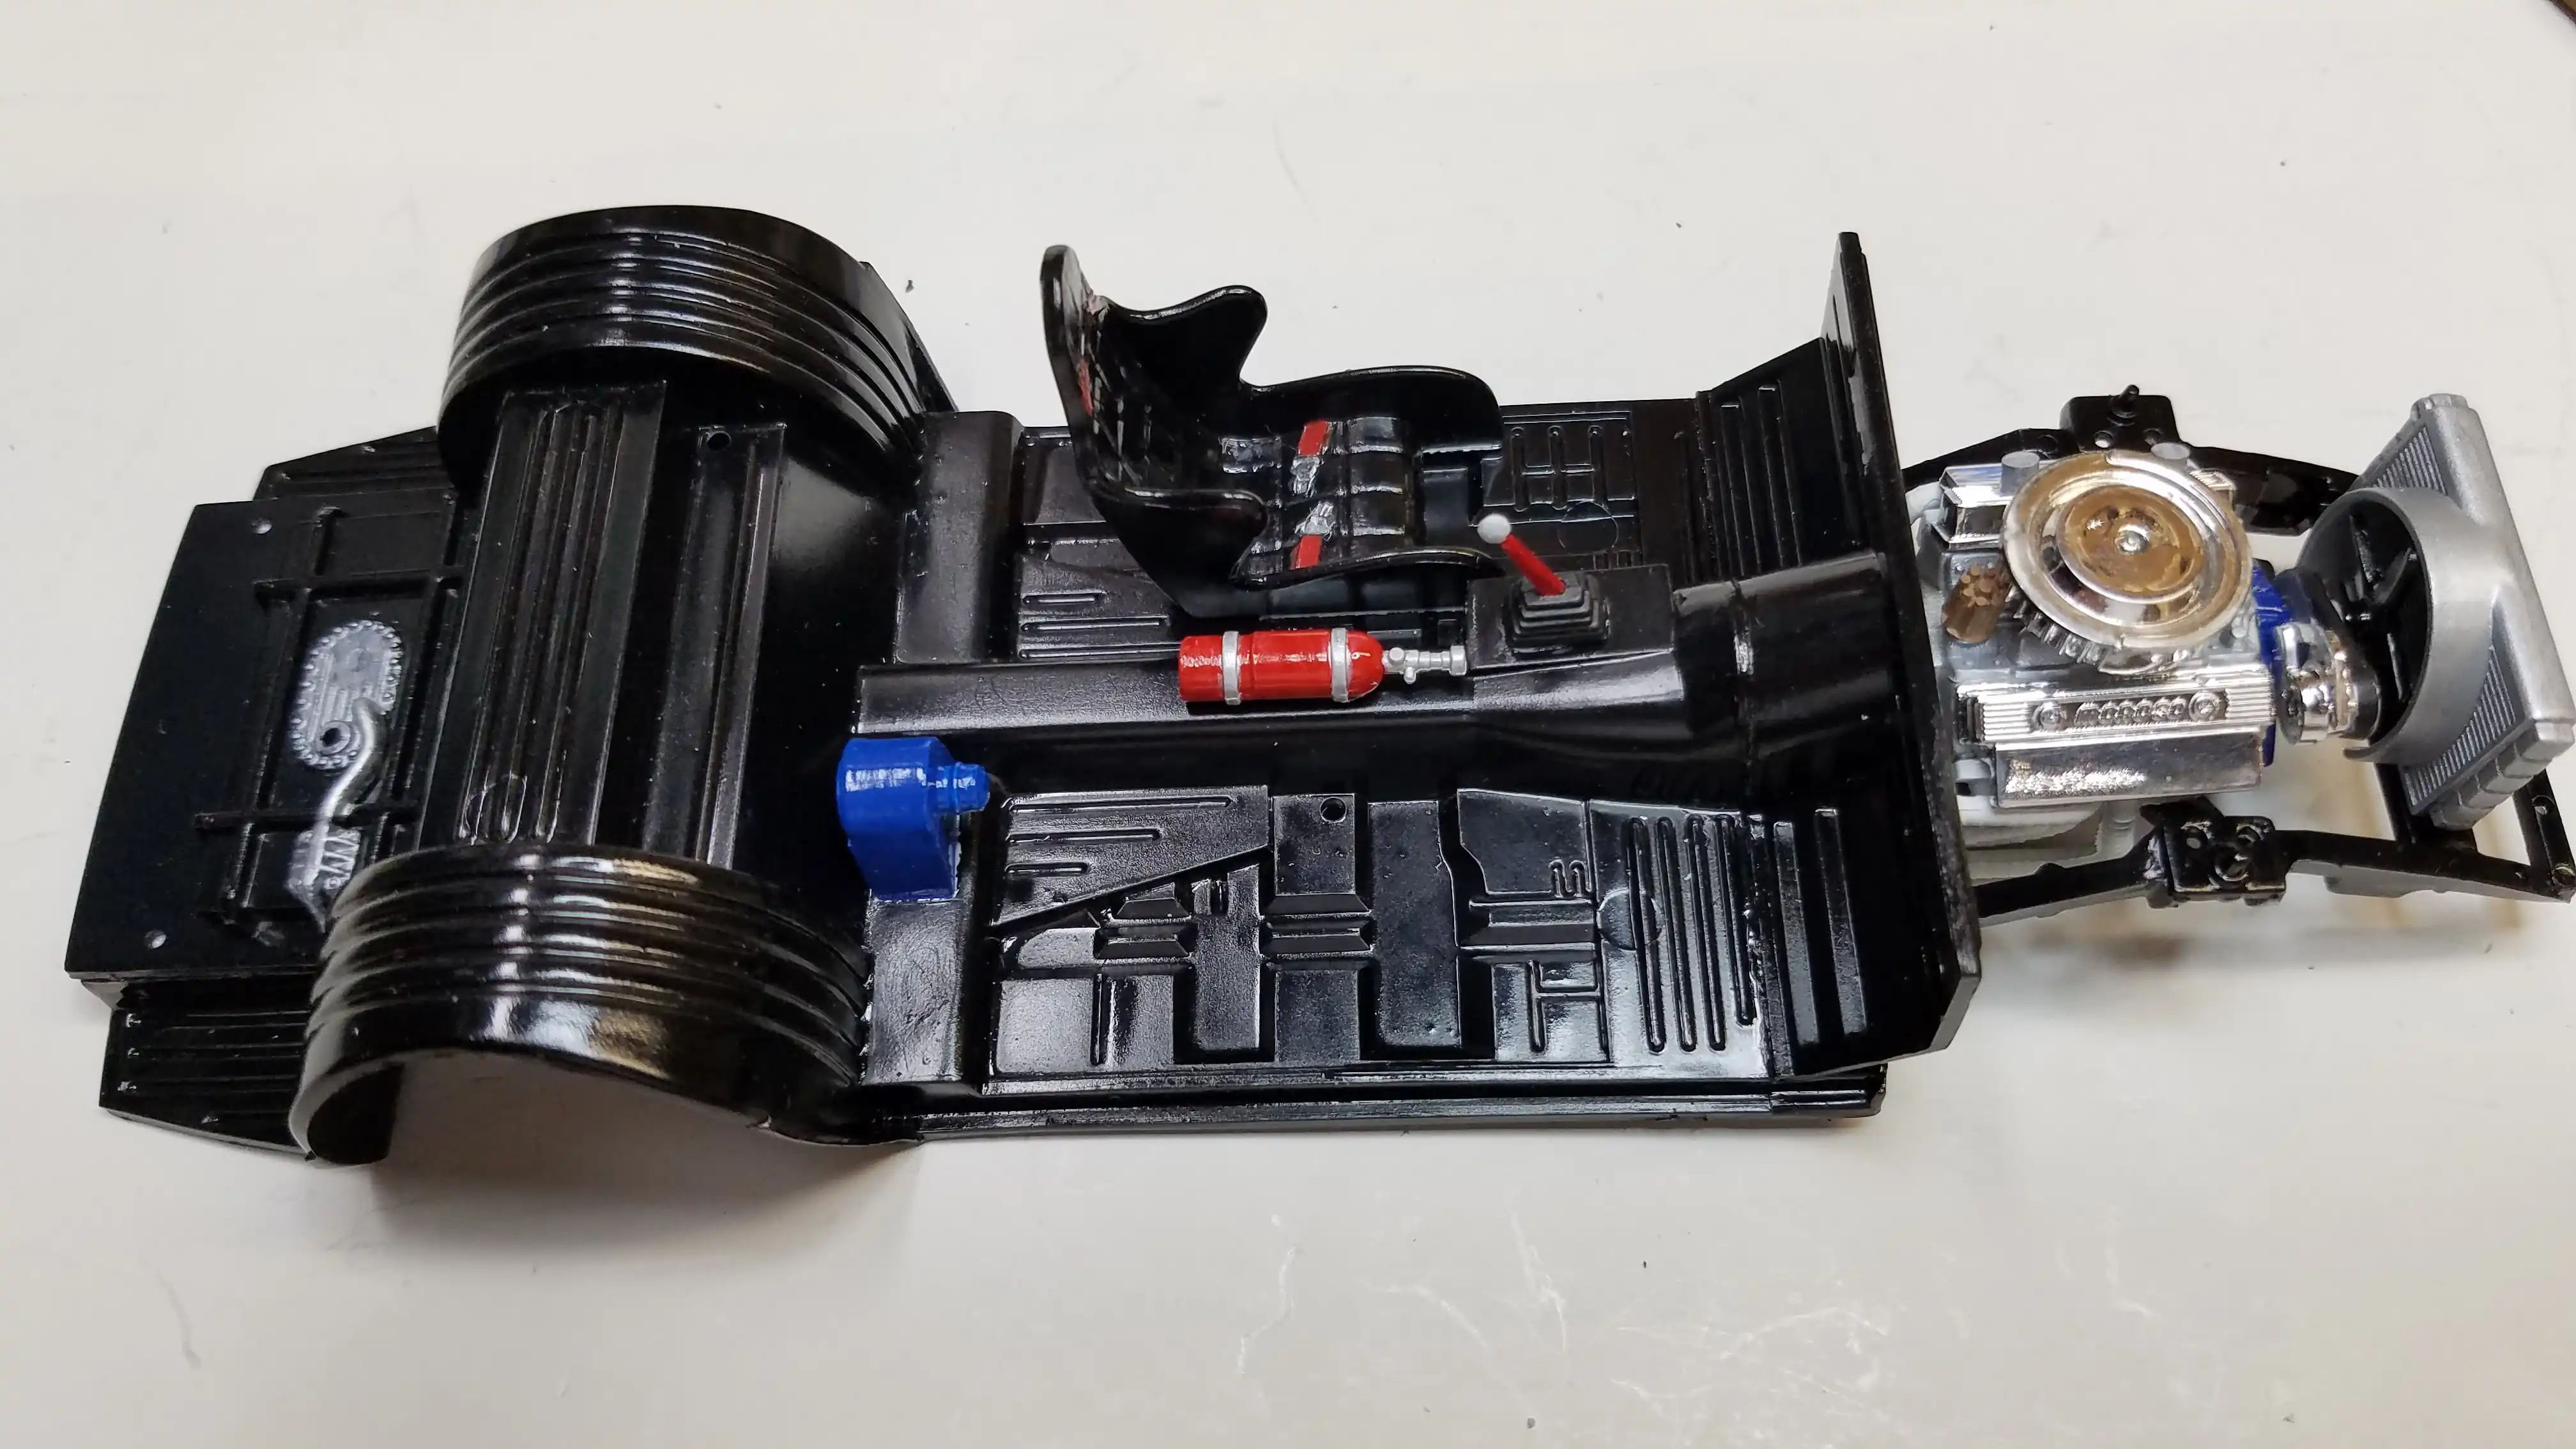
The fire extinguisher was detailed and installed.
Photo 020
Click/tap photo to enlarge
 Fire extinguisher detailed and installed
The fire extinguisher detailed and installed
Photo 021
Click/tap photo to enlarge
 Painted the radiator
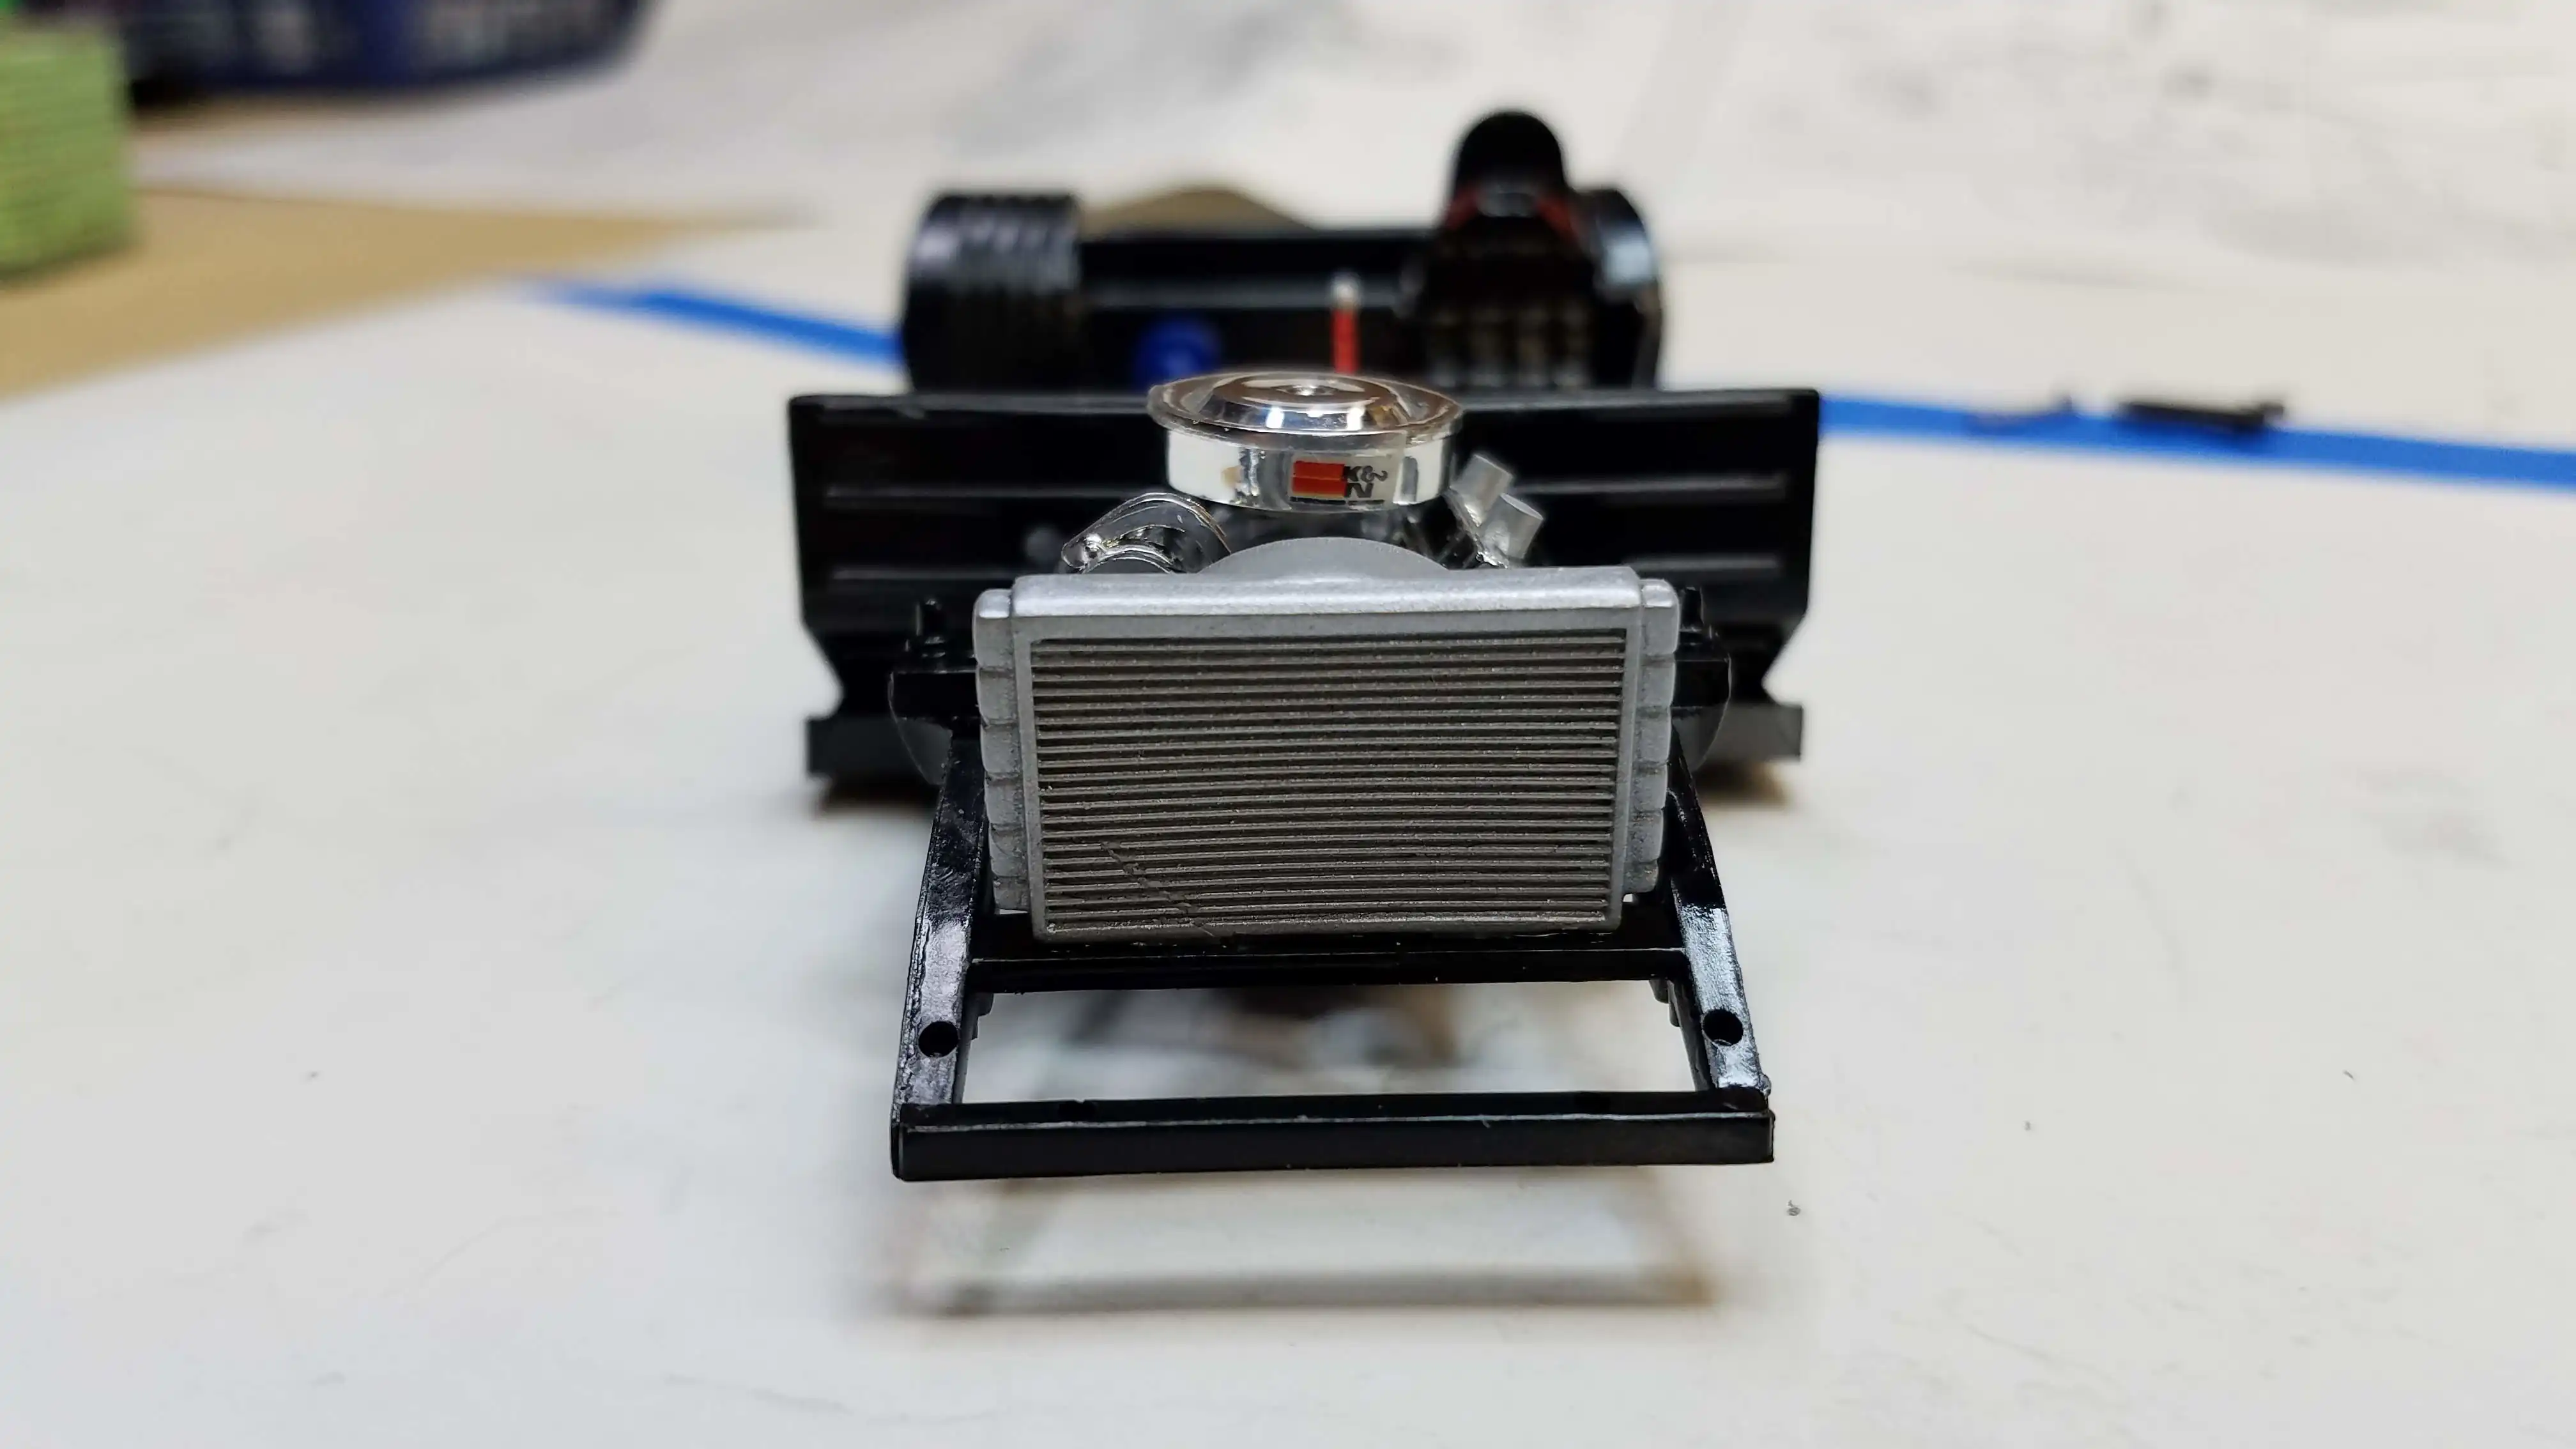
I did the radiator in Tamiya XF-16 Flat Aluminum and used Tamiya Black Panel Liner wash to show some depth. There was a deep scratch on the radiator out of the box. I wasn't sure how to fix it, so I decided to keep it that way and highlight it to show use or possible track damage.
Photo 022
Click/tap photo to enlarge
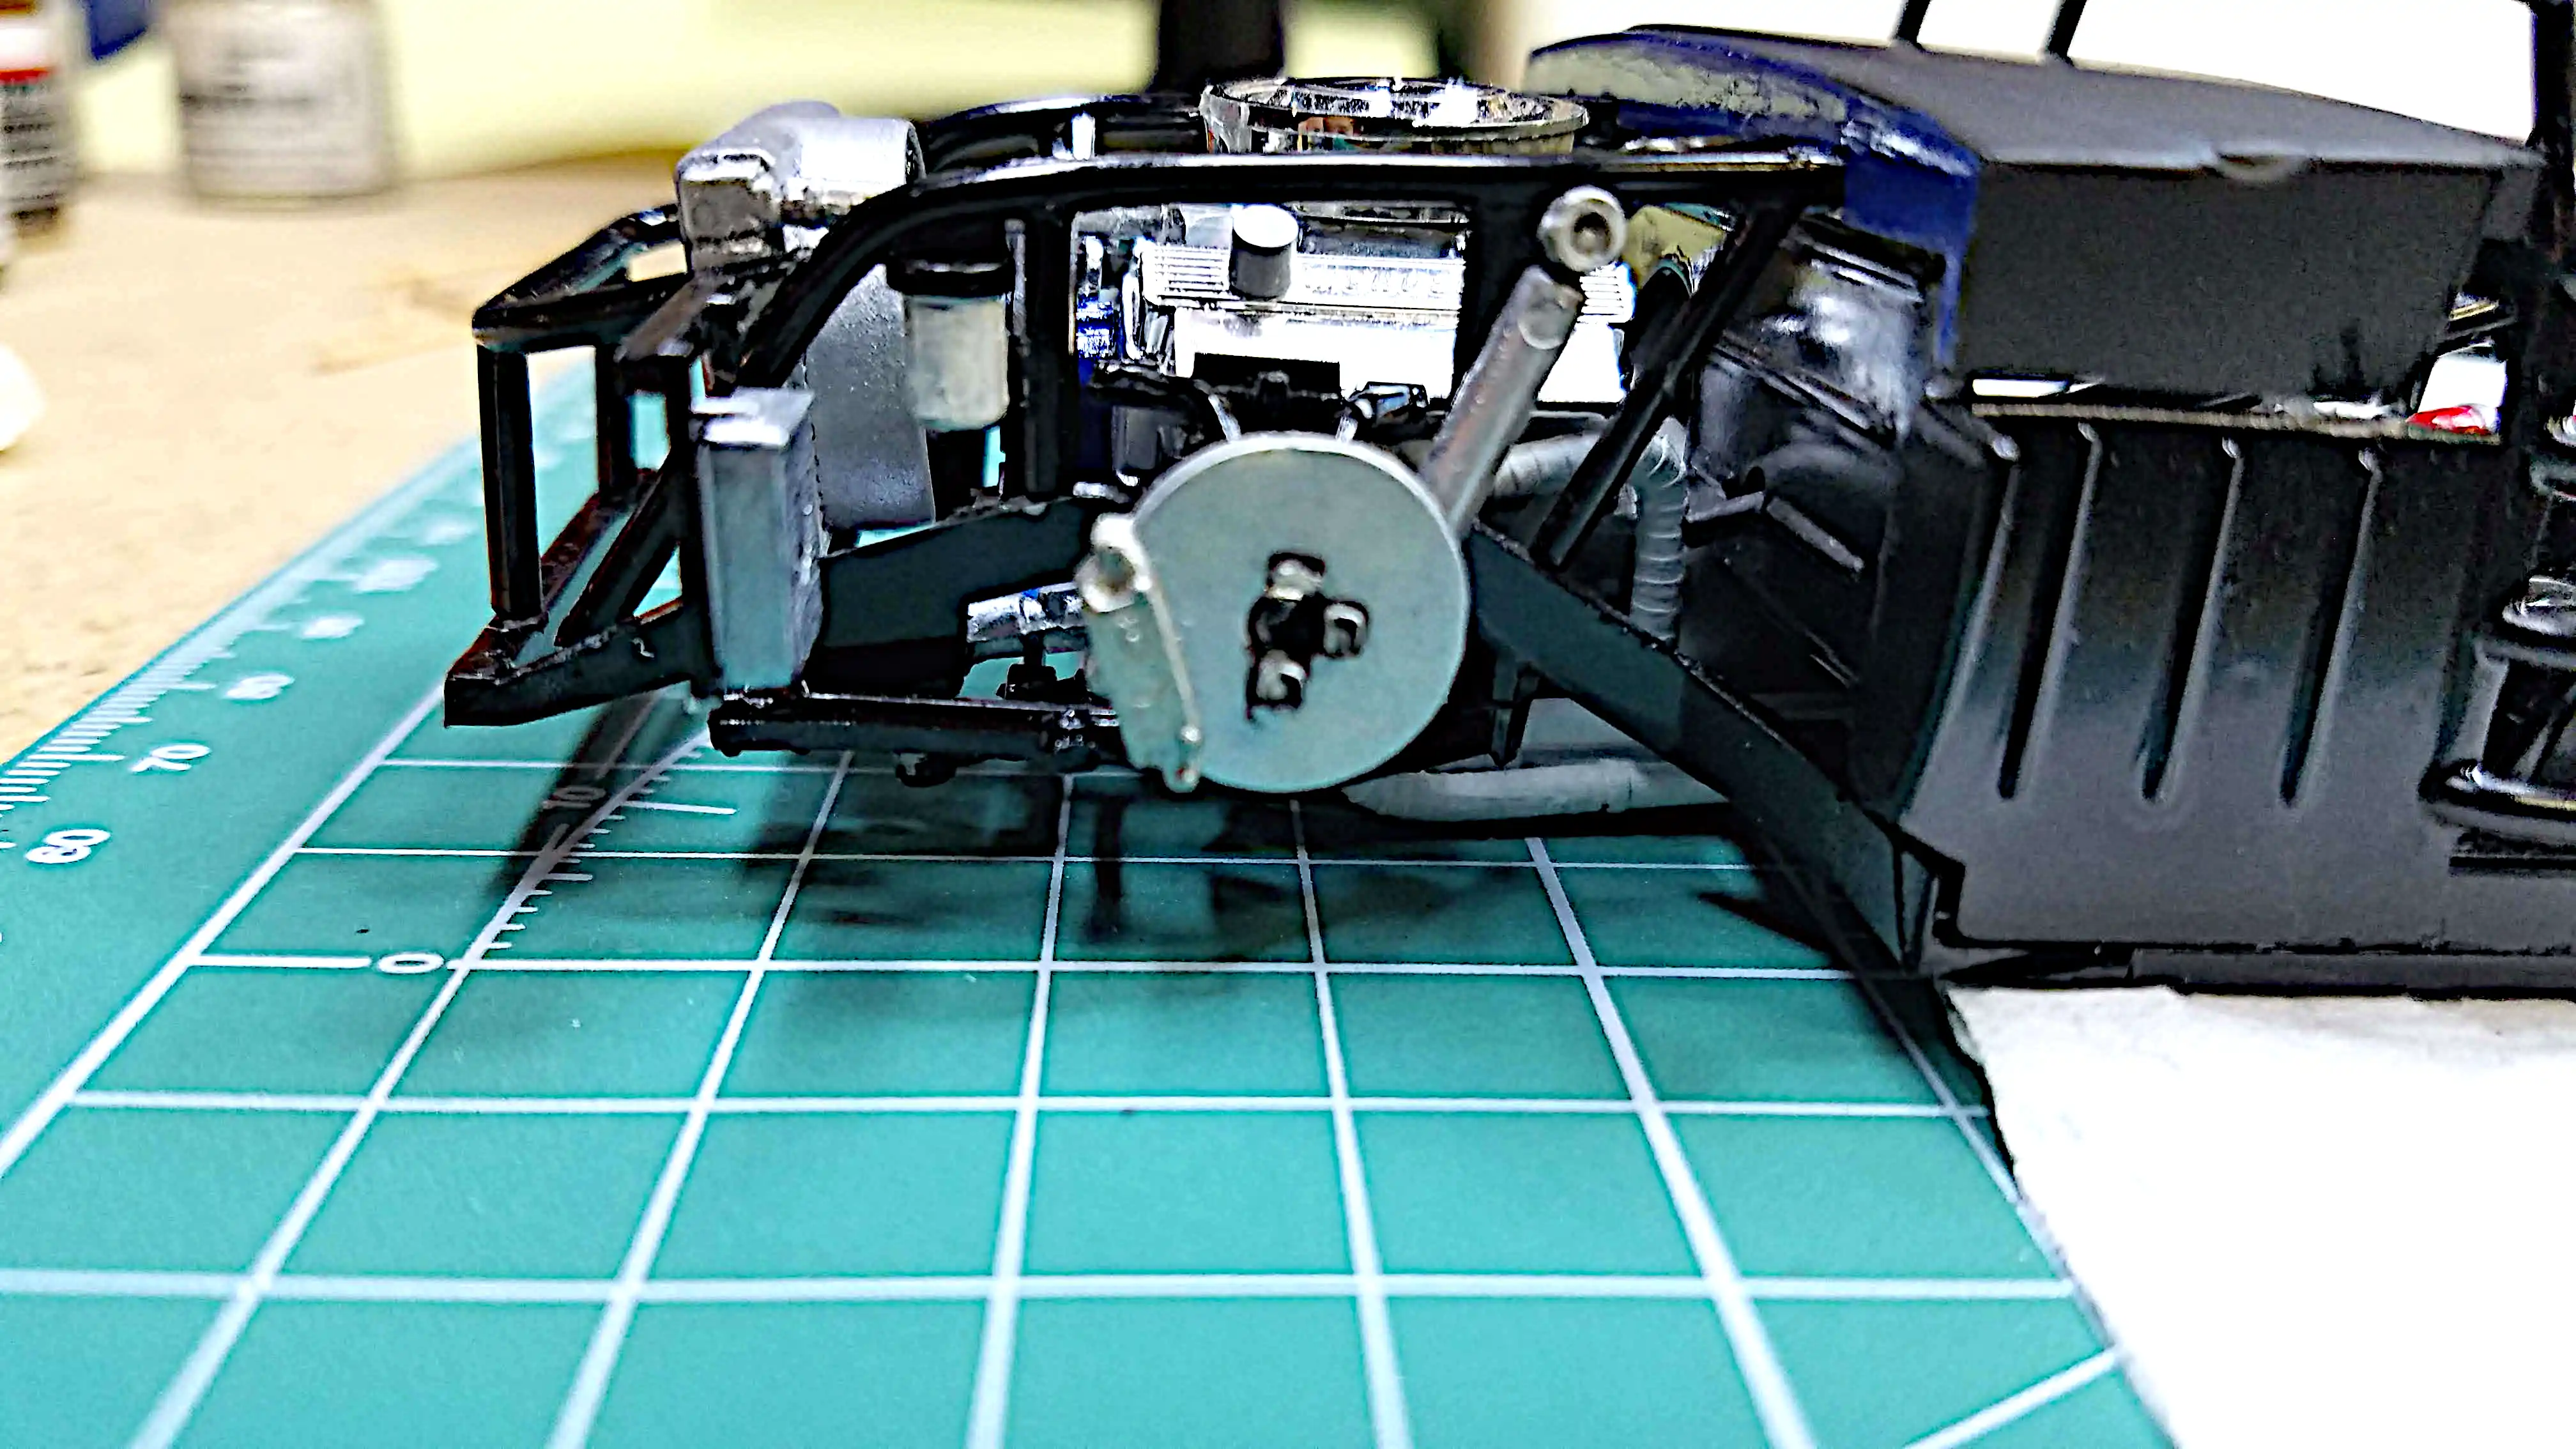
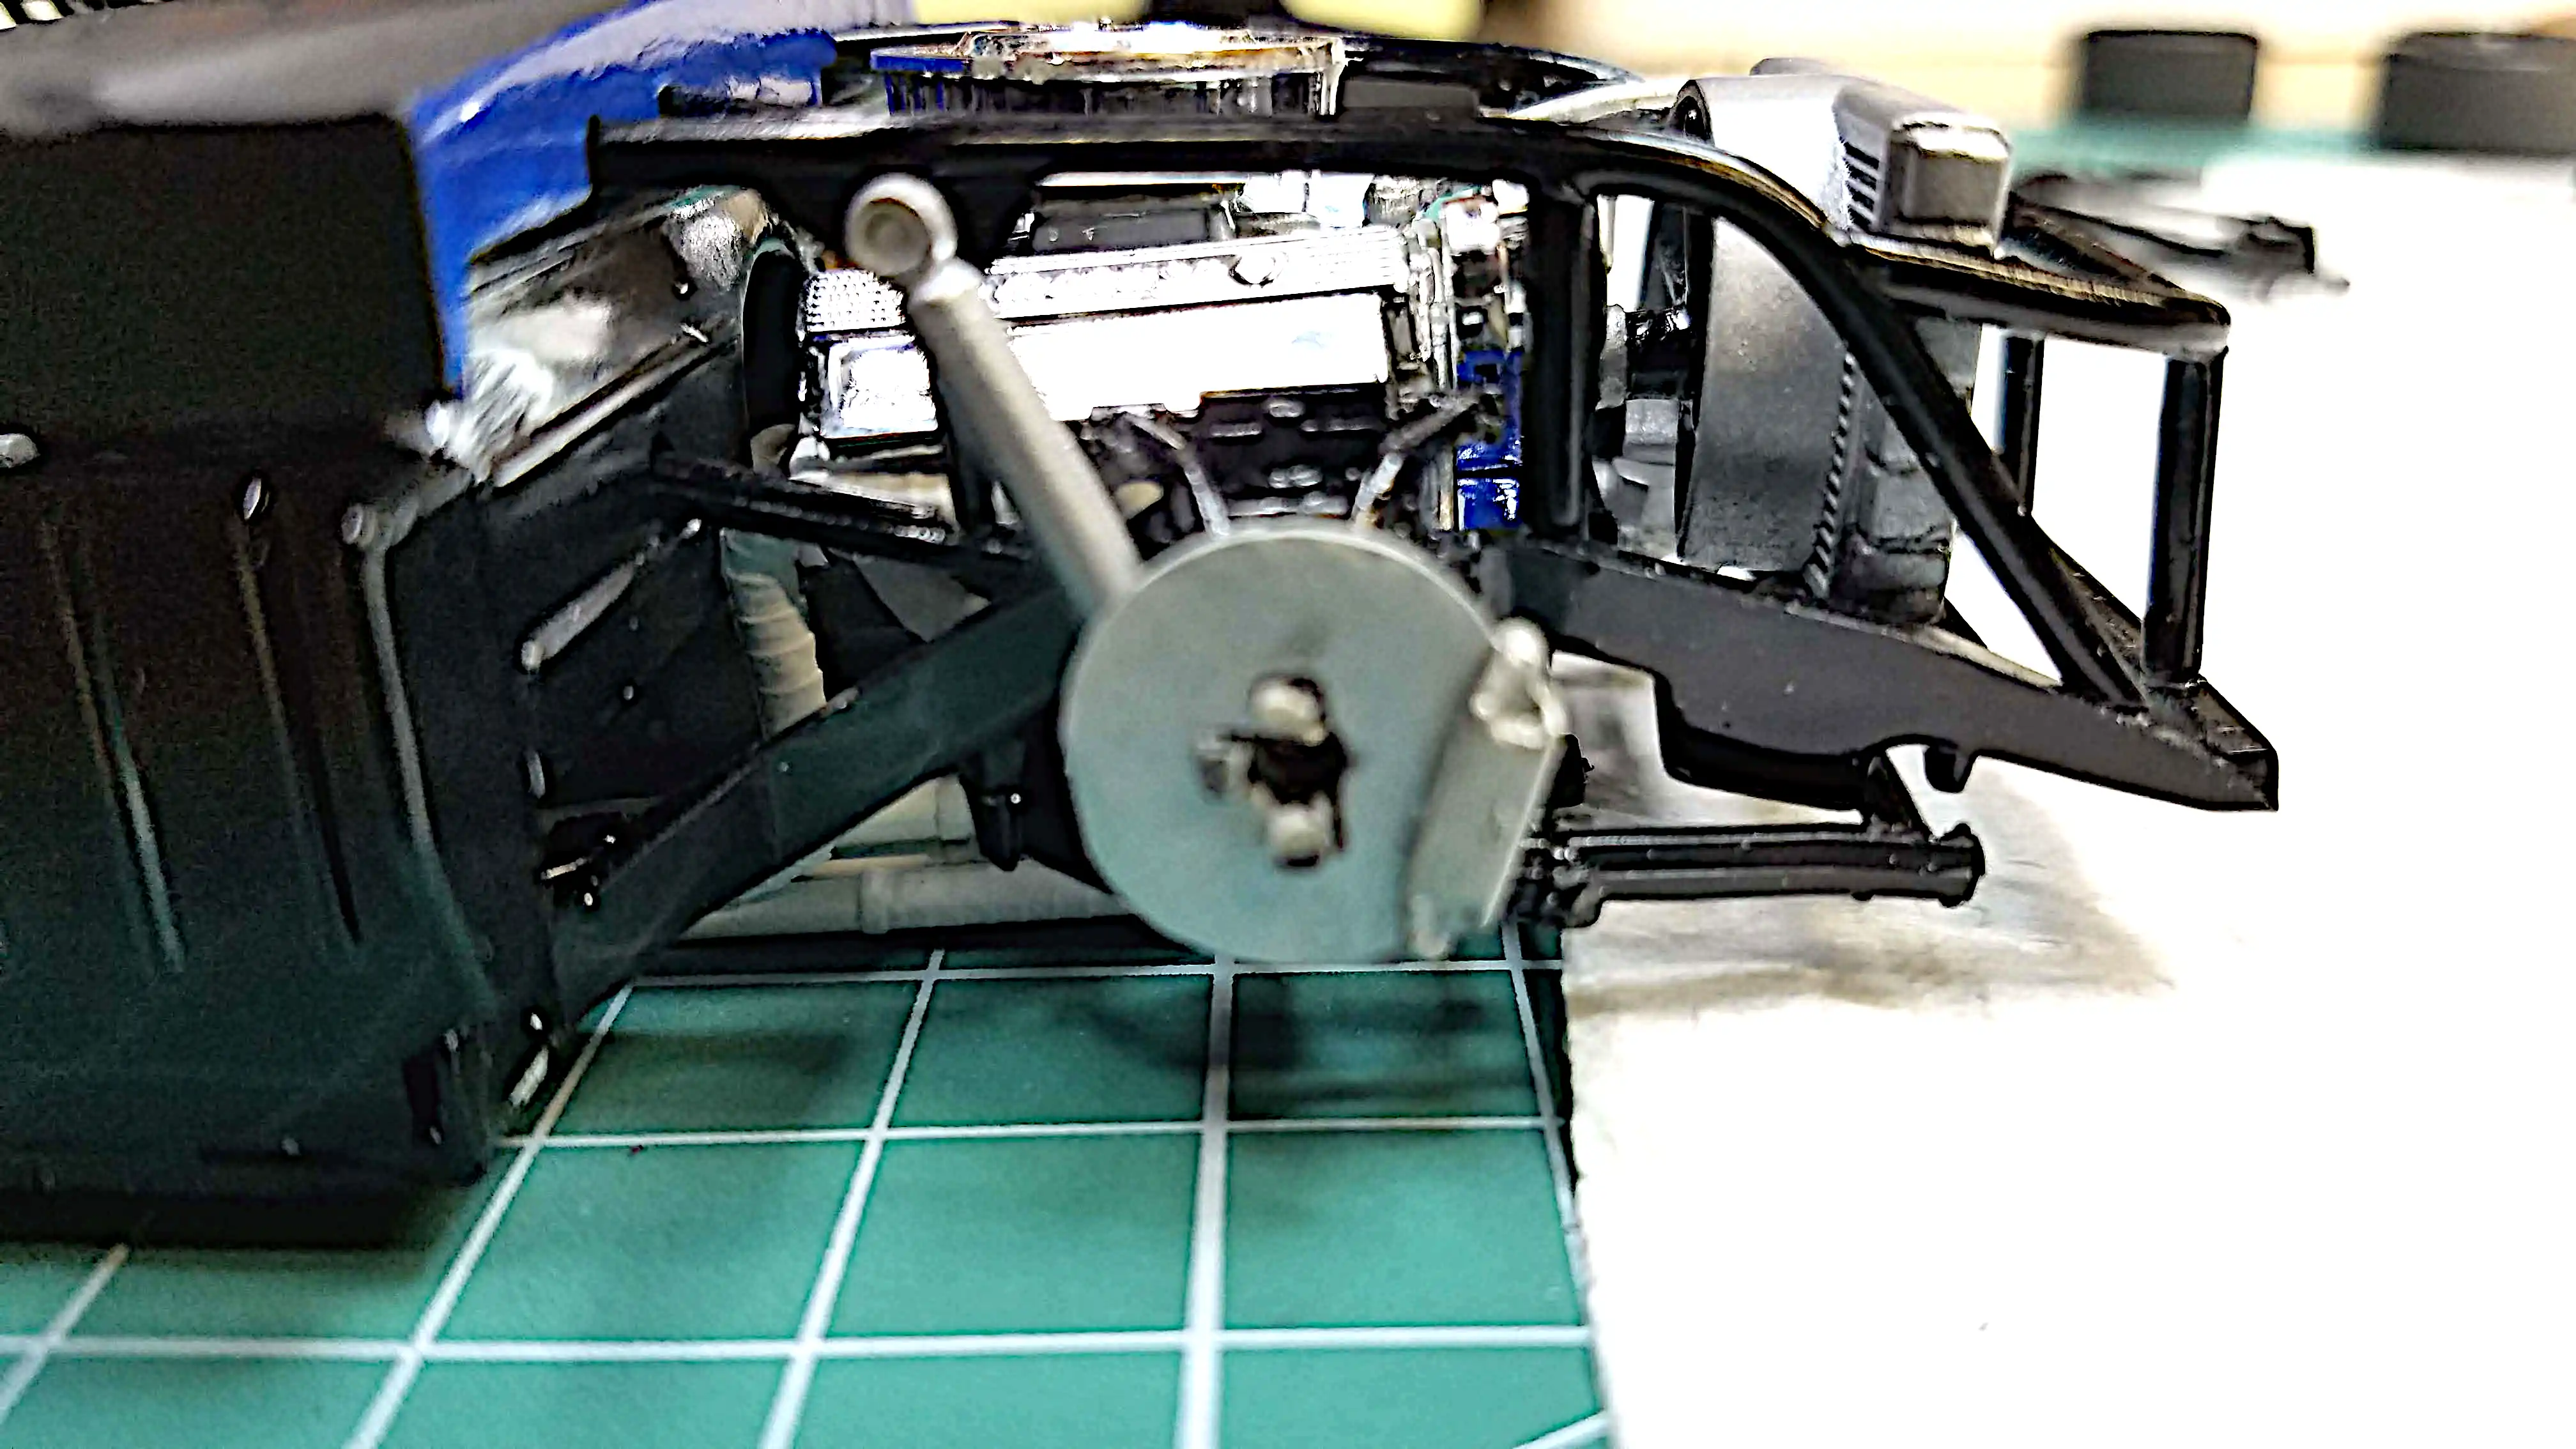
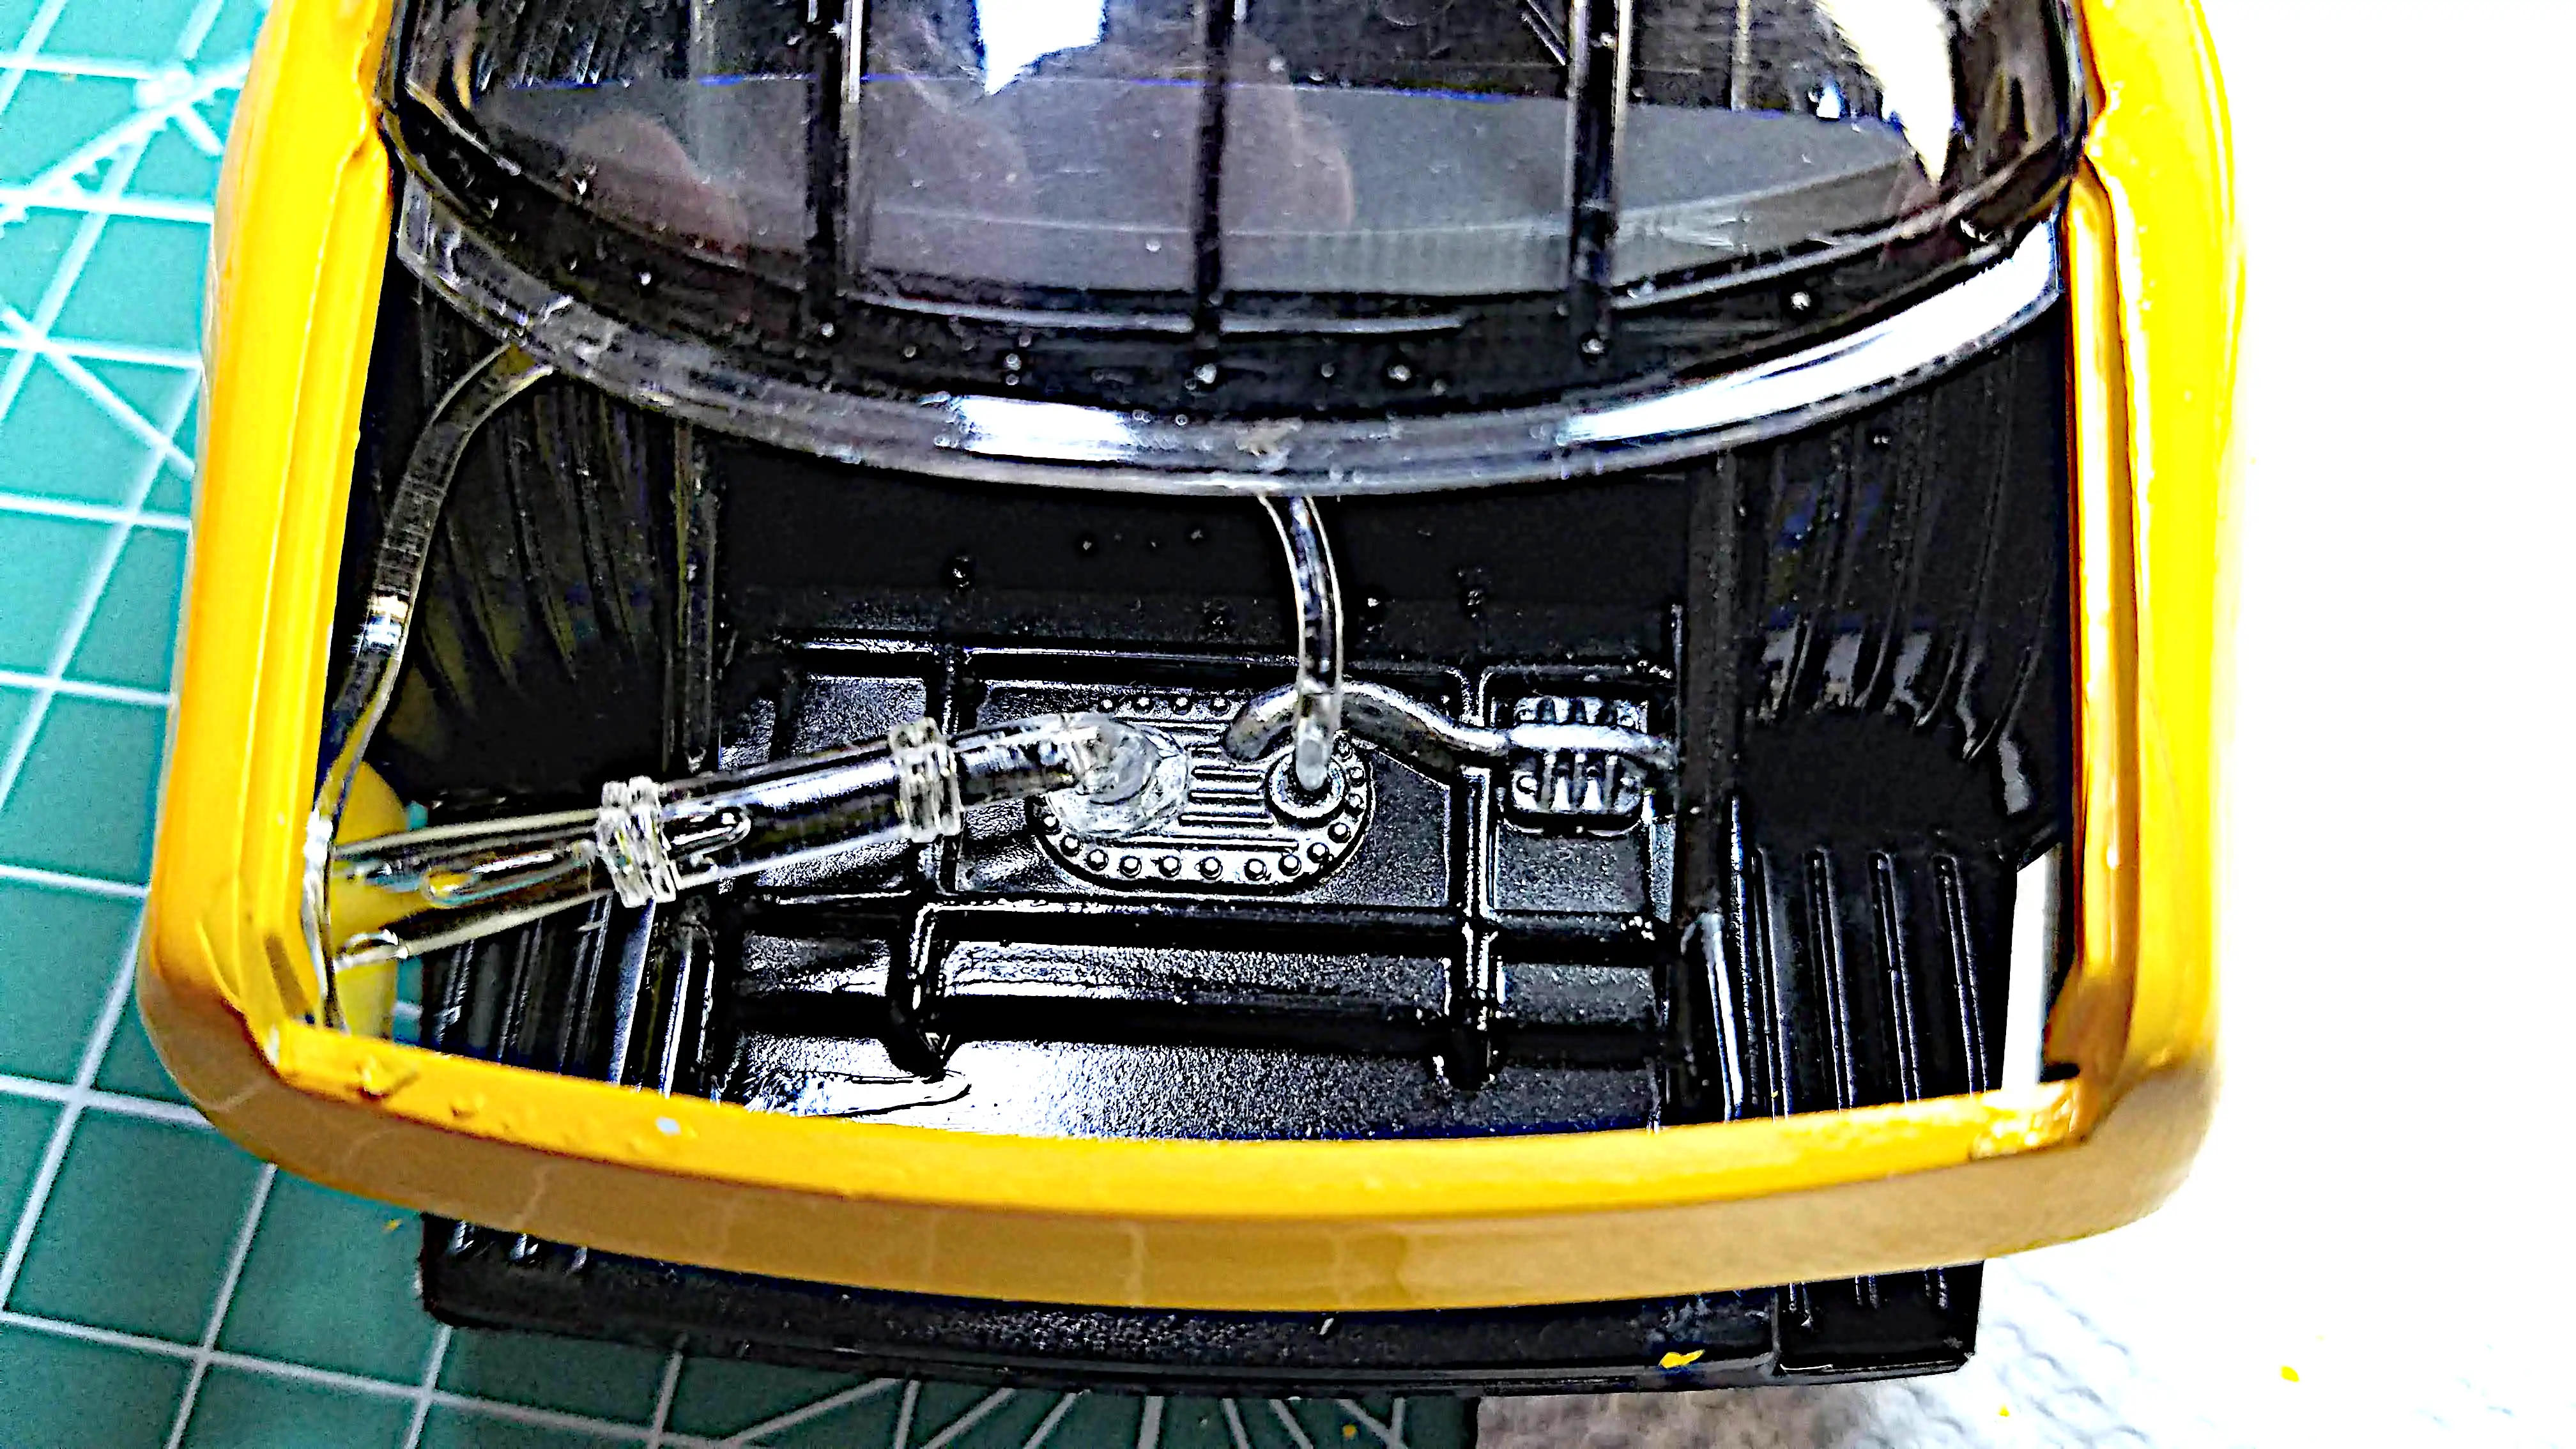
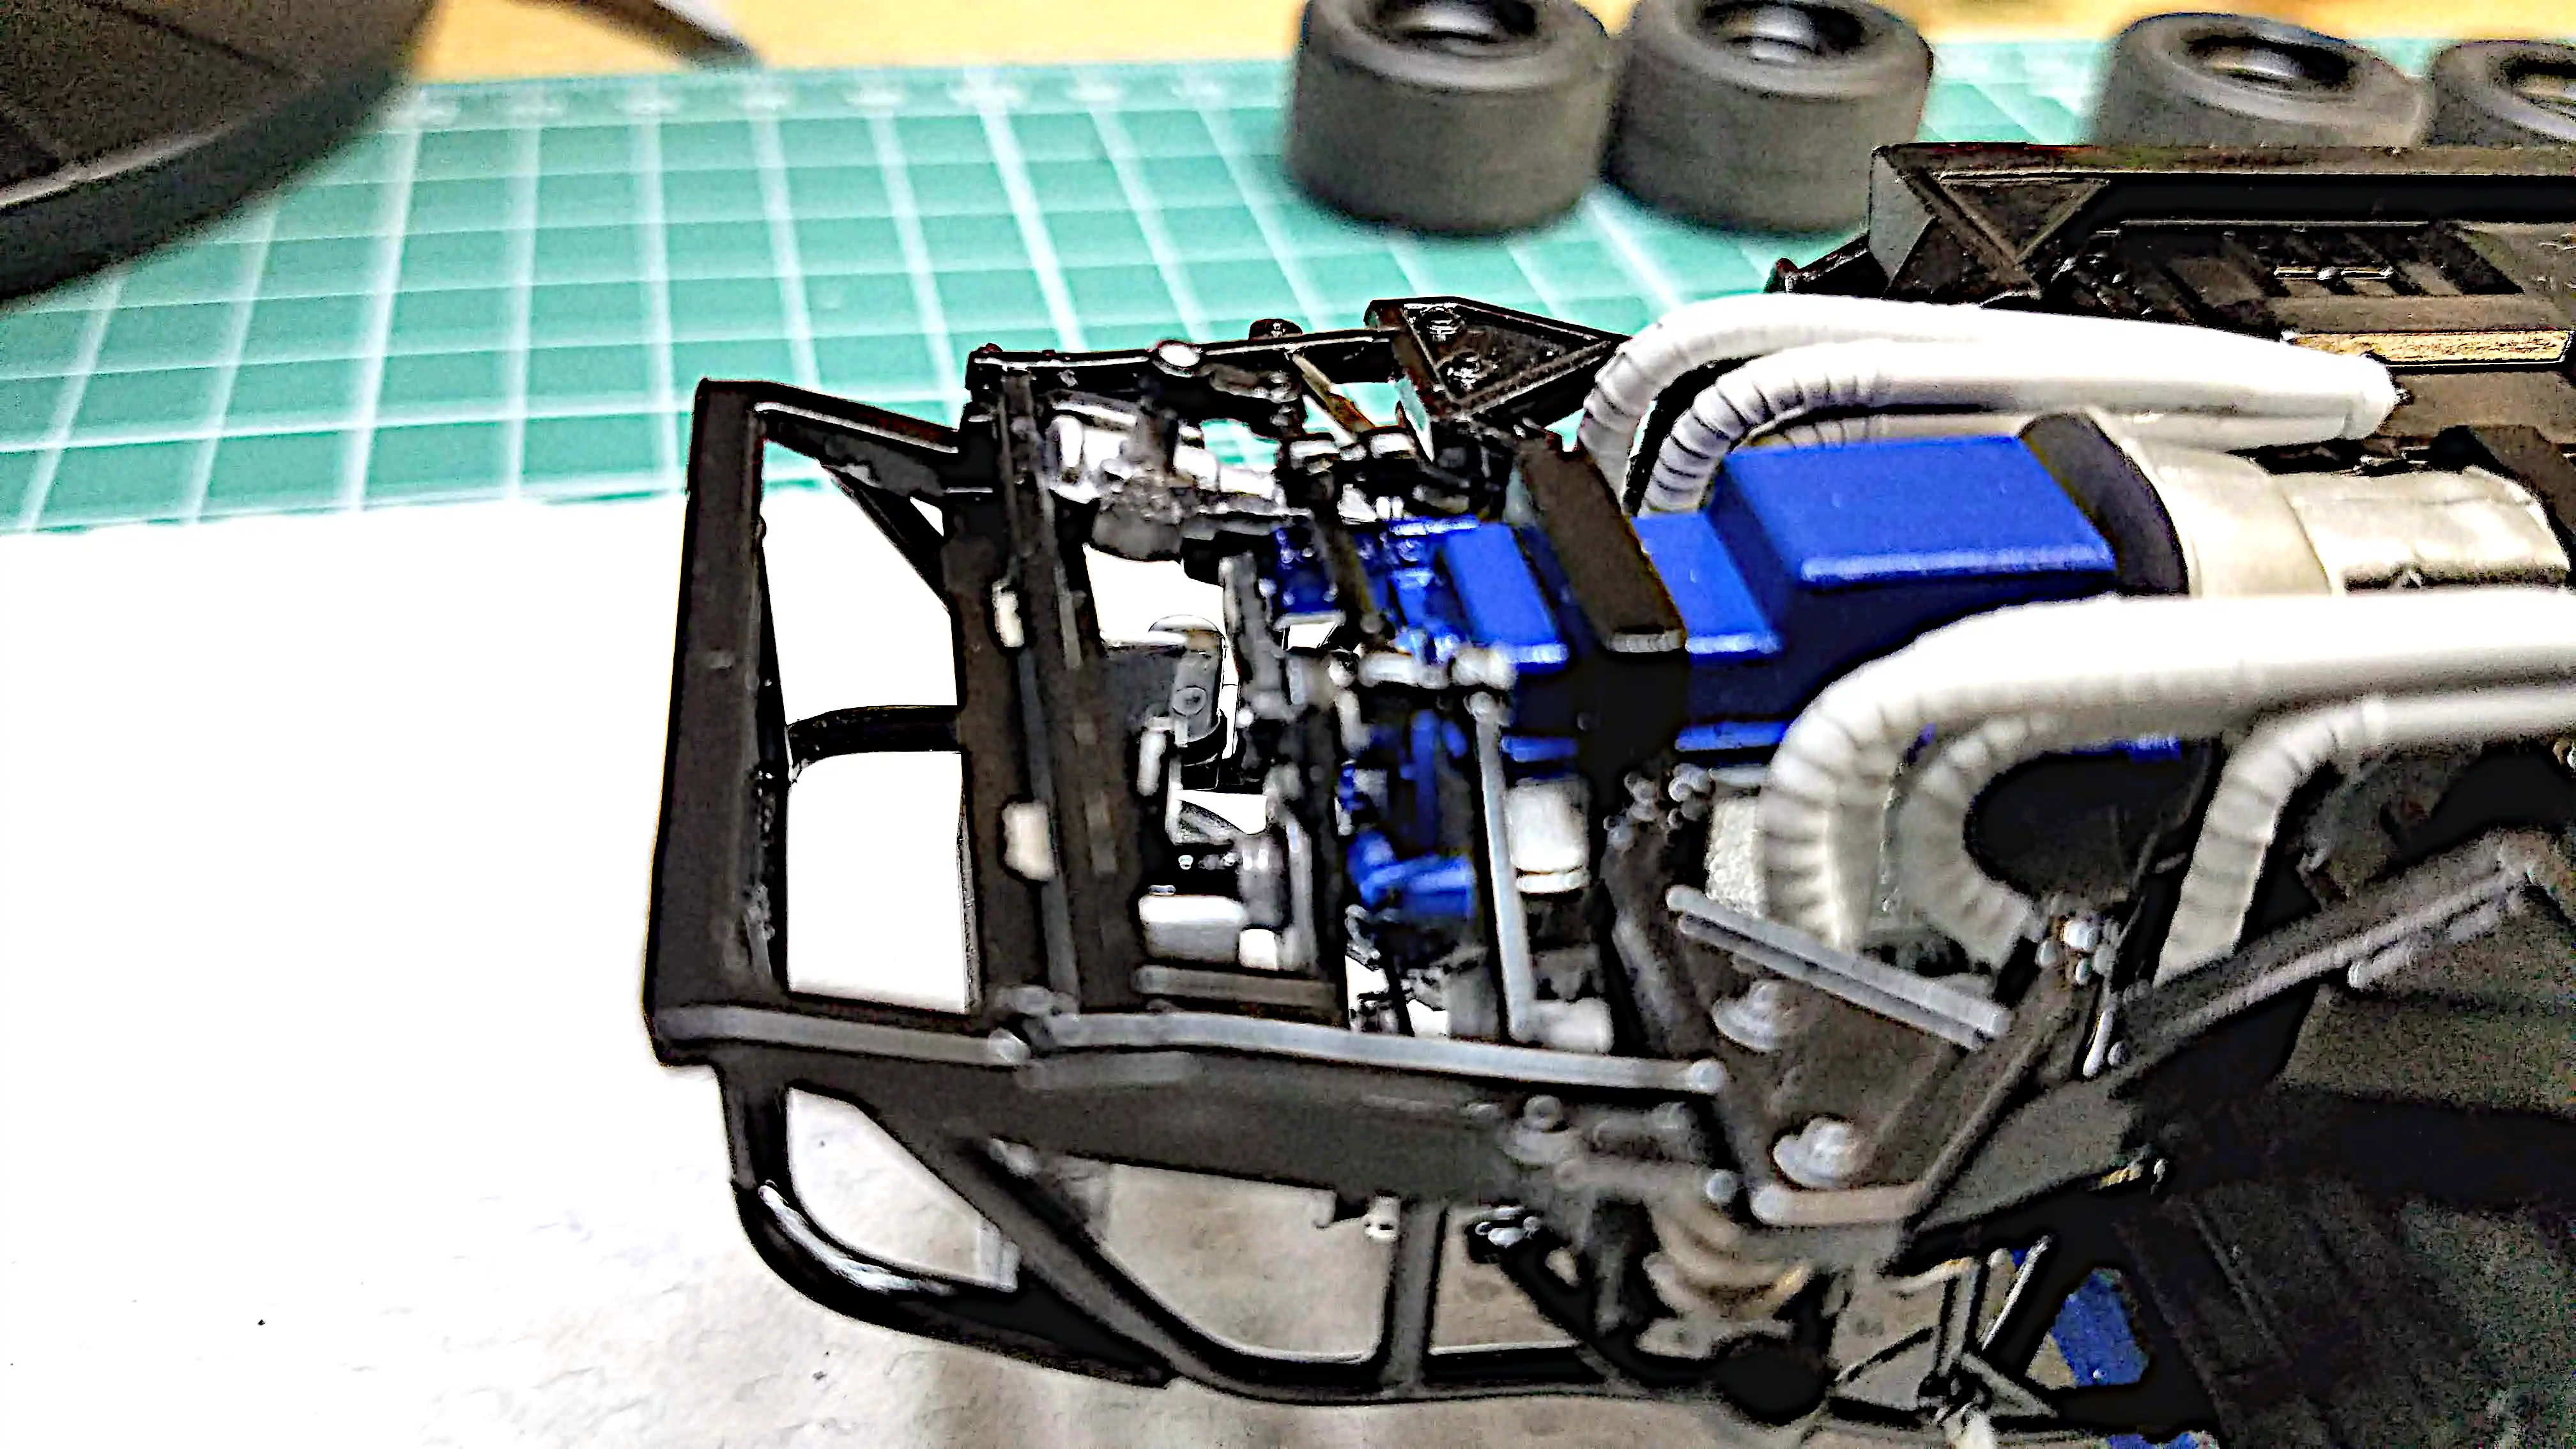
 View of engine from the interior tub
View of engine from the interior tub
Photo 023
Click/tap photo to enlarge
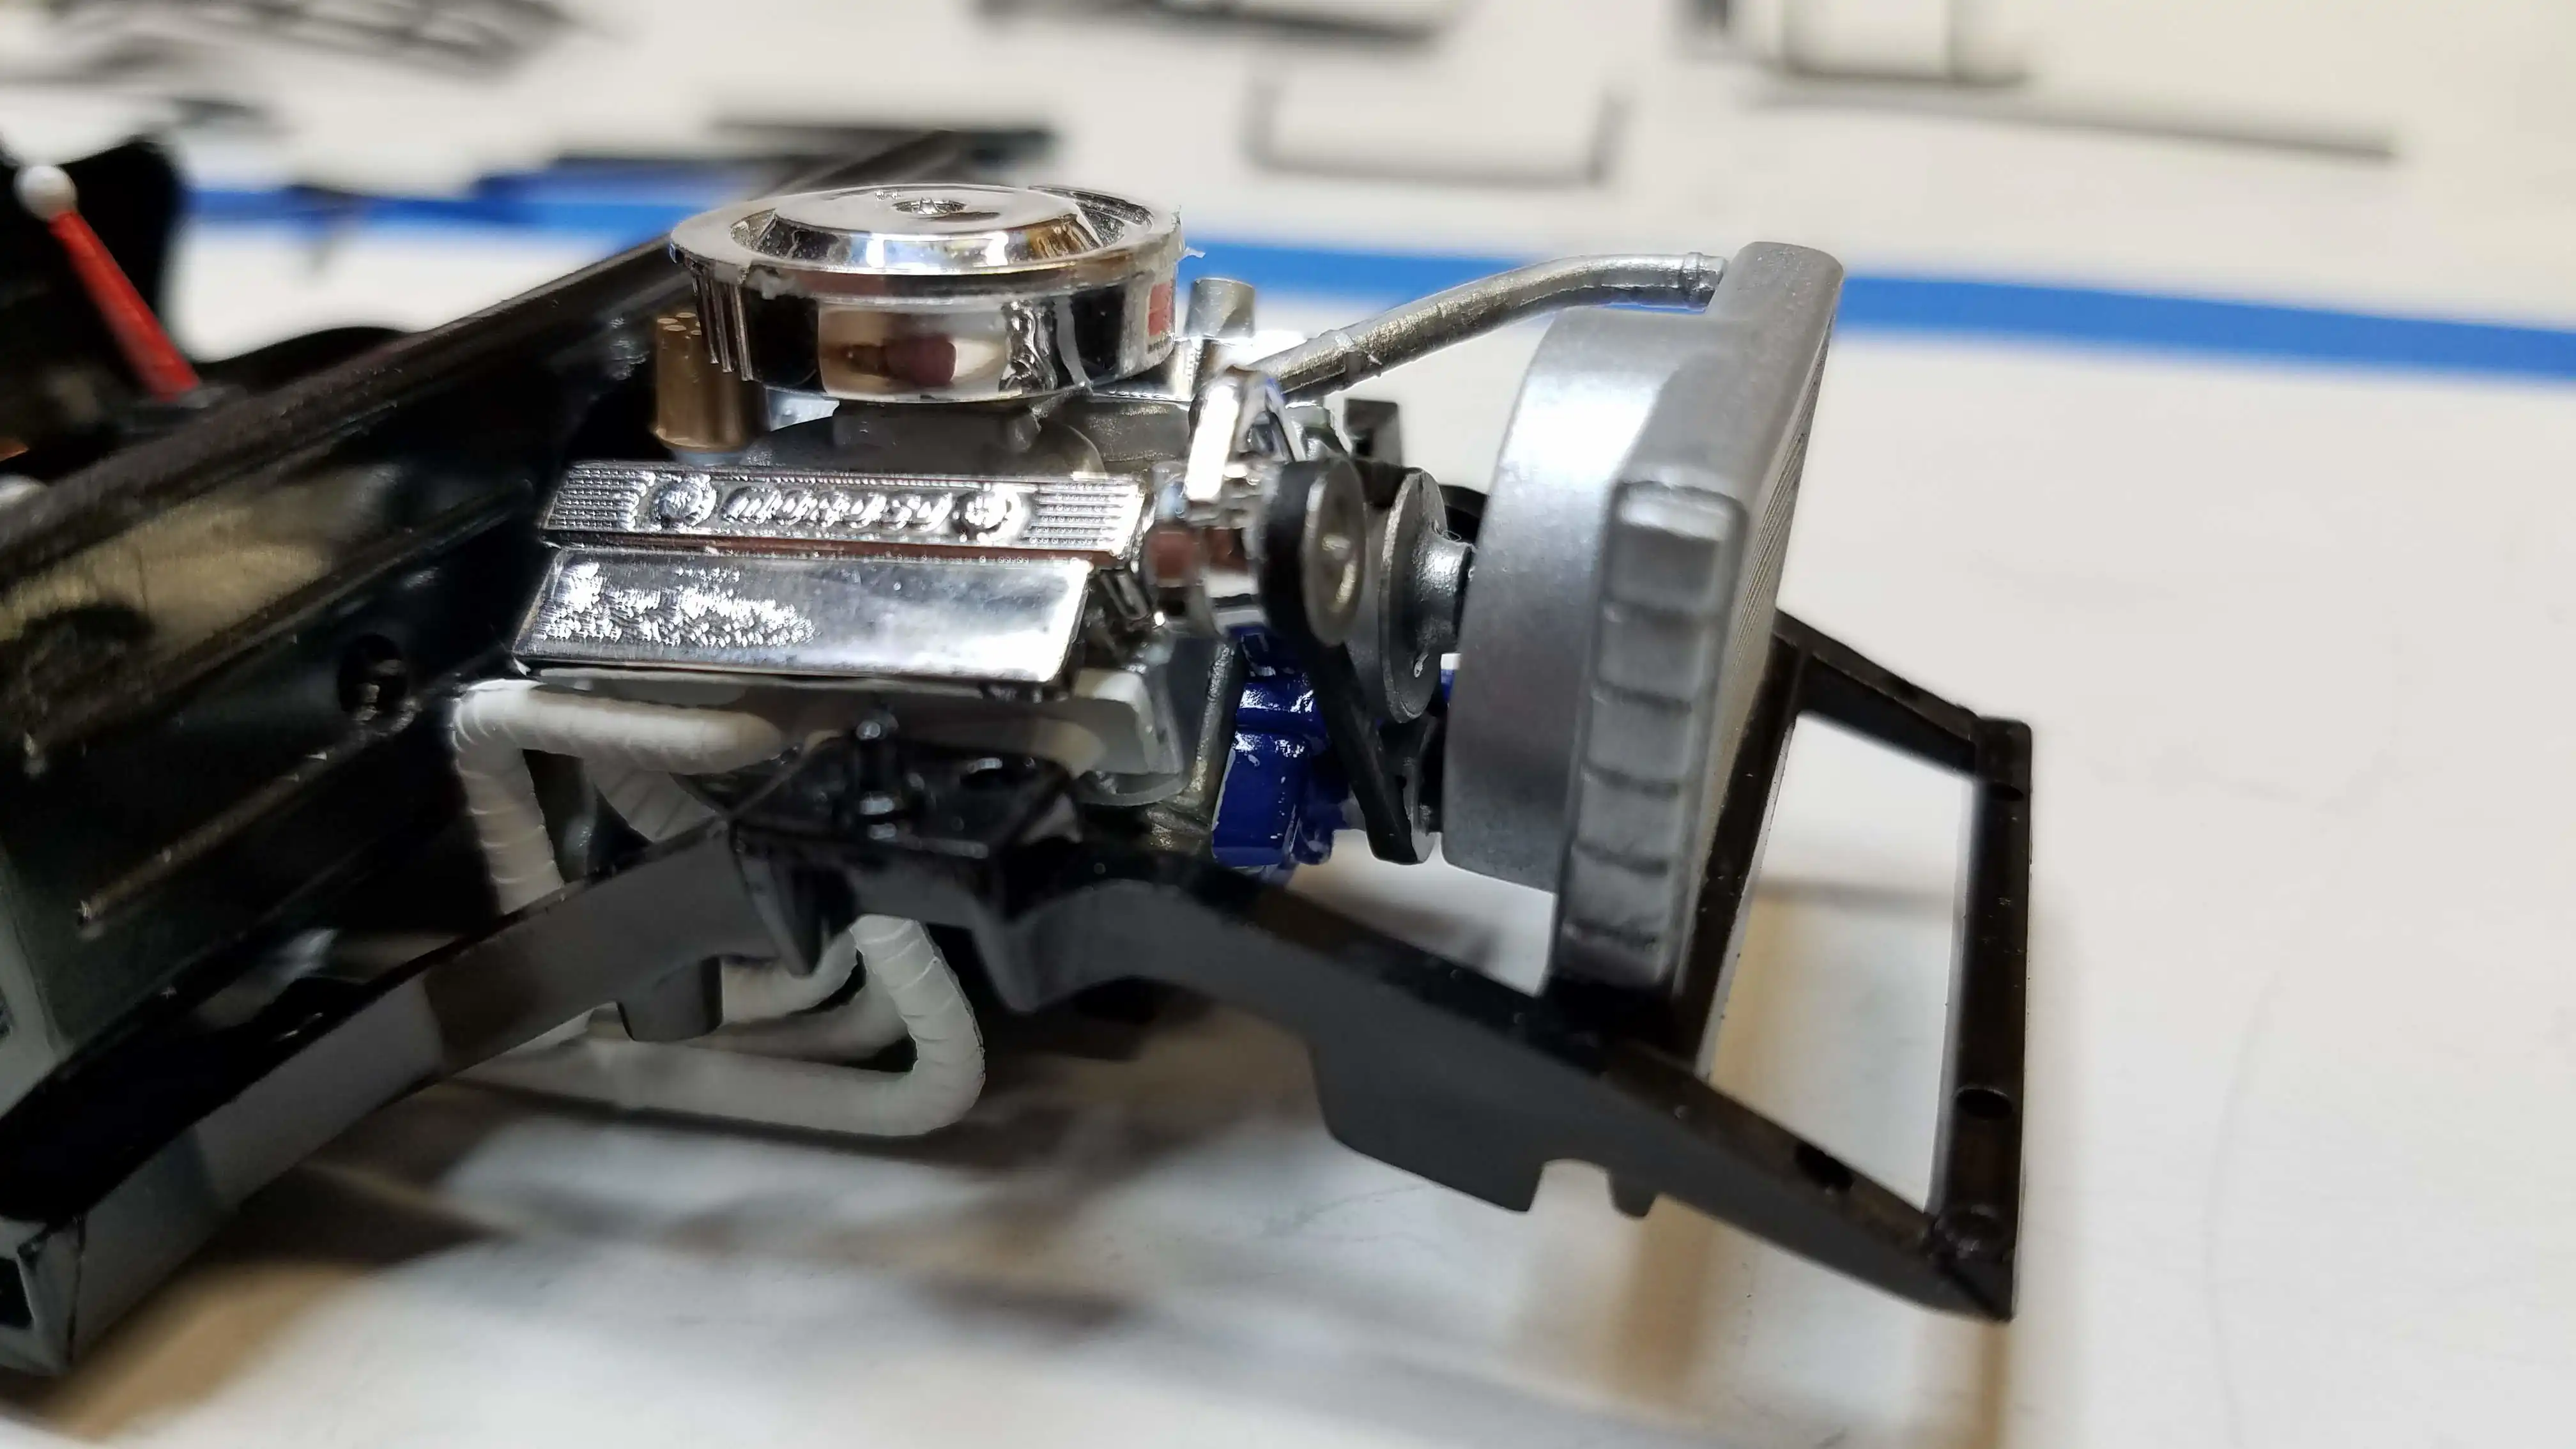
 Radiator hoses installed
The upper radiator hose was installed. I painted it in Tamiya XF-16 Flat Aluminum. I didn't know about after market radiator hoses at the time of this build or I would have used one.
Photo 024
Click/tap photo to enlarge
 Decal installed on the air cleaner
The air cleaner decal was added to the air cleaner.
Photo 025
Click/tap photo to enlarge
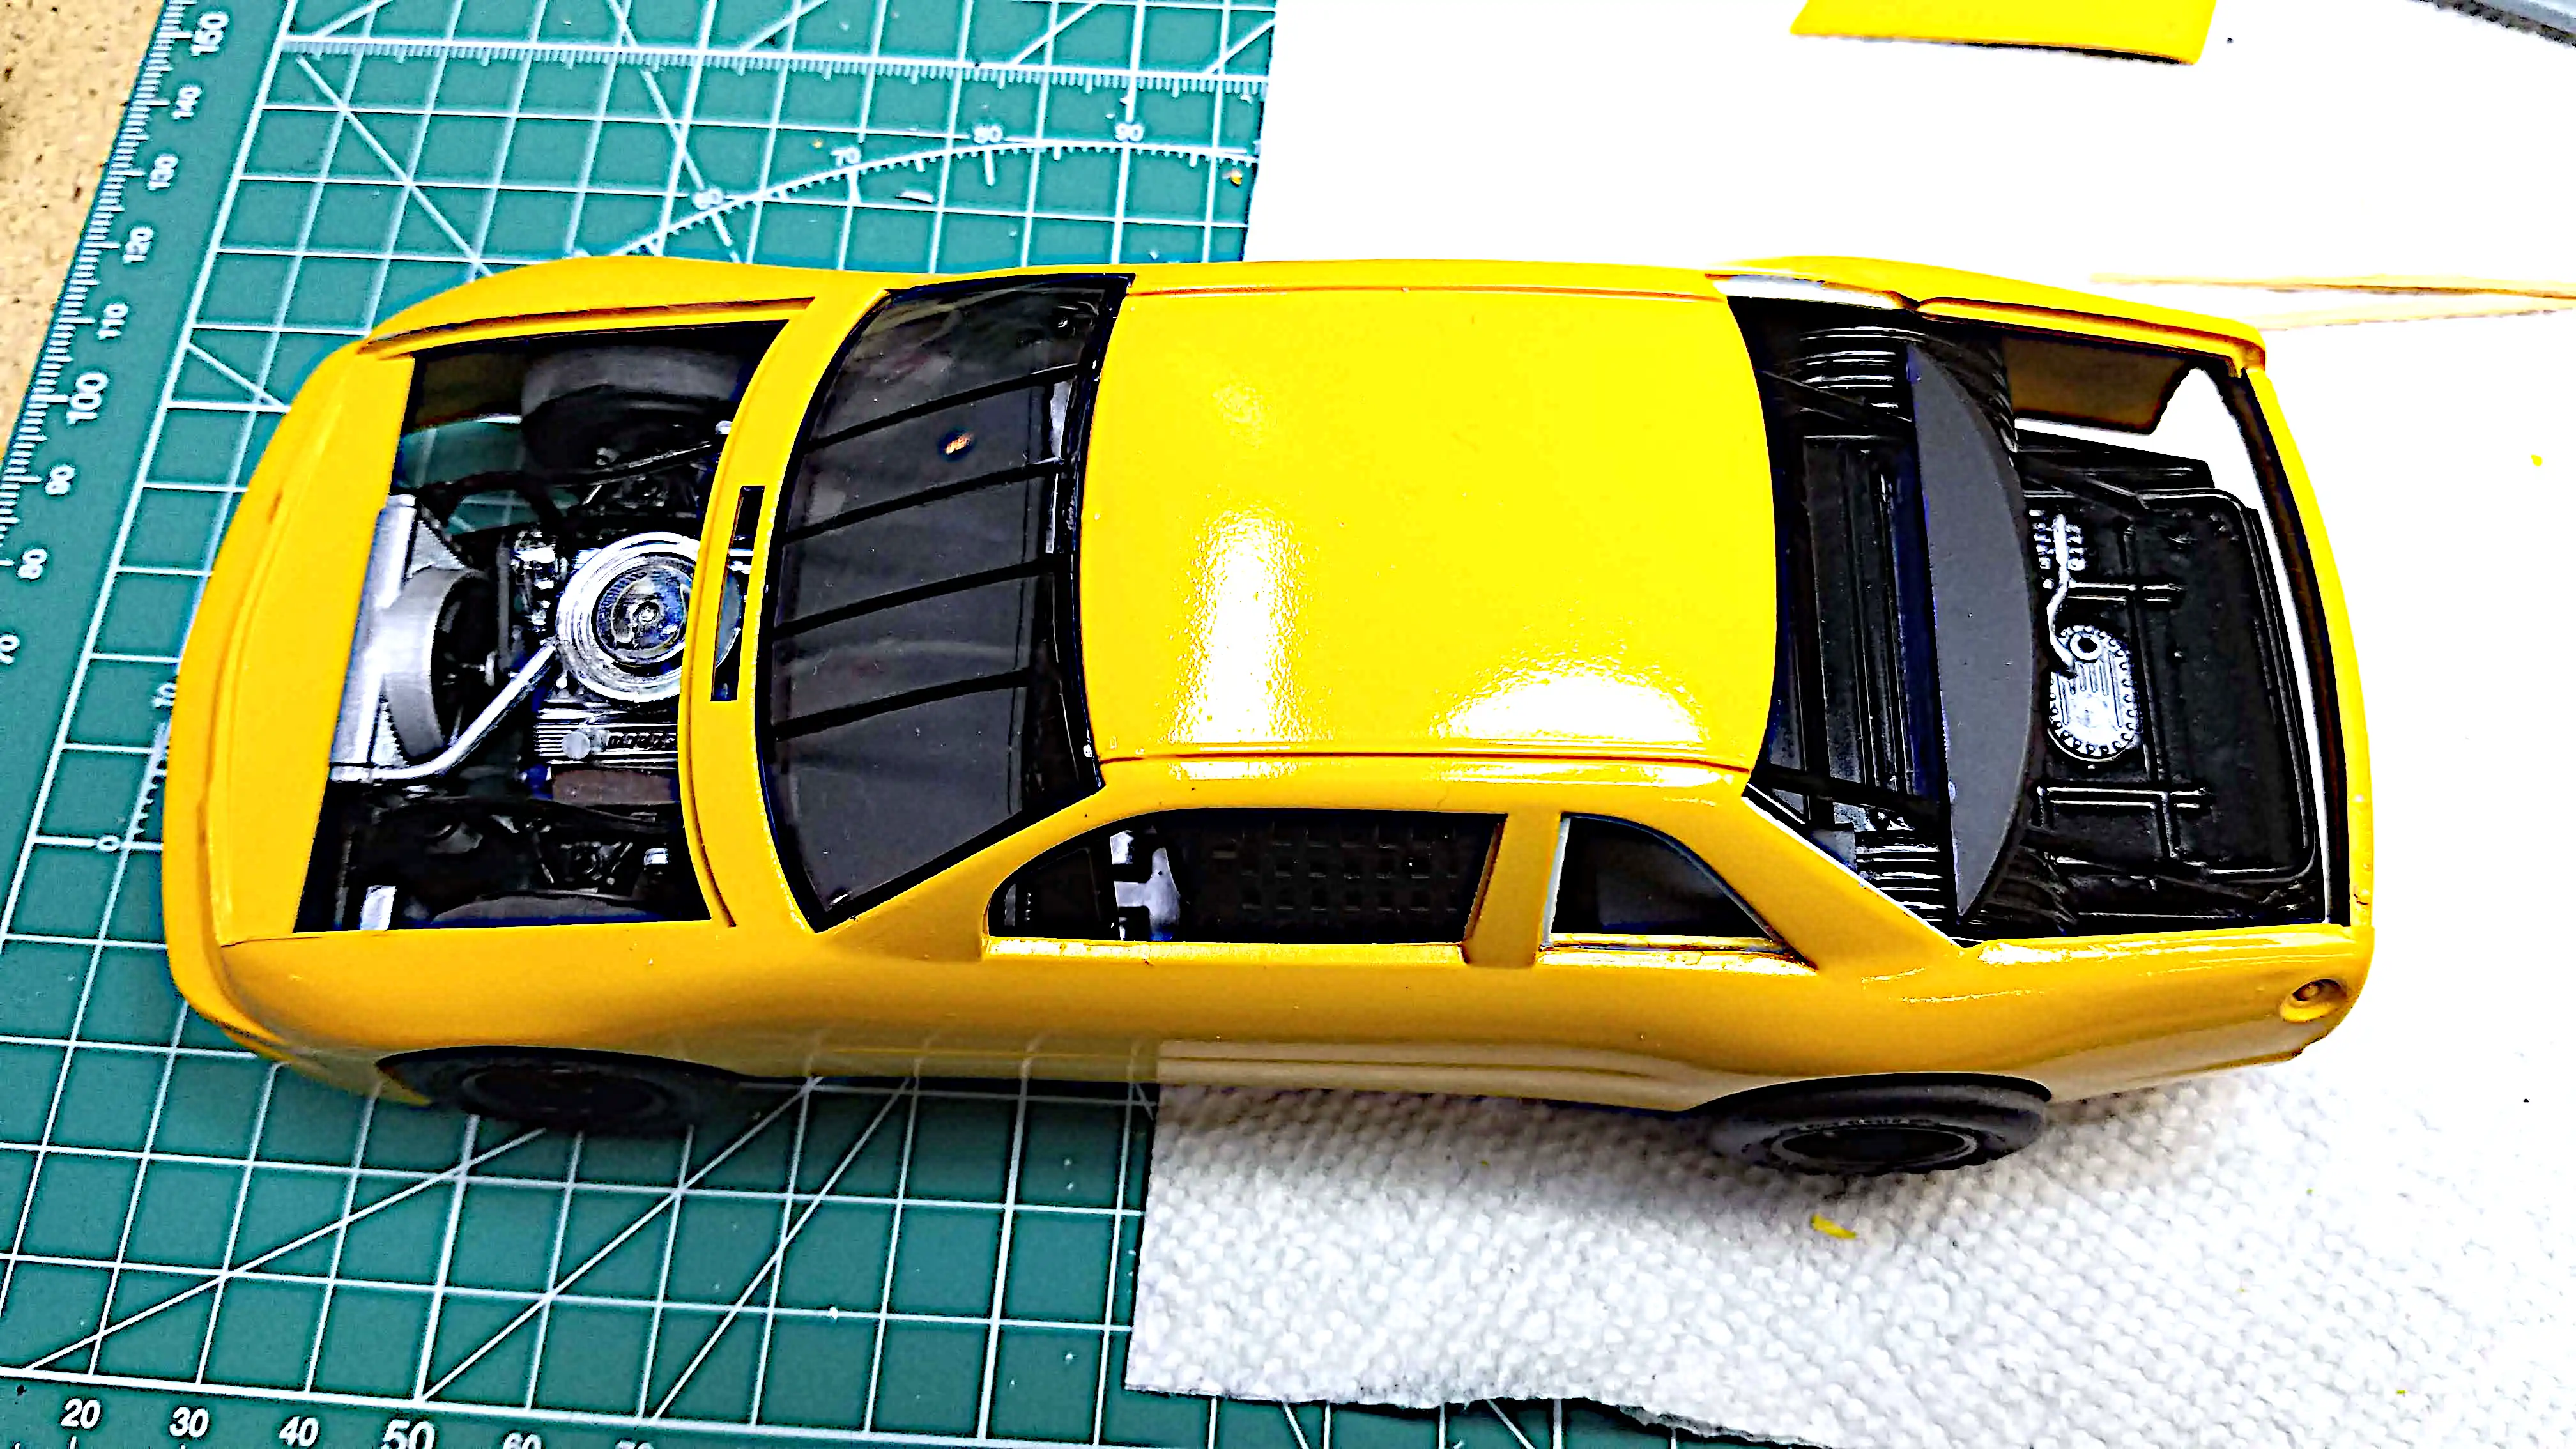
 Another view of the installed engine
Another view of the installed engine. As stated earlier, the chrome on the heat shield is wrinkled and at the time, I didn't know how to fix it. Since this build I know how to fix this type of problem. So...for this build I left it alone and depicted as heat damage.
Photo 026
Click/tap photo to enlarge
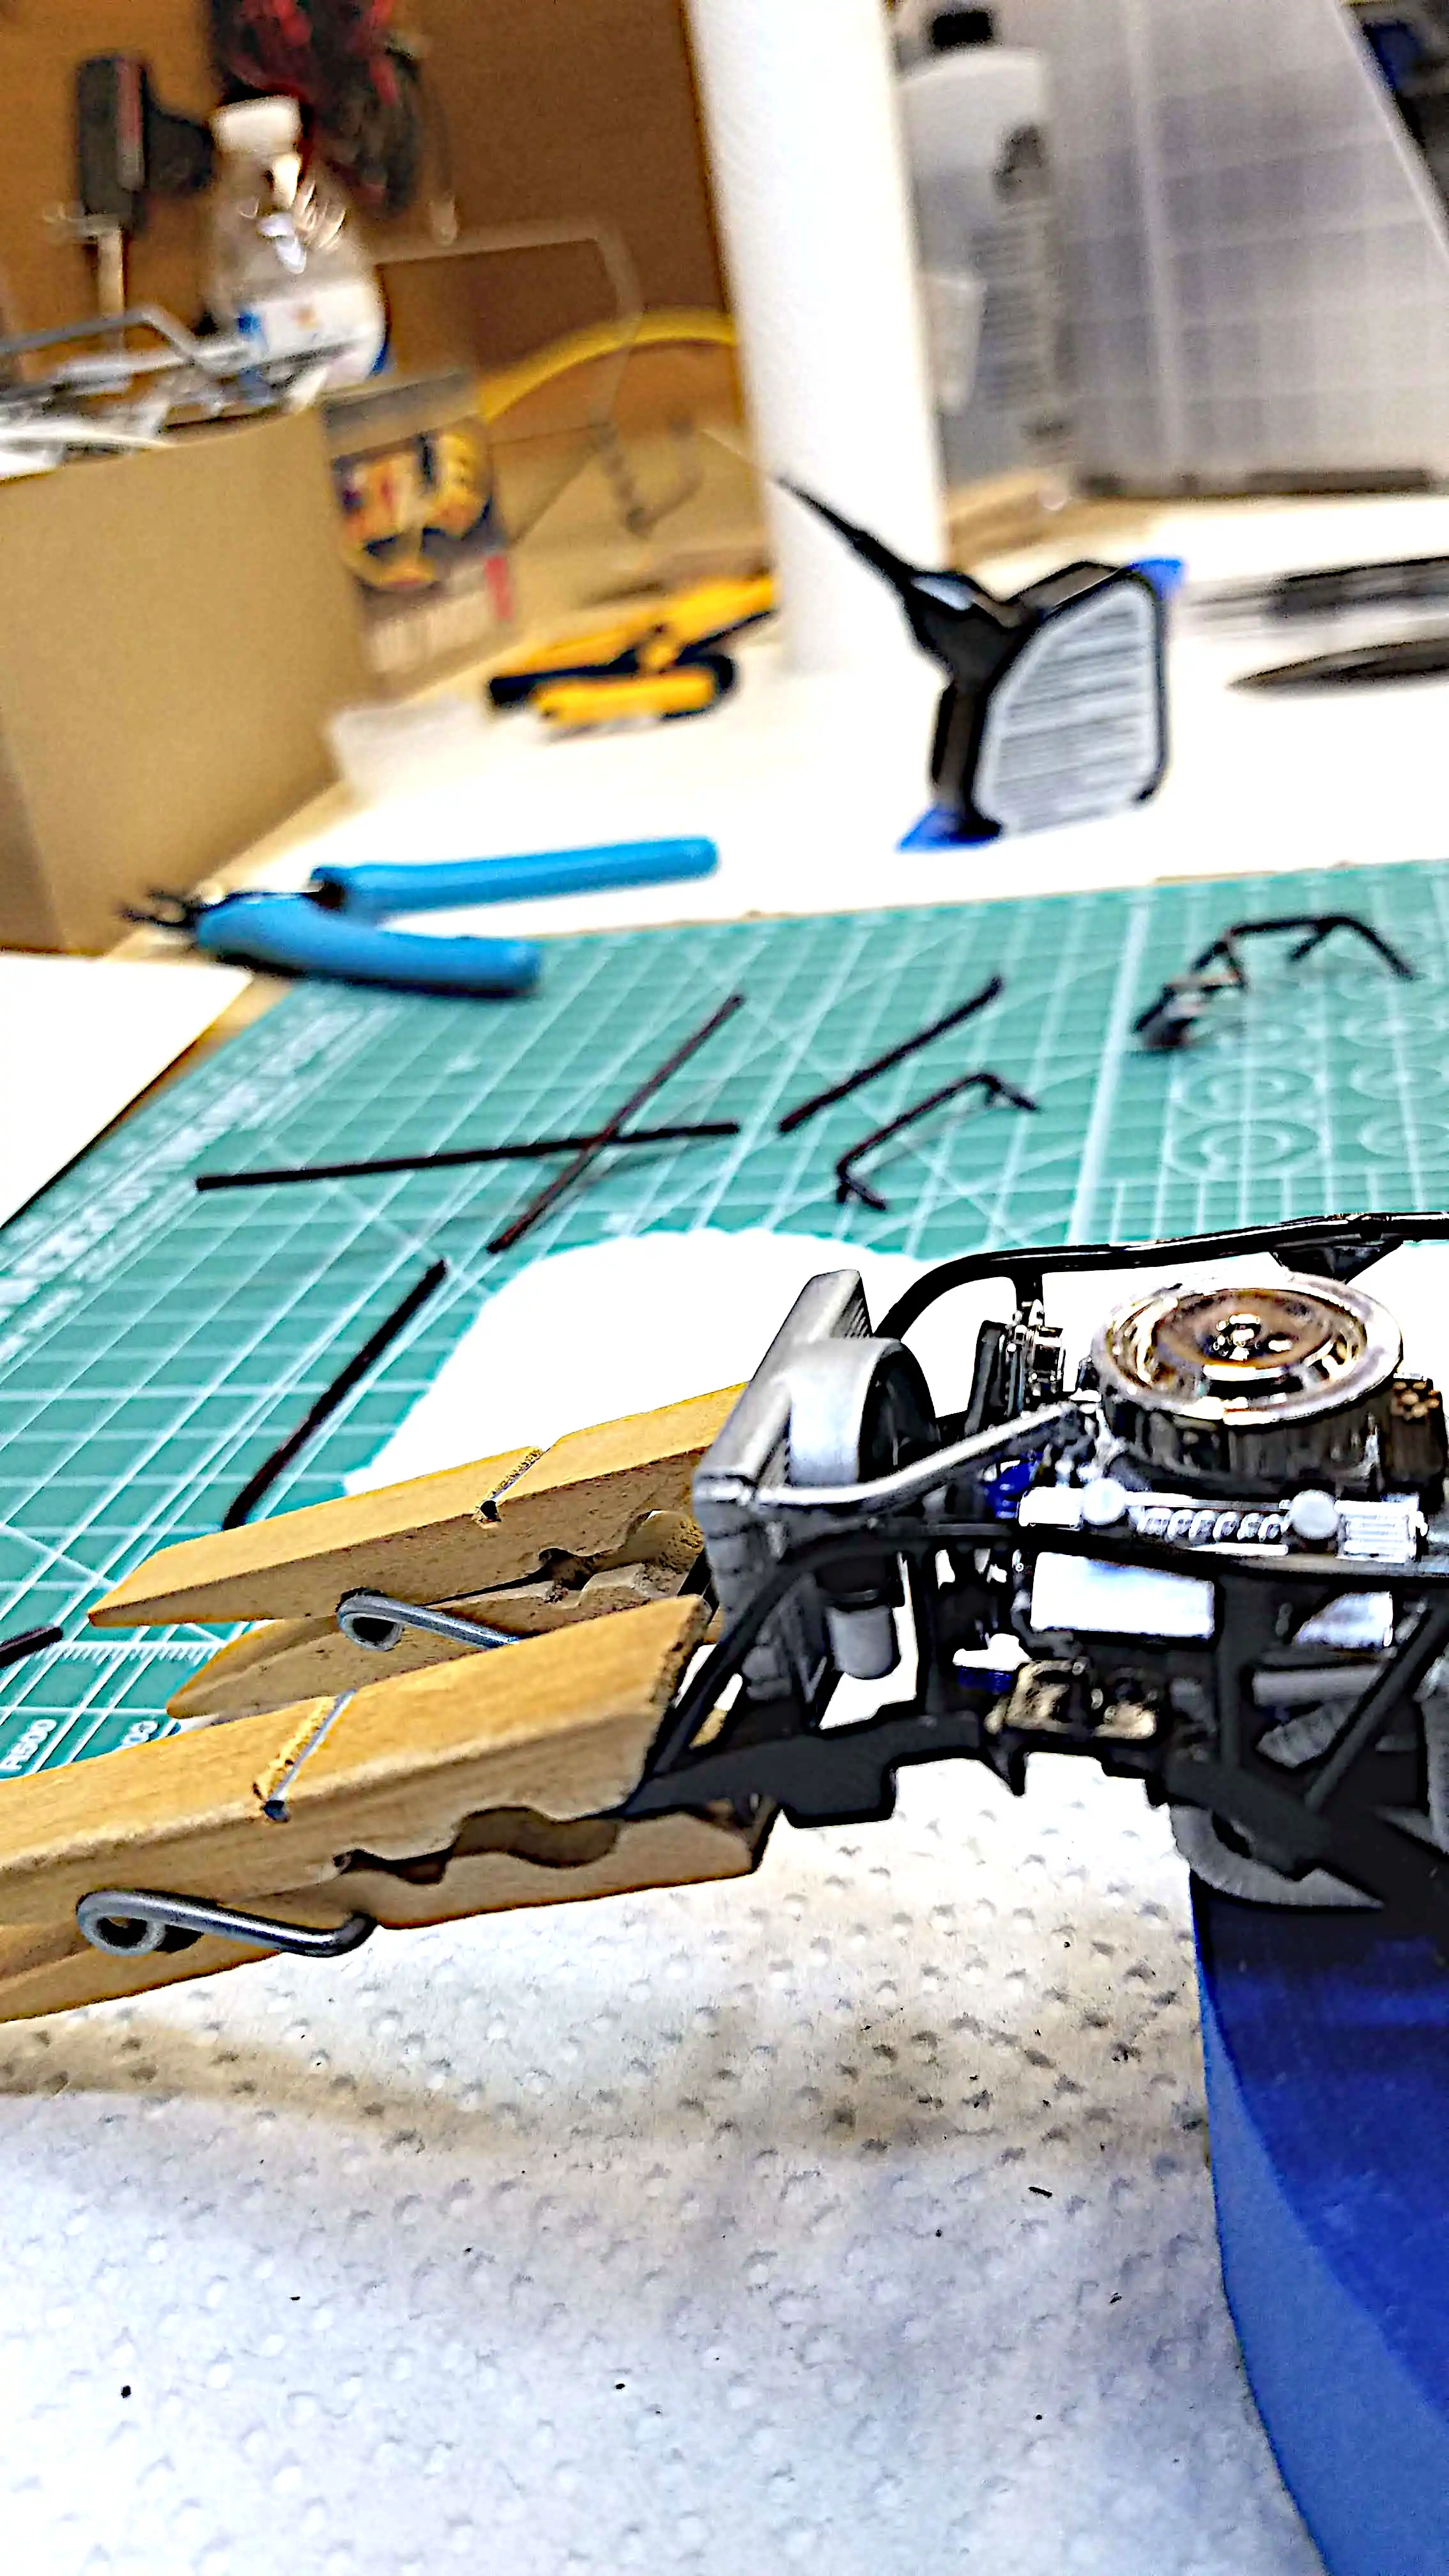
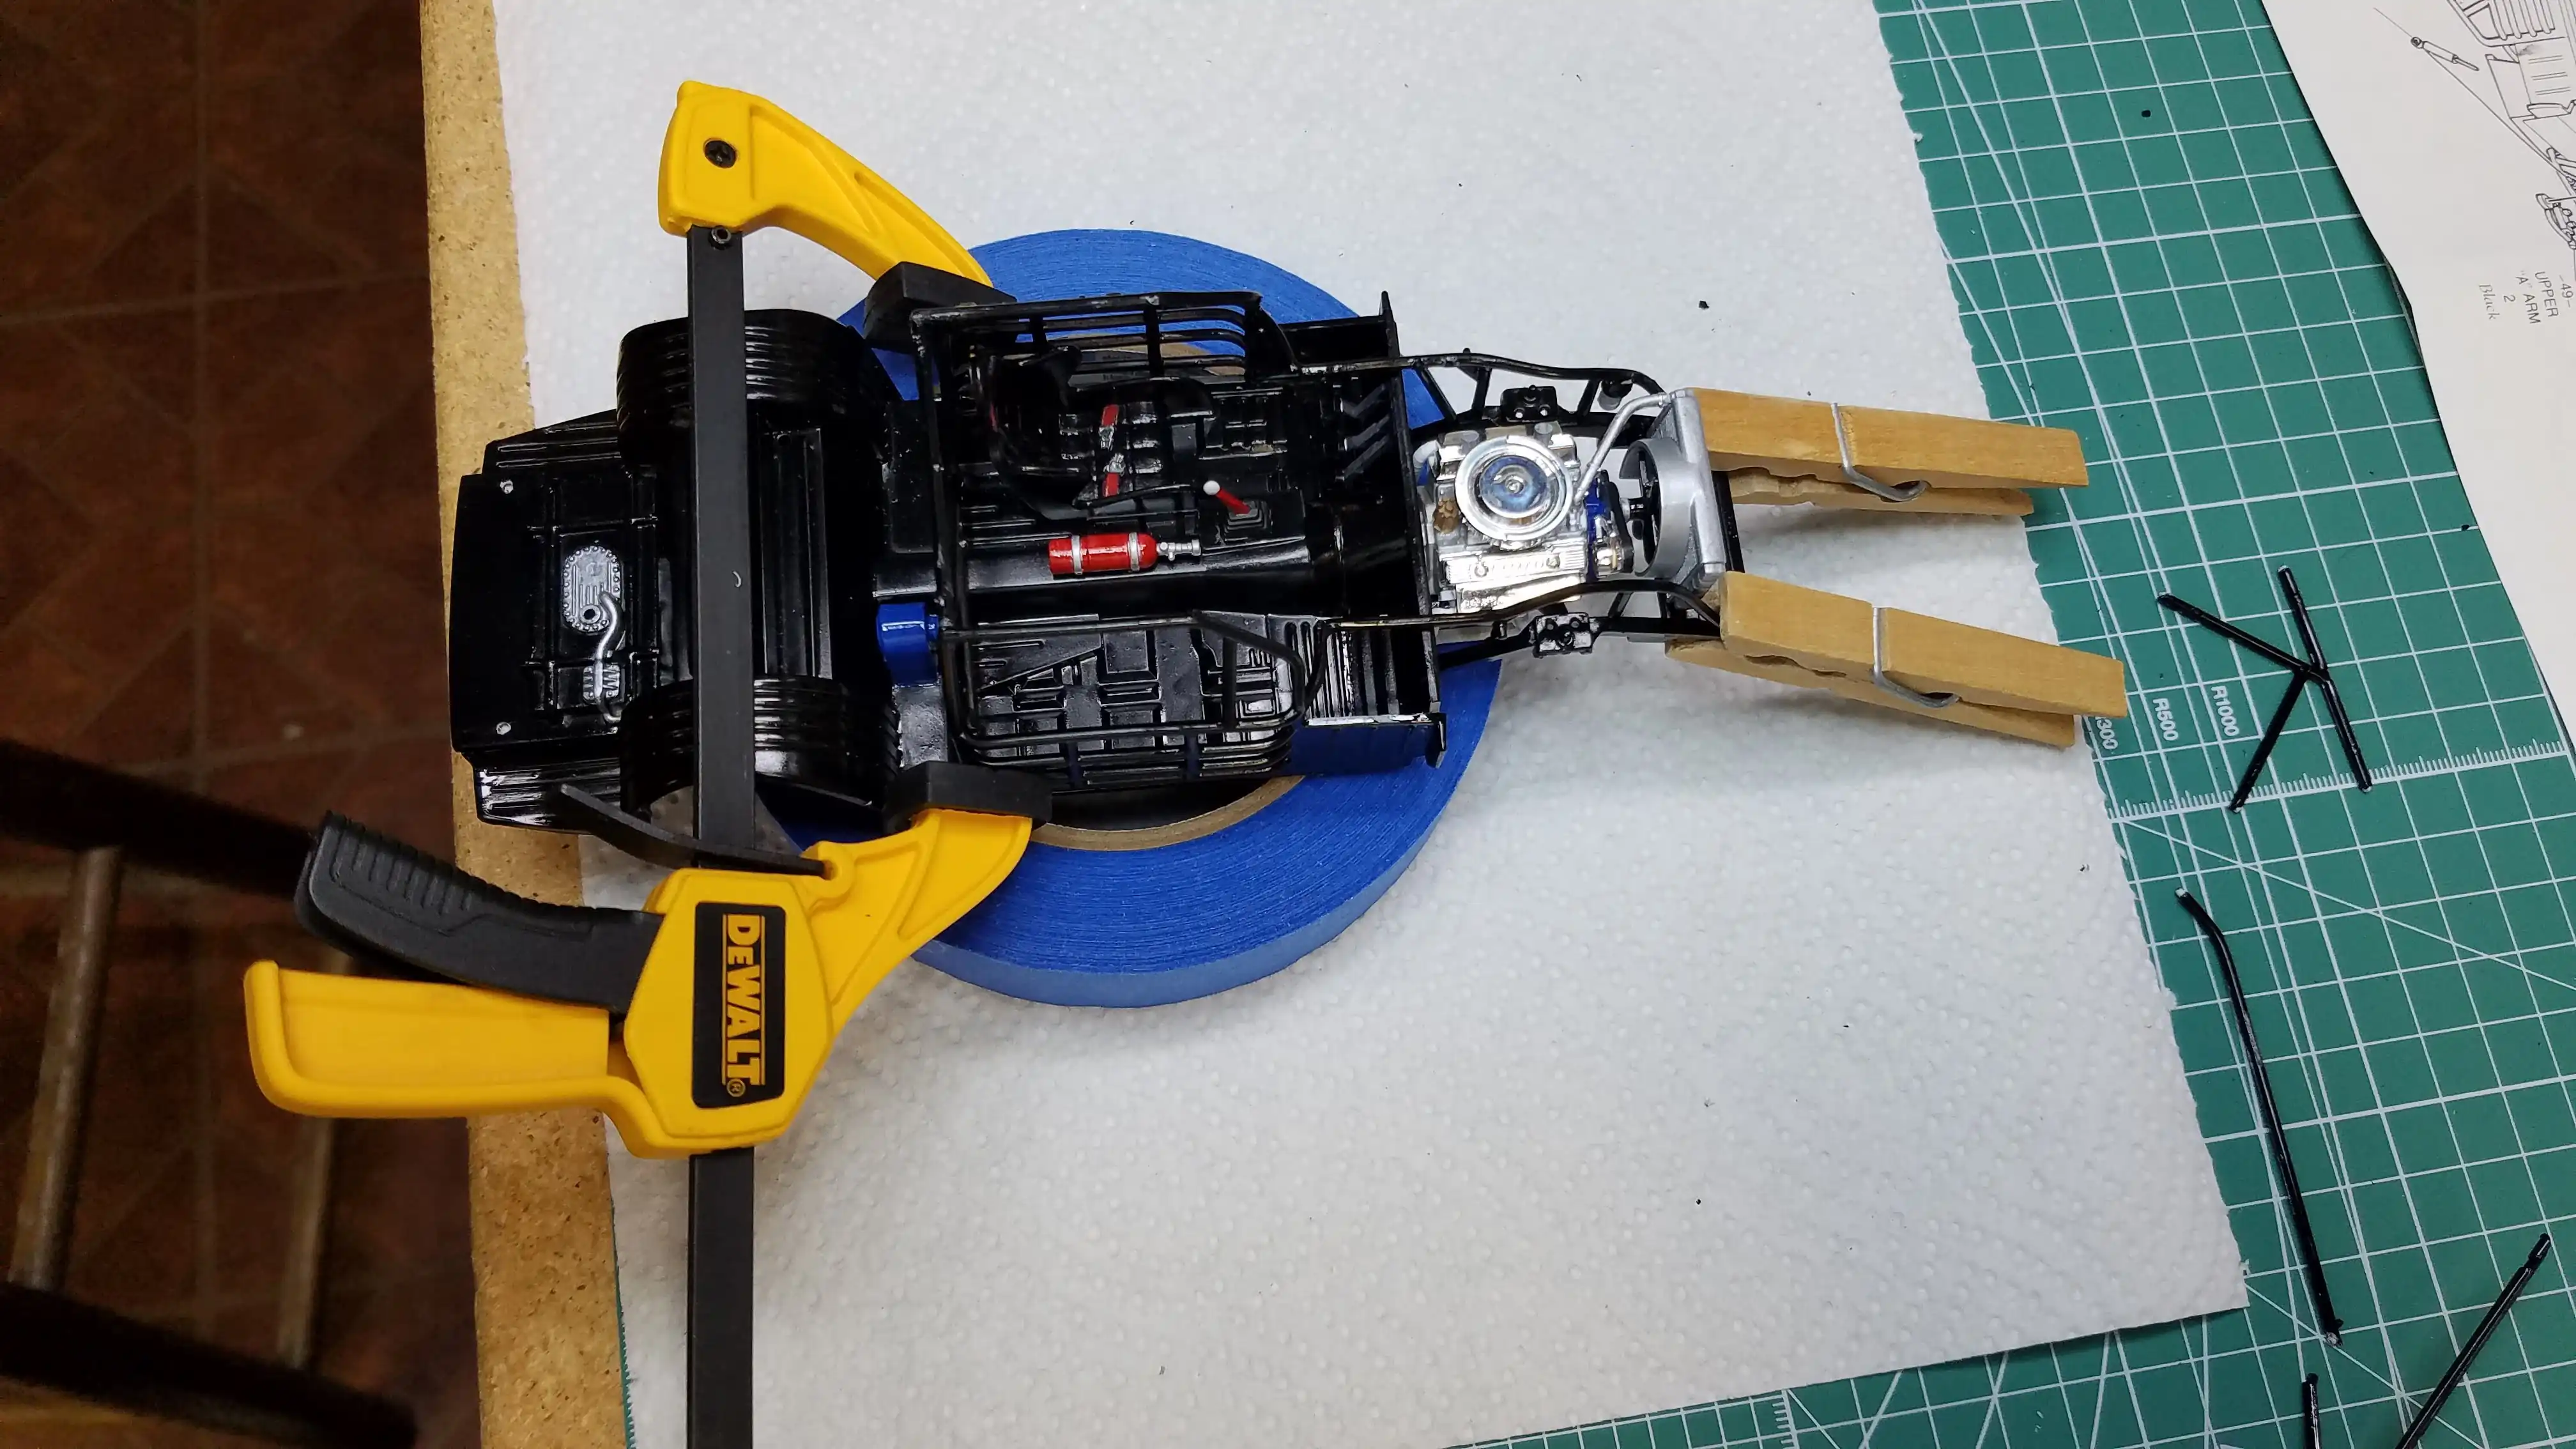 Installing roll cage
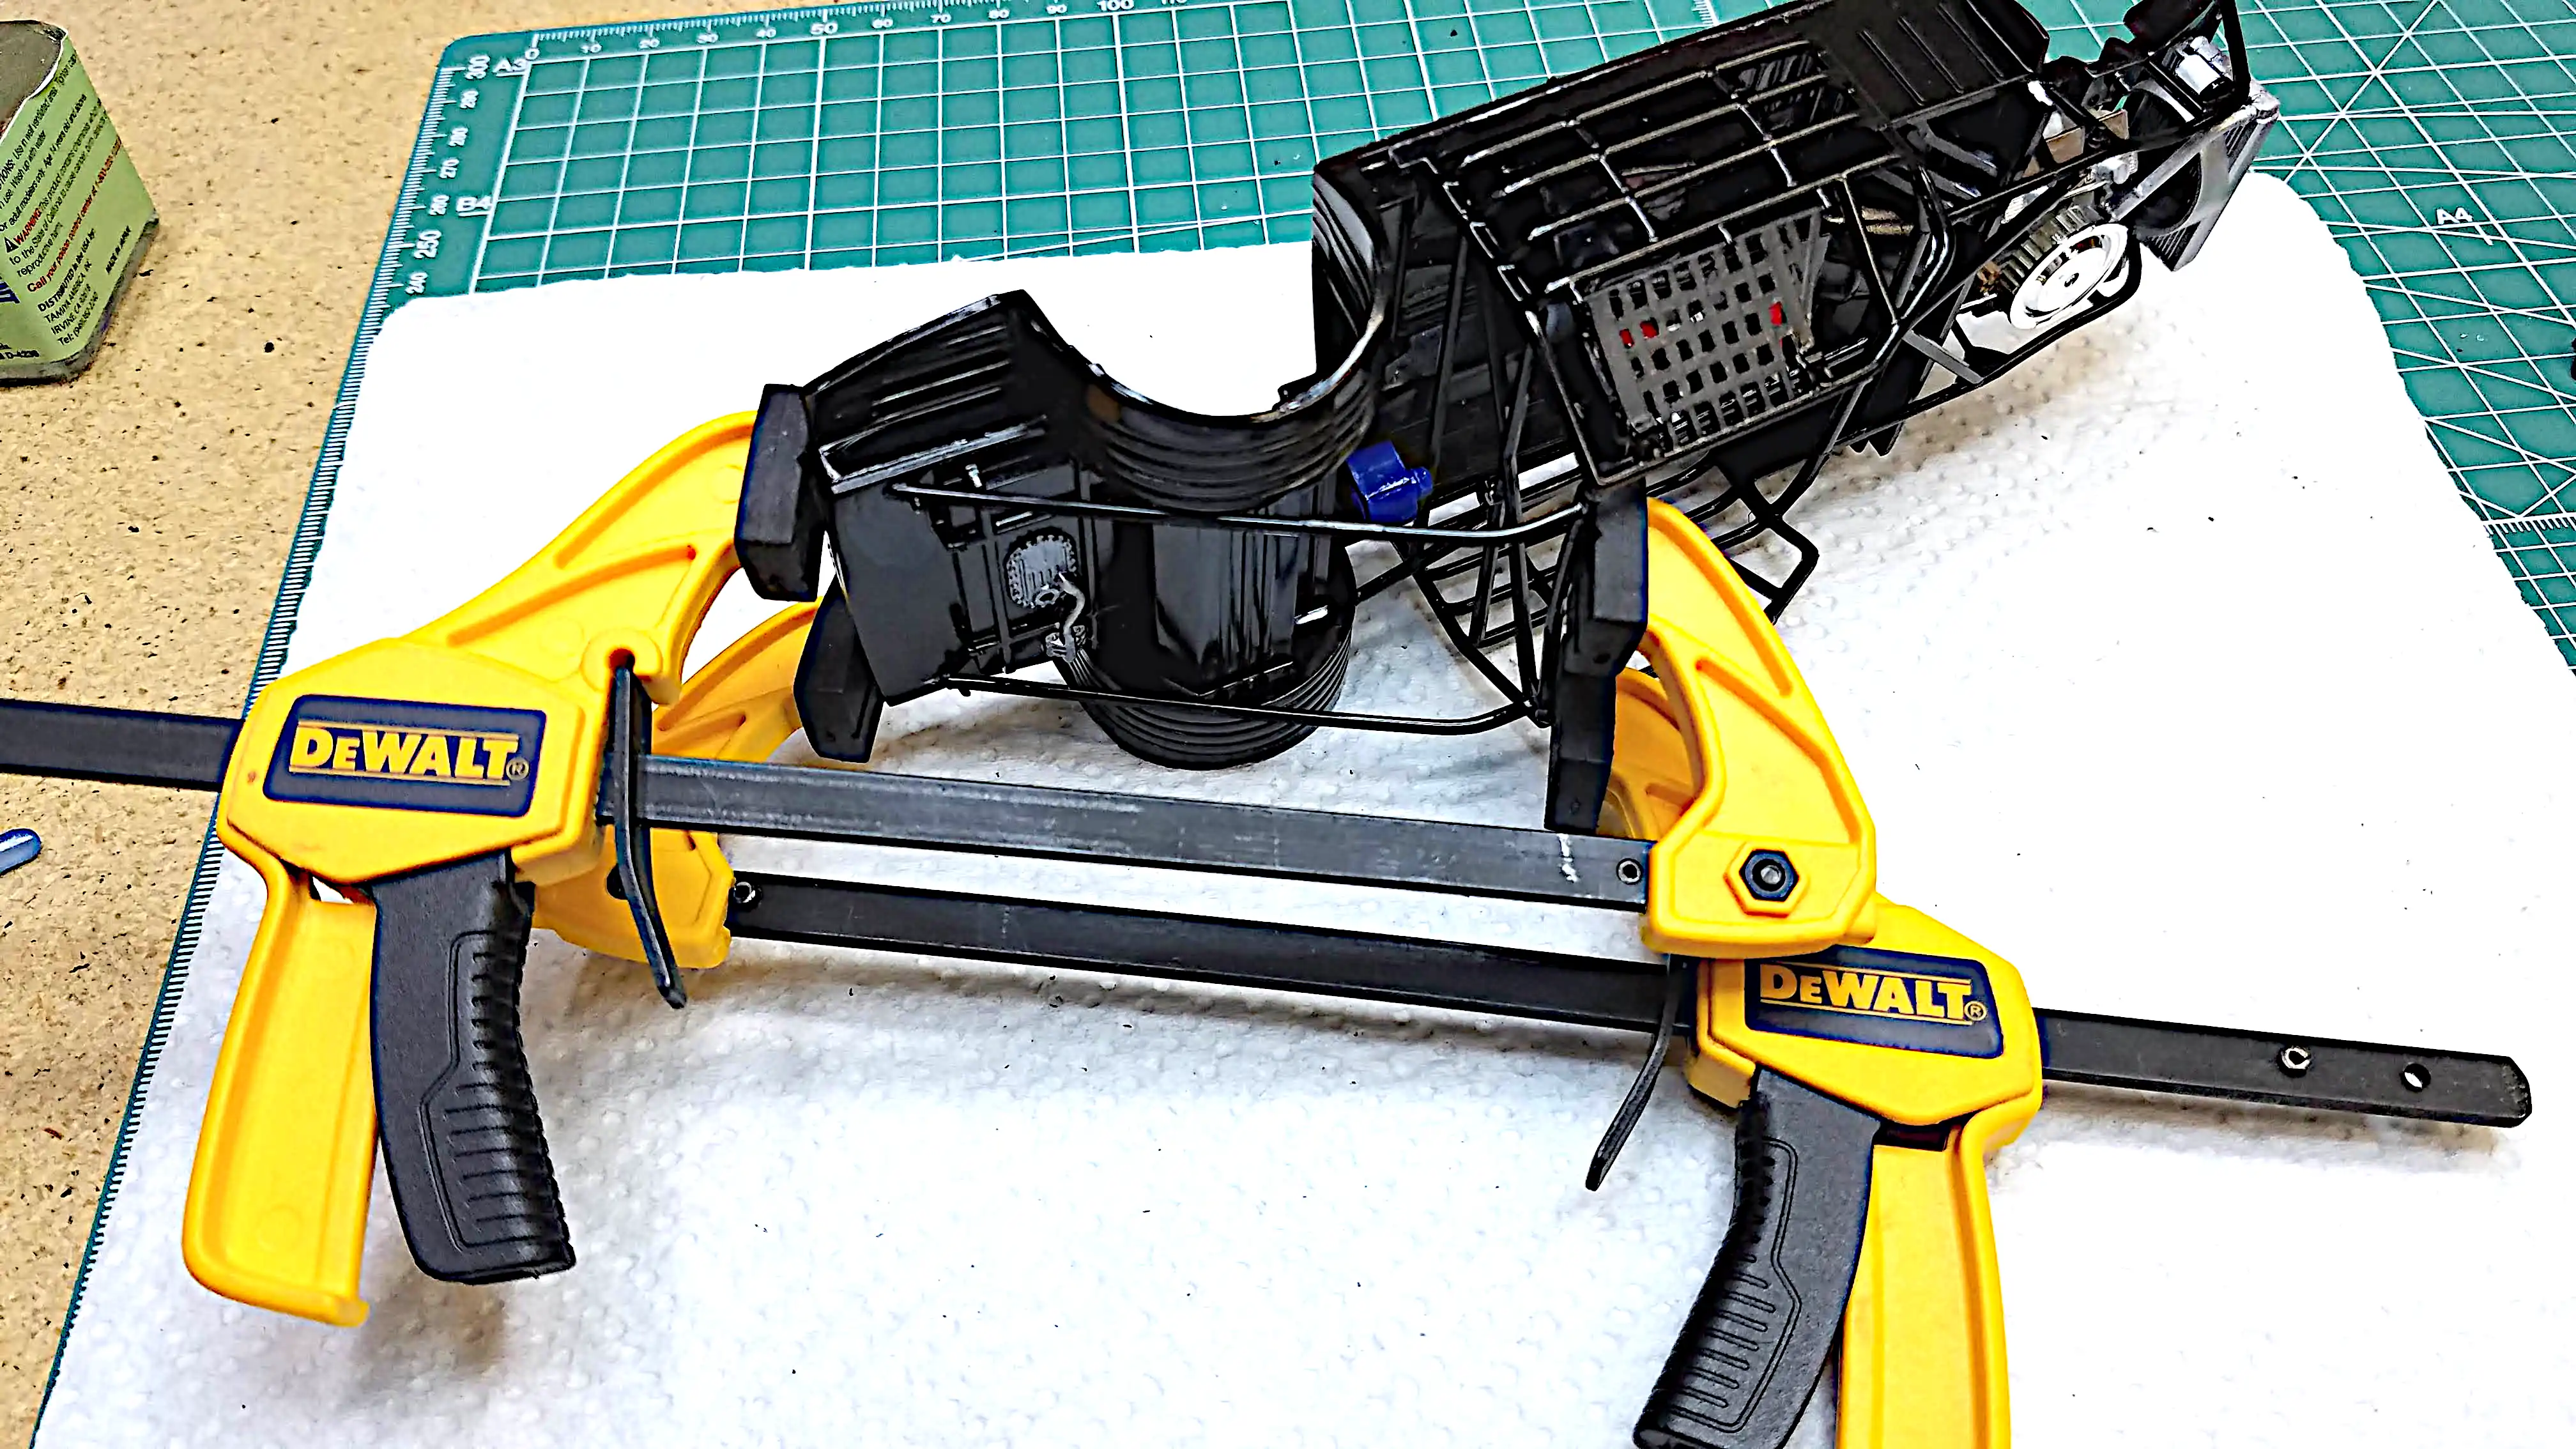
This photo shows that I'm starting to install the roll cage and have the sides clamped in position while the glue dries.
Photo 027
Click/tap photo to enlarge
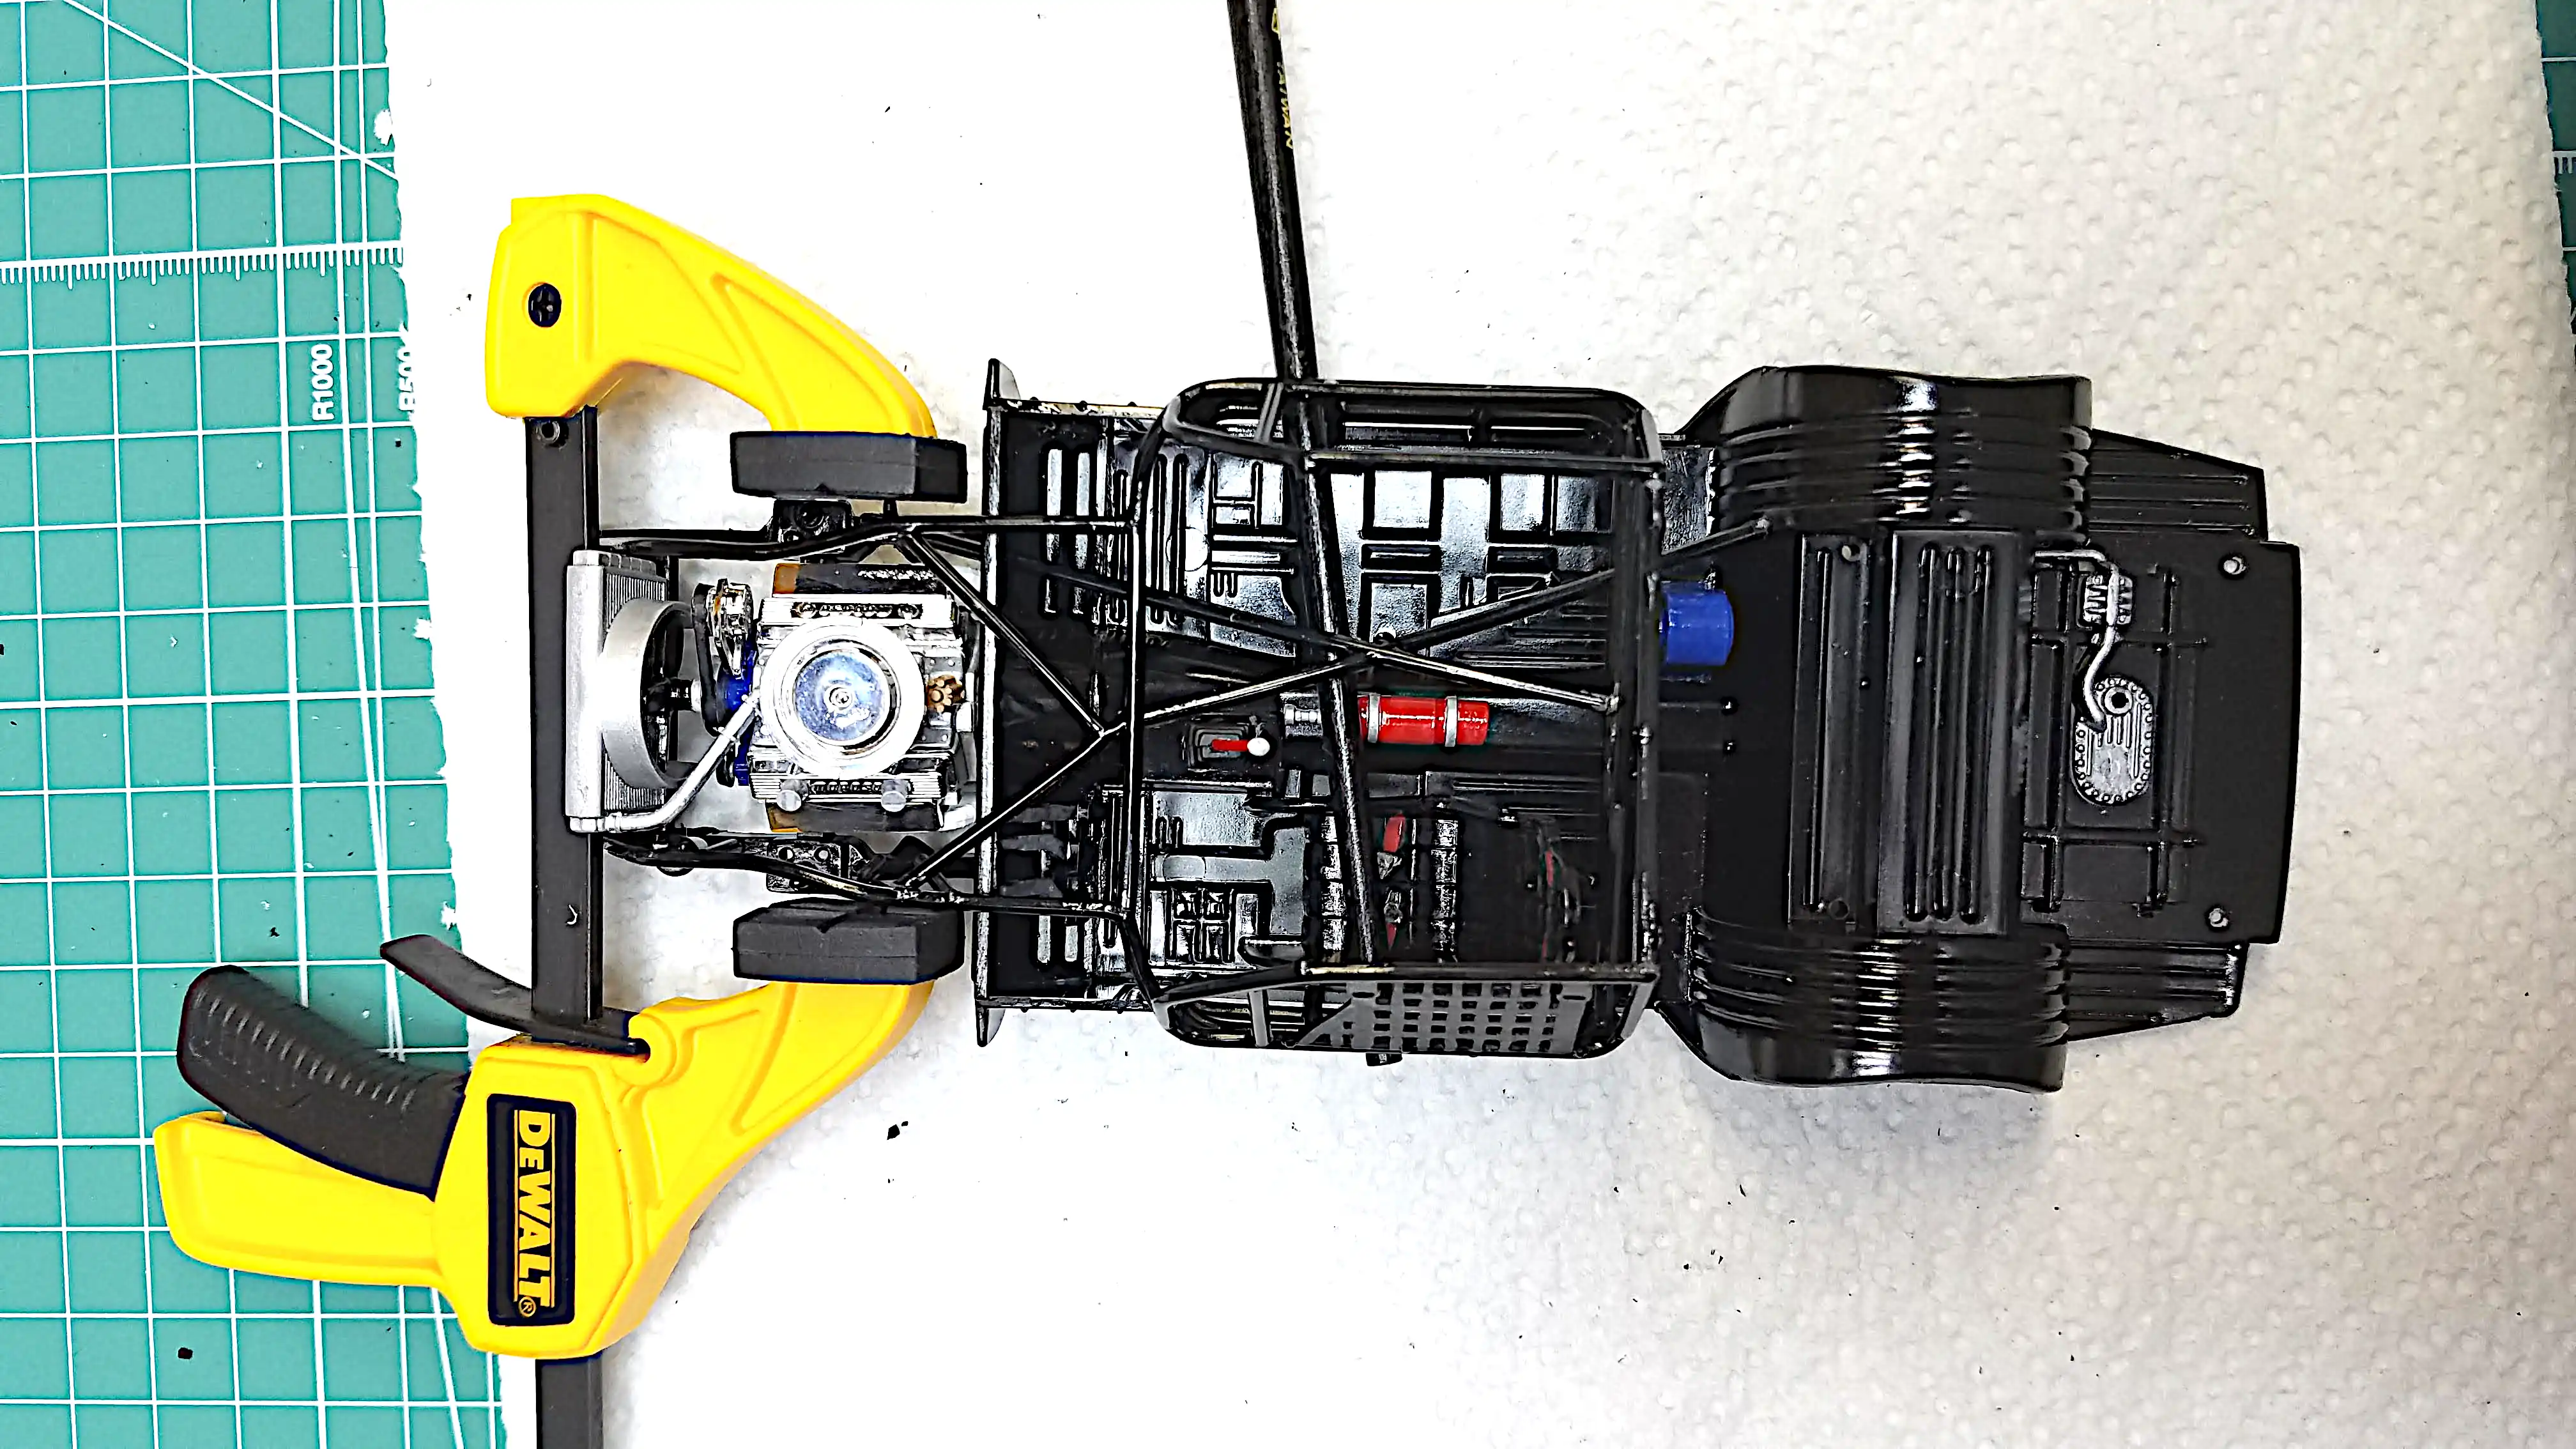
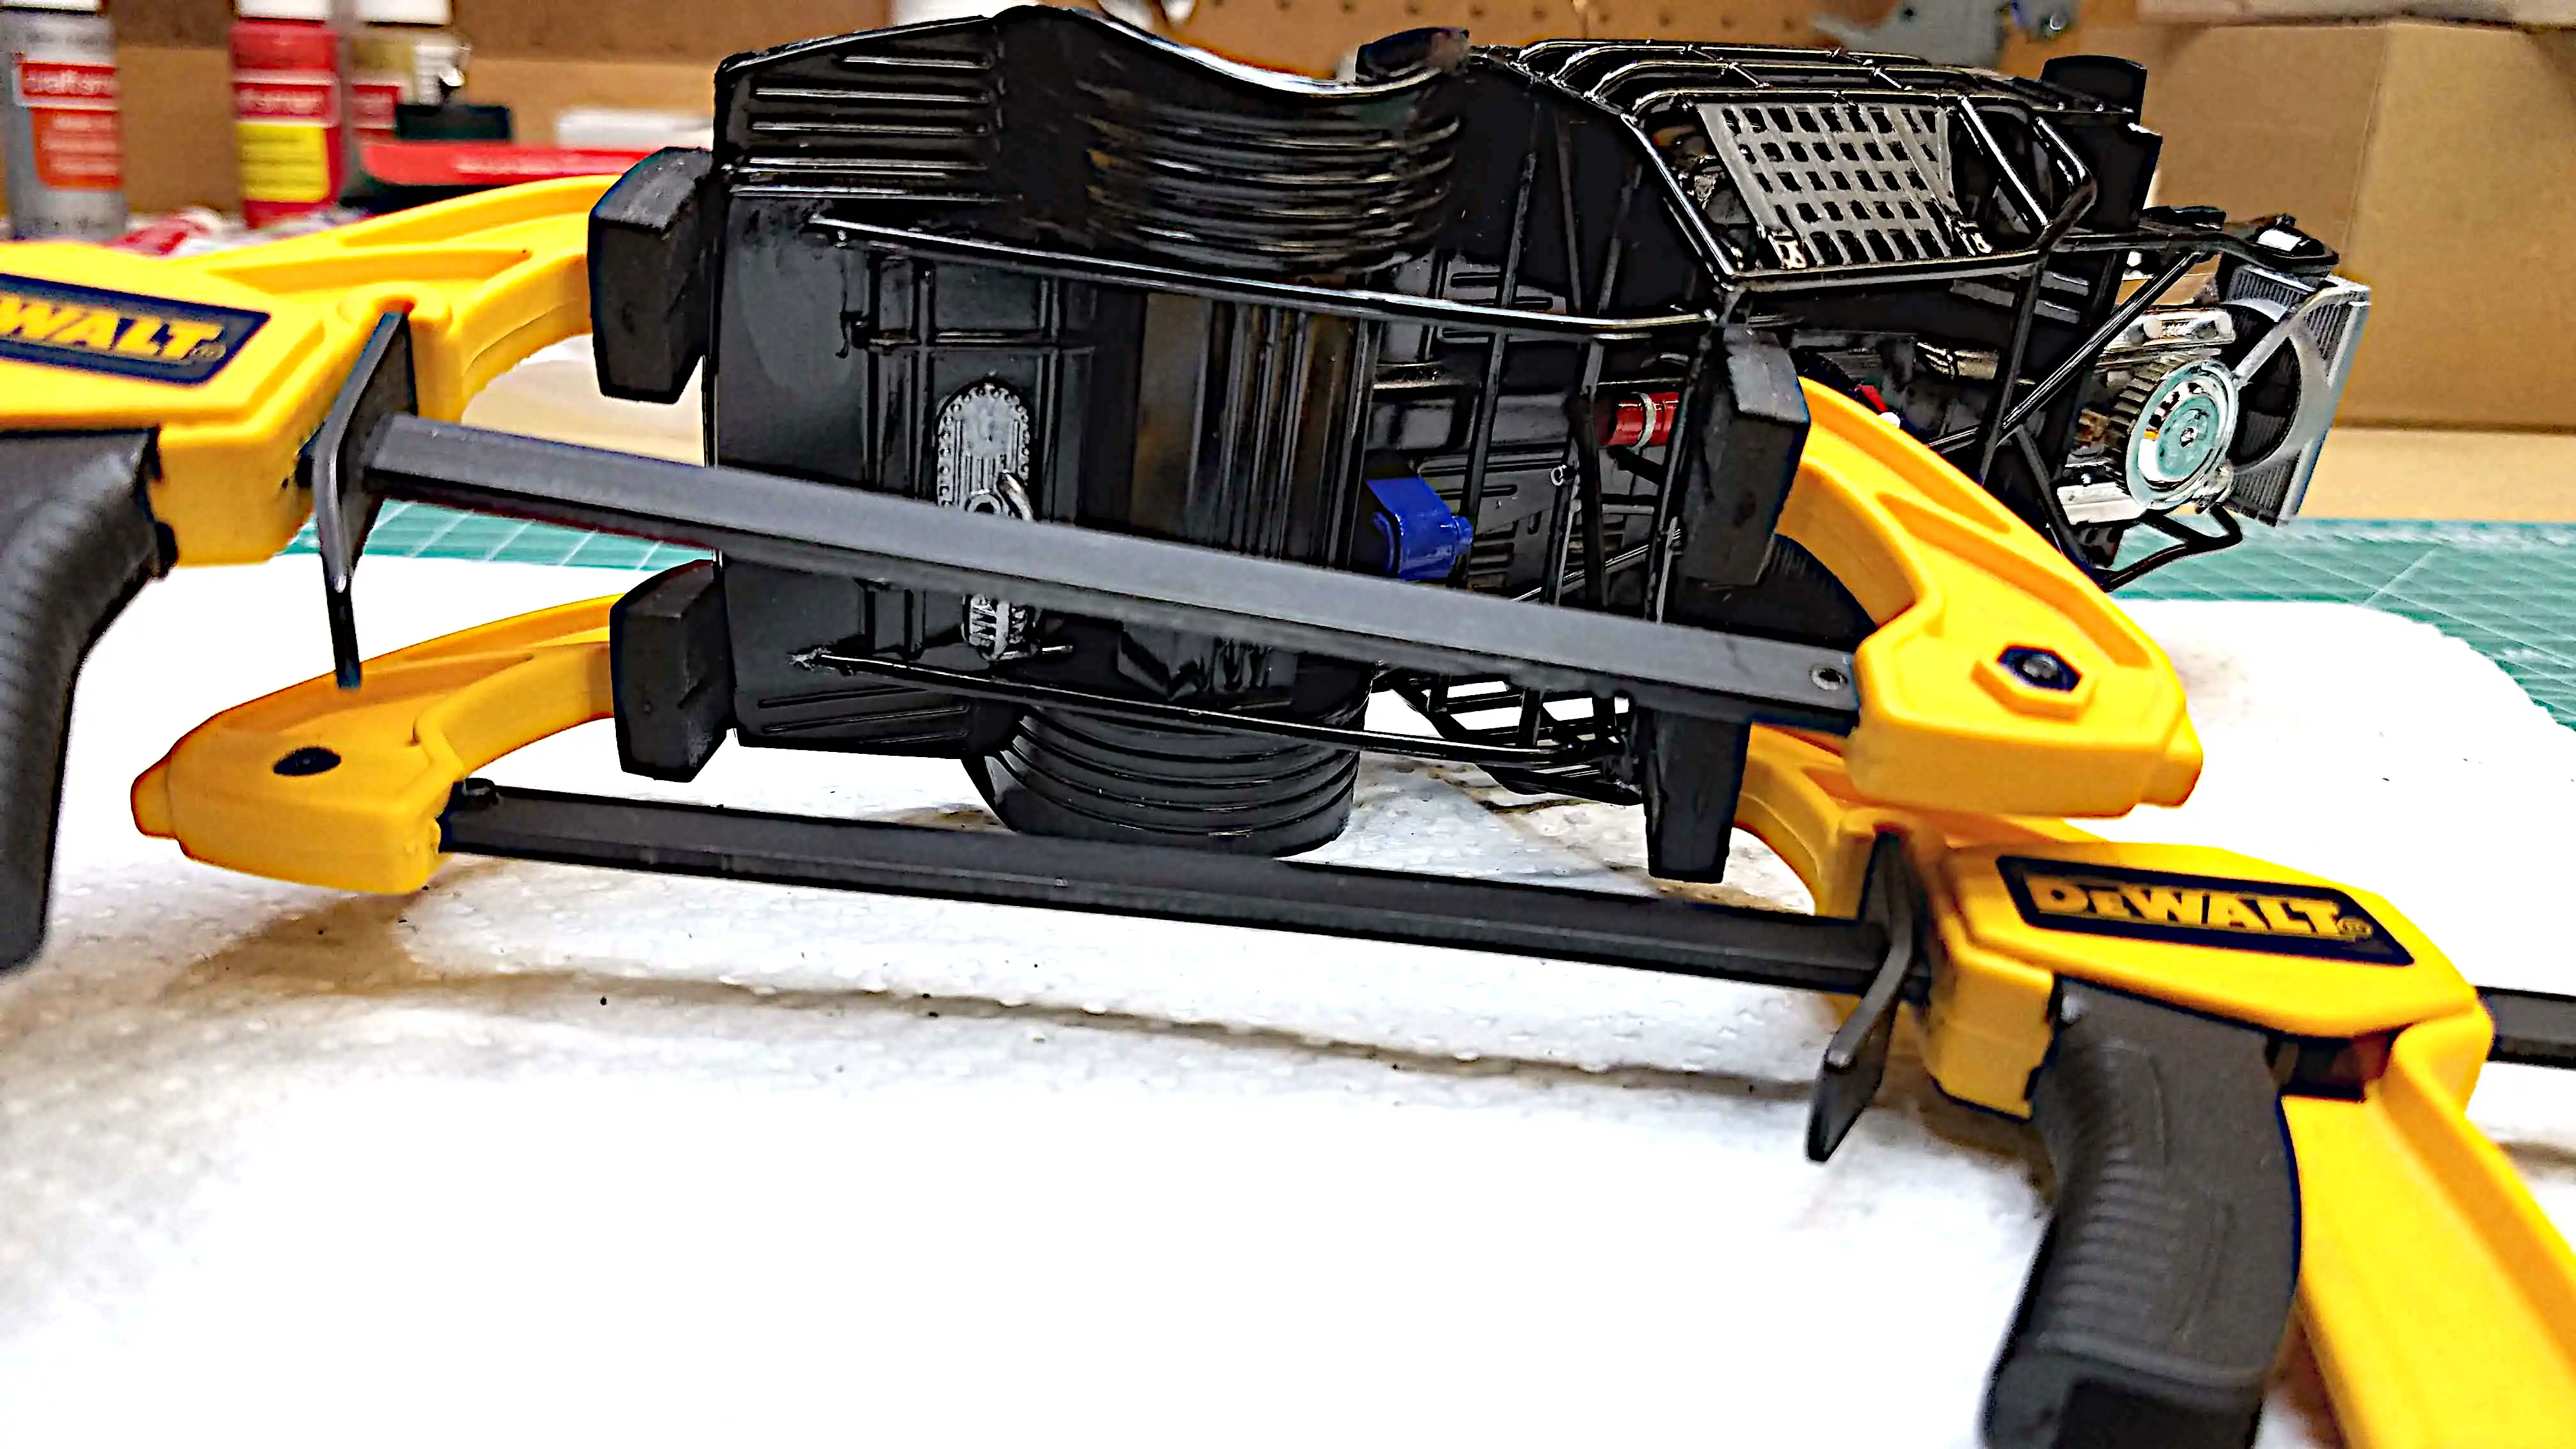
 Installing the roll cage
Another view of the roll cage being installed.
Photo 029
Click/tap photo to enlarge
 Installing the roll cage
The rod of sprue sticking through the roll cage was inserted to support the upper portion of the cage while the glue is set-up.
Photo 030
Click/tap photo to enlarge
 Installing the roll cage
I had problems with the rear support pipes and had to do one at a time and then clamp.
Photo 031
Click/tap photo to enlarge
 Installing the roll cage
I had problems with the rear support pipes and had to do one at a time and then clamp.
Photo 032
Click/tap photo to enlarge
 Installing the roll cage
I had problems with the rear support pipes and had to do one at a time and then clamp.
Photo 033
Click/tap photo to enlarge
 Installing the roll cage
I had problems with the rear support pipes and had to do one at a time and then clamp.
Photo 036
Click/tap photo to enlarge
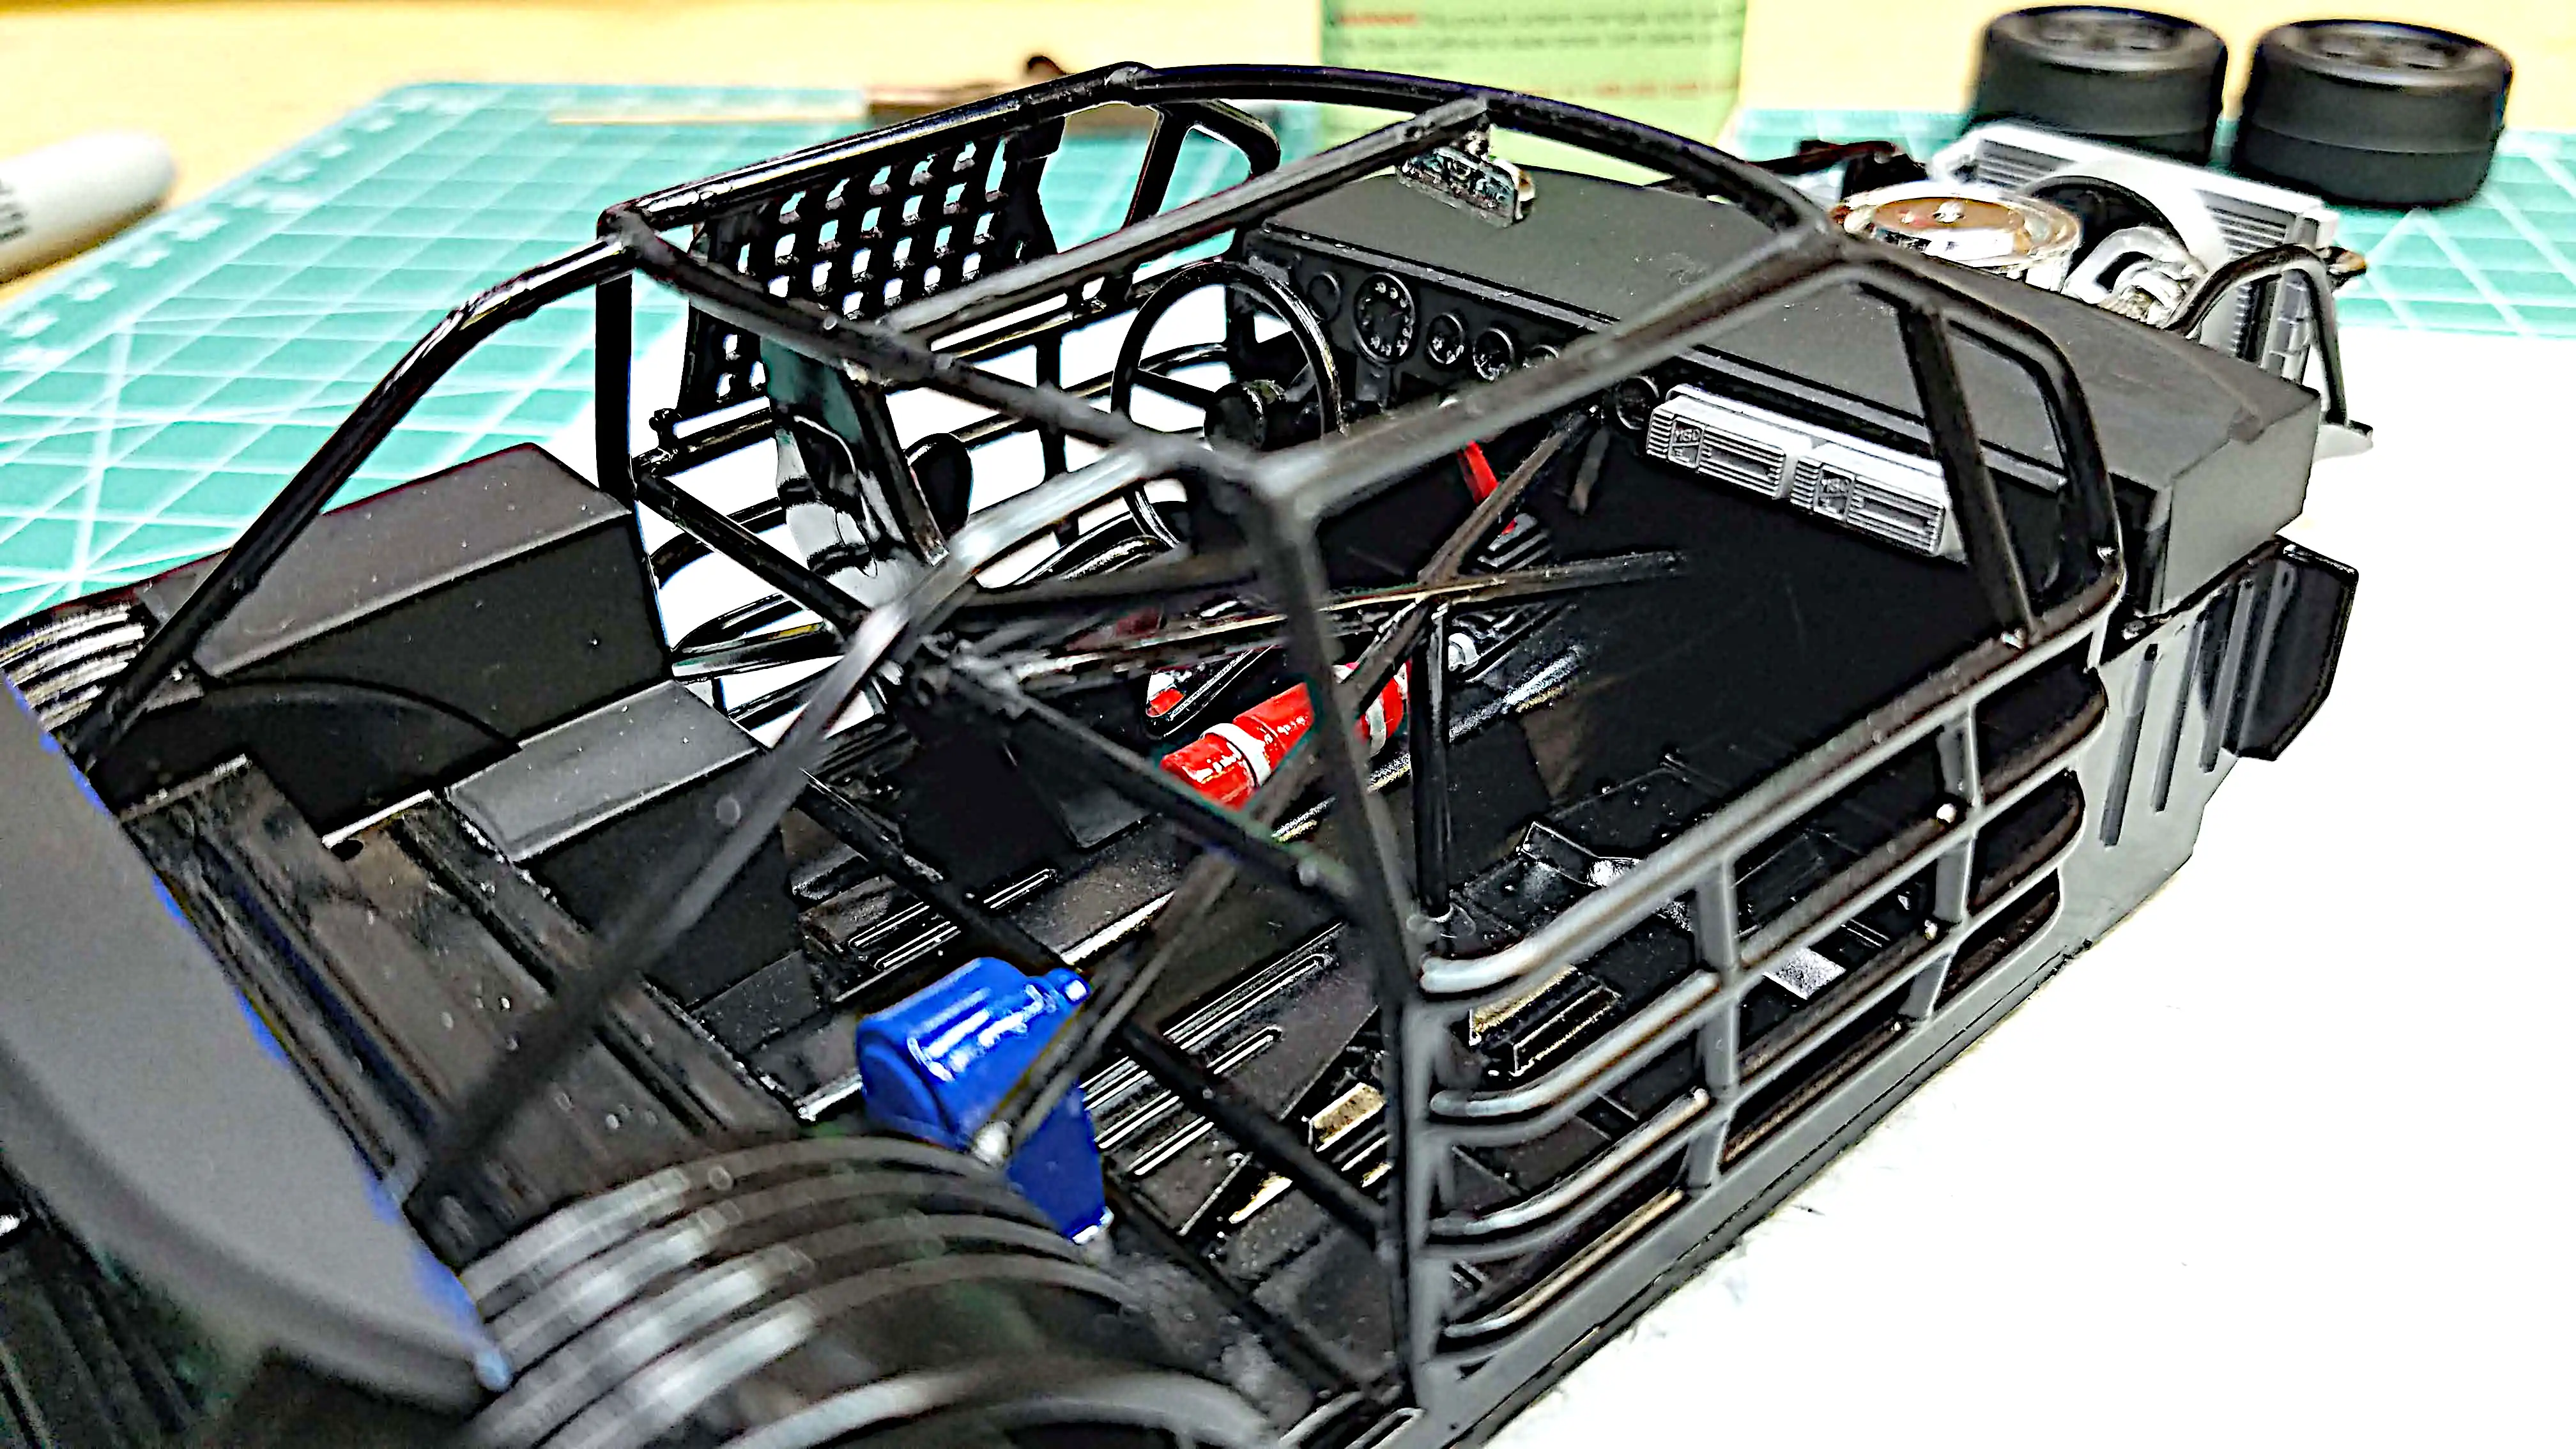
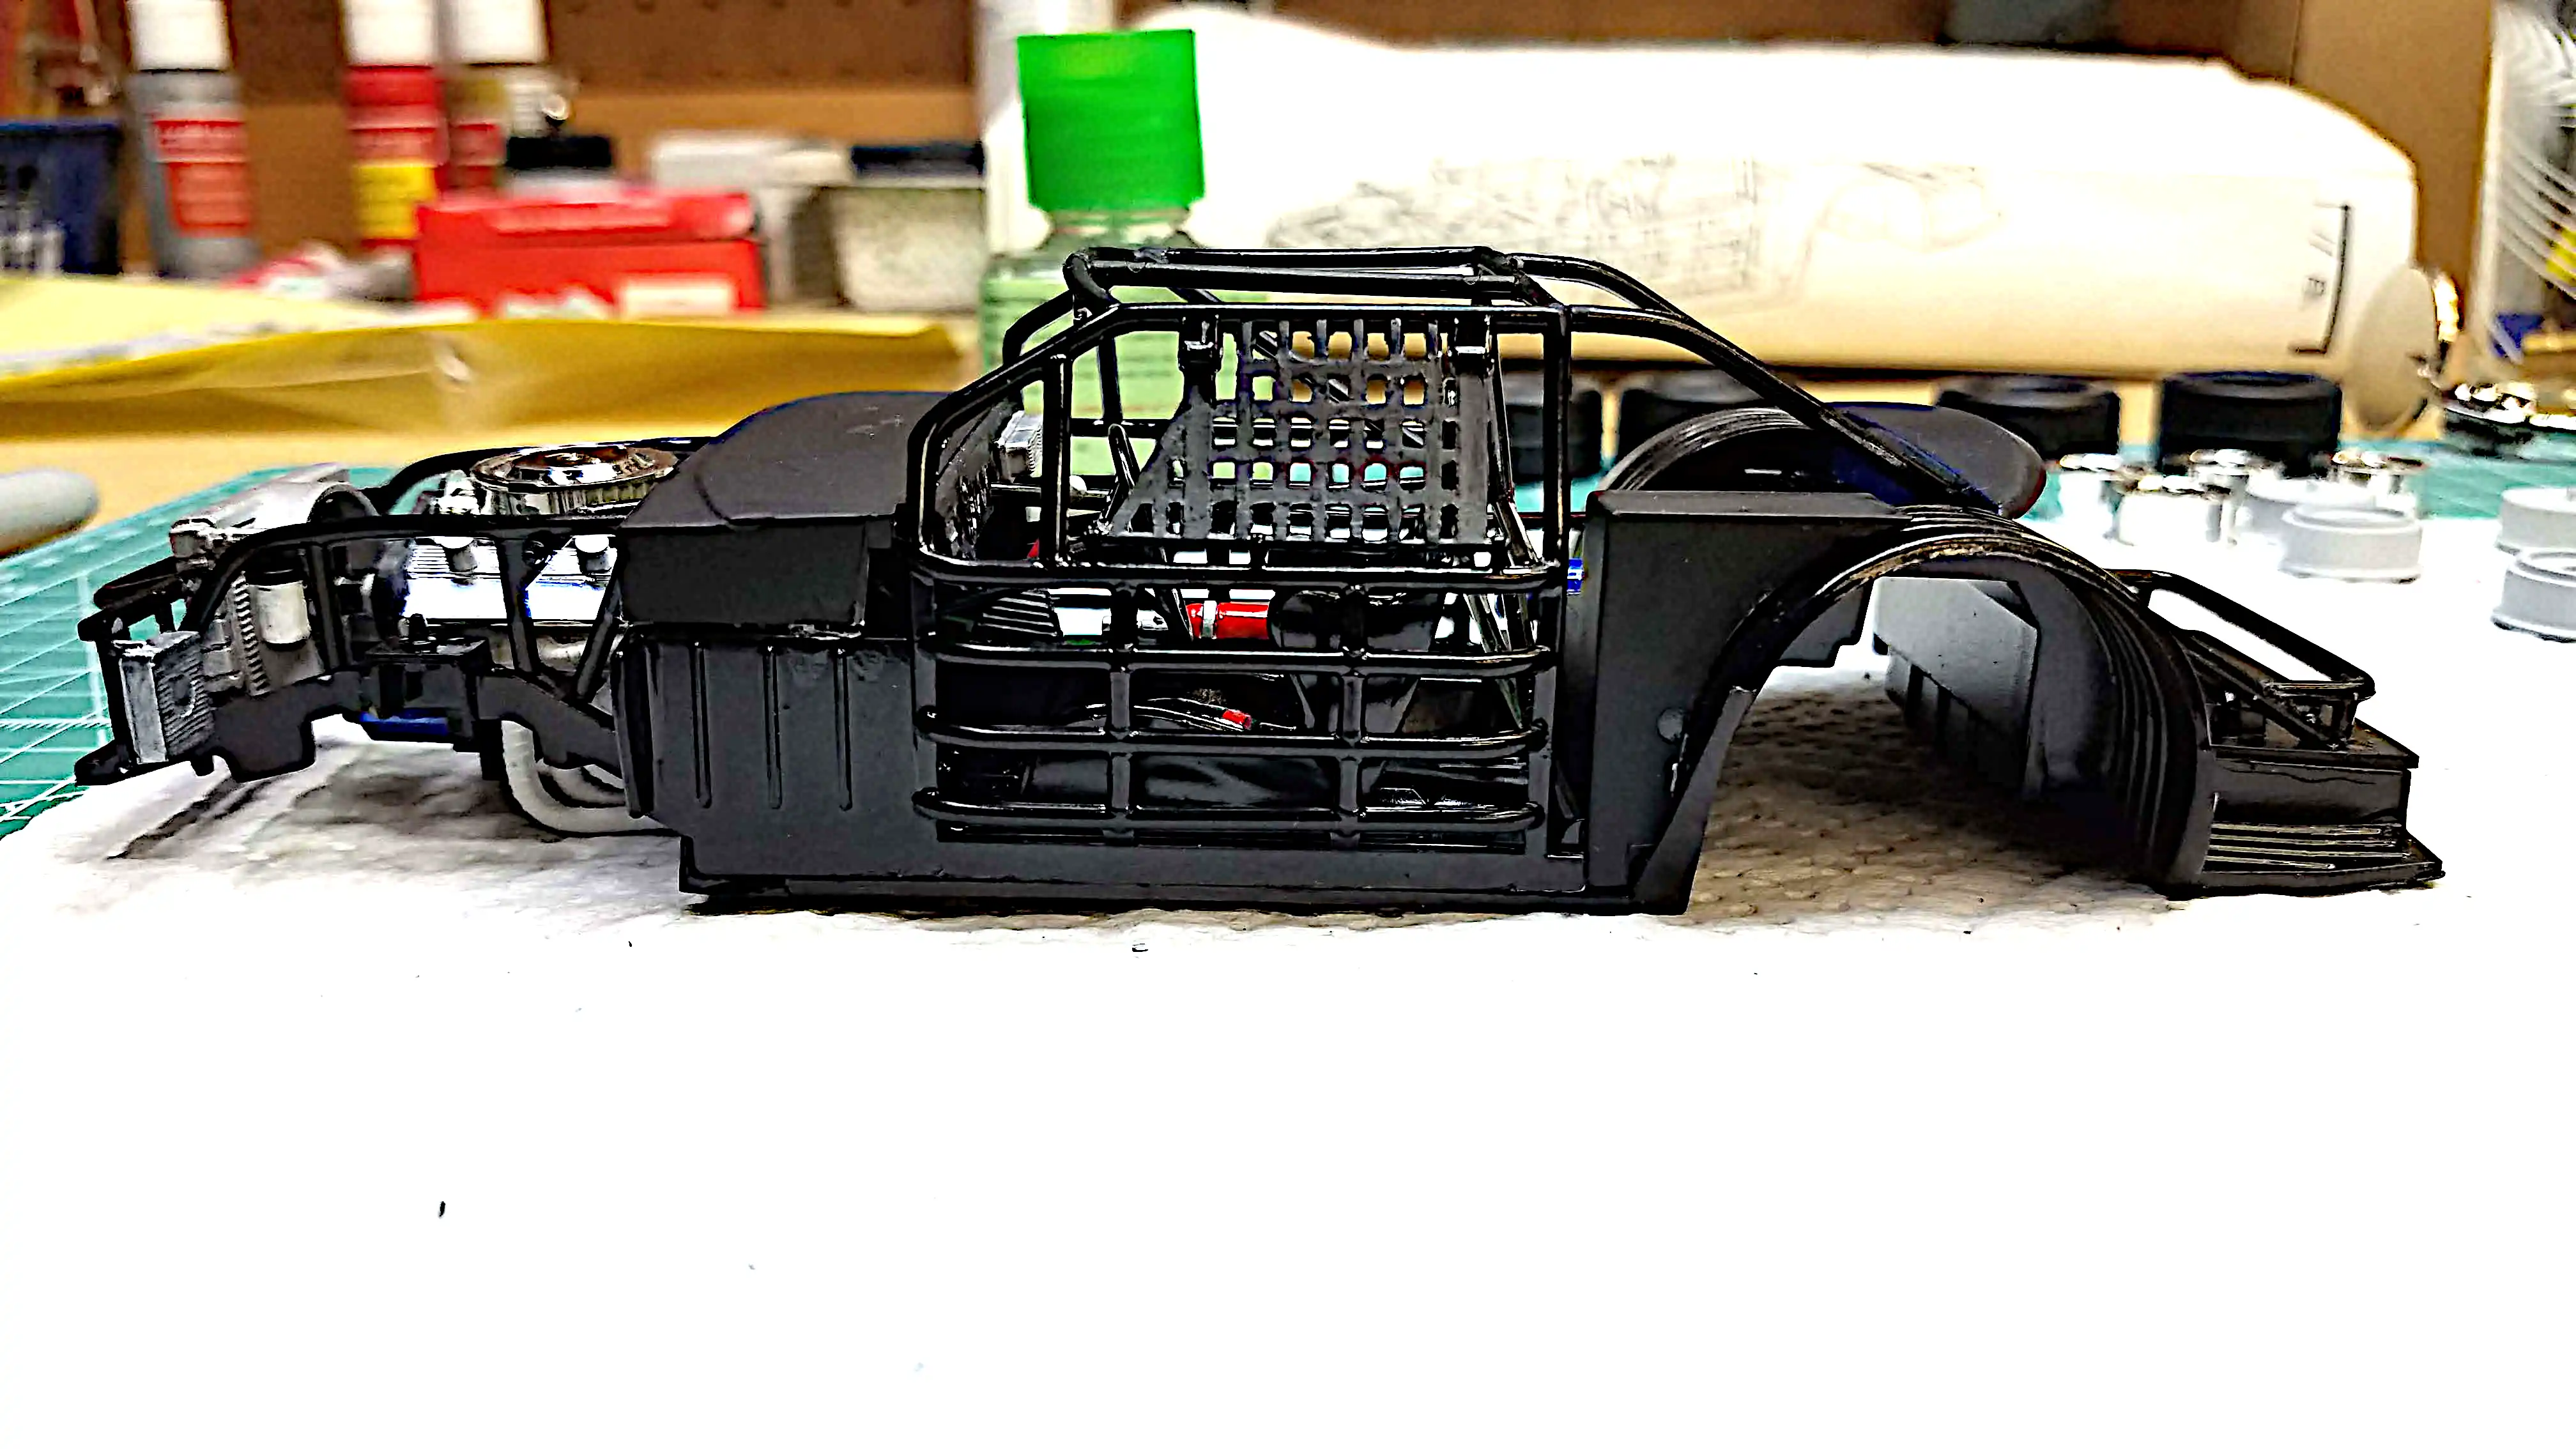
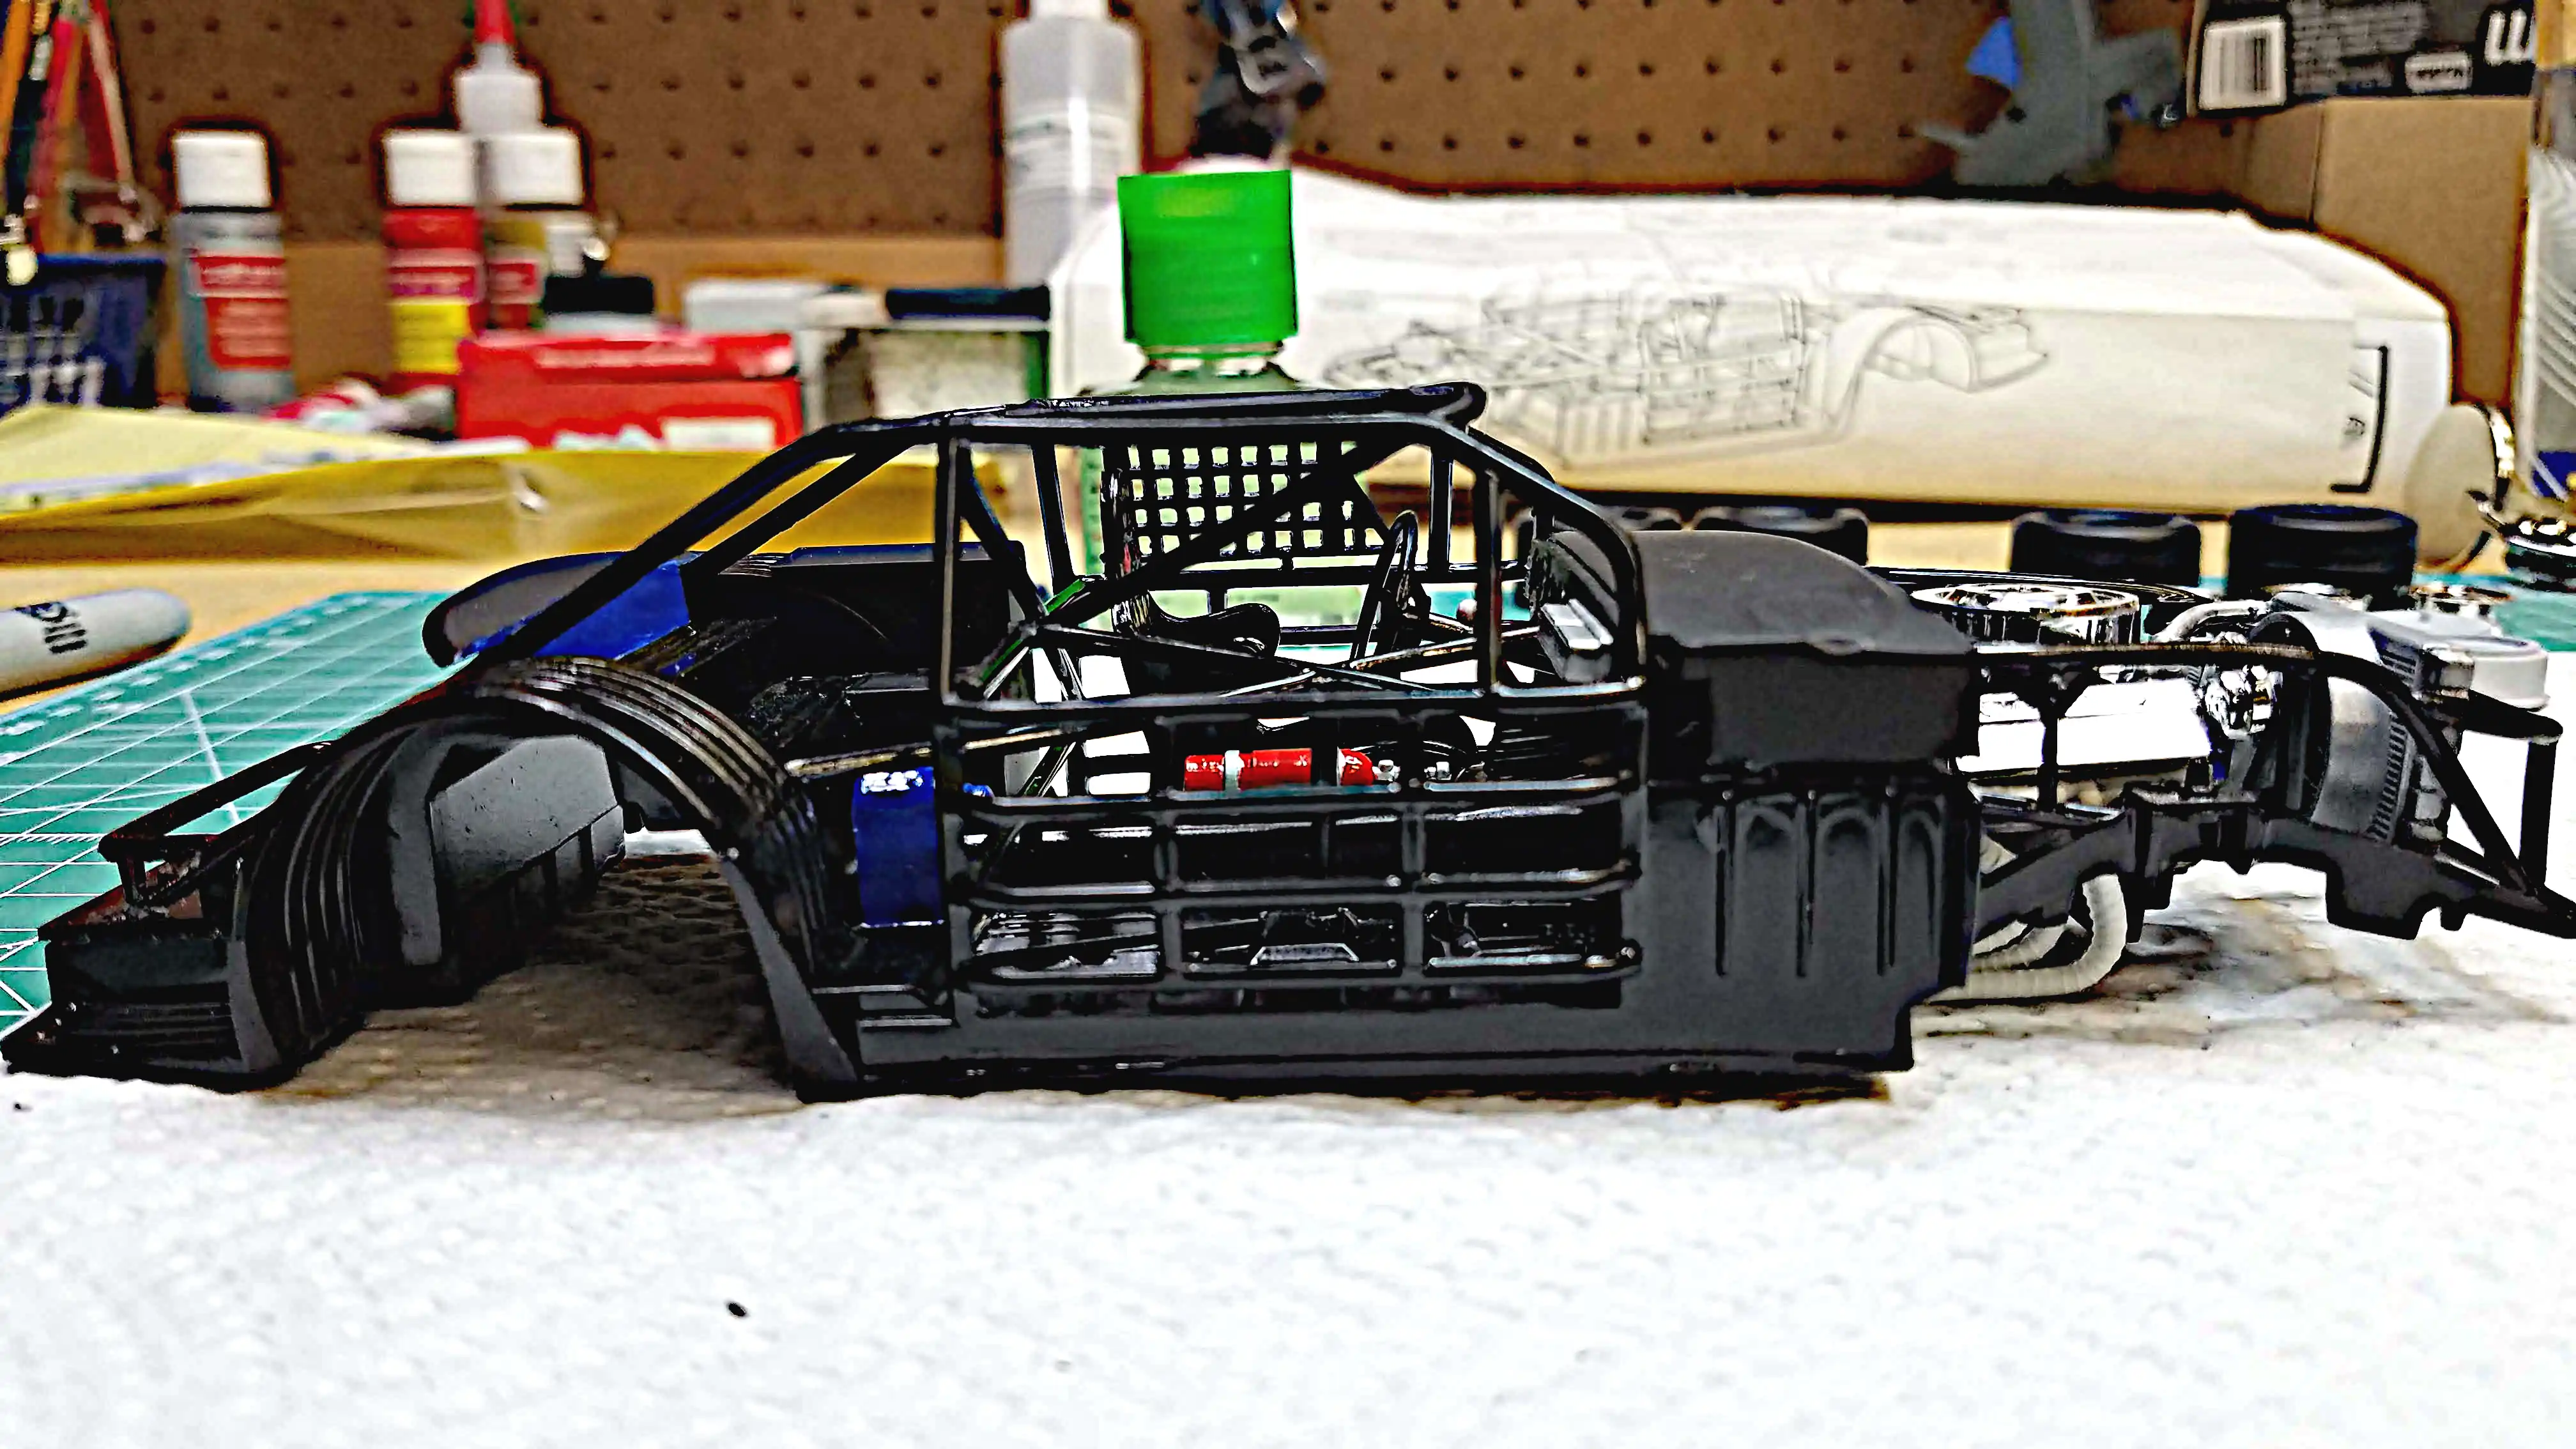
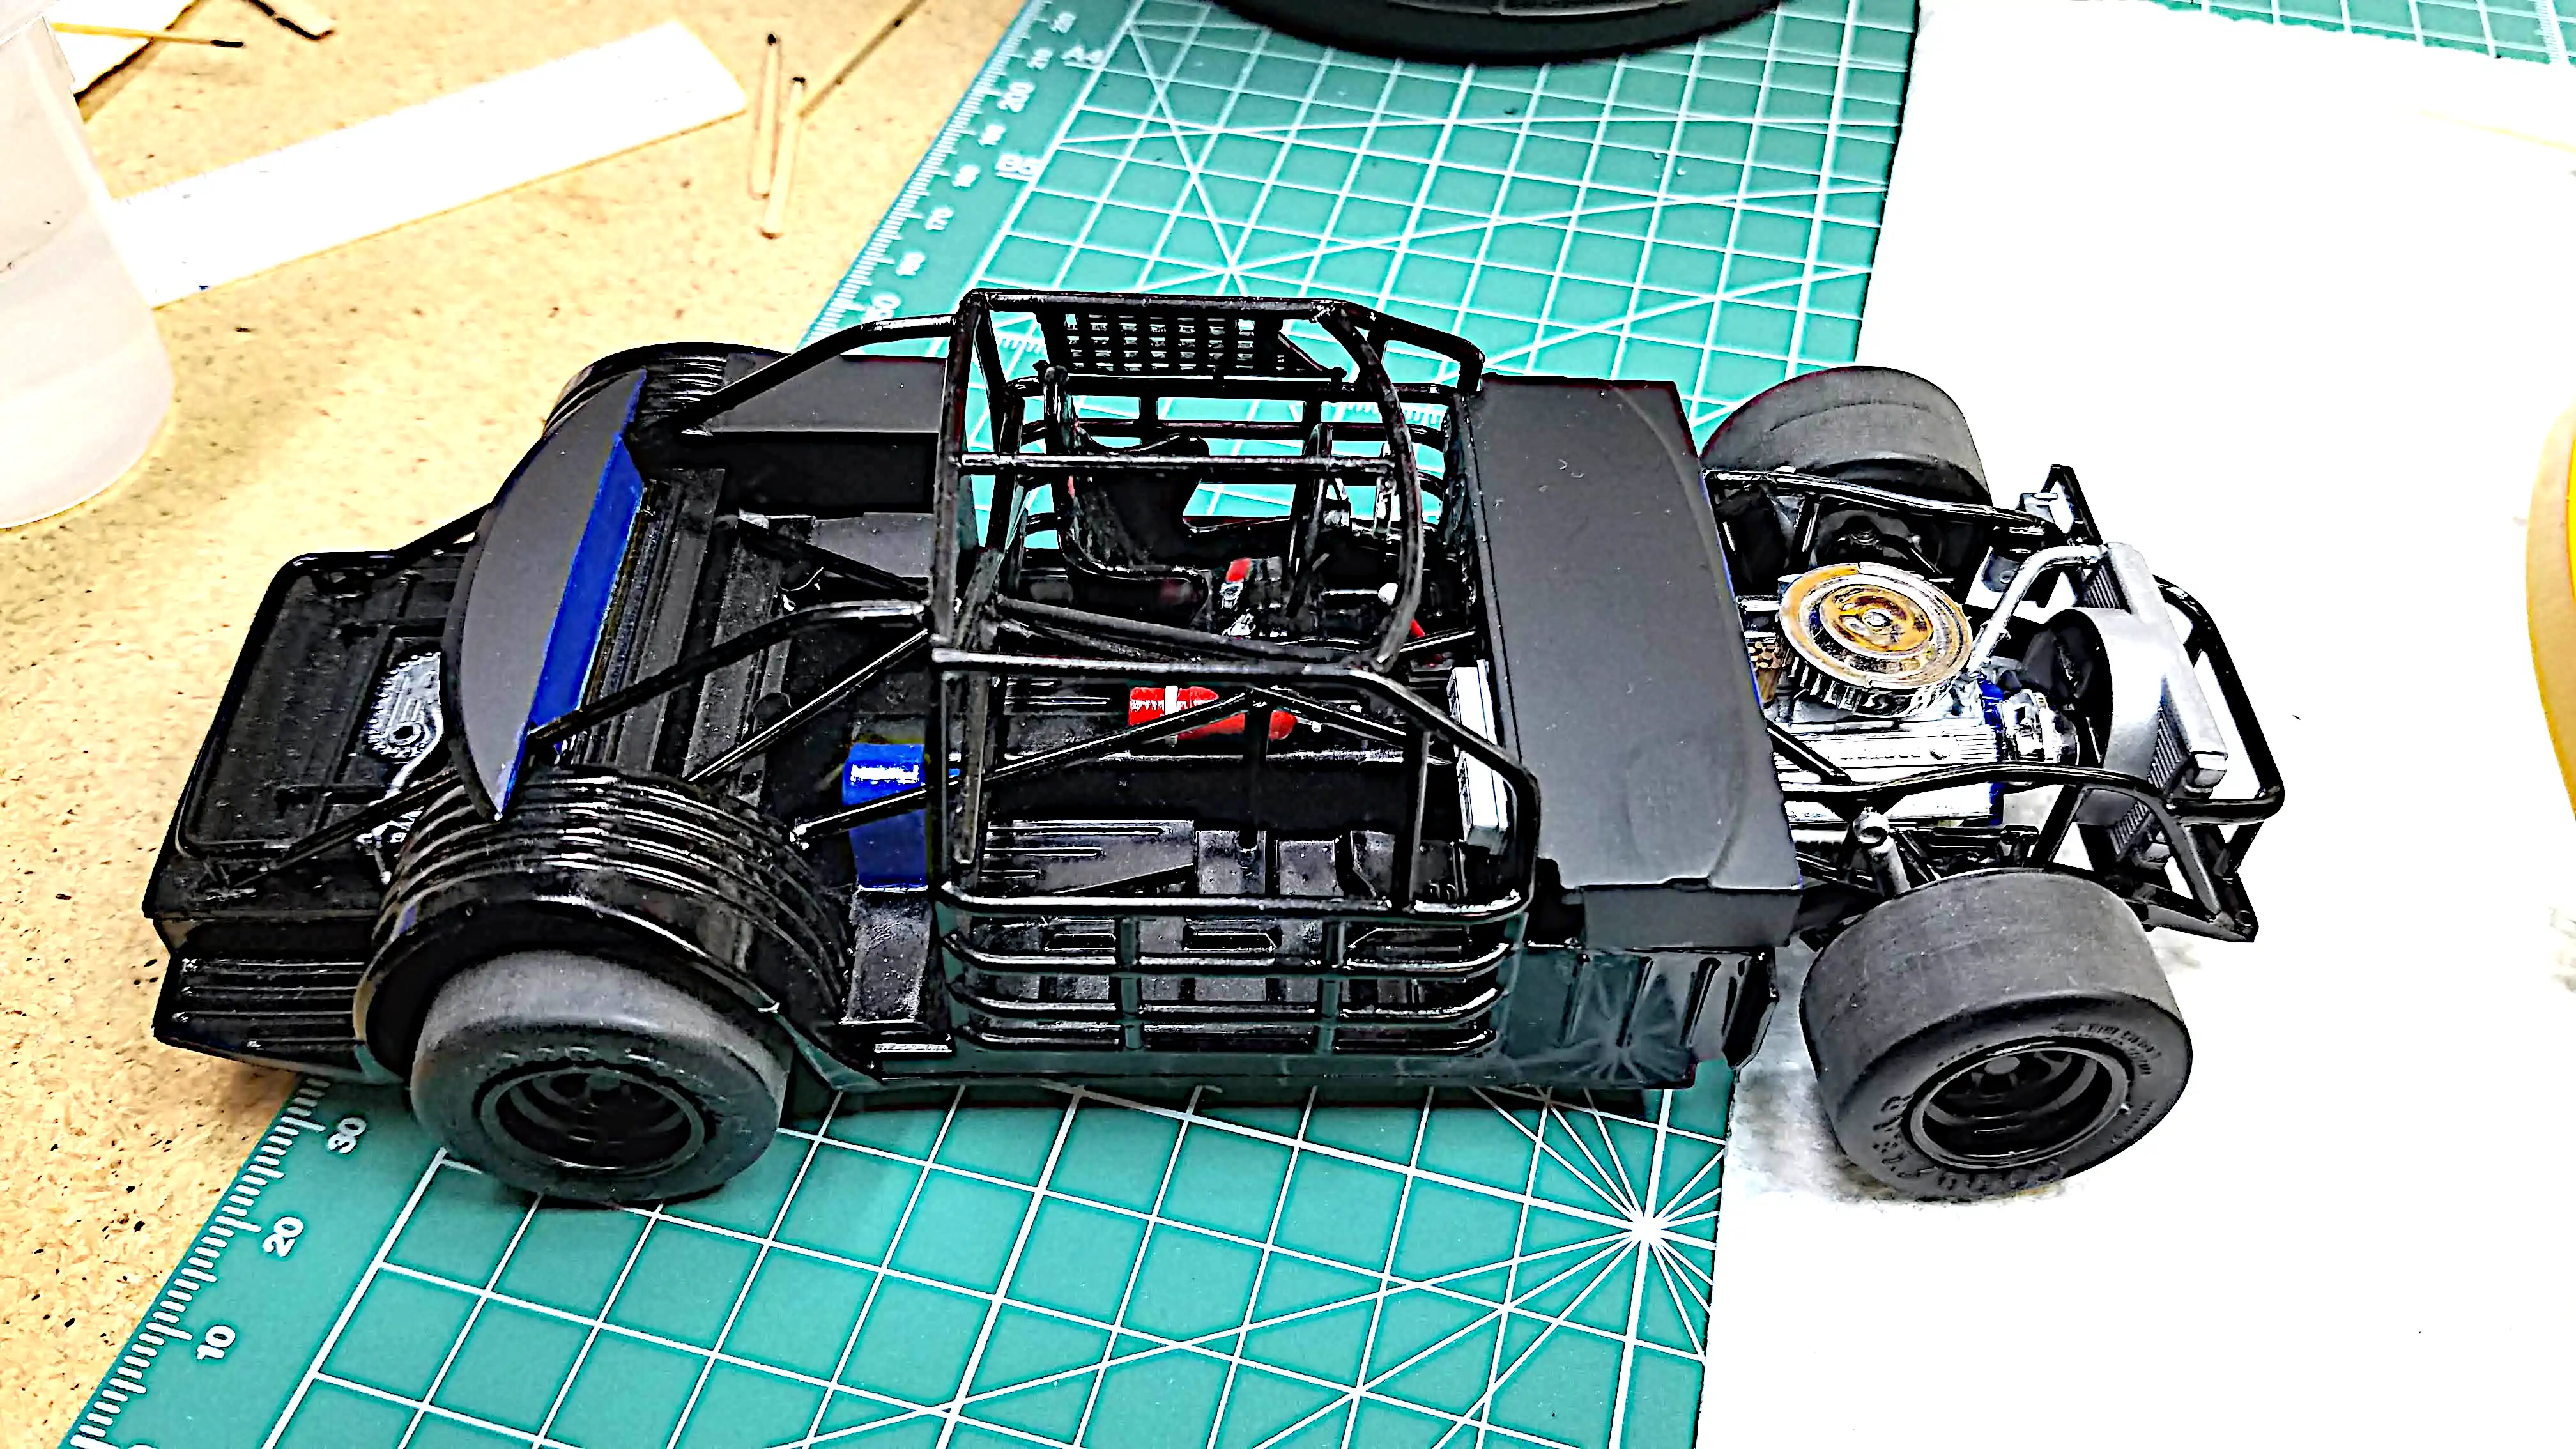
 Front and rear decks installed
Roll cage is finished and front & rear decks were painted and installed.
Photo 038
Click/tap photo to enlarge
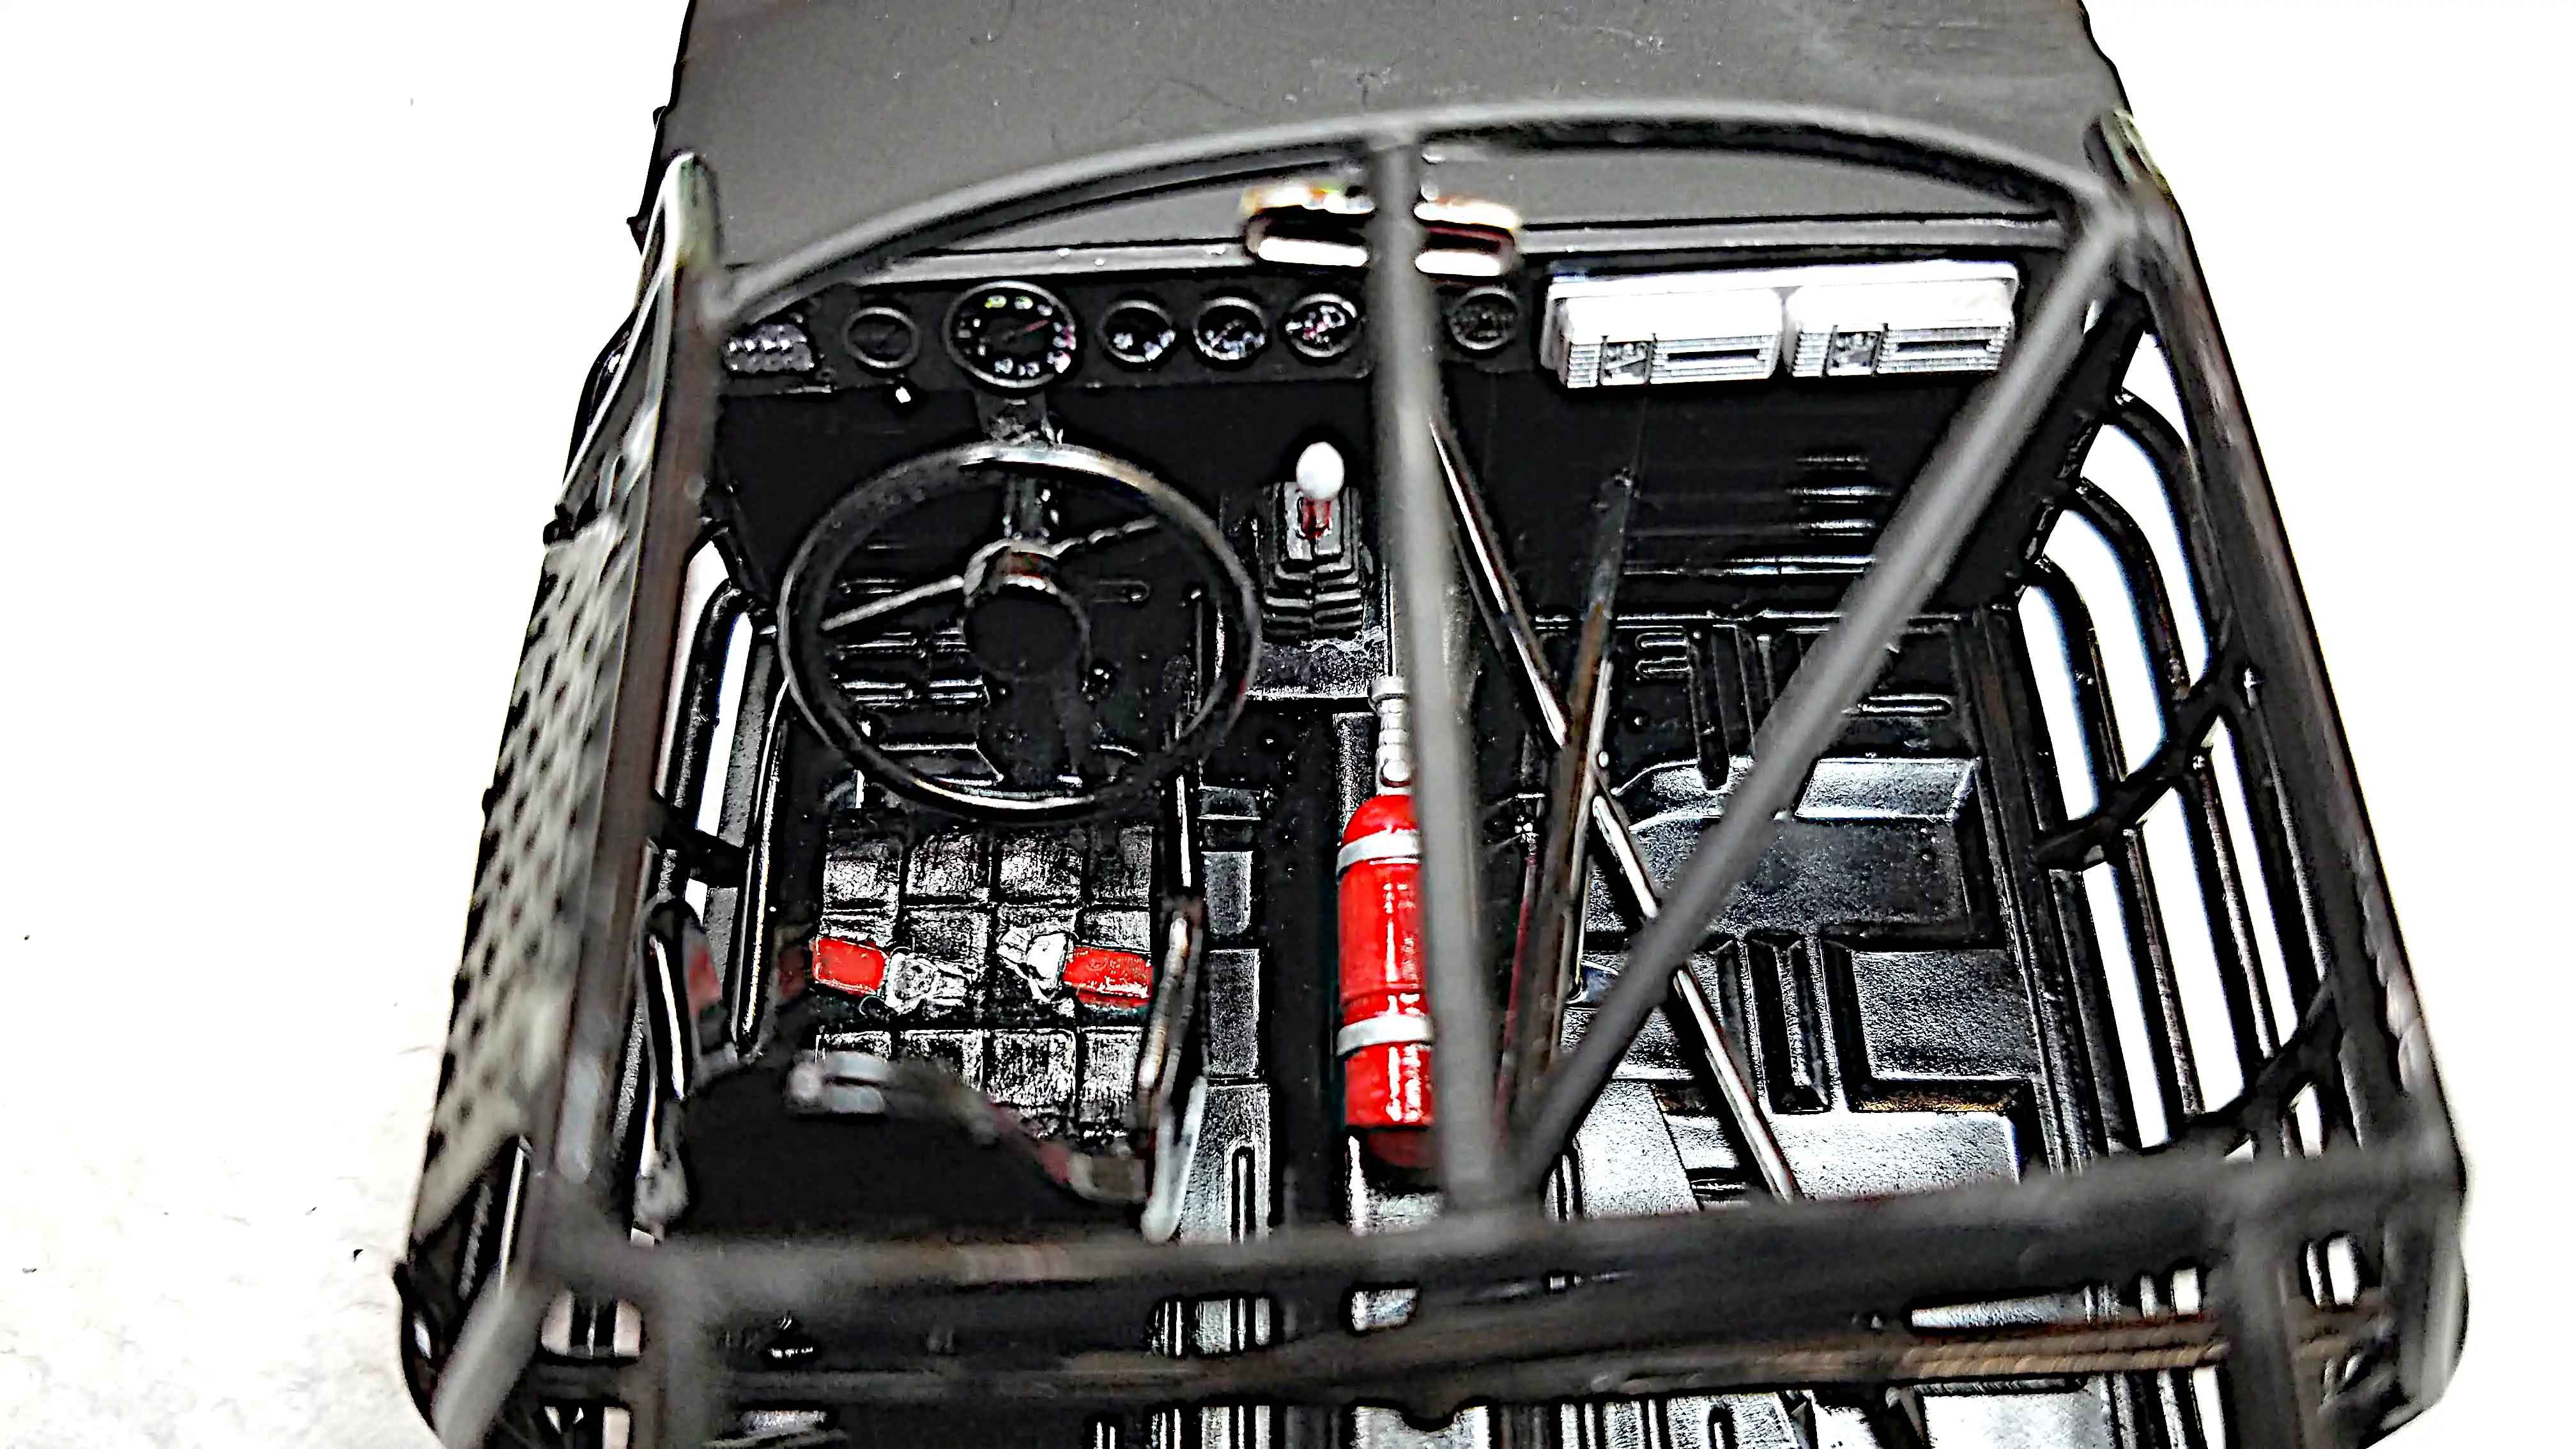 Dashboard is detailed, steering wheel and rear view mirror installed
The dashboard is detailed, steering wheel and rear view mirror are installed.
Photo 039
Click/tap photo to enlarge
Dashboard is detailed, steering wheel and rear view mirror installed
The dashboard is detailed, steering wheel and rear view mirror are installed.
Photo 040
Click/tap photo to enlarge
 Dashboard is detailed, steering wheel and rear view mirror installed
The dashboard is detailed, steering wheel and rear view mirror are installed.
Photo 041
Click/tap photo to enlarge
 Painting the disc brakes
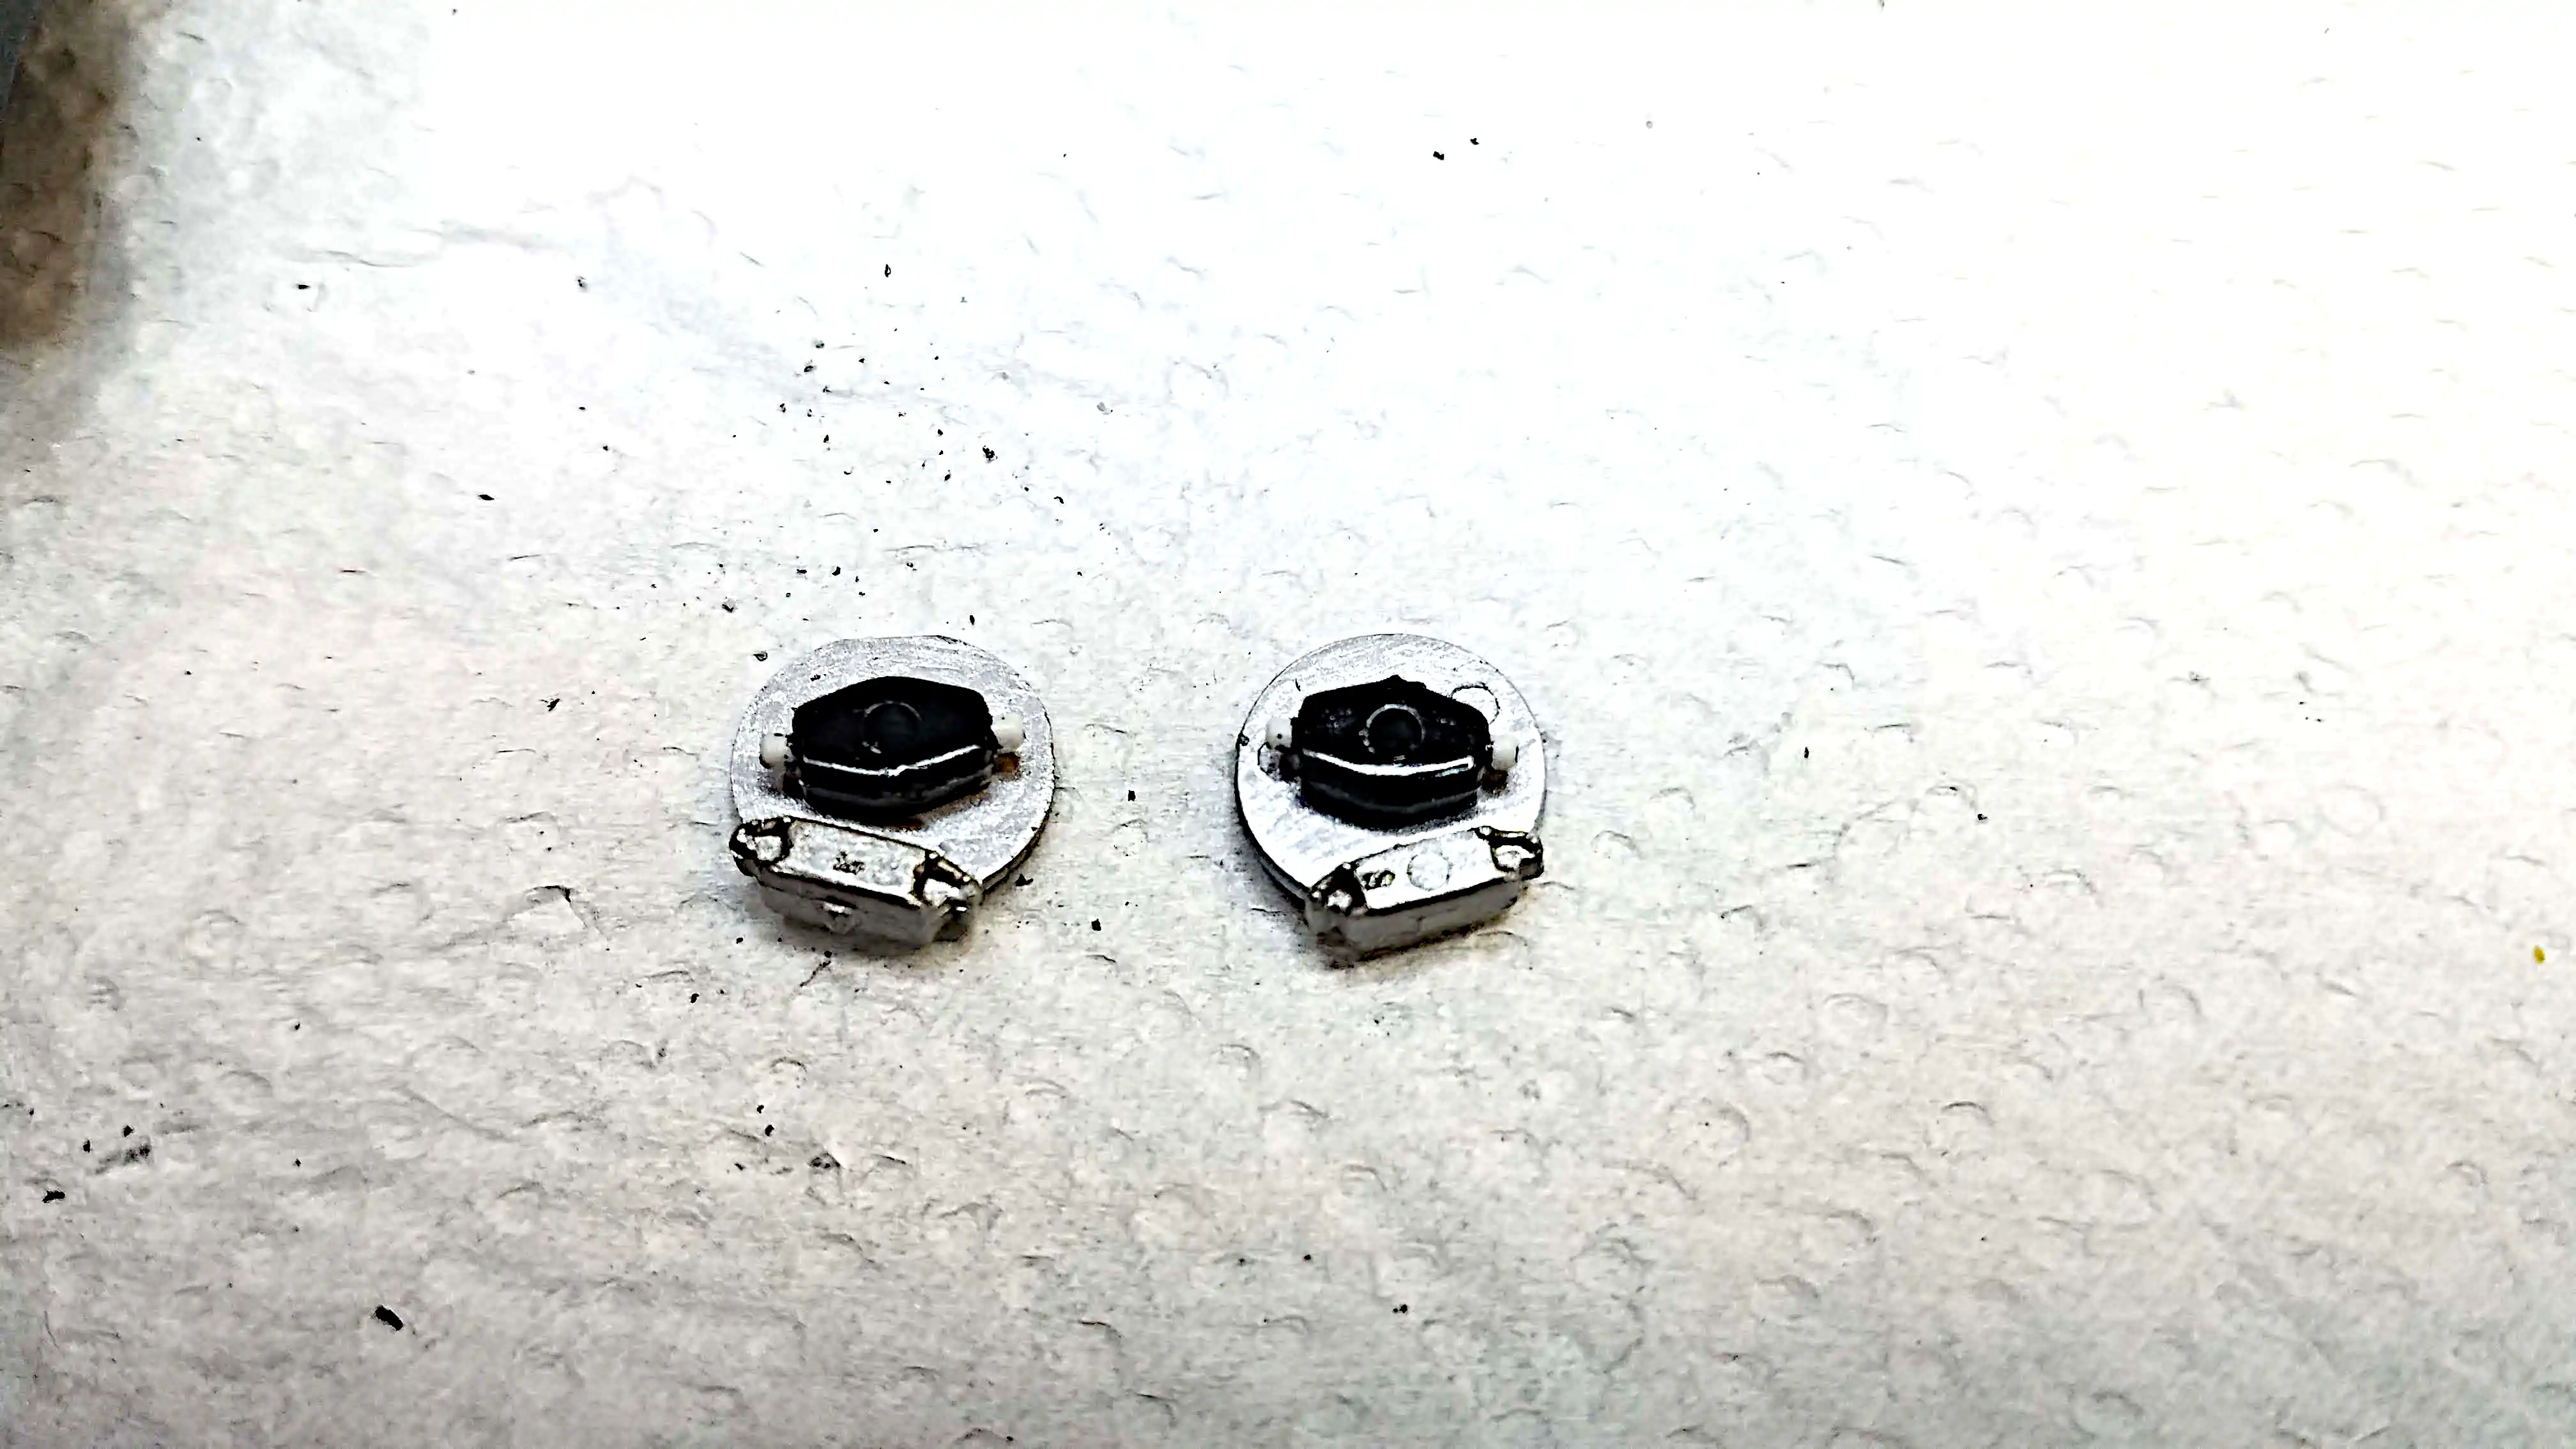
The brake discs are in the spray booth and being painted.
Photo 042
Click/tap photo to enlarge
 Painted and installing the front coil springs
Painted and installing the front coil springs
Photo 043
Click/tap photo to enlarge
 Detailing the front brake rotors
I started detailing the front brake rotors.
Photo 044
Click/tap photo to enlarge
 Installing the steering box
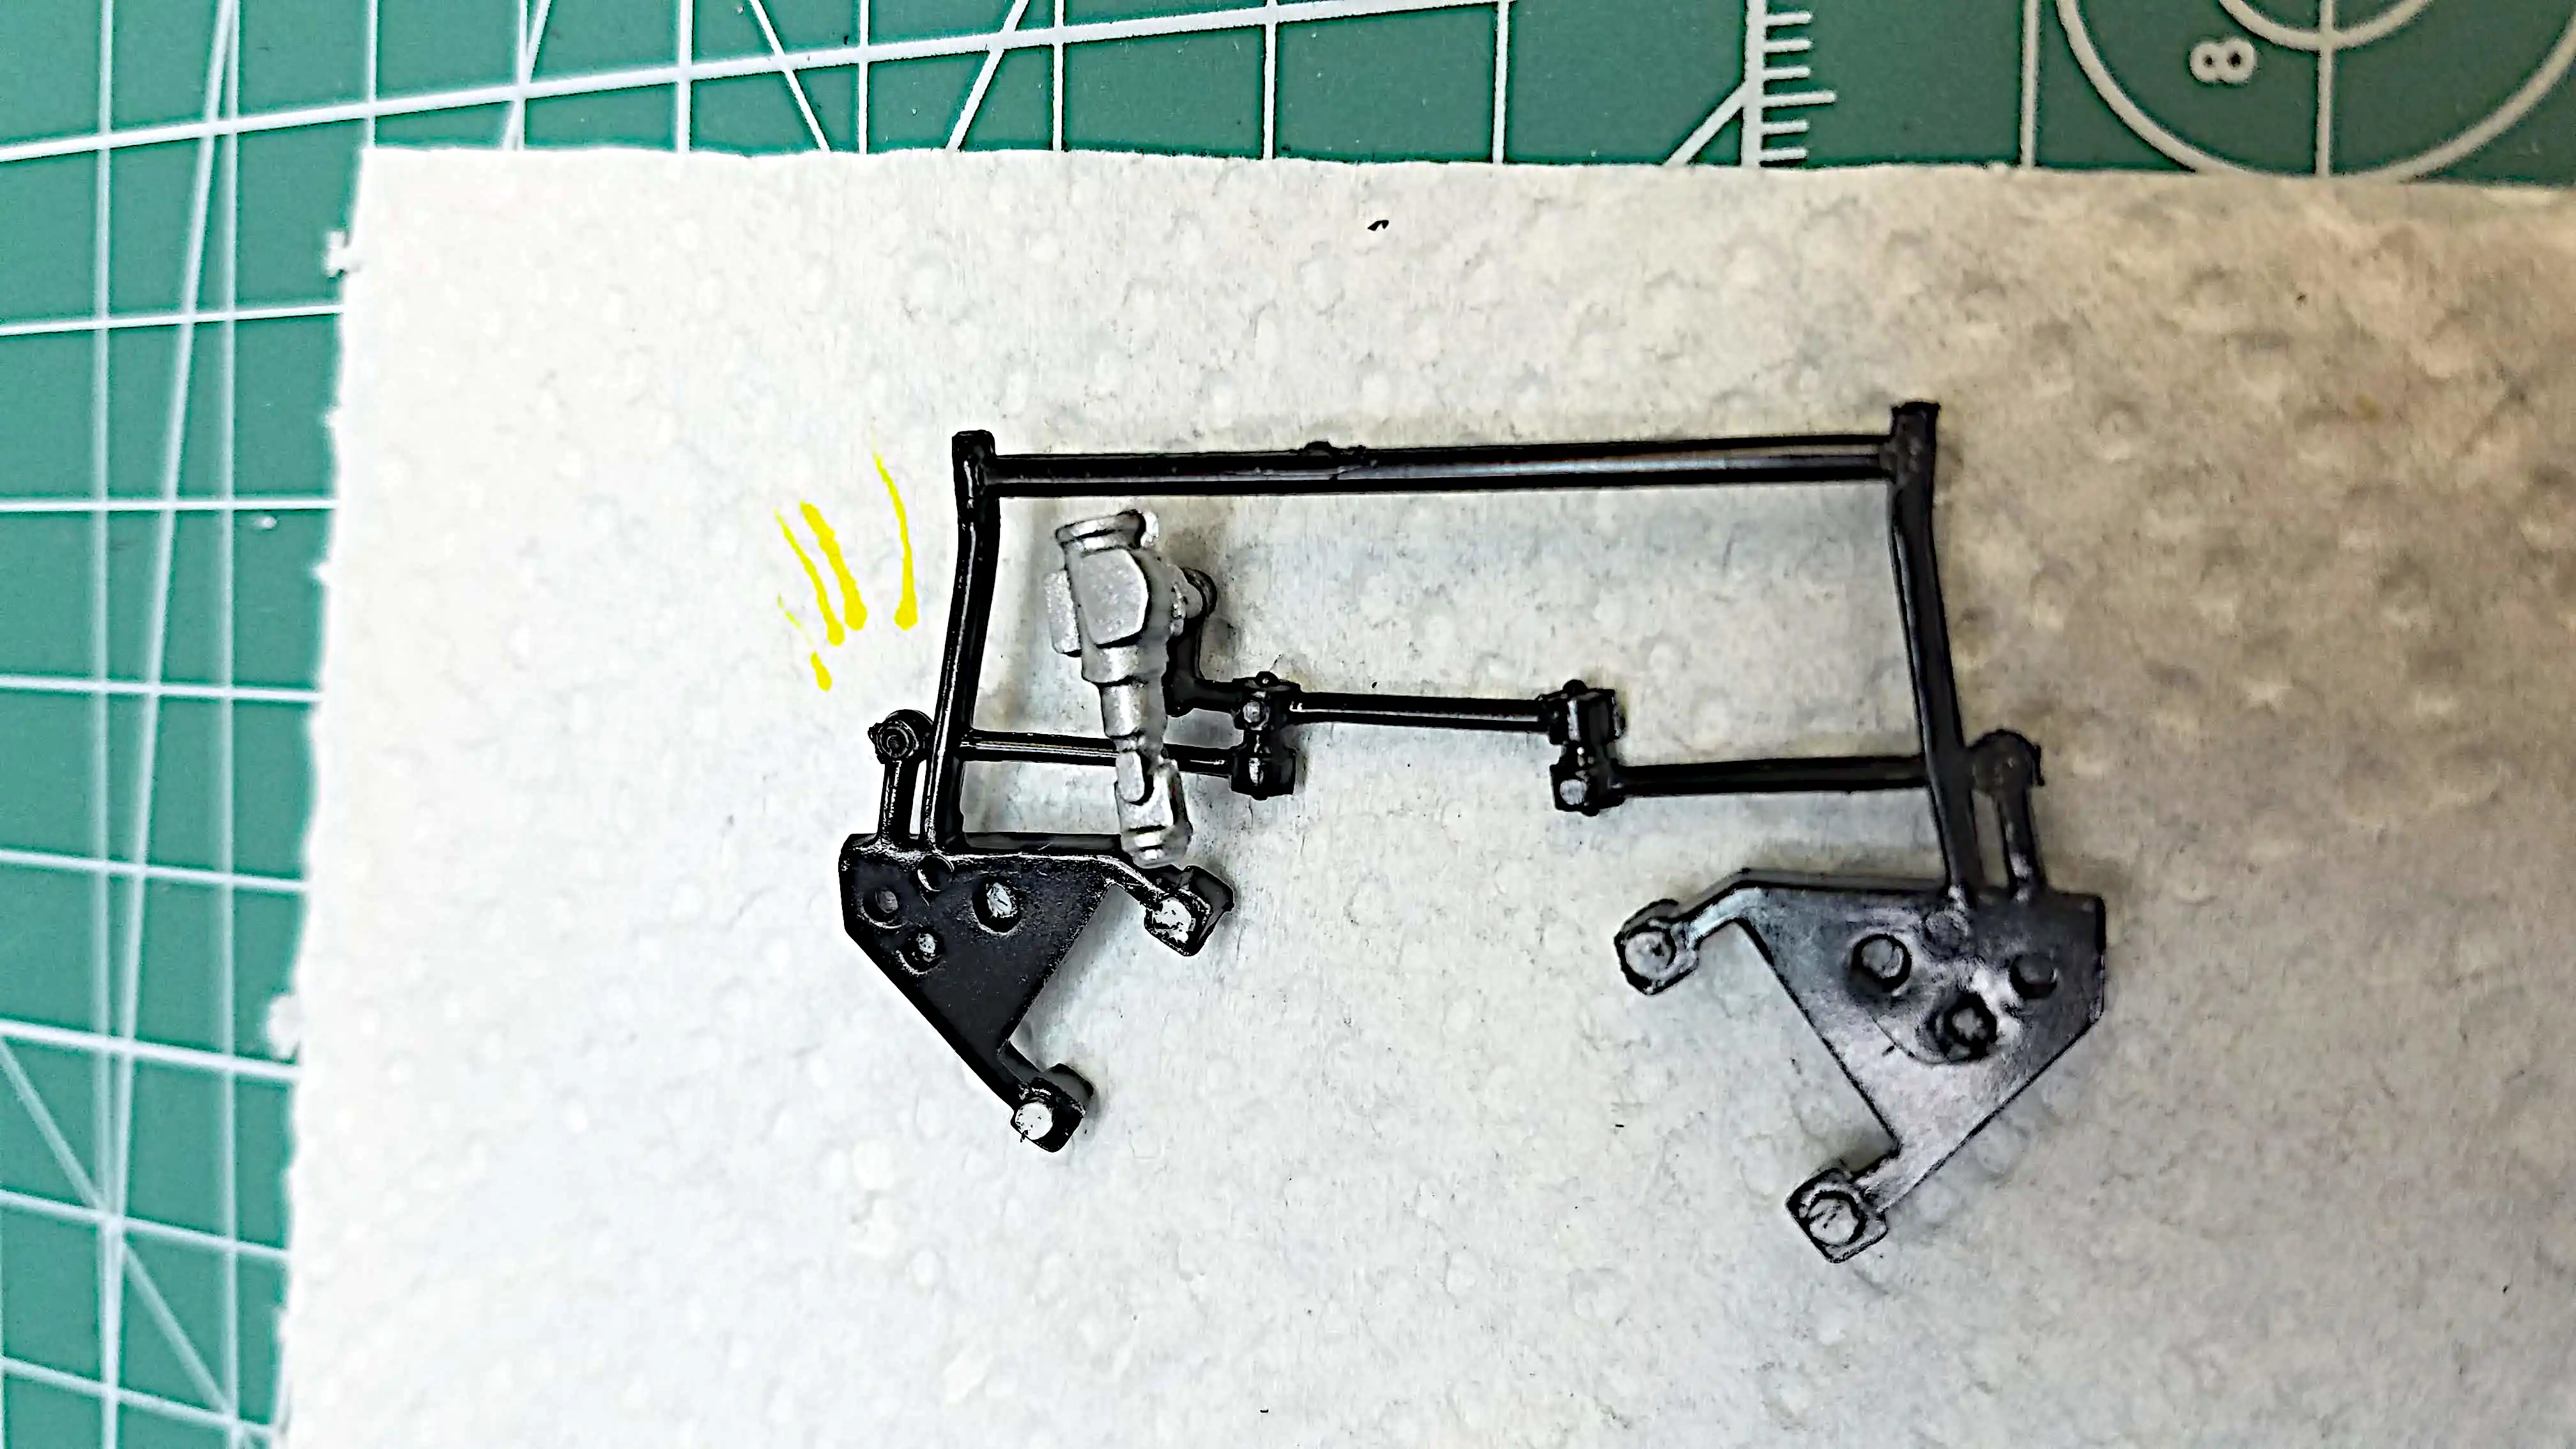
The steering box was painted and installed.
Photo 045x
Click/tap photo to enlarge
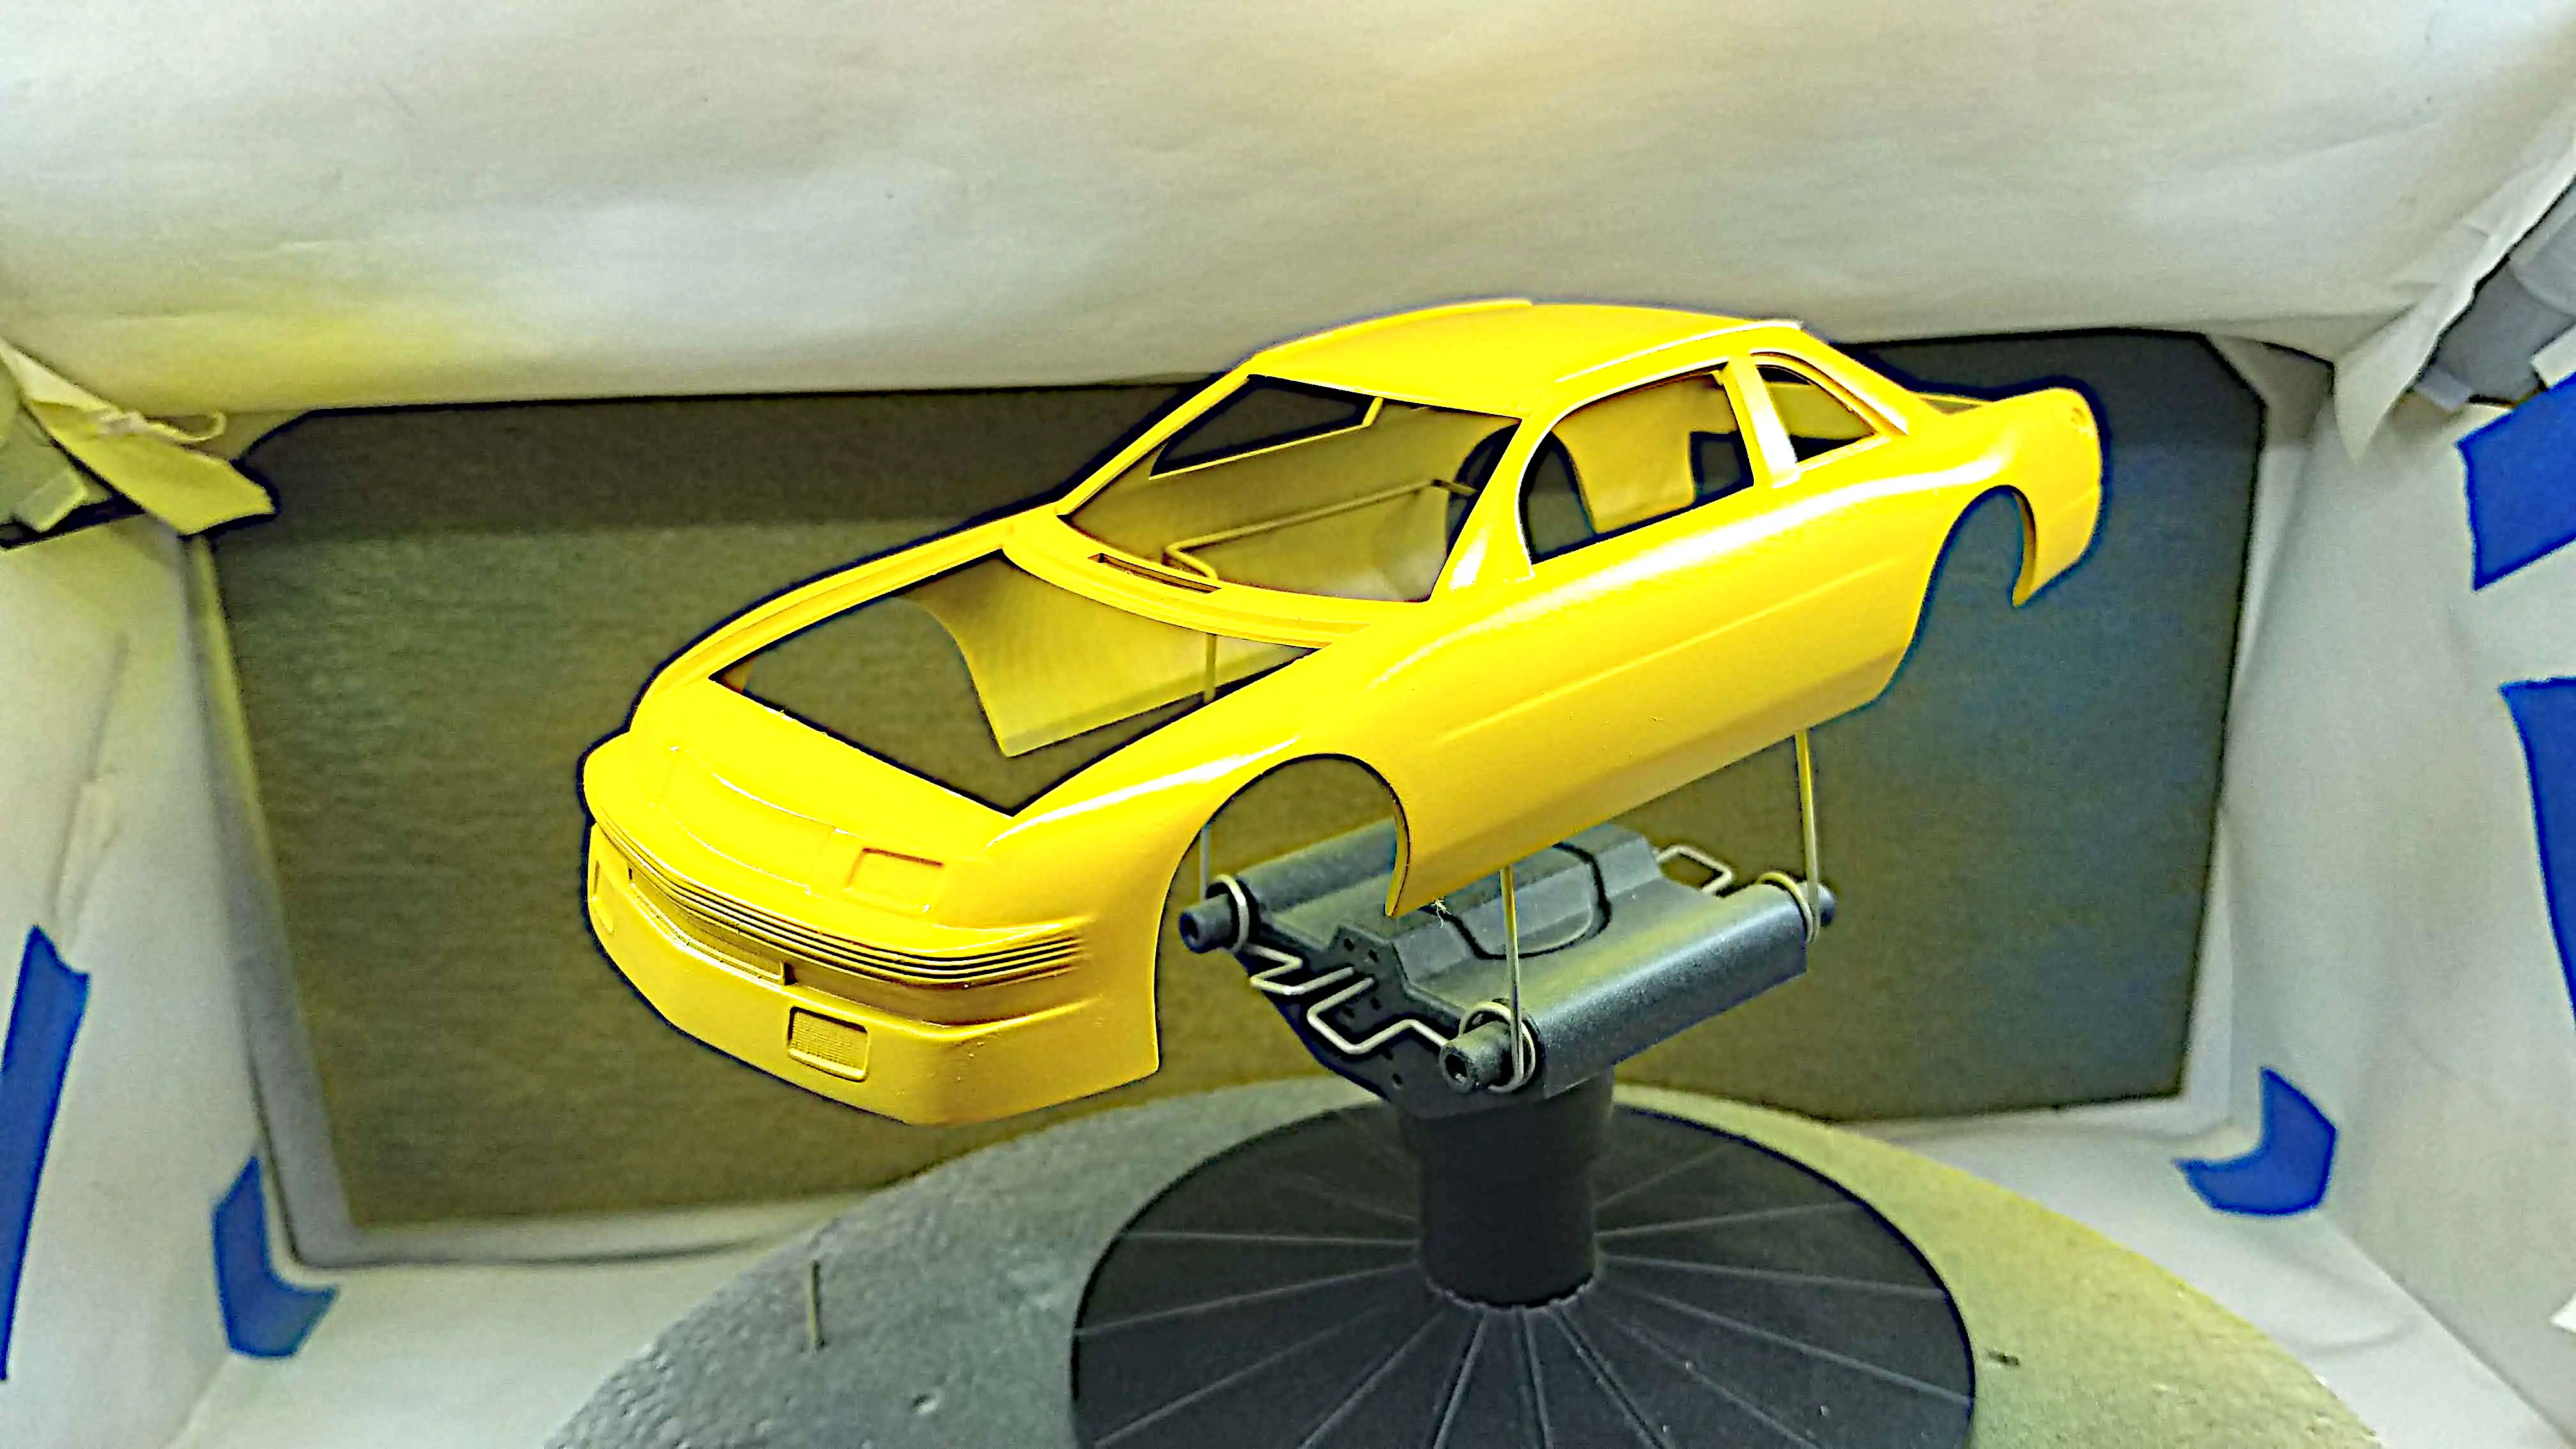
 Painting the body
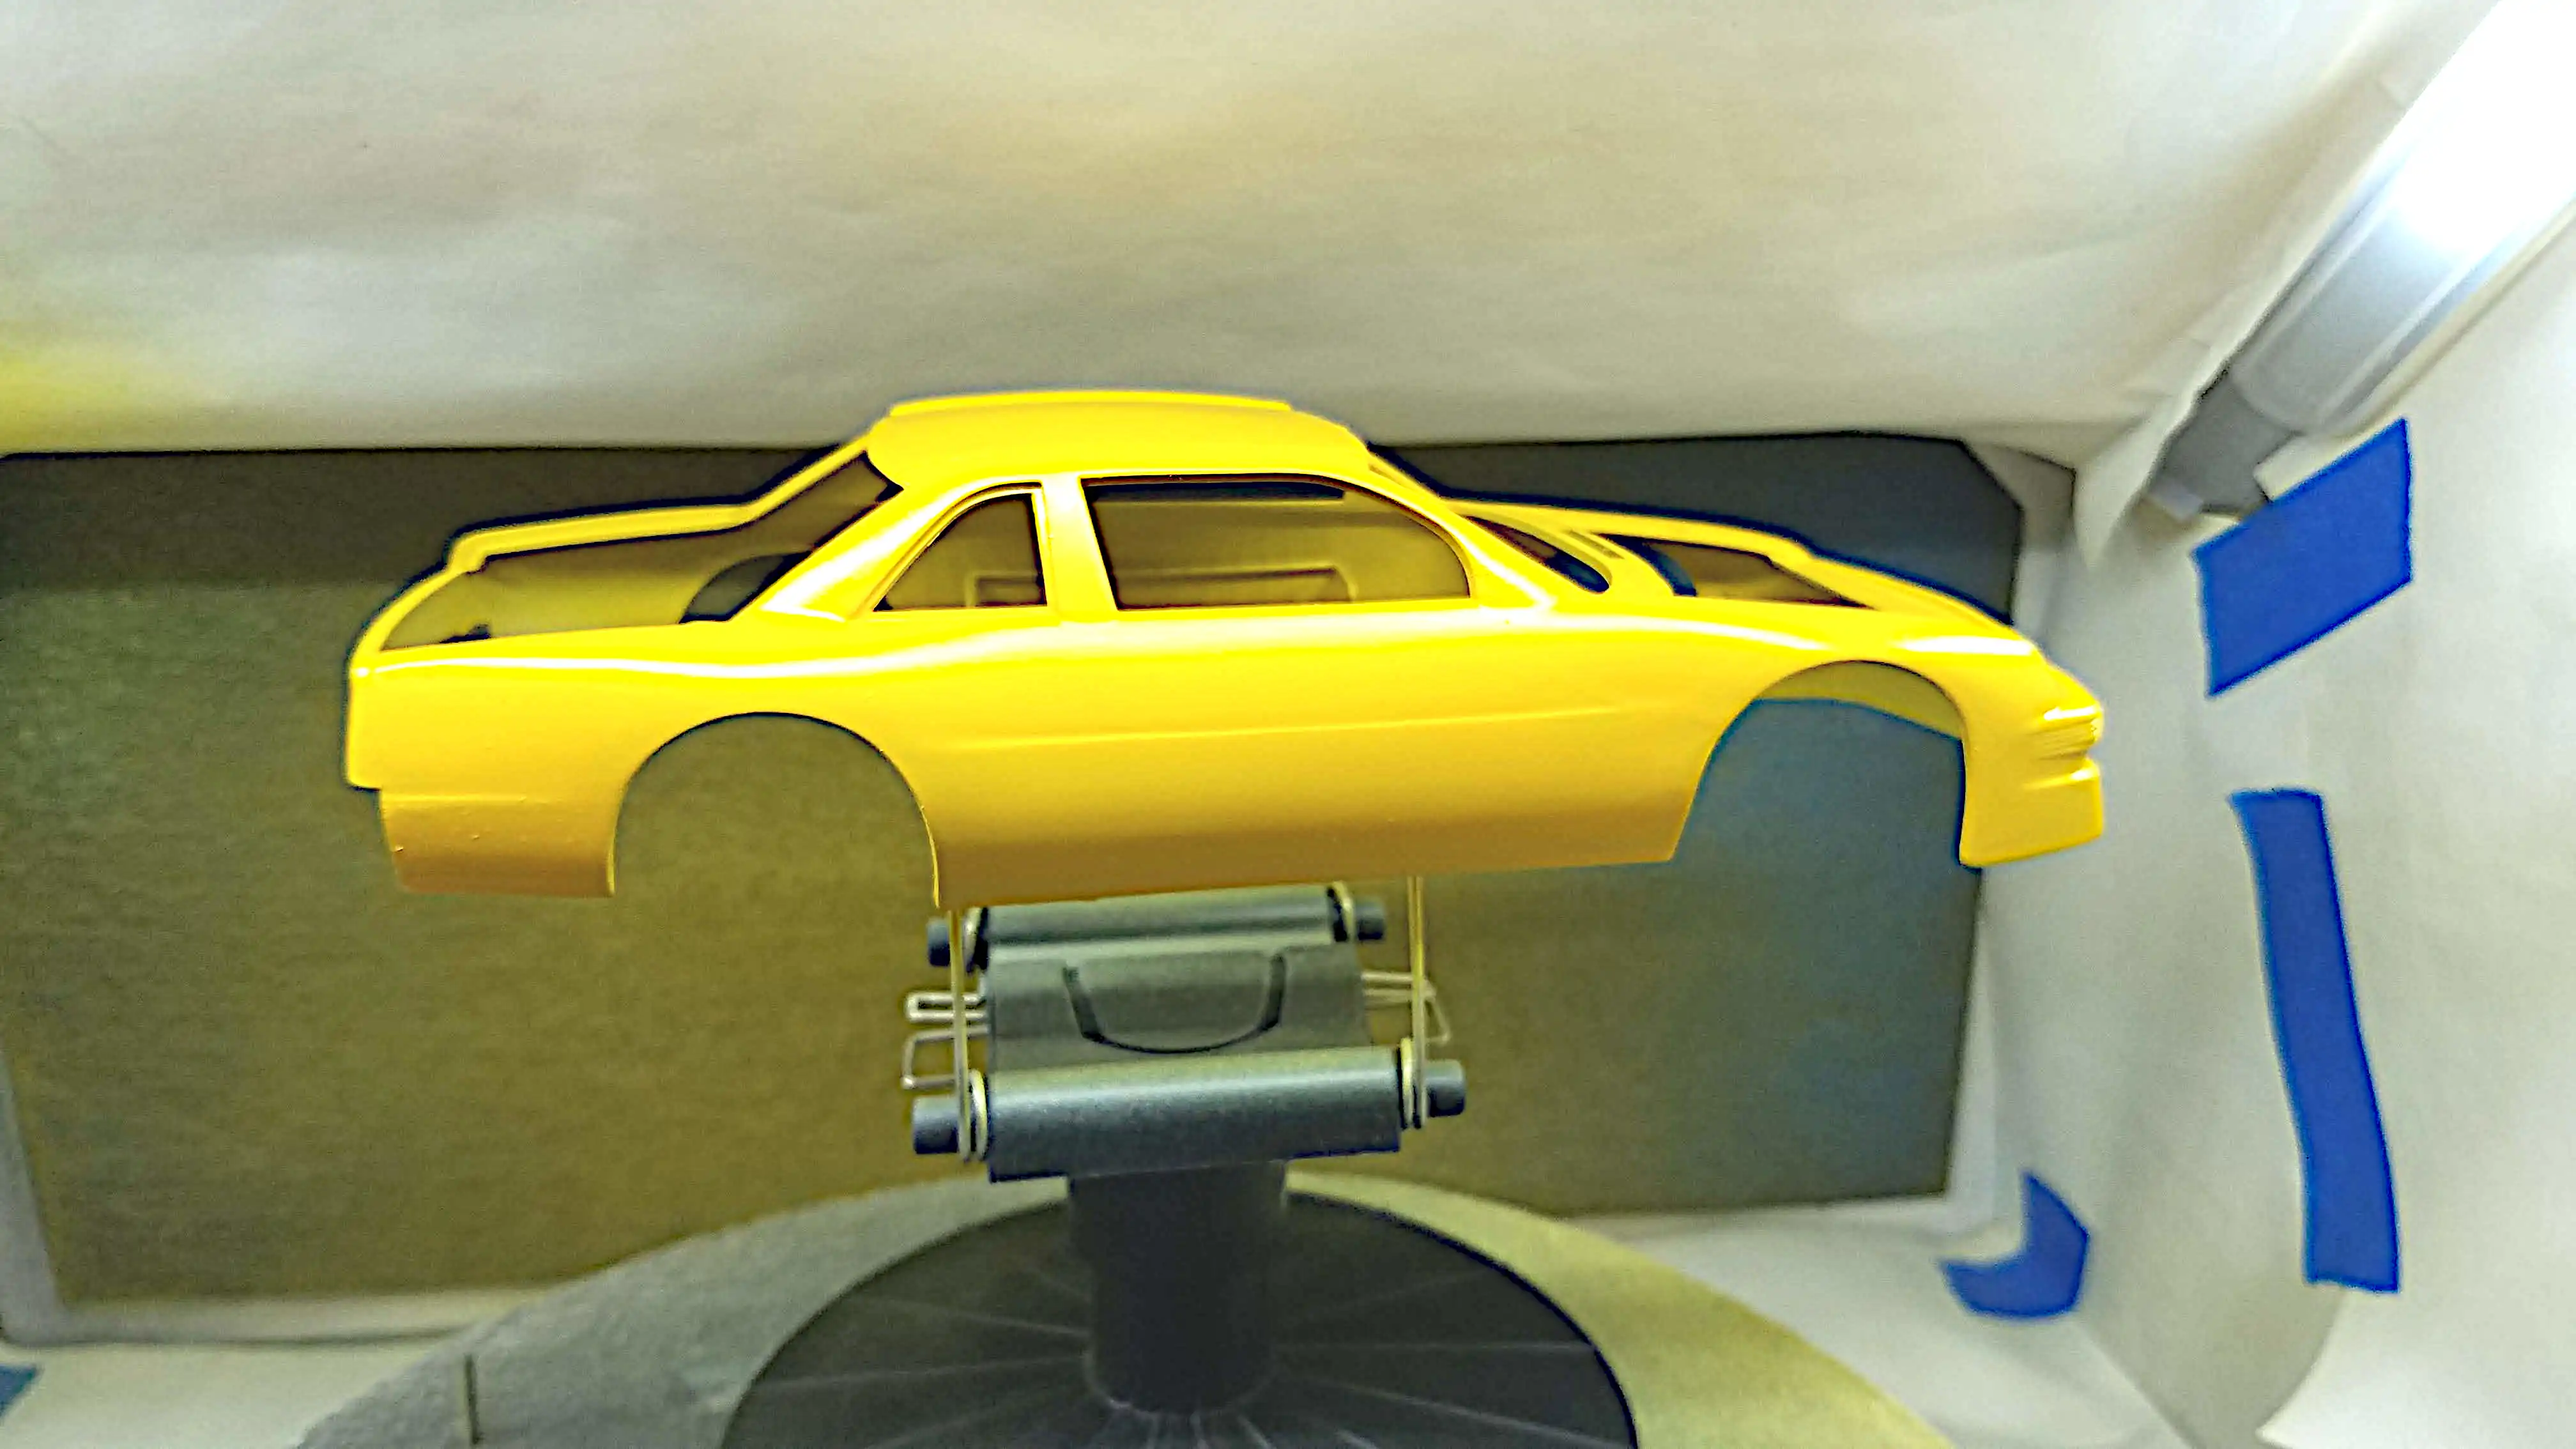
I airbrushed the body with Model Master 13538 Chrome Yellow. I have been experimenting with different yellowish paints to find one that matches the Kodak yellow. Returning to the hobby and being a "green horn", I didn't want to mix a color. I finally found that Testors Model Master 13538 Chrome Yellow was a fairly close match.
Photo 046
Click/tap photo to enlarge
 Painting the body
I airbrushed the body with Model Master 13538 Chrome Yellow. I have been experimenting with different yellowish paints to find one that matches the Kodak yellow. Returning to the hobby and being a "green horn", I didn't want to mix a color. I finally found that Testors Model Master 13538 Chrome Yellow was a fairly close match.
Photo 047
Click/tap photo to enlarge
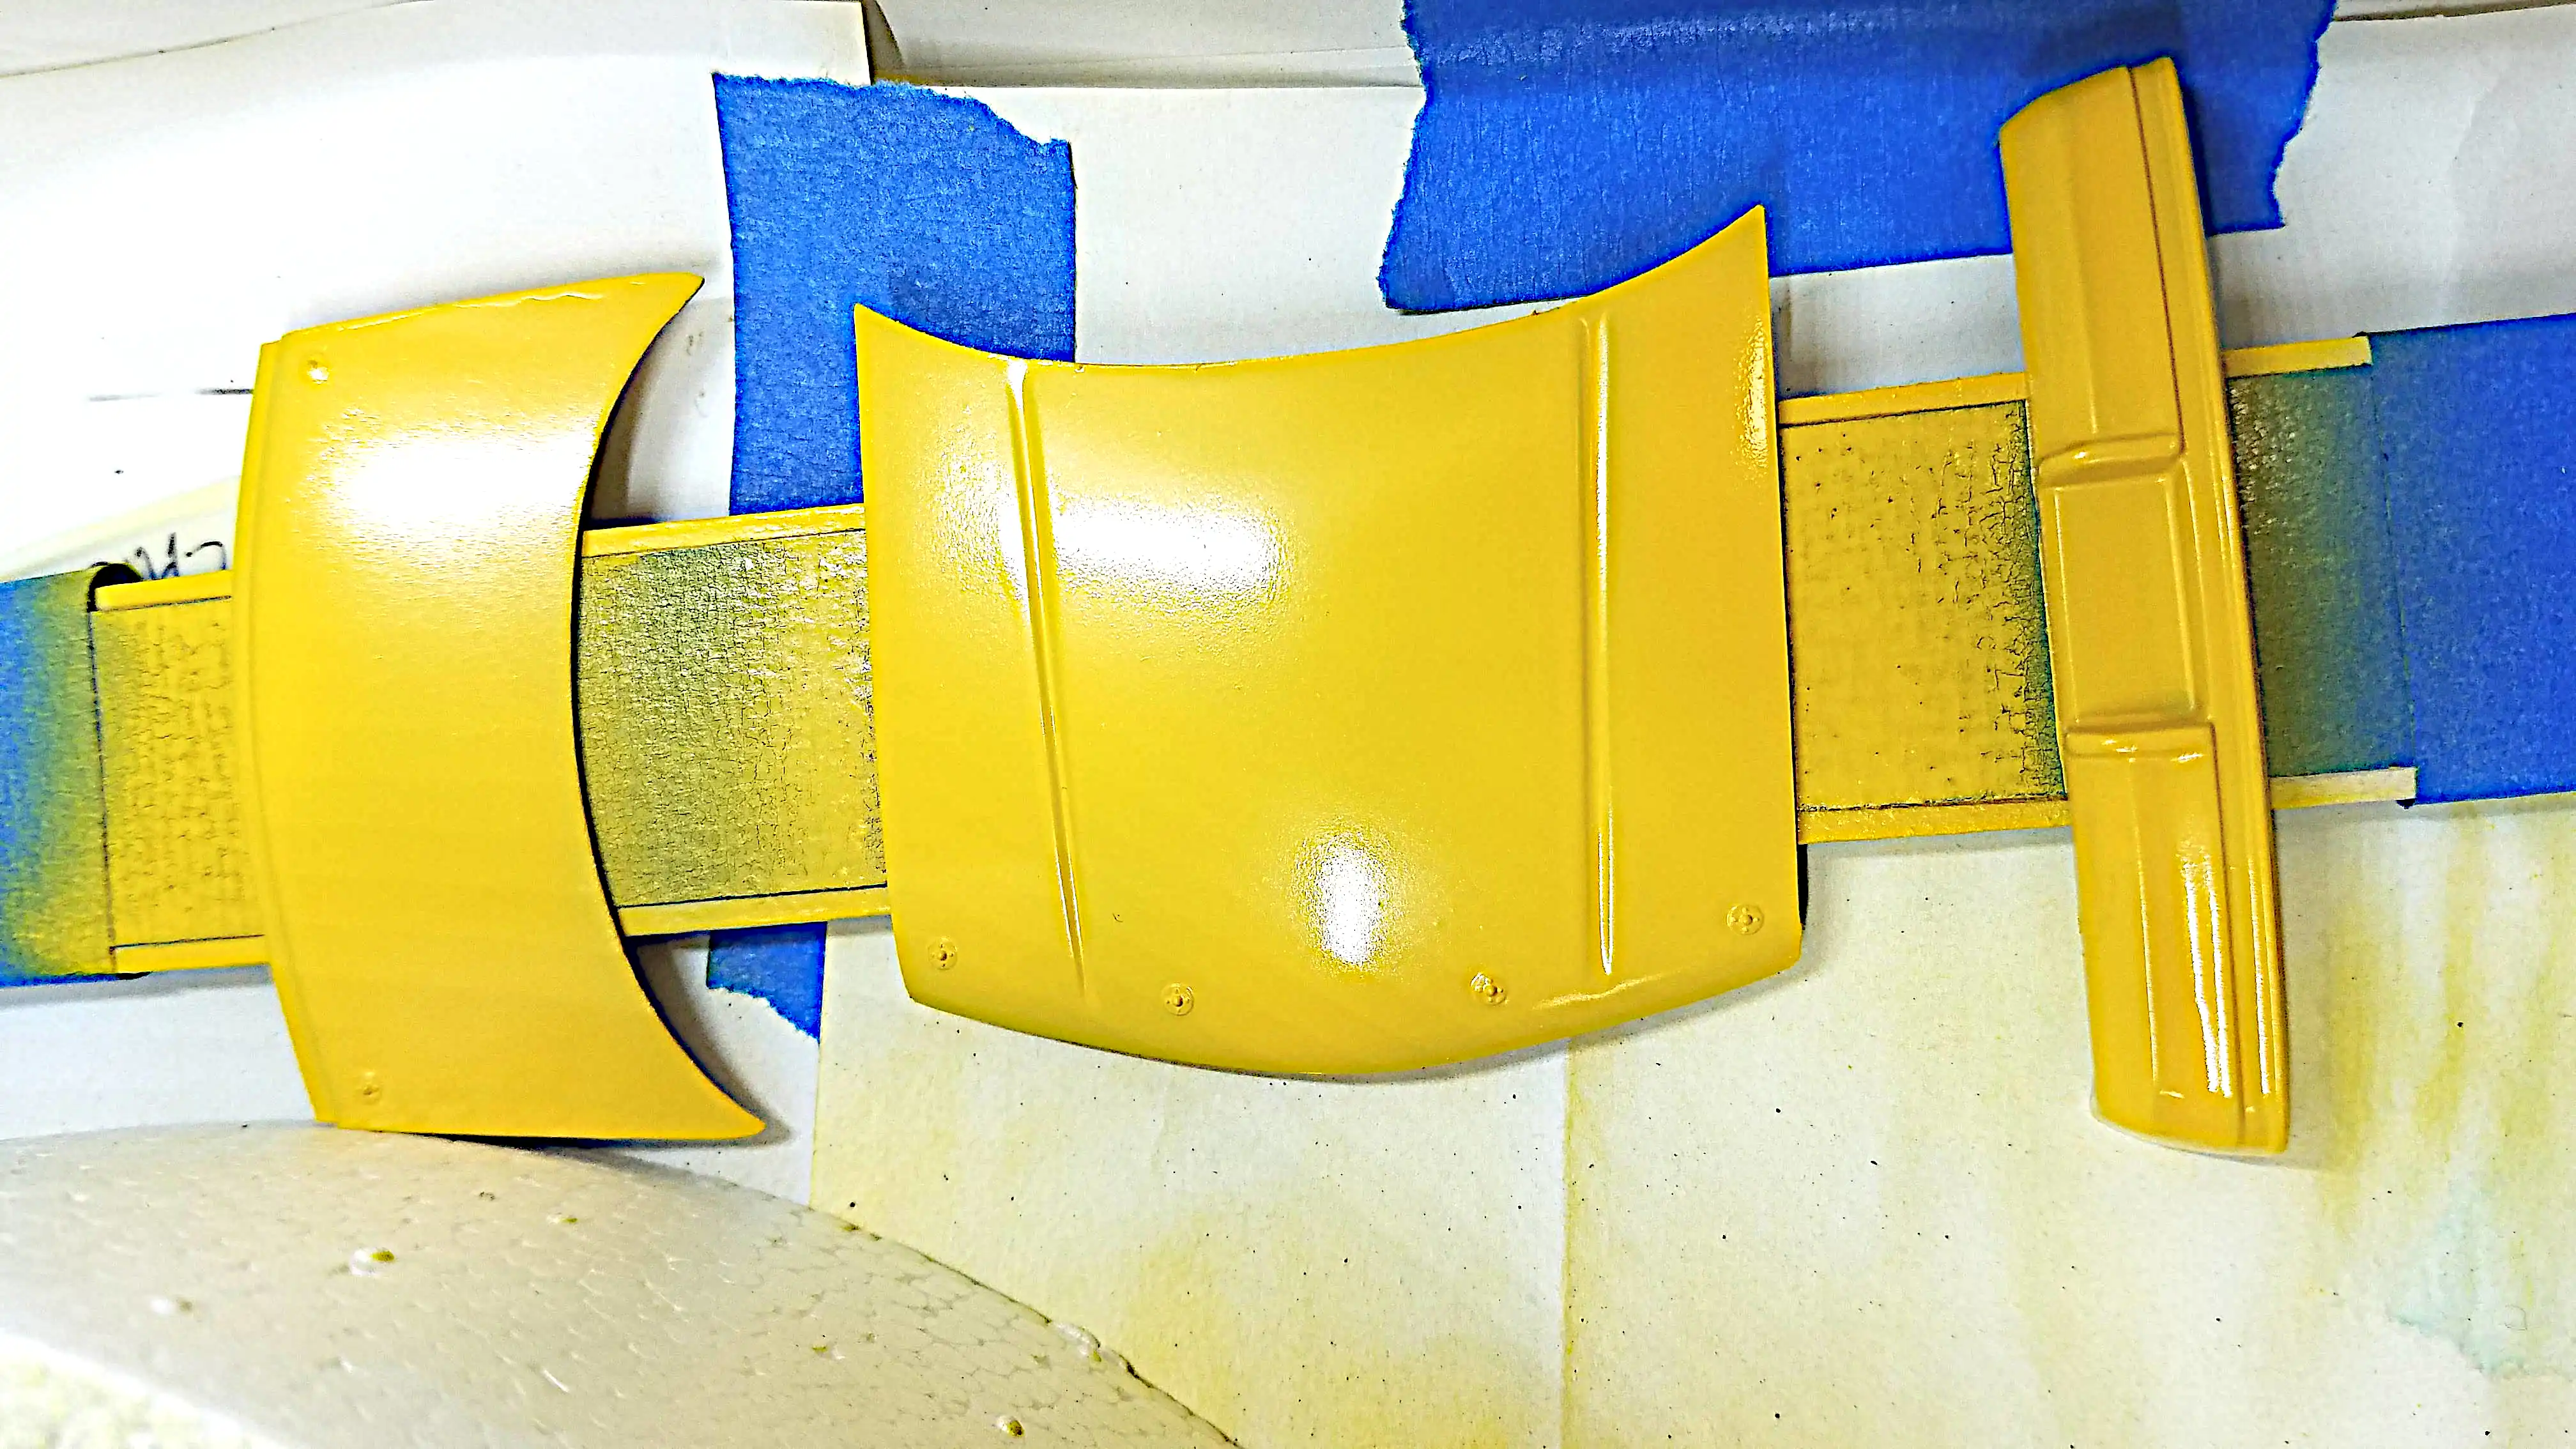 Painting the body
I airbrushed the trunk lid, hood and rear bumper with the Model Master Chrome Yellow. I had a run along one edge of the trunk lid, and I noticed some orange peeling.
I was devastated over the run and the orange peeling, but I used it to my benefit to learn why the paint ran and why it orange peeled, and then, how to fix it.
Photo 048
Click/tap photo to enlarge
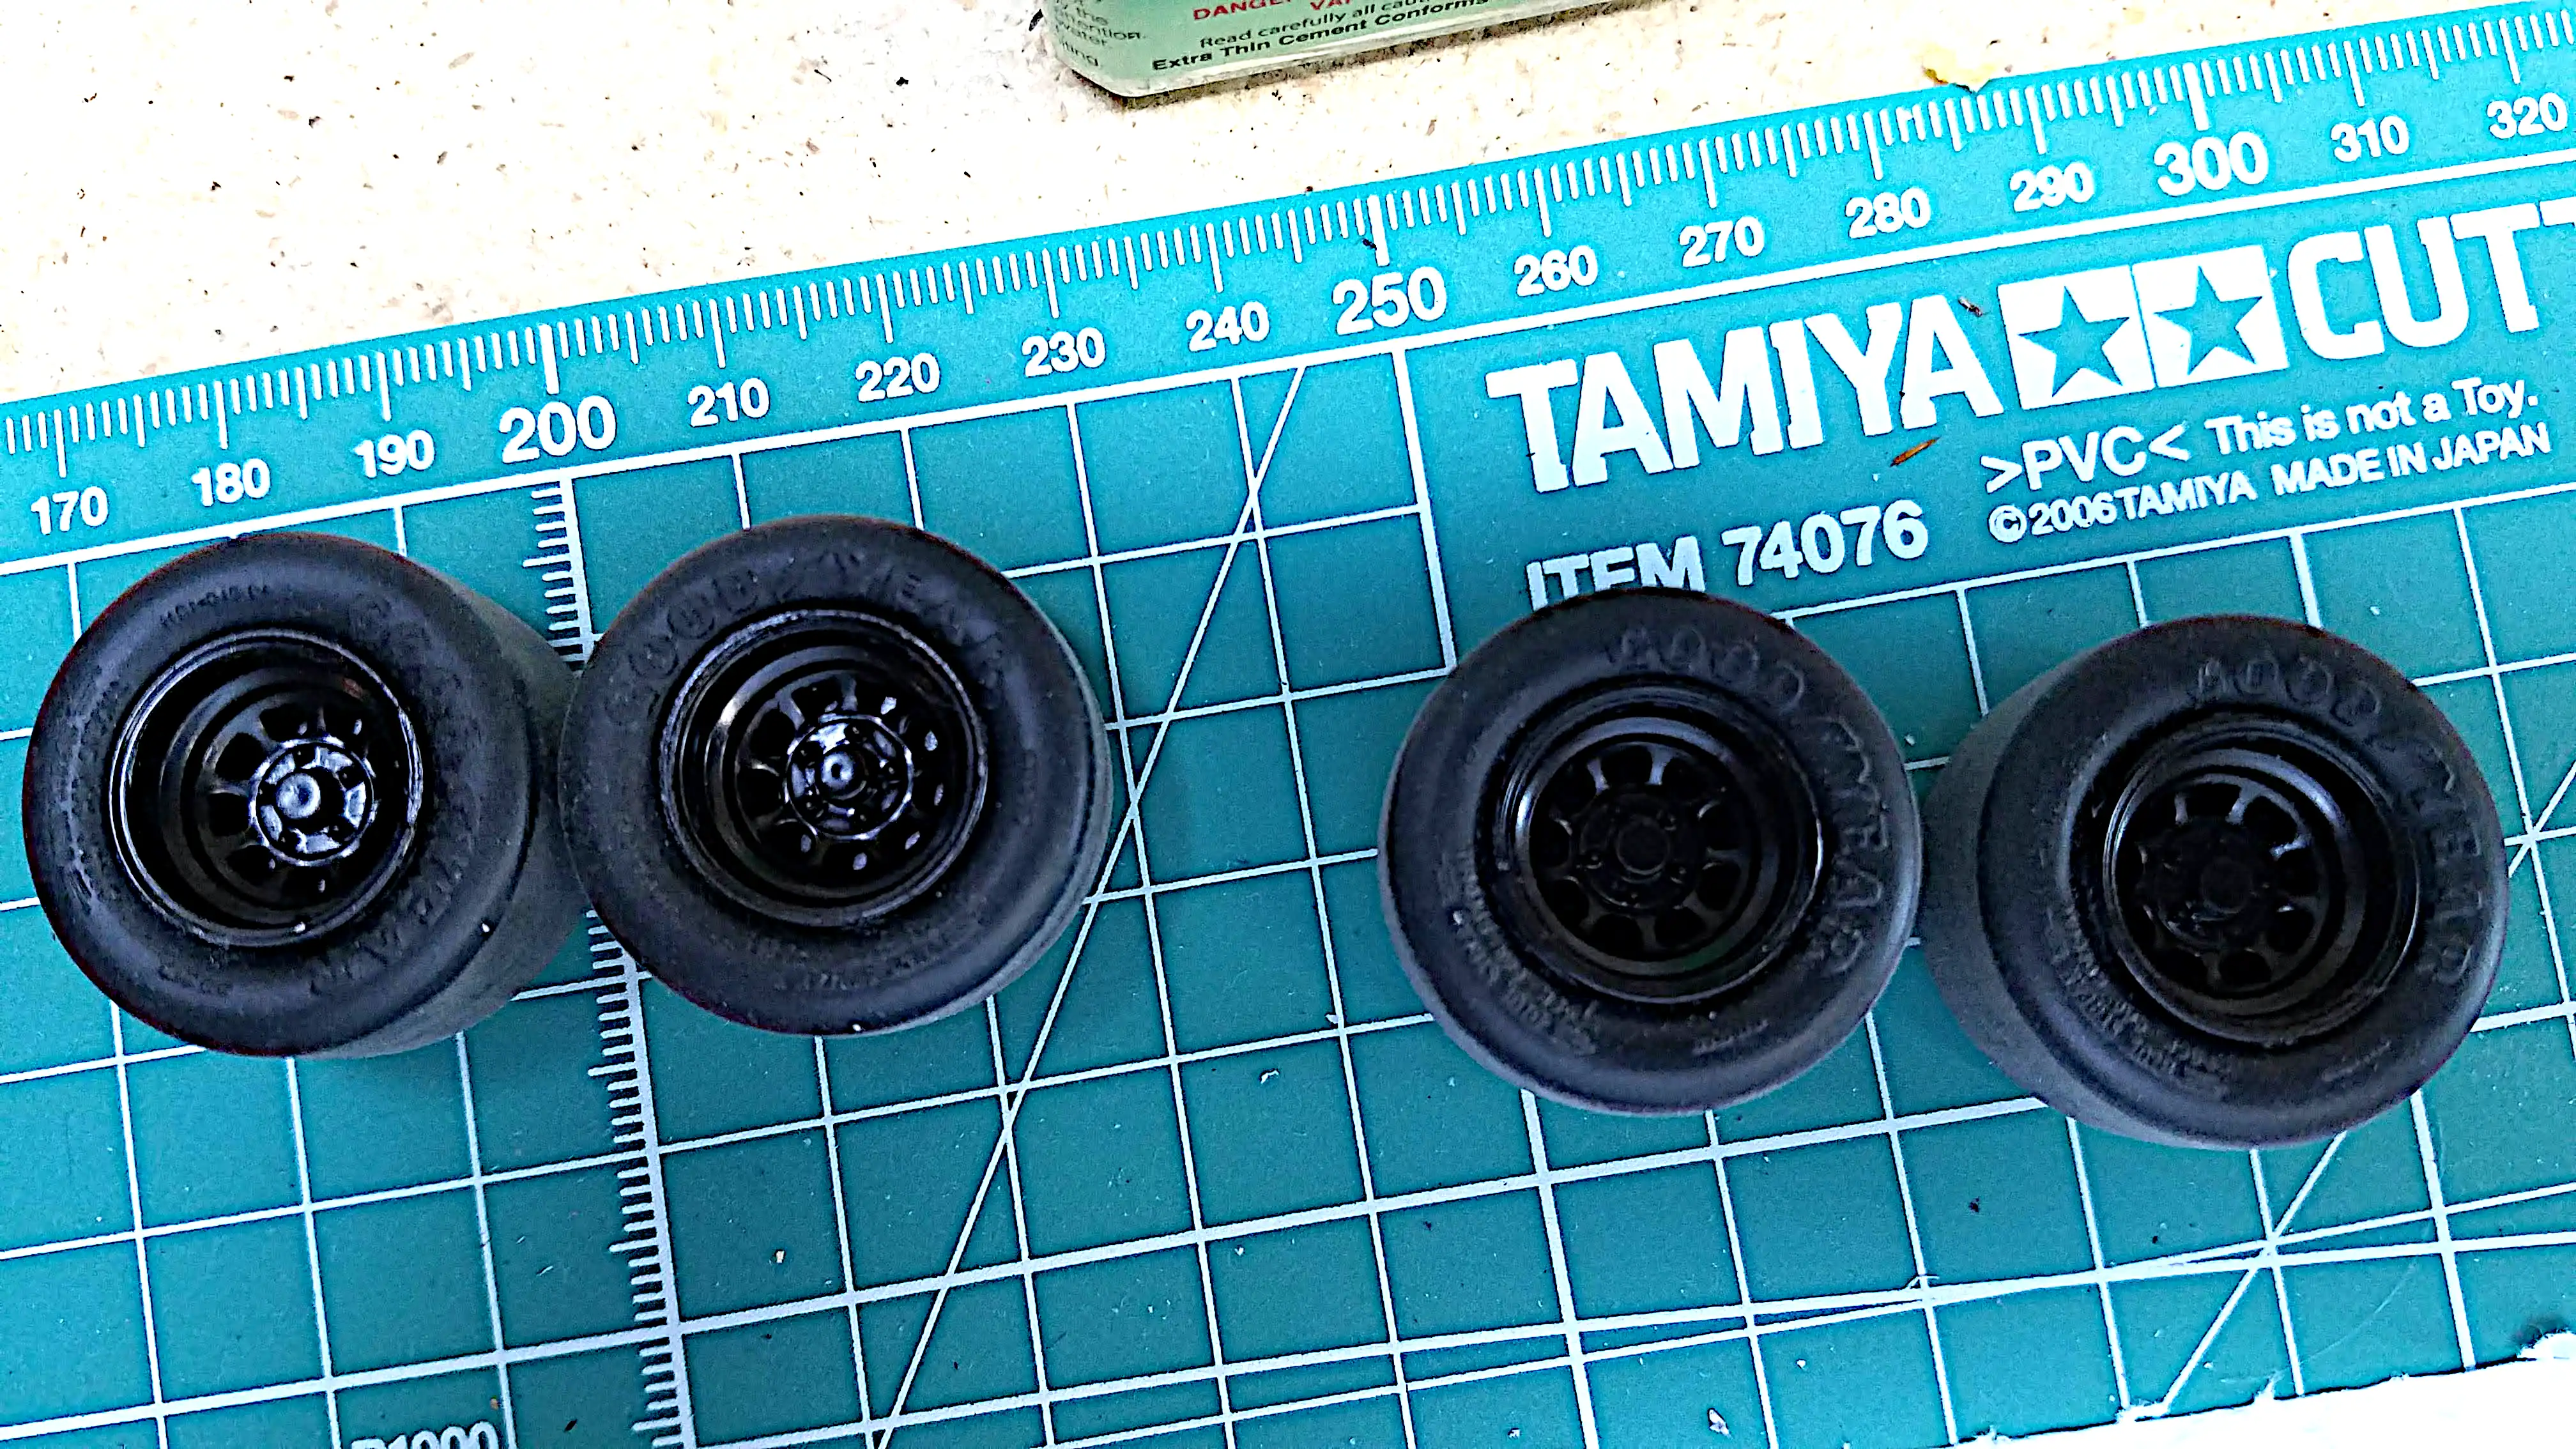 Painted the wheels
I had, from the beginning, decided to make a show car version; therefore, I painted the wheels black. I didn't think I was steady enough to white letter the Good Year on the tires.
Photo 050
Click/tap photo to enlarge
 Front brakes and shocks installed
The front brake rotors and the shocks are installed.
Photo 051
Click/tap photo to enlarge
 Front brakes and shocks installed
The front brake rotors and the shocks are installed.
Photo 052
Click/tap photo to enlarge
 Rear shocks dry fitted
The rear coil springs are installed, but not glued. I found the installation of the rear suspension to be difficult, especially to get the shocks put in place.
Photo 053
Click/tap photo to enlarge
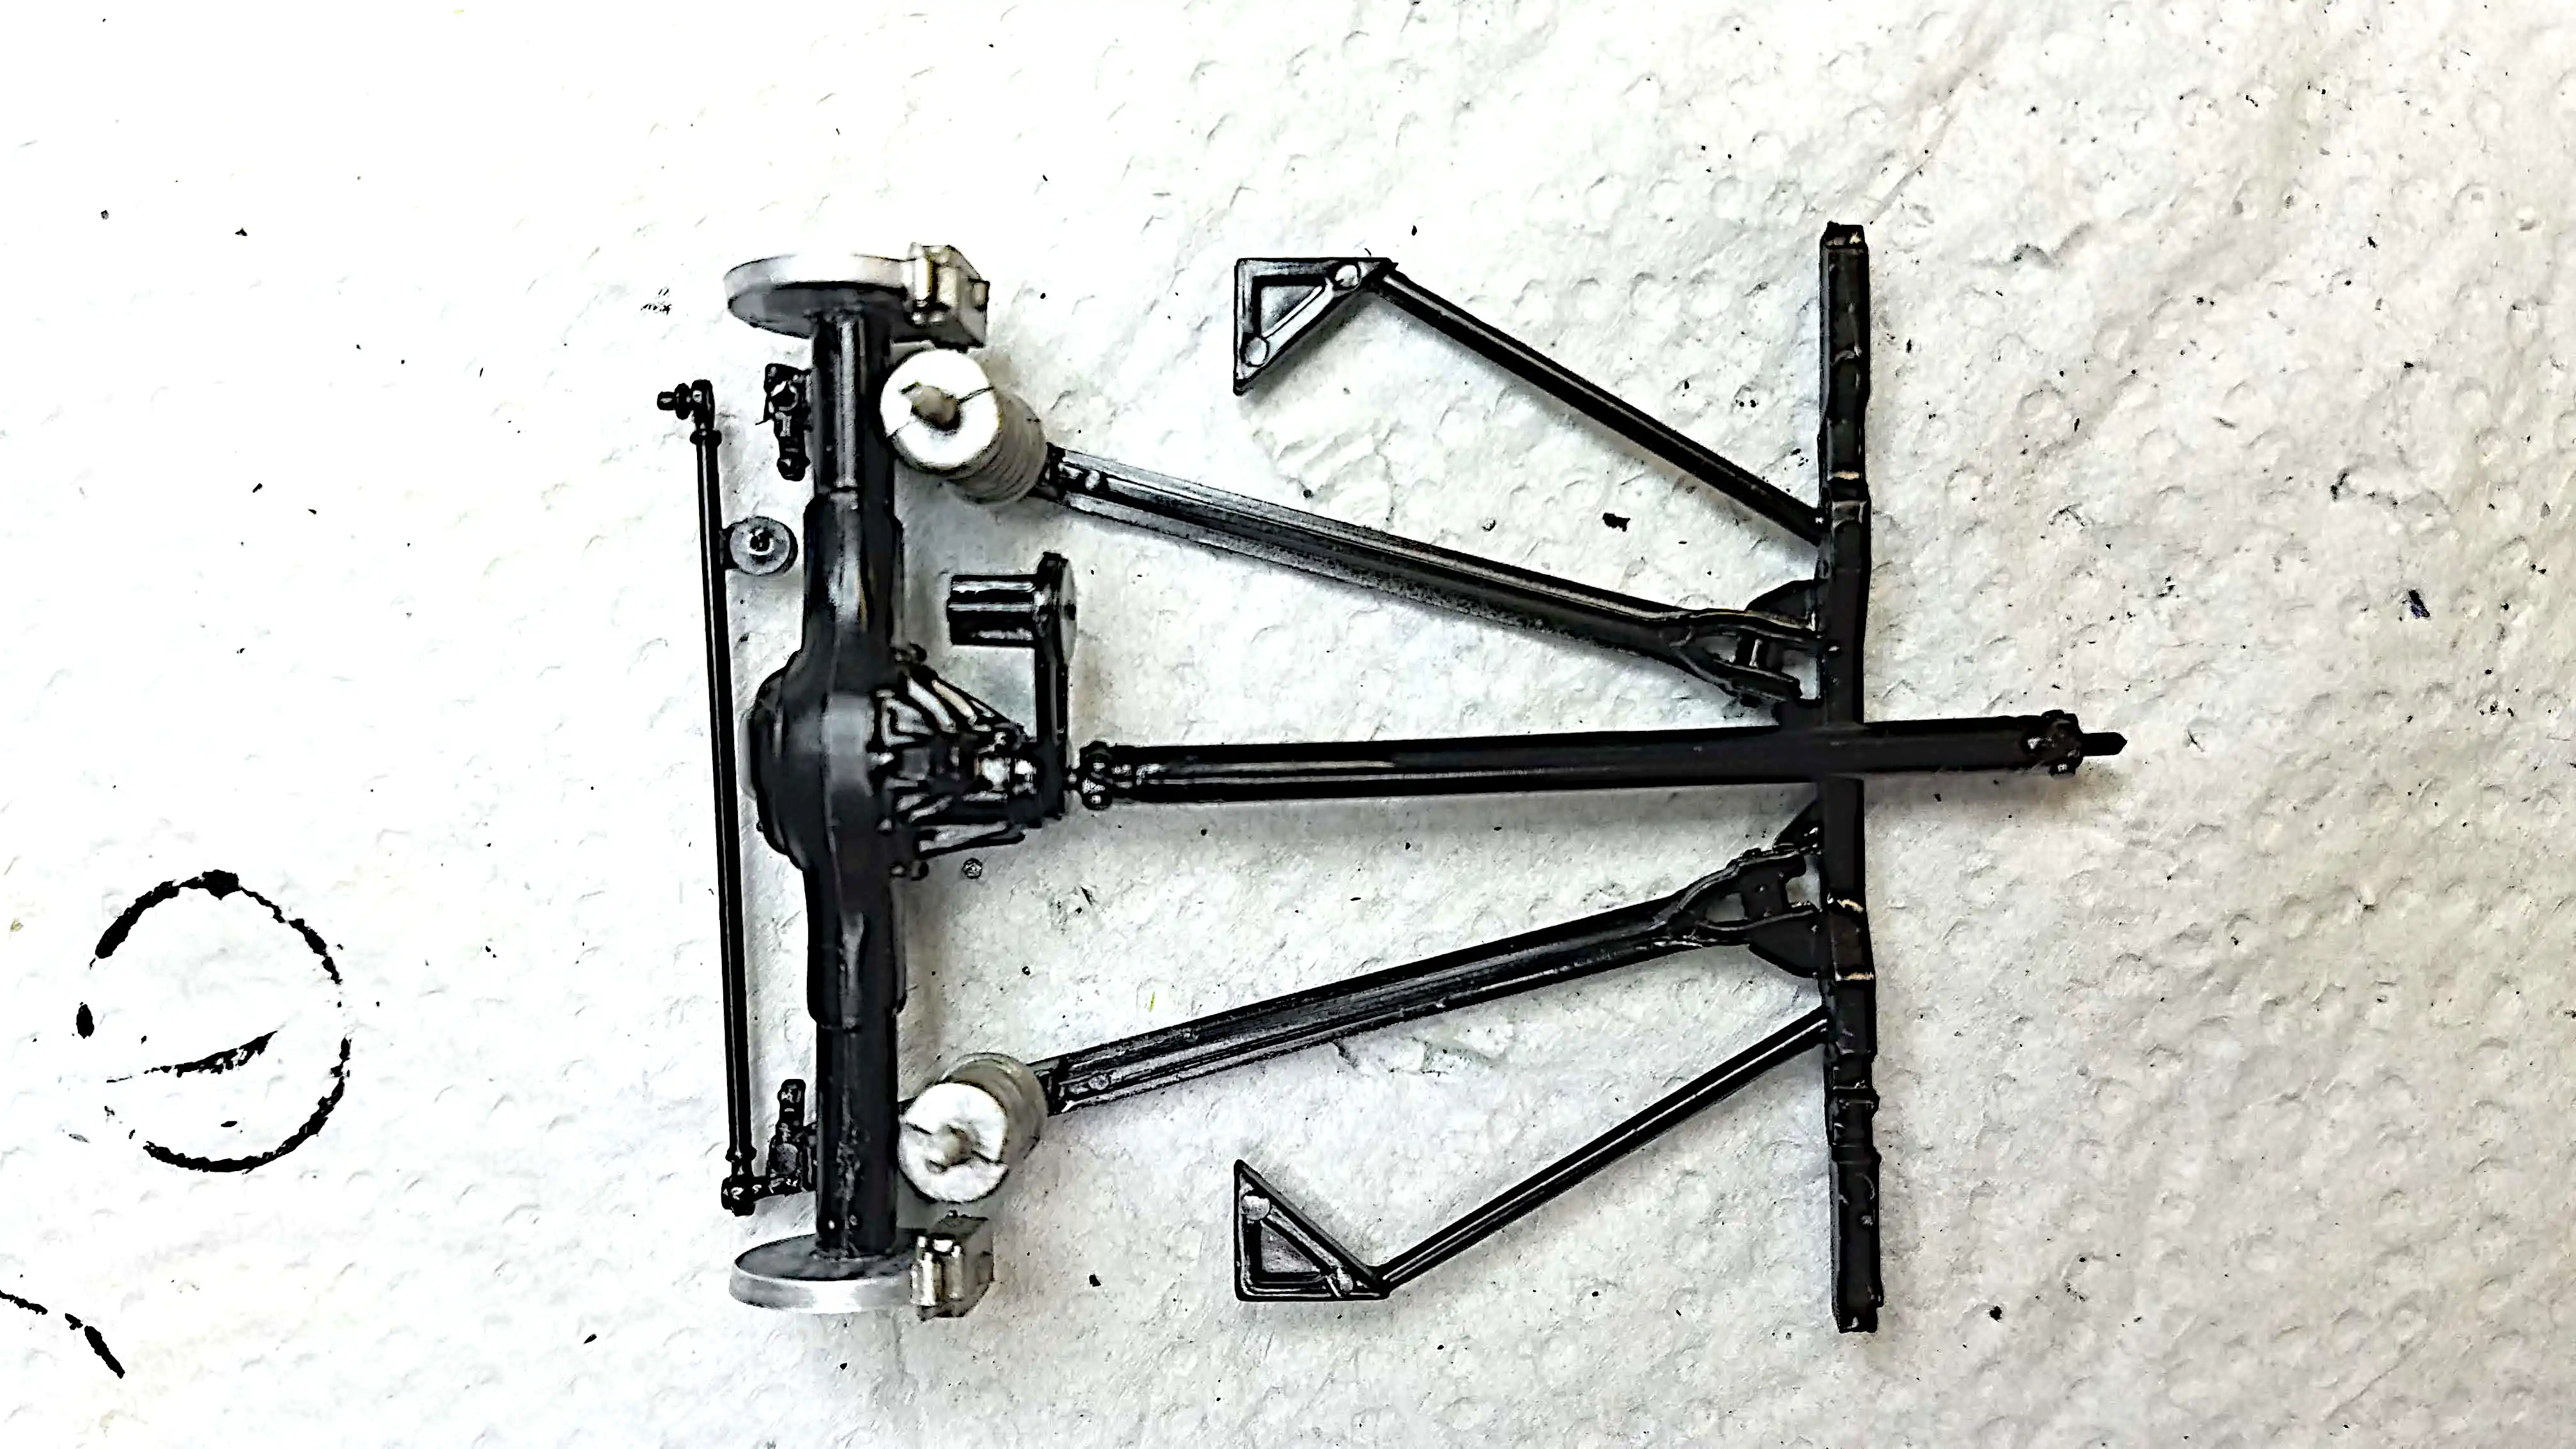
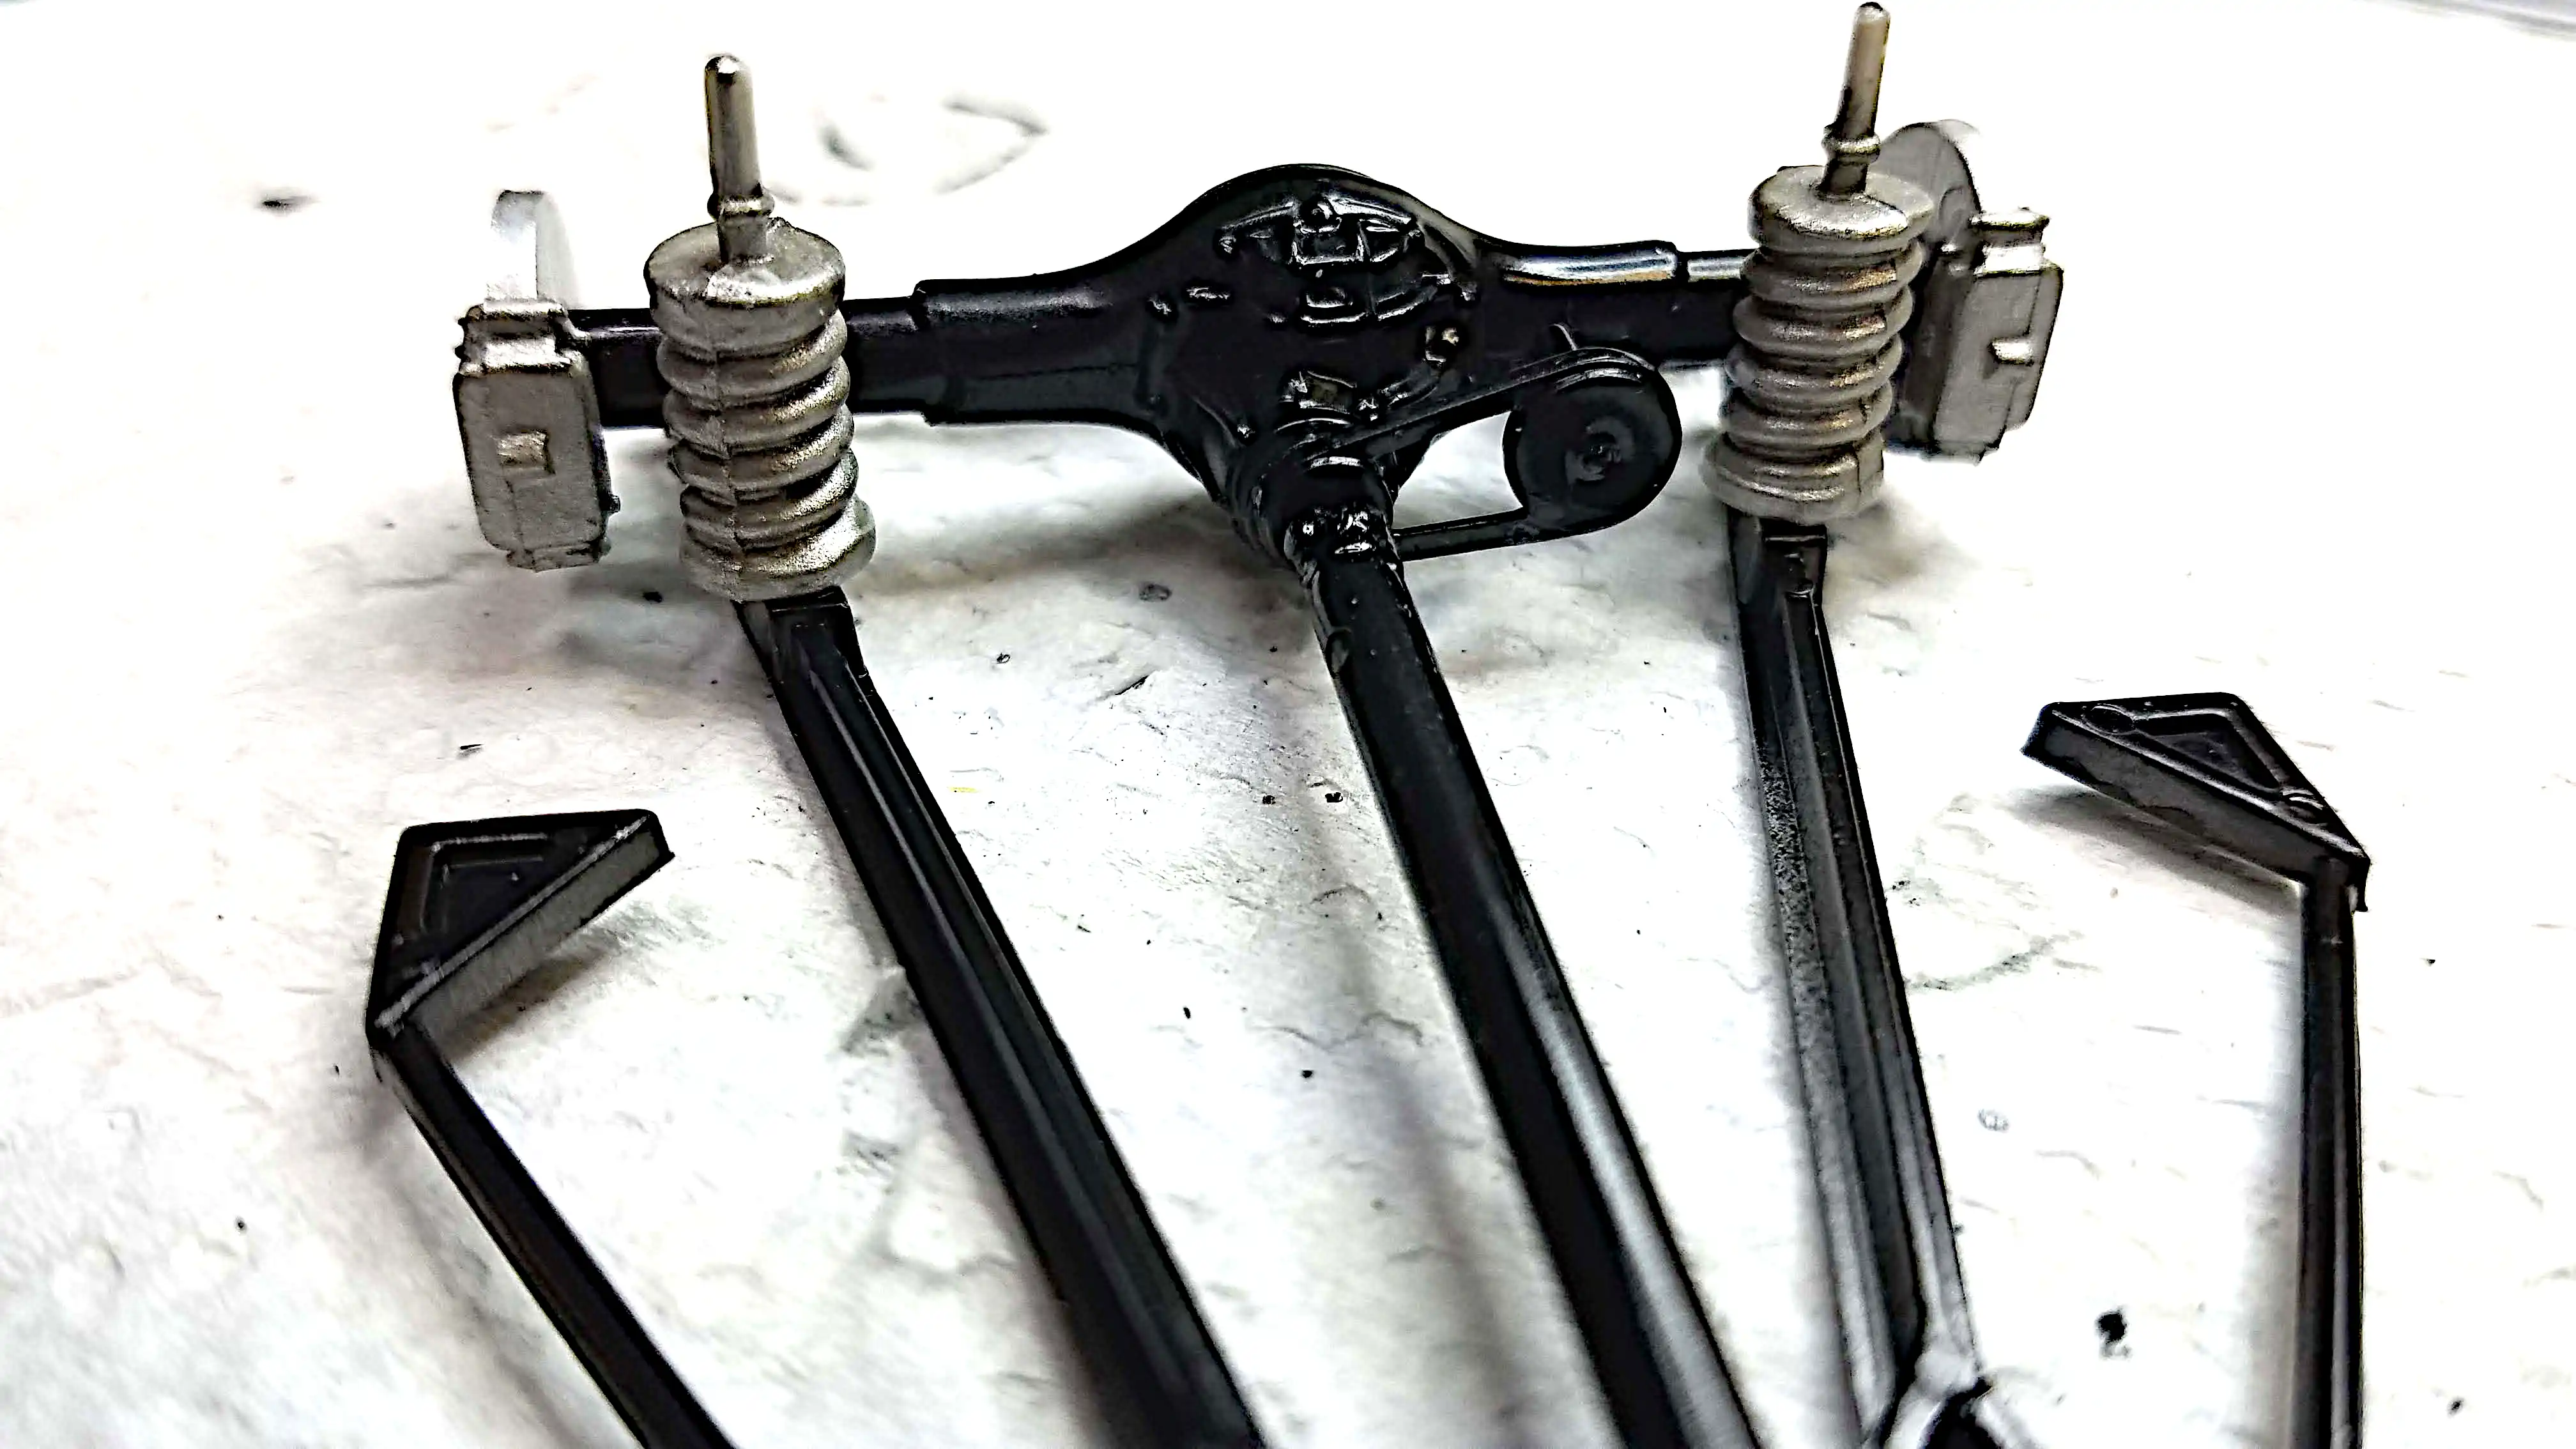
 Assembling rear axle and suspension
Assembling the rear axle and suspension.
Photo 054
Click/tap photo to enlarge
 Assembling rear axle and suspension
Assembling the rear axle and suspension.
Photo 055
Click/tap photo to enlarge
 Assembling rear axle and suspension
Assembling the rear axle and suspension.
Photo 056
Click/tap photo to enlarge
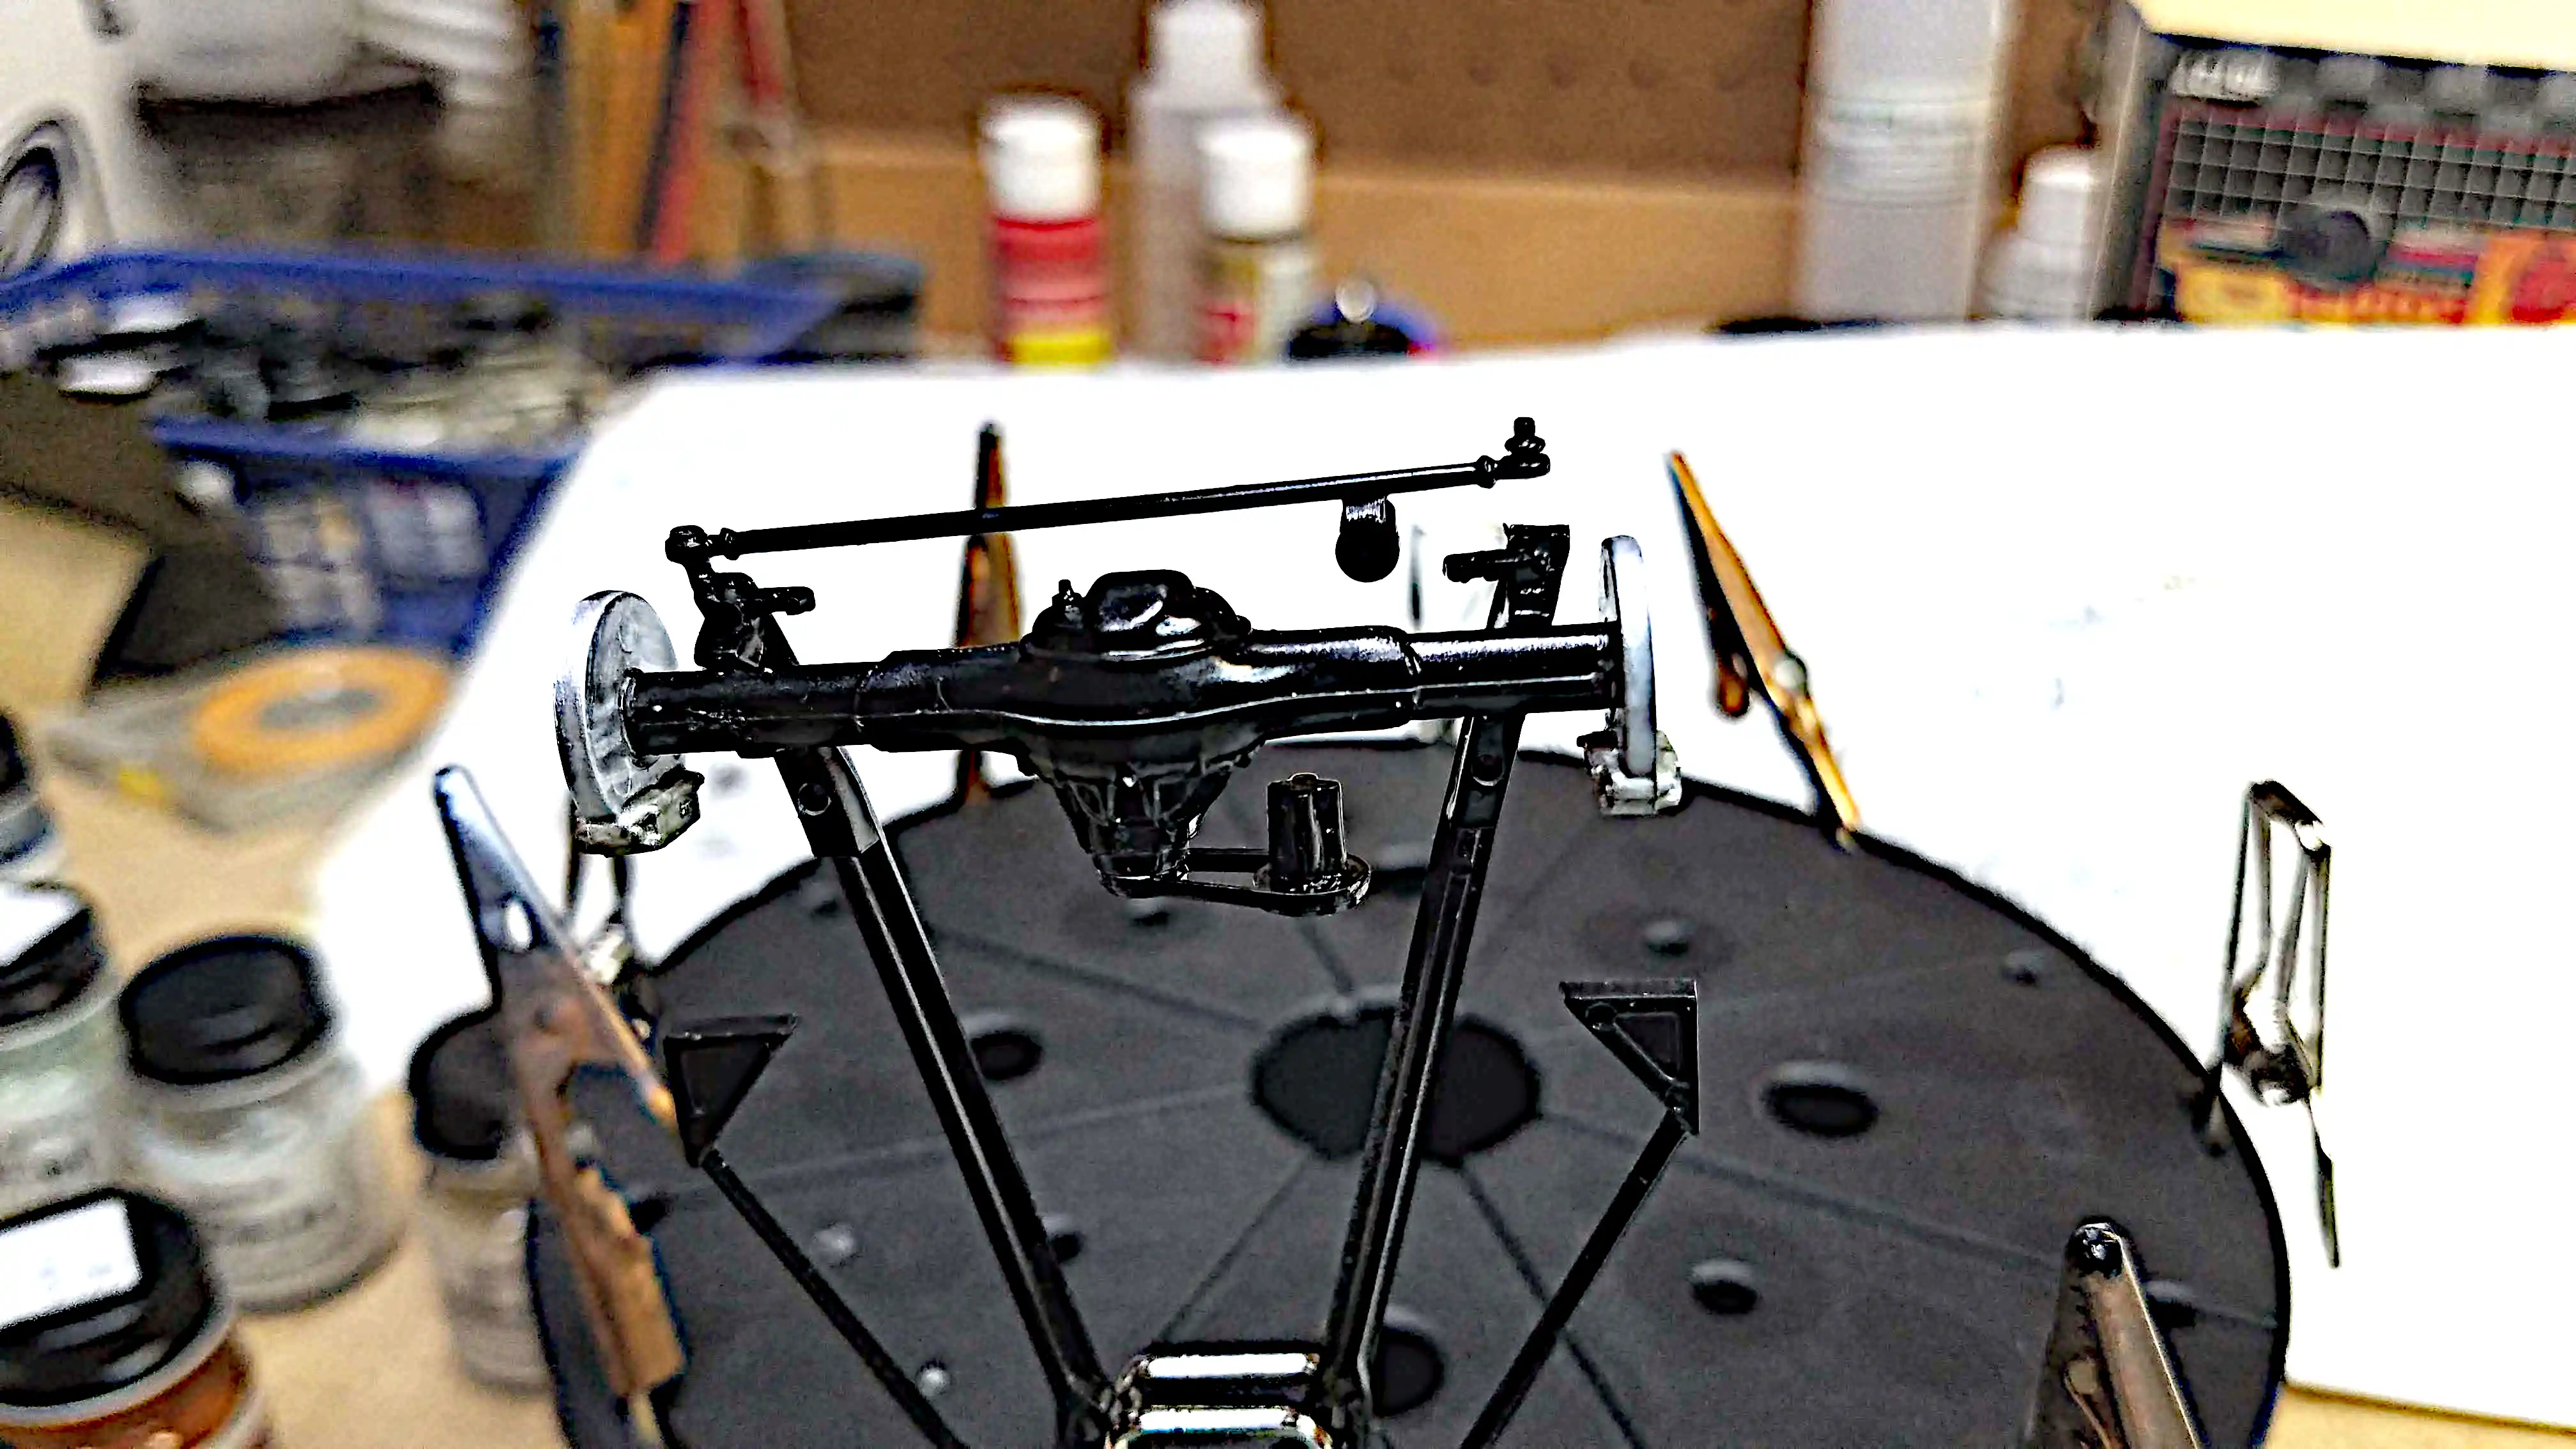
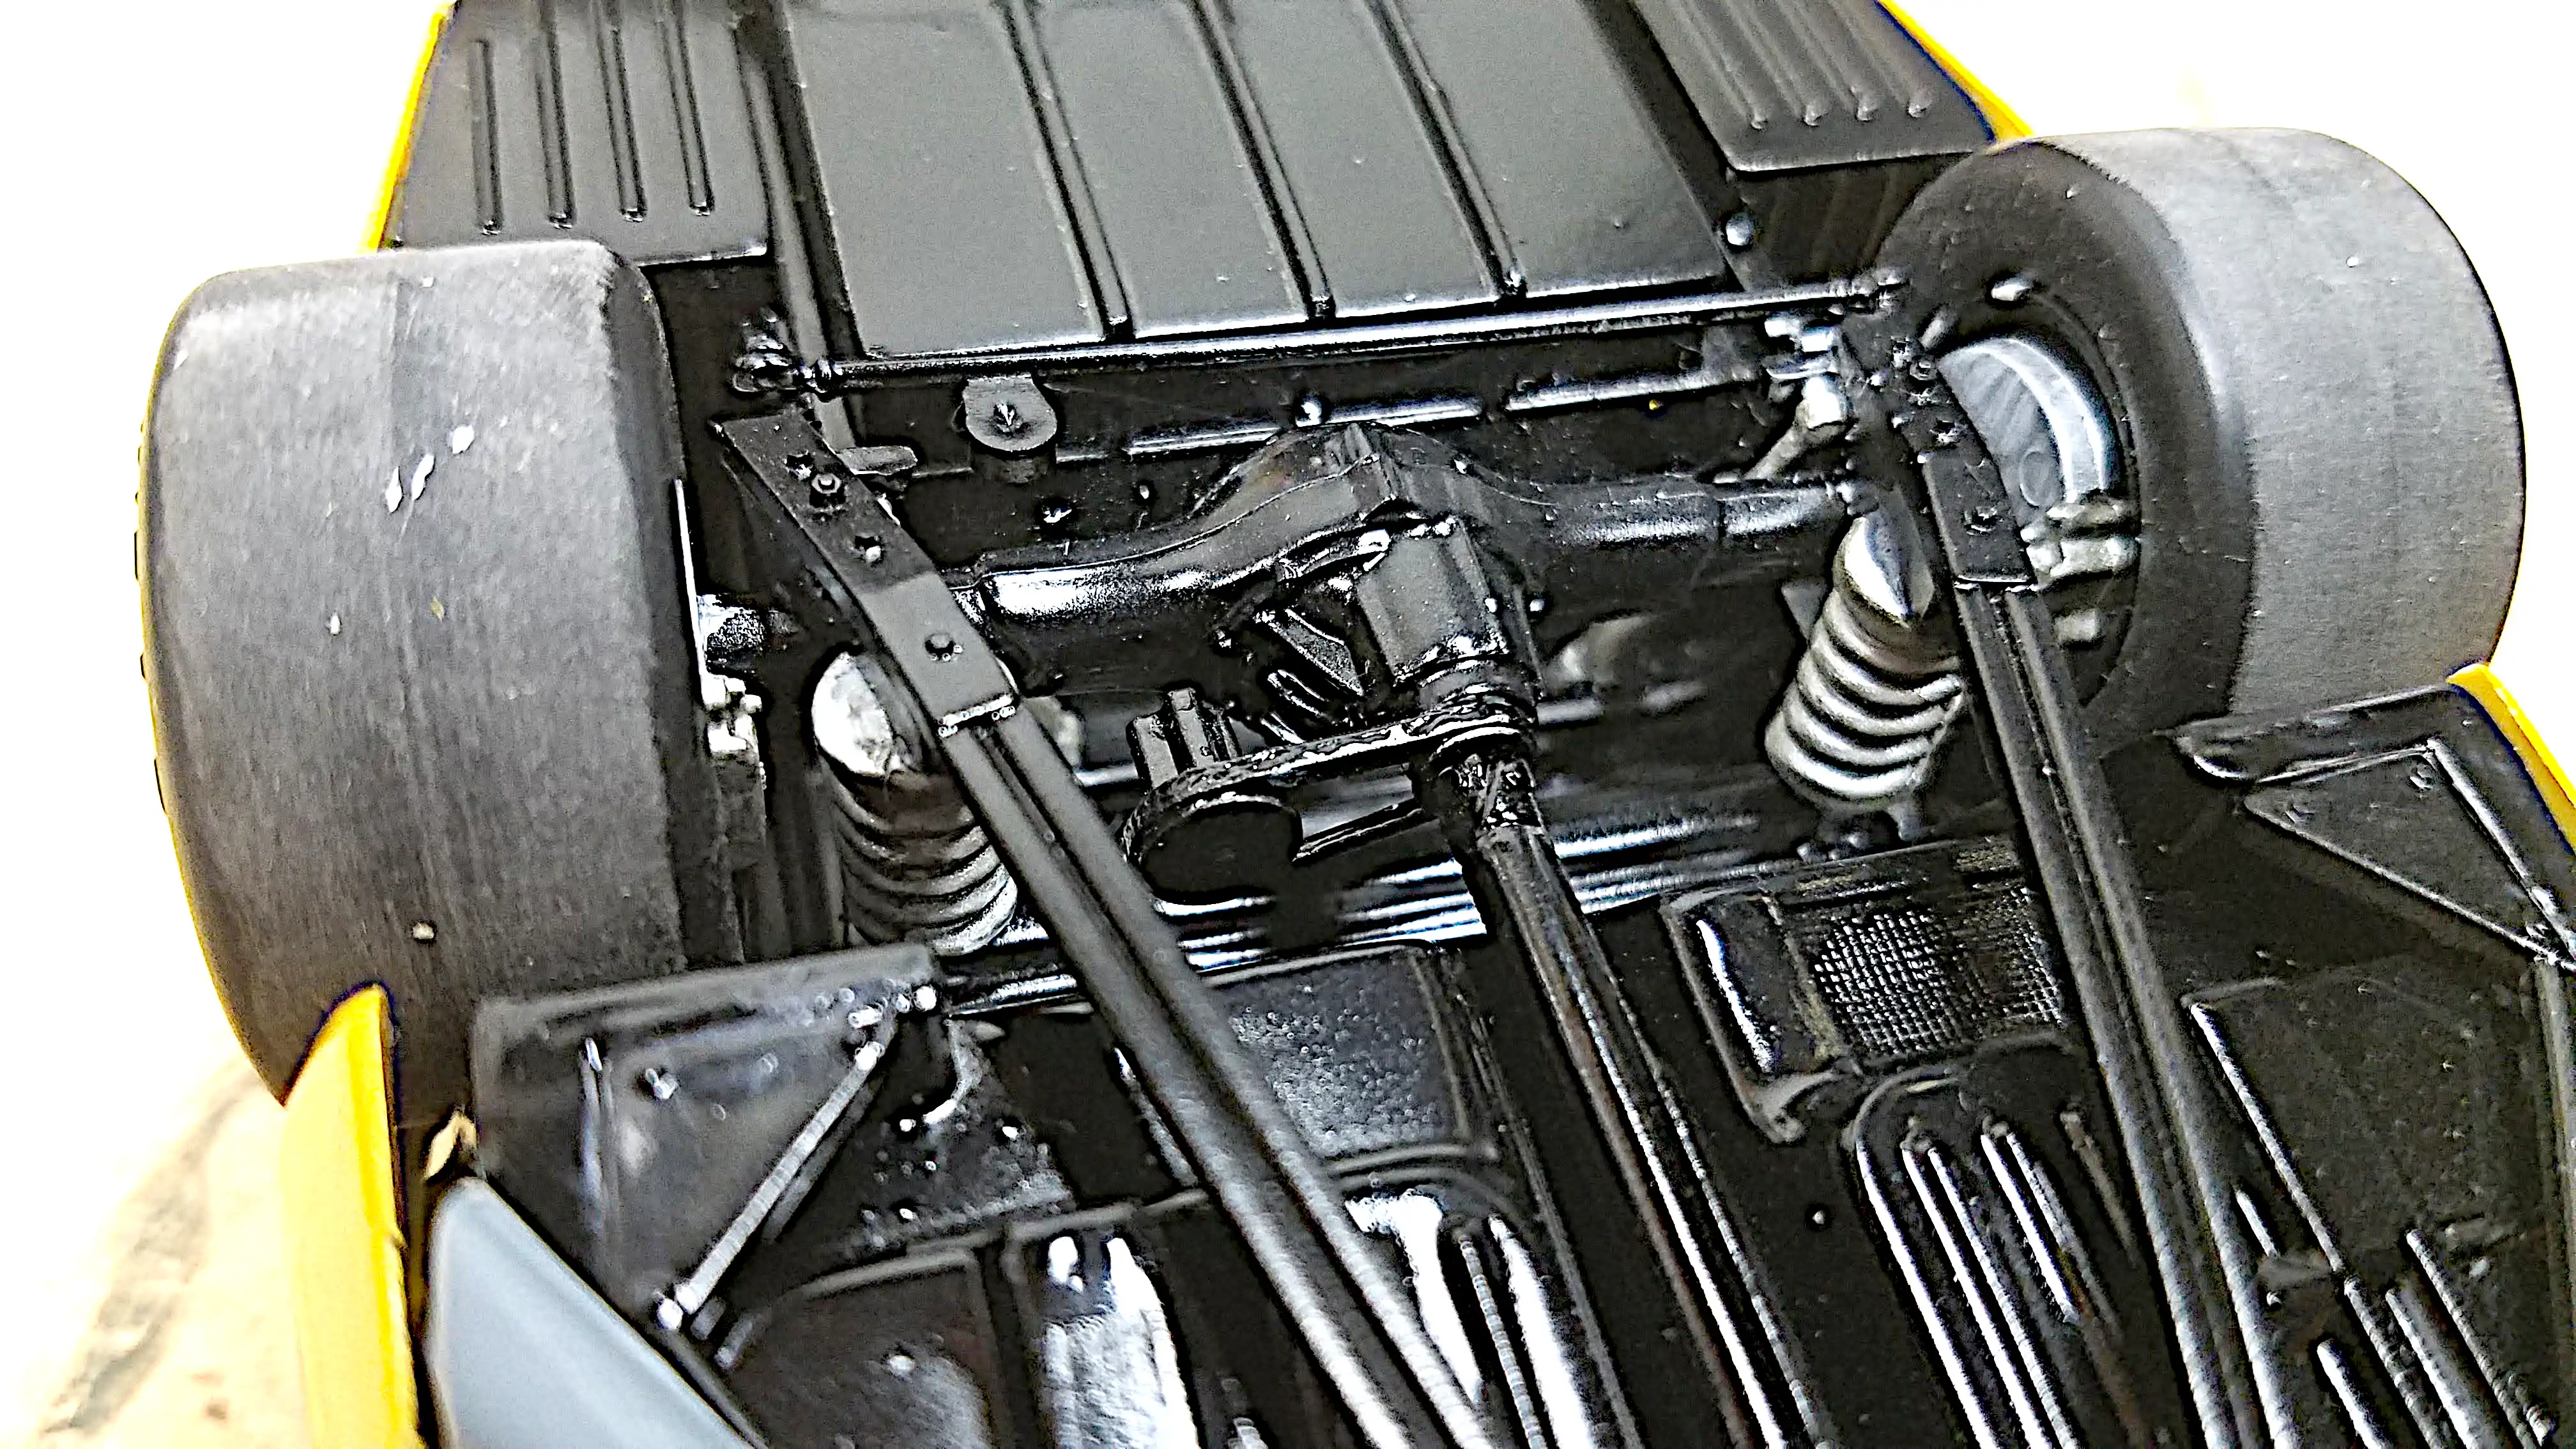 Rear suspension installed
I have the rear suspension assembled and installed.
Photo 058
Click/tap photo to enlarge
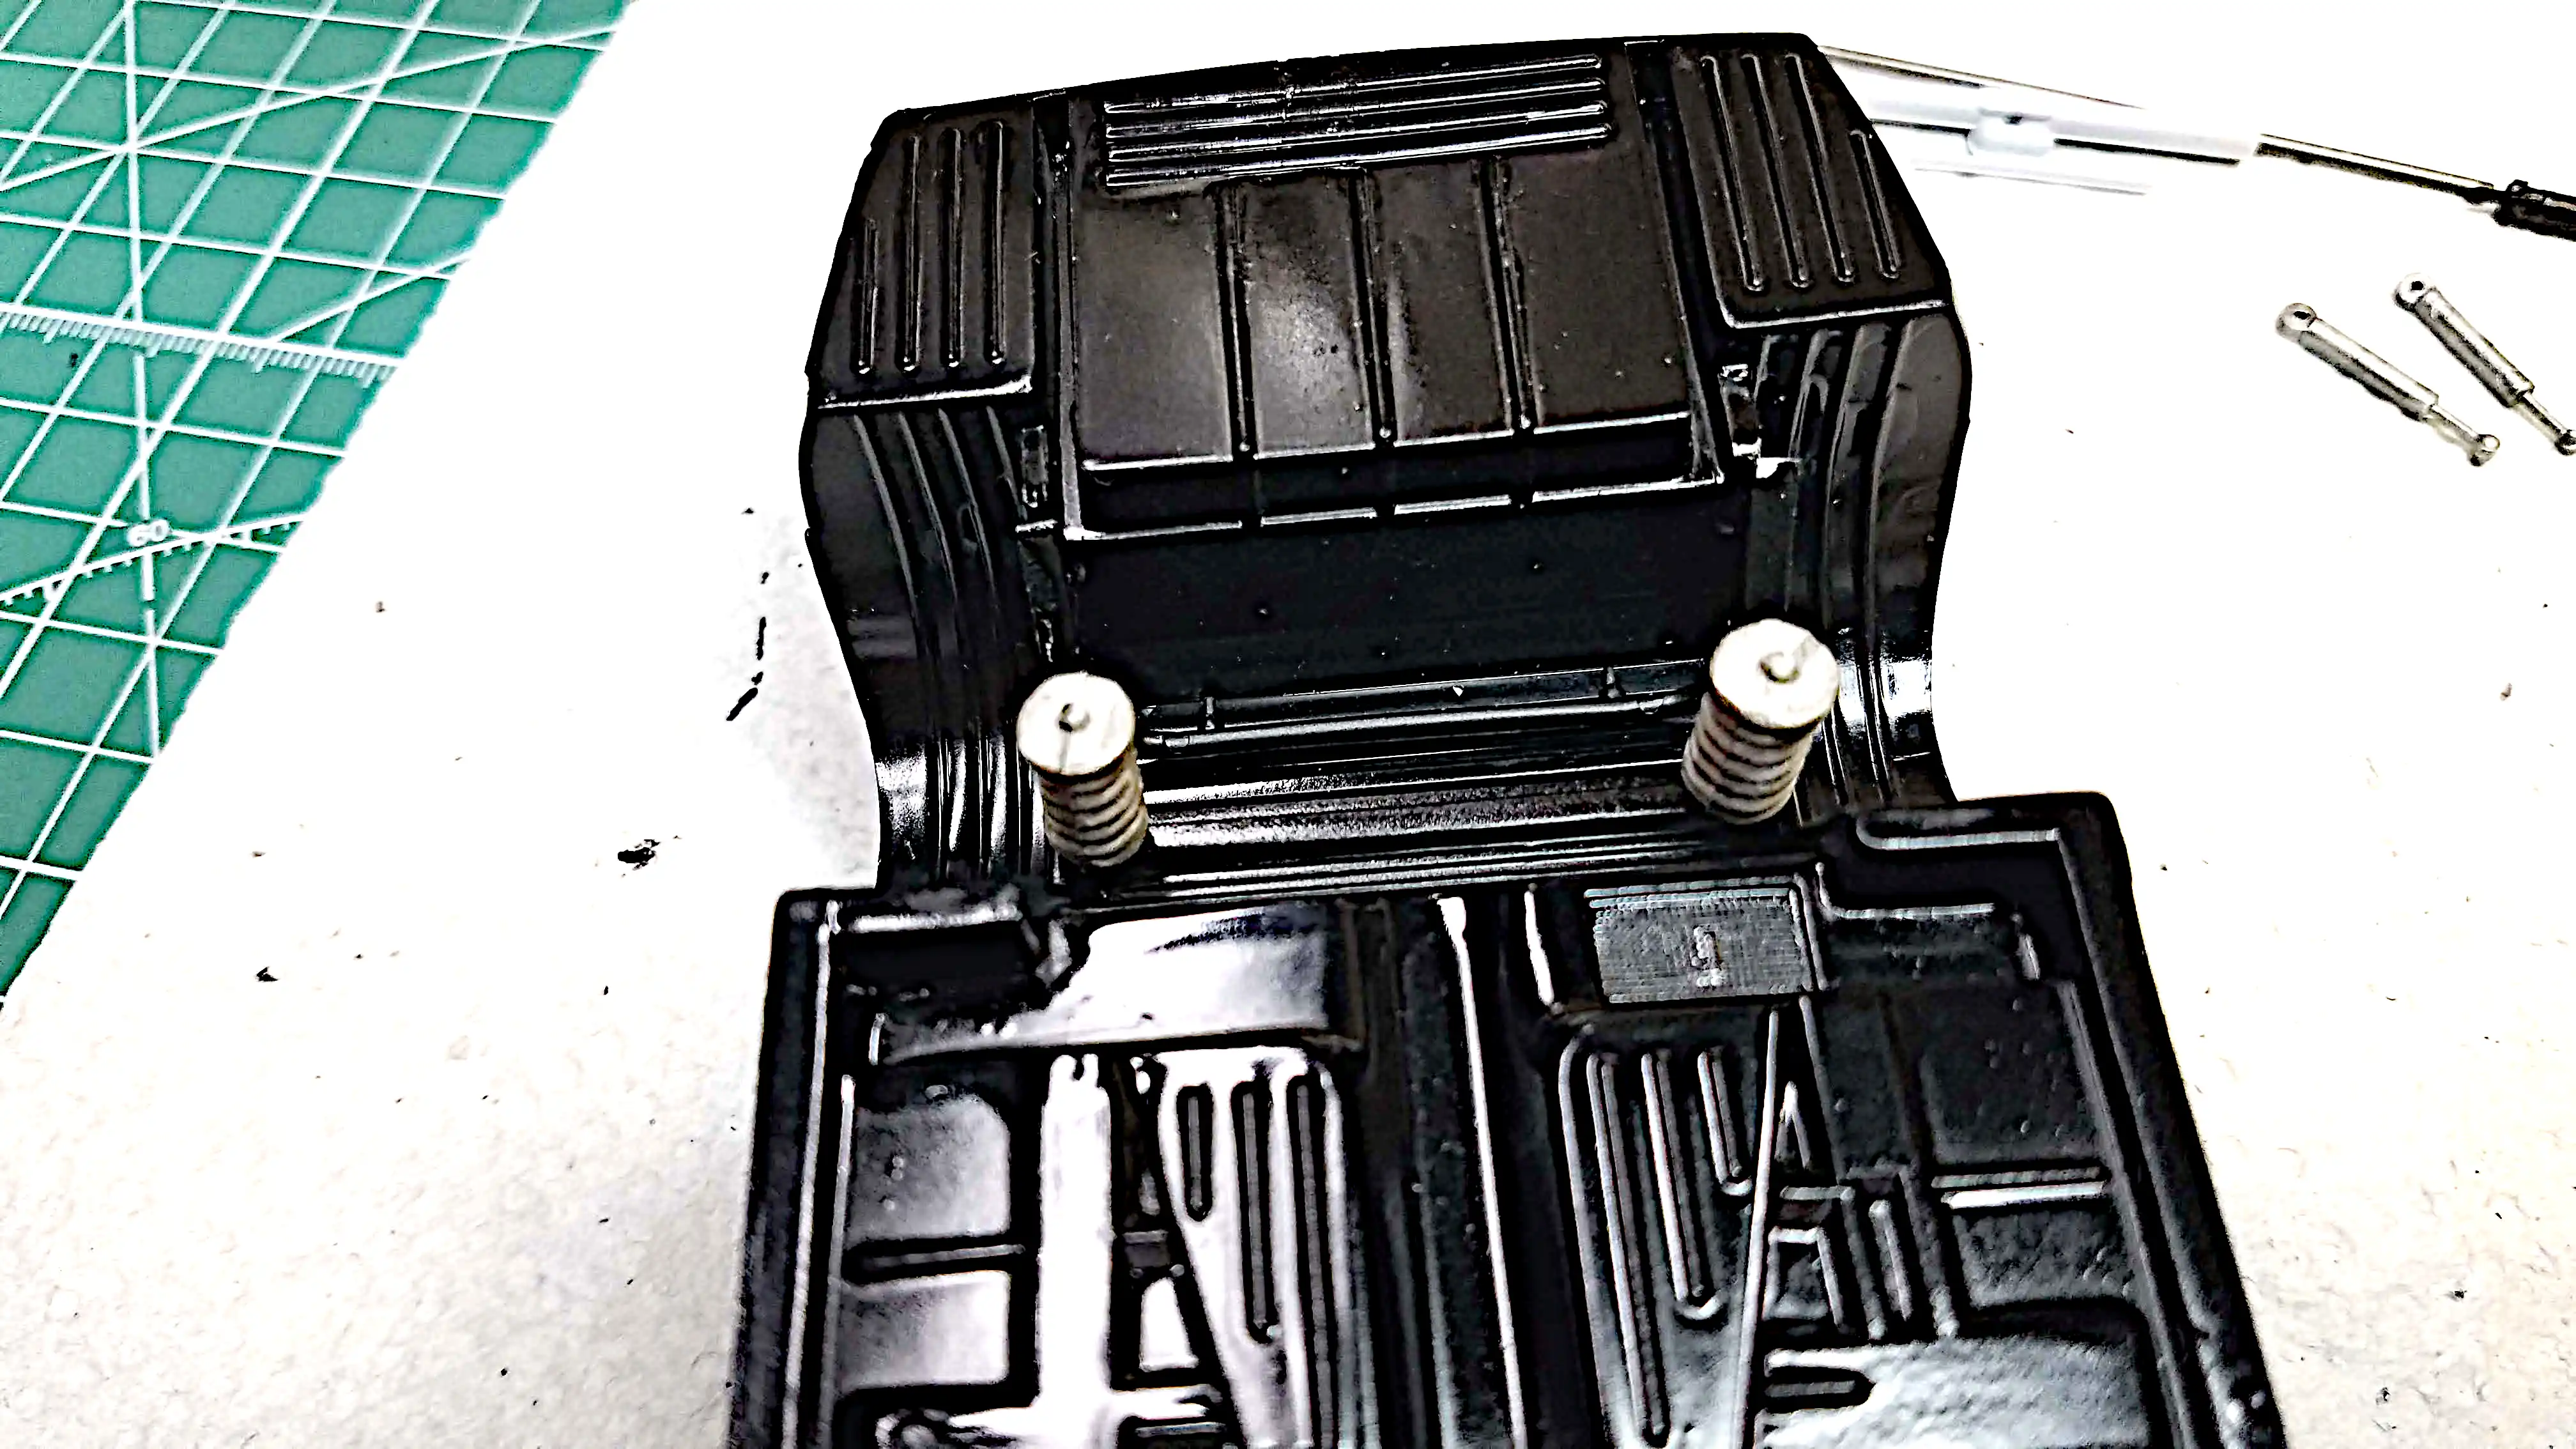
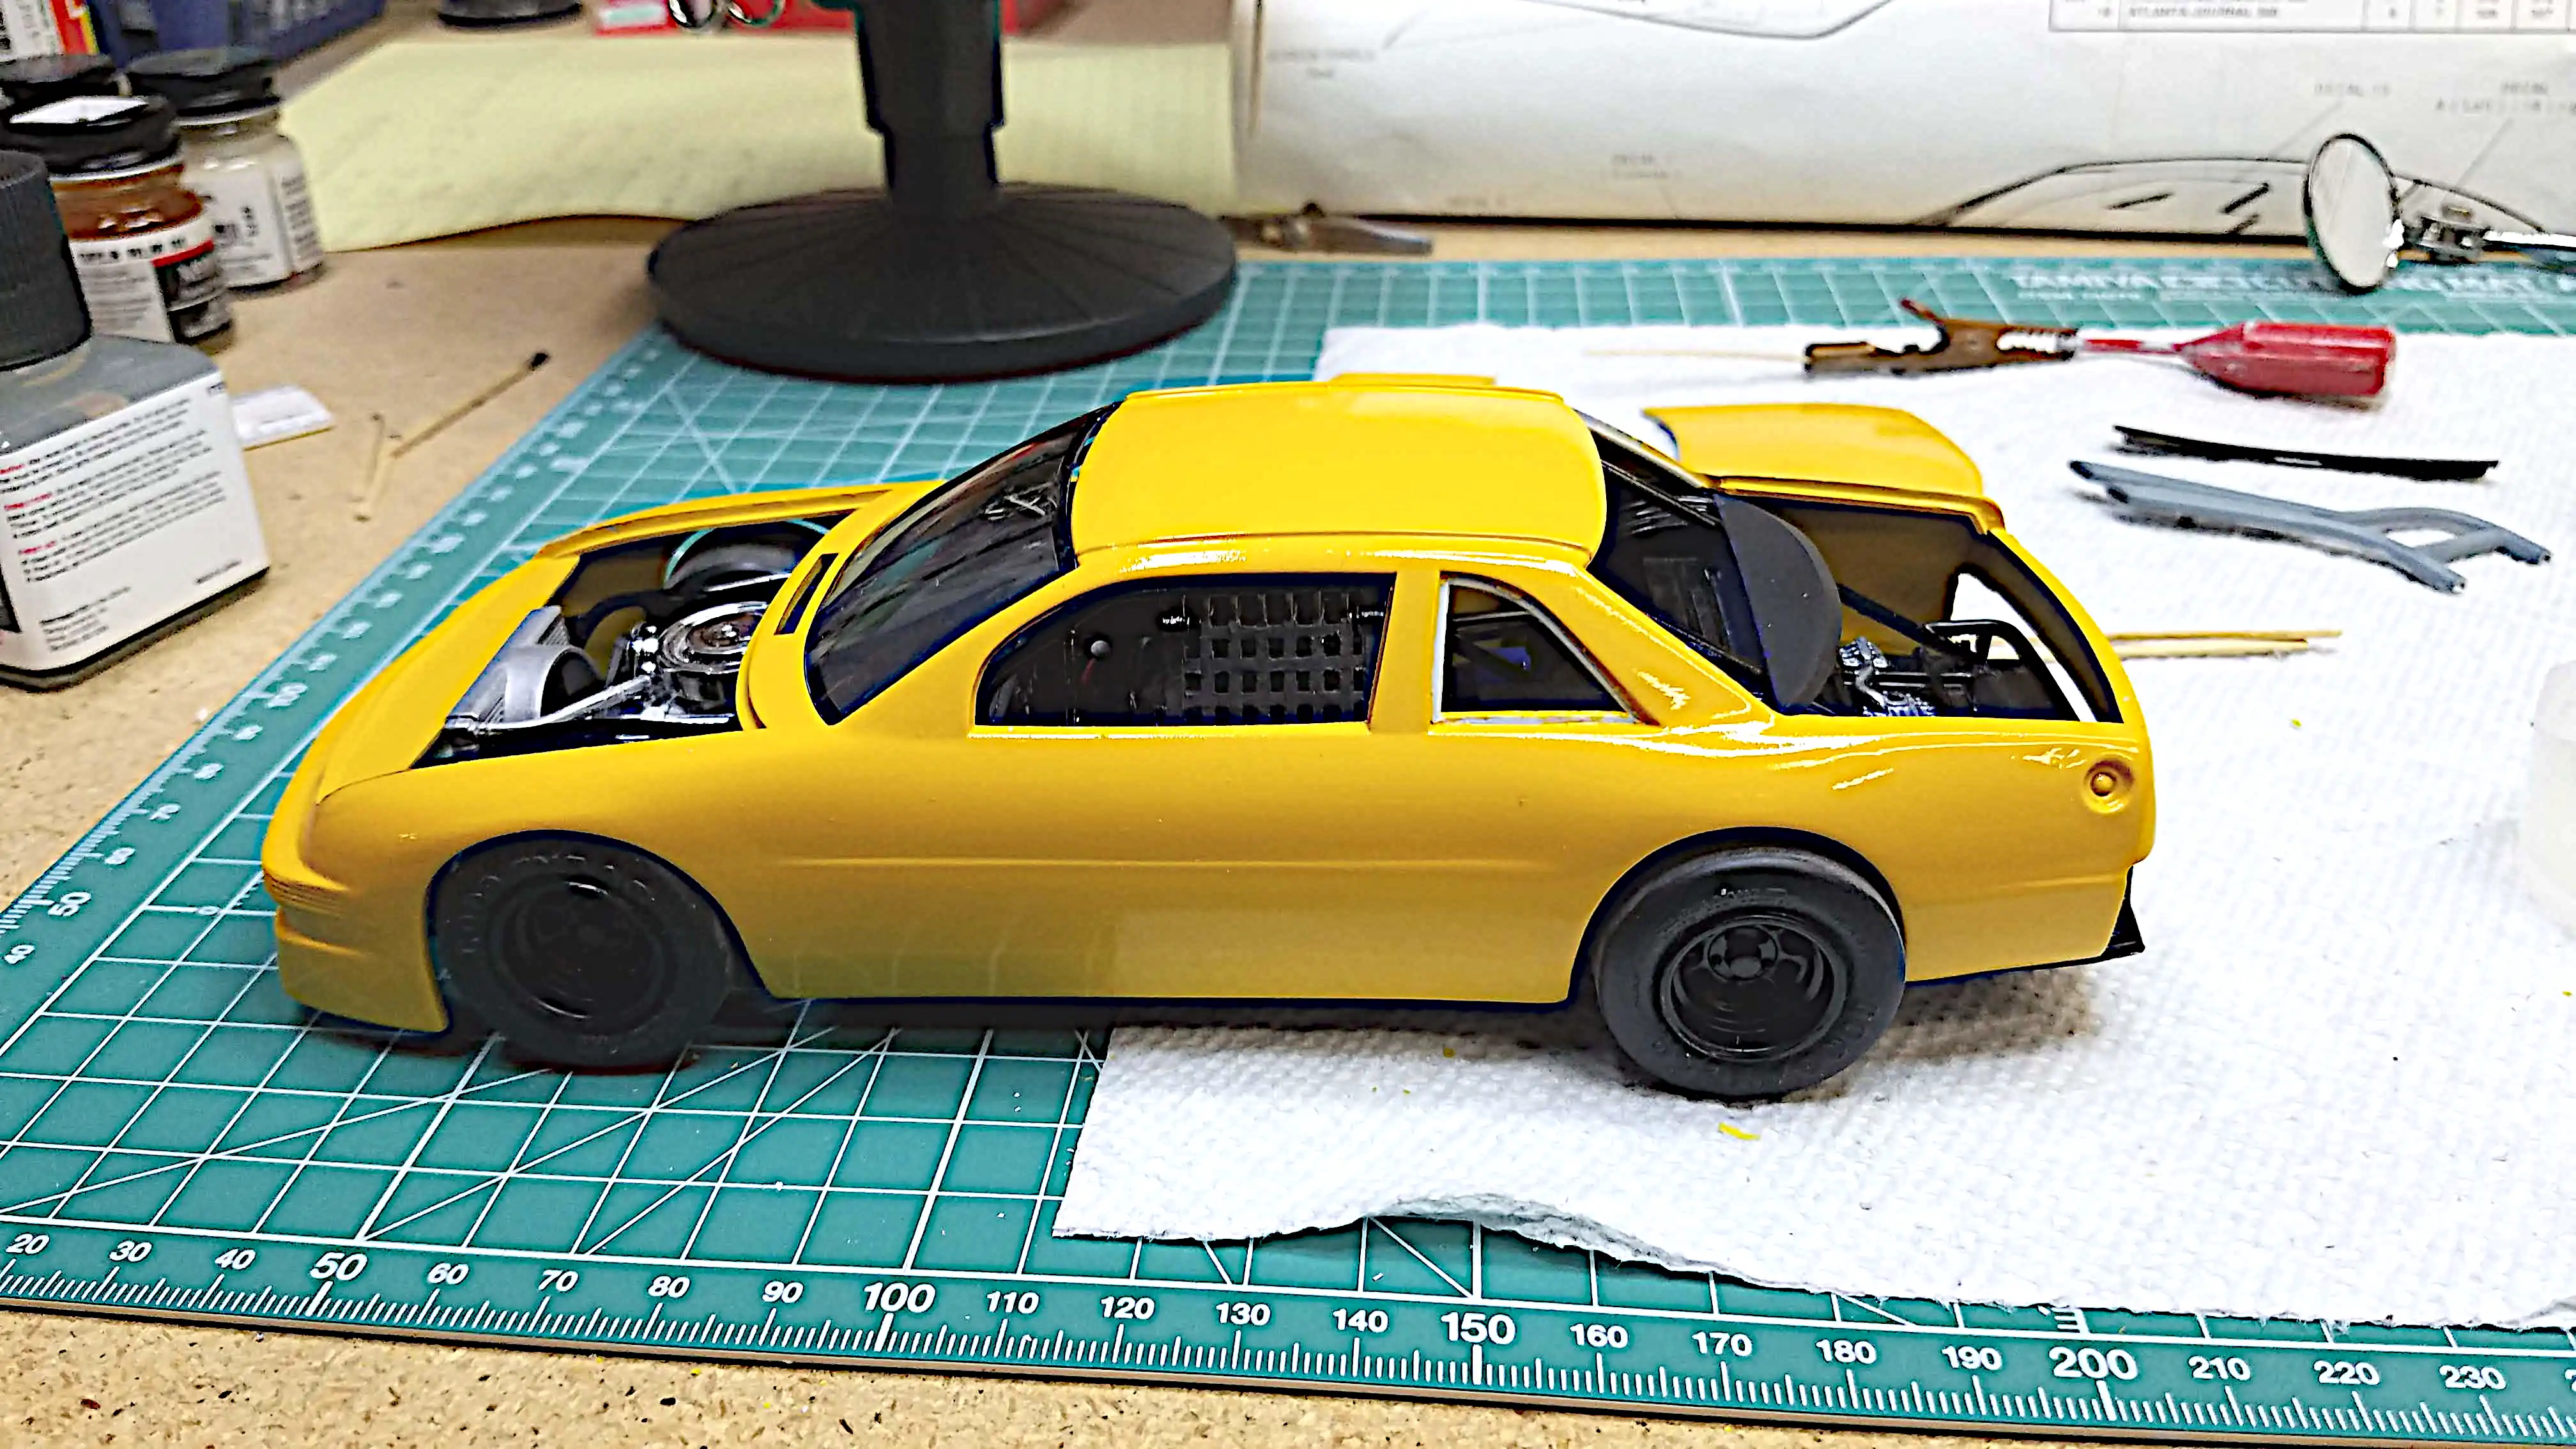
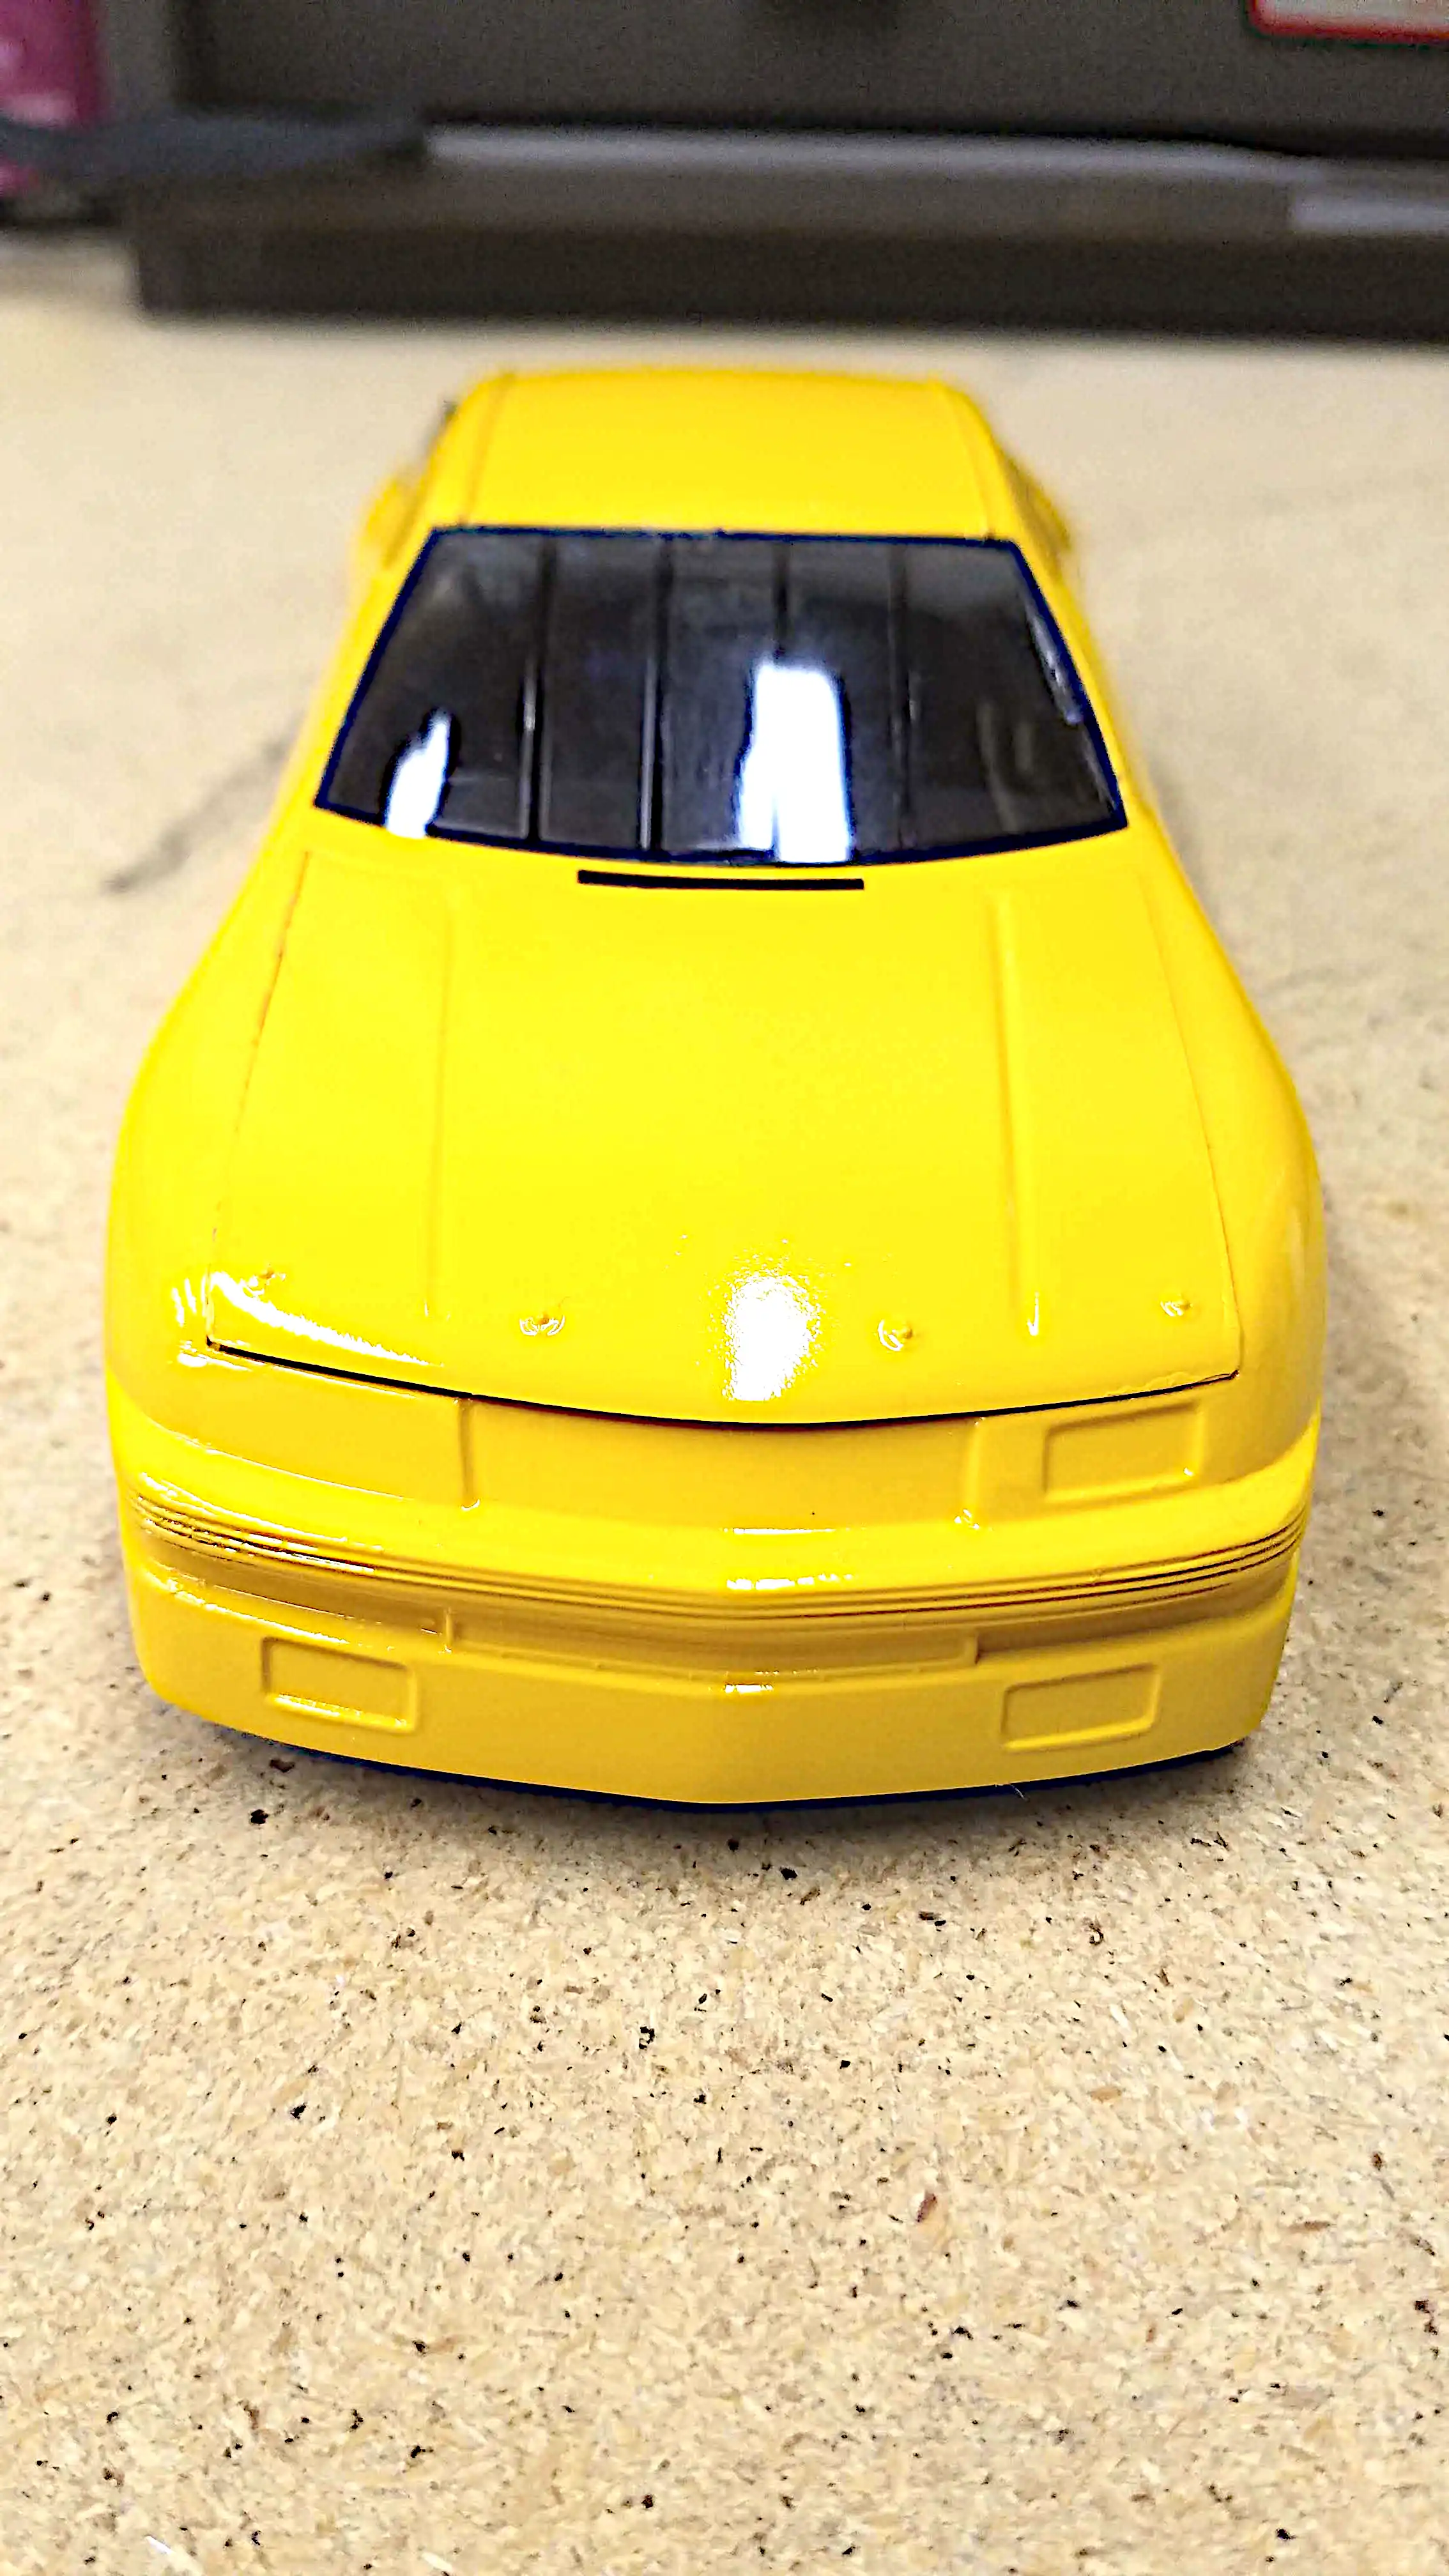
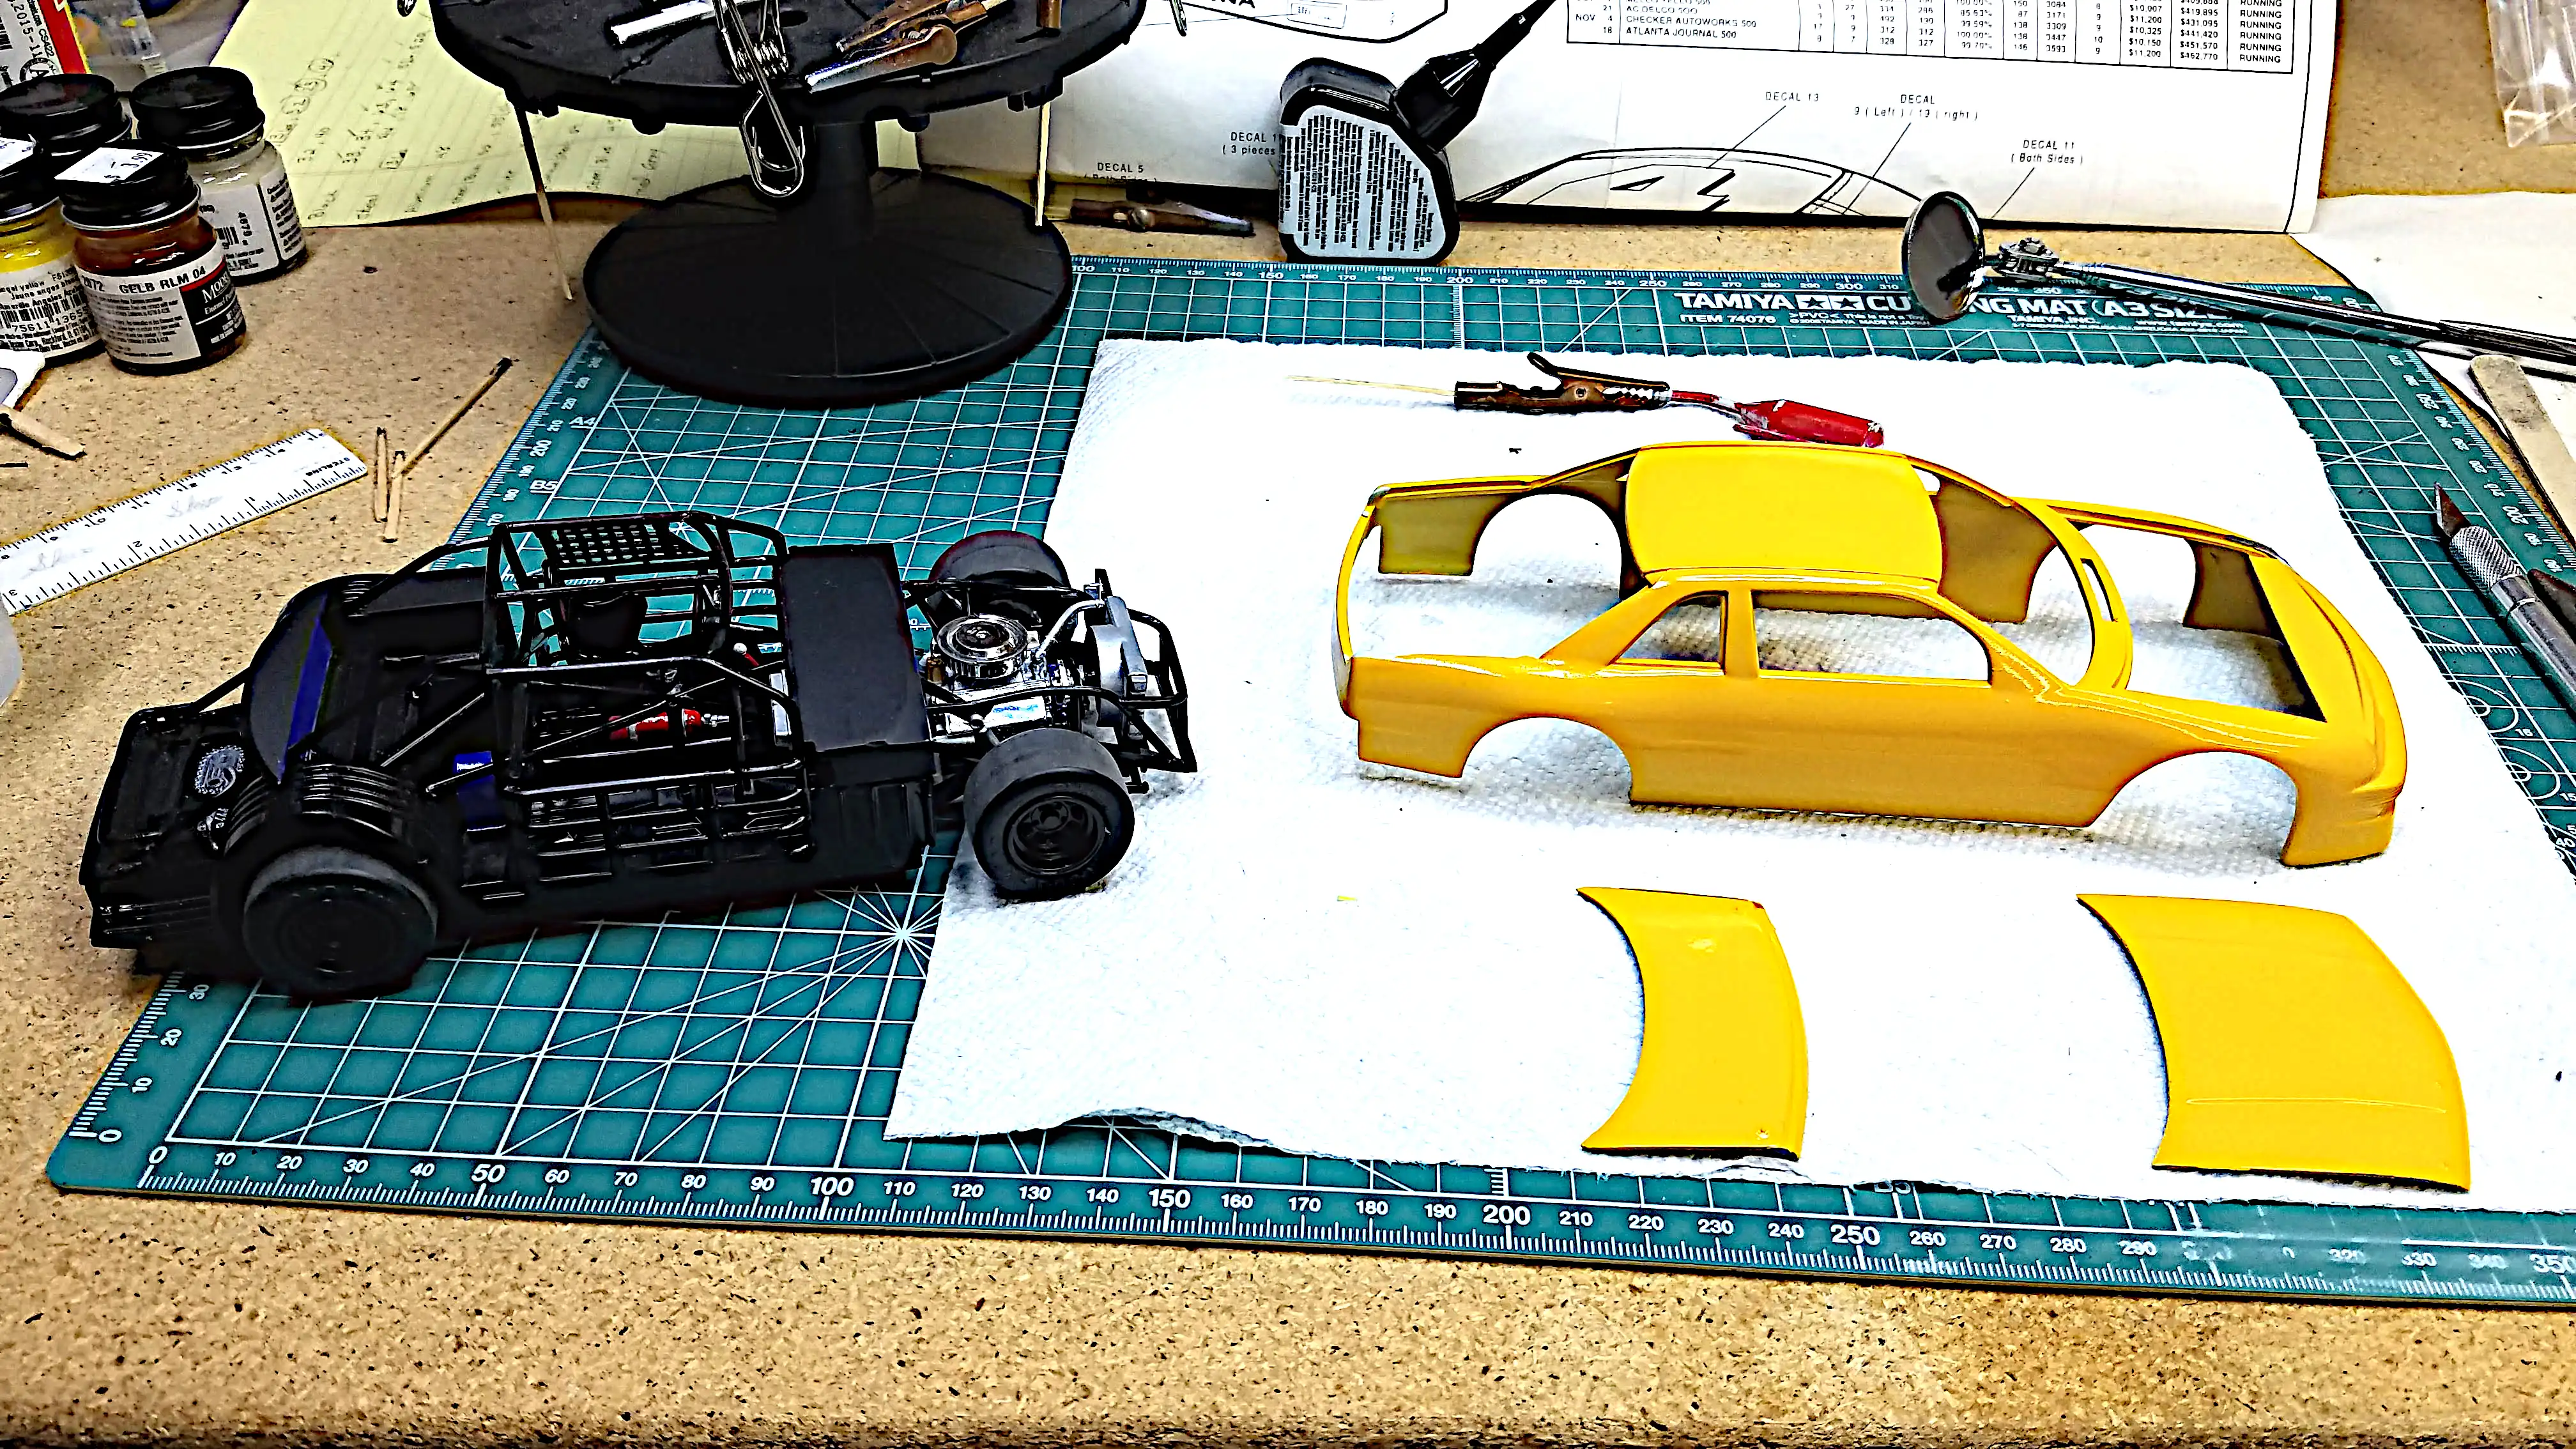 Body is ready to be put in place on the chassis
The body is ready to be placed onto the chassis.
Photo 059
Click/tap photo to enlarge
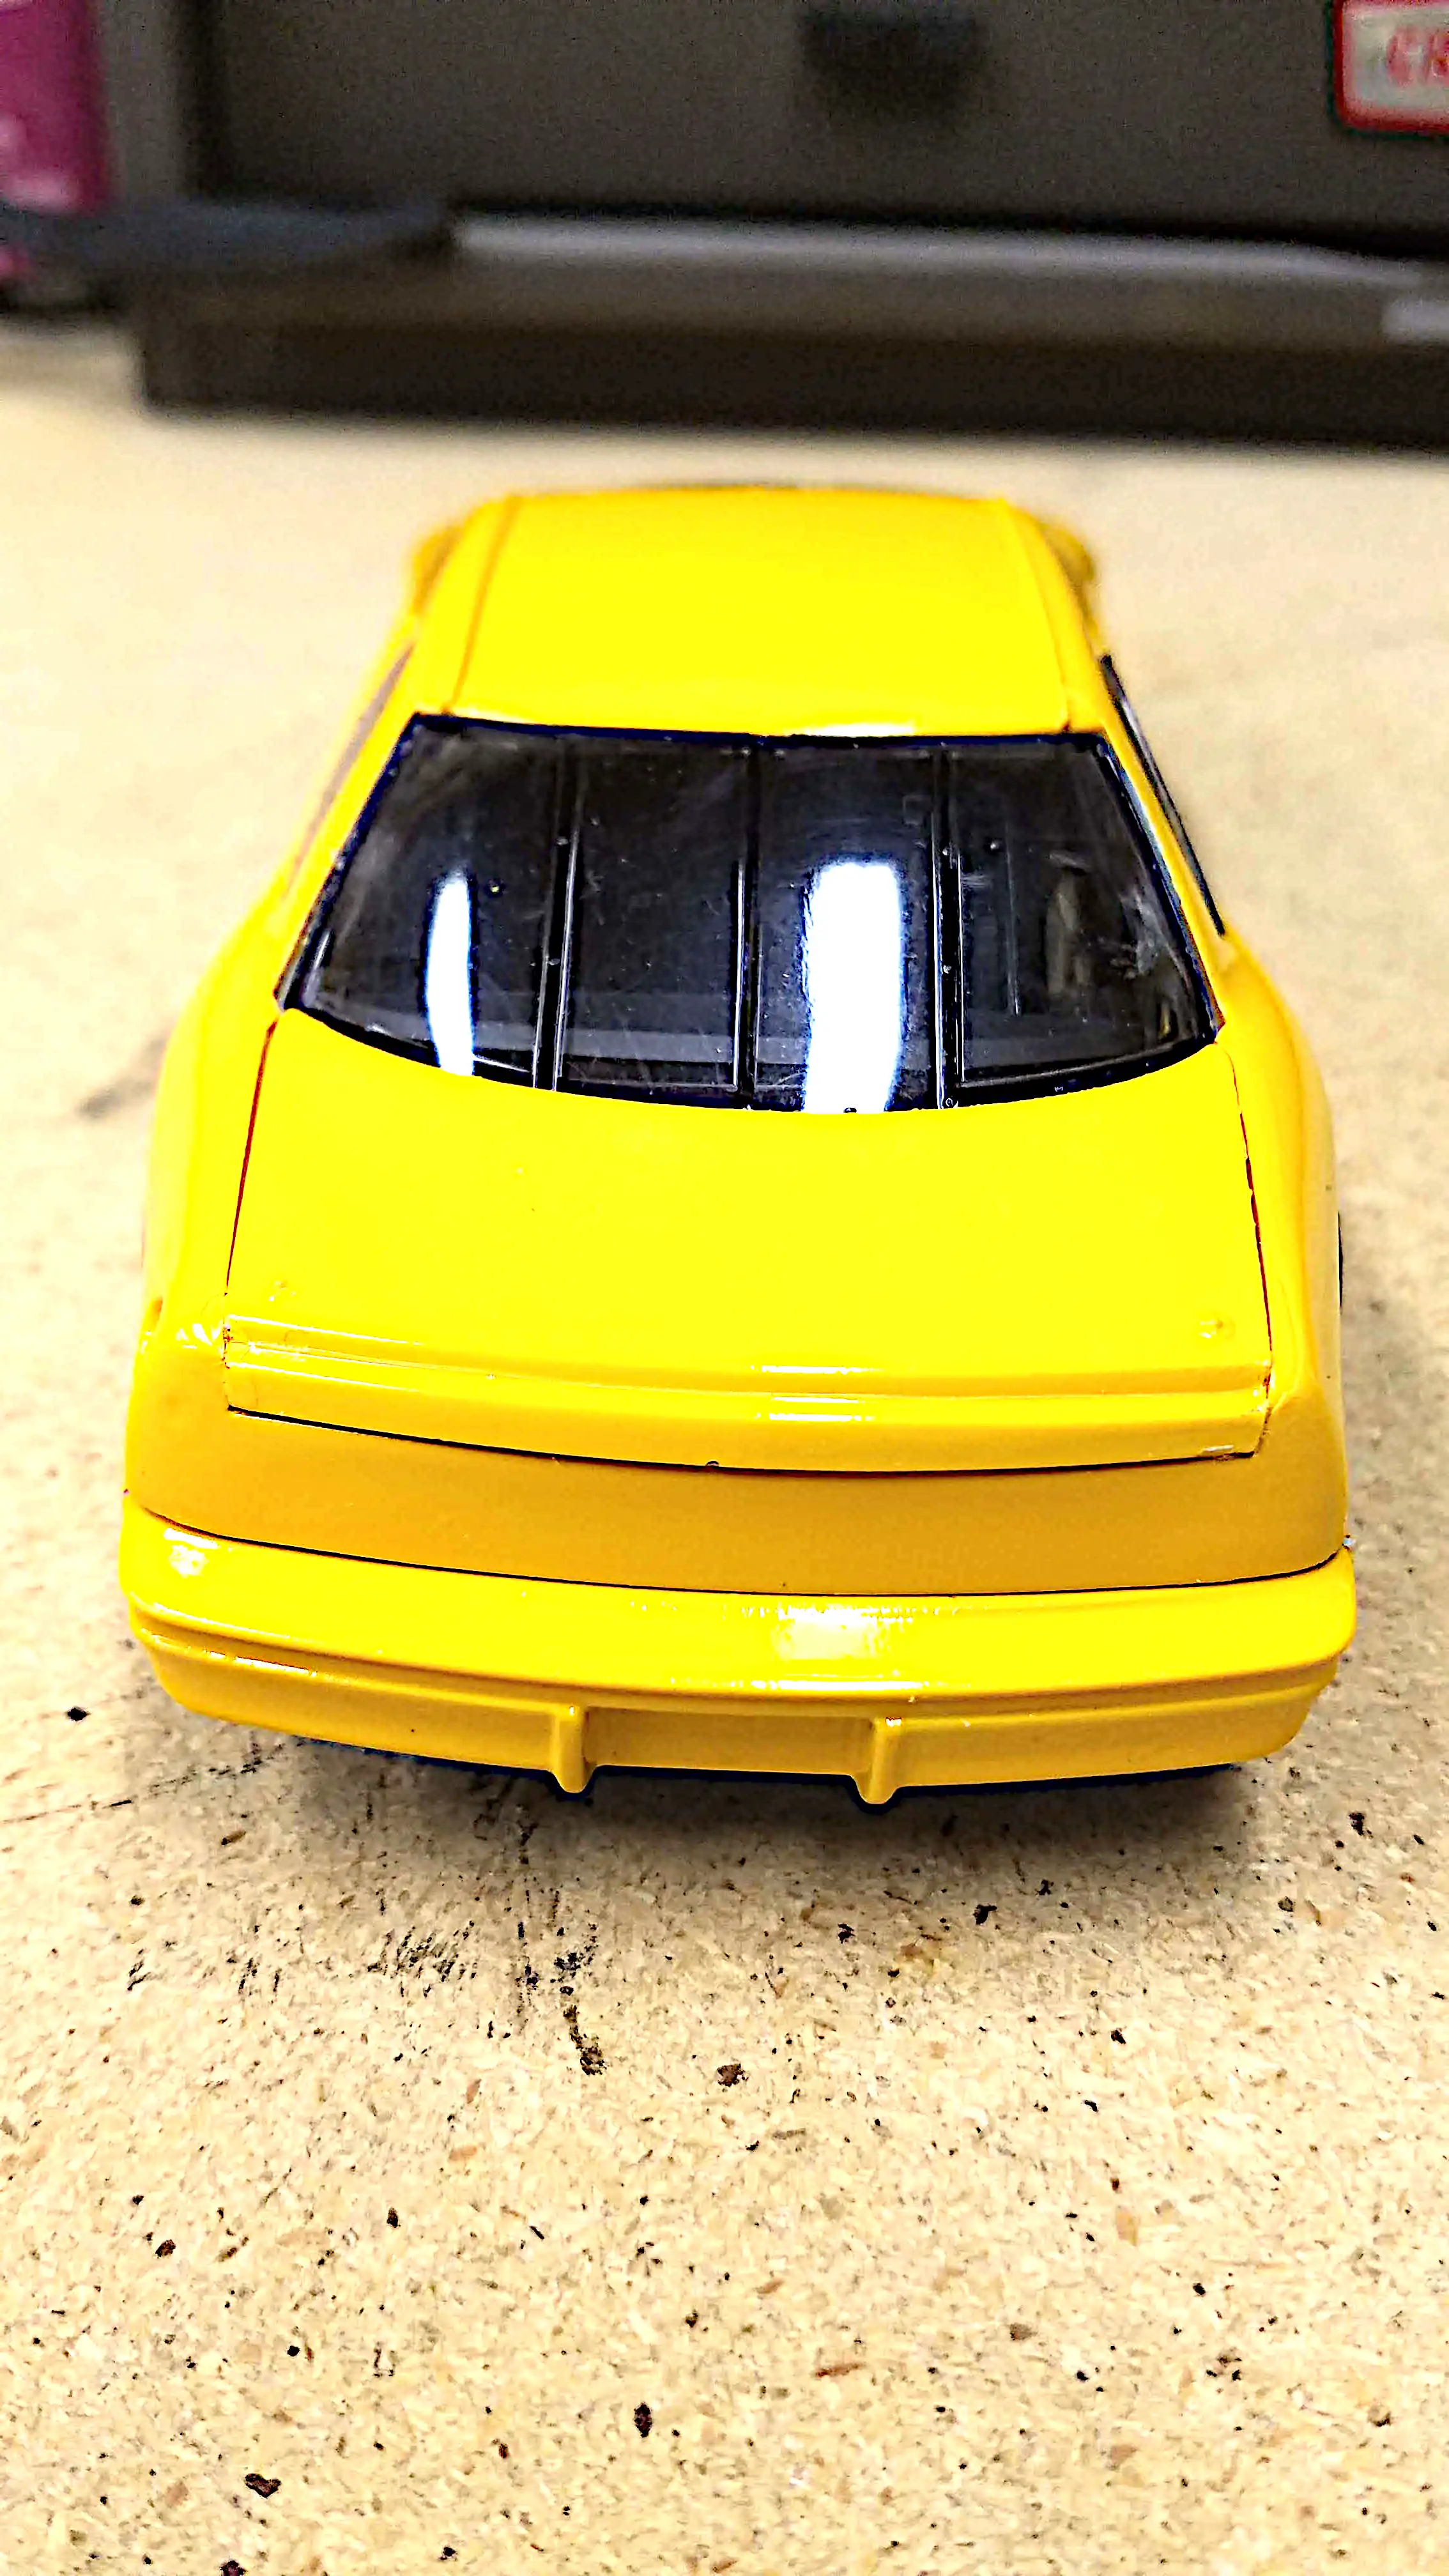
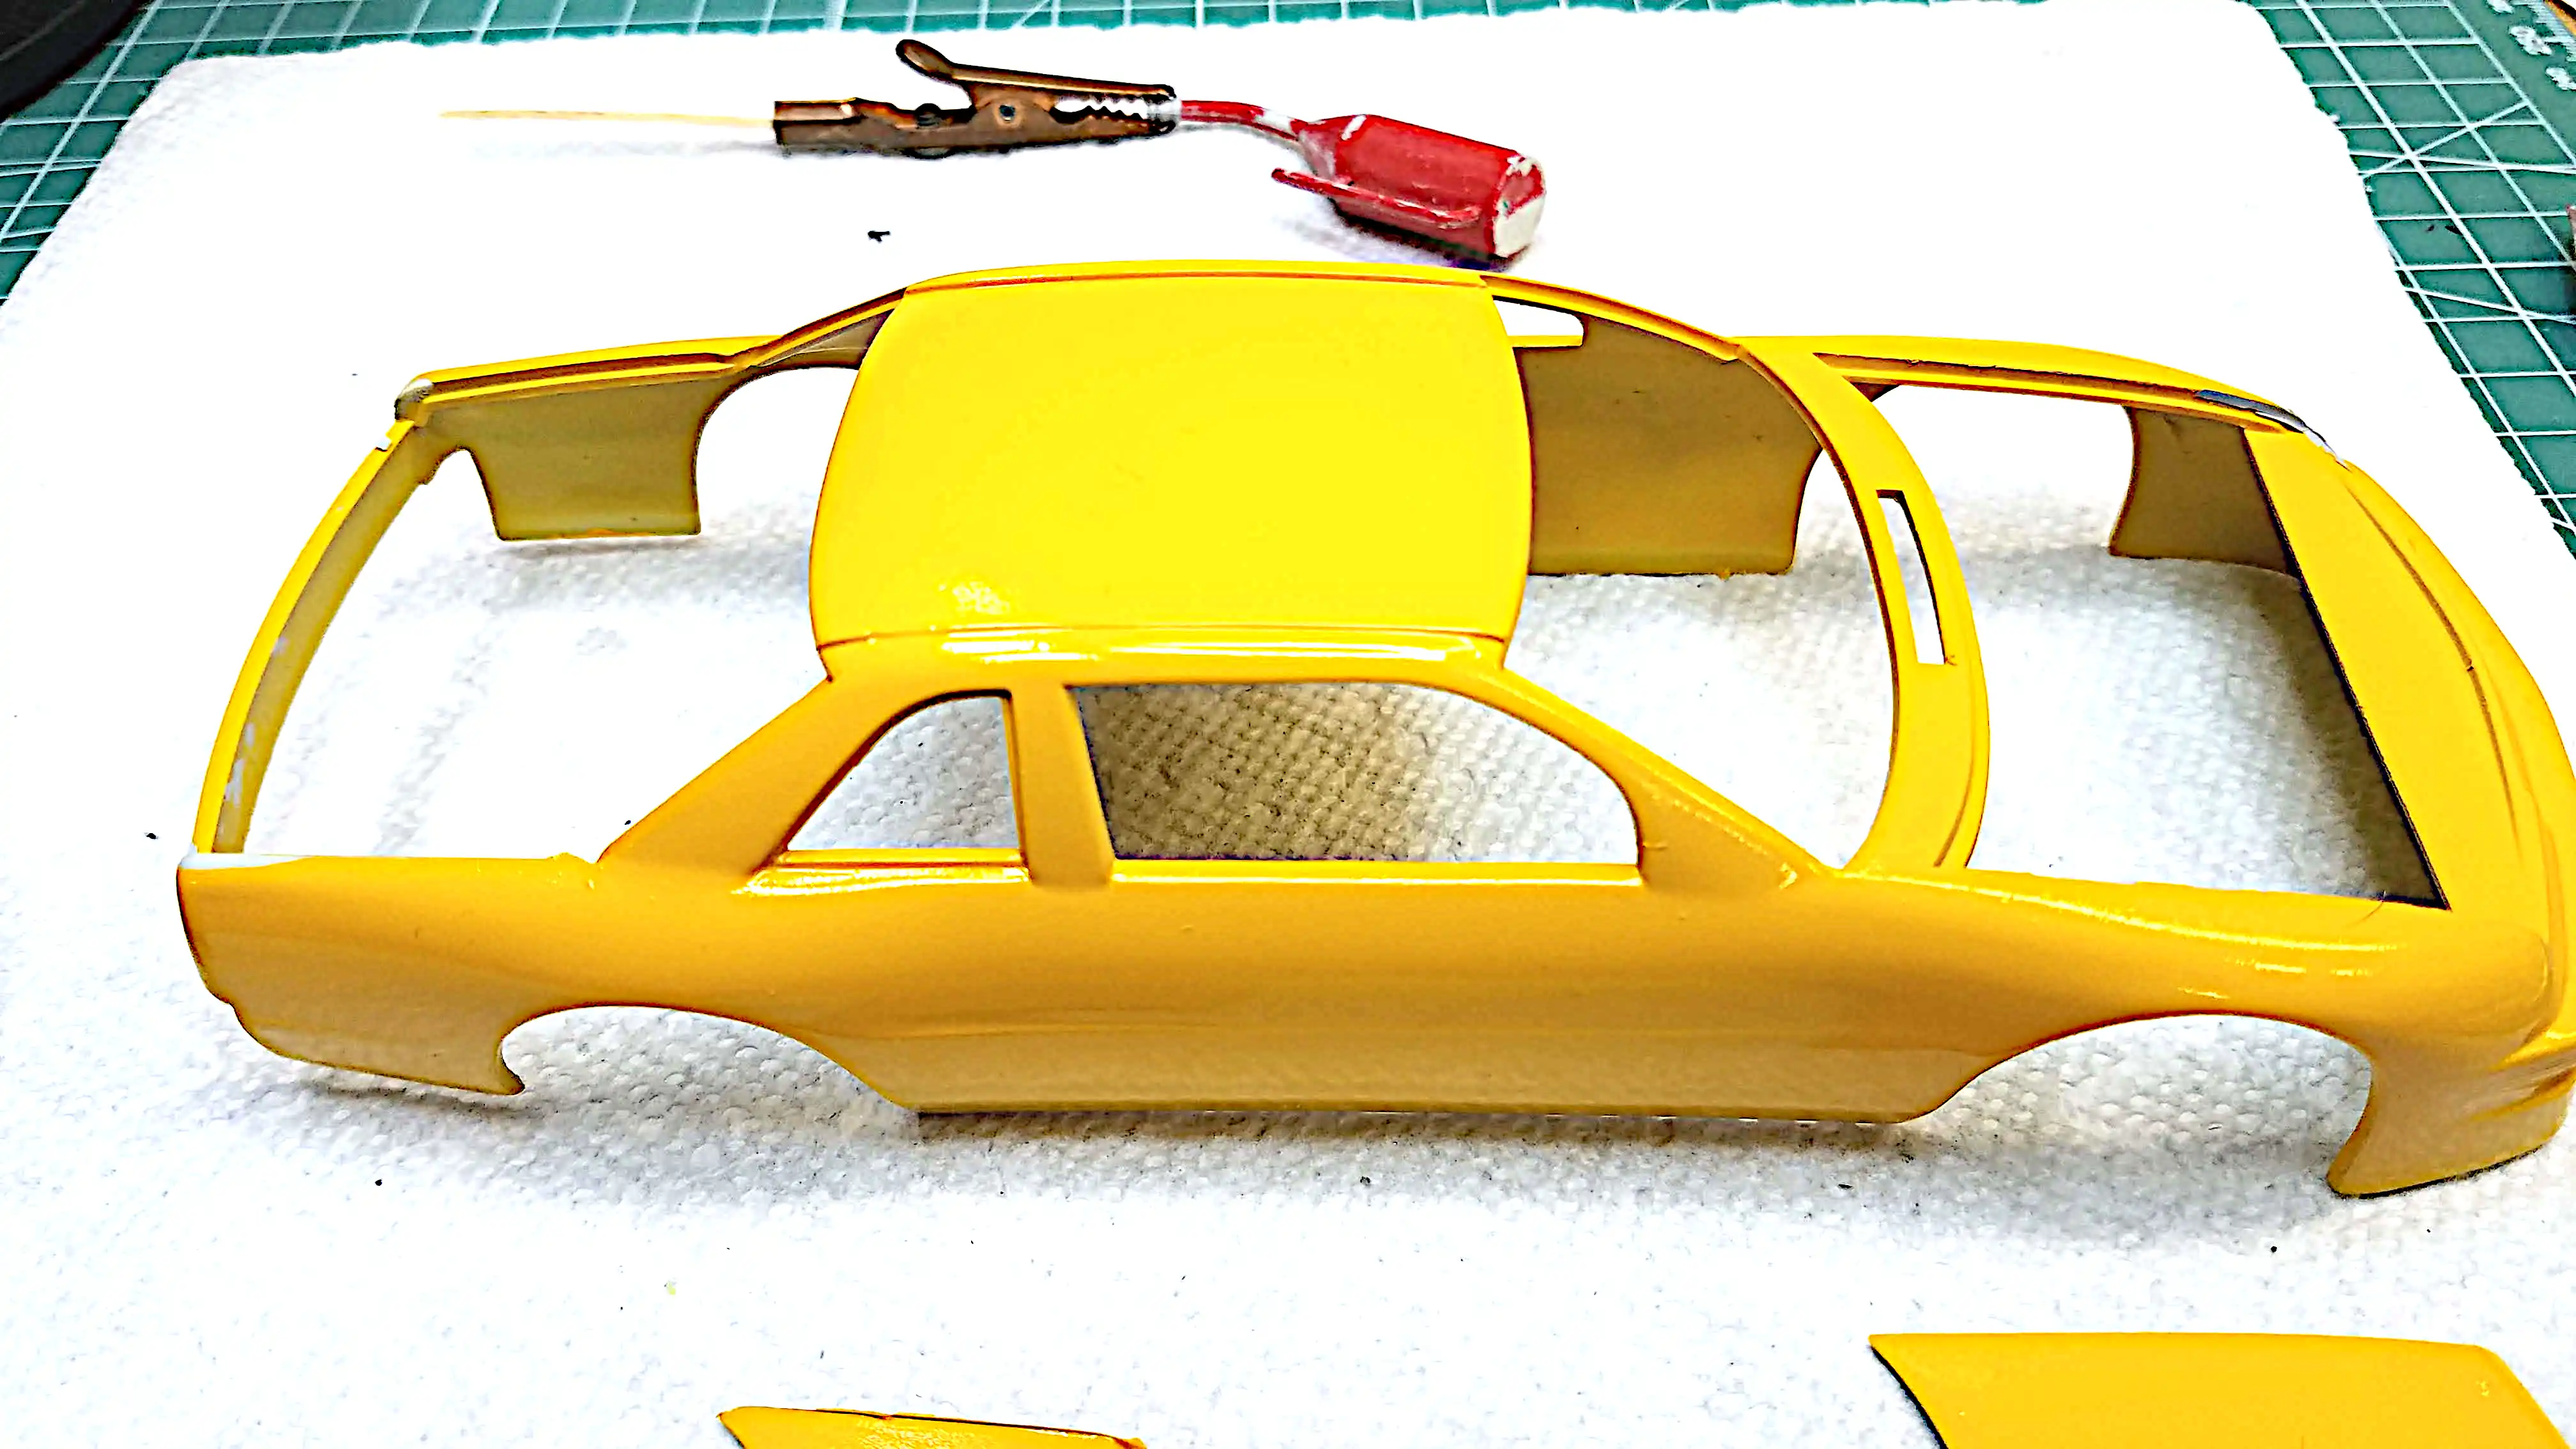 Body has some chips and orange peel, but will be fixed
The body has some chips and orange peel. I learned some methods to fix these problems and will be attempting to fix them.
Photo 060
Click/tap photo to enlarge
 Body paint repaired and installed on the chassis
I did some touchup on the chipped areas of the body even though they were in area's that would not be seen. I then lightly wet sanded the body in an attempt to remove the orange peeling. It did not remove all of it. I stopped the sanding because I was afraid of burning through to the primer.
I'm sure the orange peeling was caused by:
I'm not sure about that last bullet point.
Photo 061
Click/tap61 photo to enlarge
 Body paint repaired and installed on the chassis
I did some touchup on the chipped areas of the body even though they were in area's that would not be seen. I then lightly wet sanded the body in an attempt to remove the orange peeling. It did not remove all of it. I stopped the sanding because I was afraid of burning through to the primer.
I'm sure the orange peeling was caused by:
I'm not sure about that last bullet point.
Photo 062
Click/tap photo to enlarge
 Installed the fuel filler tube and fuel cell vent
I installed the fuel filler tube and the fuel cell vent.
Photo 063
Click/tap photo to enlarge
 Installed the glass
I installed the glass. I used a black Sharpie to color the support bars on the glass.
Photo 064
Click/tap photo to enlarge
 Installed the glass
I installed the glass. I used a black Sharpie to color the support bars on the glass.
Photo 065
Click/tap photo to enlarge
 Installed the glass
I installed the glass. I used a black Sharpie to color the support bars on the glass.
Photo 067
Click/tap photo to enlarge
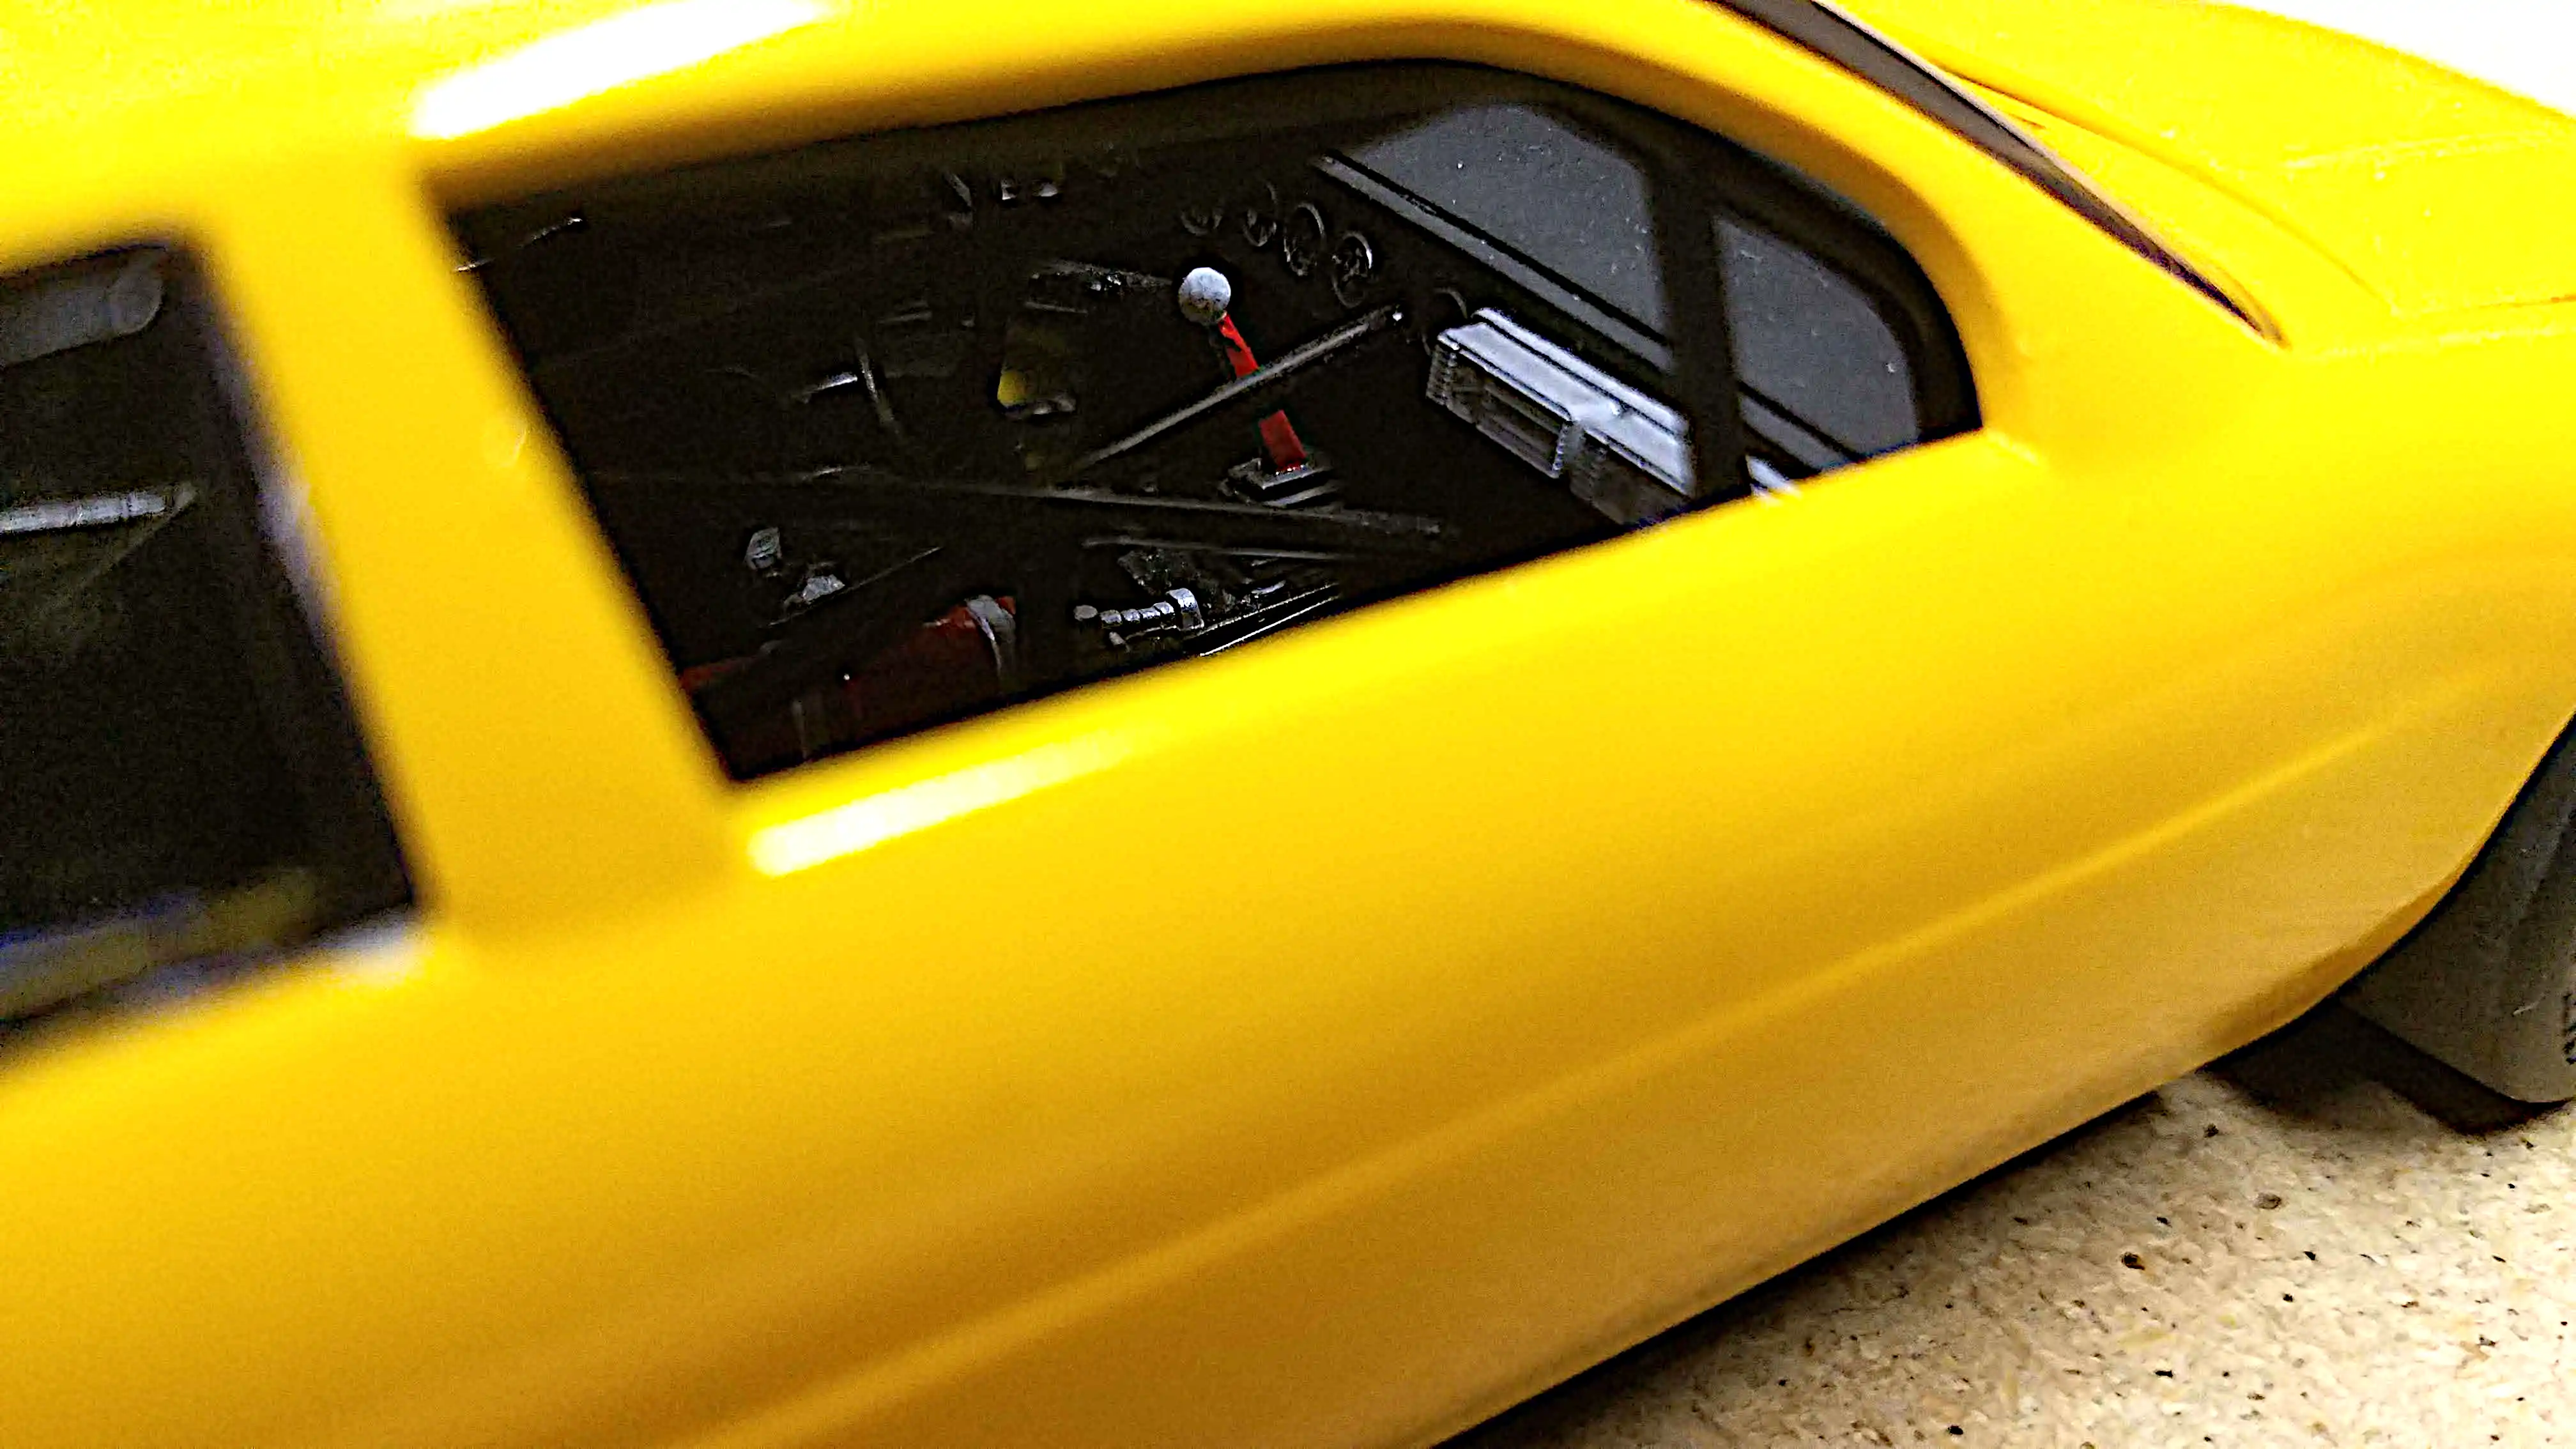 Photo of interior through the right side window
I took this photo from the right side window looking into the interior. It didn't get very good, but I still thought it was a really neat shot.
Photo 068
Click/tap photo to enlarge
 Photo of interior through the right side window
I took this photo from the right side window looking into the interior. It didn't get very good, but I still thought it was a really neat shot.
Photo 069
Click/tap photo to enlarge
 Started installing decals
After the body was installed, I started installing the decals. It has been a long time since I did decals and had never used Micro Sol and Micro Set; however, I found it quite easy; easier than I remember it being.
Photo 073
Click/tap photo to enlarge
 Installing decals
While installing the decals, the 'L' on the LUMINA tore. I later fixed it with a-bit of black paint.
Photo 074
Click/tap photo to enlarge
 Applied a clear coat
After the decals were installed and given time to dry, I put a coat of Krylon Crystal Clear on the entire body, the hood and the trunk lid.
Photo 075
Click/tap photo to enlarge
 Applied a clear coat
After the decals were installed and given time to dry, I put a coat of Krylon Crystal Clear on the entire body, the hood and the trunk lid.
Photo 076
Click/tap photo to enlarge
 Applied a clear coat
After the decals were installed and given time to dry, I put a coat of Krylon Crystal Clear on the entire body, the hood and the trunk lid.
Photo 077
Click/tap photo to enlarge
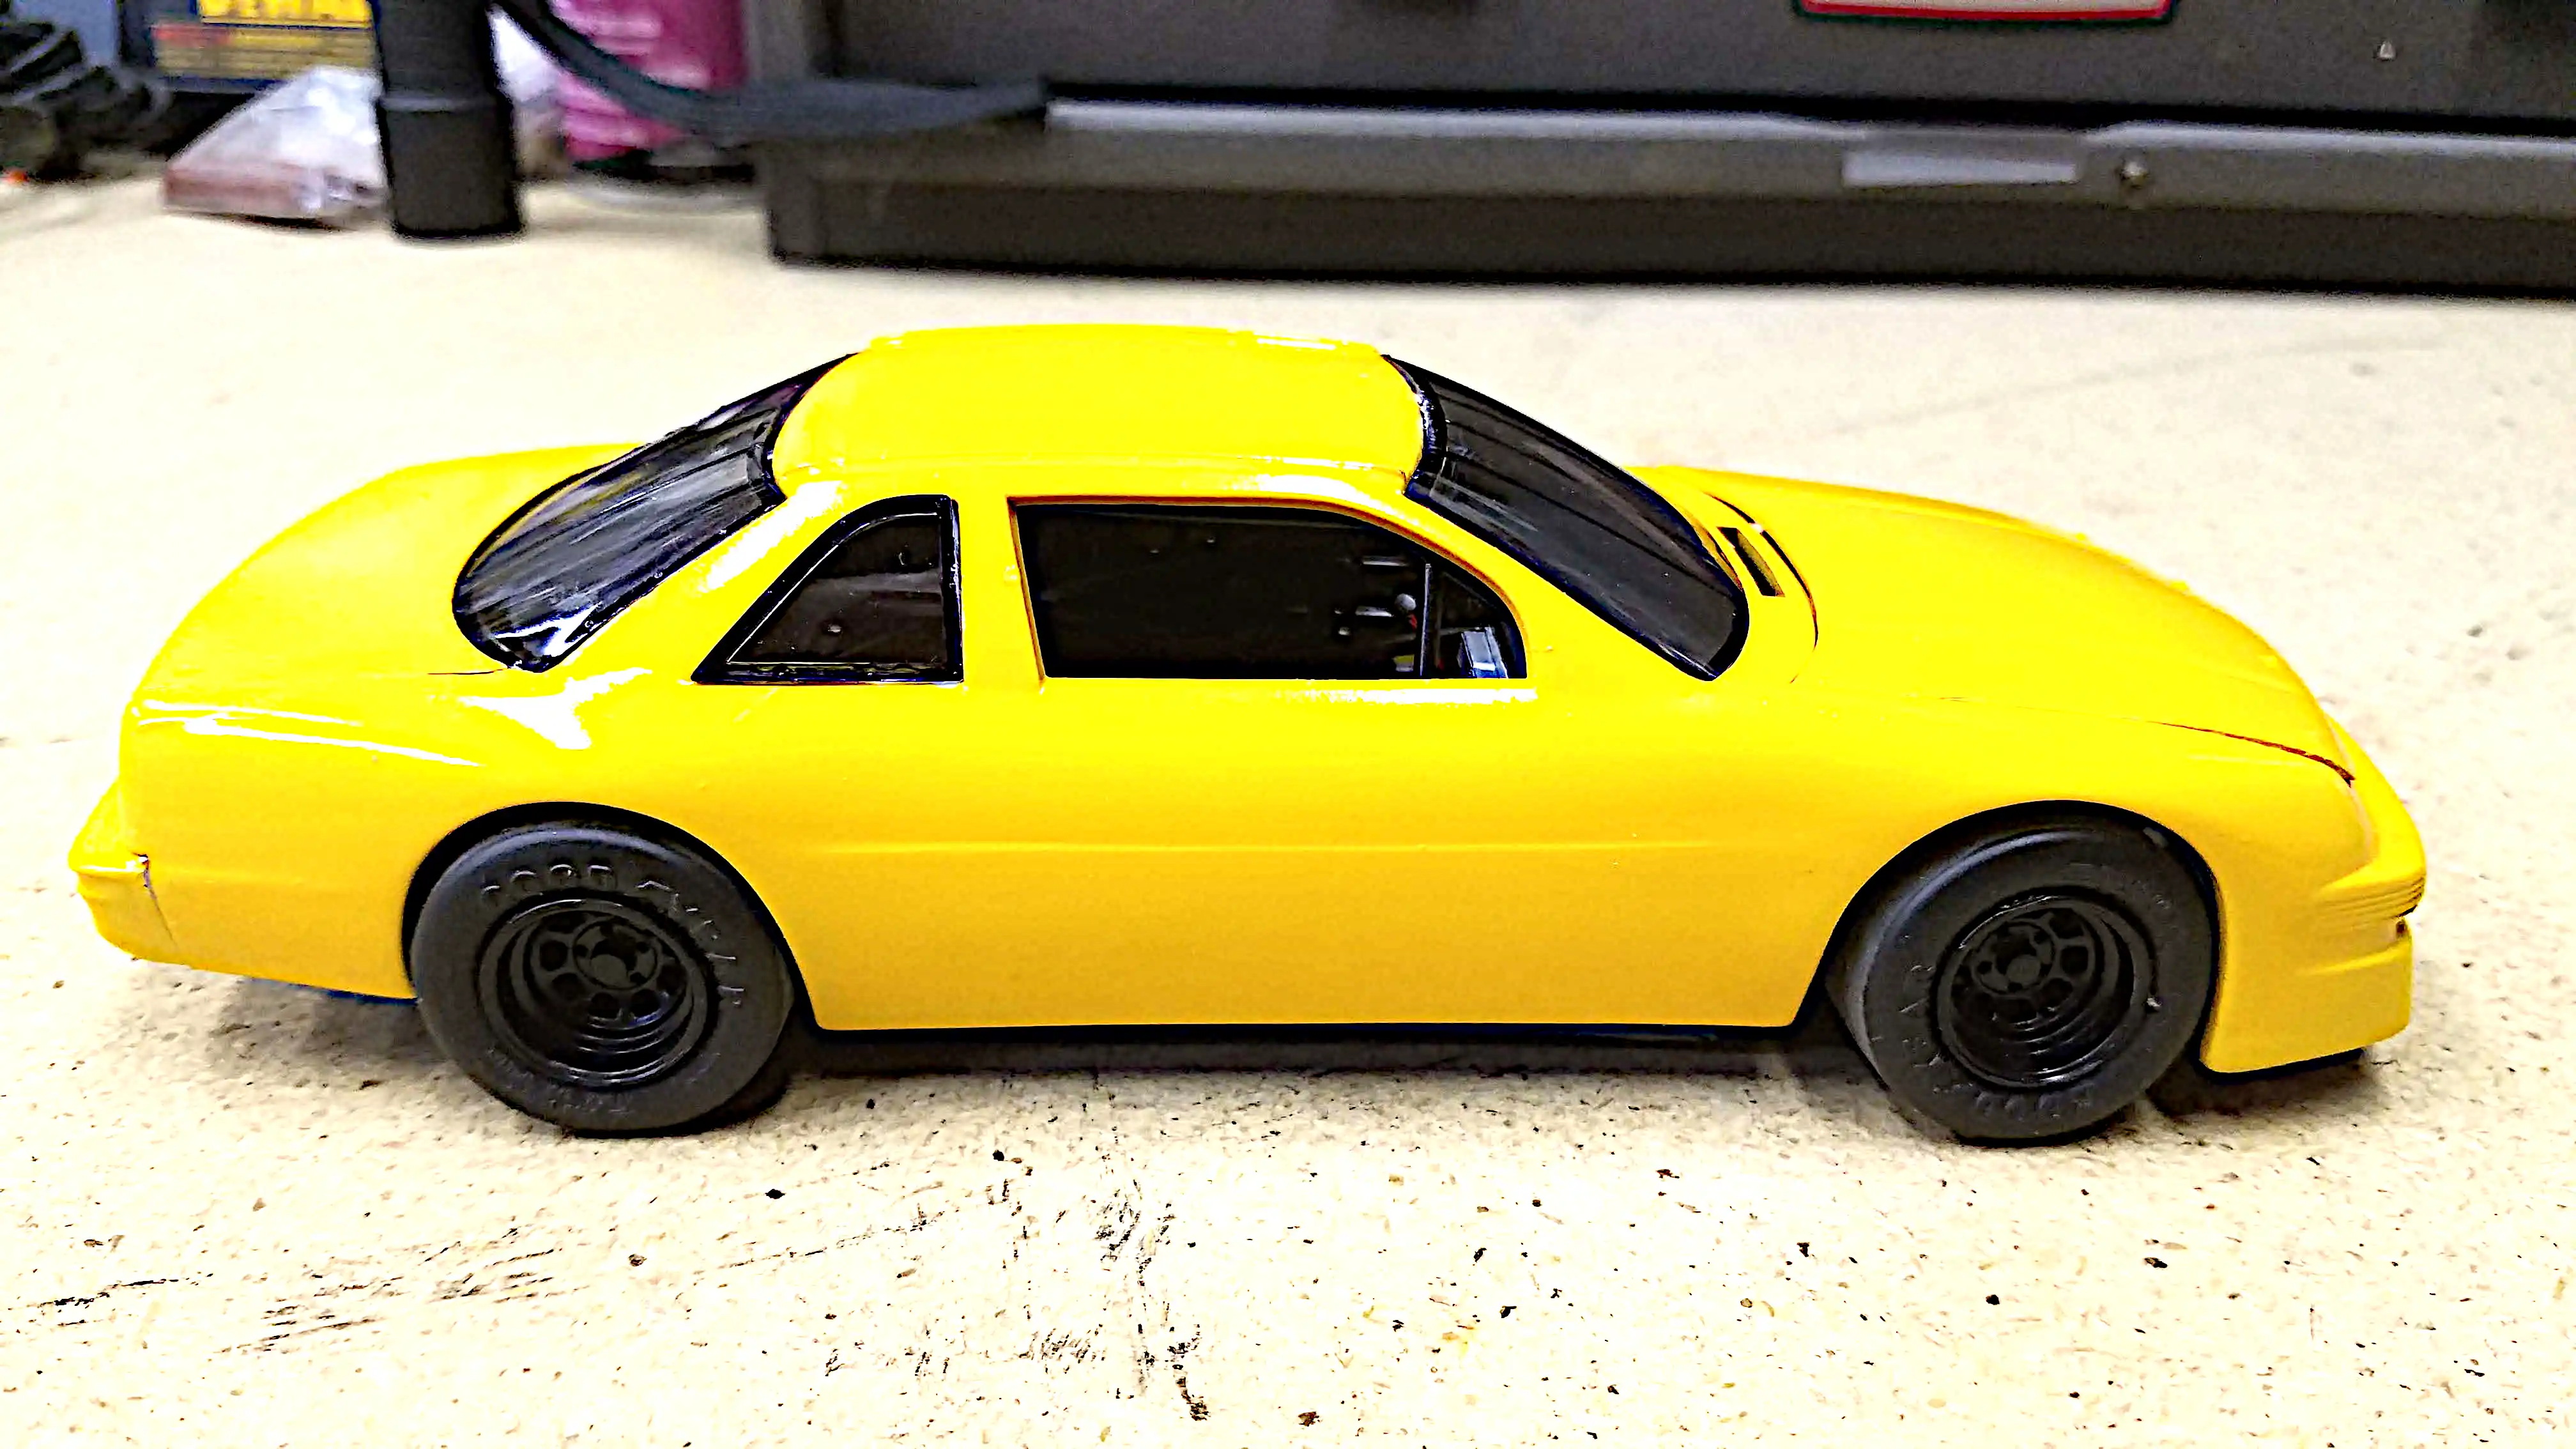
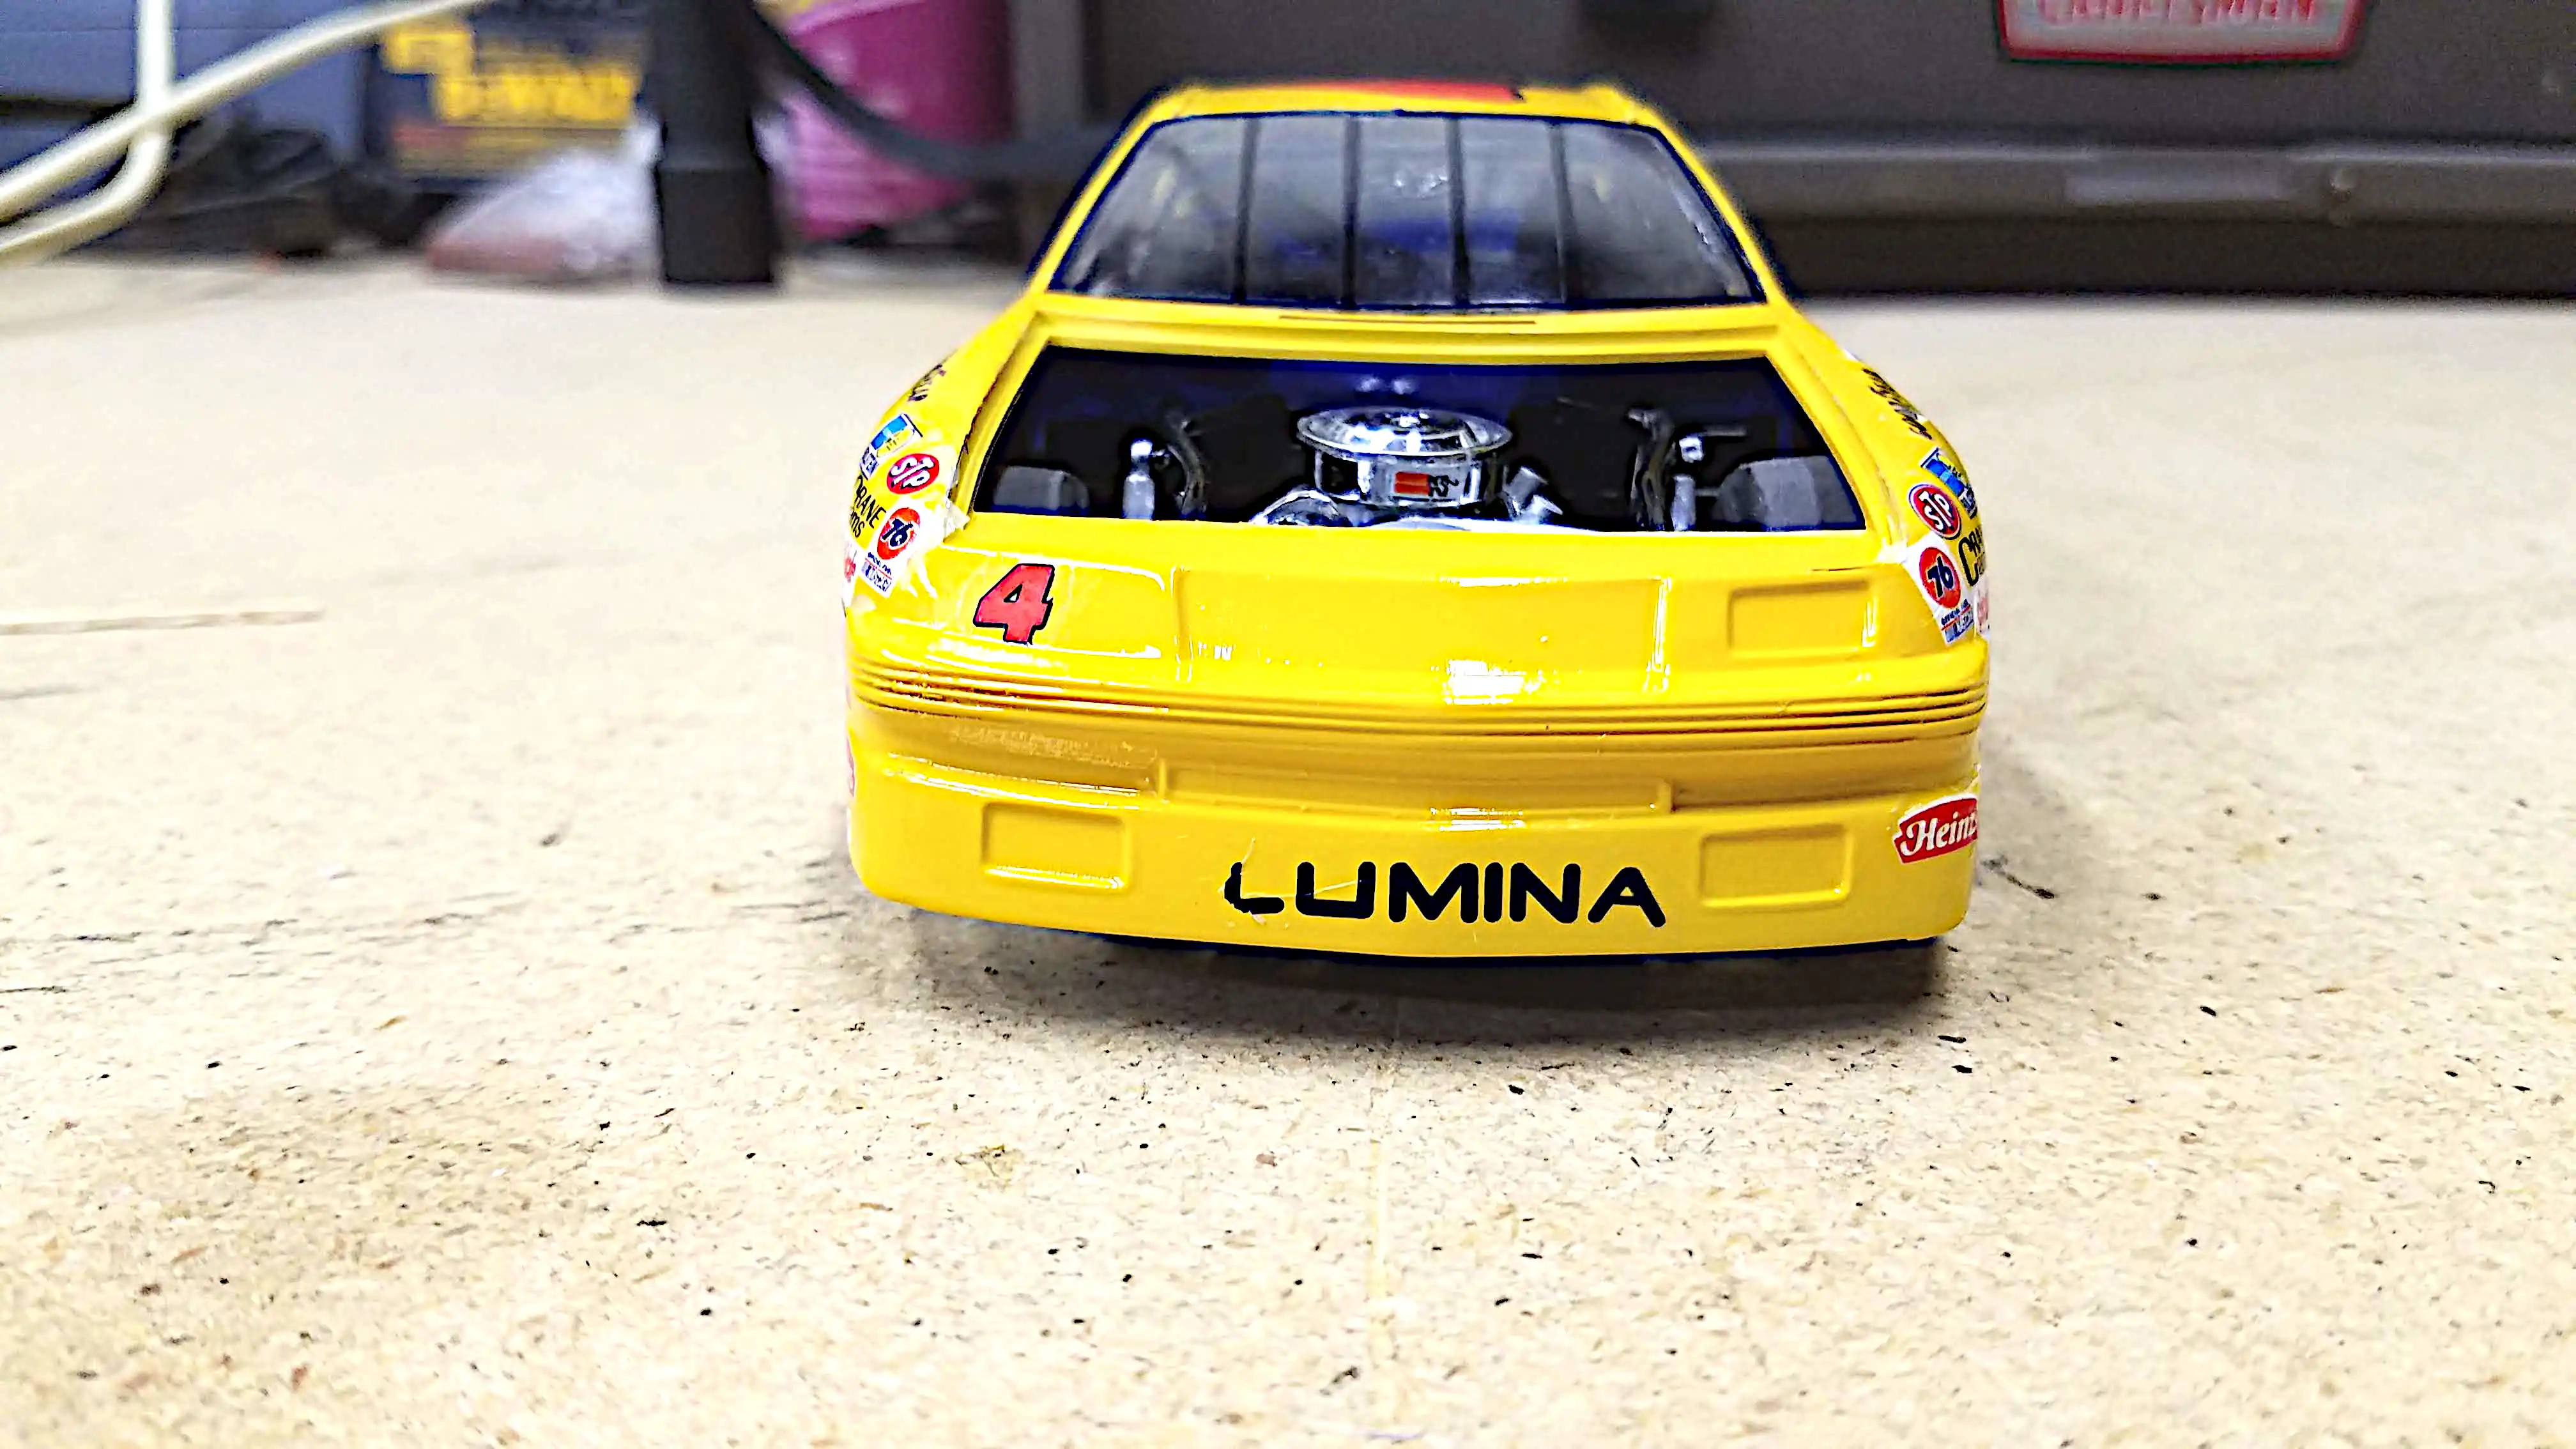
 Finished build
The build is finished and setting on the bench. Years ago I had slid something on the bench that left a black mark. I didn't really notice until after taking the picture, but I think it looks like a tire mark.
Photo 078
Click/tap photo to enlarge
 Finished build superimposed on a track.
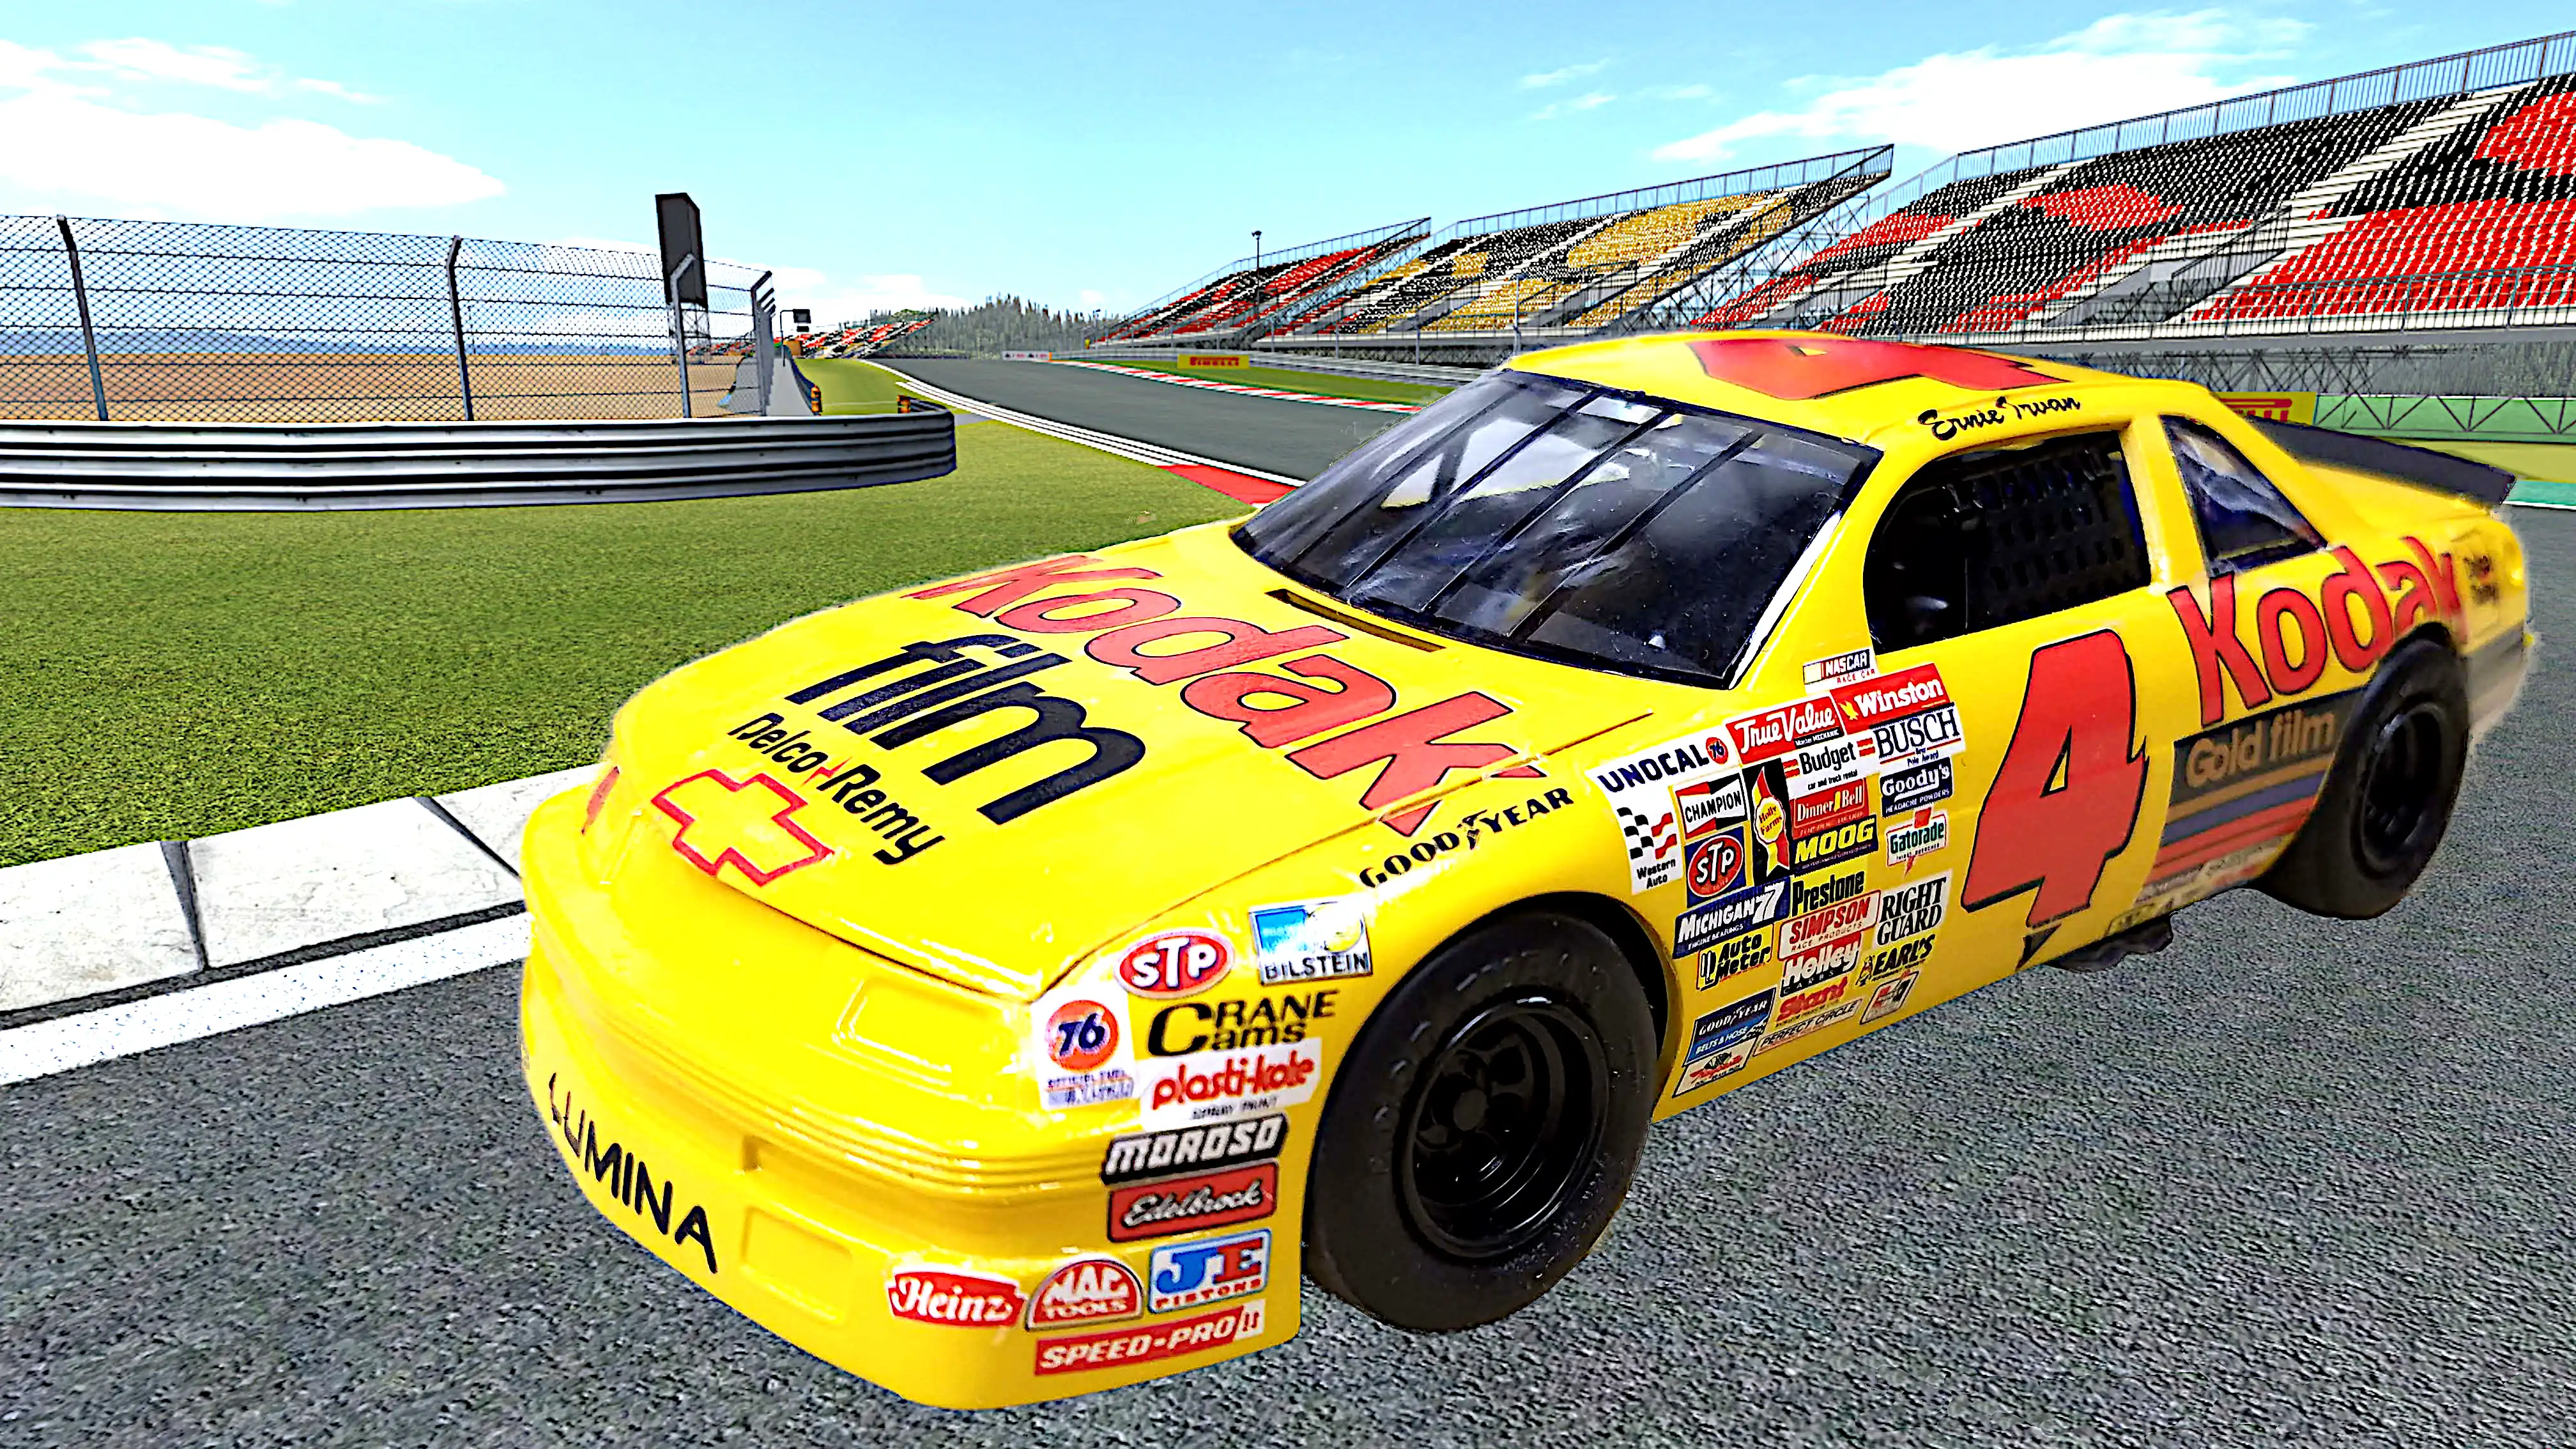
Here is the Ernie Irvin Kodak Lumina on the track. I found a picture on the web, in an area licensed under Creative Commons for reuse and modification, of a track with grandstands in the distance. I then superimposed the photo of the car onto the track image. It's not very good, but I'm new to all of this stuff; so please give me a break.
The image you see was done using Gimp GNU Photo Manipulation Software Gimp is an open source free photo editor similar to Adobe Photoshop.


 Started painting engine parts
 Started painting engine parts
 Started assembling engine
 Started assembling engine
 Started assembling the engine
 Started assembling the engine
 Installing the roll cage
 Roll cage is finished
 Roll cage is finished
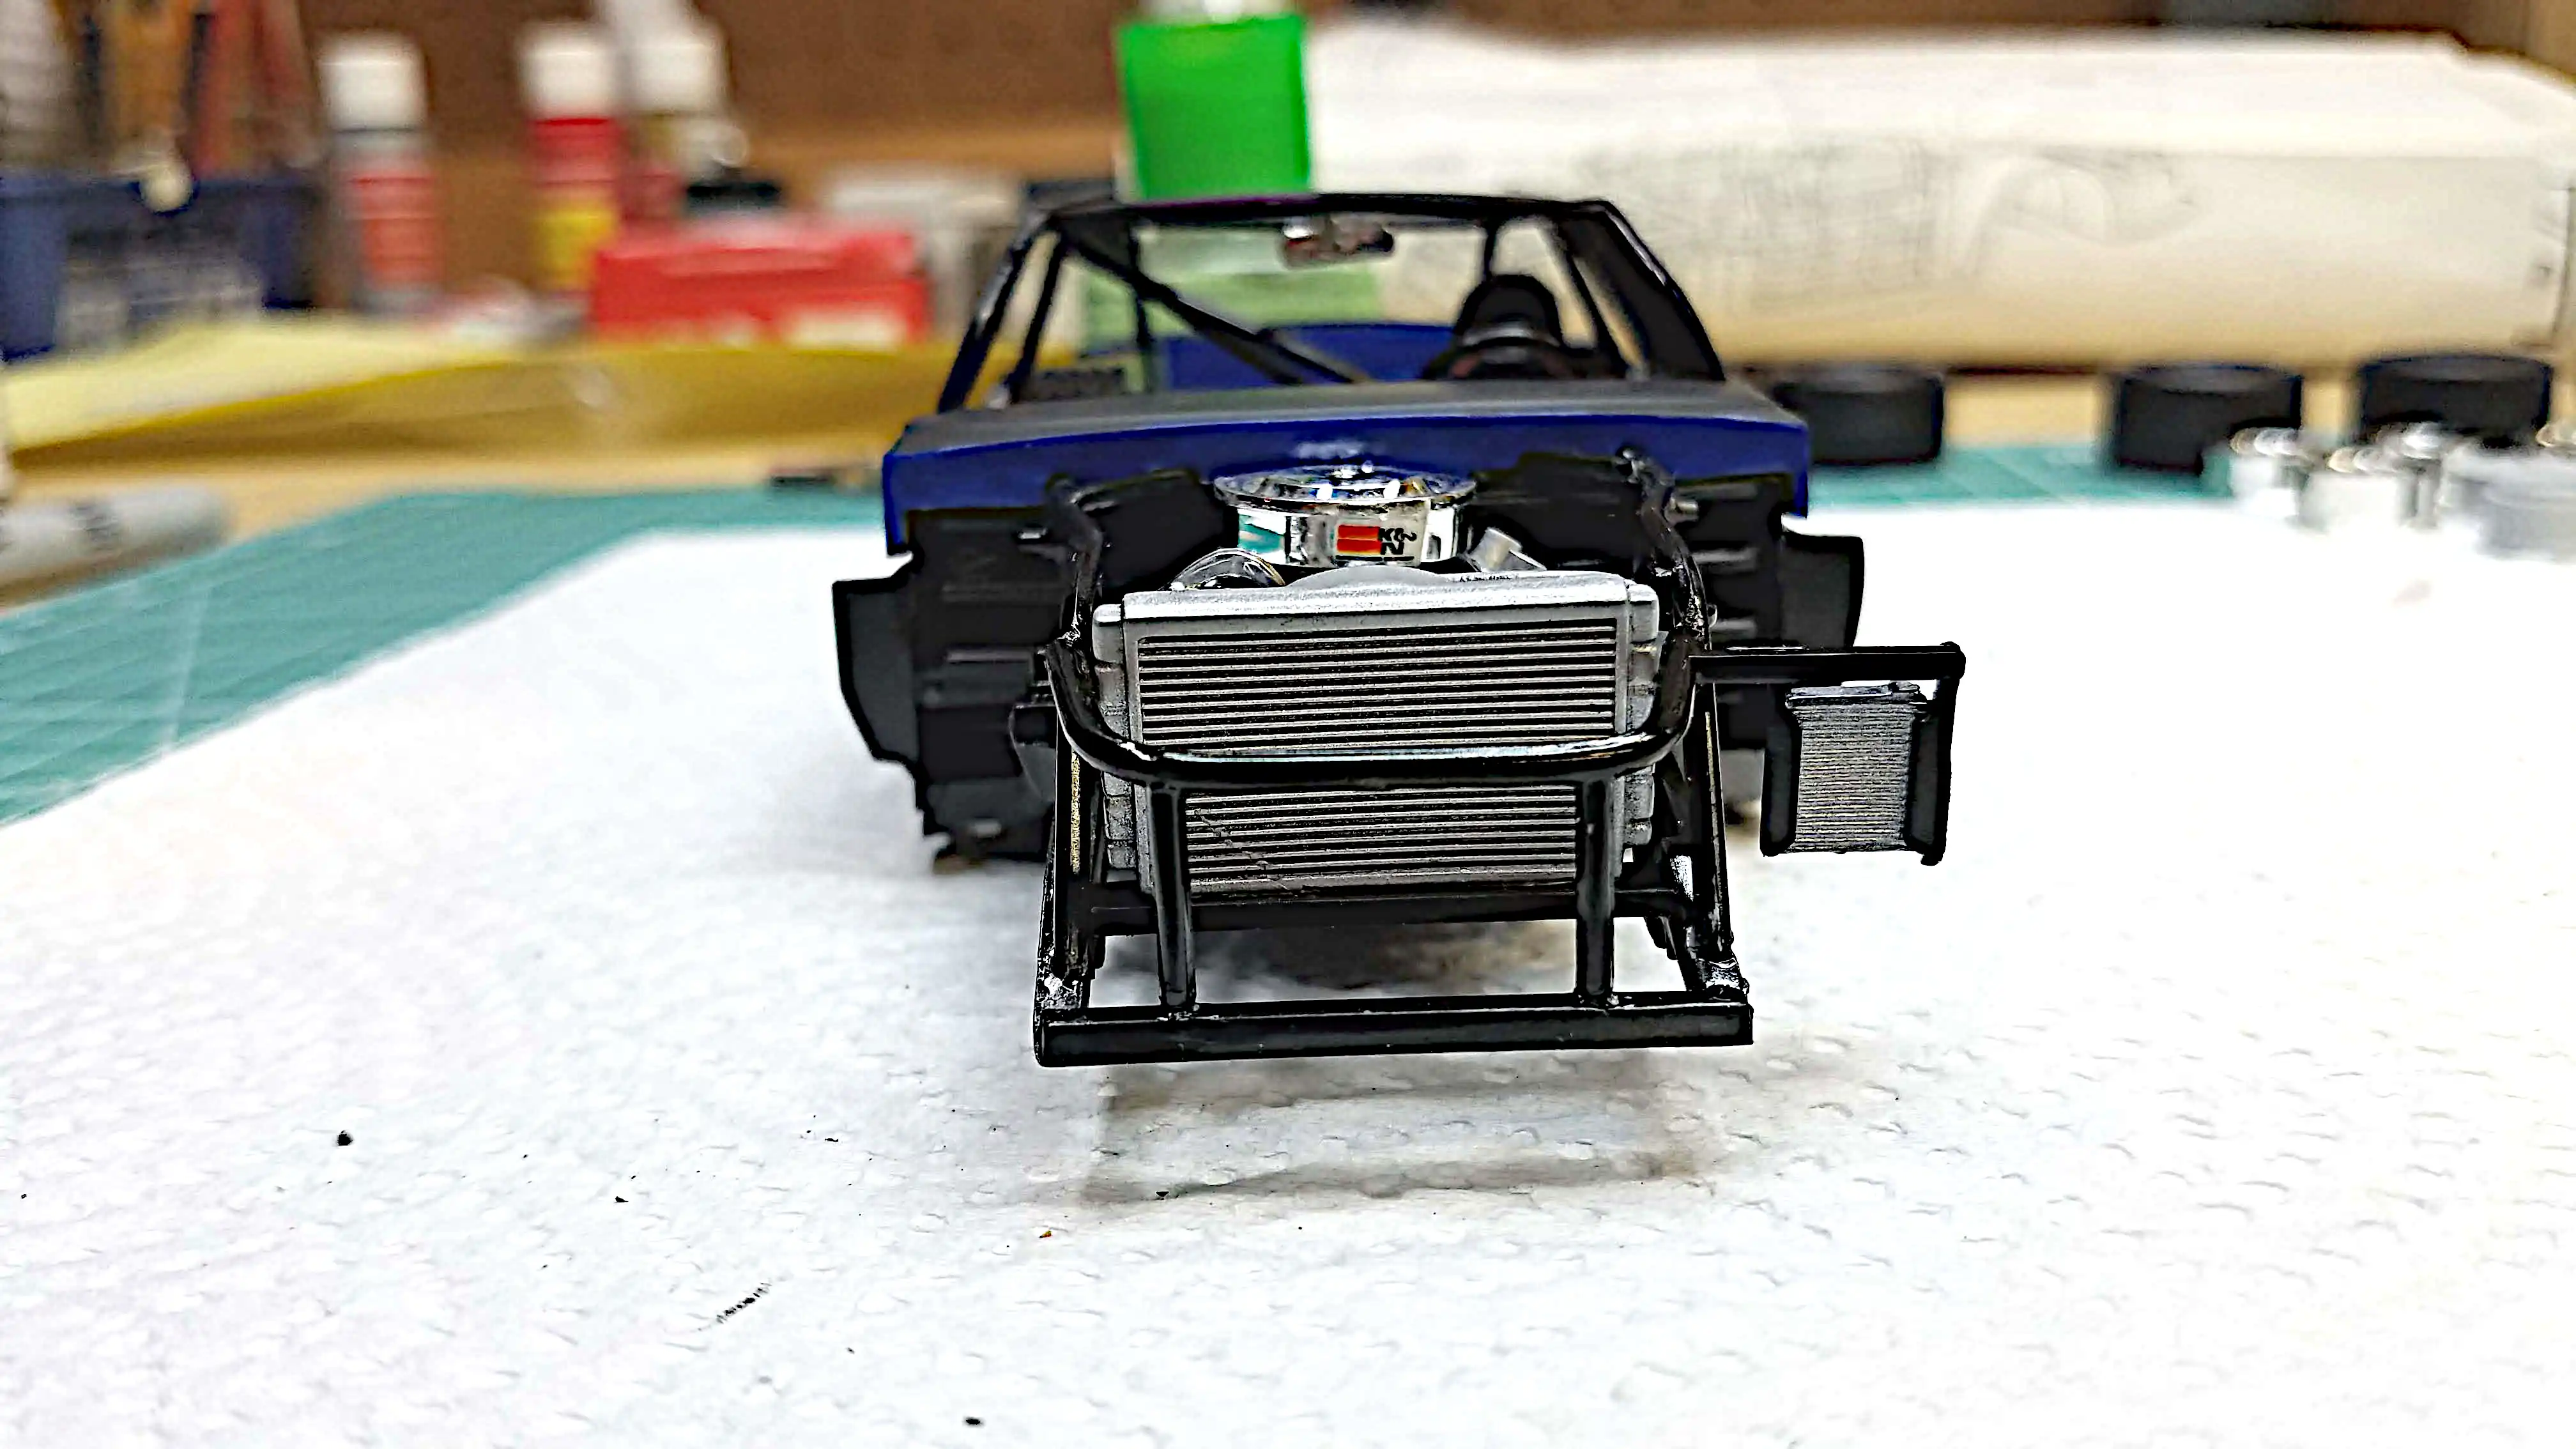 Oil cooler added
 Front suspension installed
 Chassis is finished
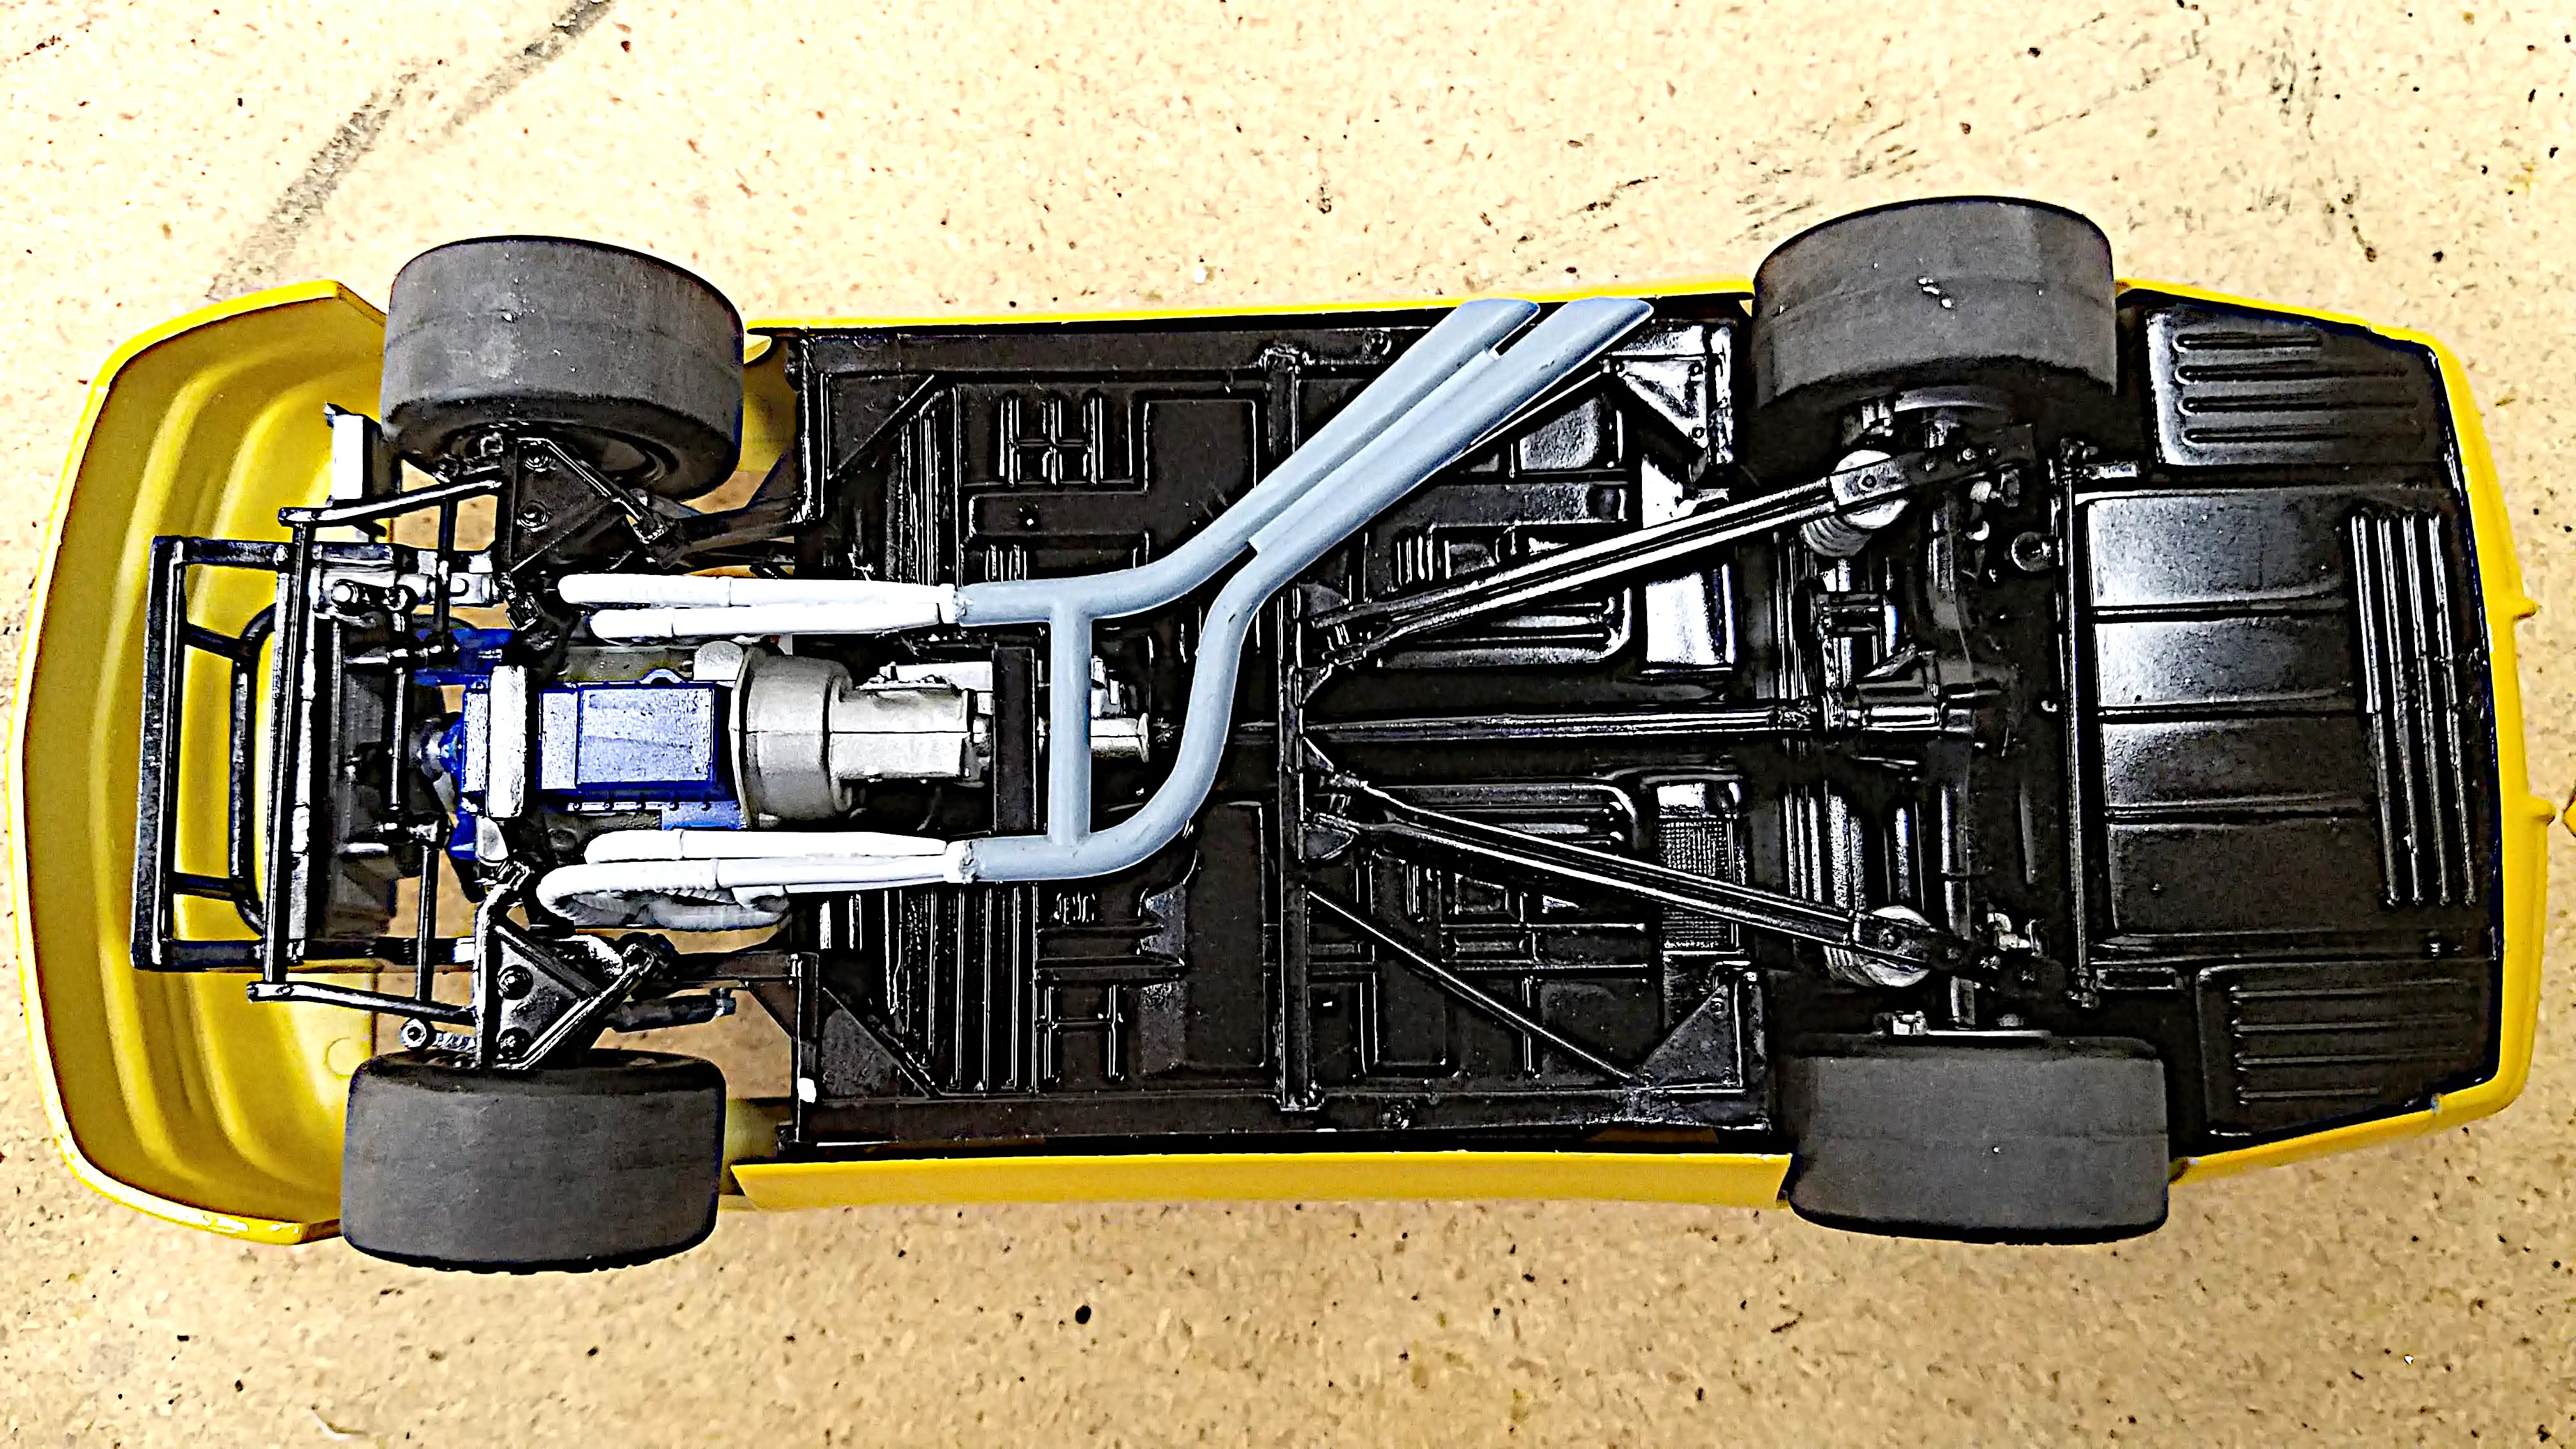 Installed the exhaust pipes
 Started installing decals
 Started installing decals
 Installing decals