About this Build
I chose this car because, I like the Ford Mustangs from the
'60's, but more so, it reminds me of my favorite uncles '66
Mustang the he always called his horse. Whenever we would go
someplace, he would always say, "come on, lets go by horse back".
I also chose this car to build as an experimental build. I wanted
to experiment with several concepts of building that I never did
before, such as:
-
Detailing a dashboard.
-
Painting a two tone interior.
-
Using flock on the interior floor for carpet.
-
Trying my cheap method of bare metal foil.
-
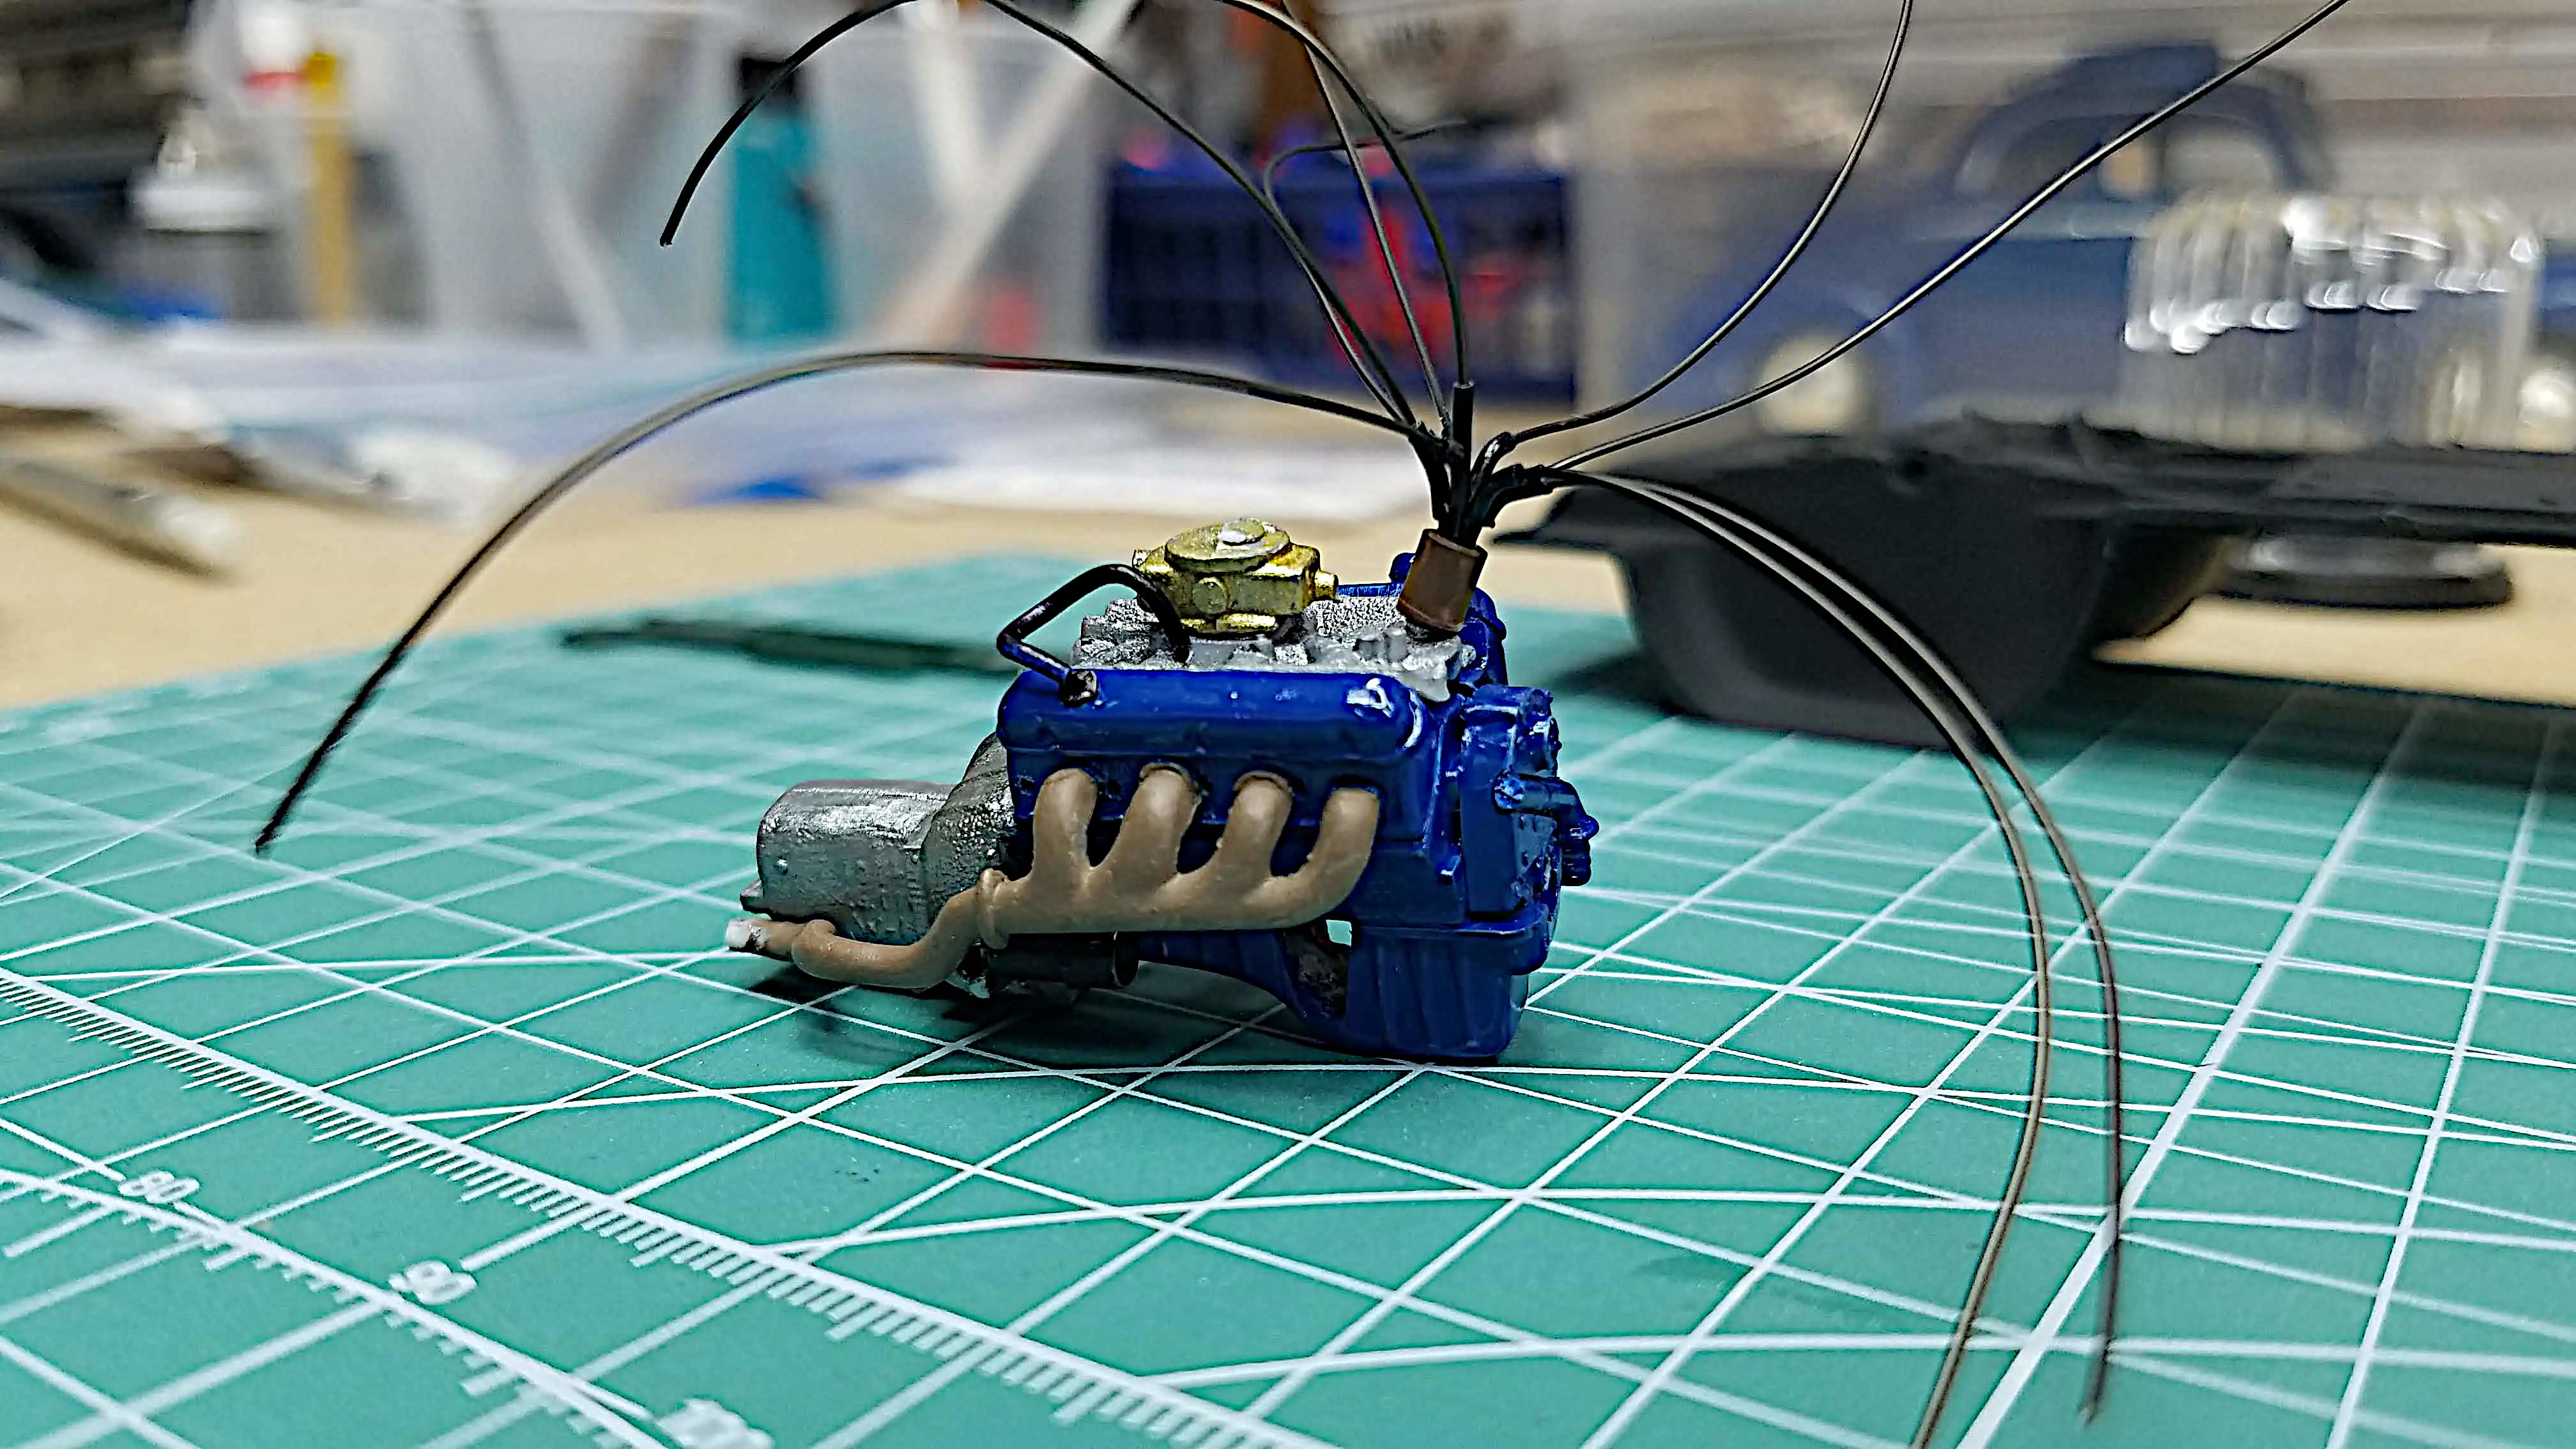
Making my own distributor.
-
Adding more detail to the engine.
-
And a few other things...
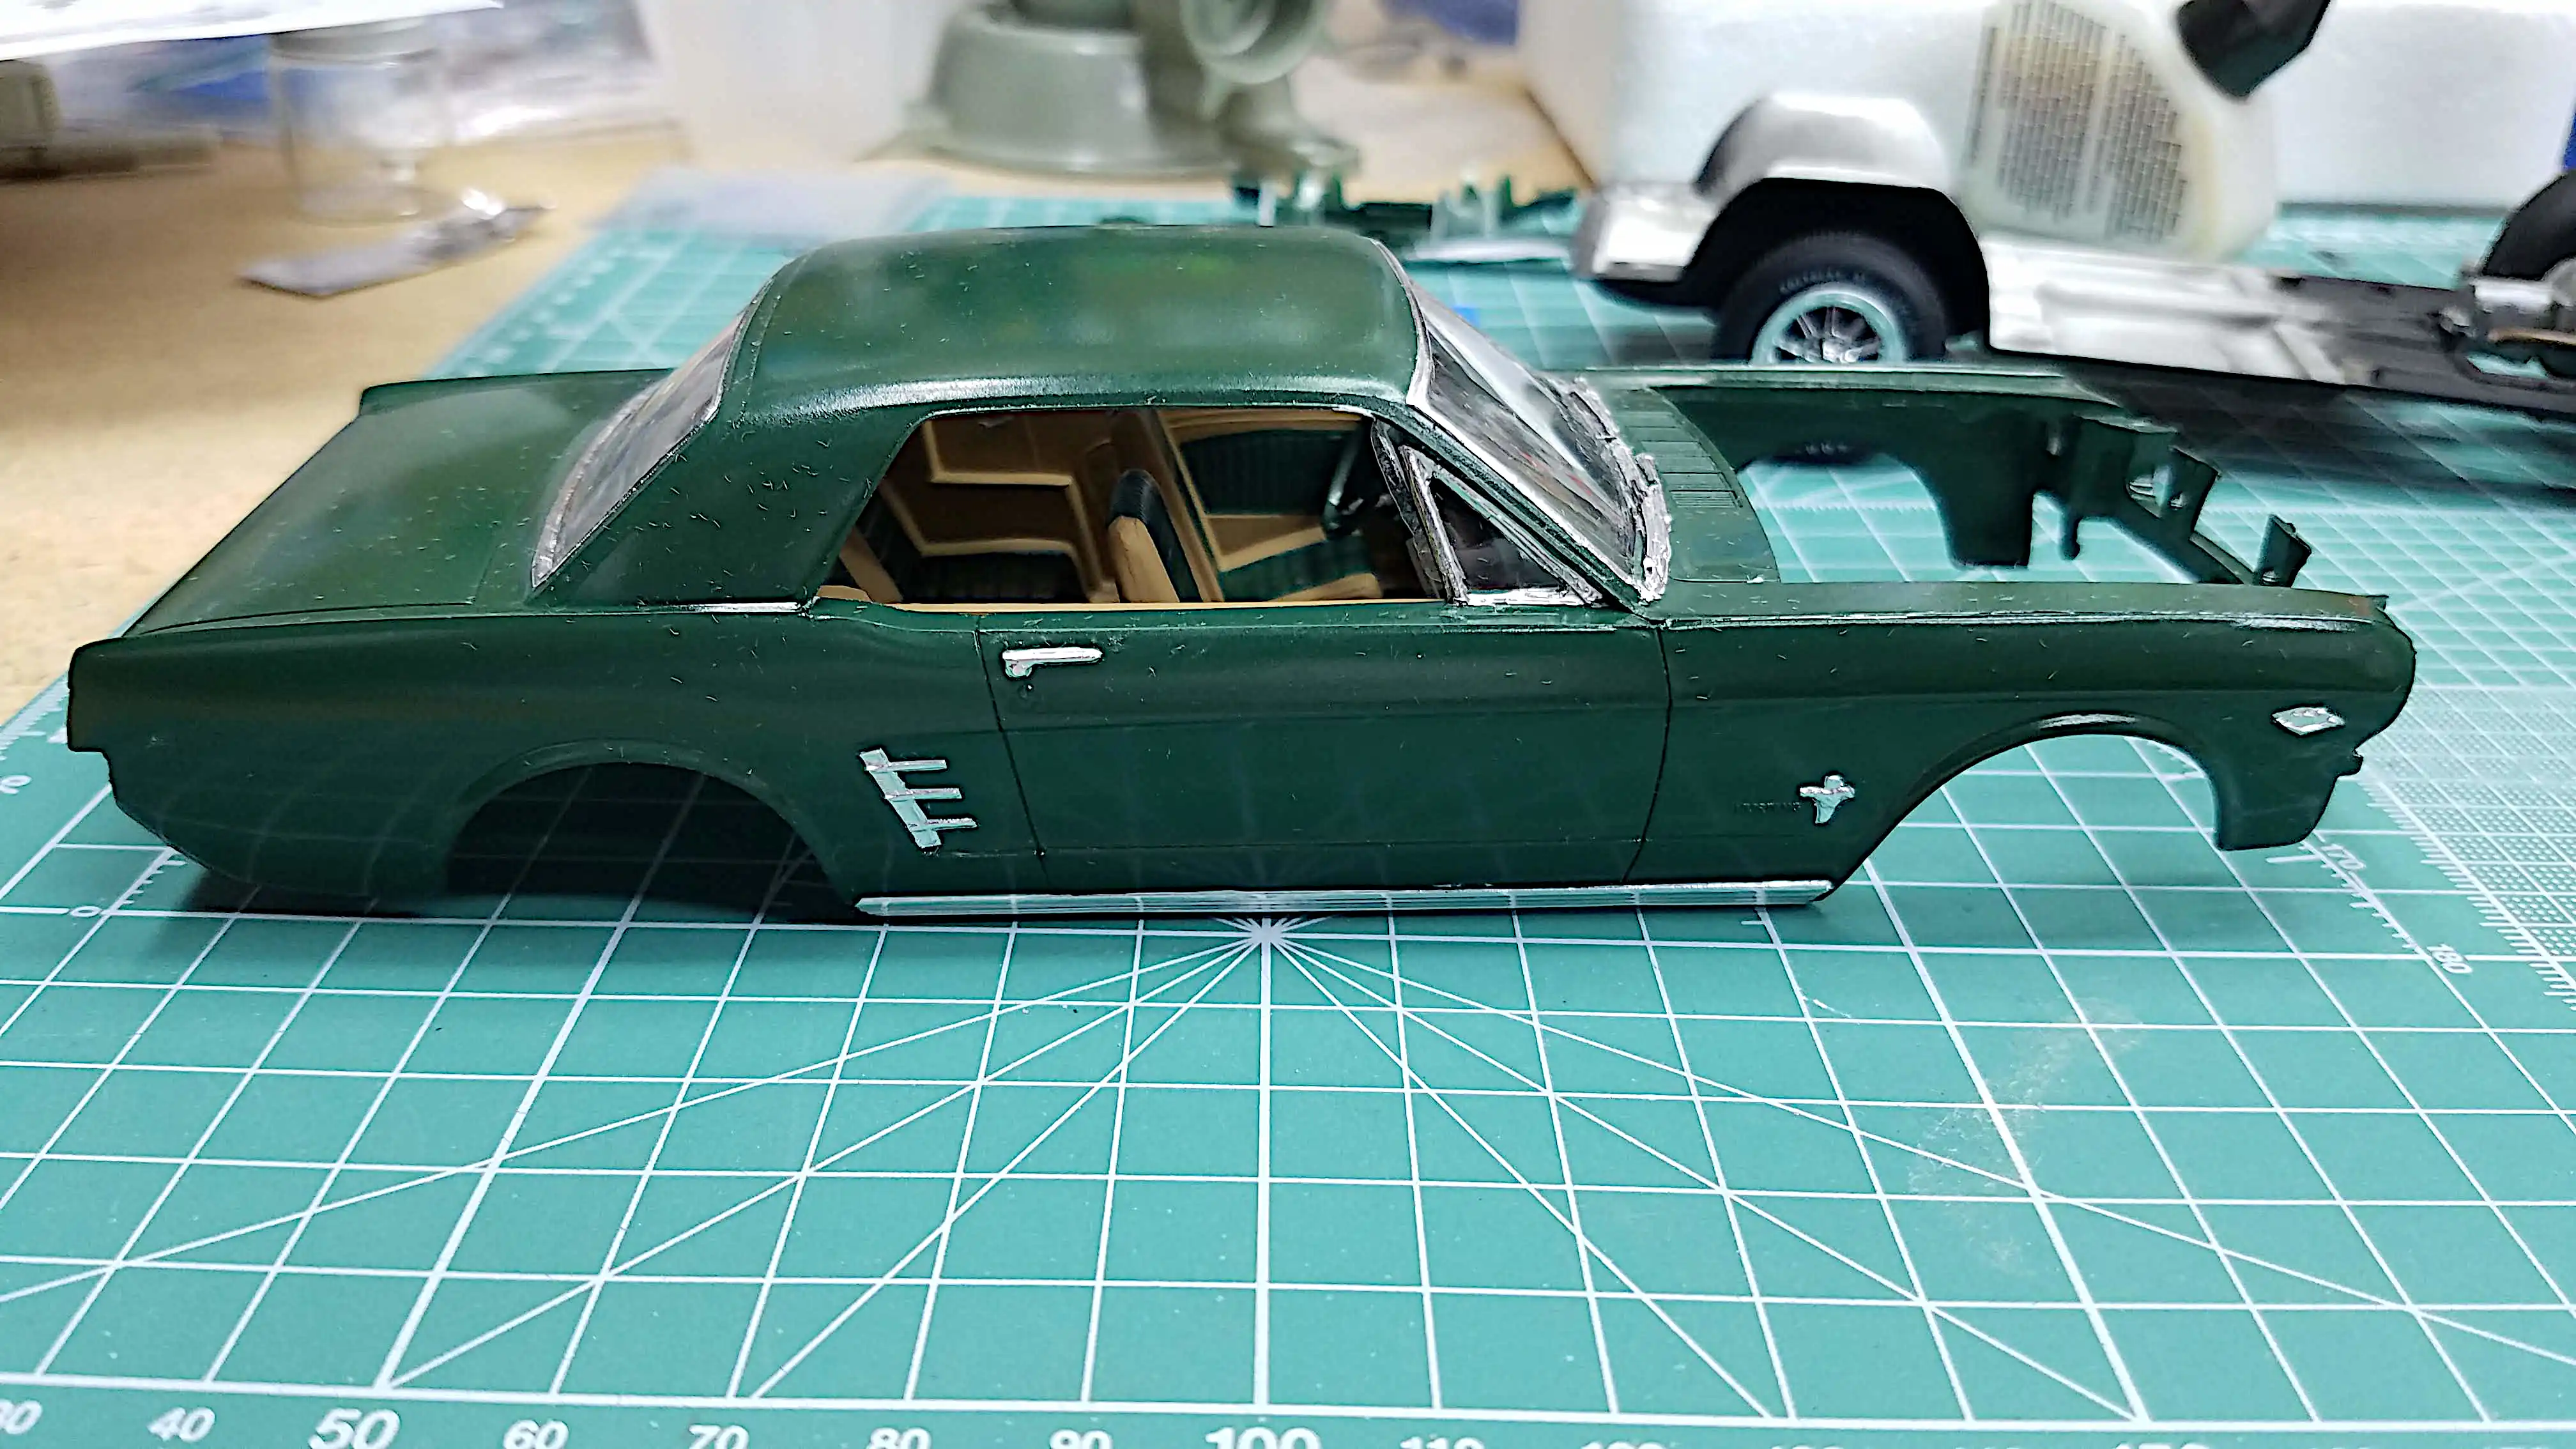
The photos that follow is a sequence of how I built the 1966 Ford
Mustang. I chose the green color because that's what color my
uncles car was. Following is a list of some websites I used while
researching the '66 Mustang.
Photo/Video/Assembly Journal
48 Photos
Skip's Messy Workbench ⇔ All rights reserved ⇔ Copyright © 2023-2025
Skip's Messy Workbench
⇔ Last updated: July 01, 2025

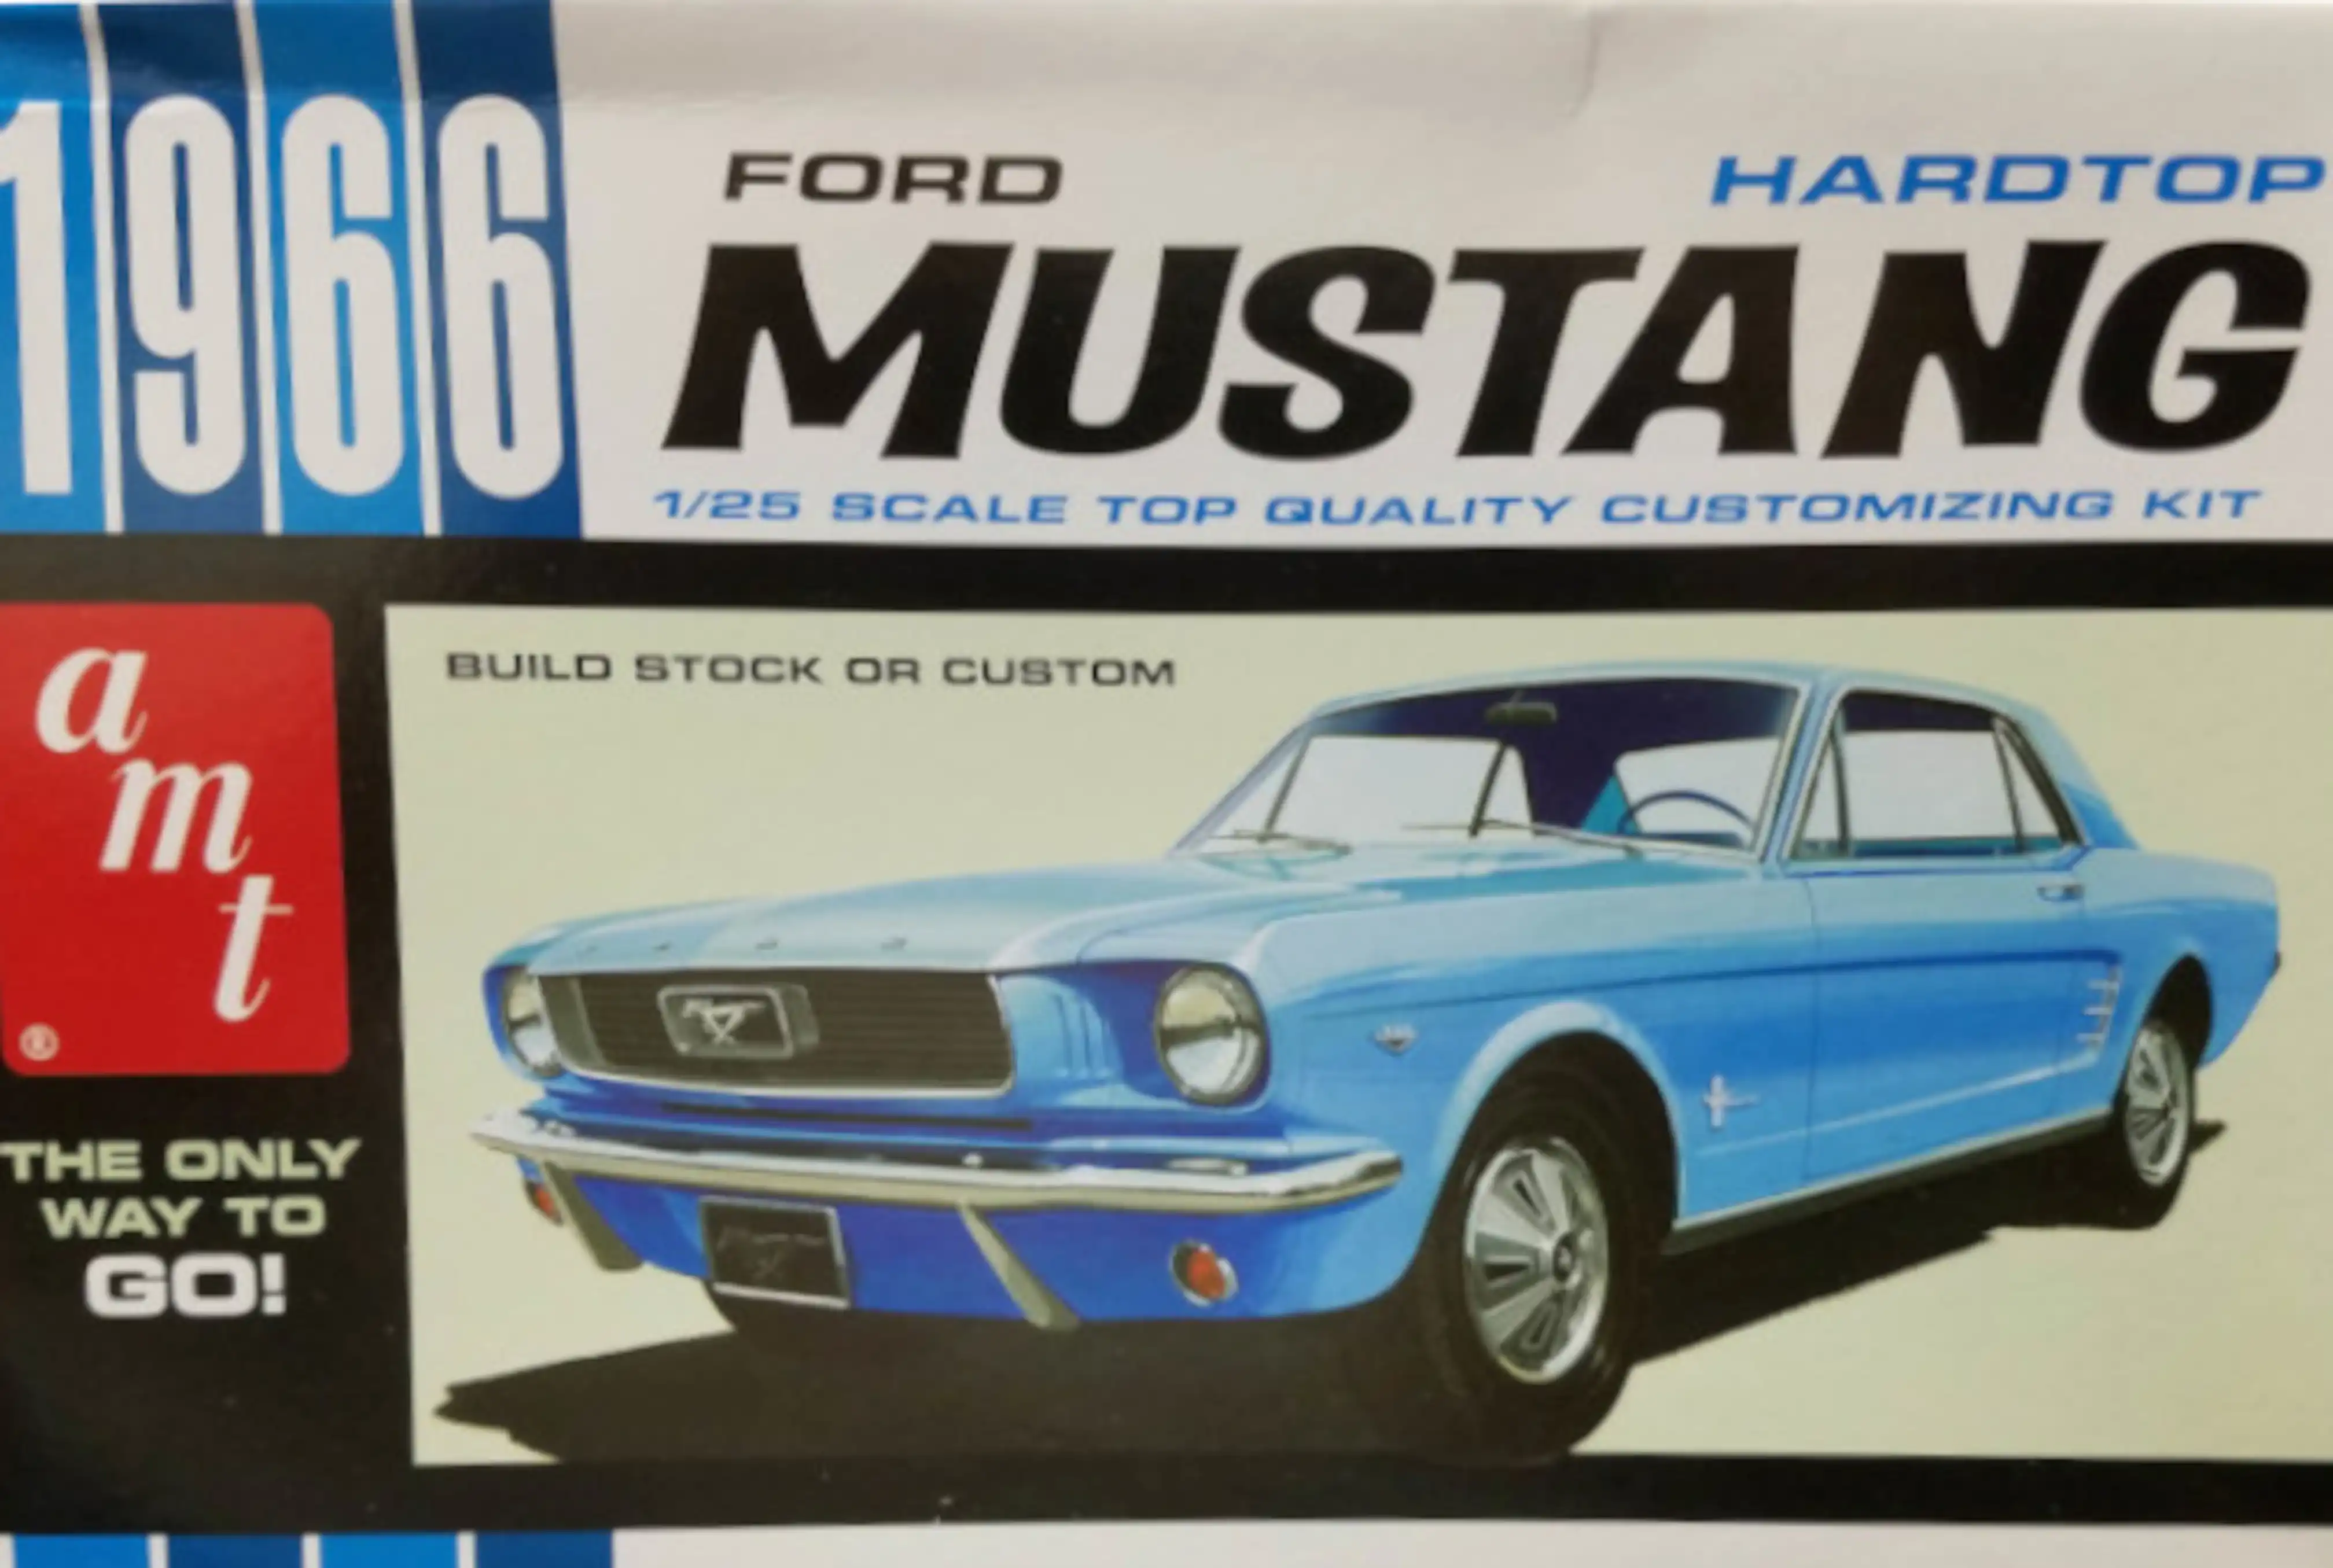 1966 Ford Mustang Box Art
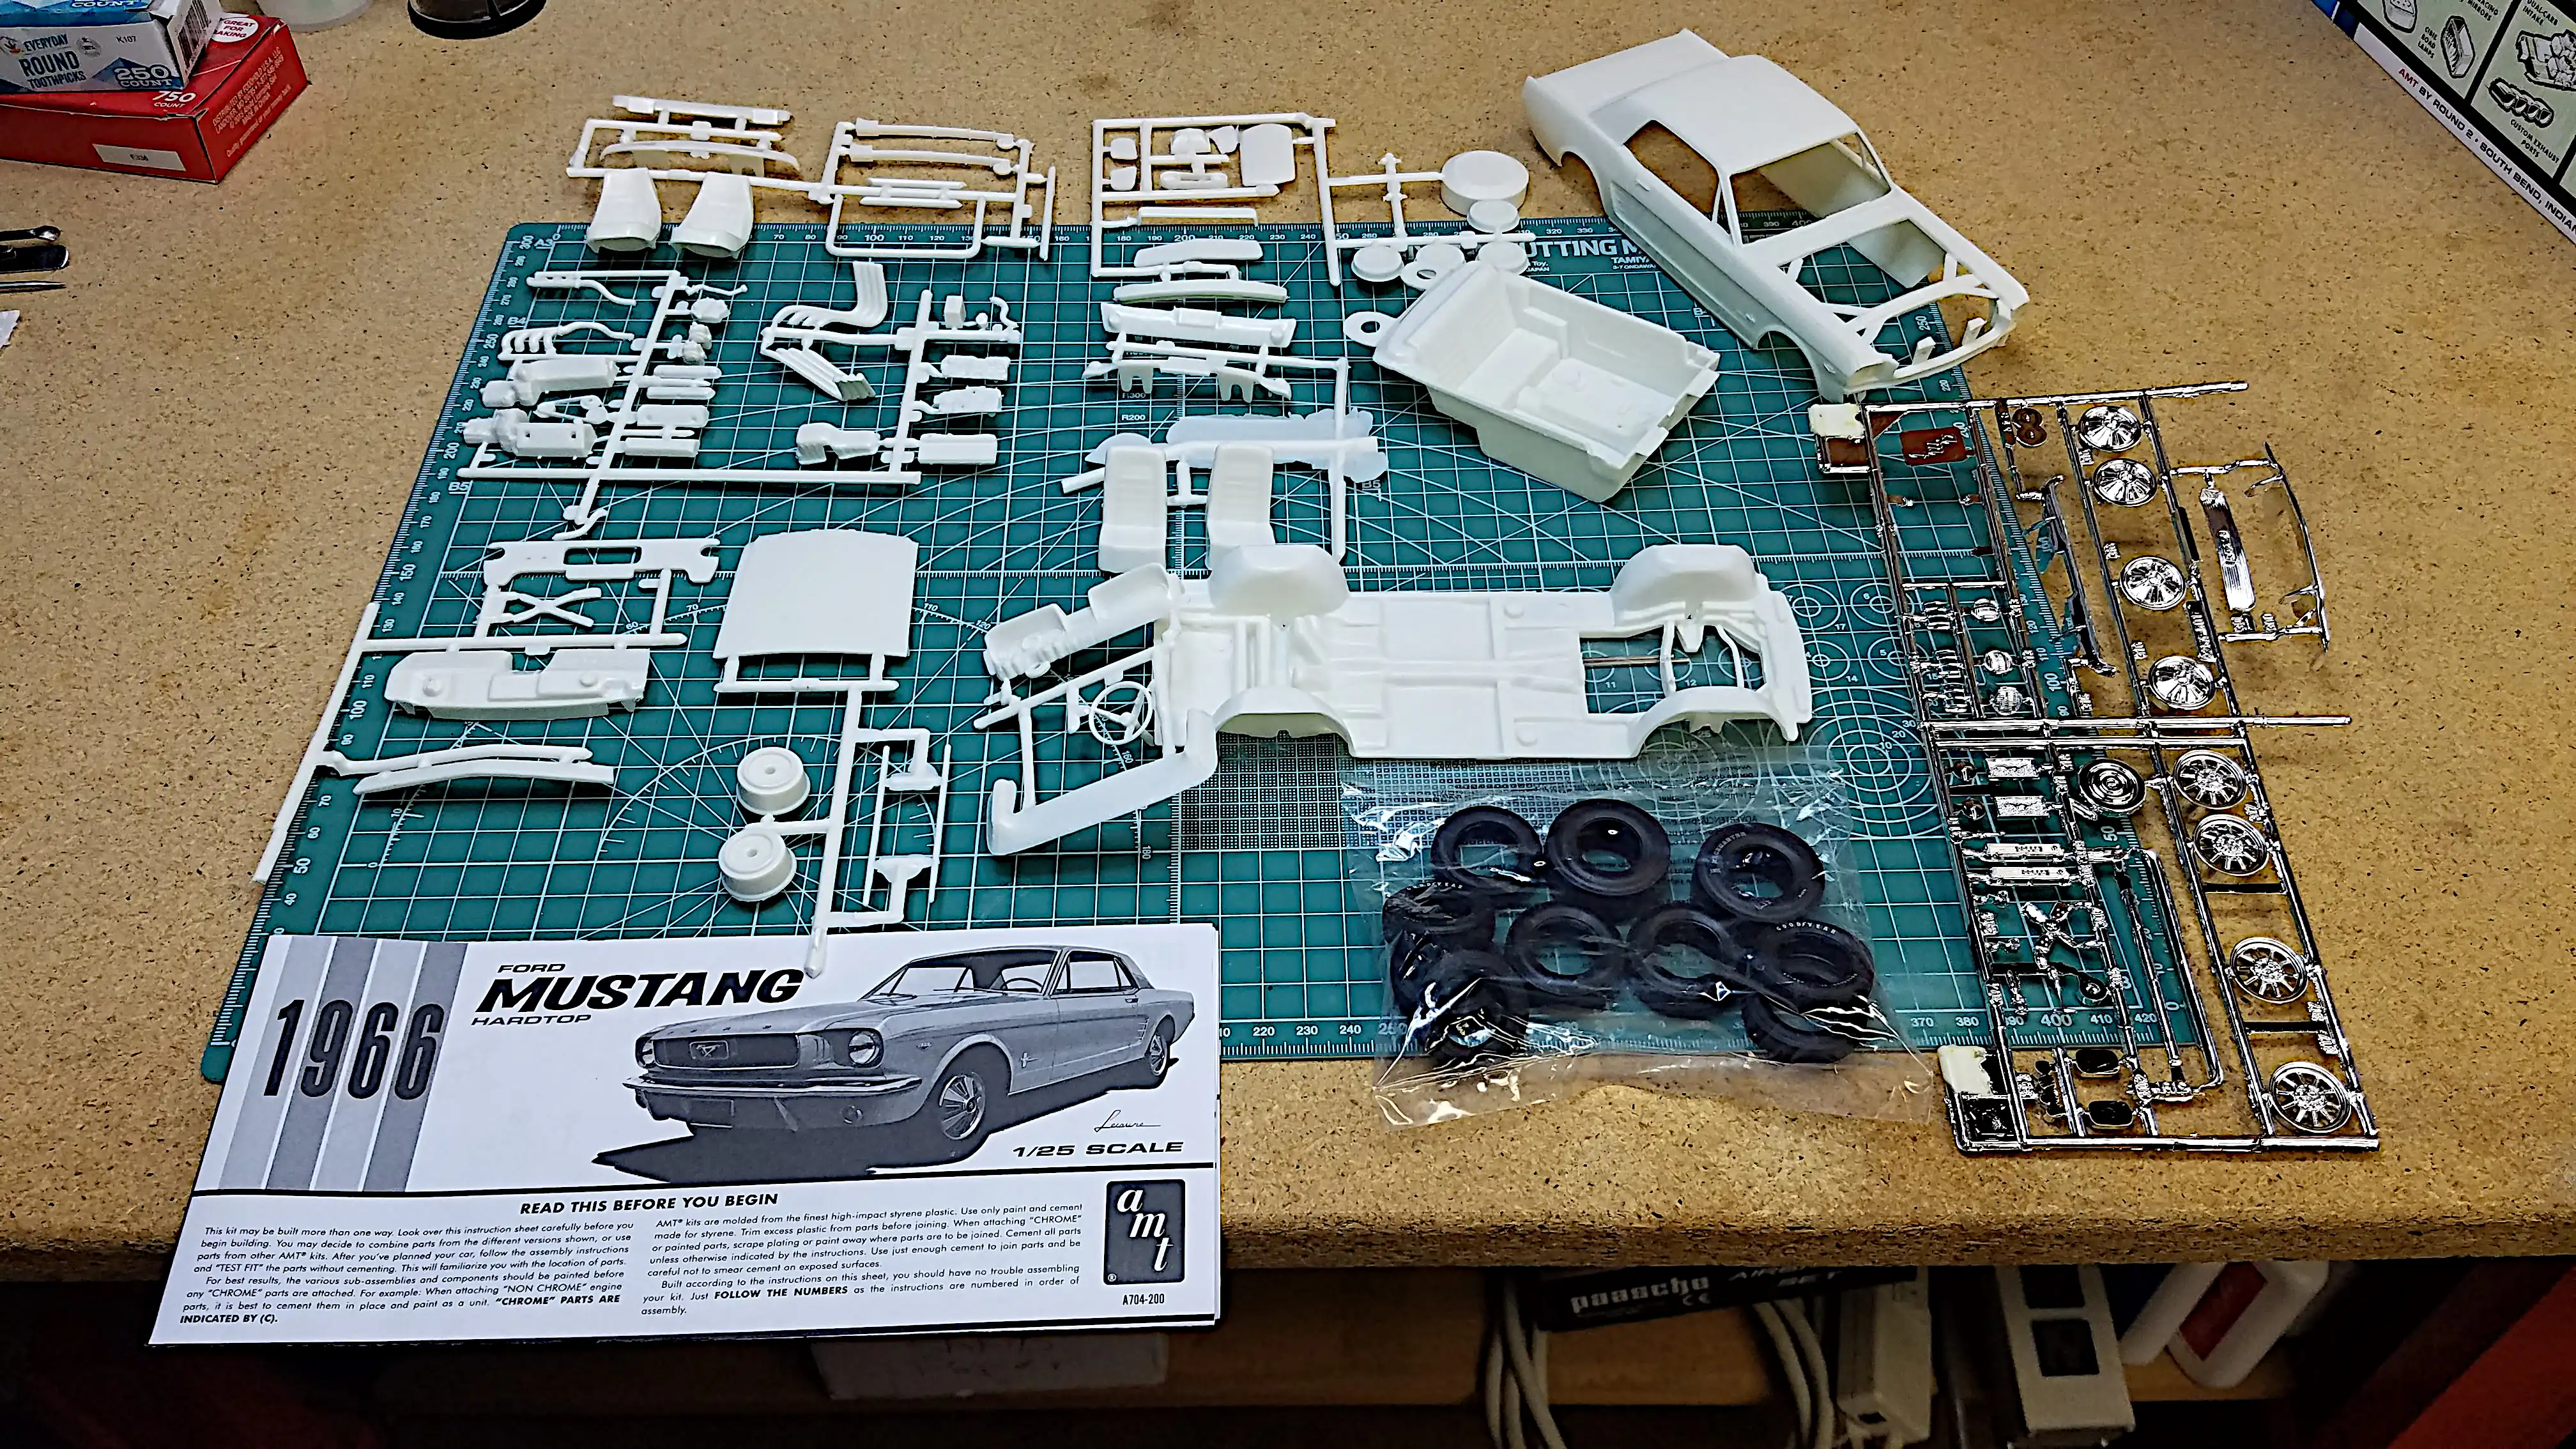 All the parts laid out
 Started removing parts from the sprues
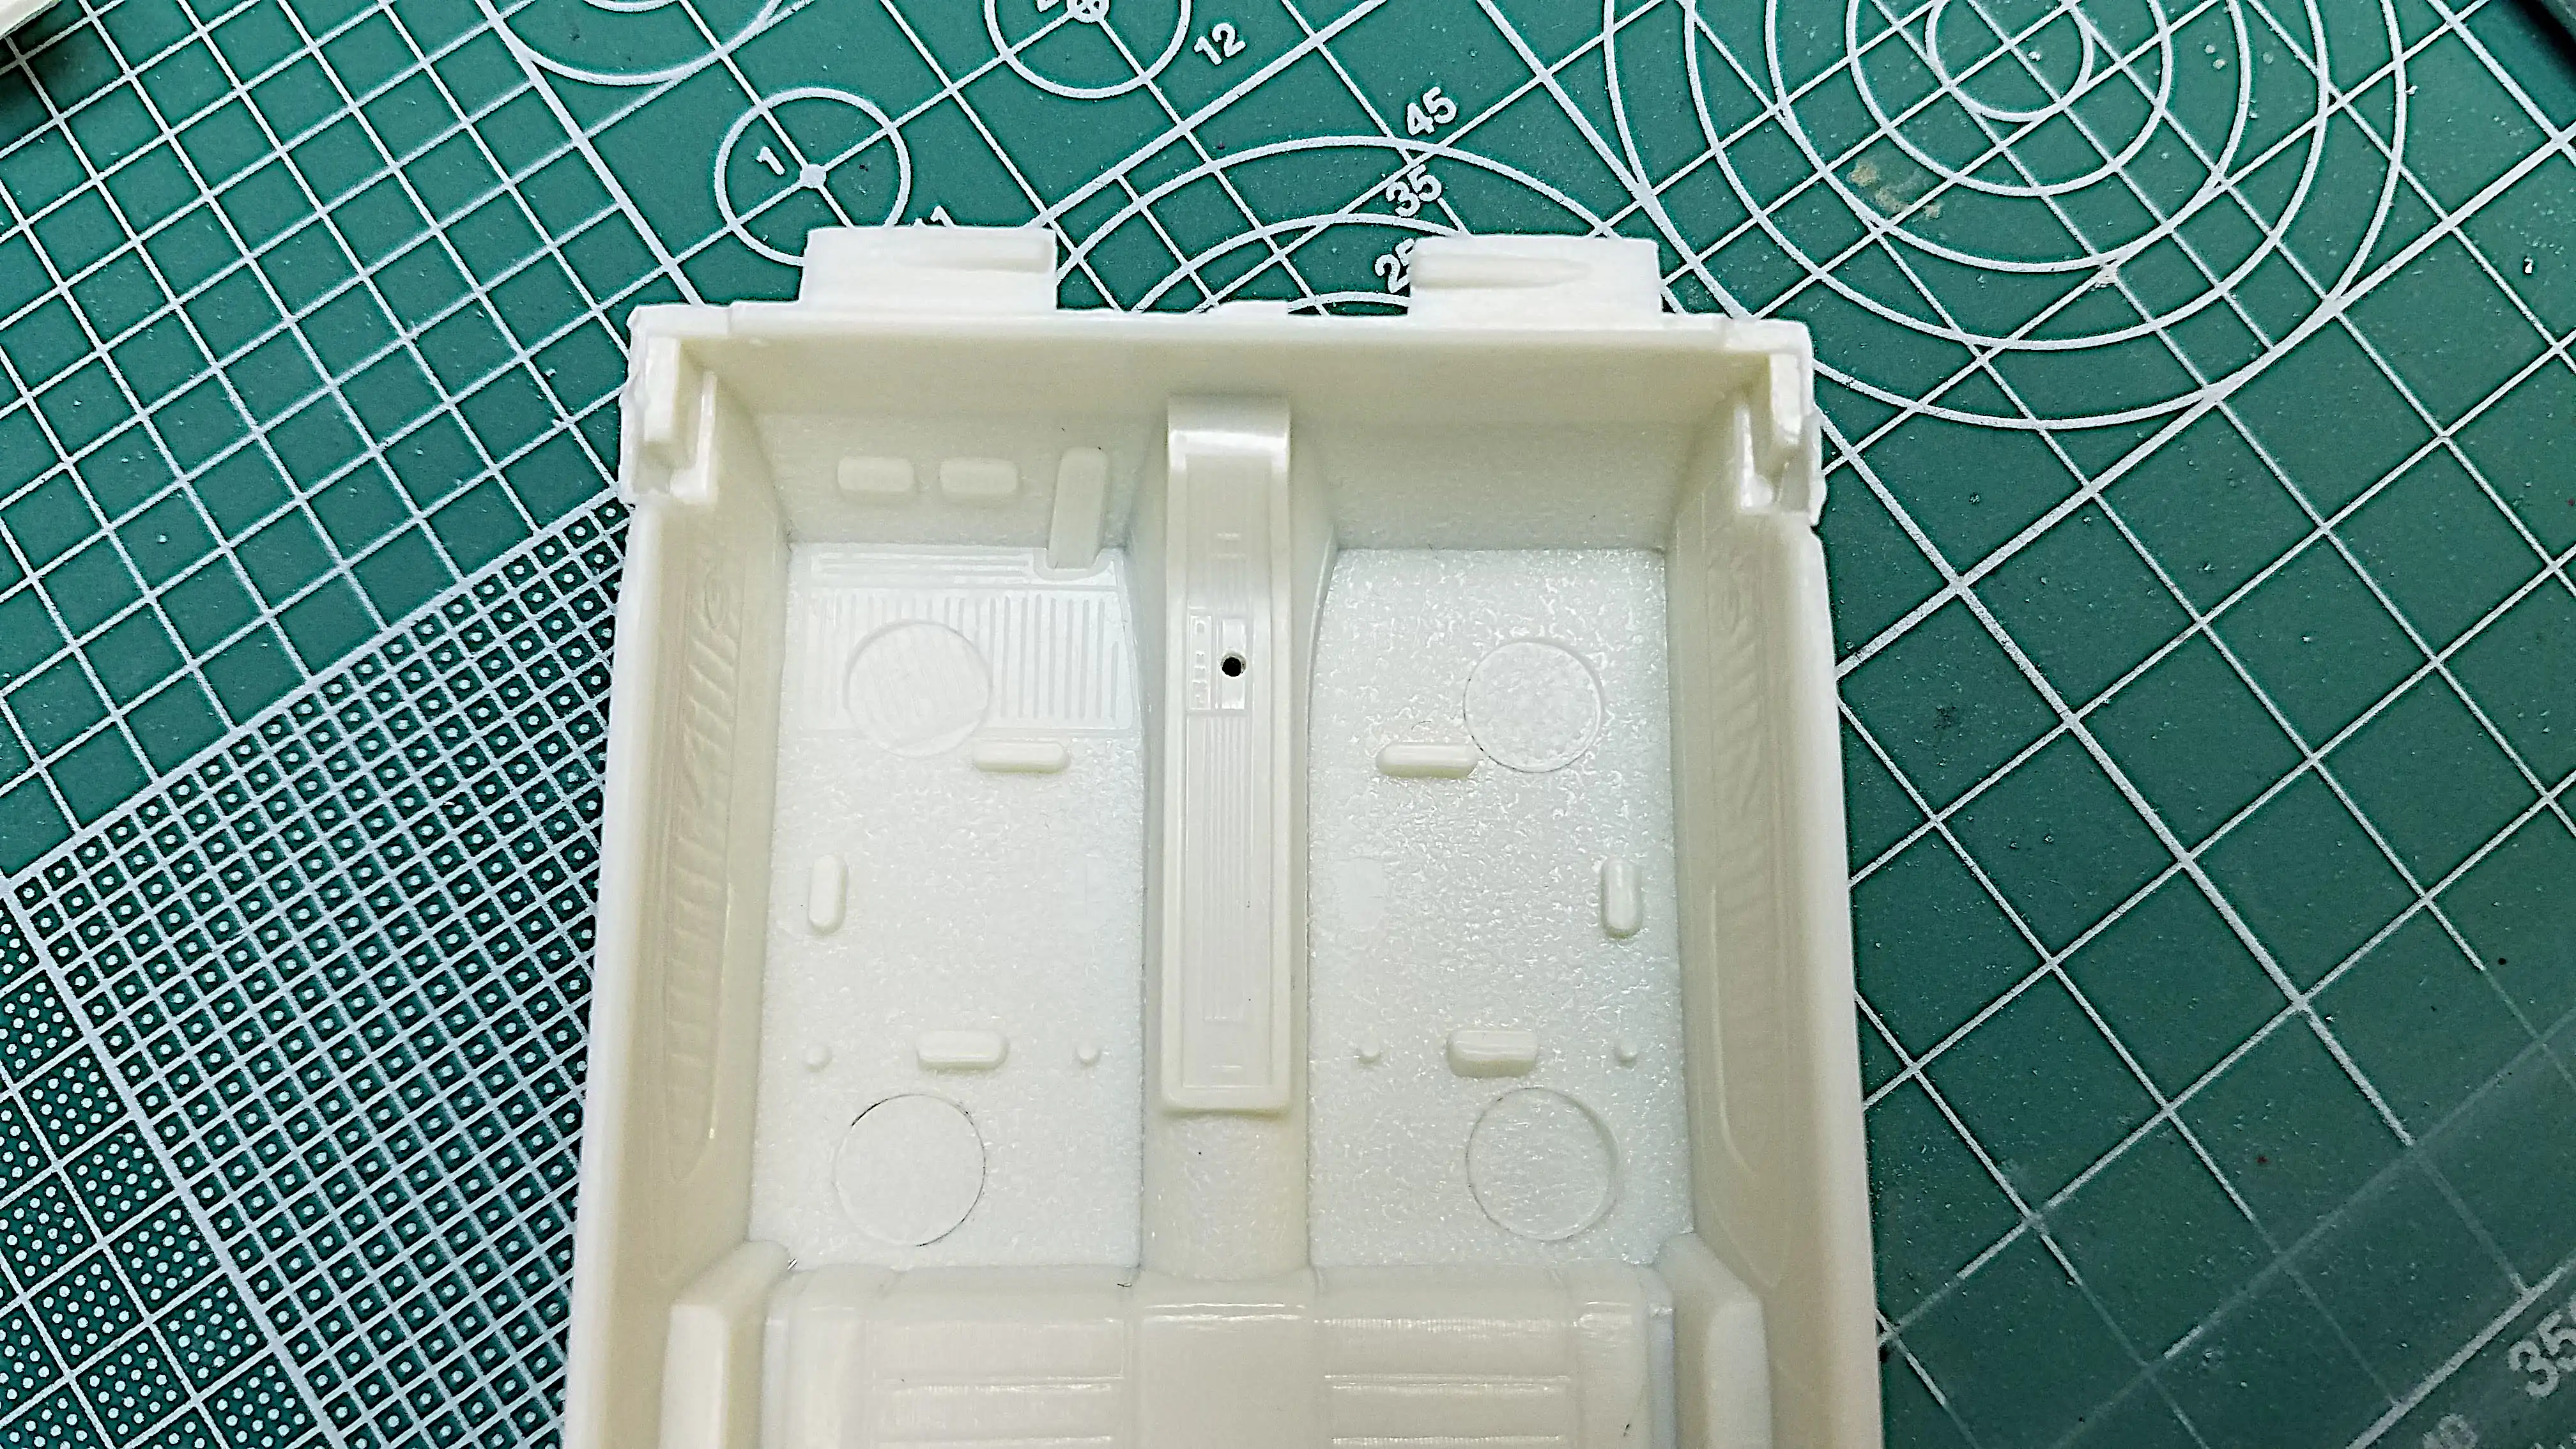 Injector pin marks in interior tub
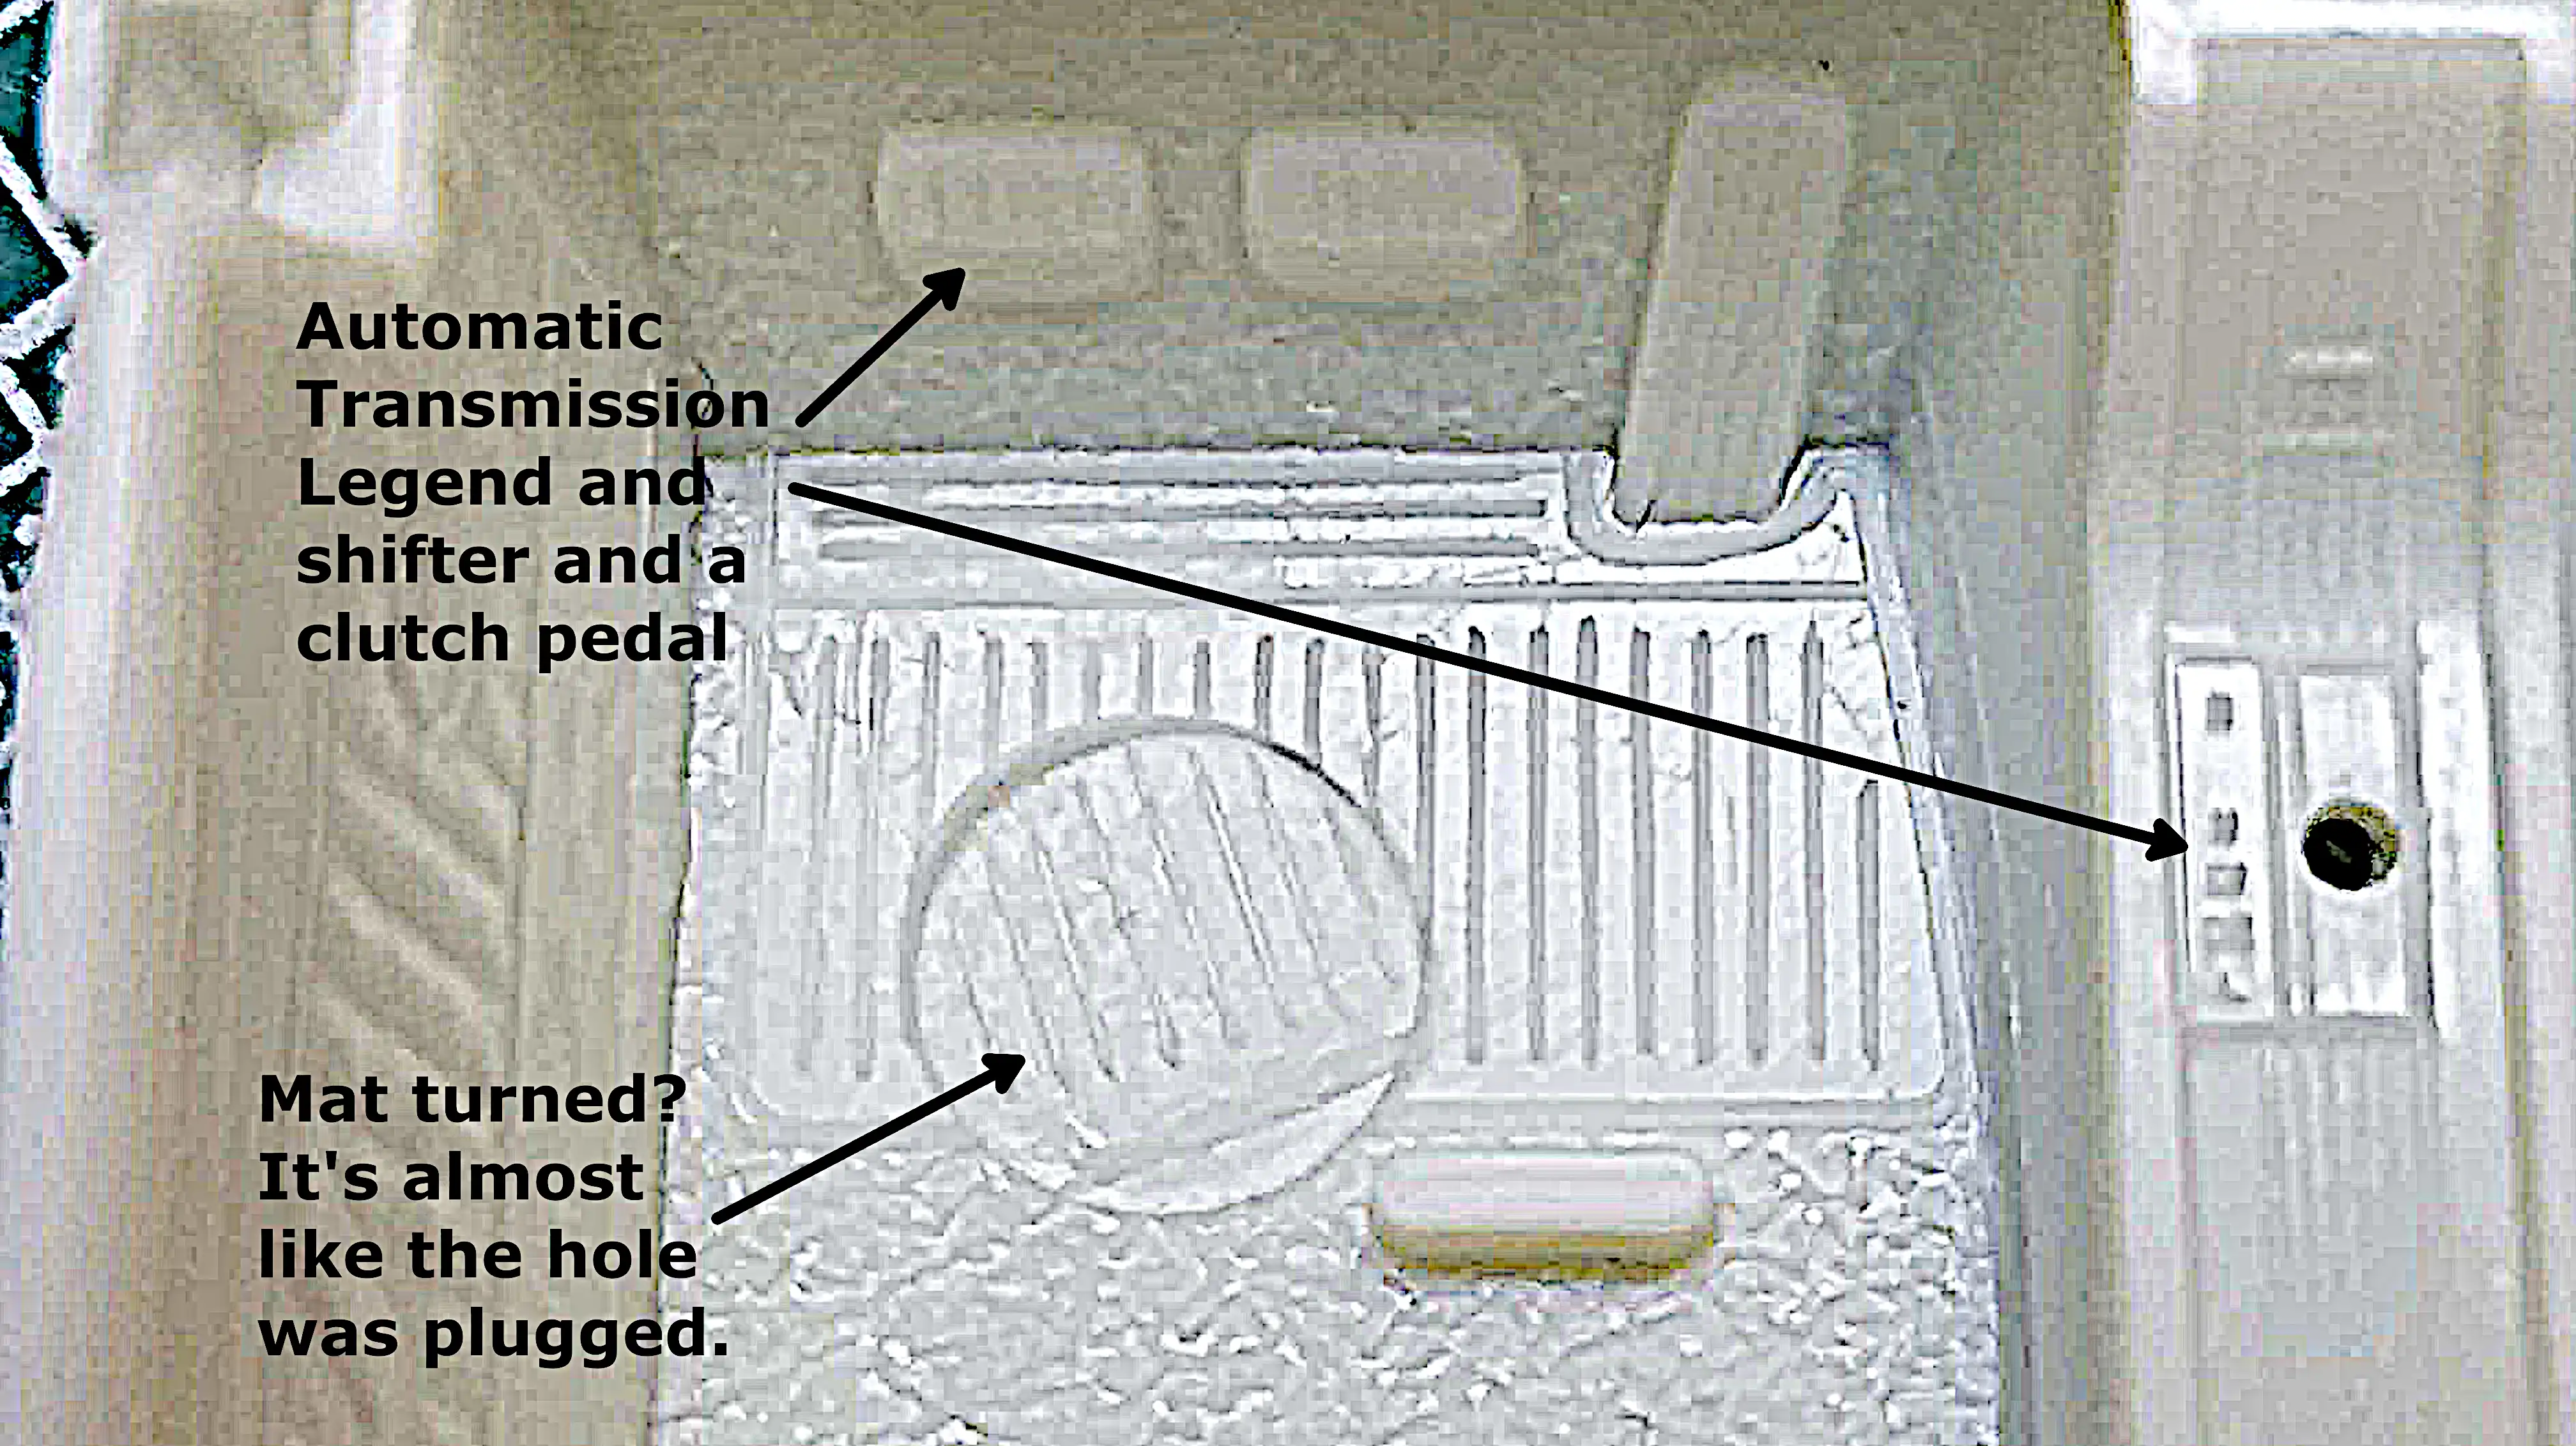 Injector pin marks and transmission marking in the interior tub
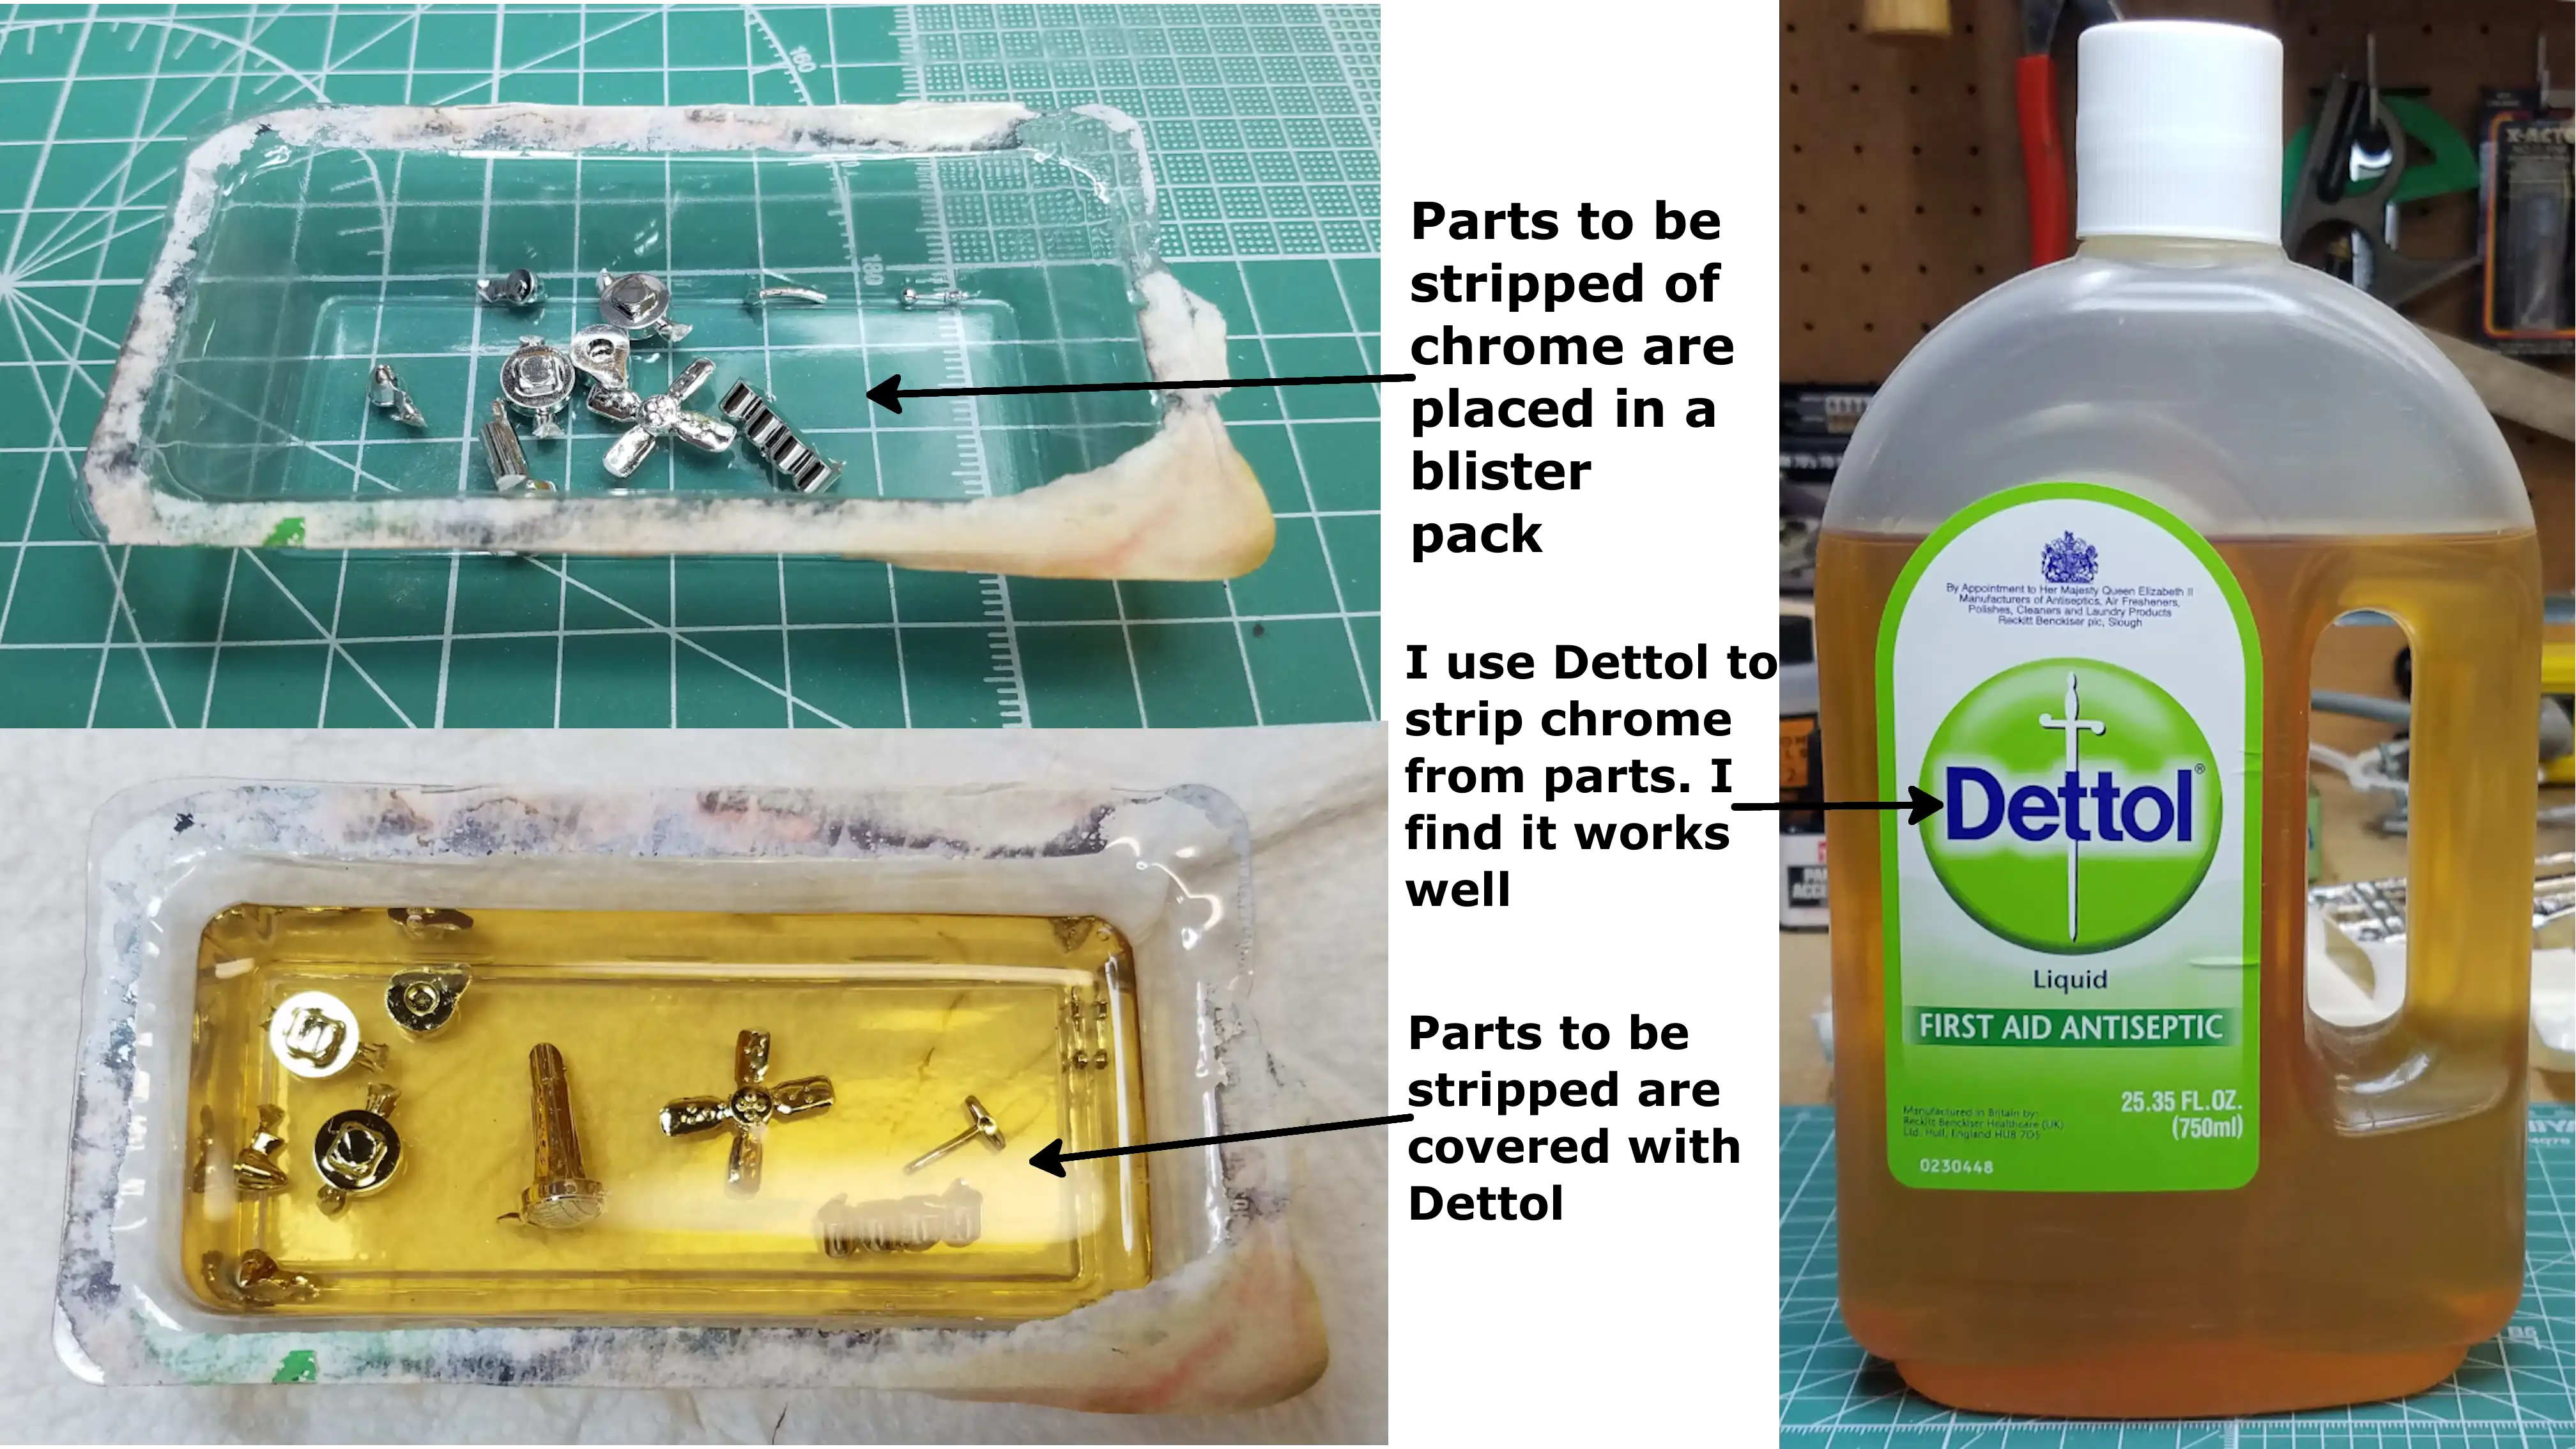 Stripping some chrome parts
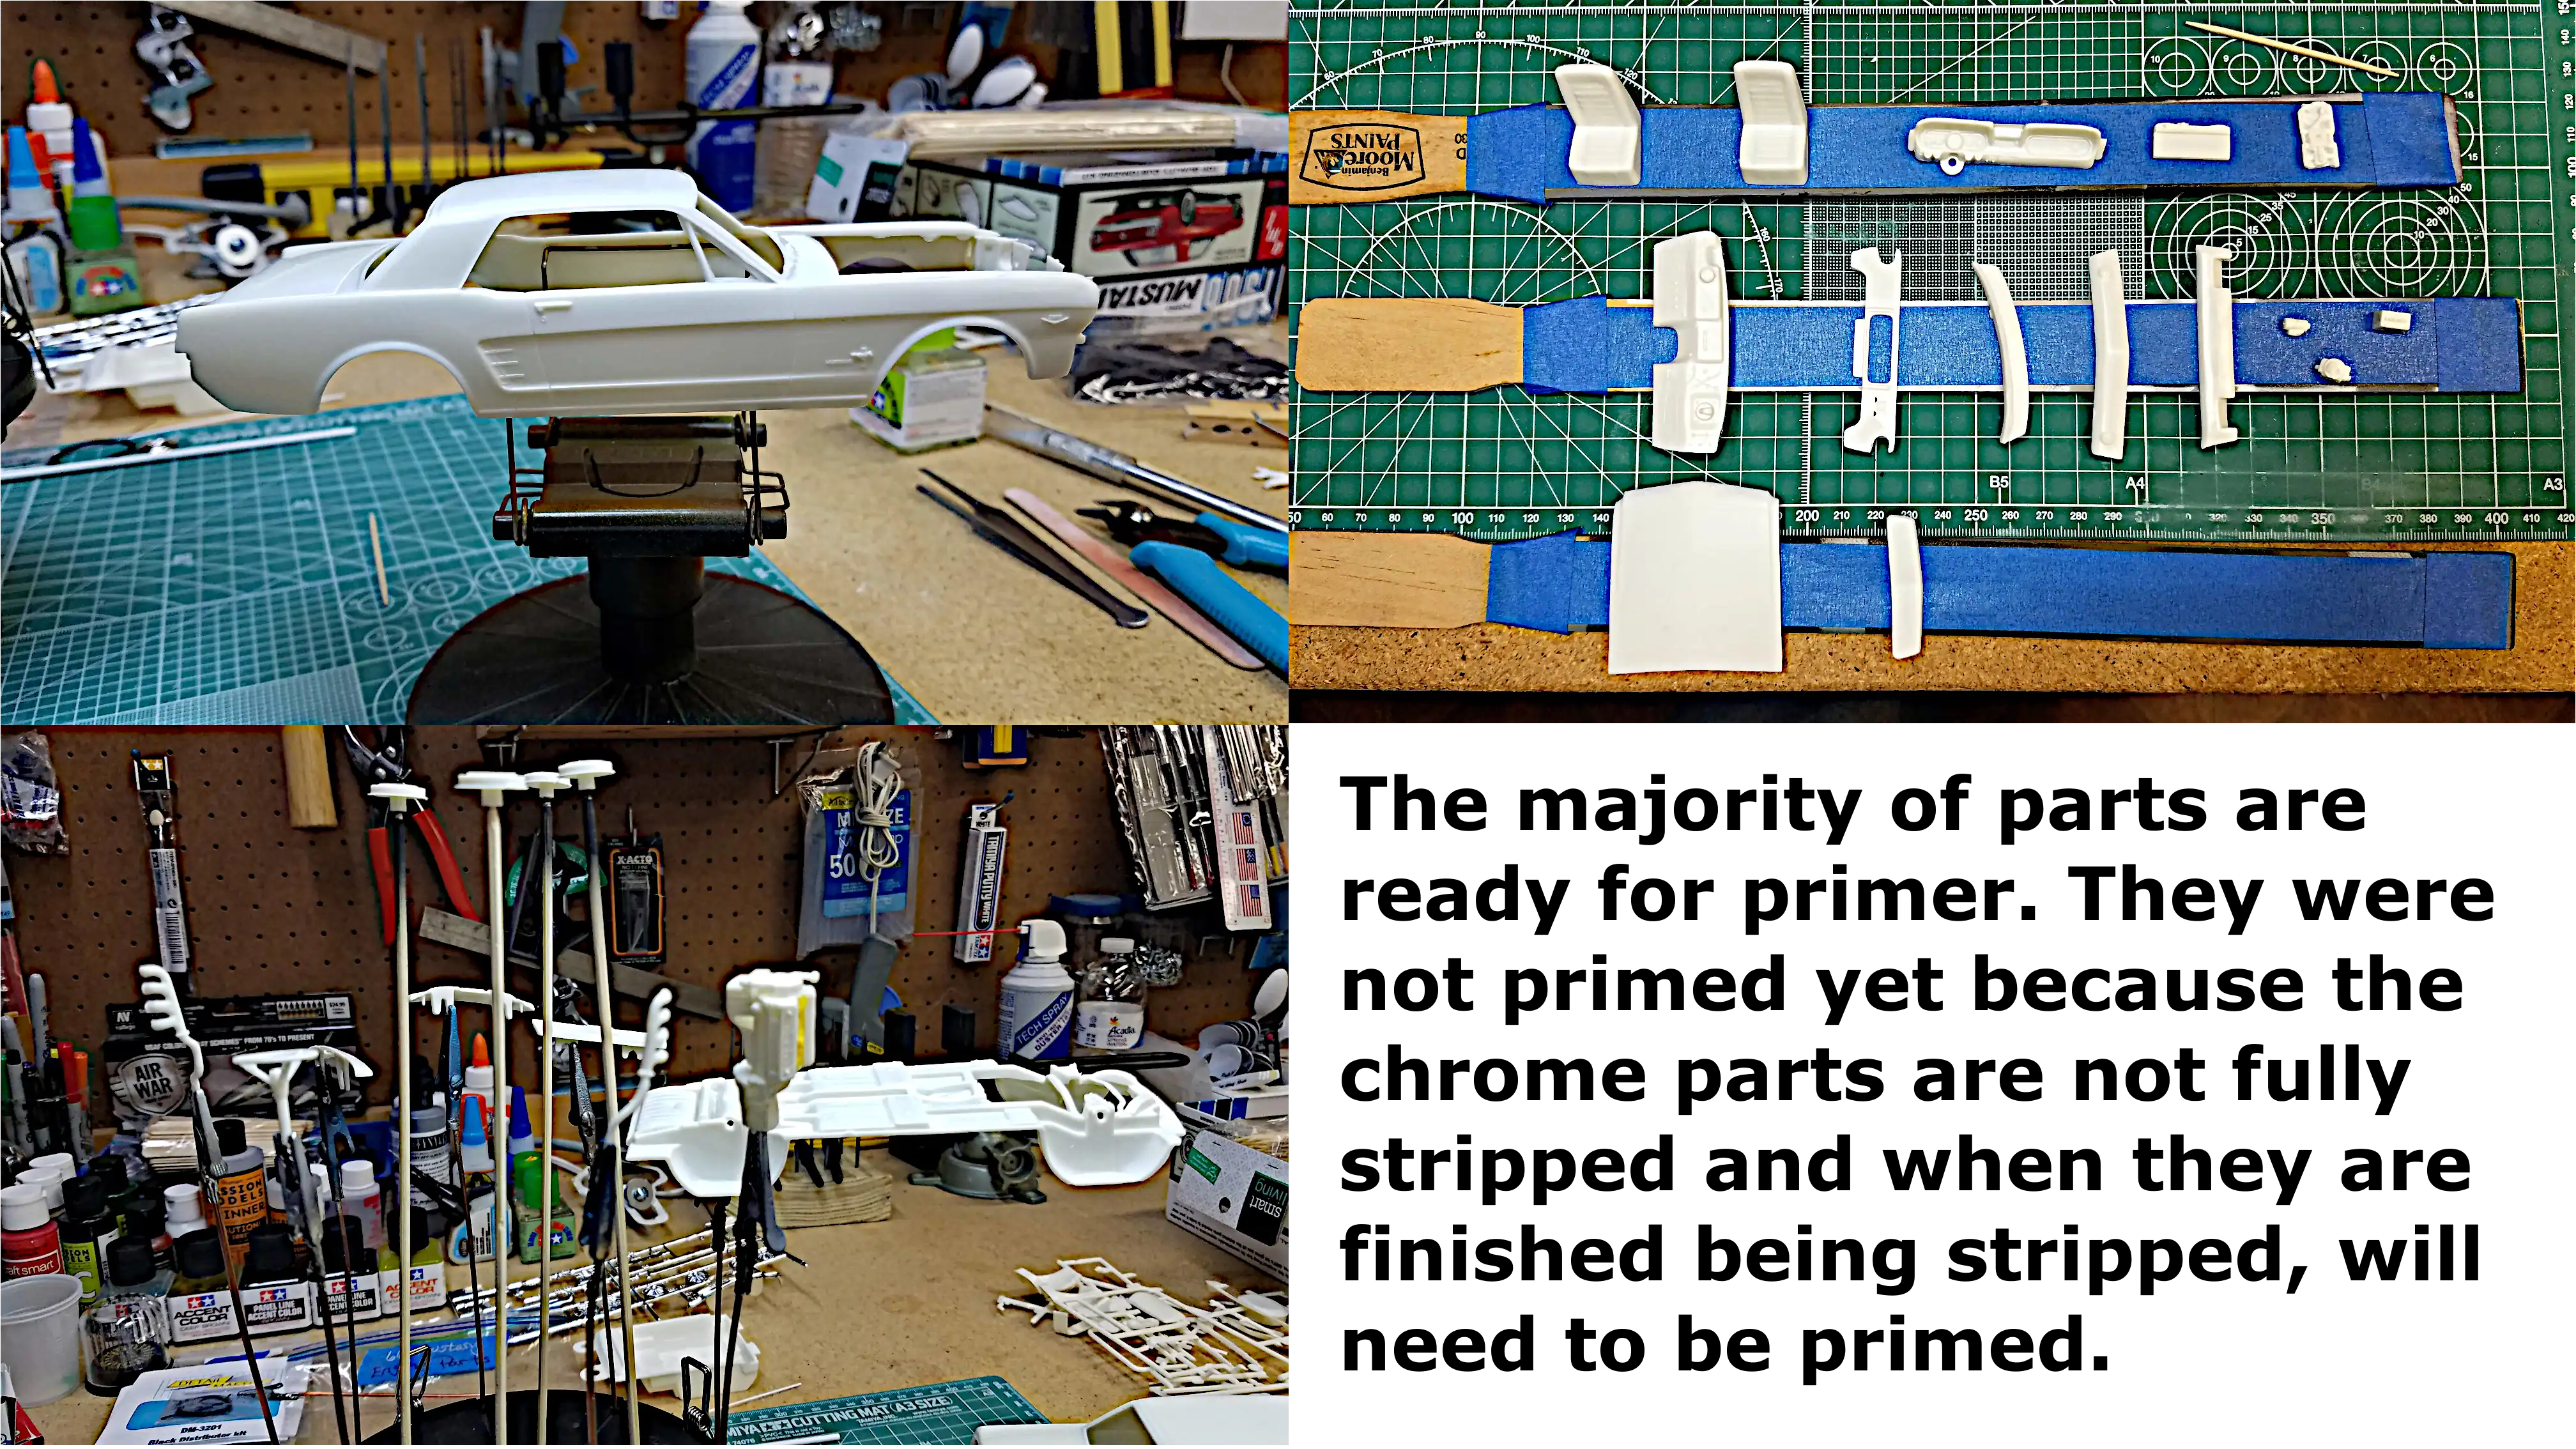 Most of the parts have been removed from the sprues
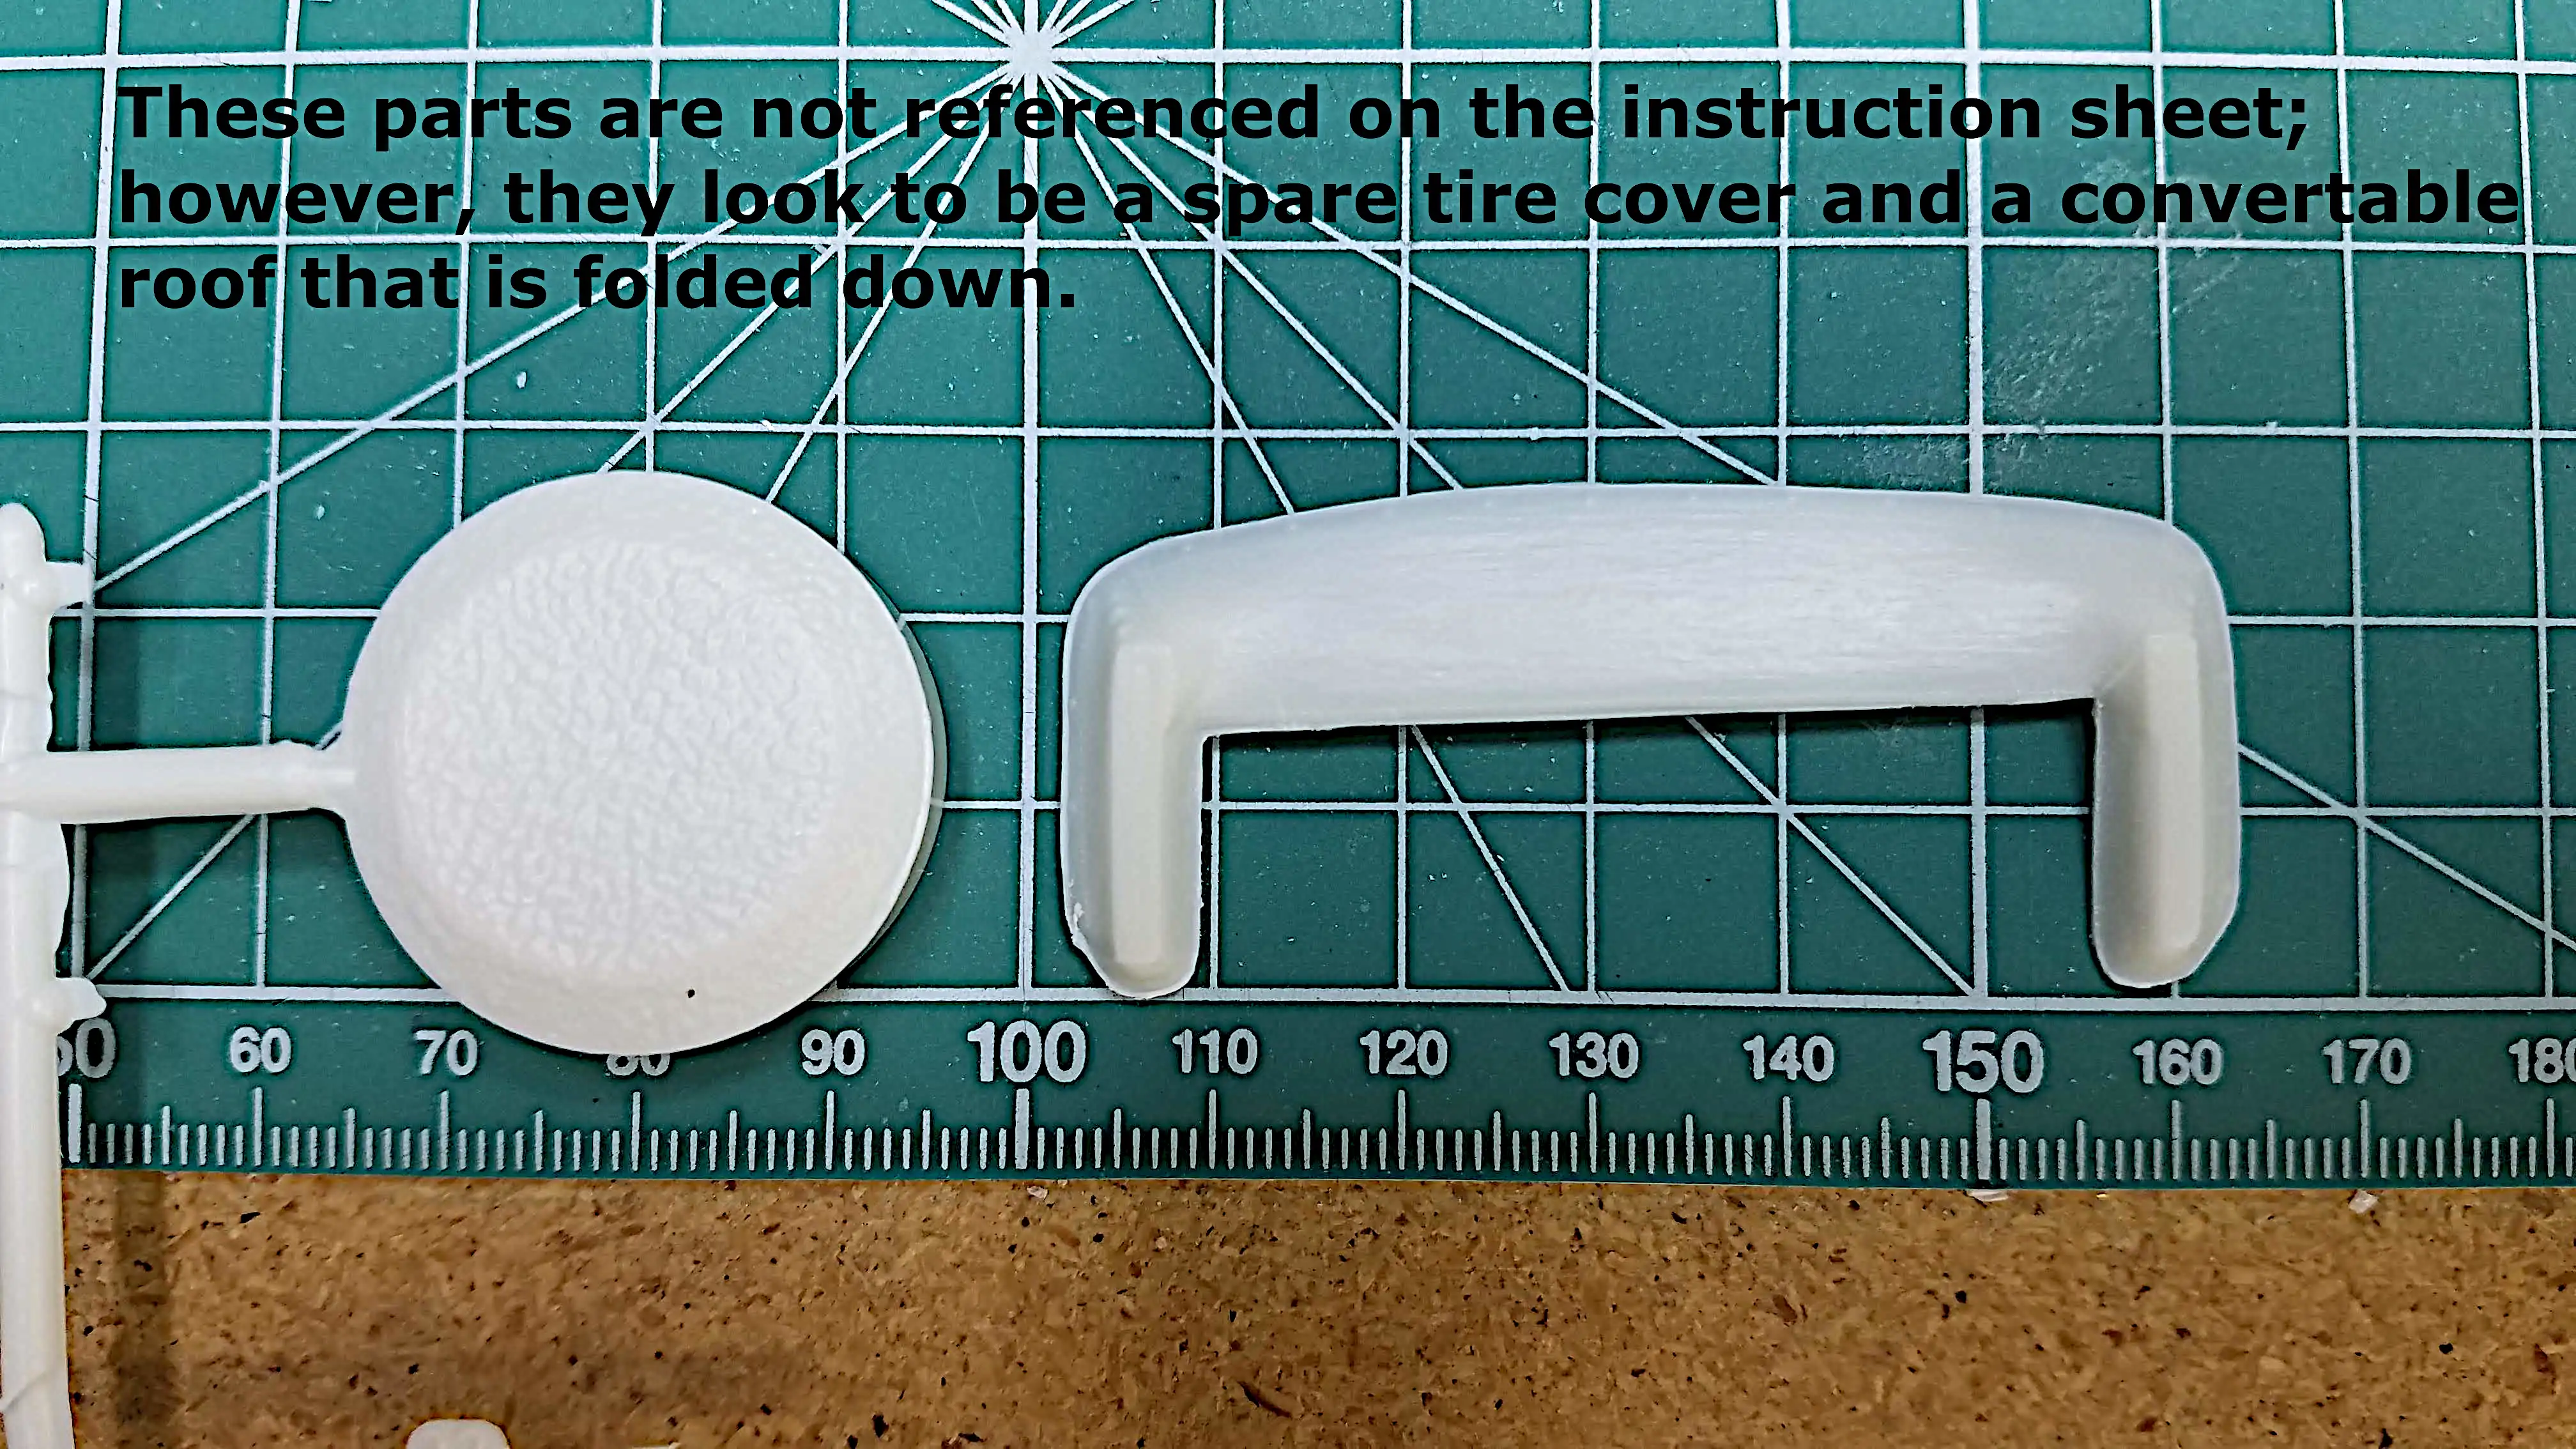 Some parts are not referenced on the instruction sheets
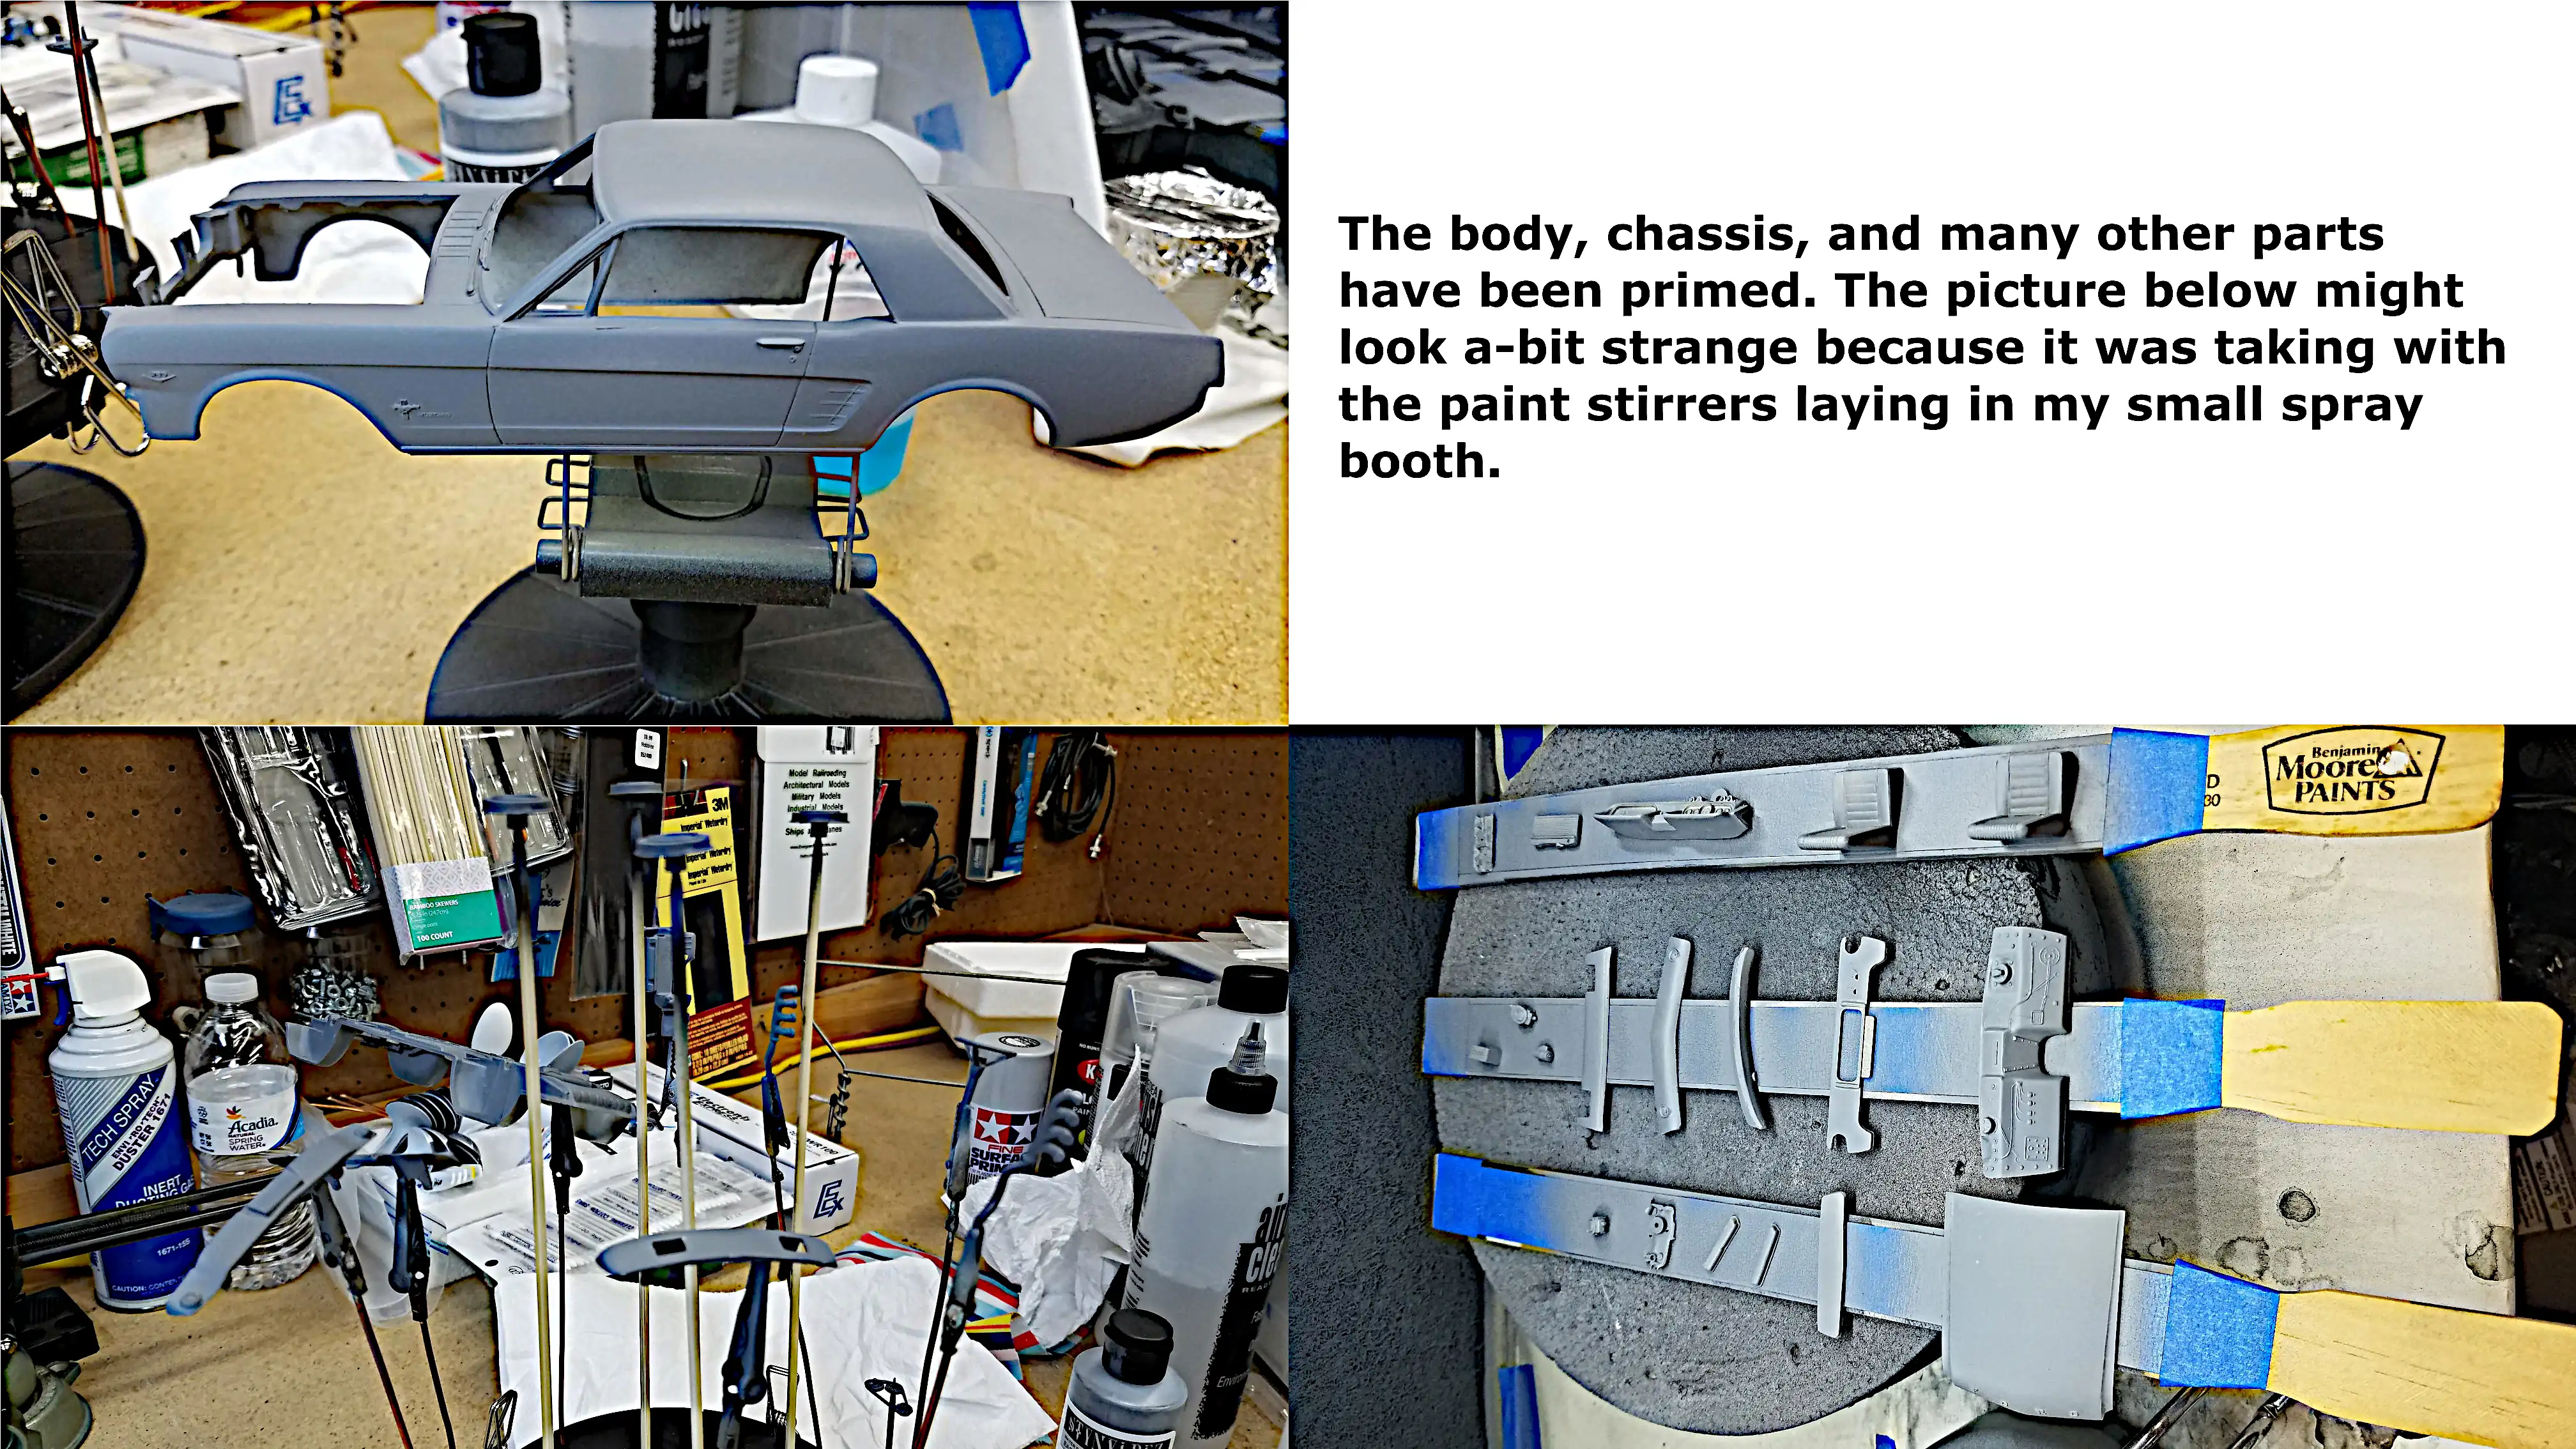 Most parts are primed
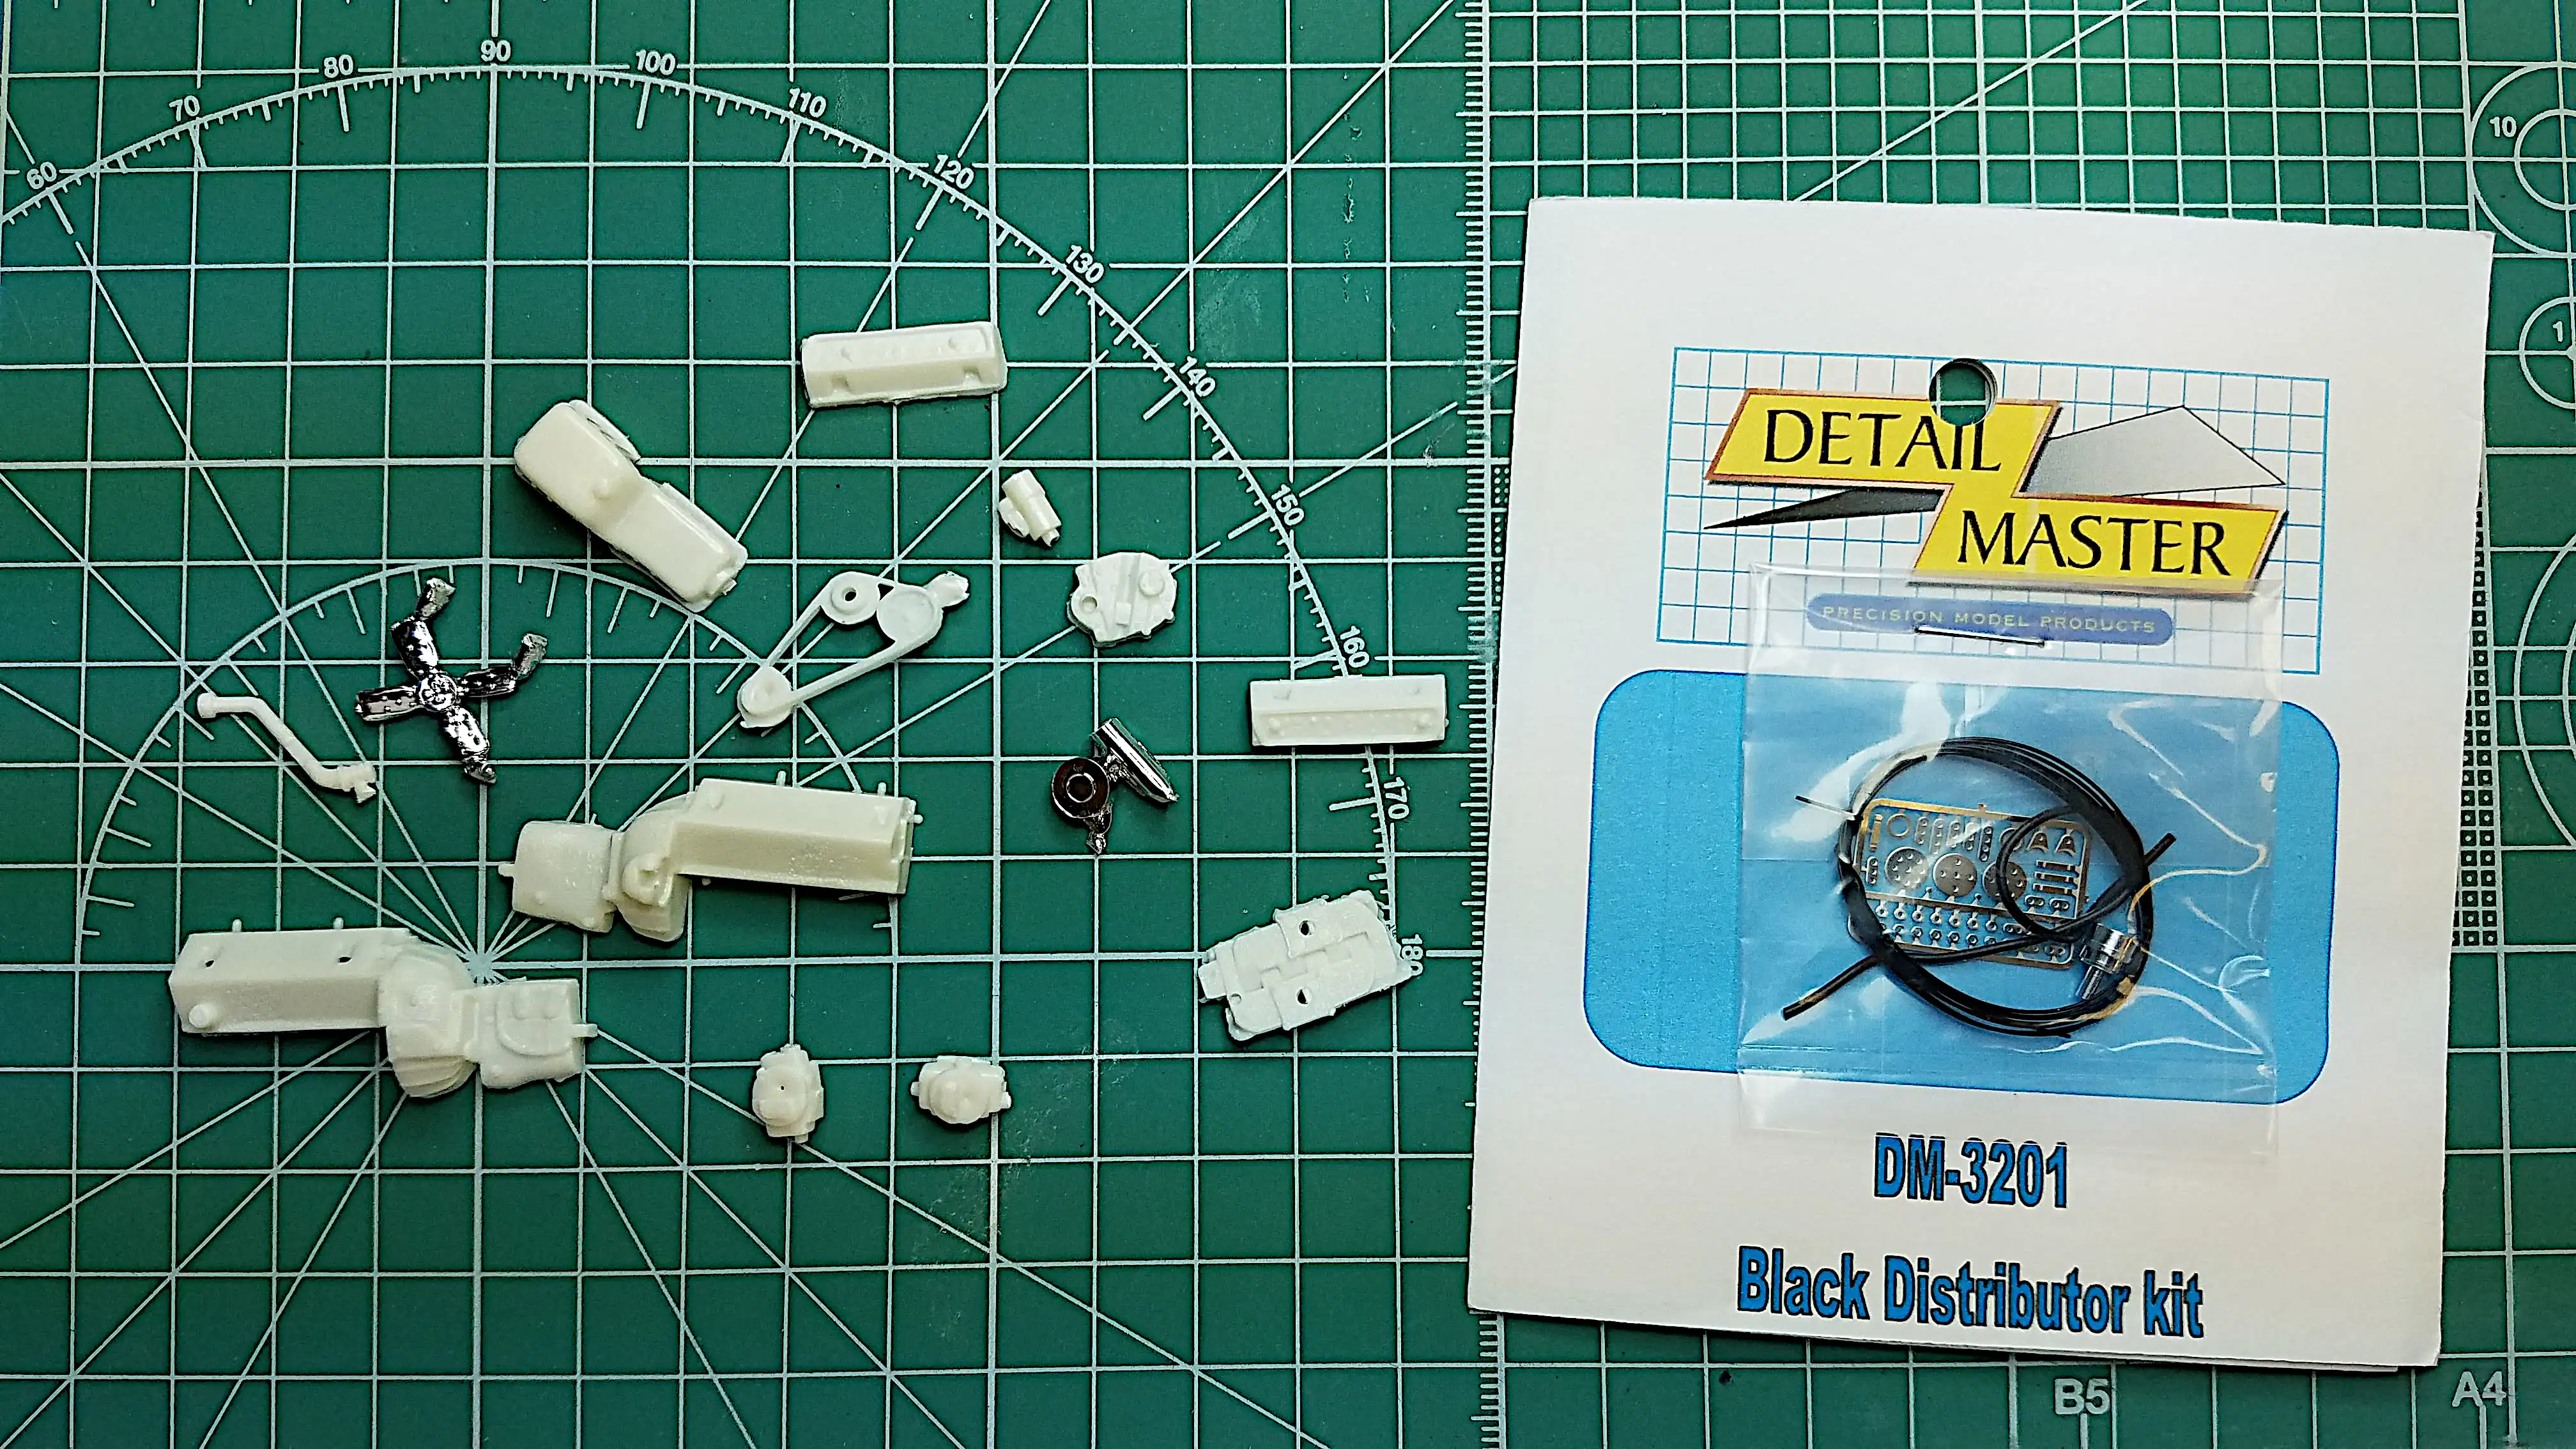
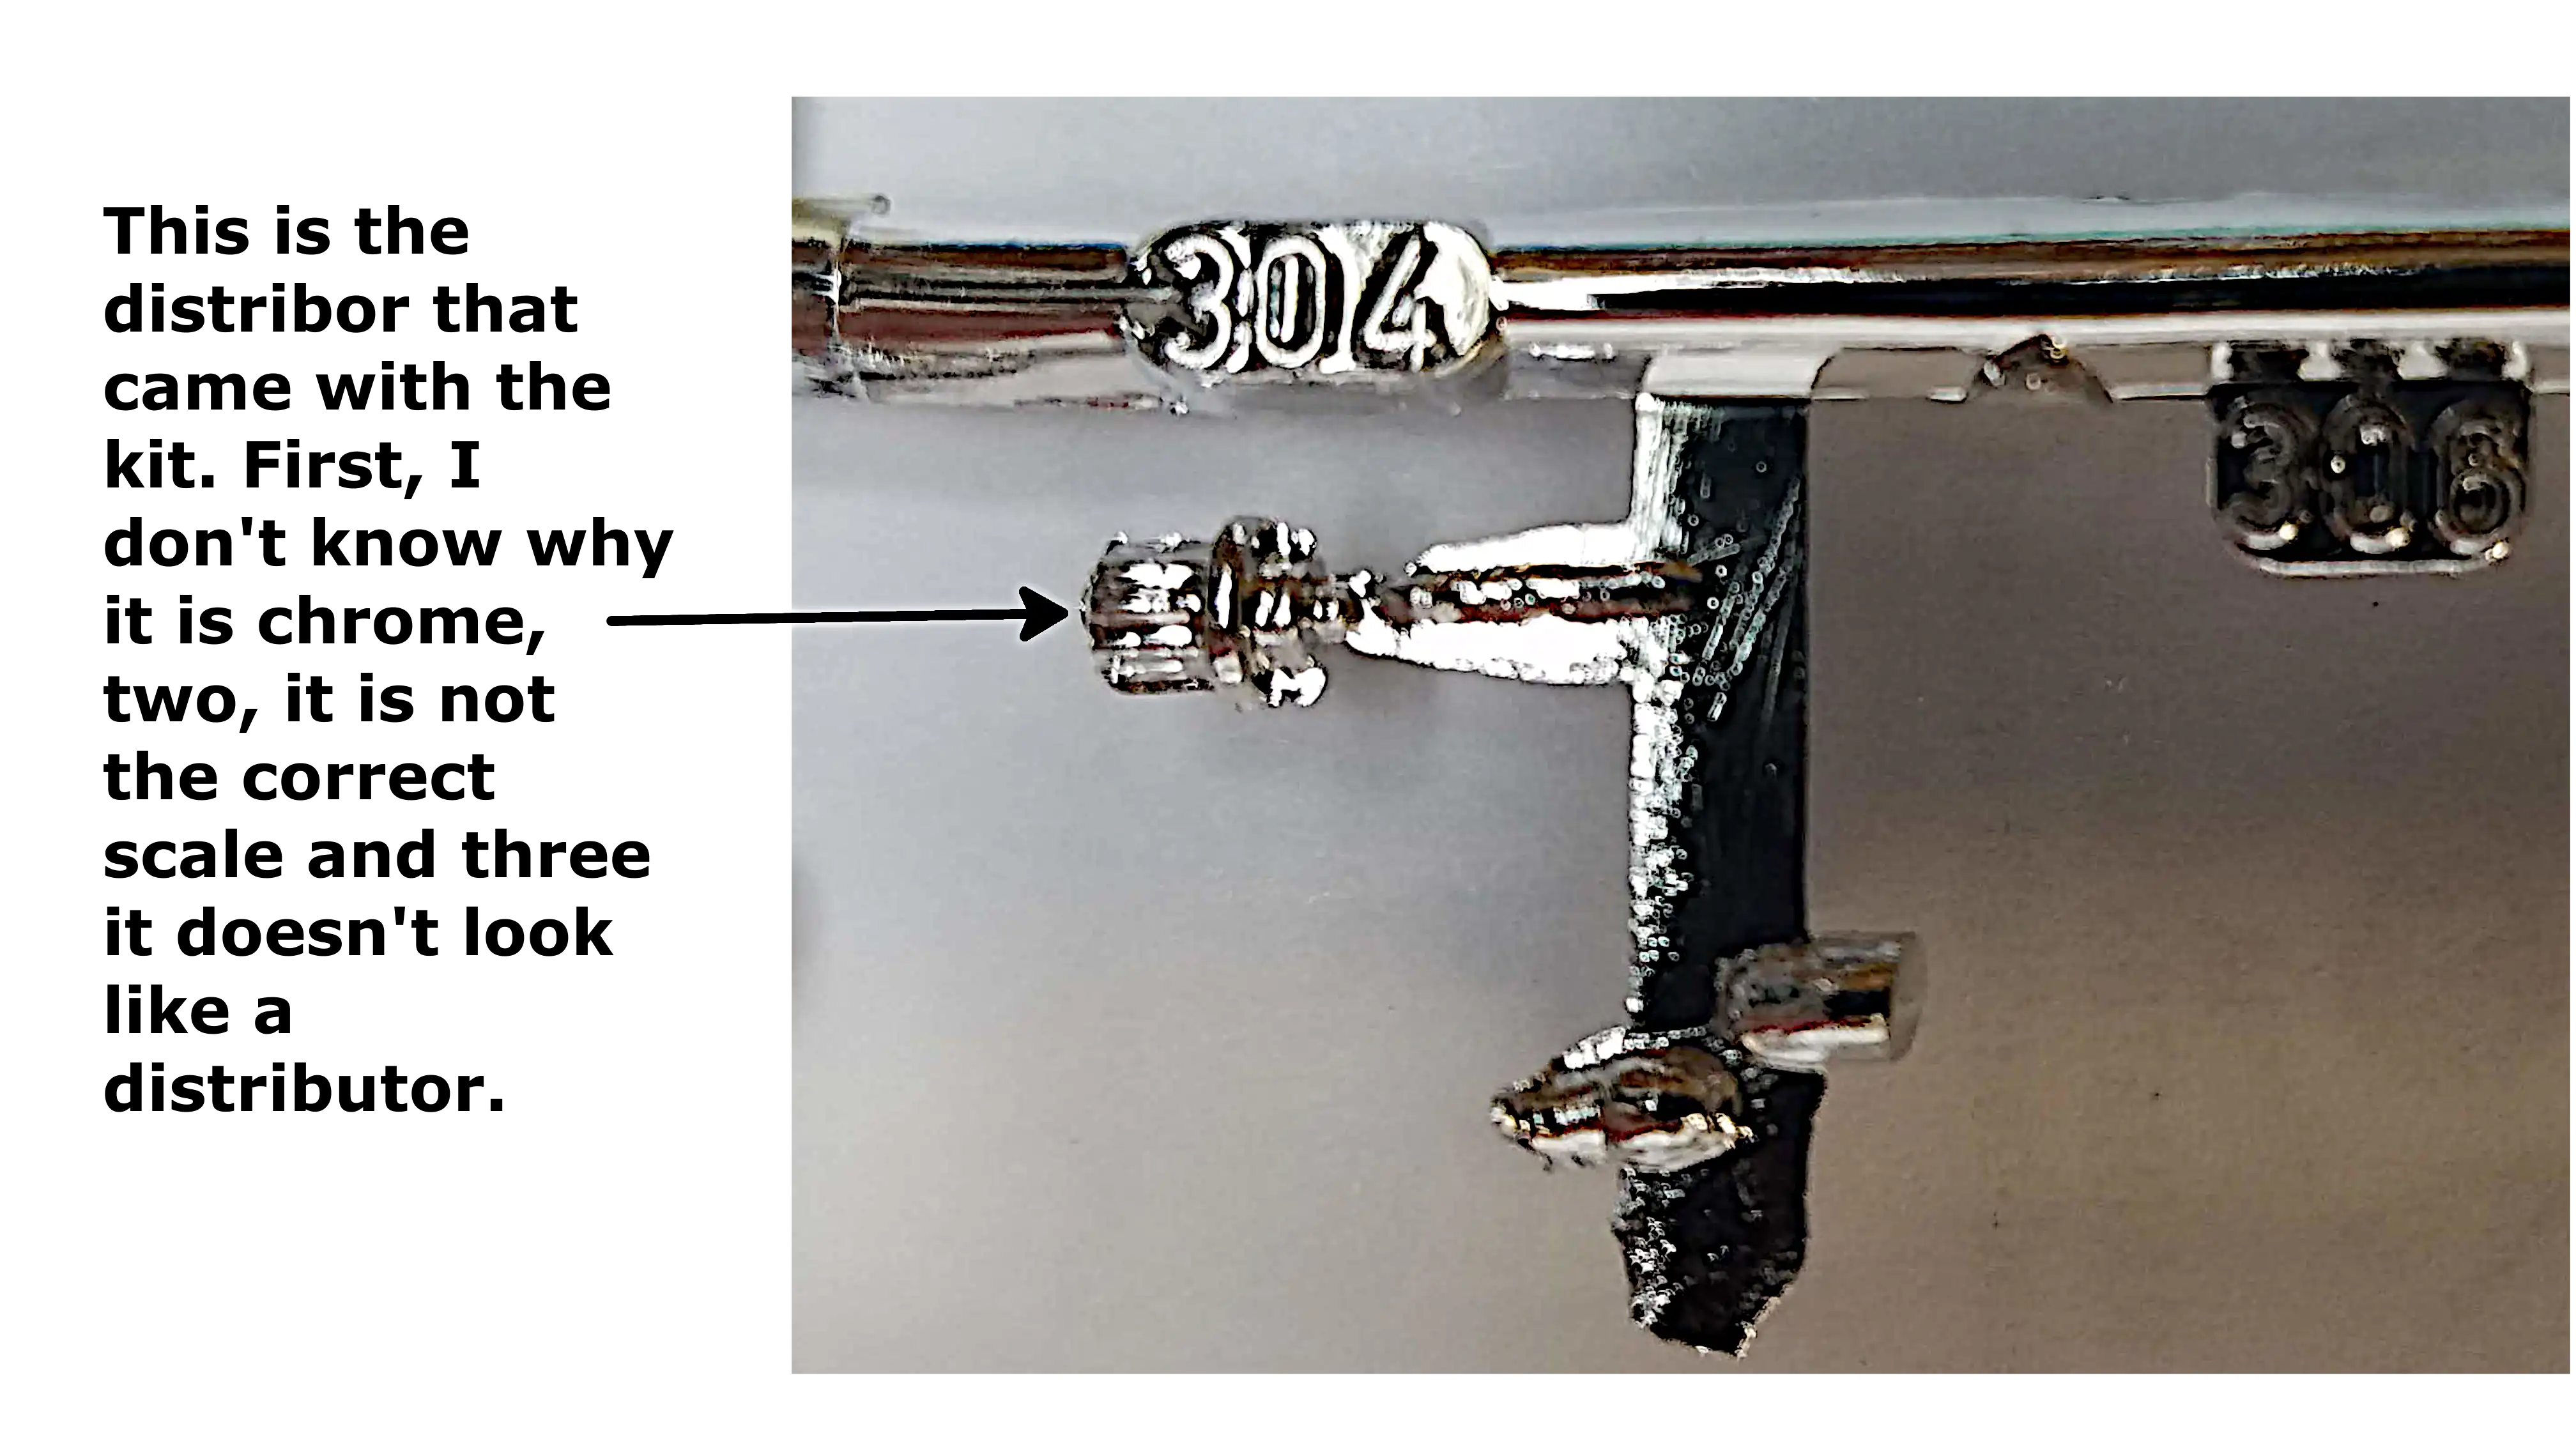 A chrome distributor?
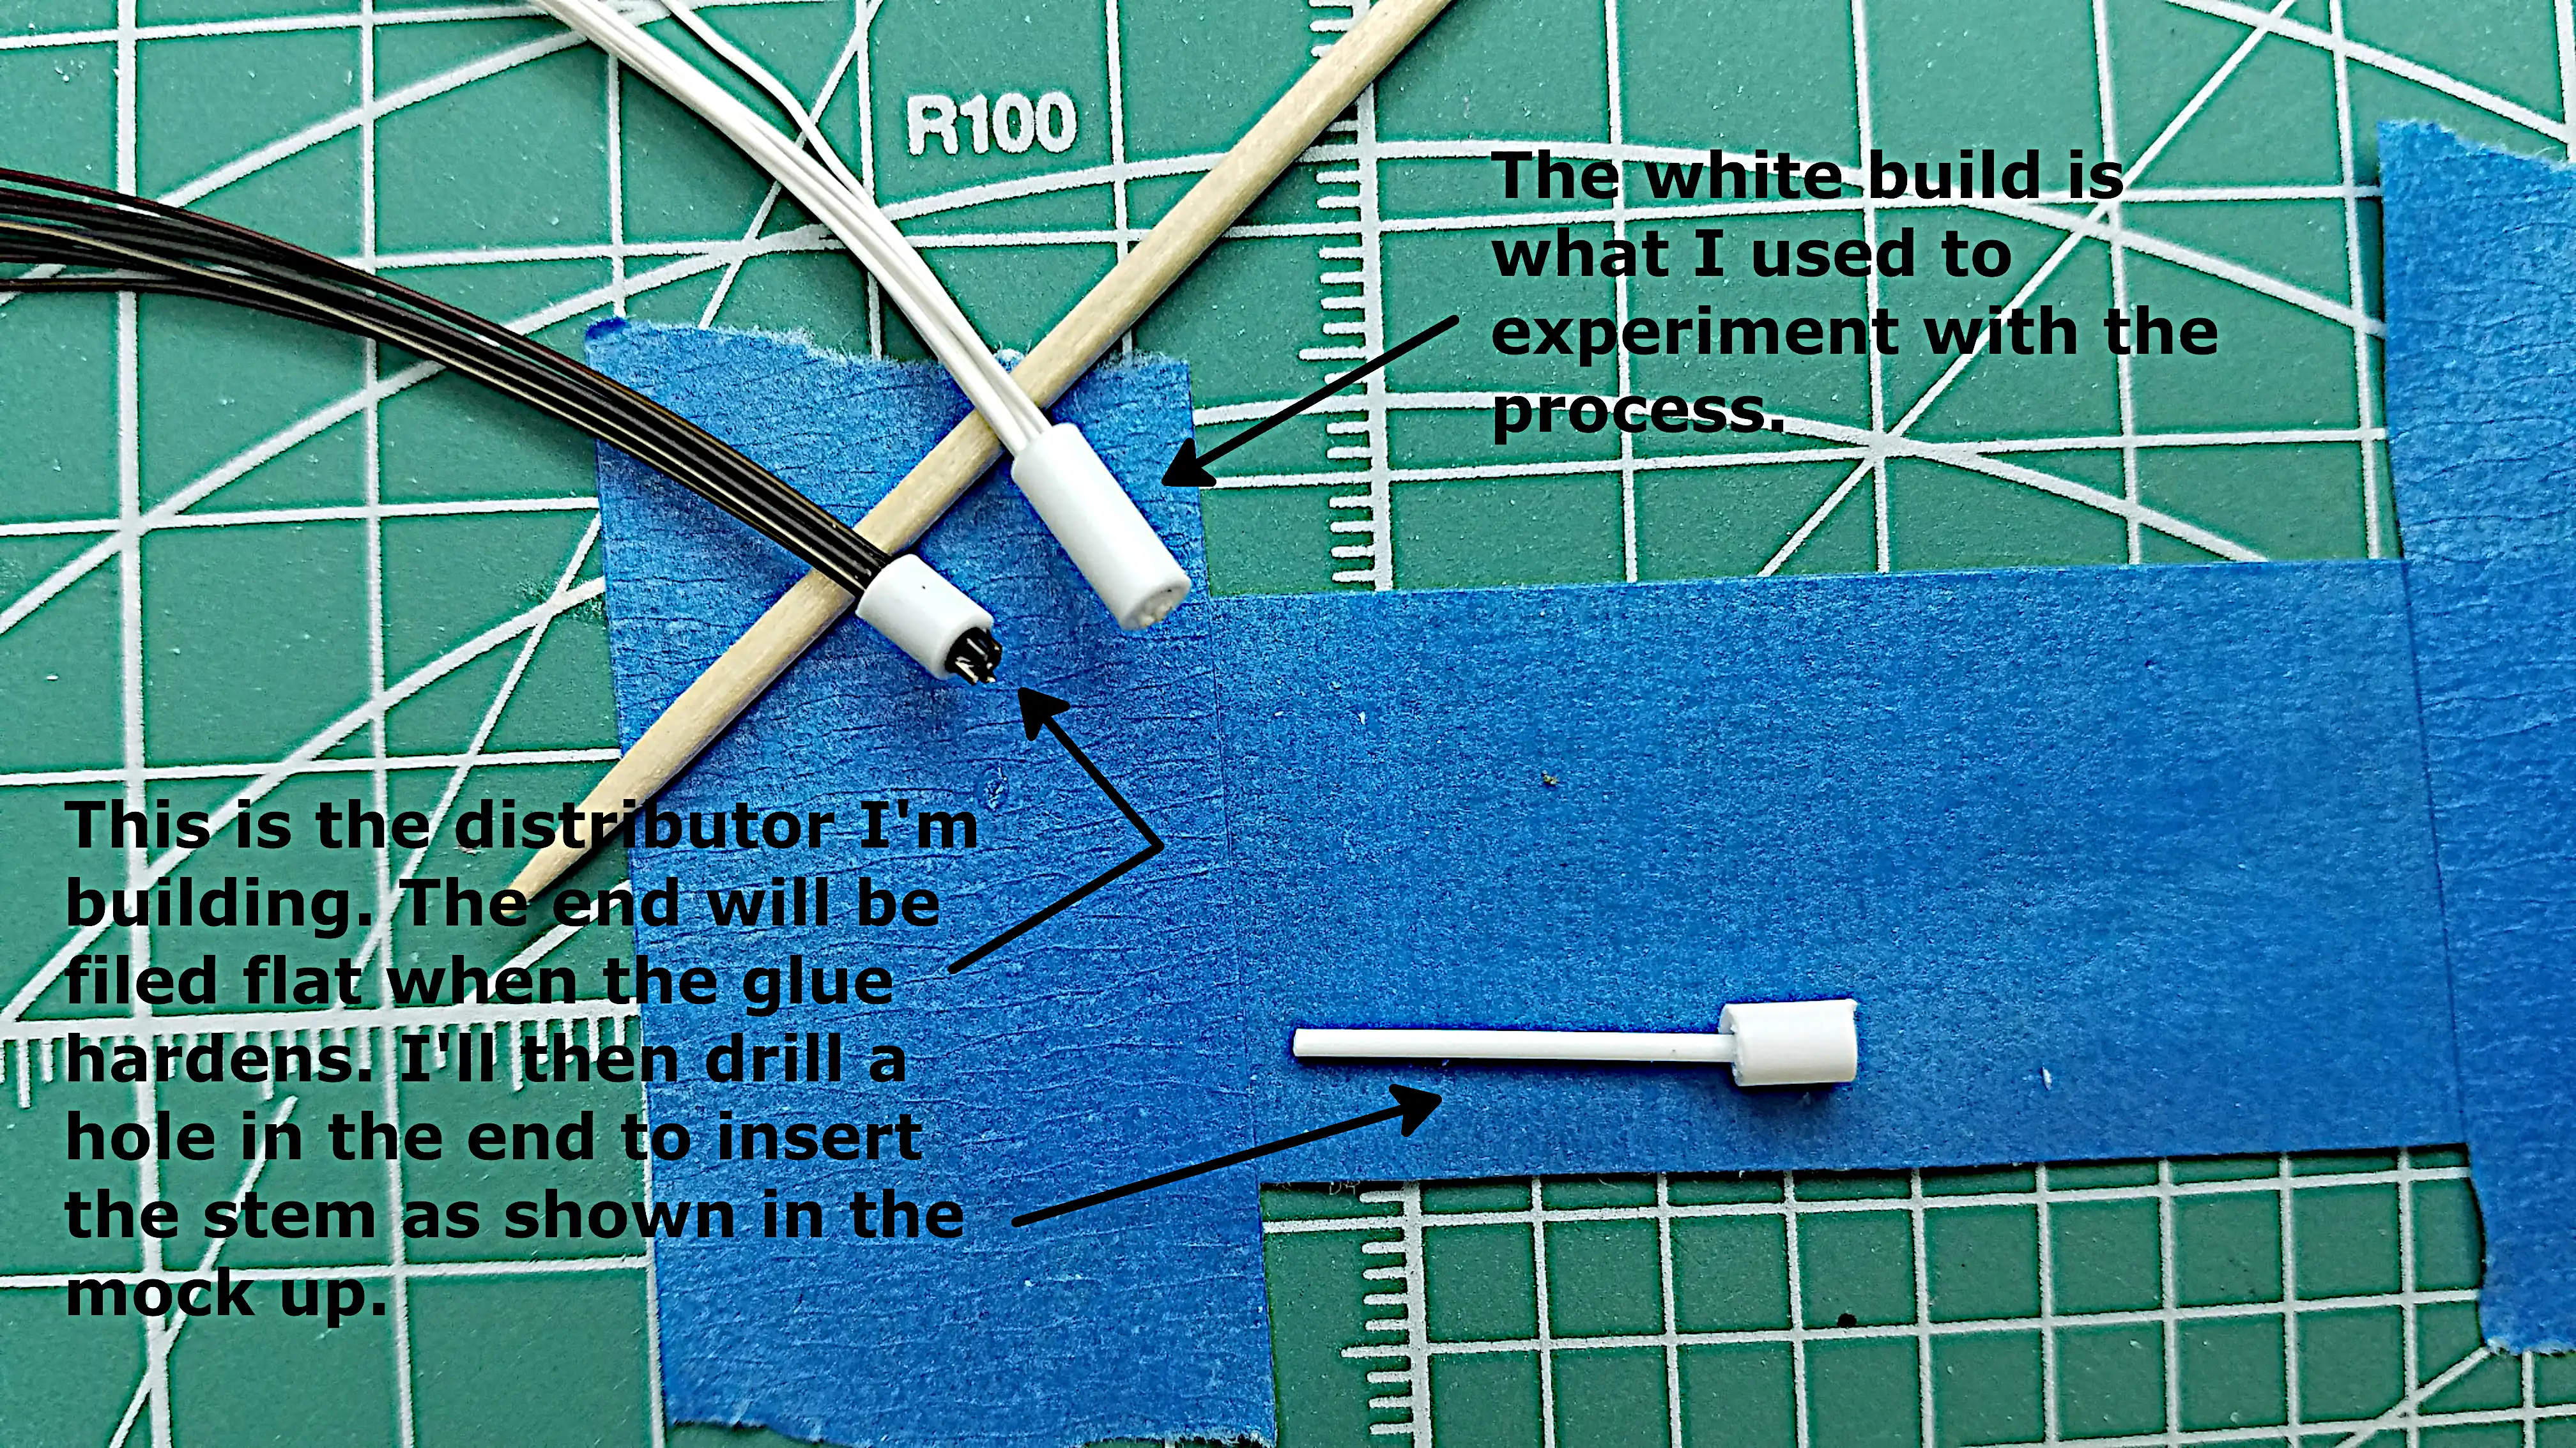 Making my own distributor
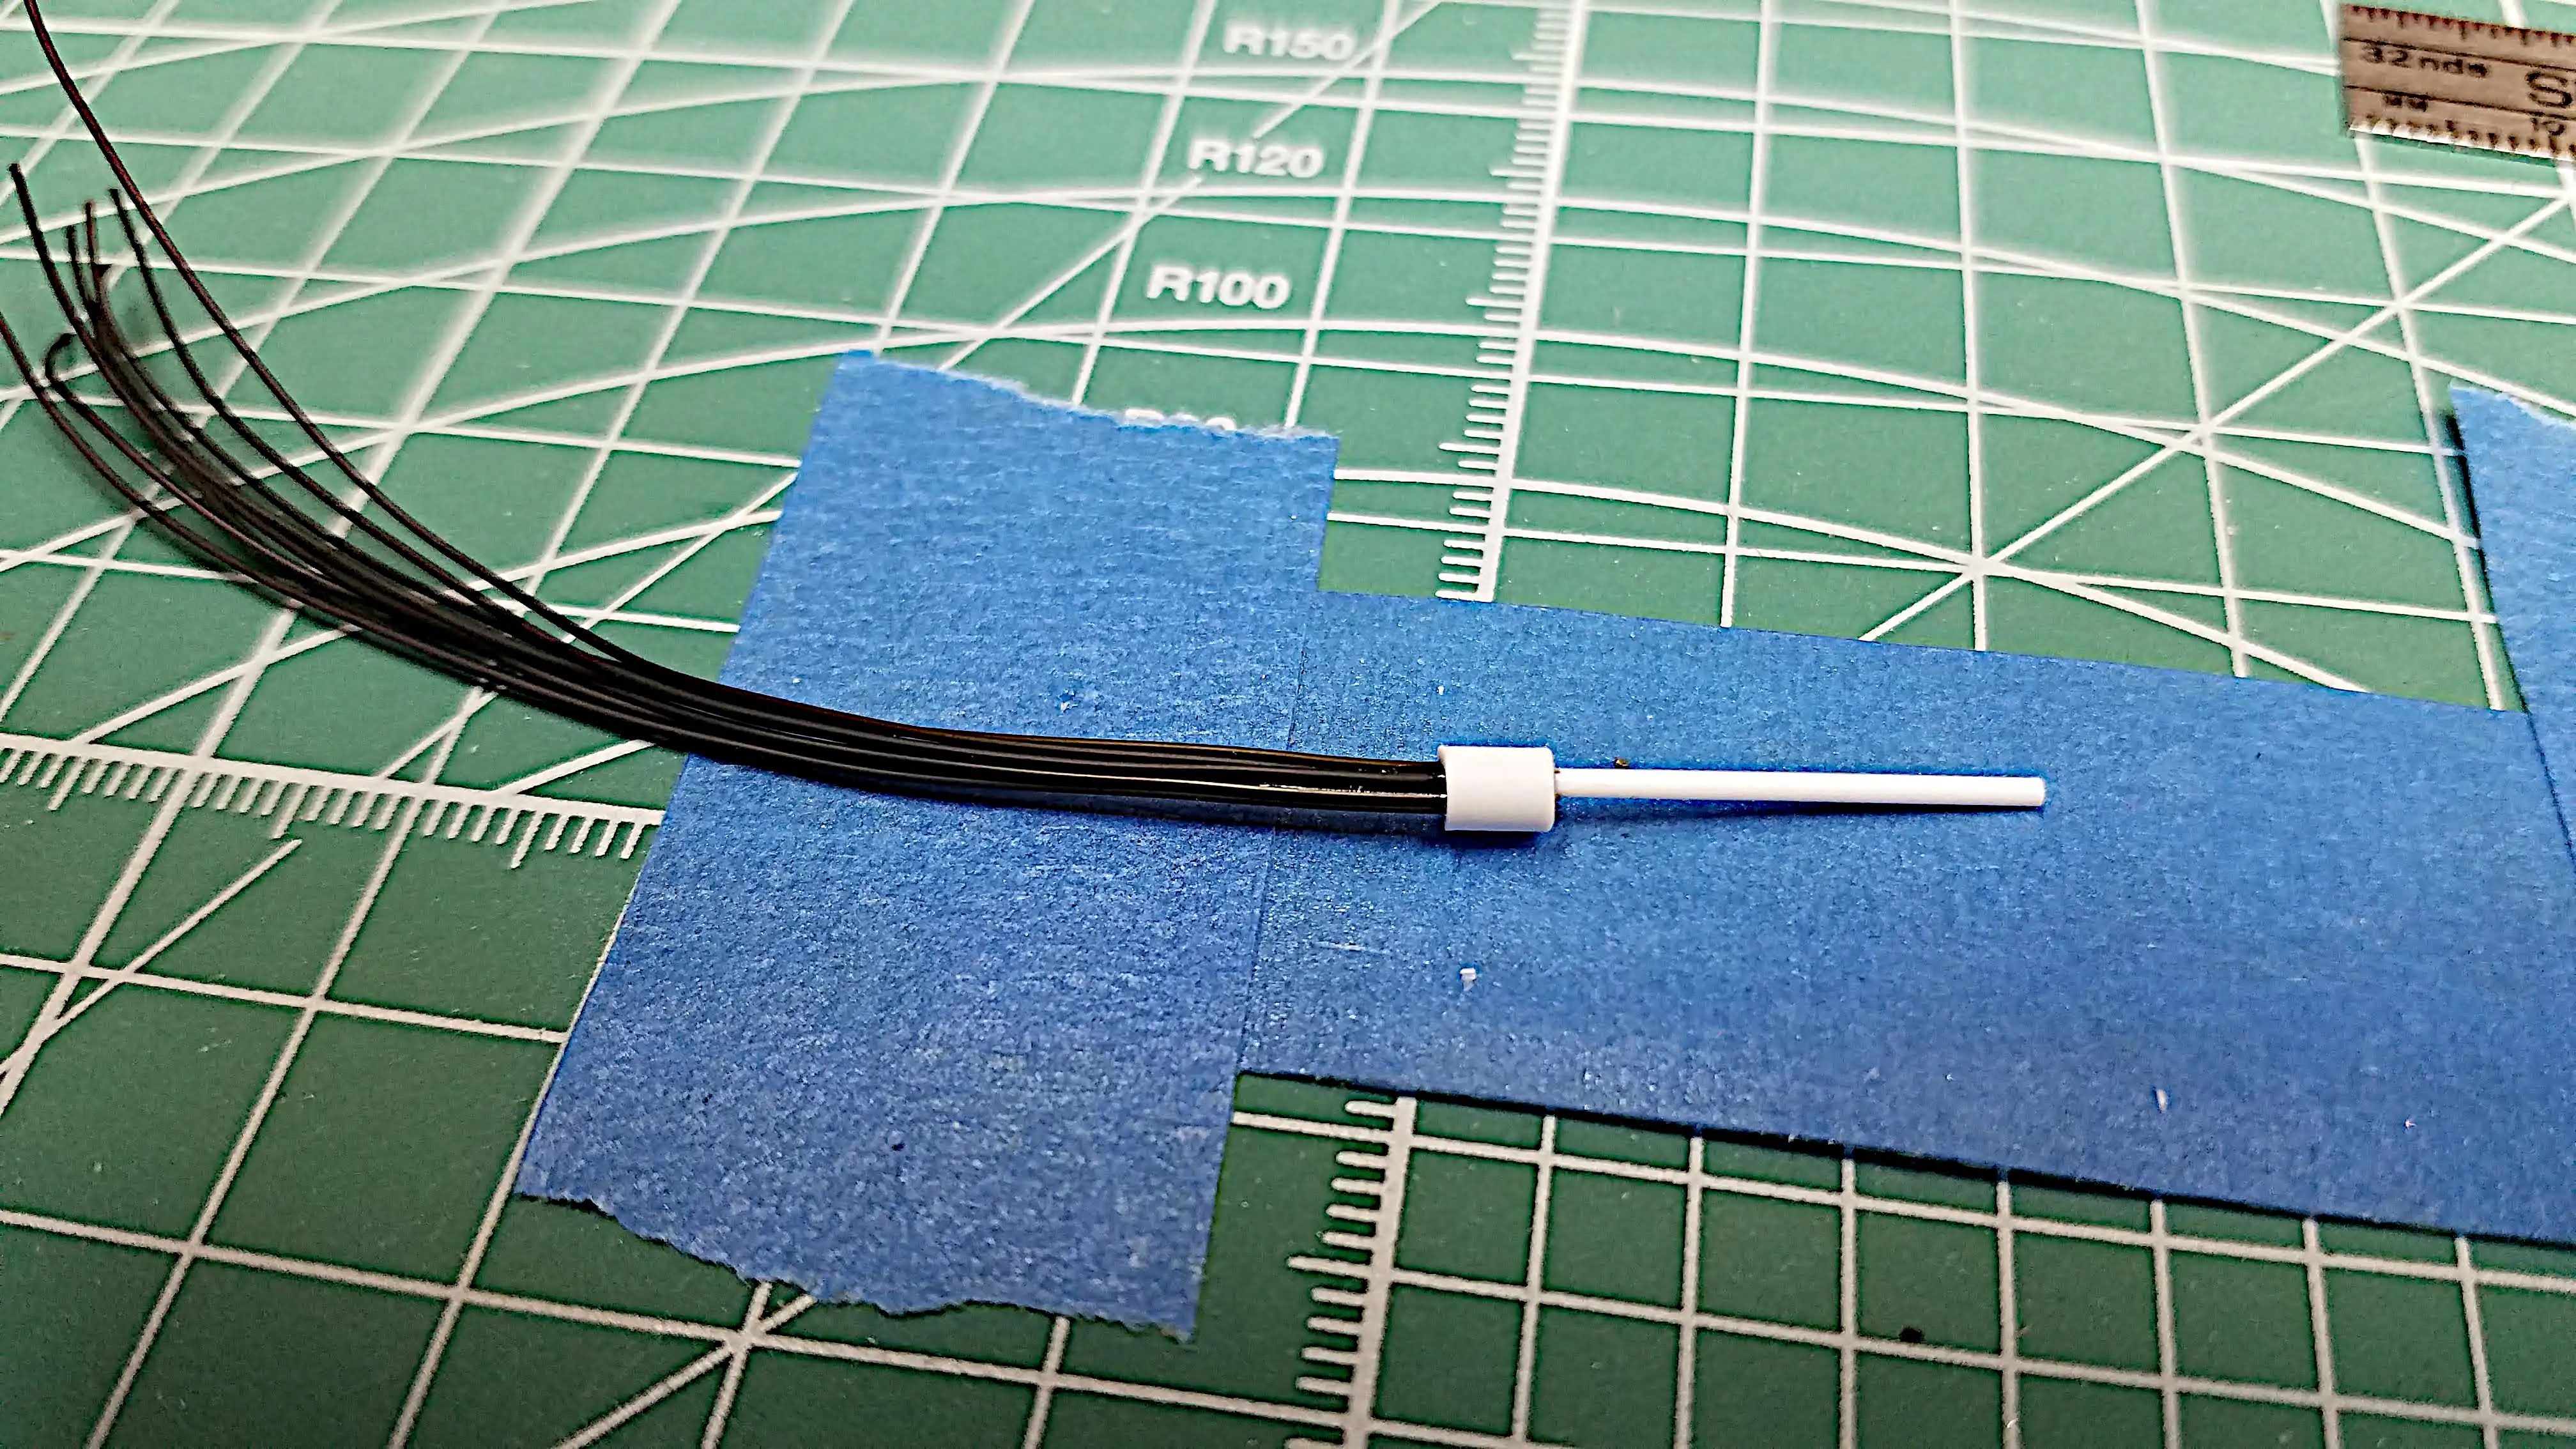 I made my own distributor
 First coat of paint on the body
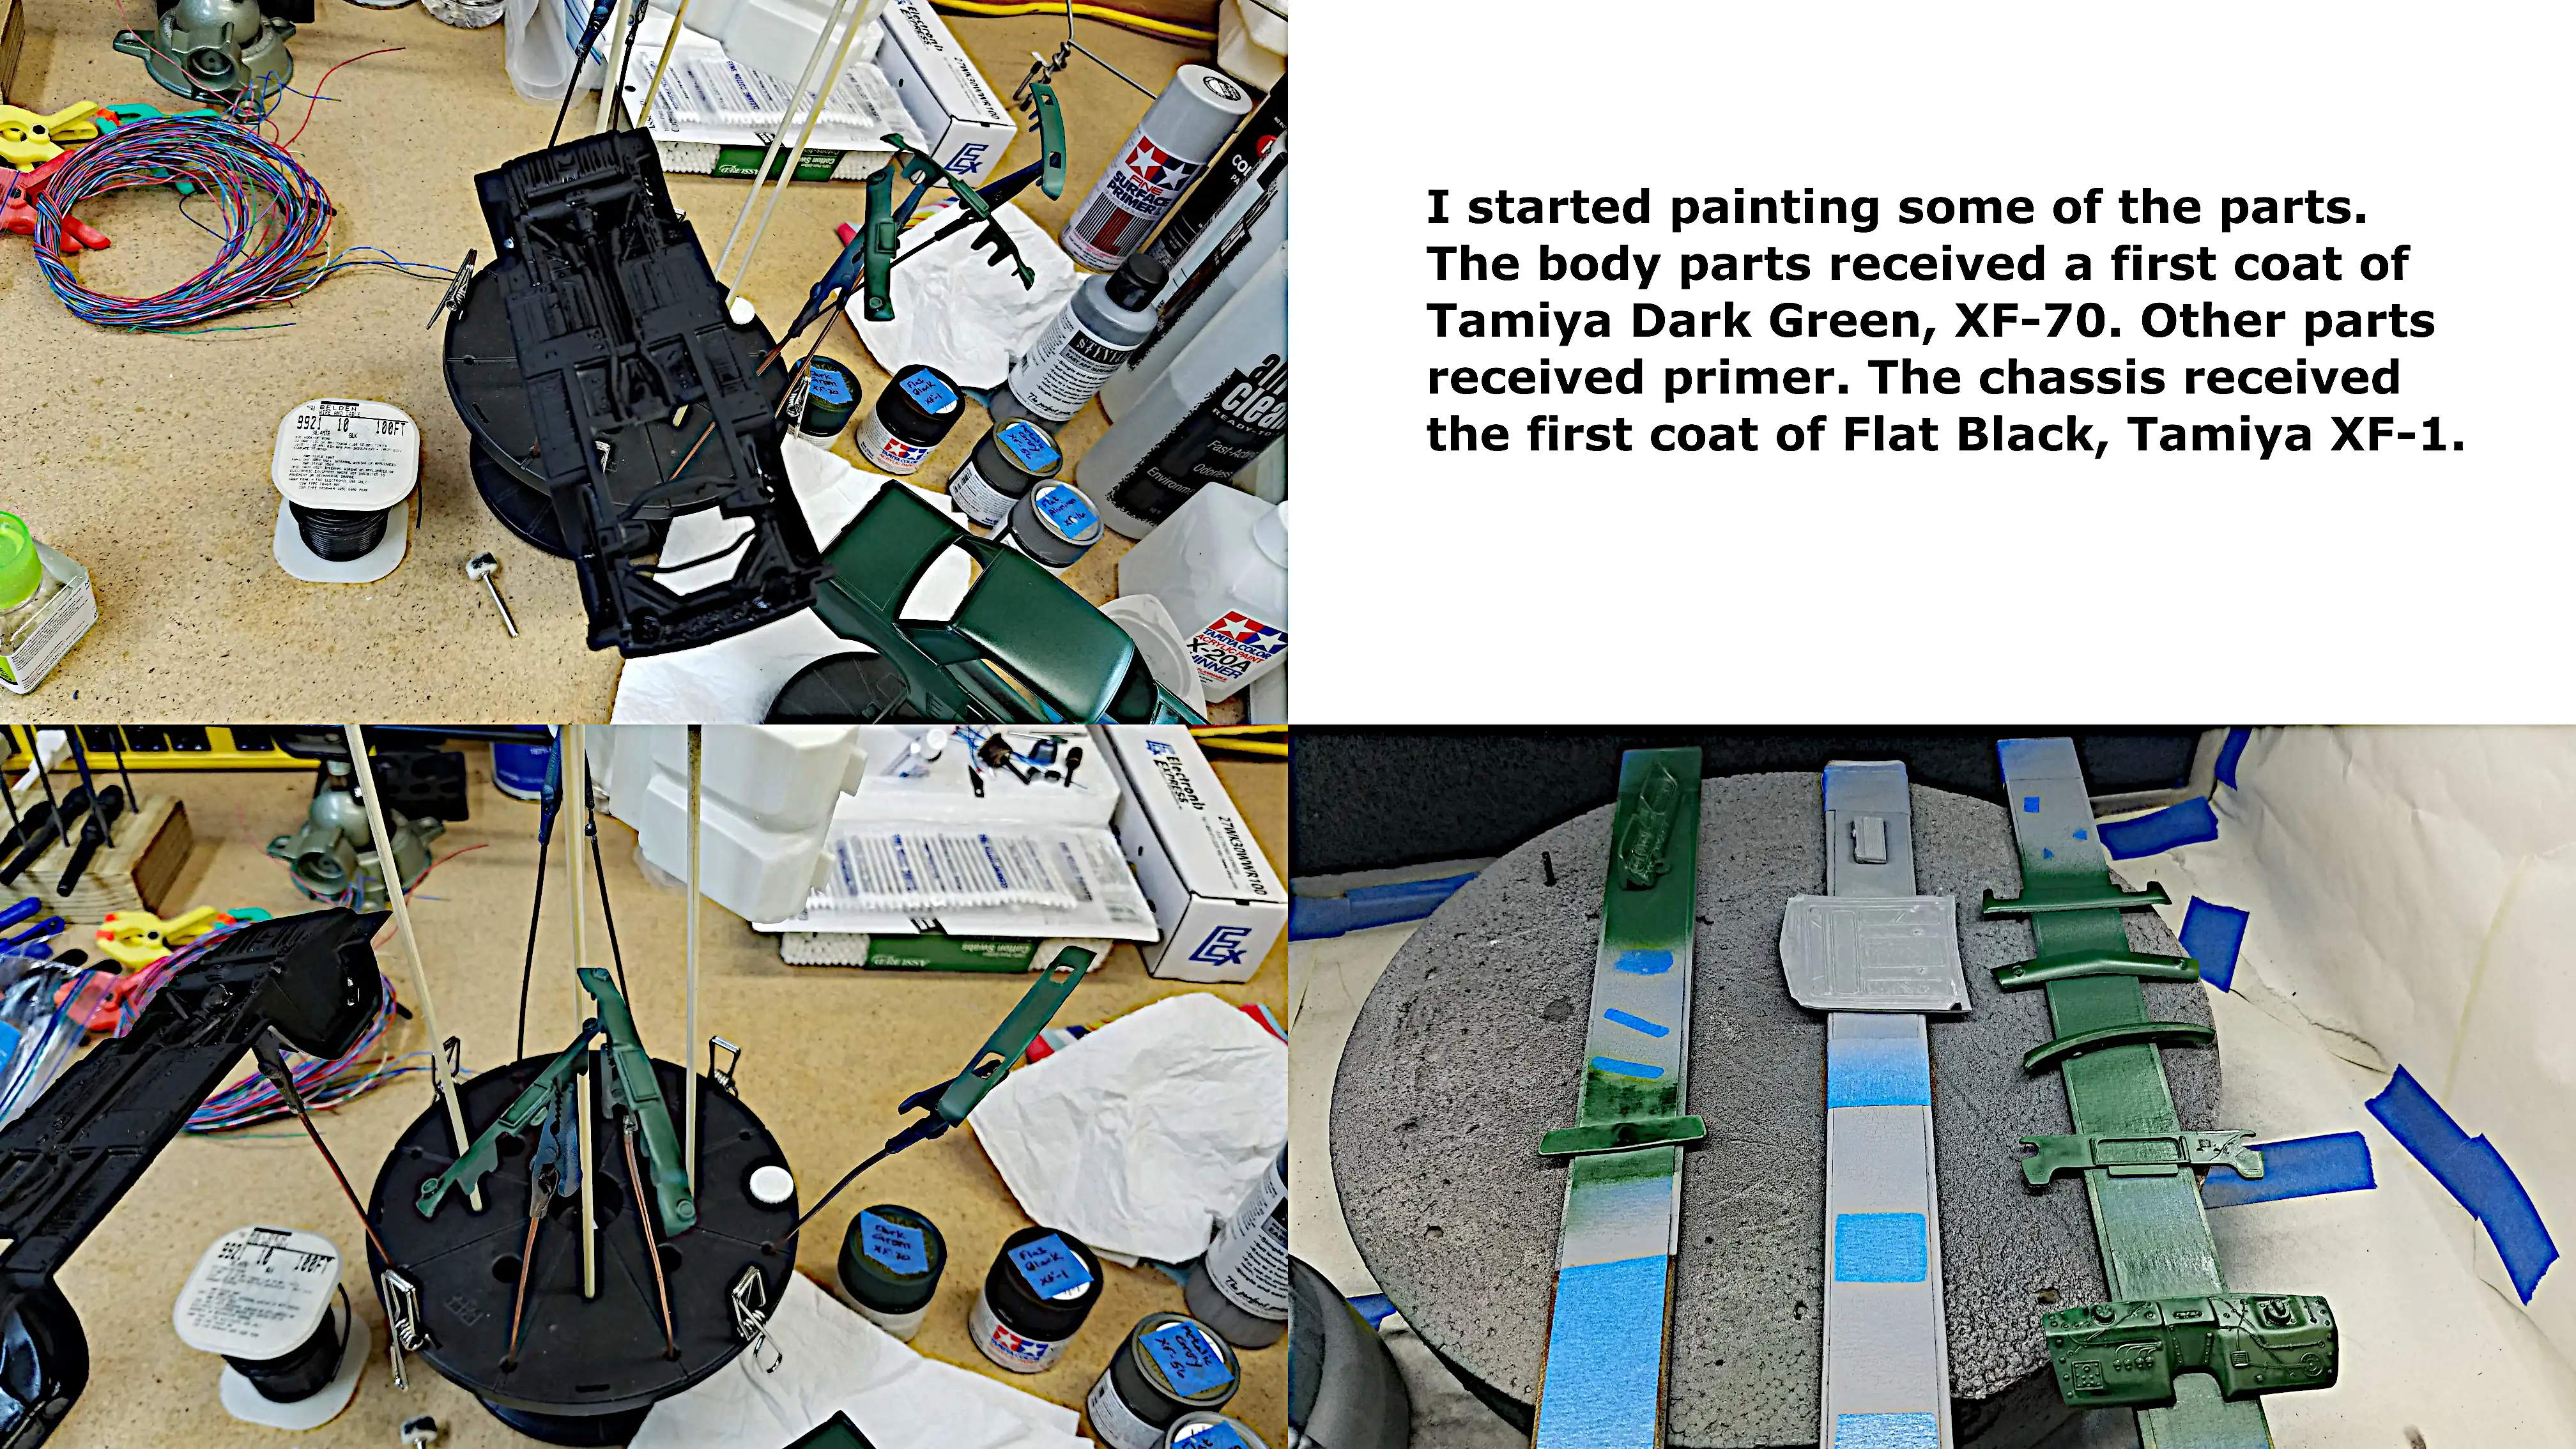 First coat of paint on most of the body parts
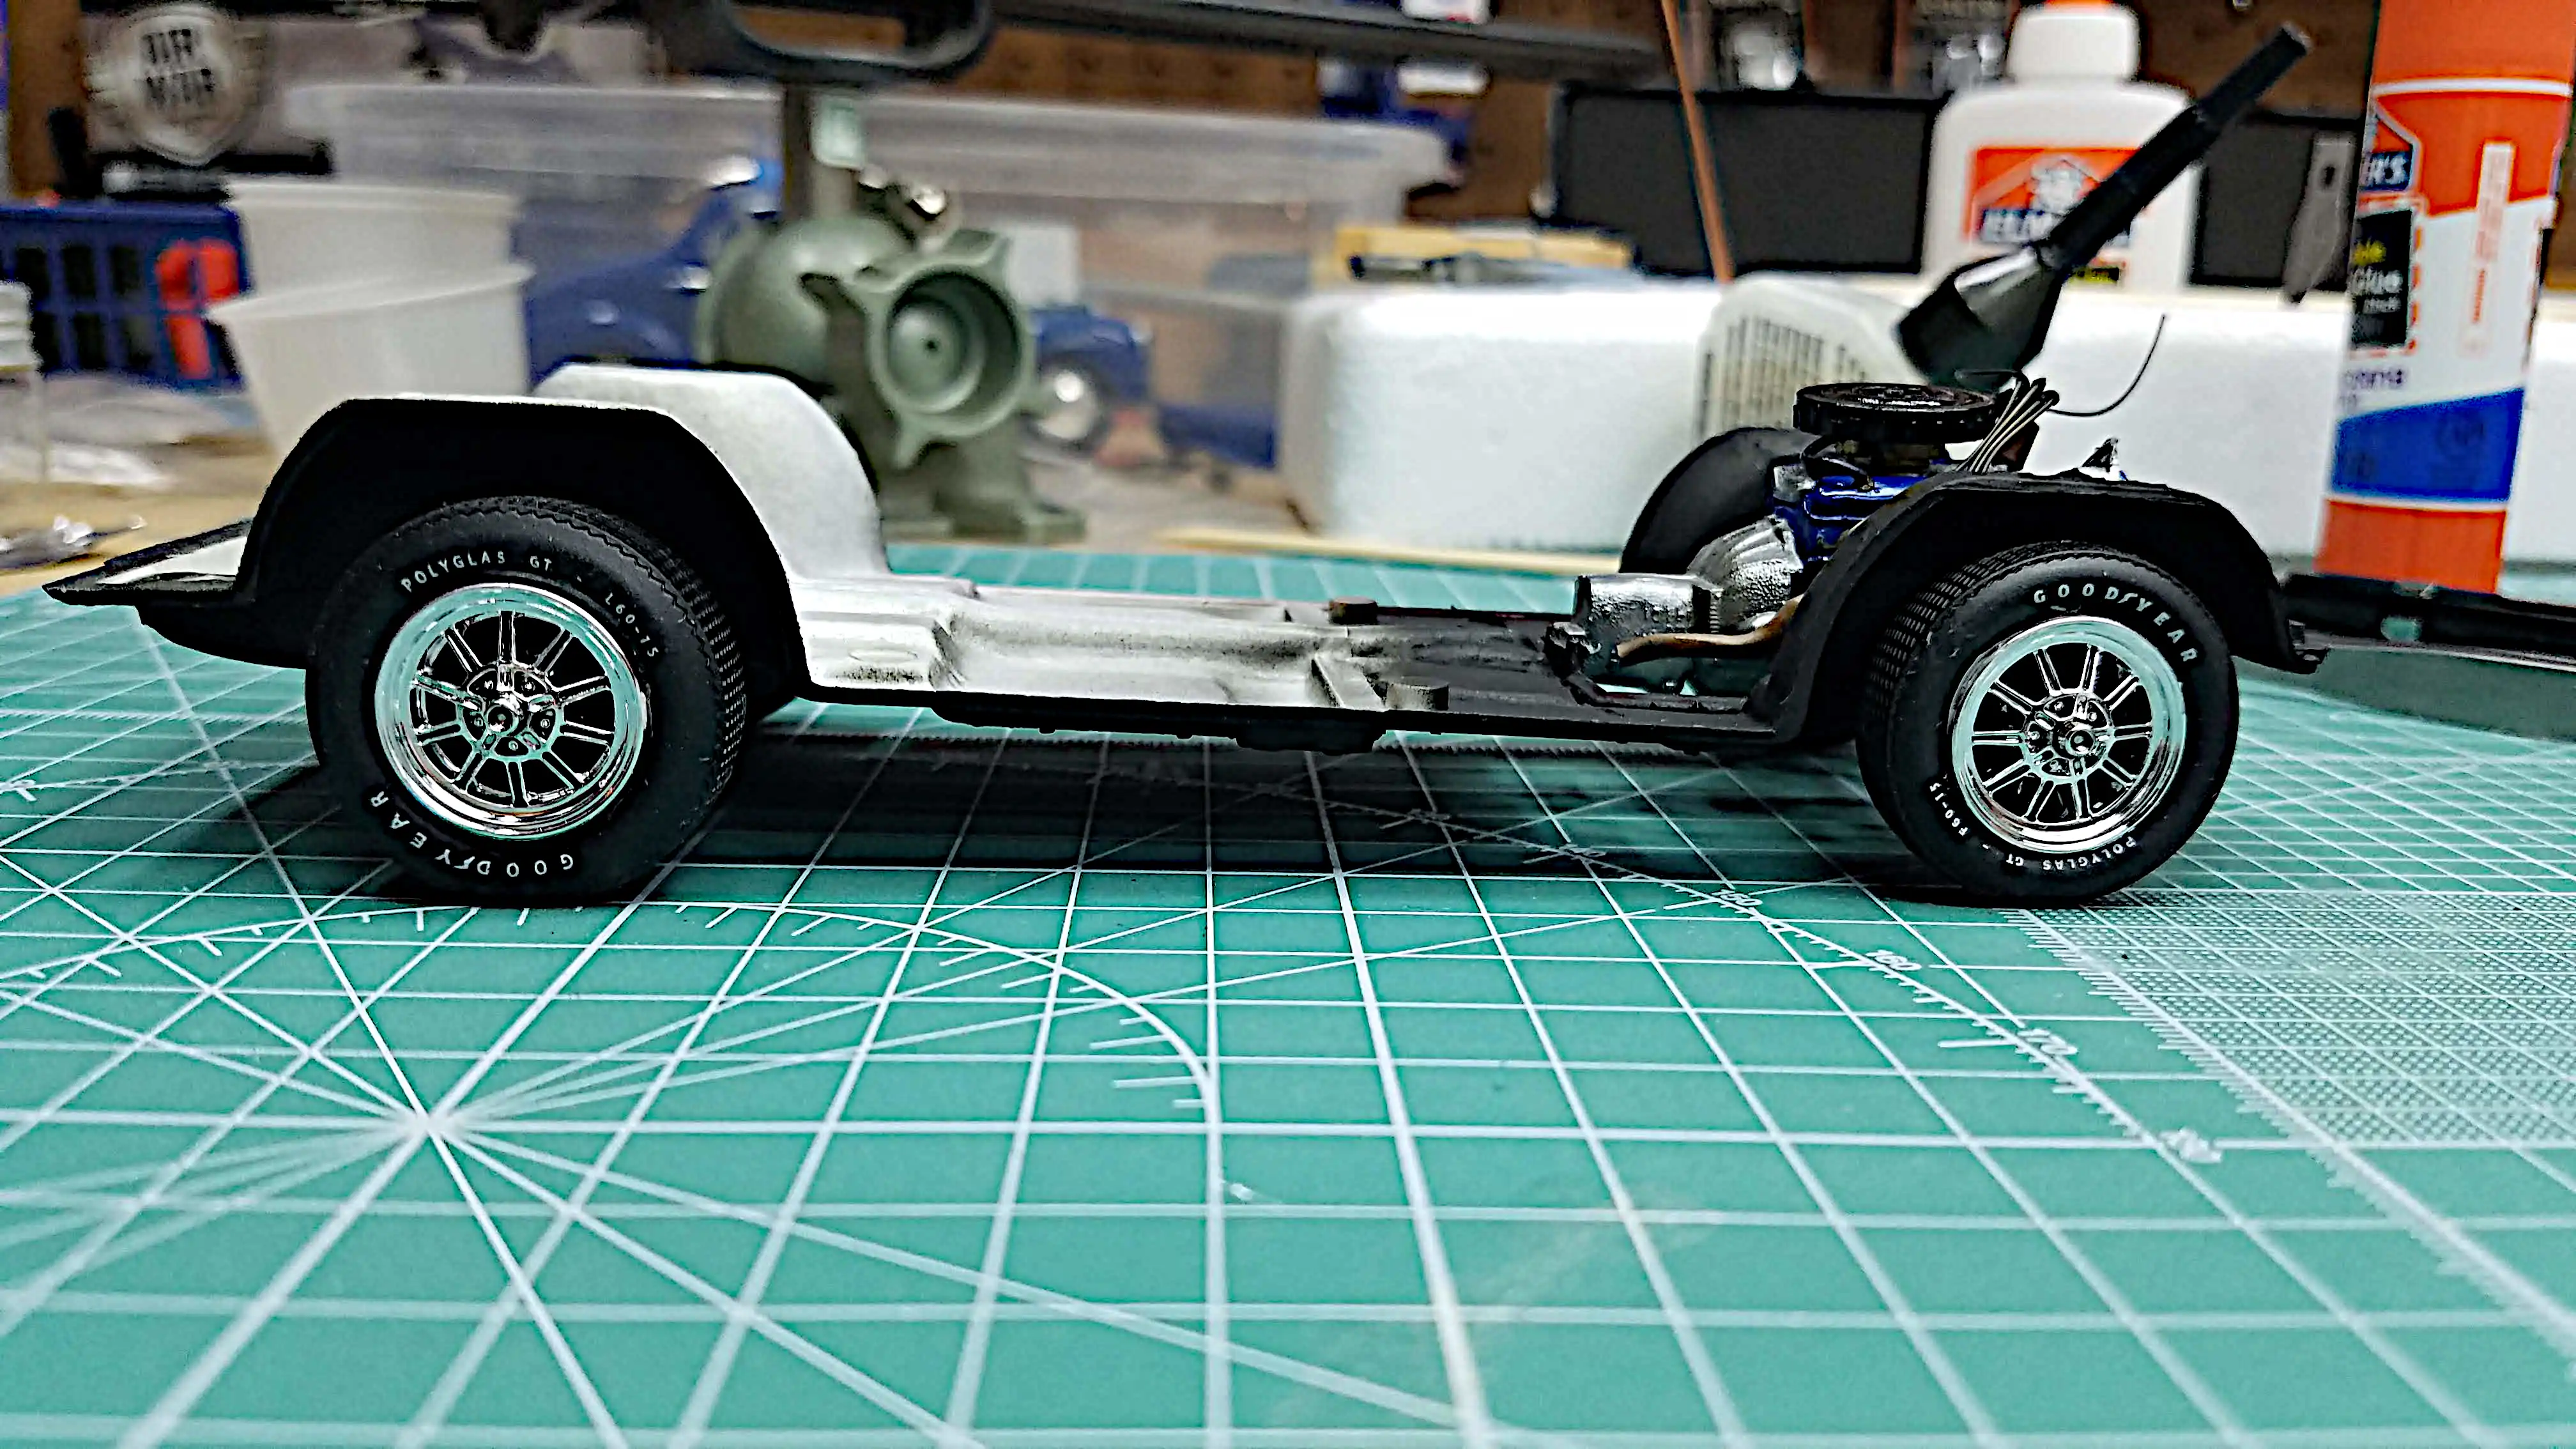
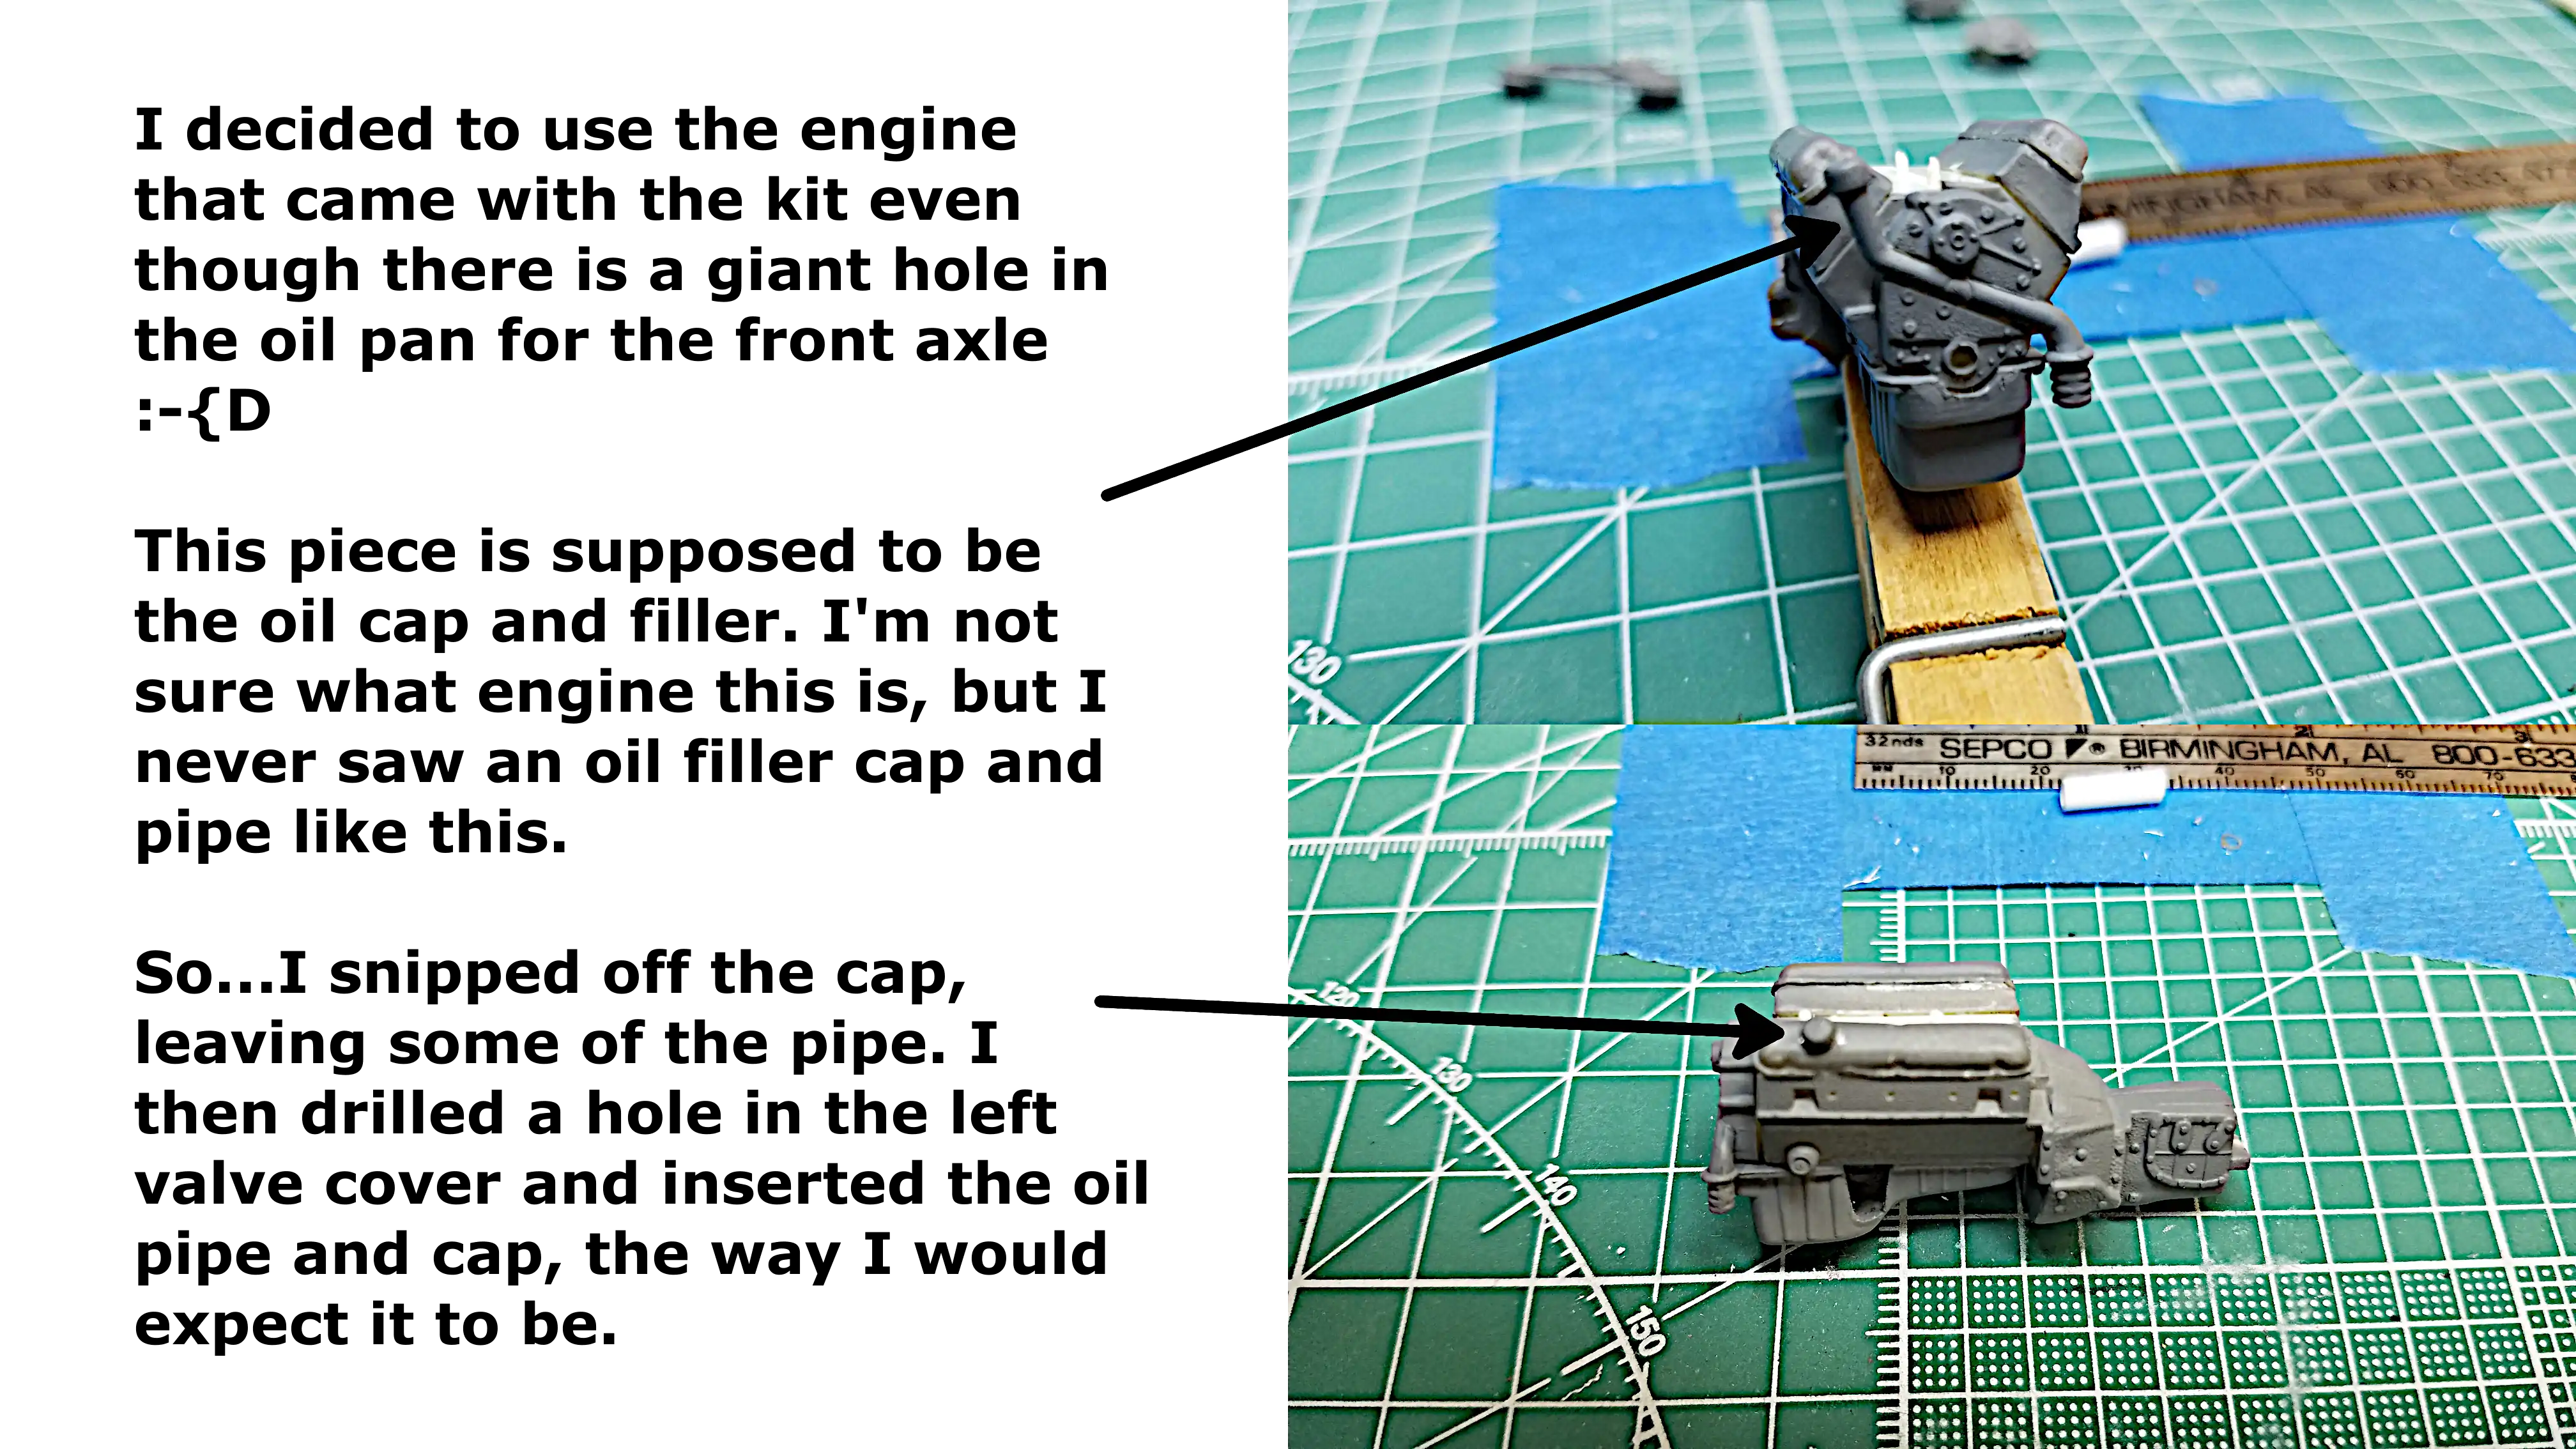 Using the kit engine
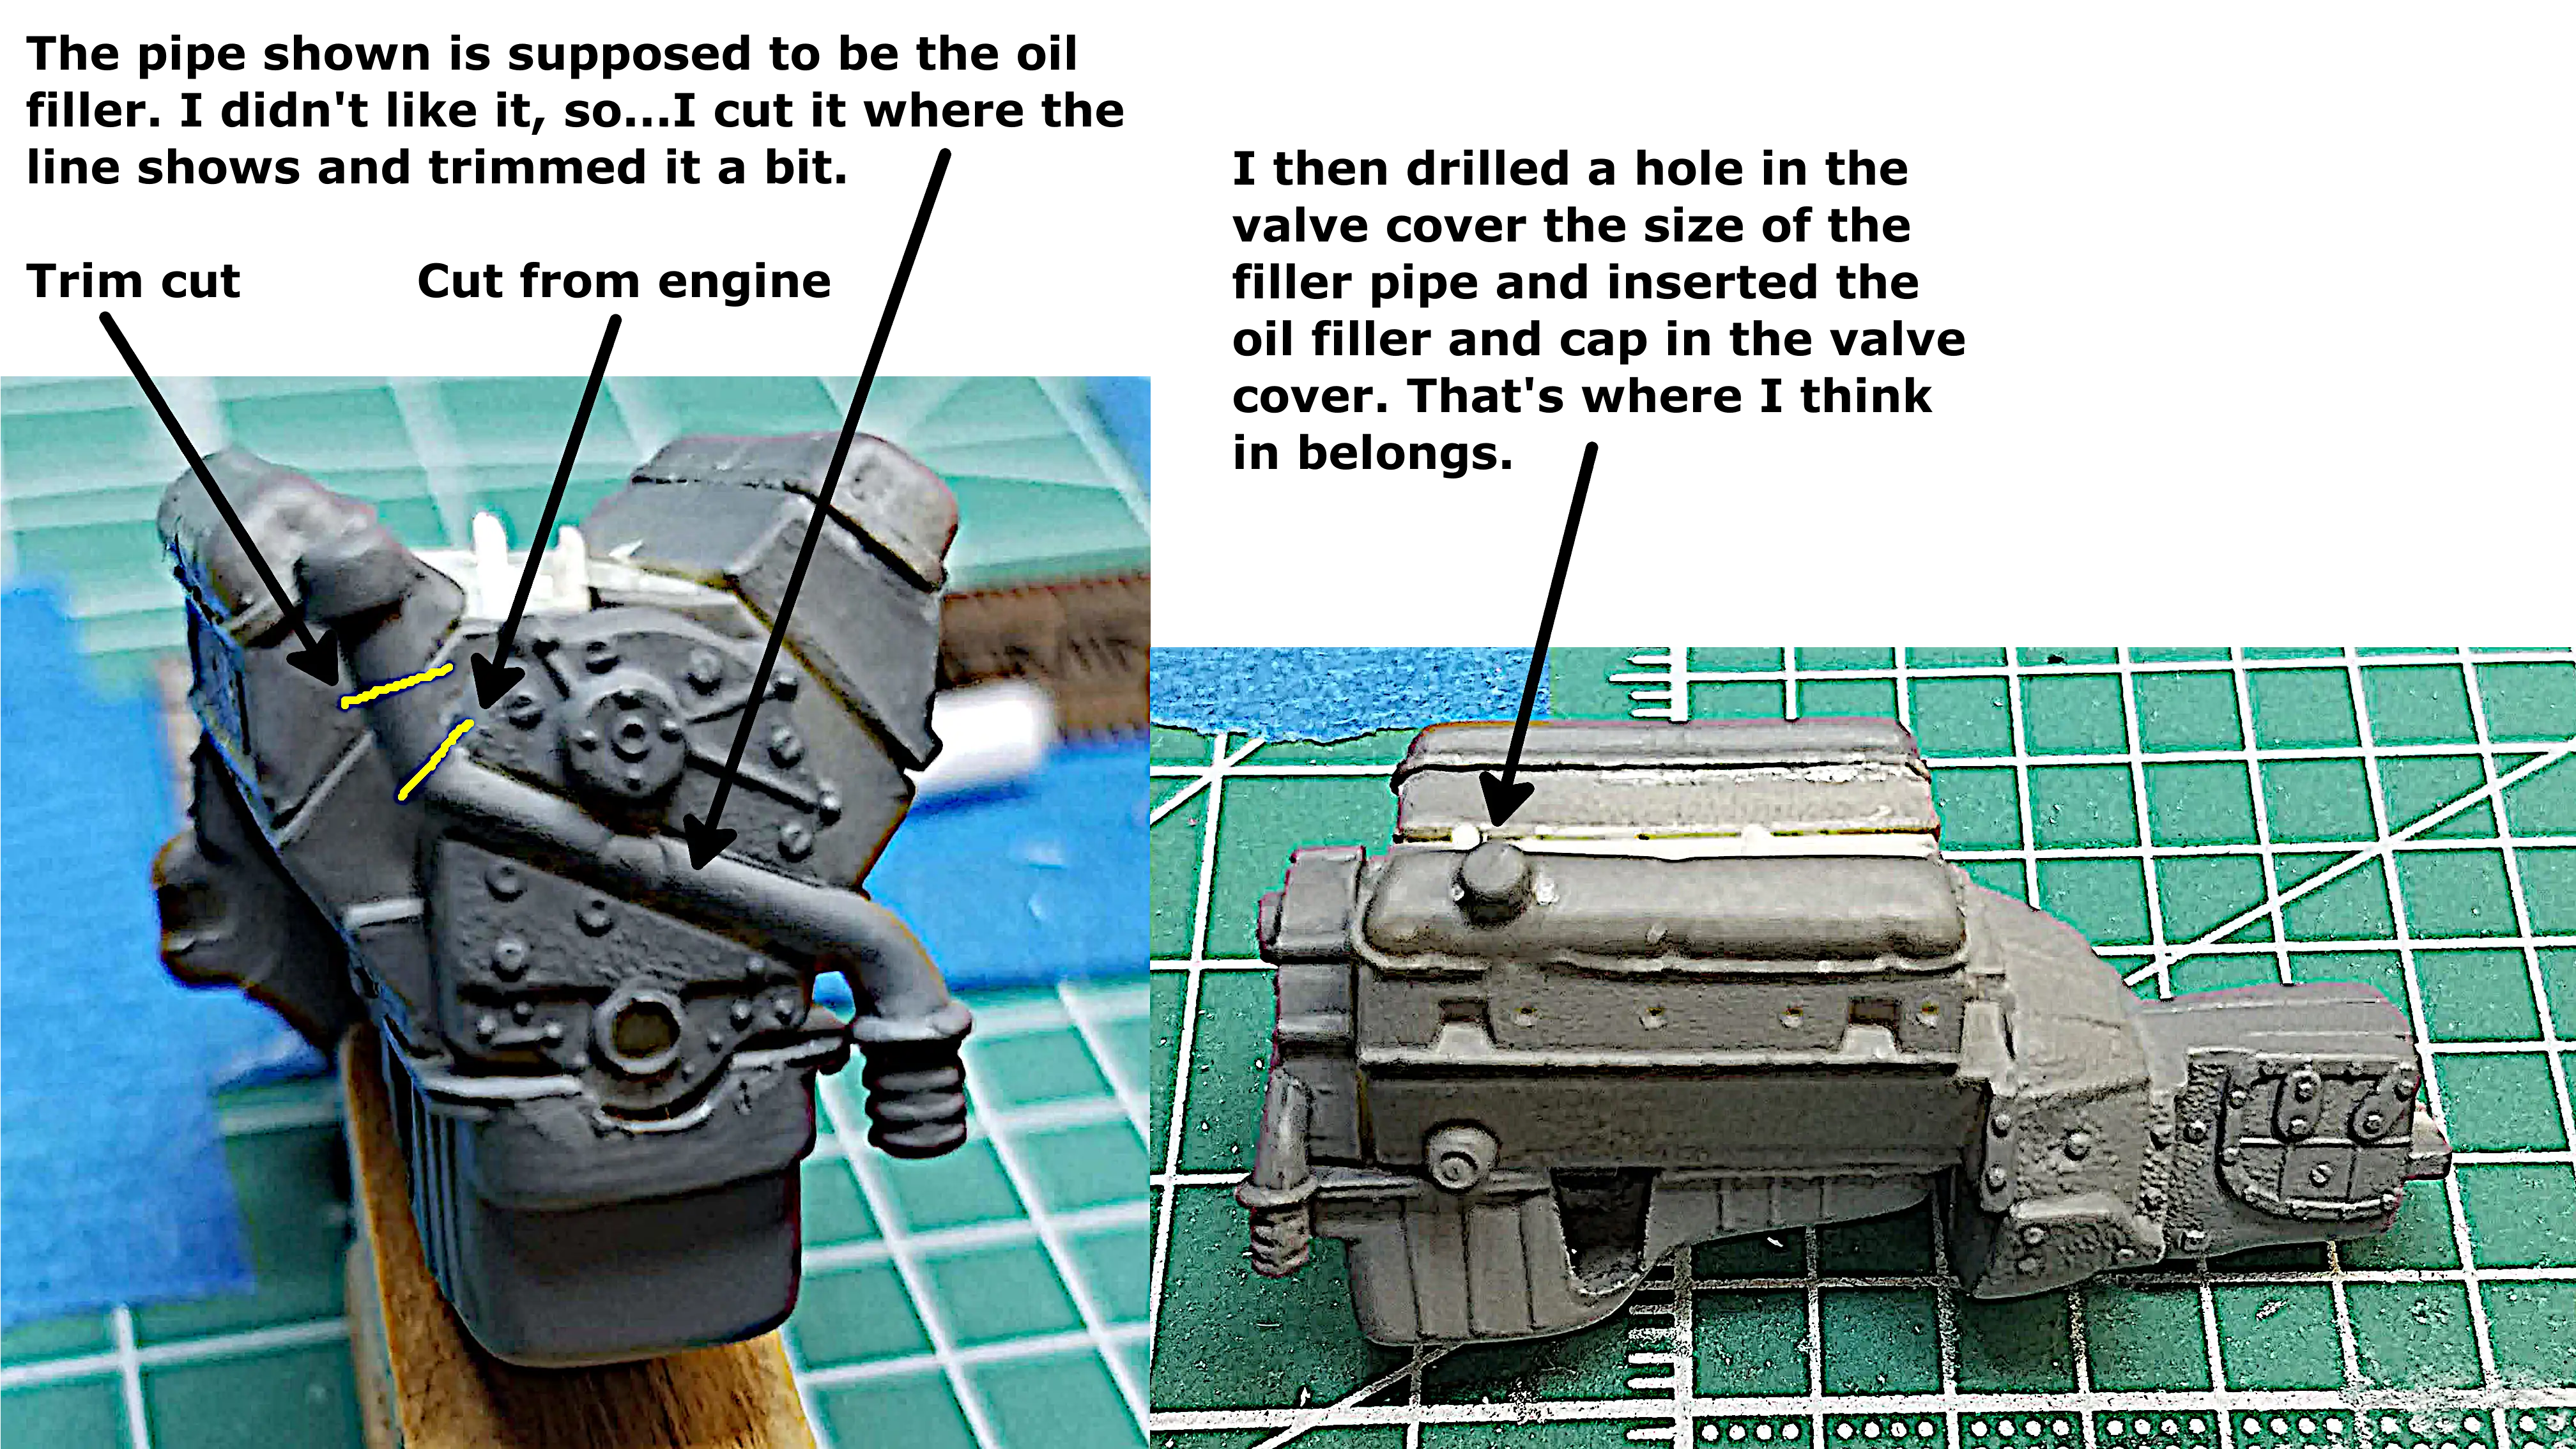 Modifying the filler cap
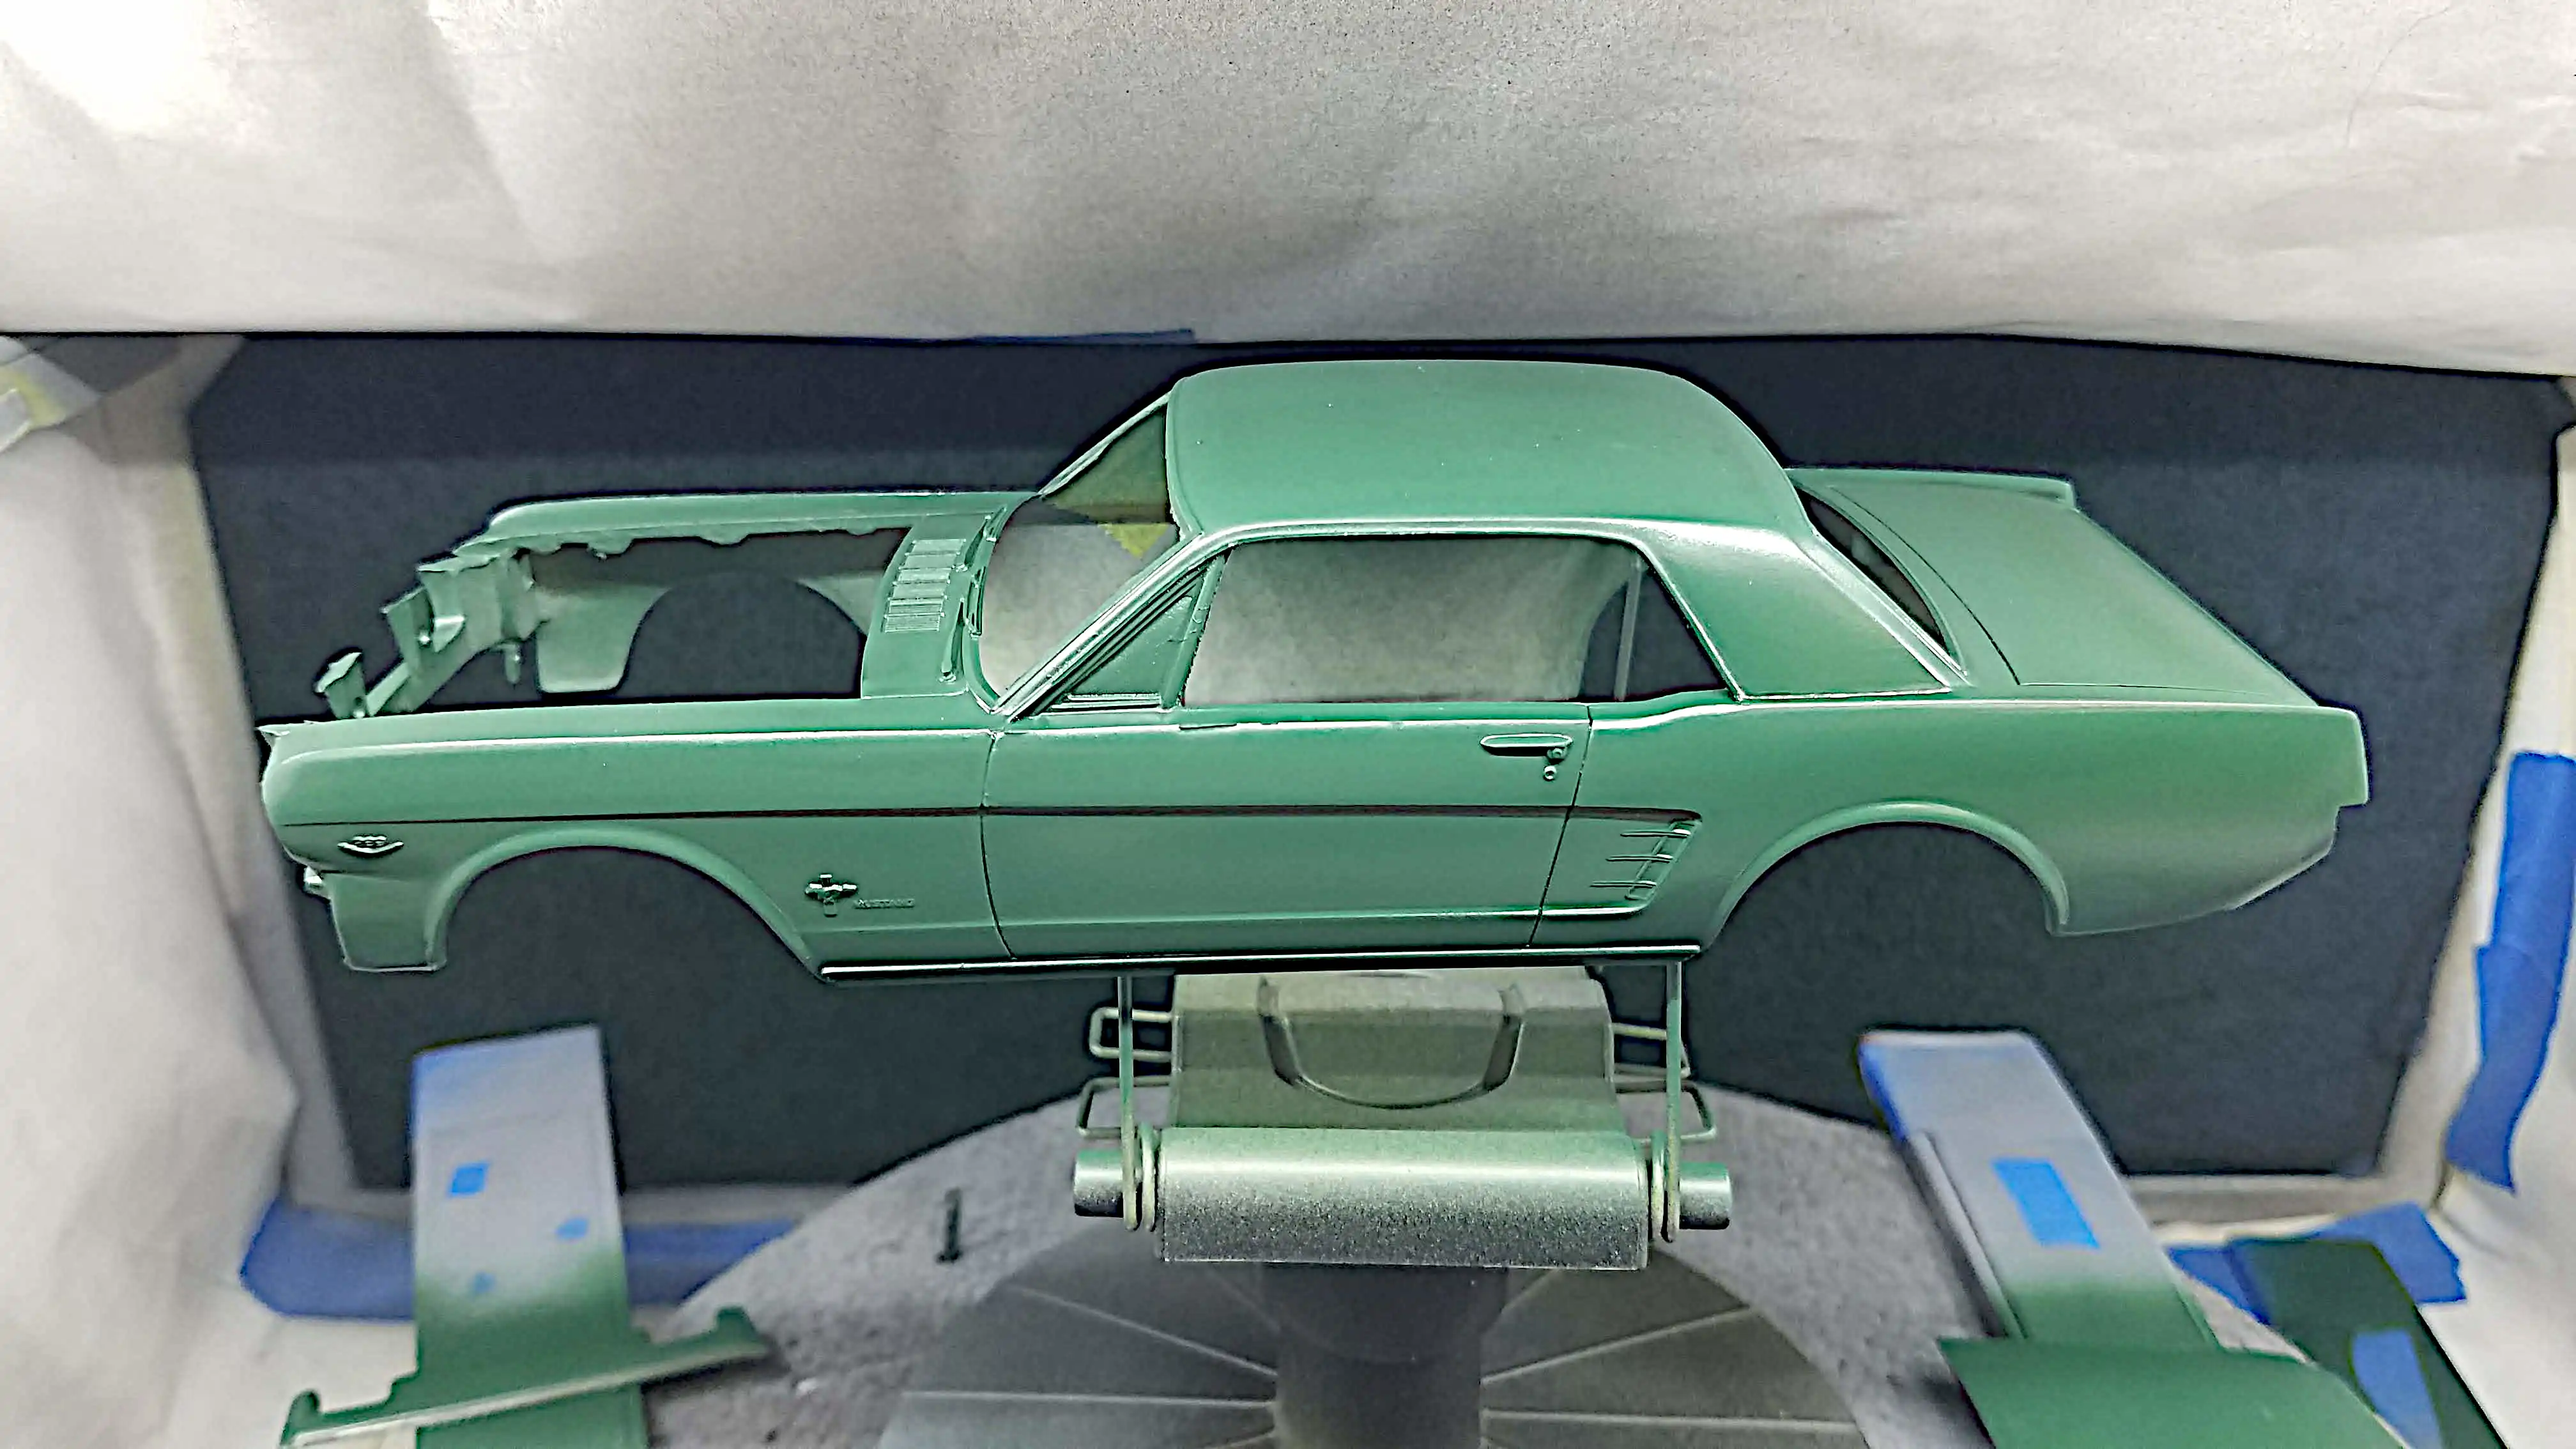 Body receives a second coat of paint
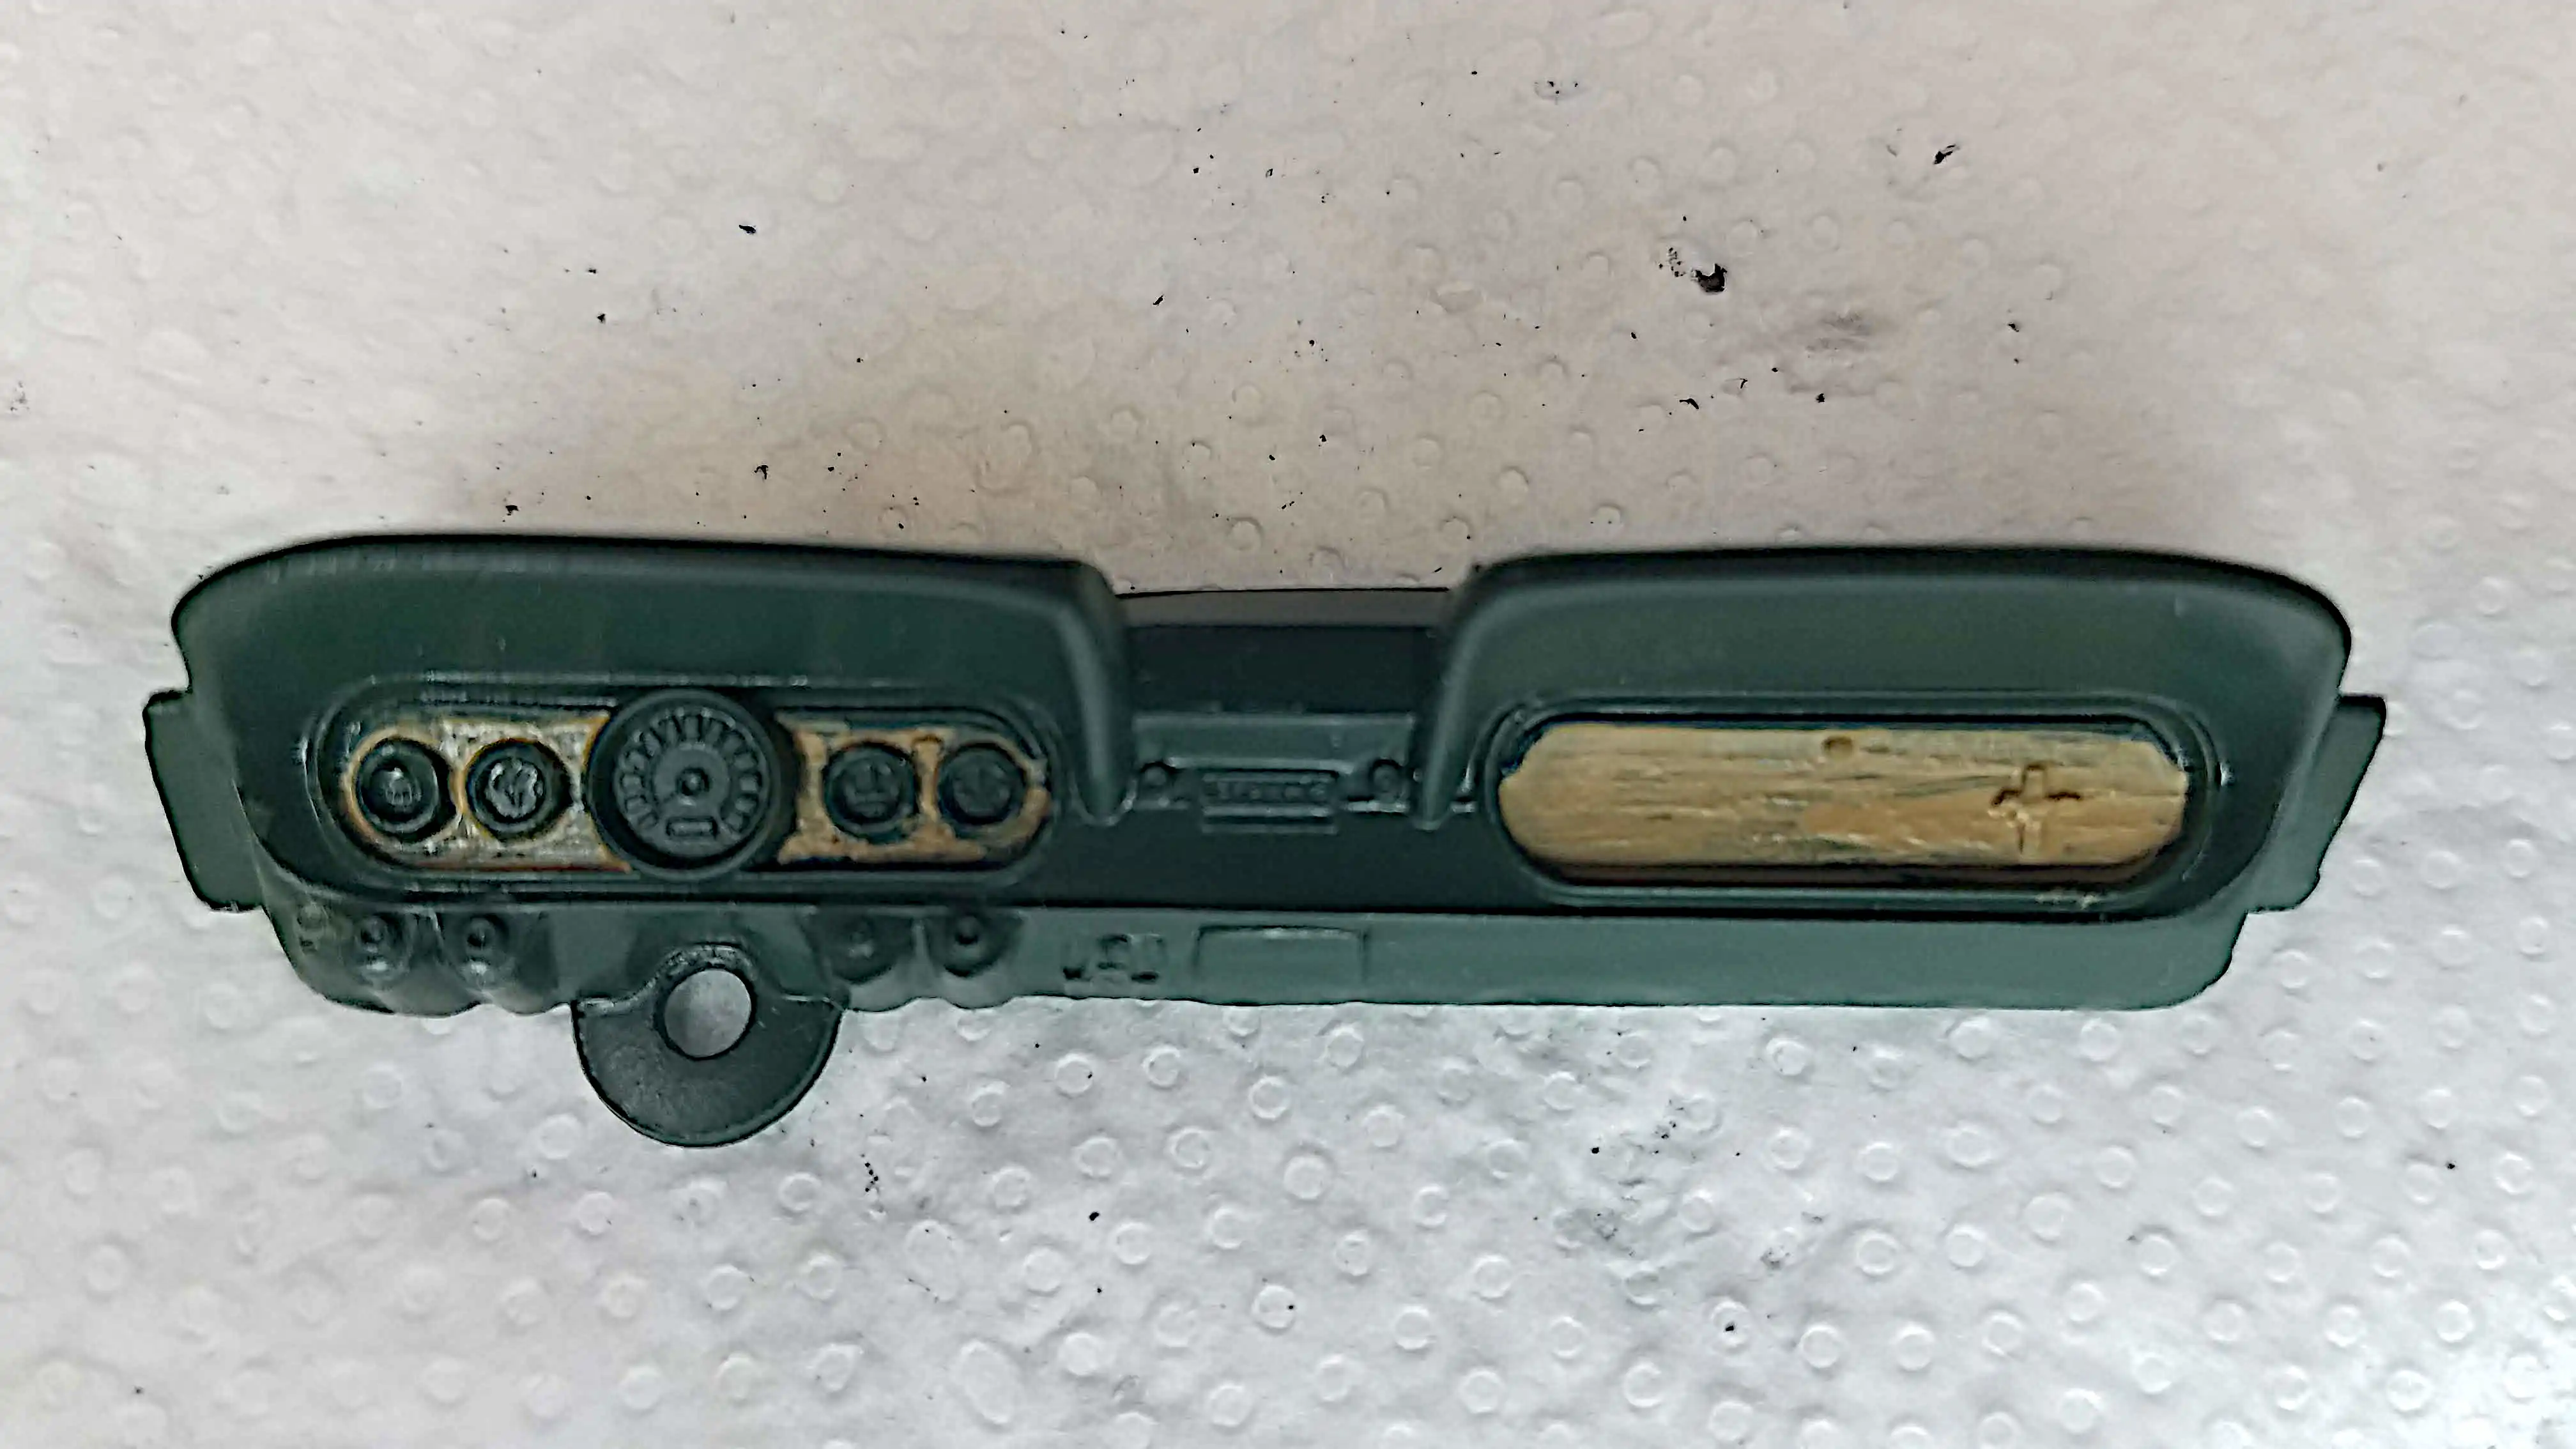 Starting to detail the dashboard
 Dashboard is being detailed
 Installed a PCV valve
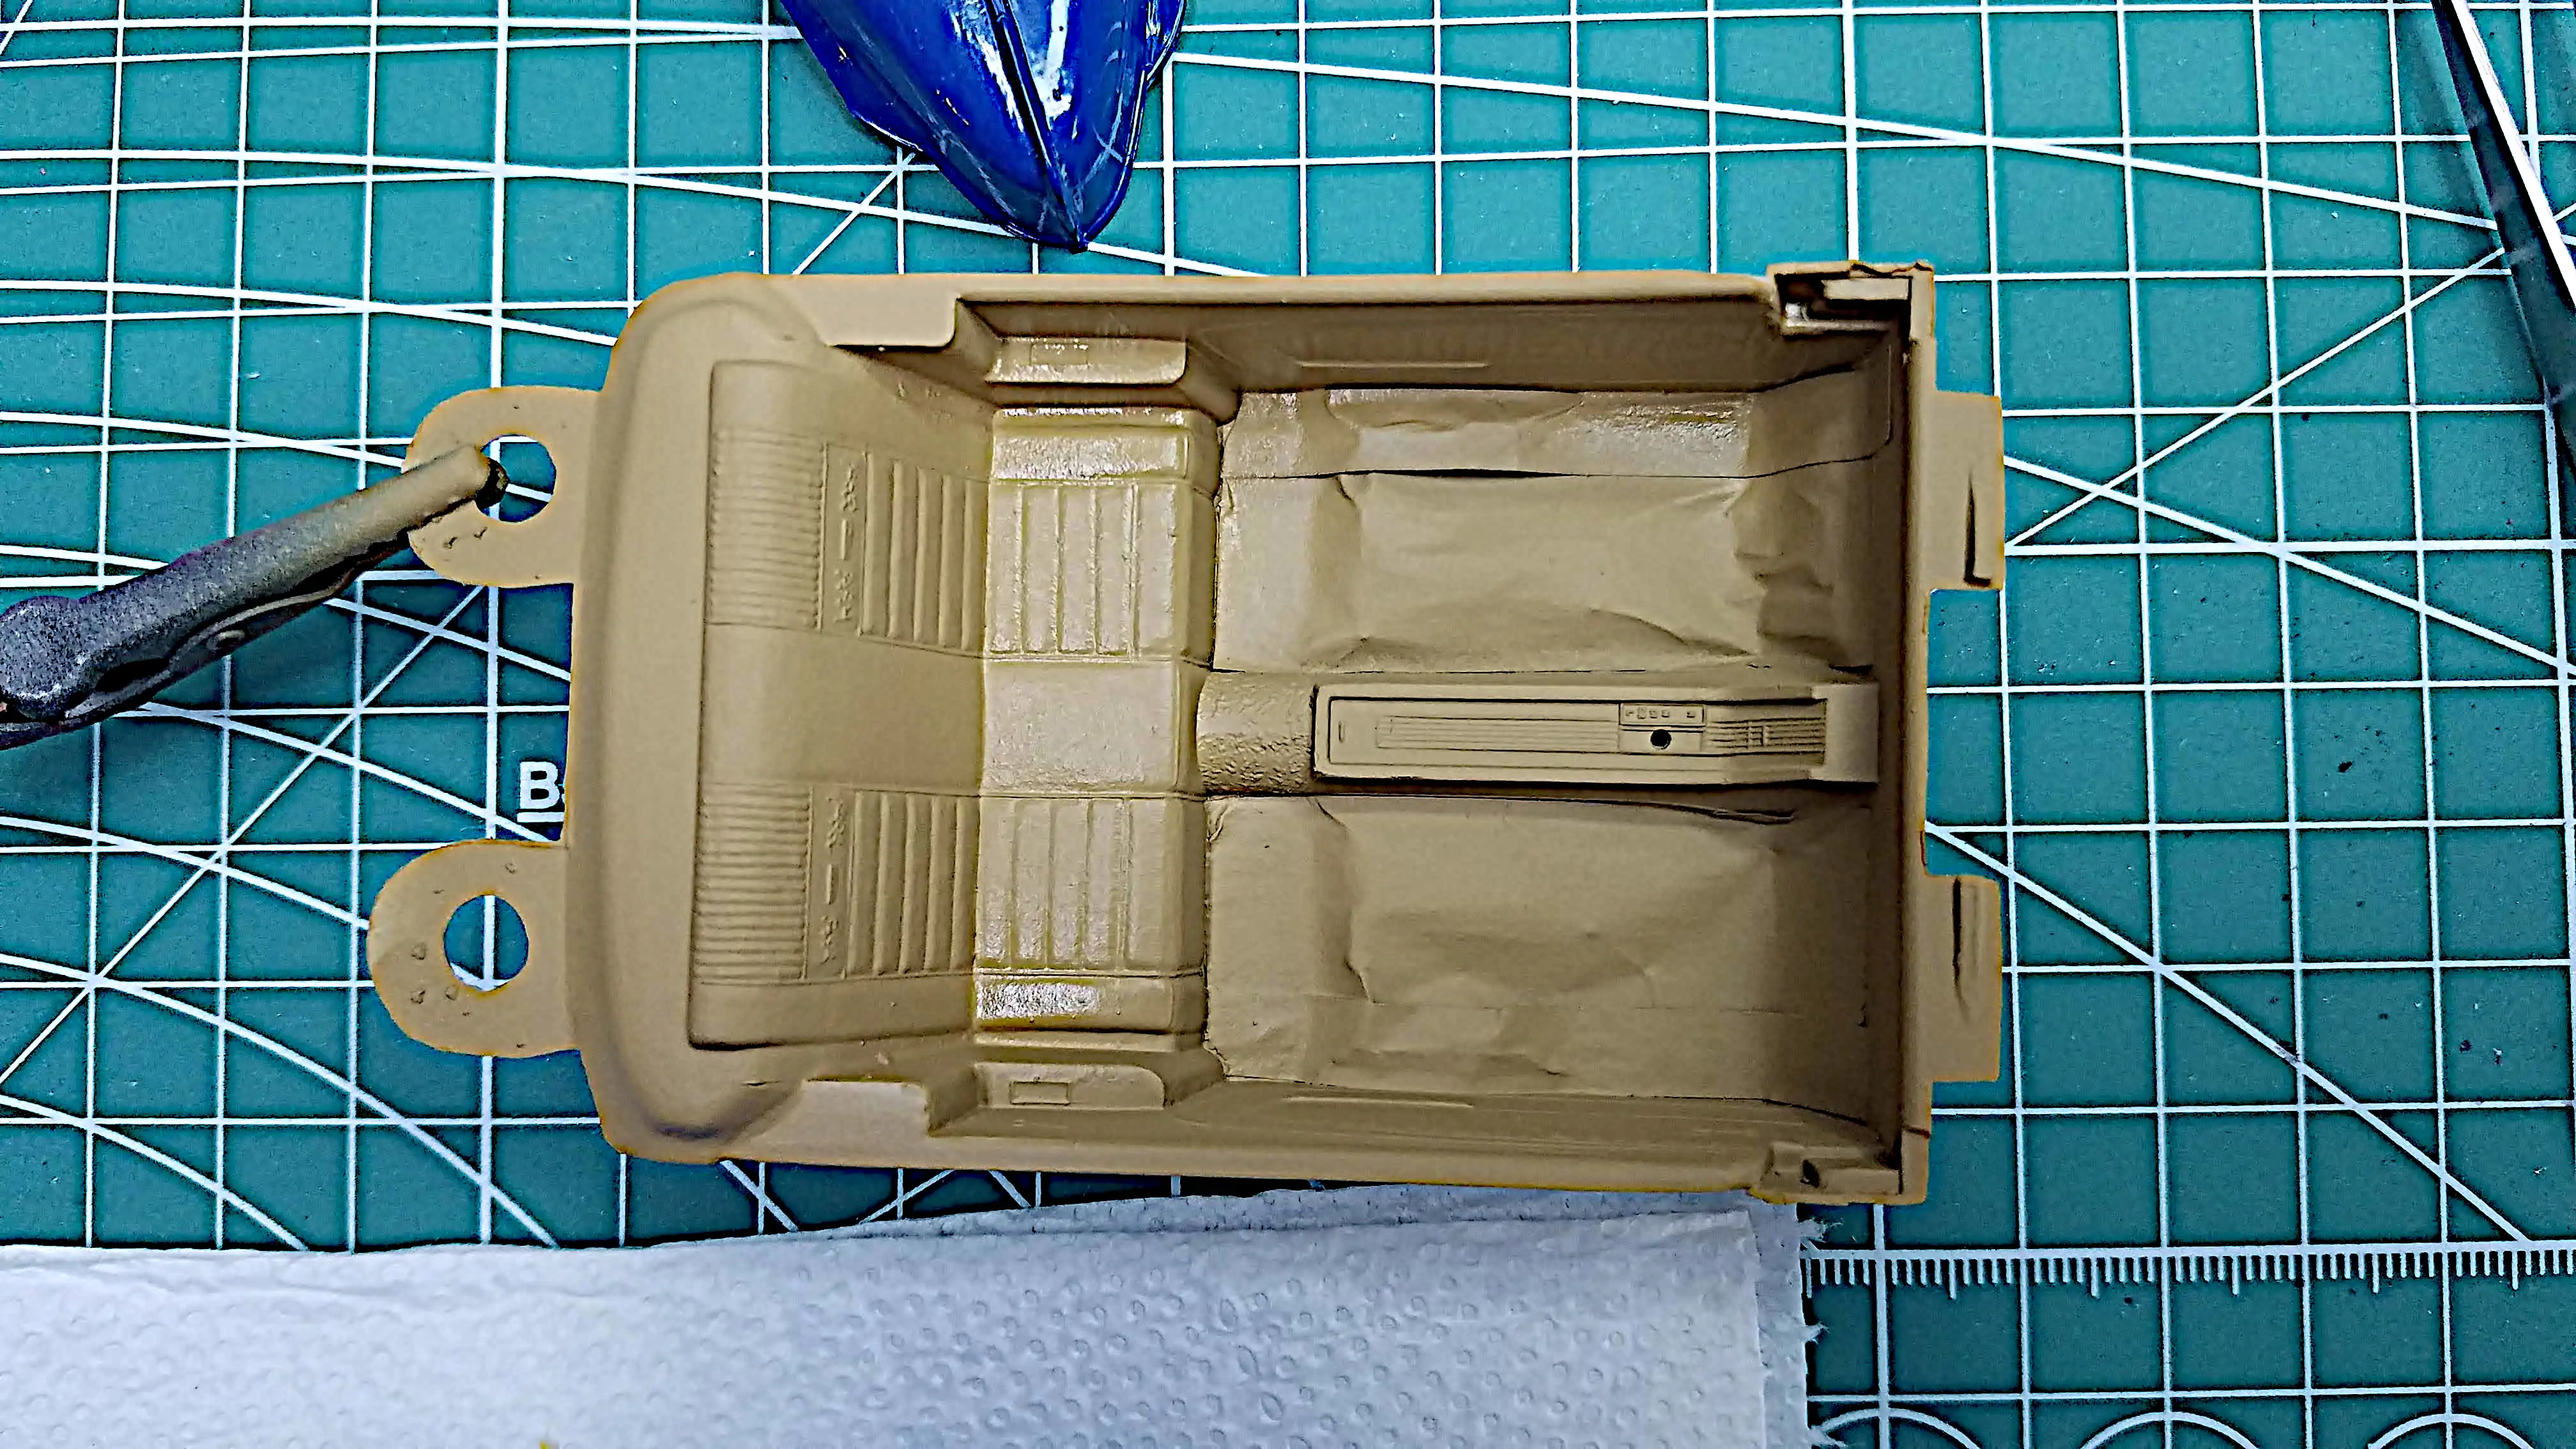 The interior tub is painted
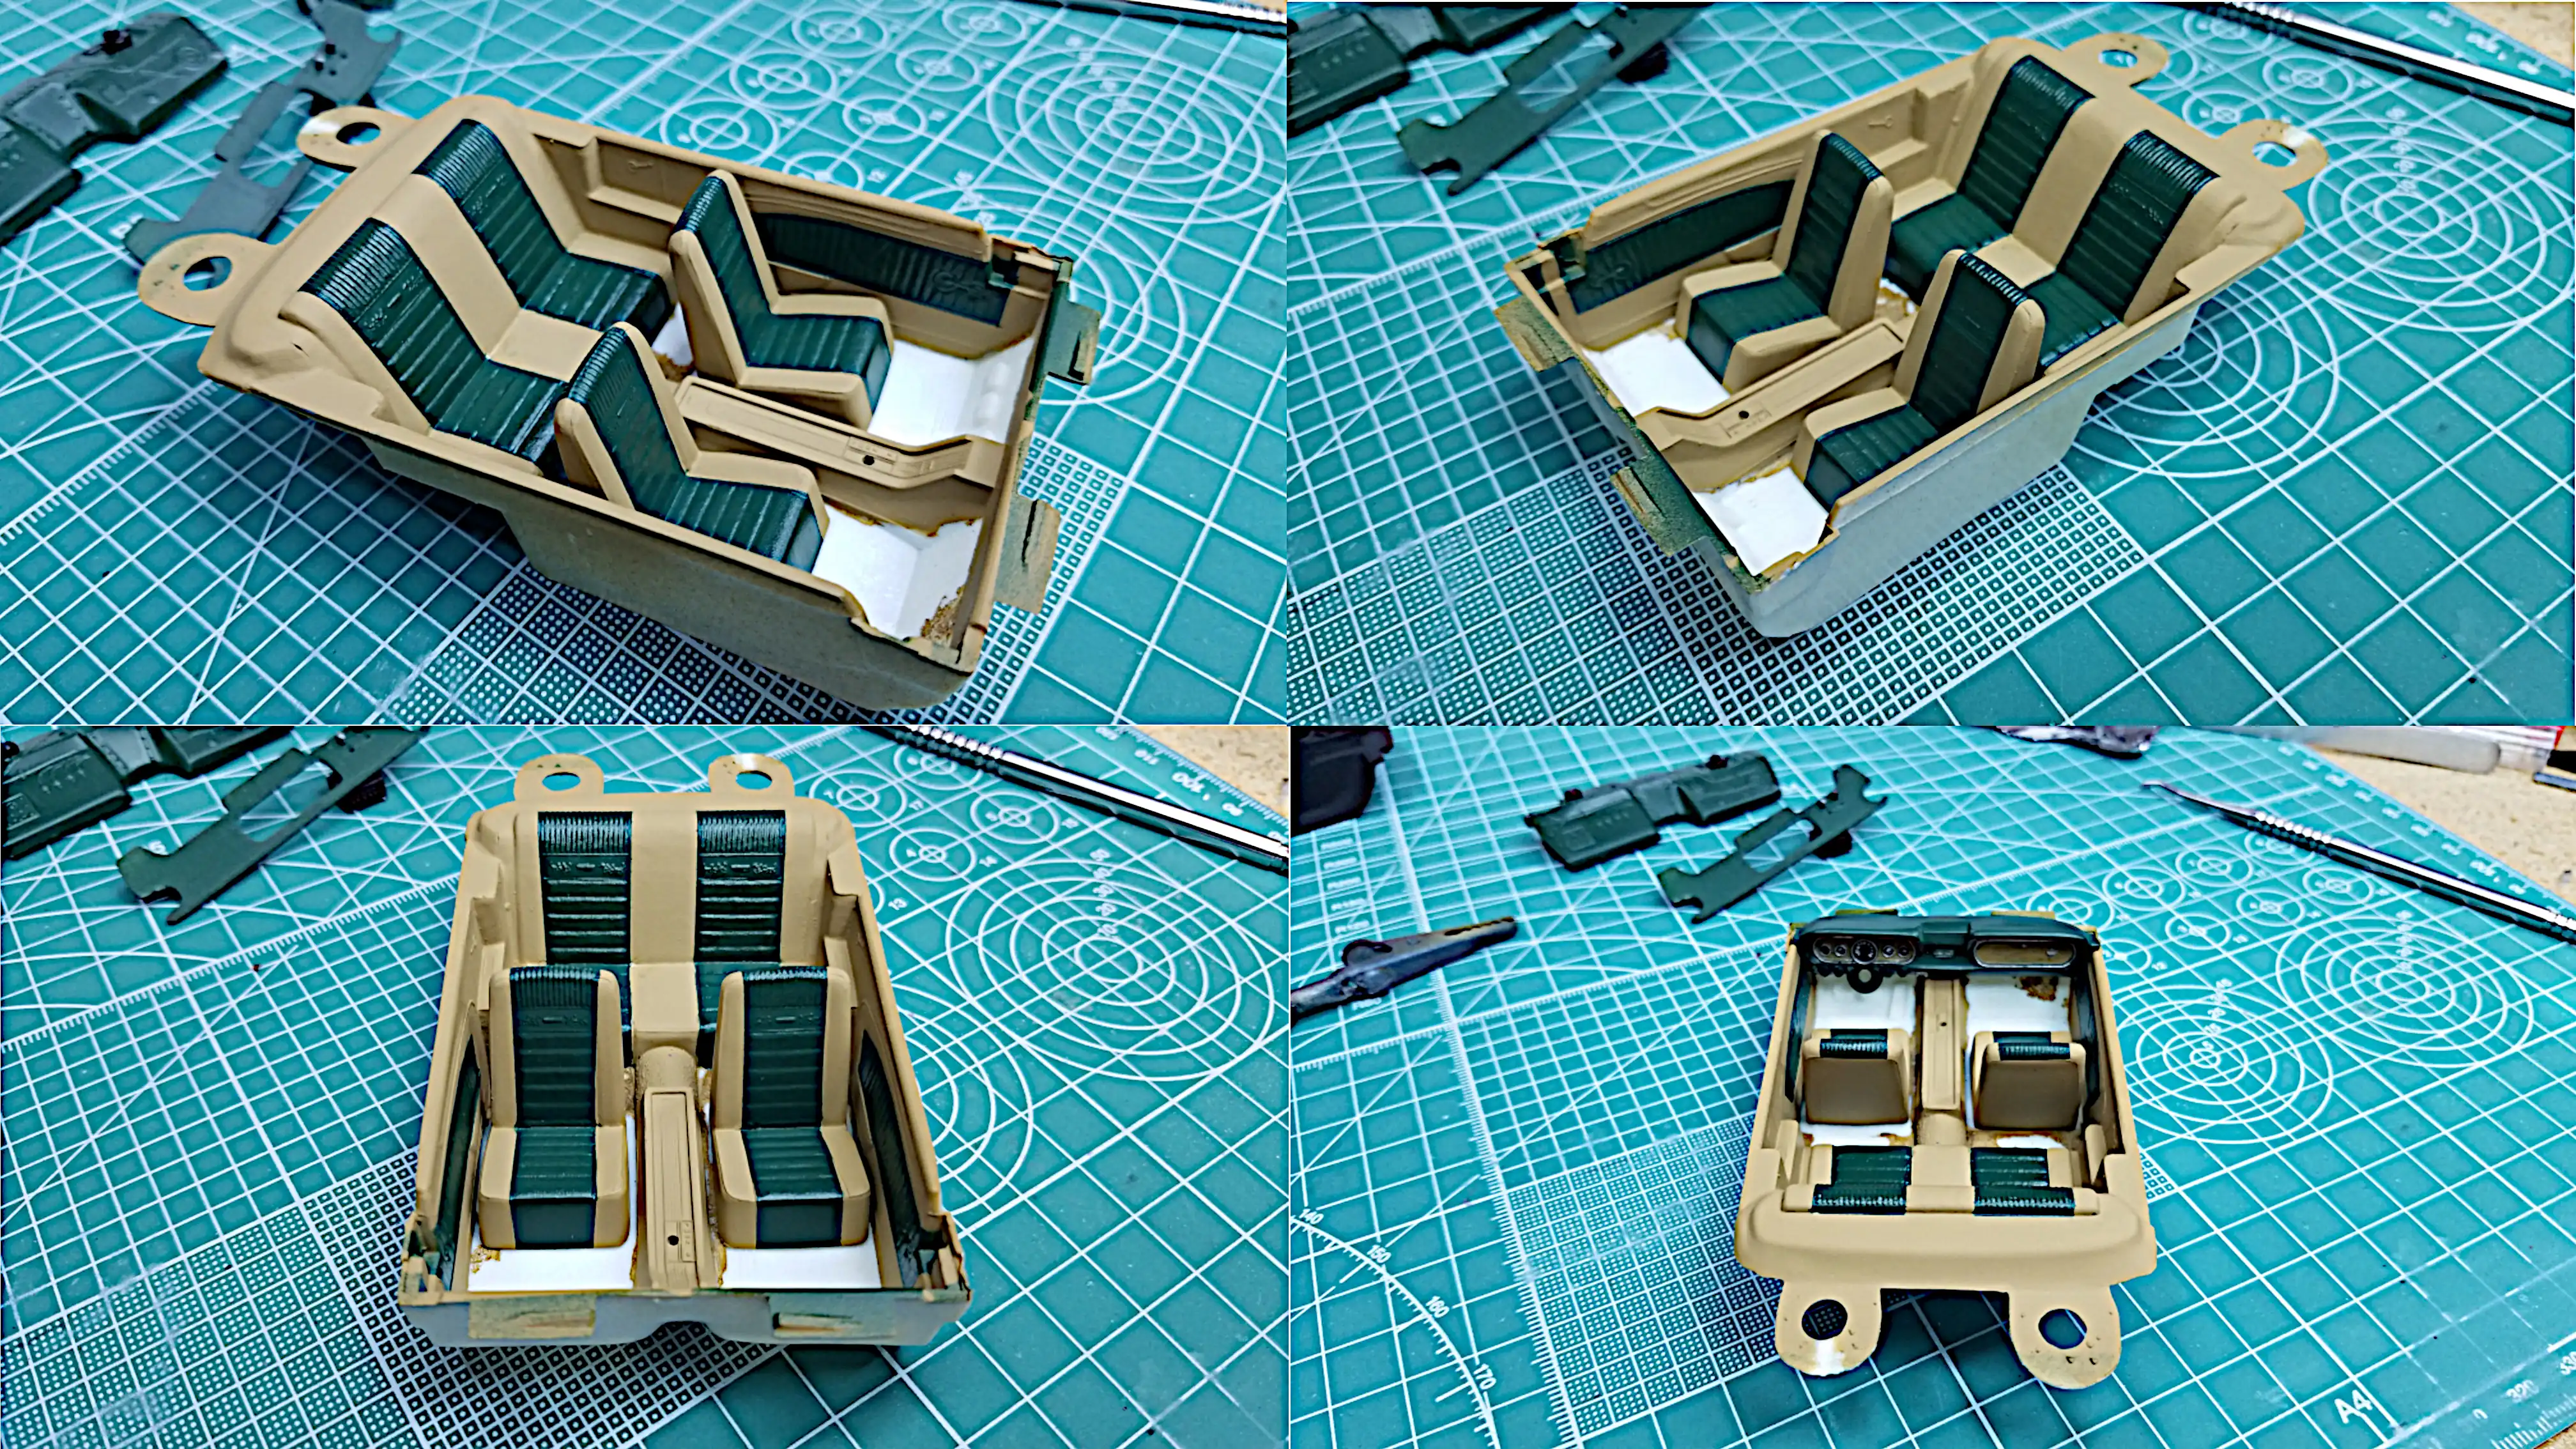
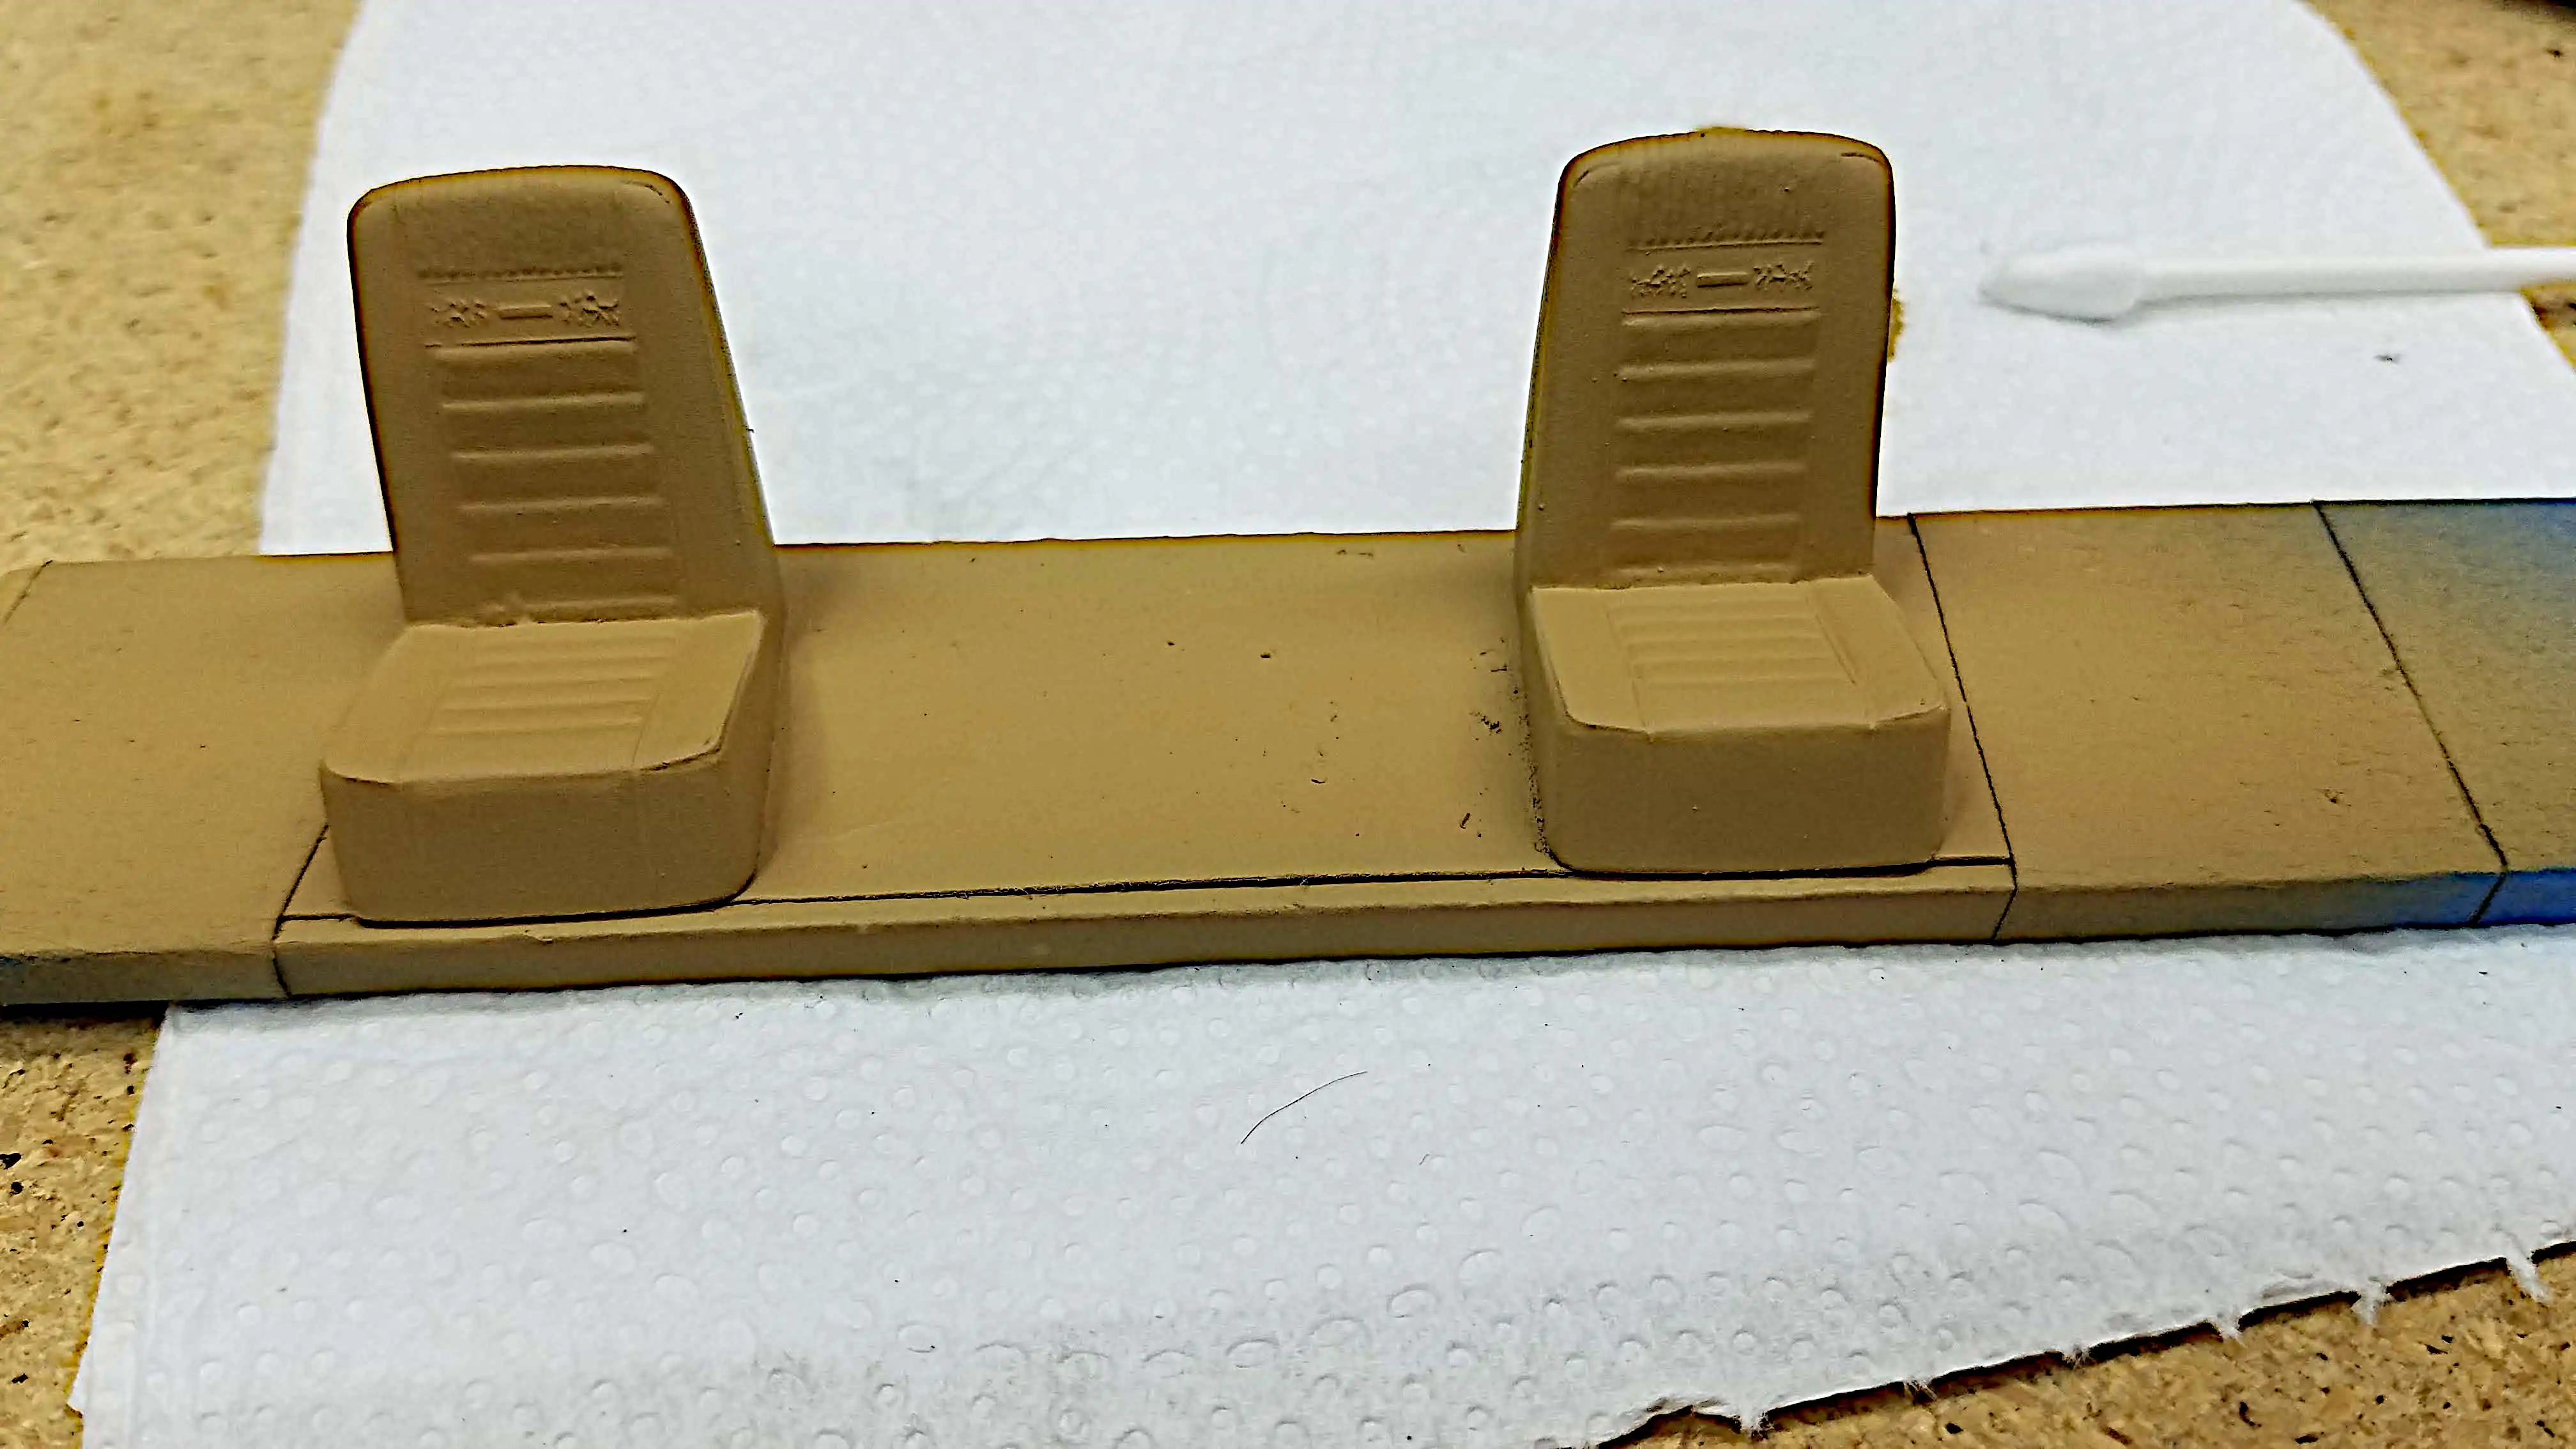 Front seats have been painted
 Something went wrong painting the head liner
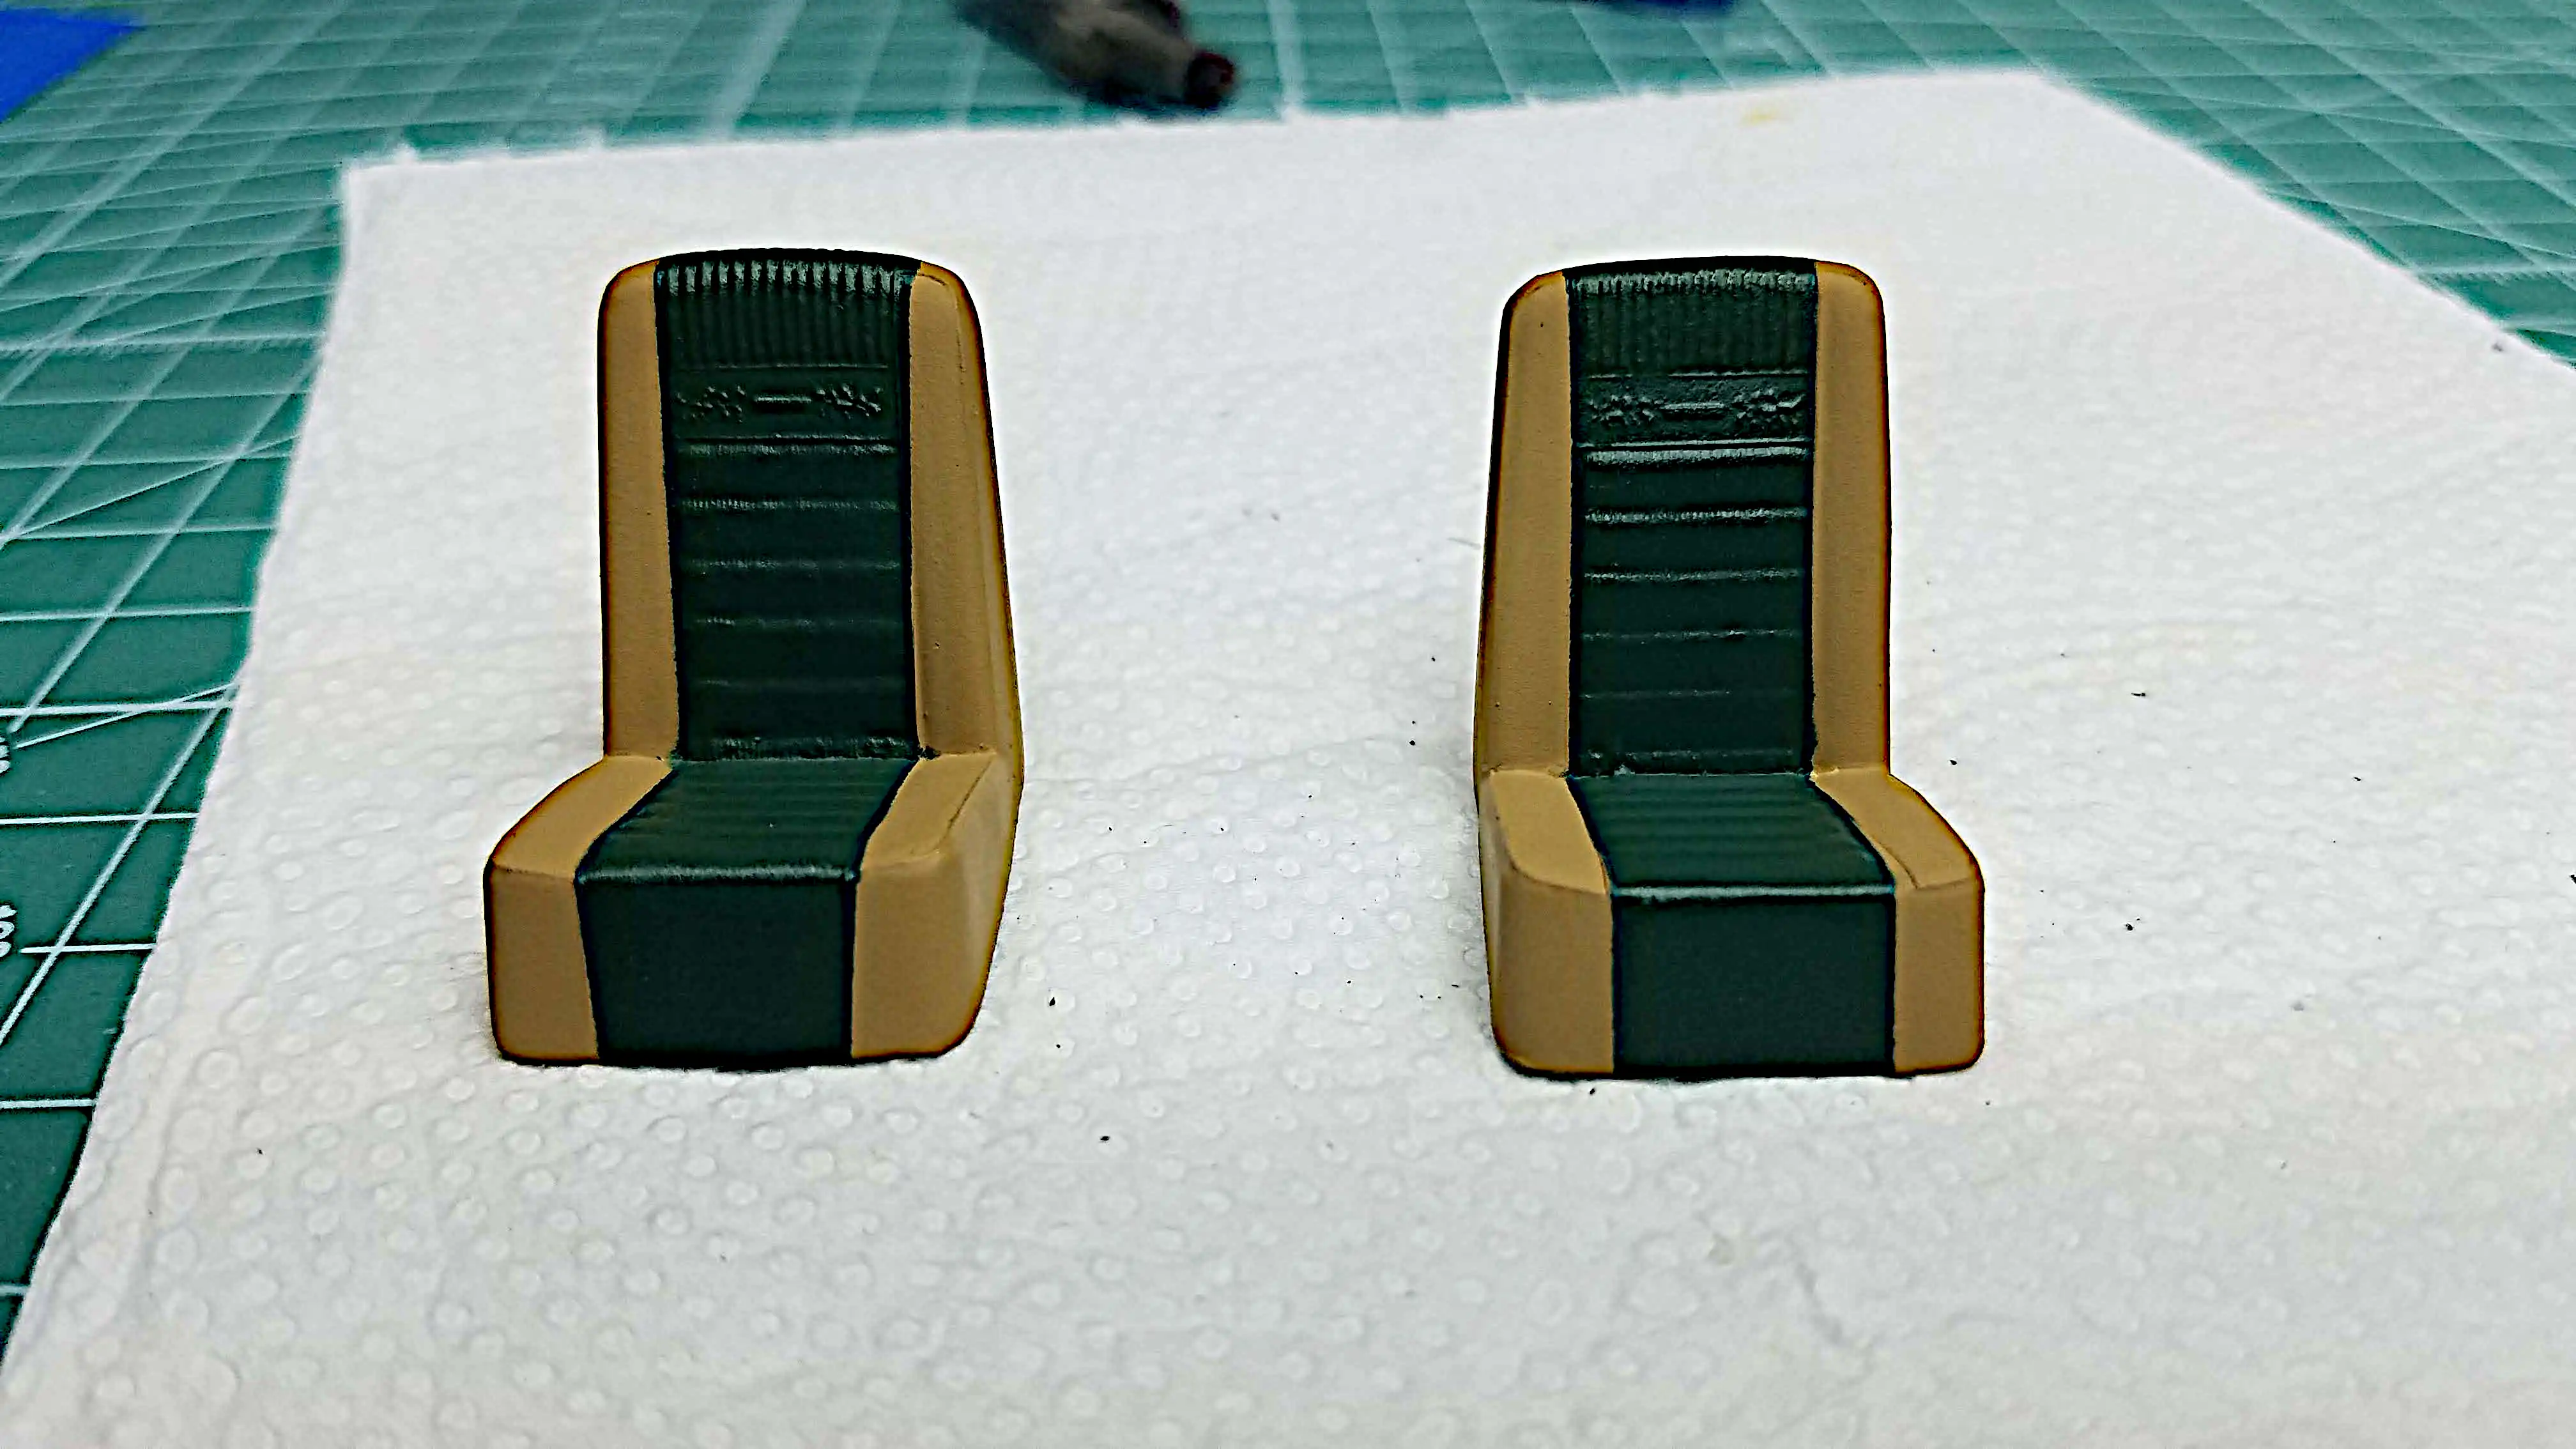 The front seats have been pointed
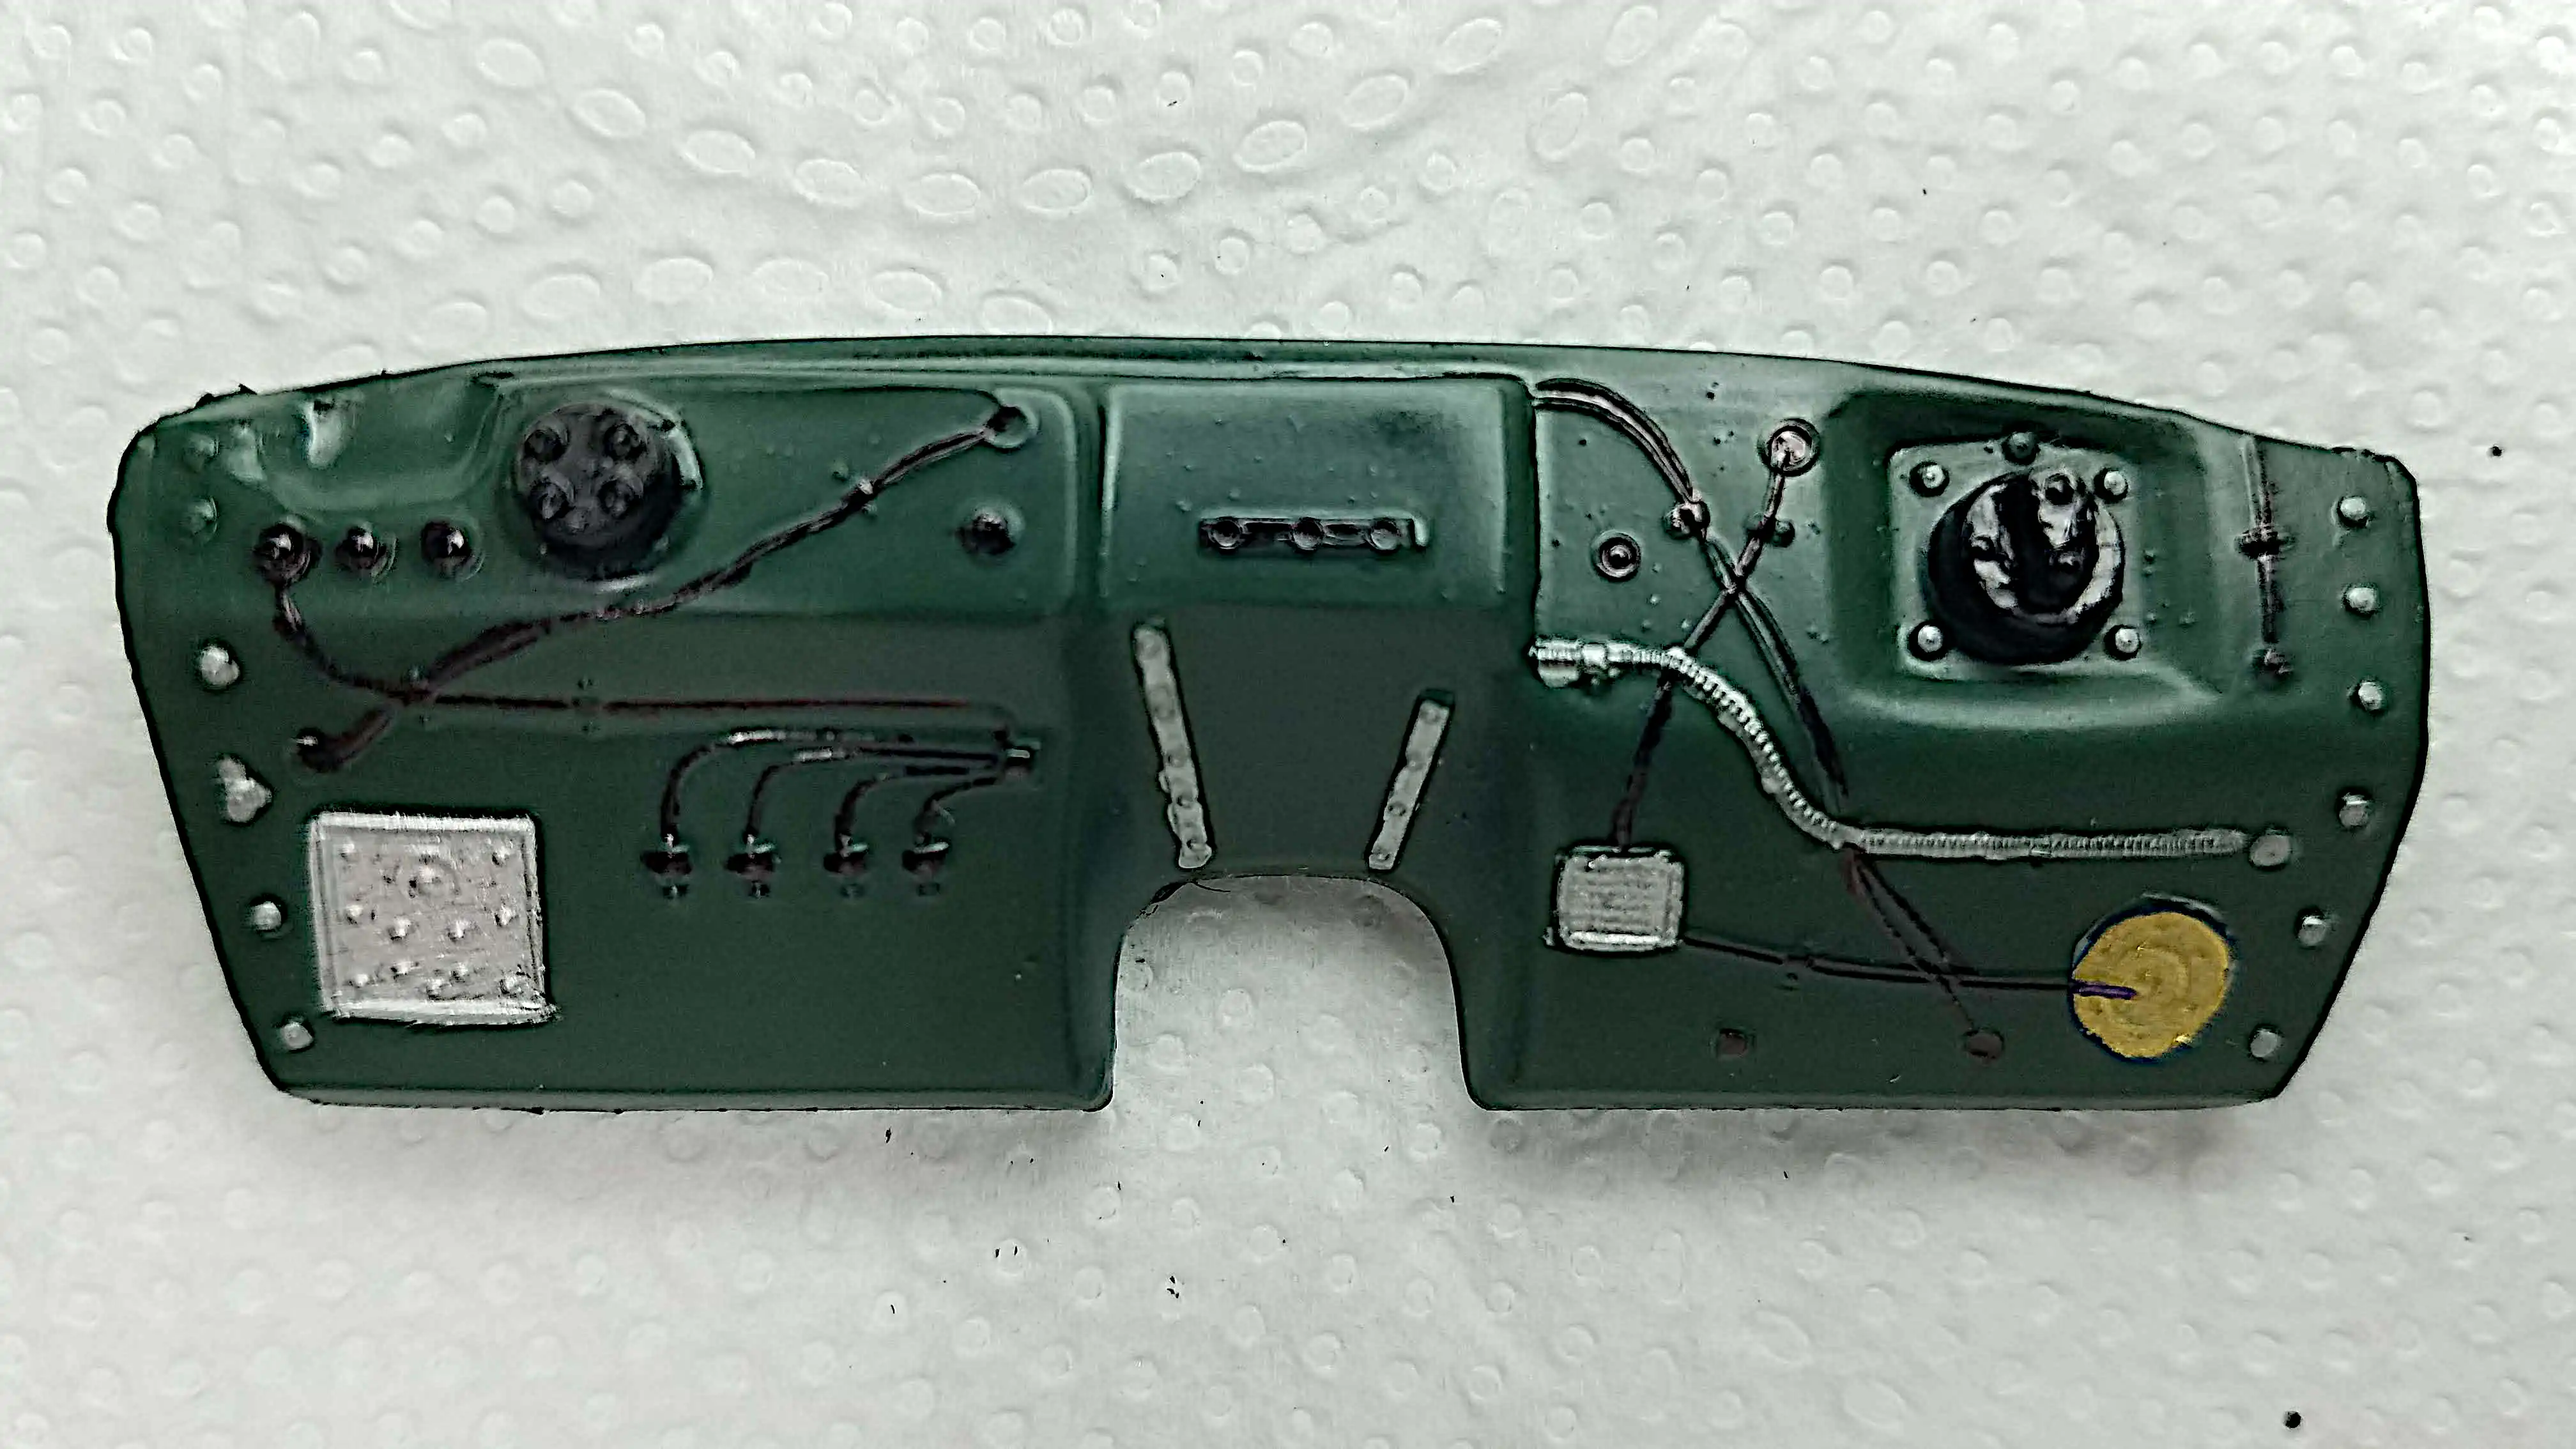
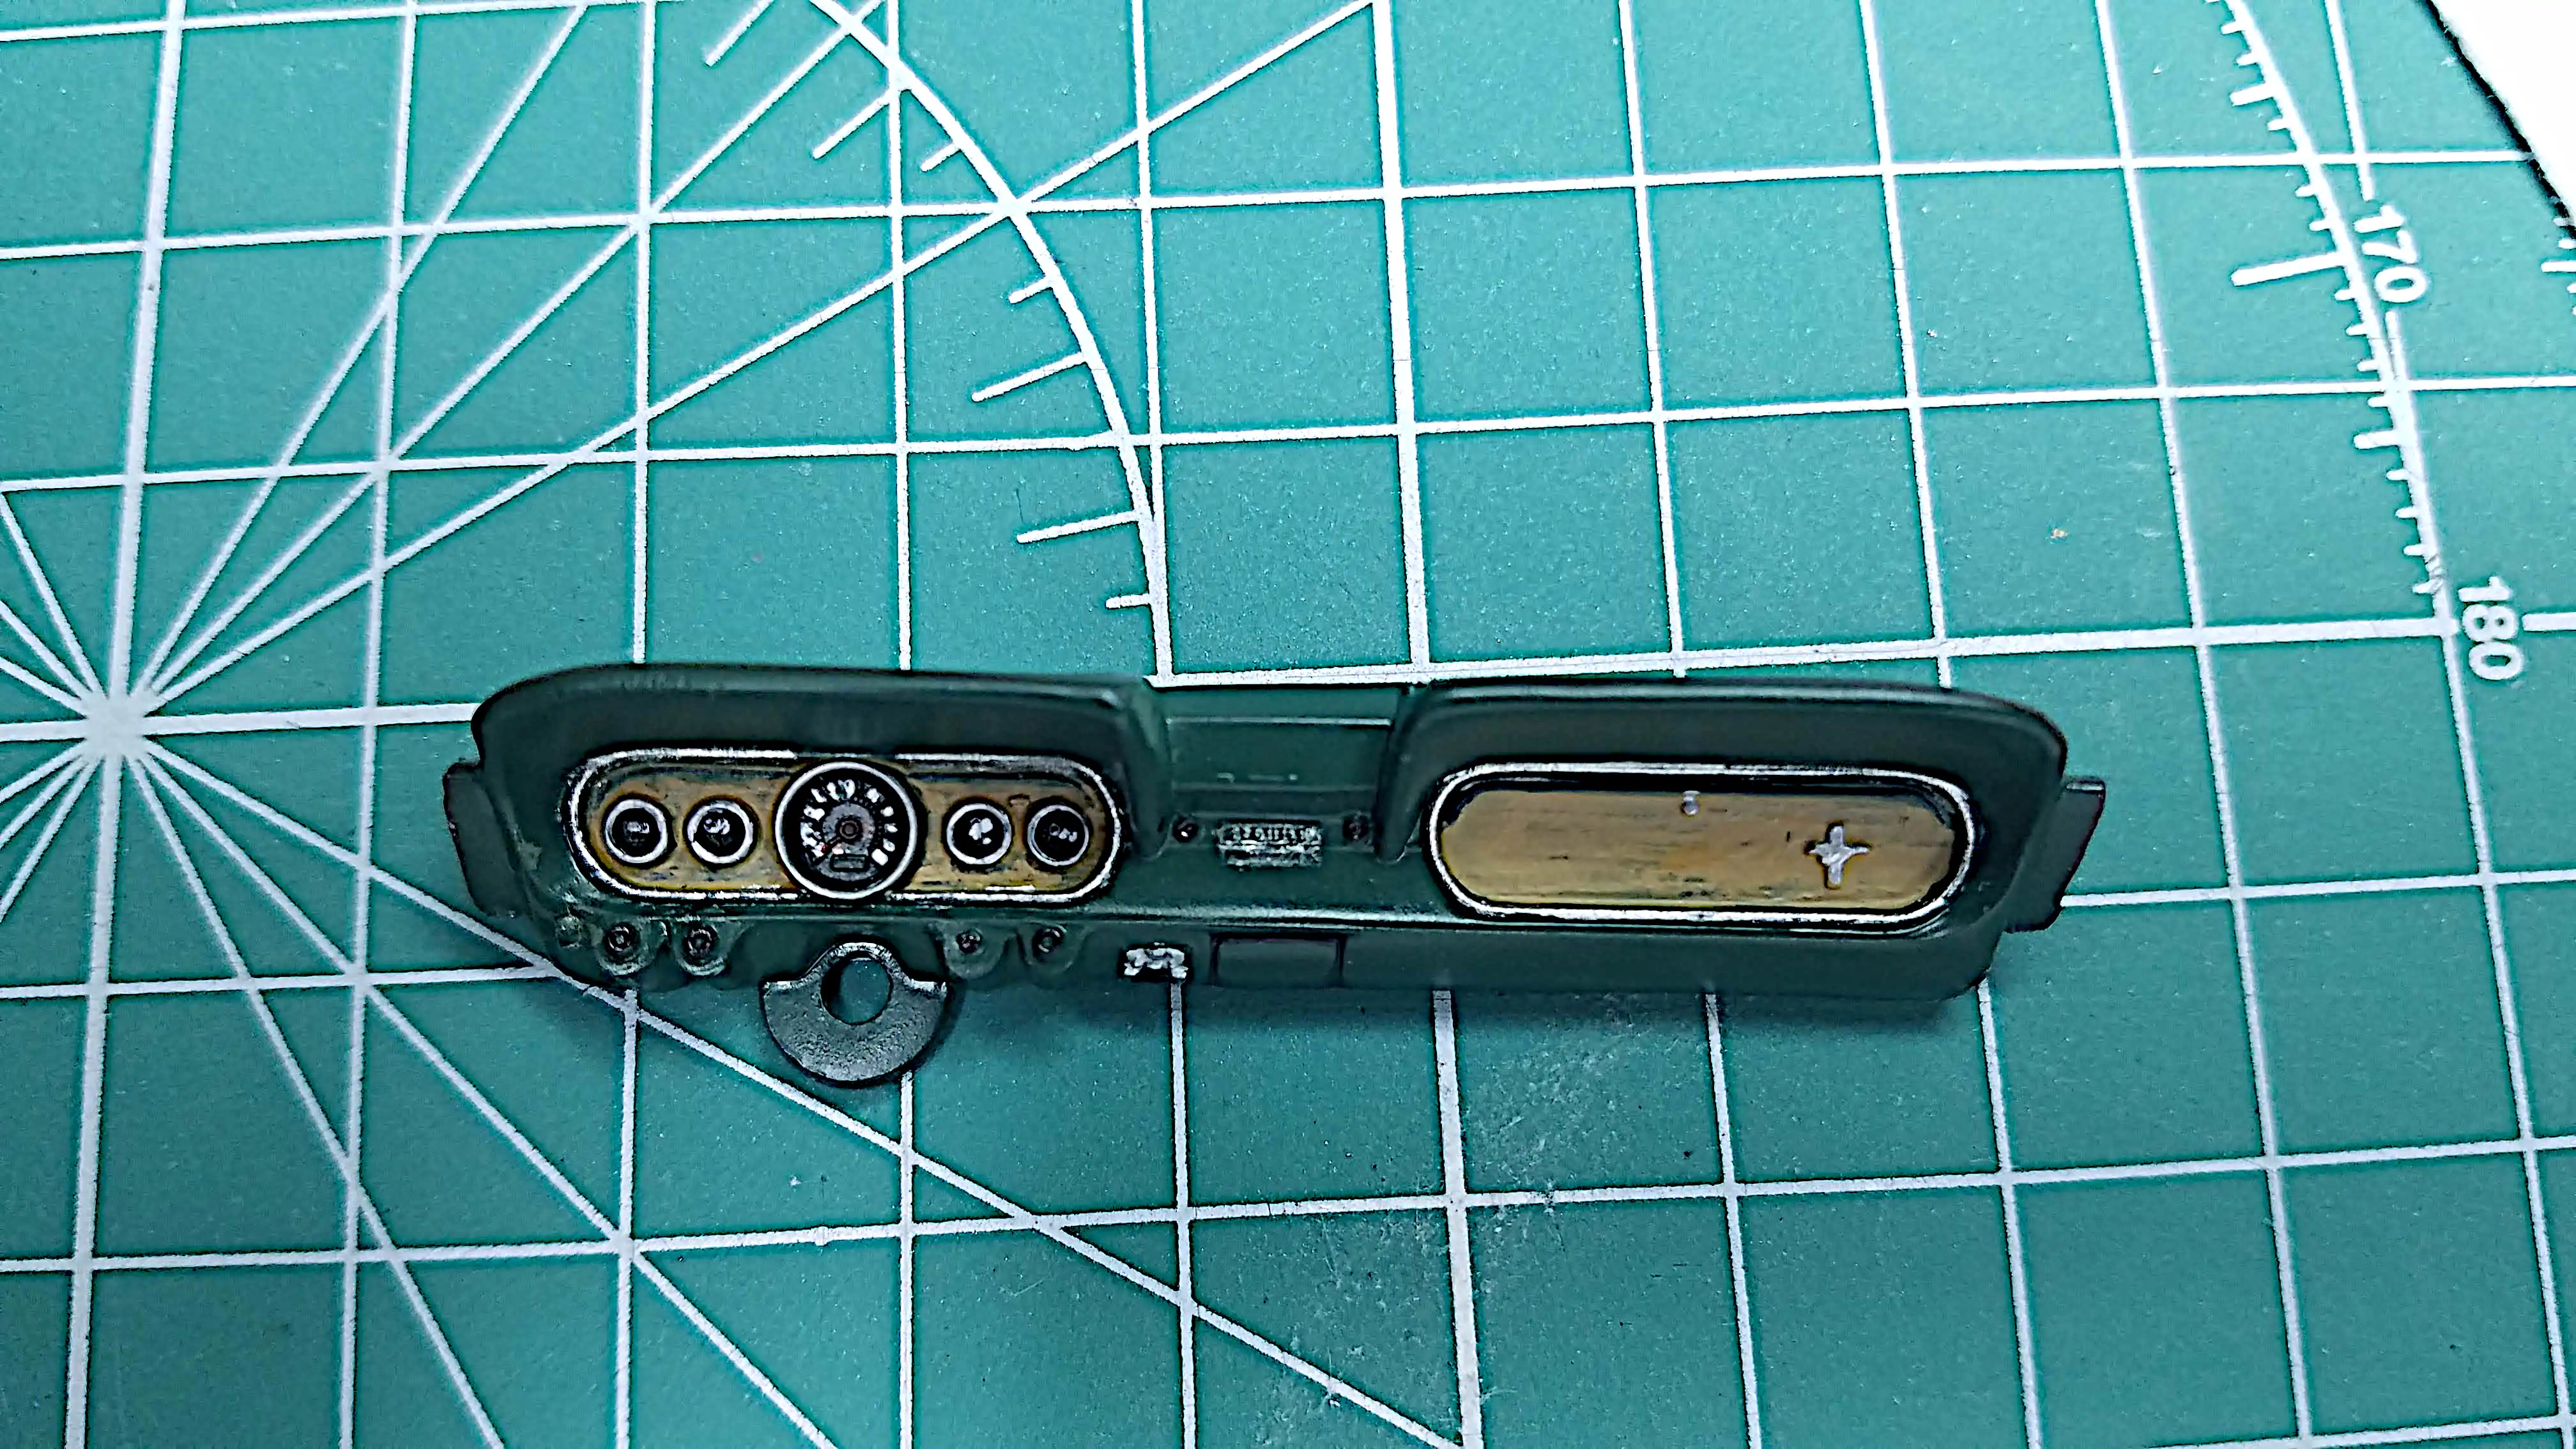 The dashboard is finished
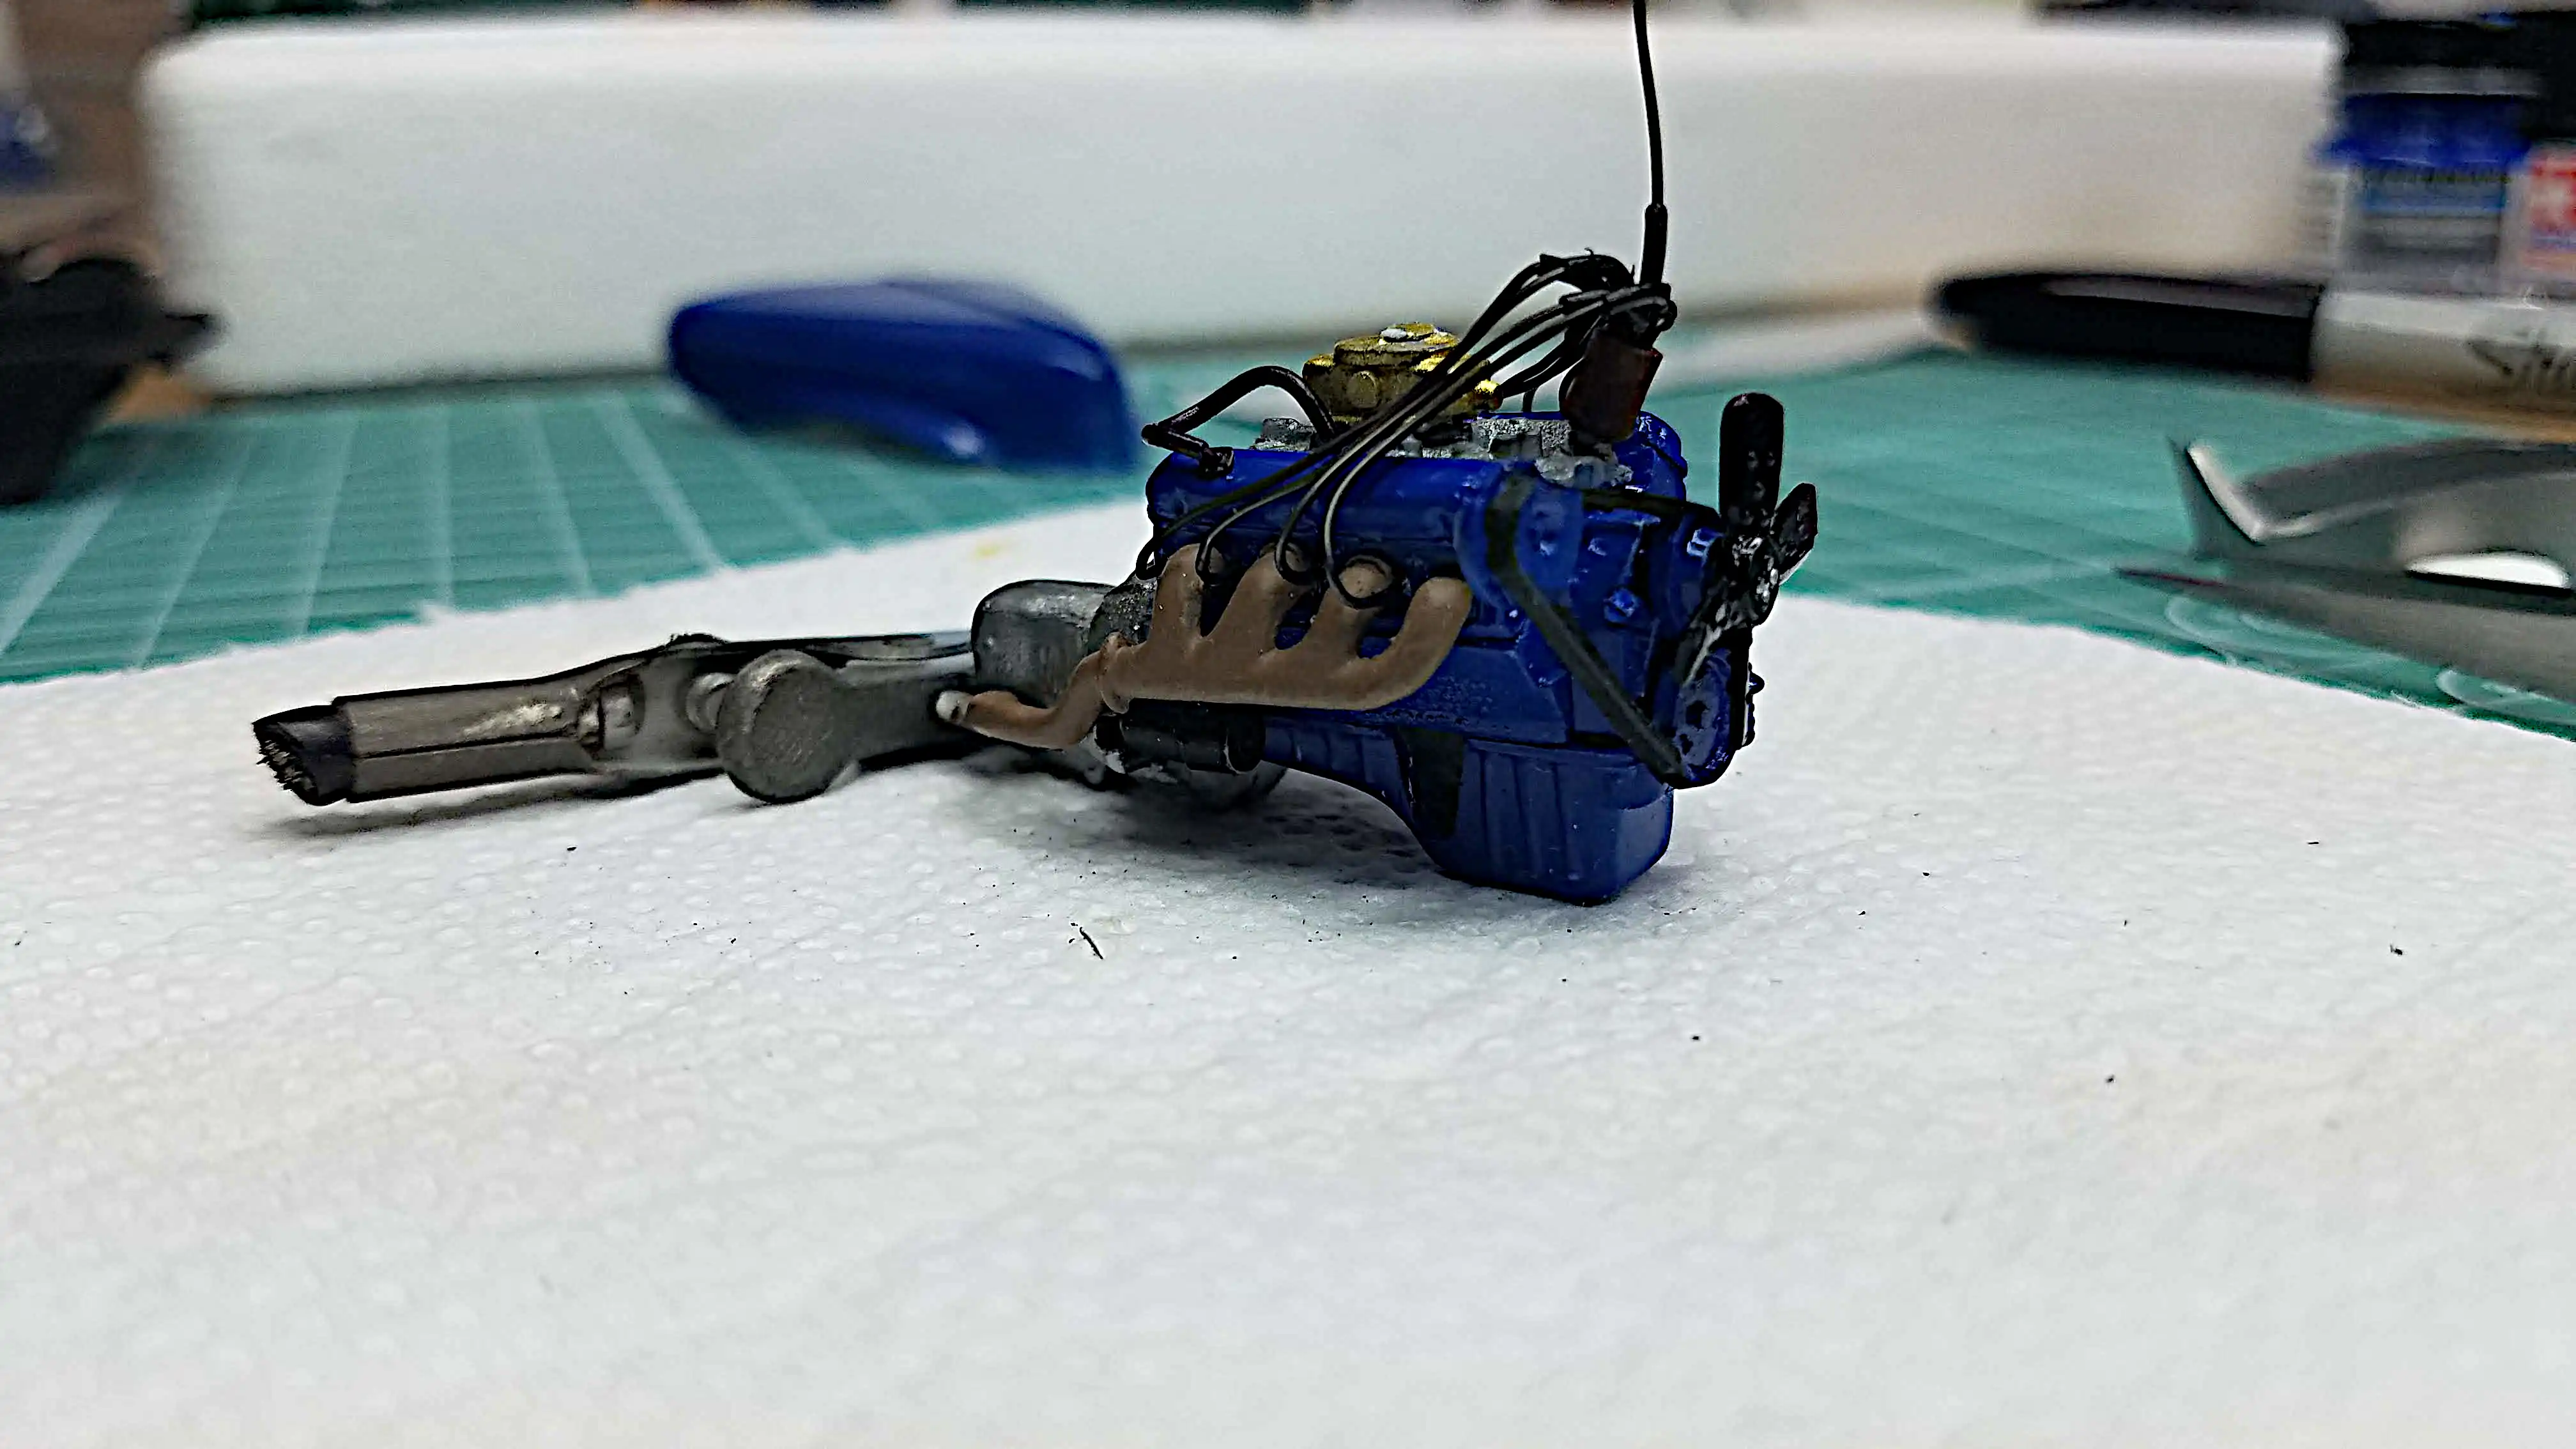 The engine is almost finished
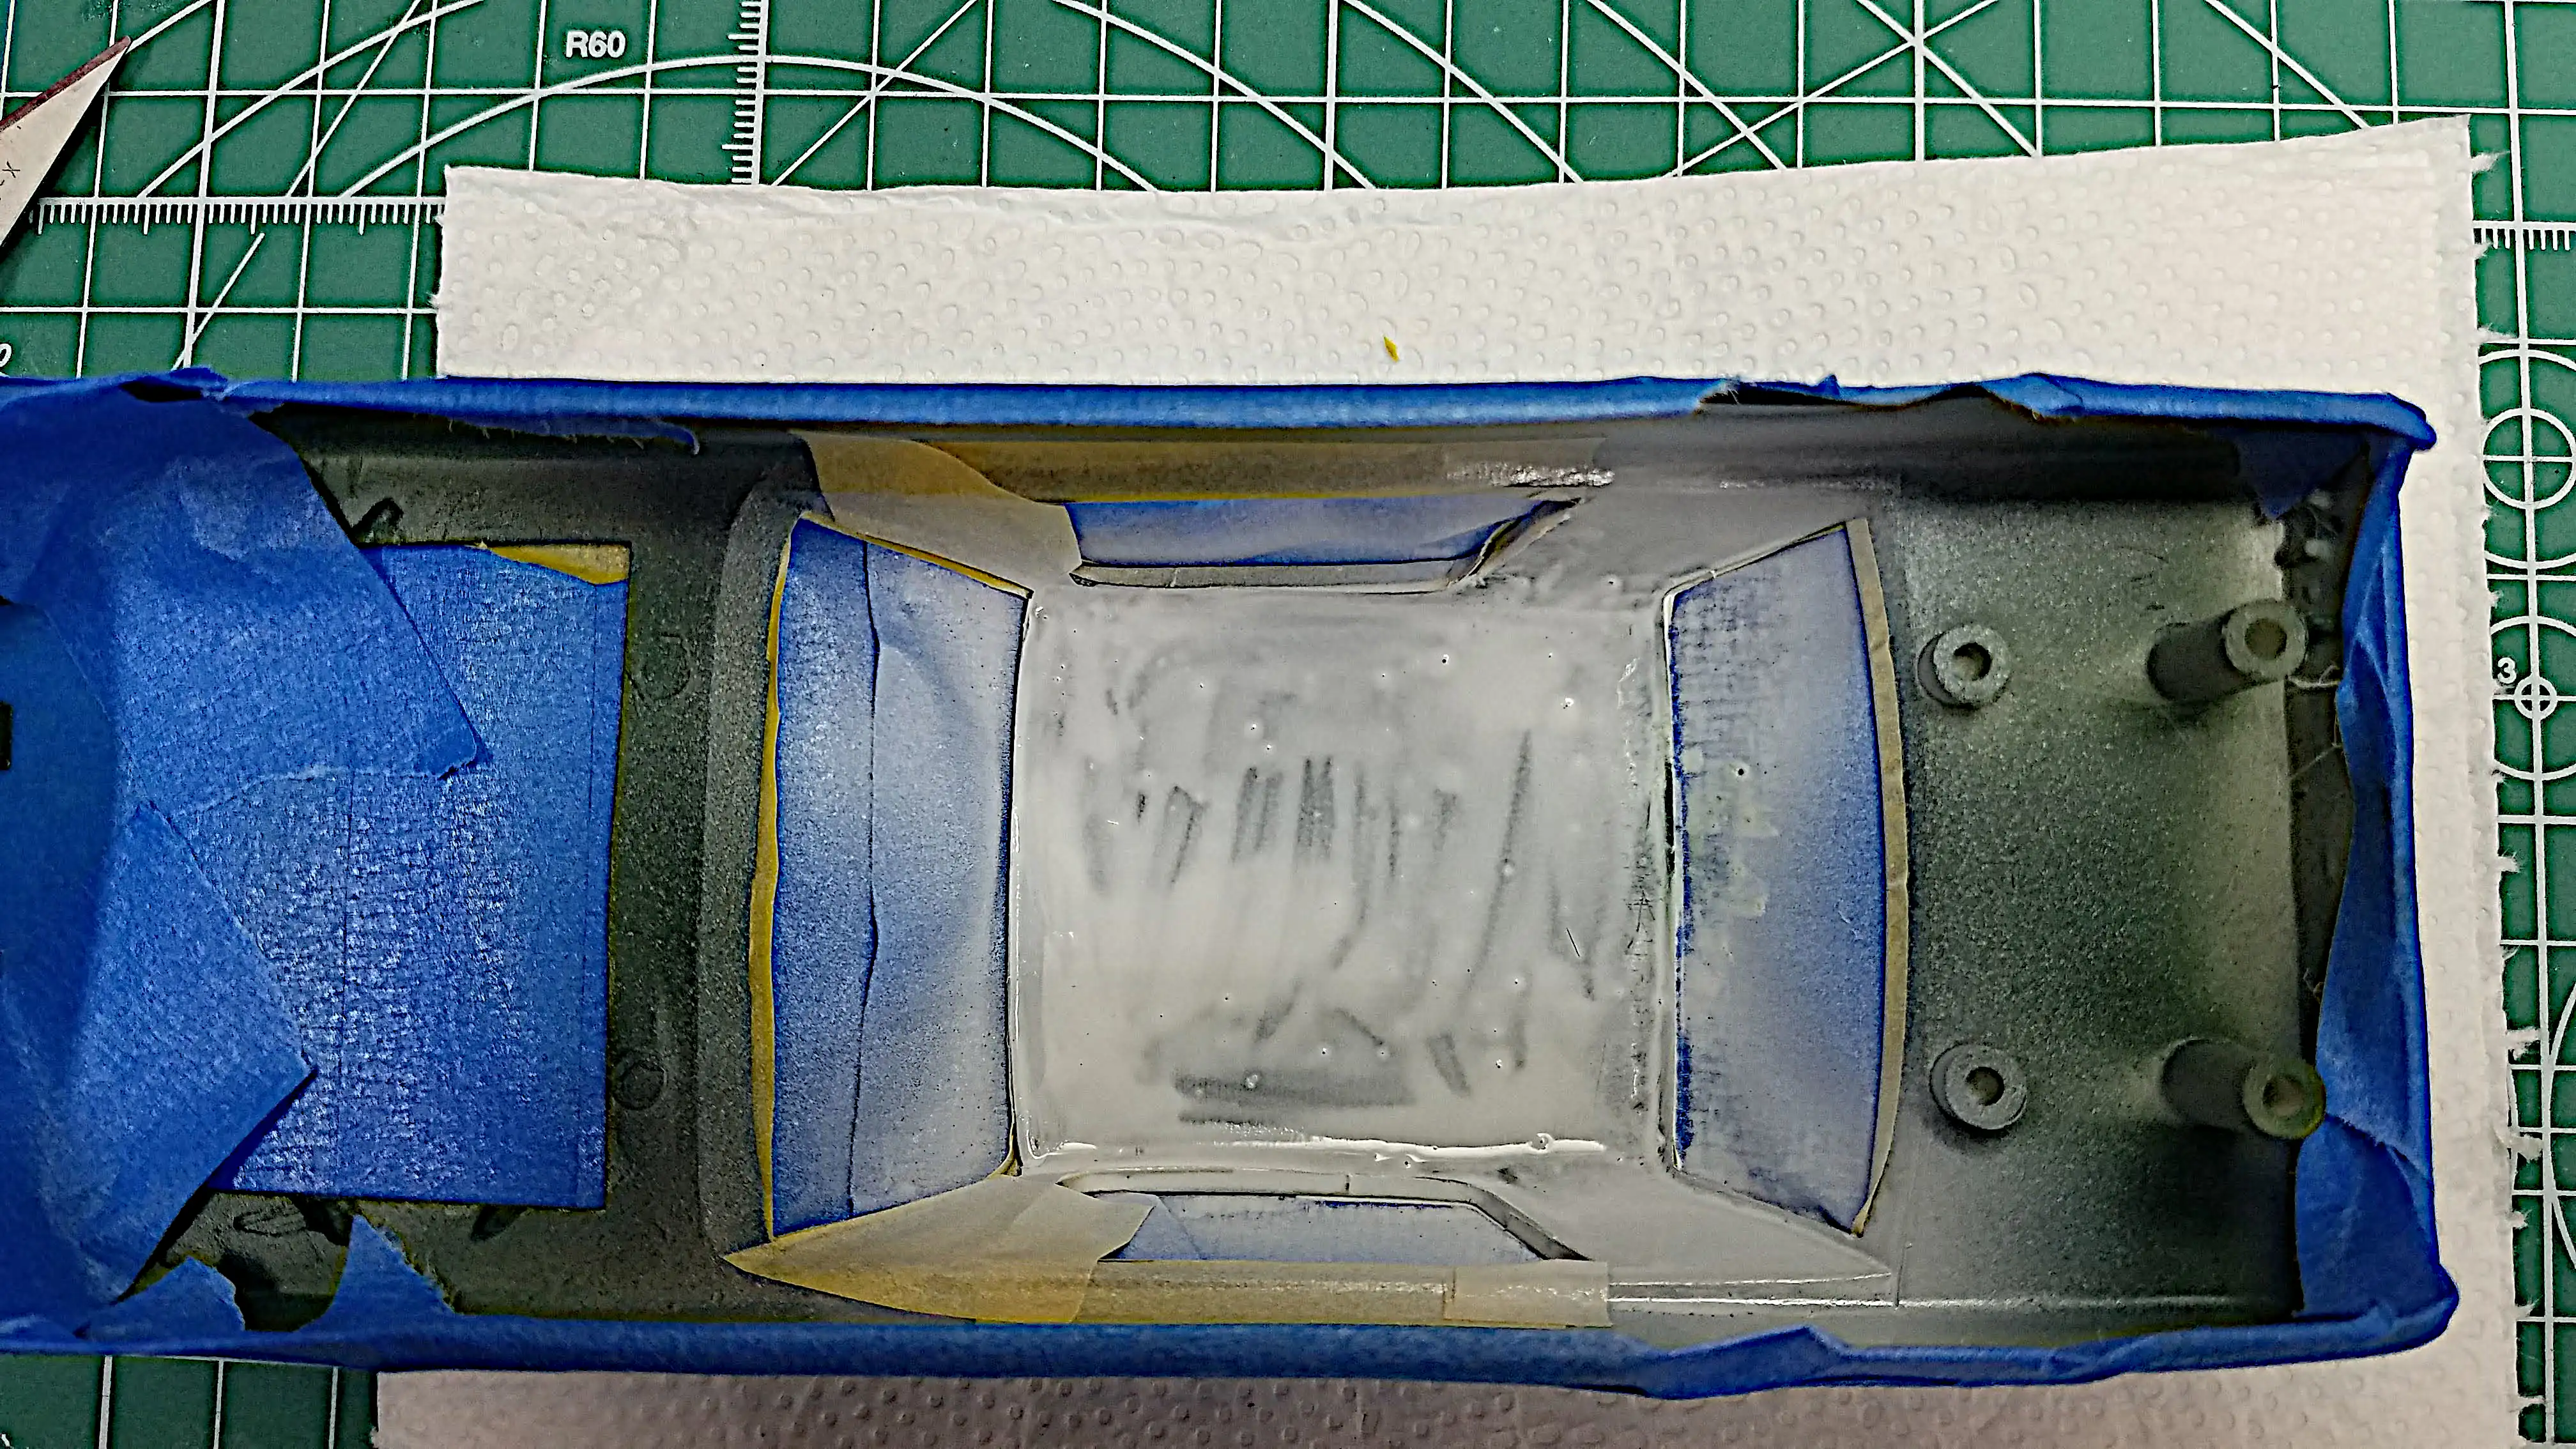
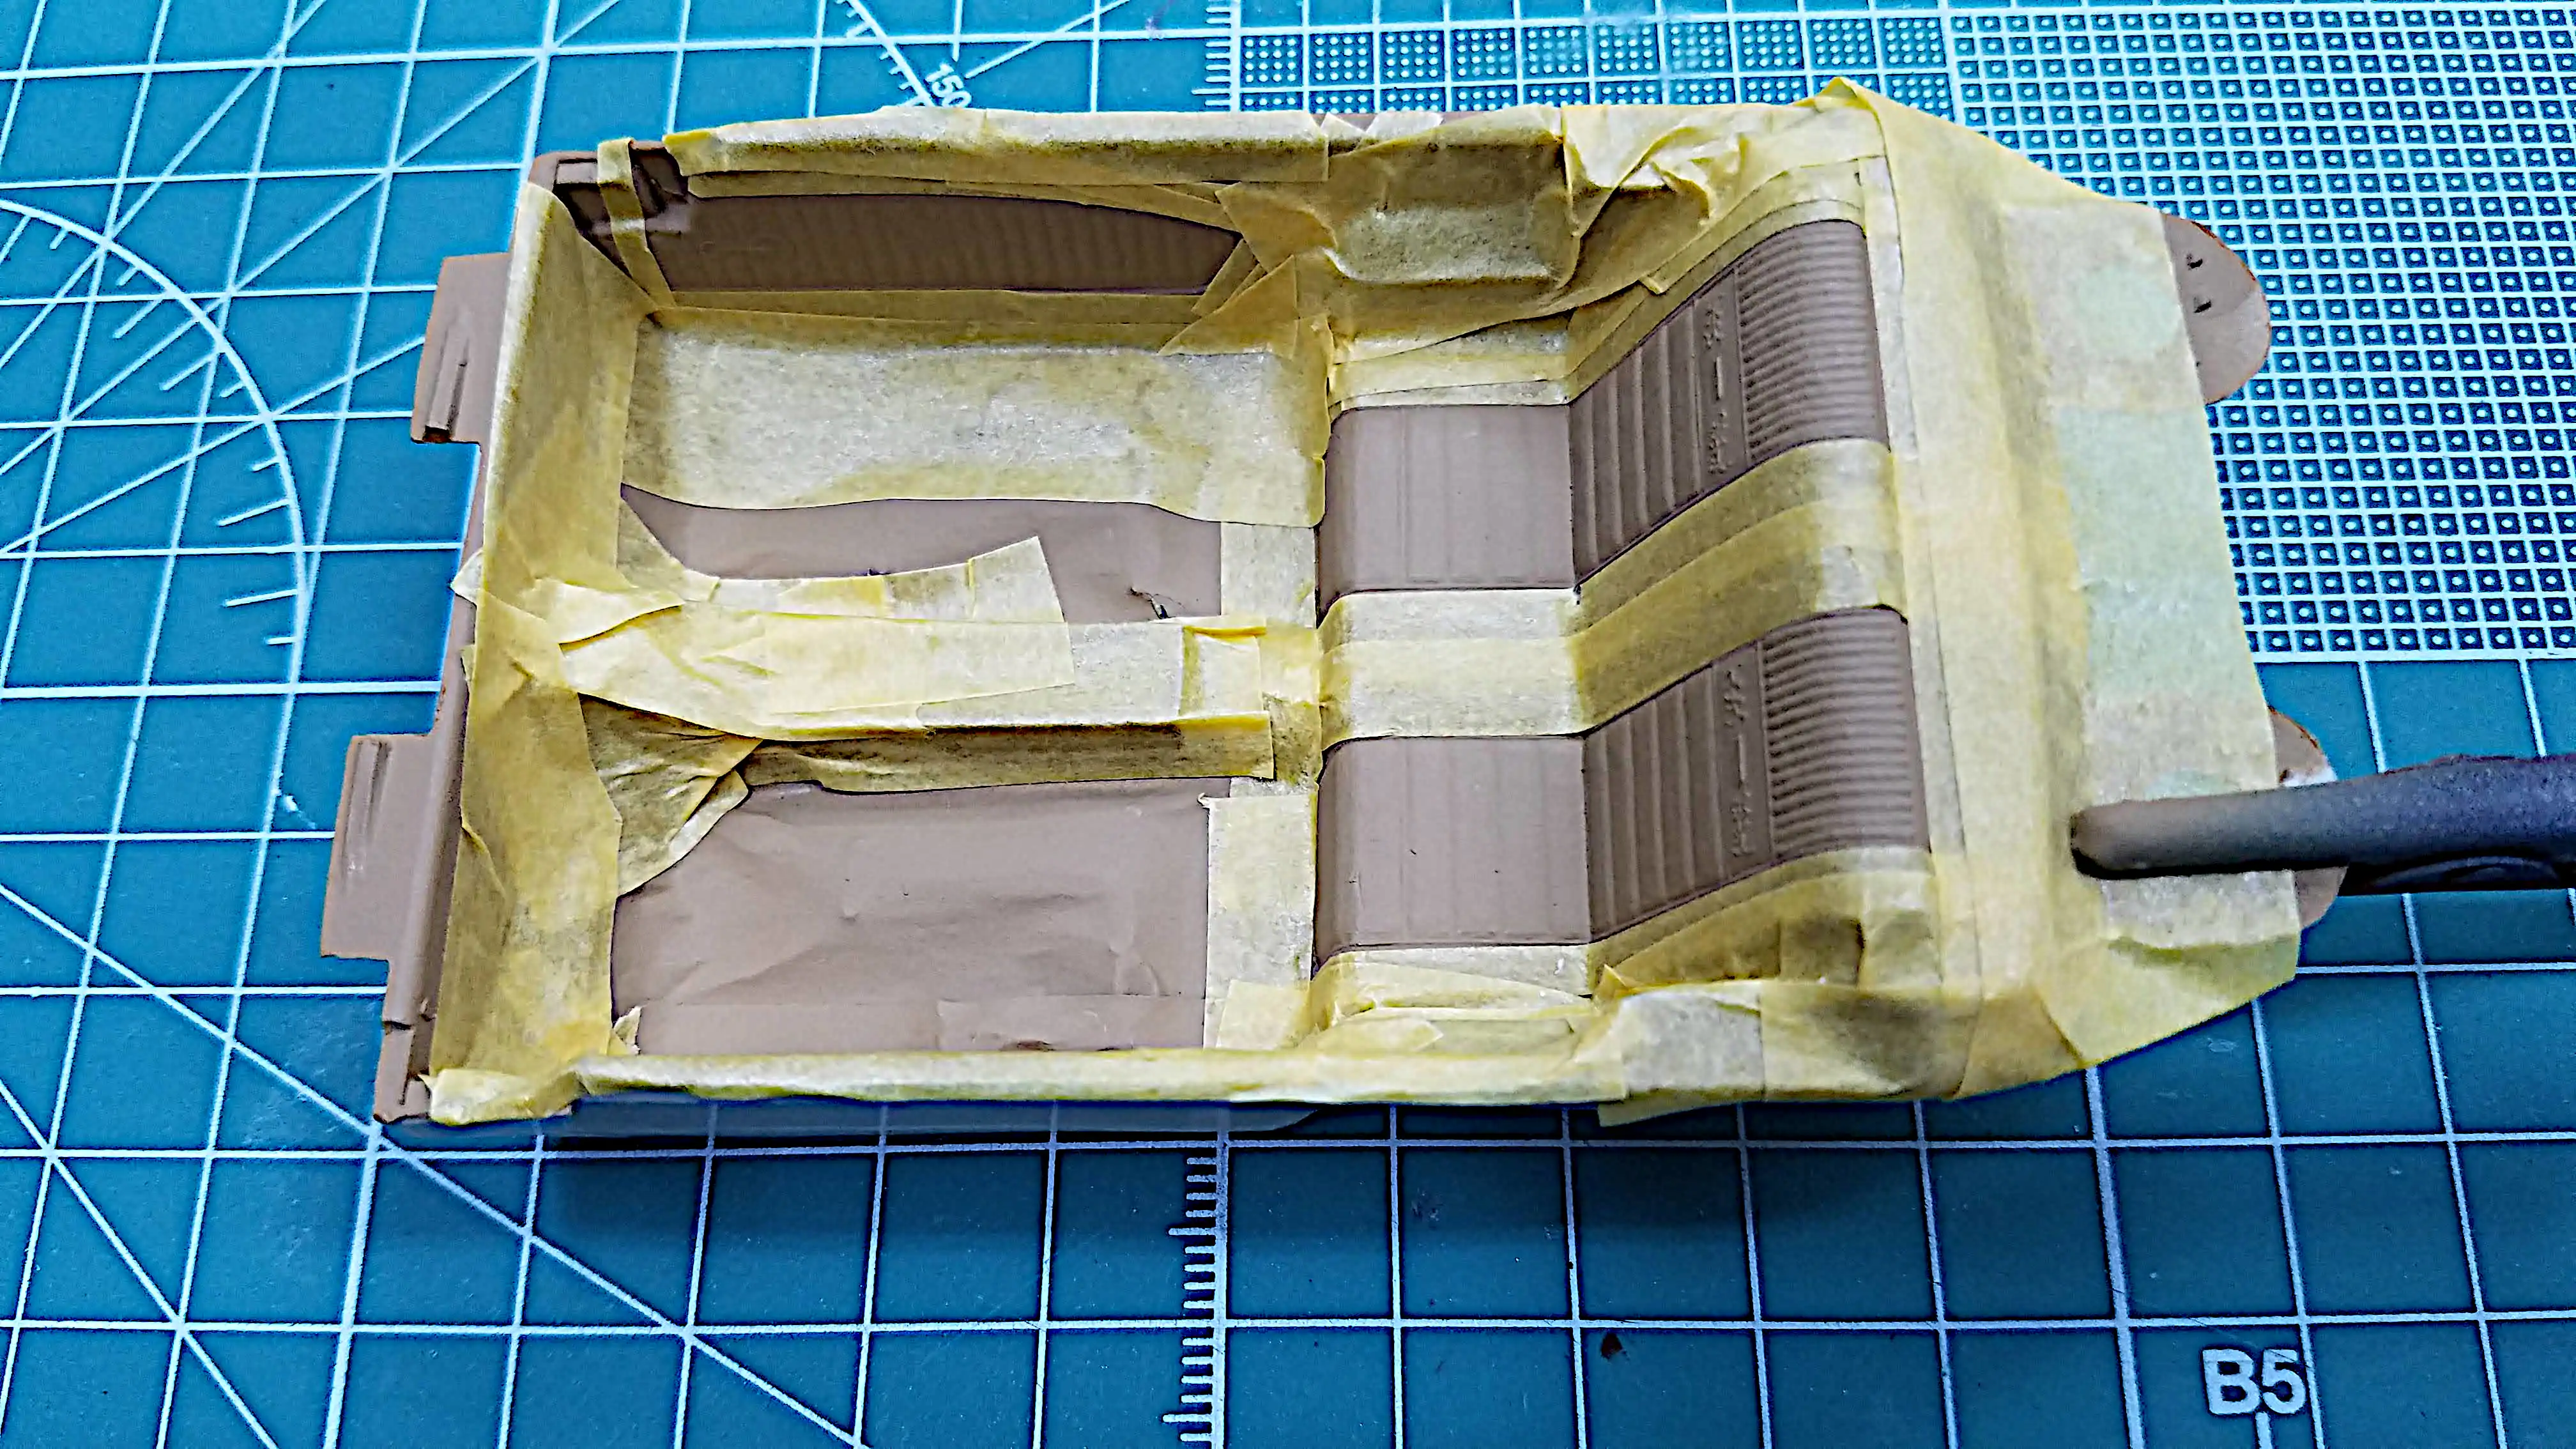 Interior tub masked to paint the back seats
 Interior tub is painted
 Firewall is detailed
 Detailing center console
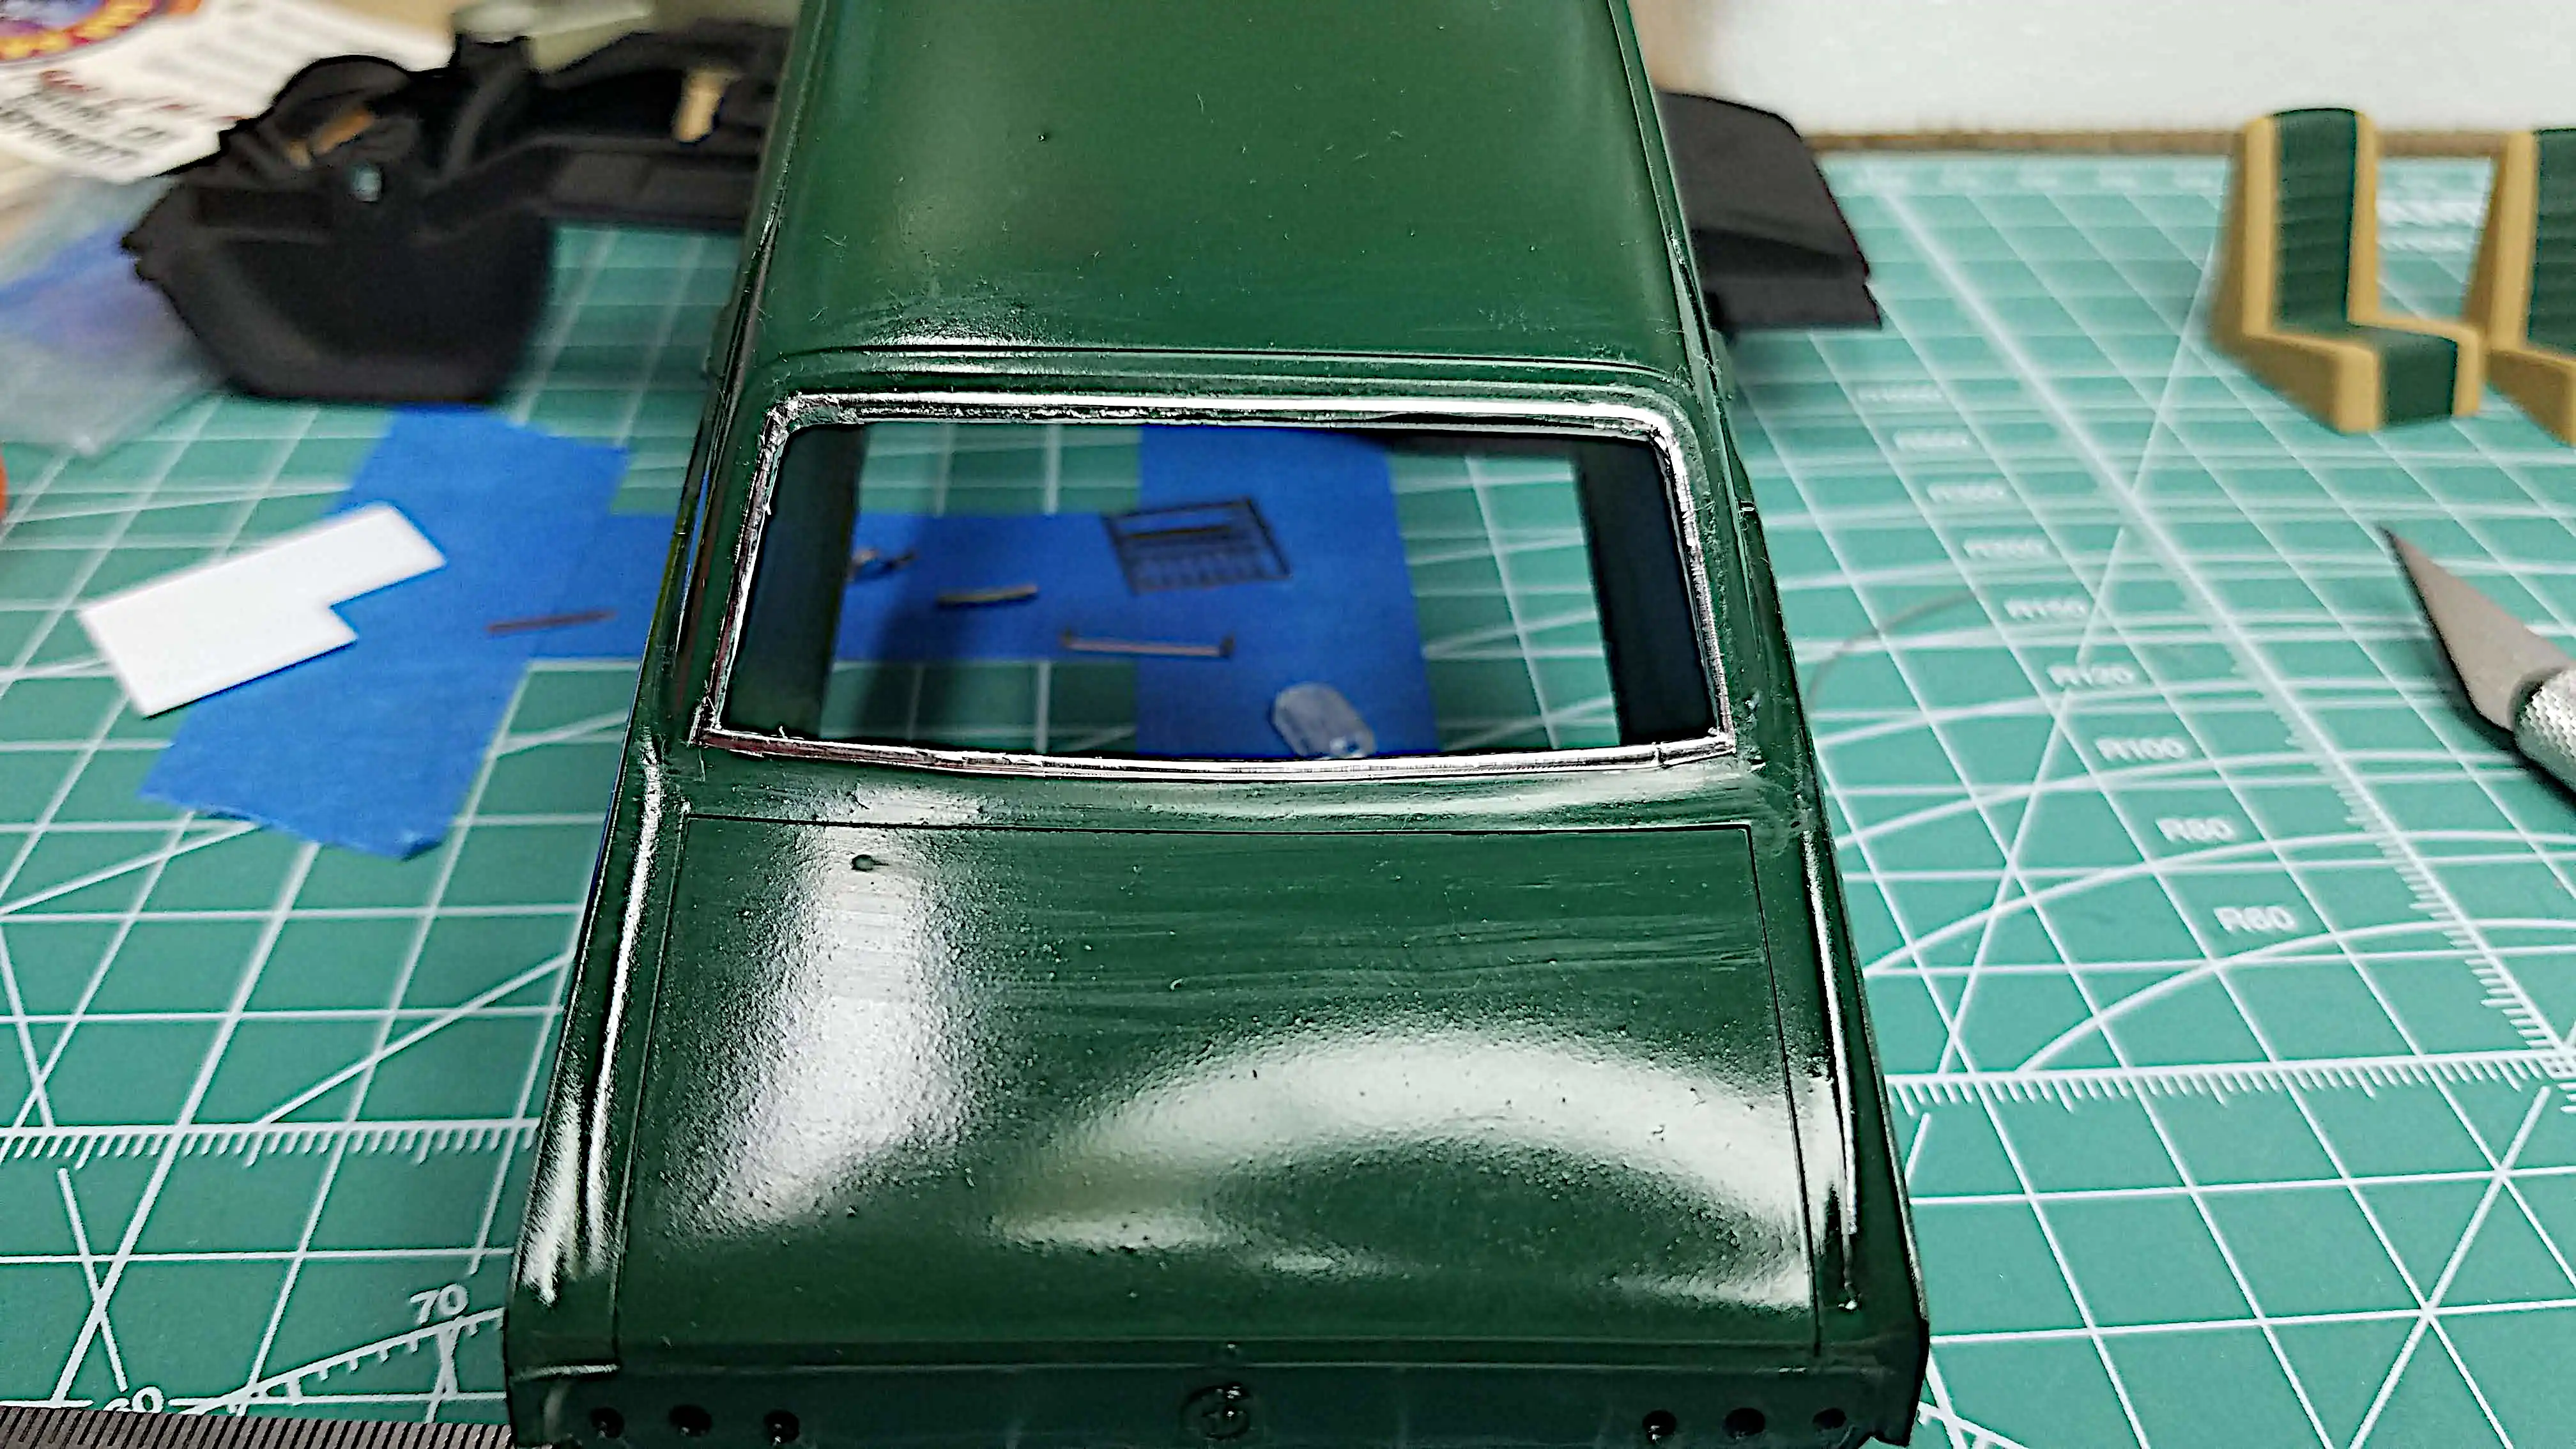 Started using my method of bare metal foil
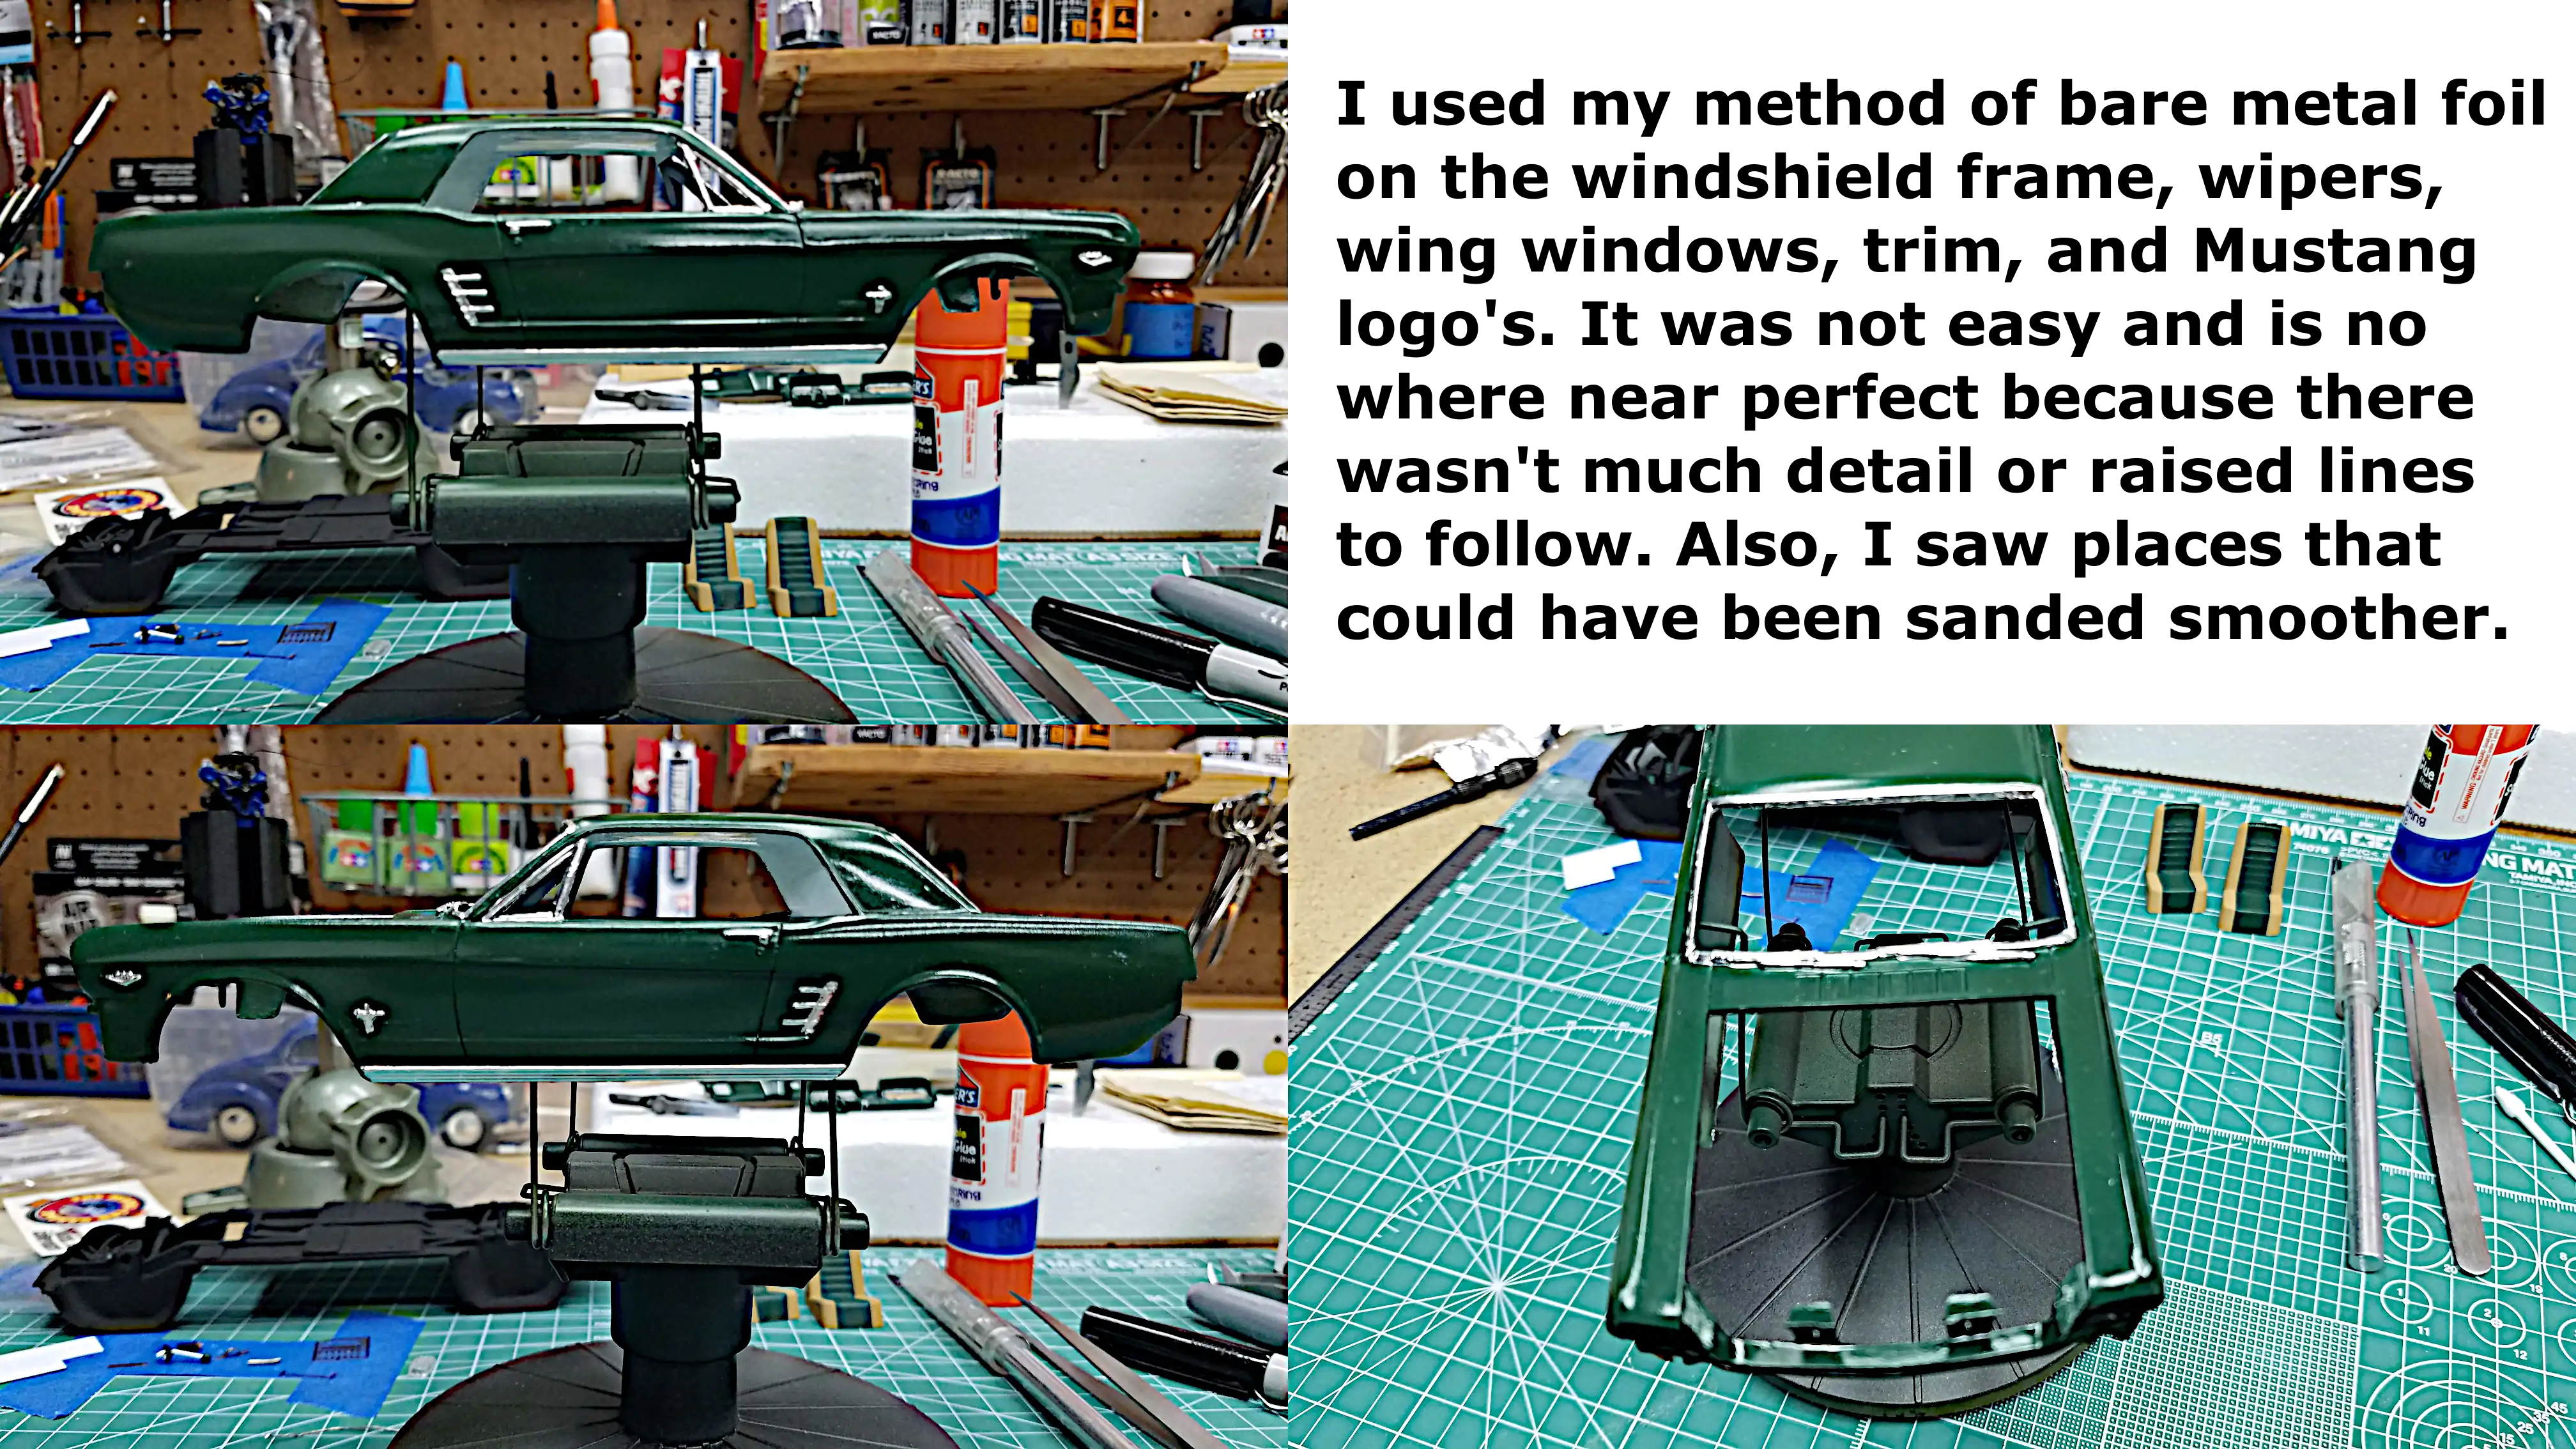 Using my method of bare metal foil
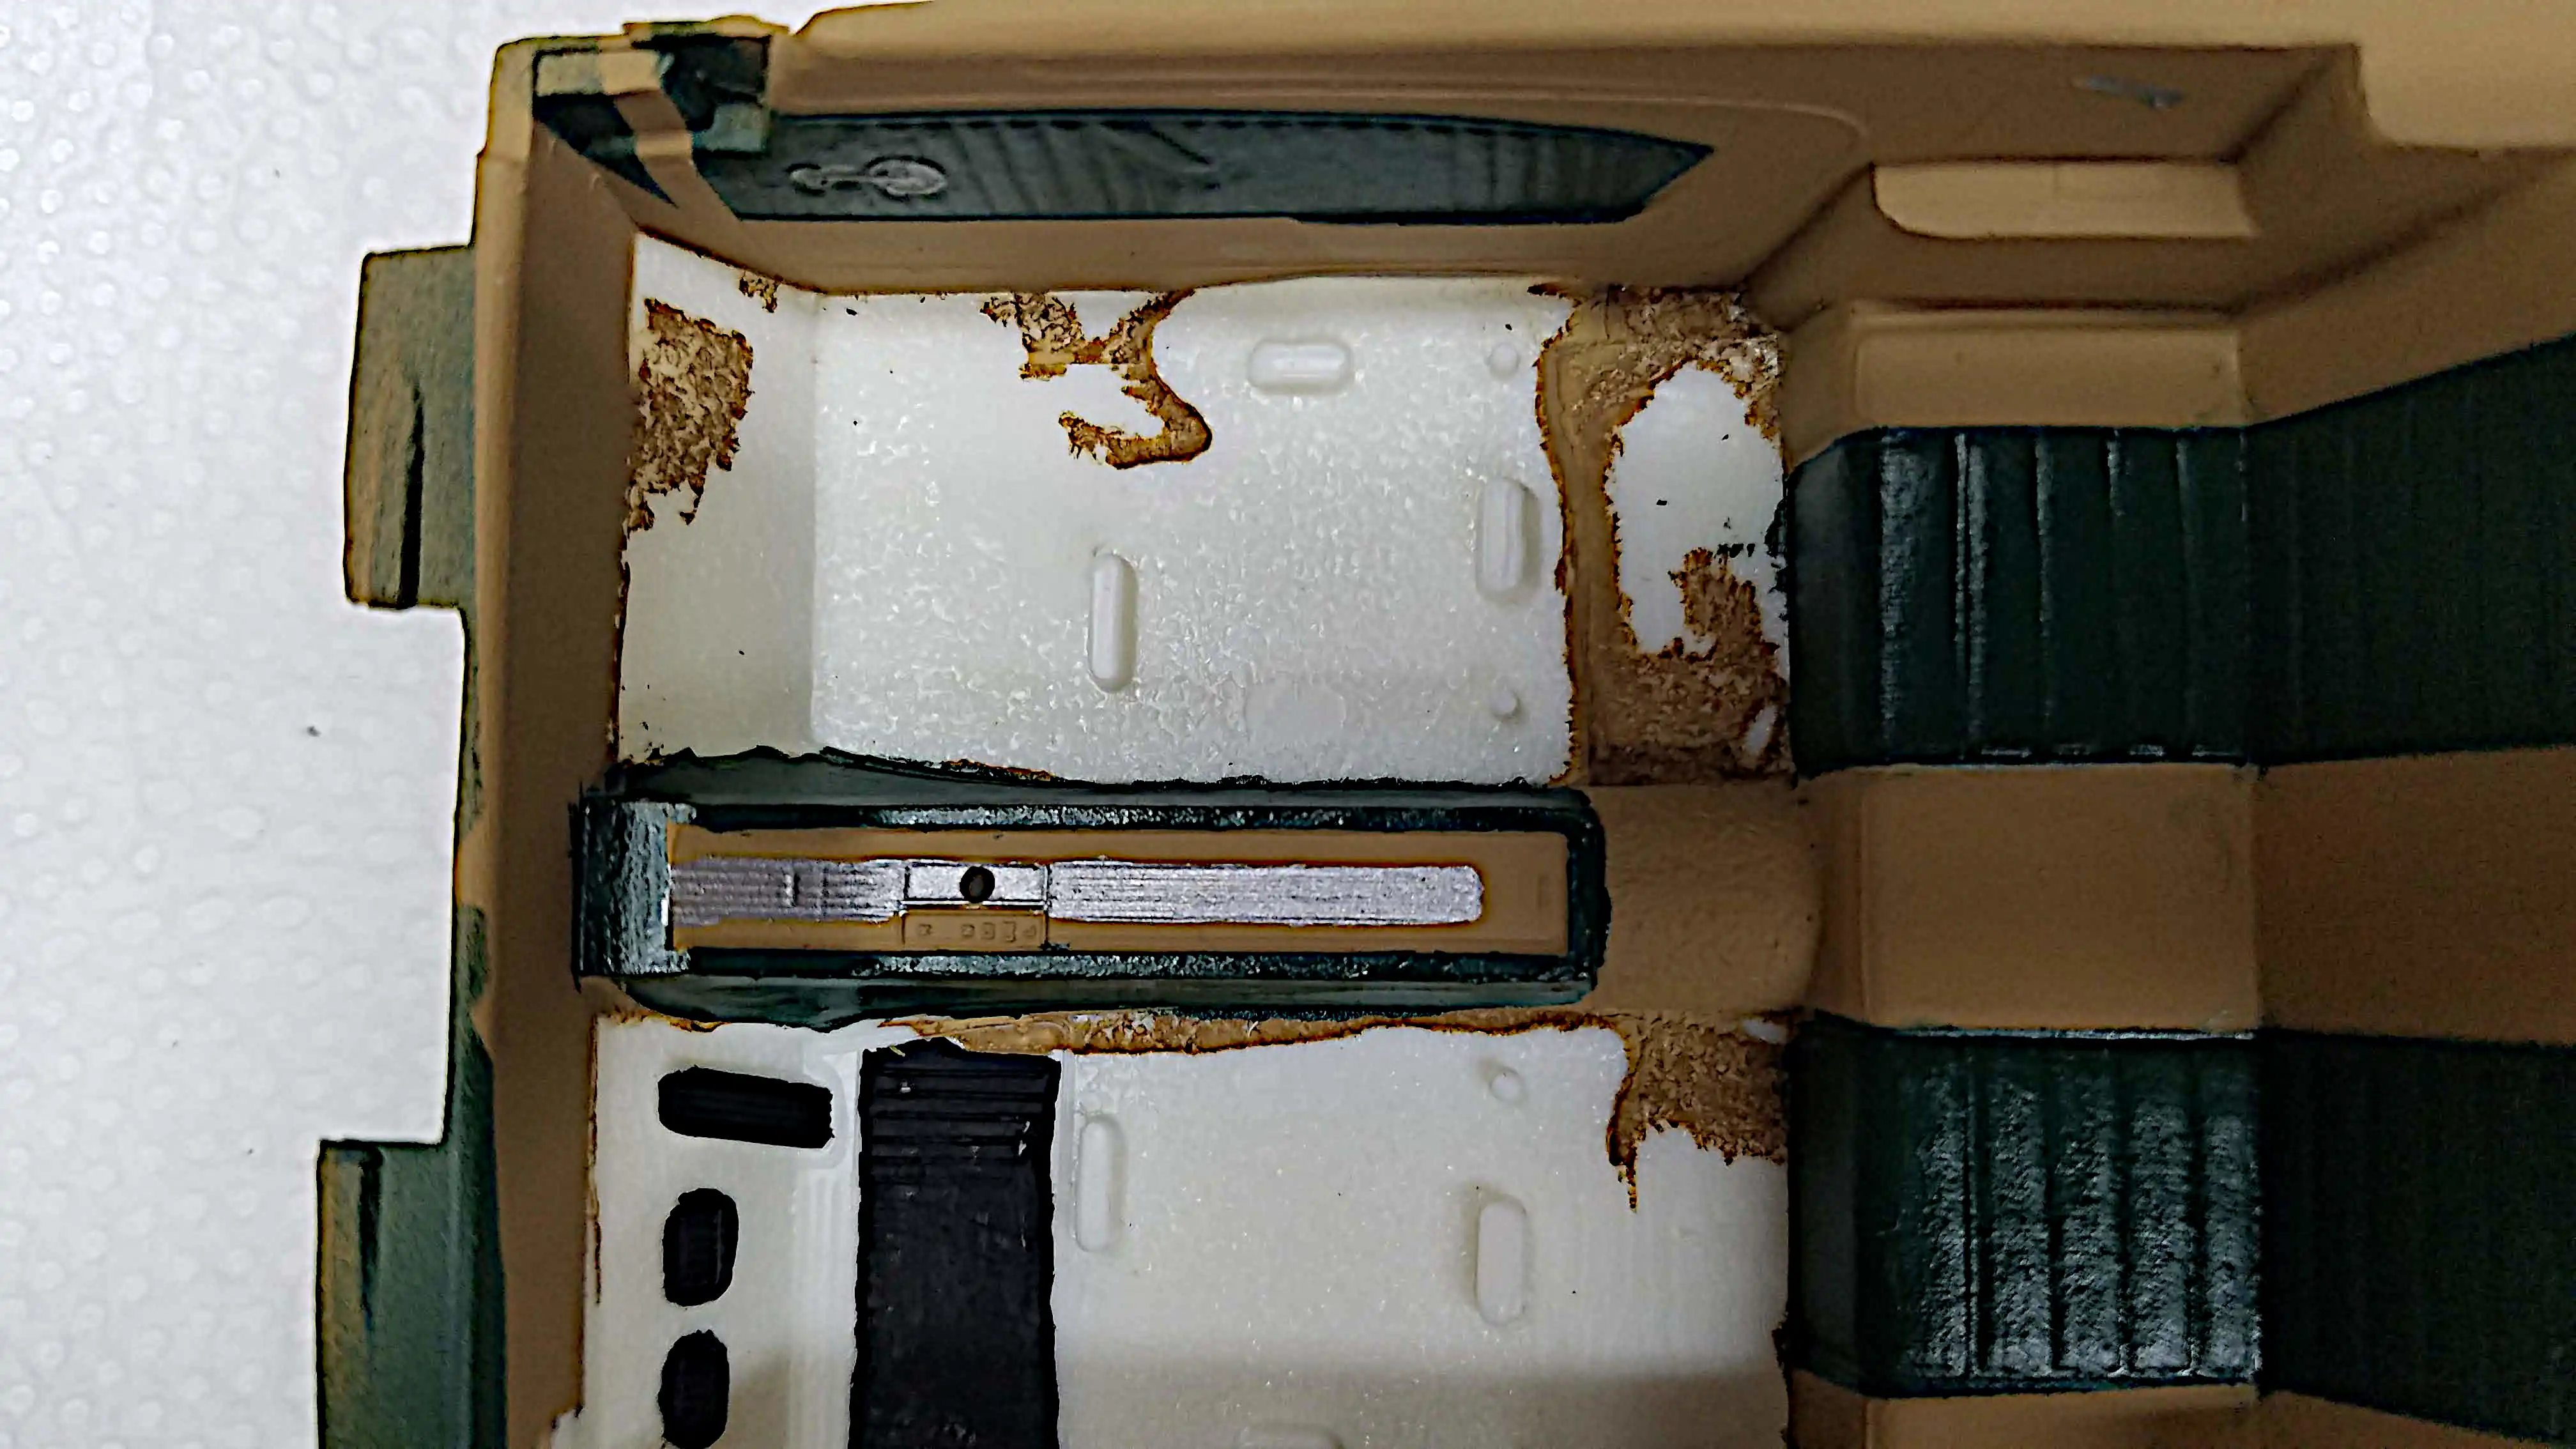
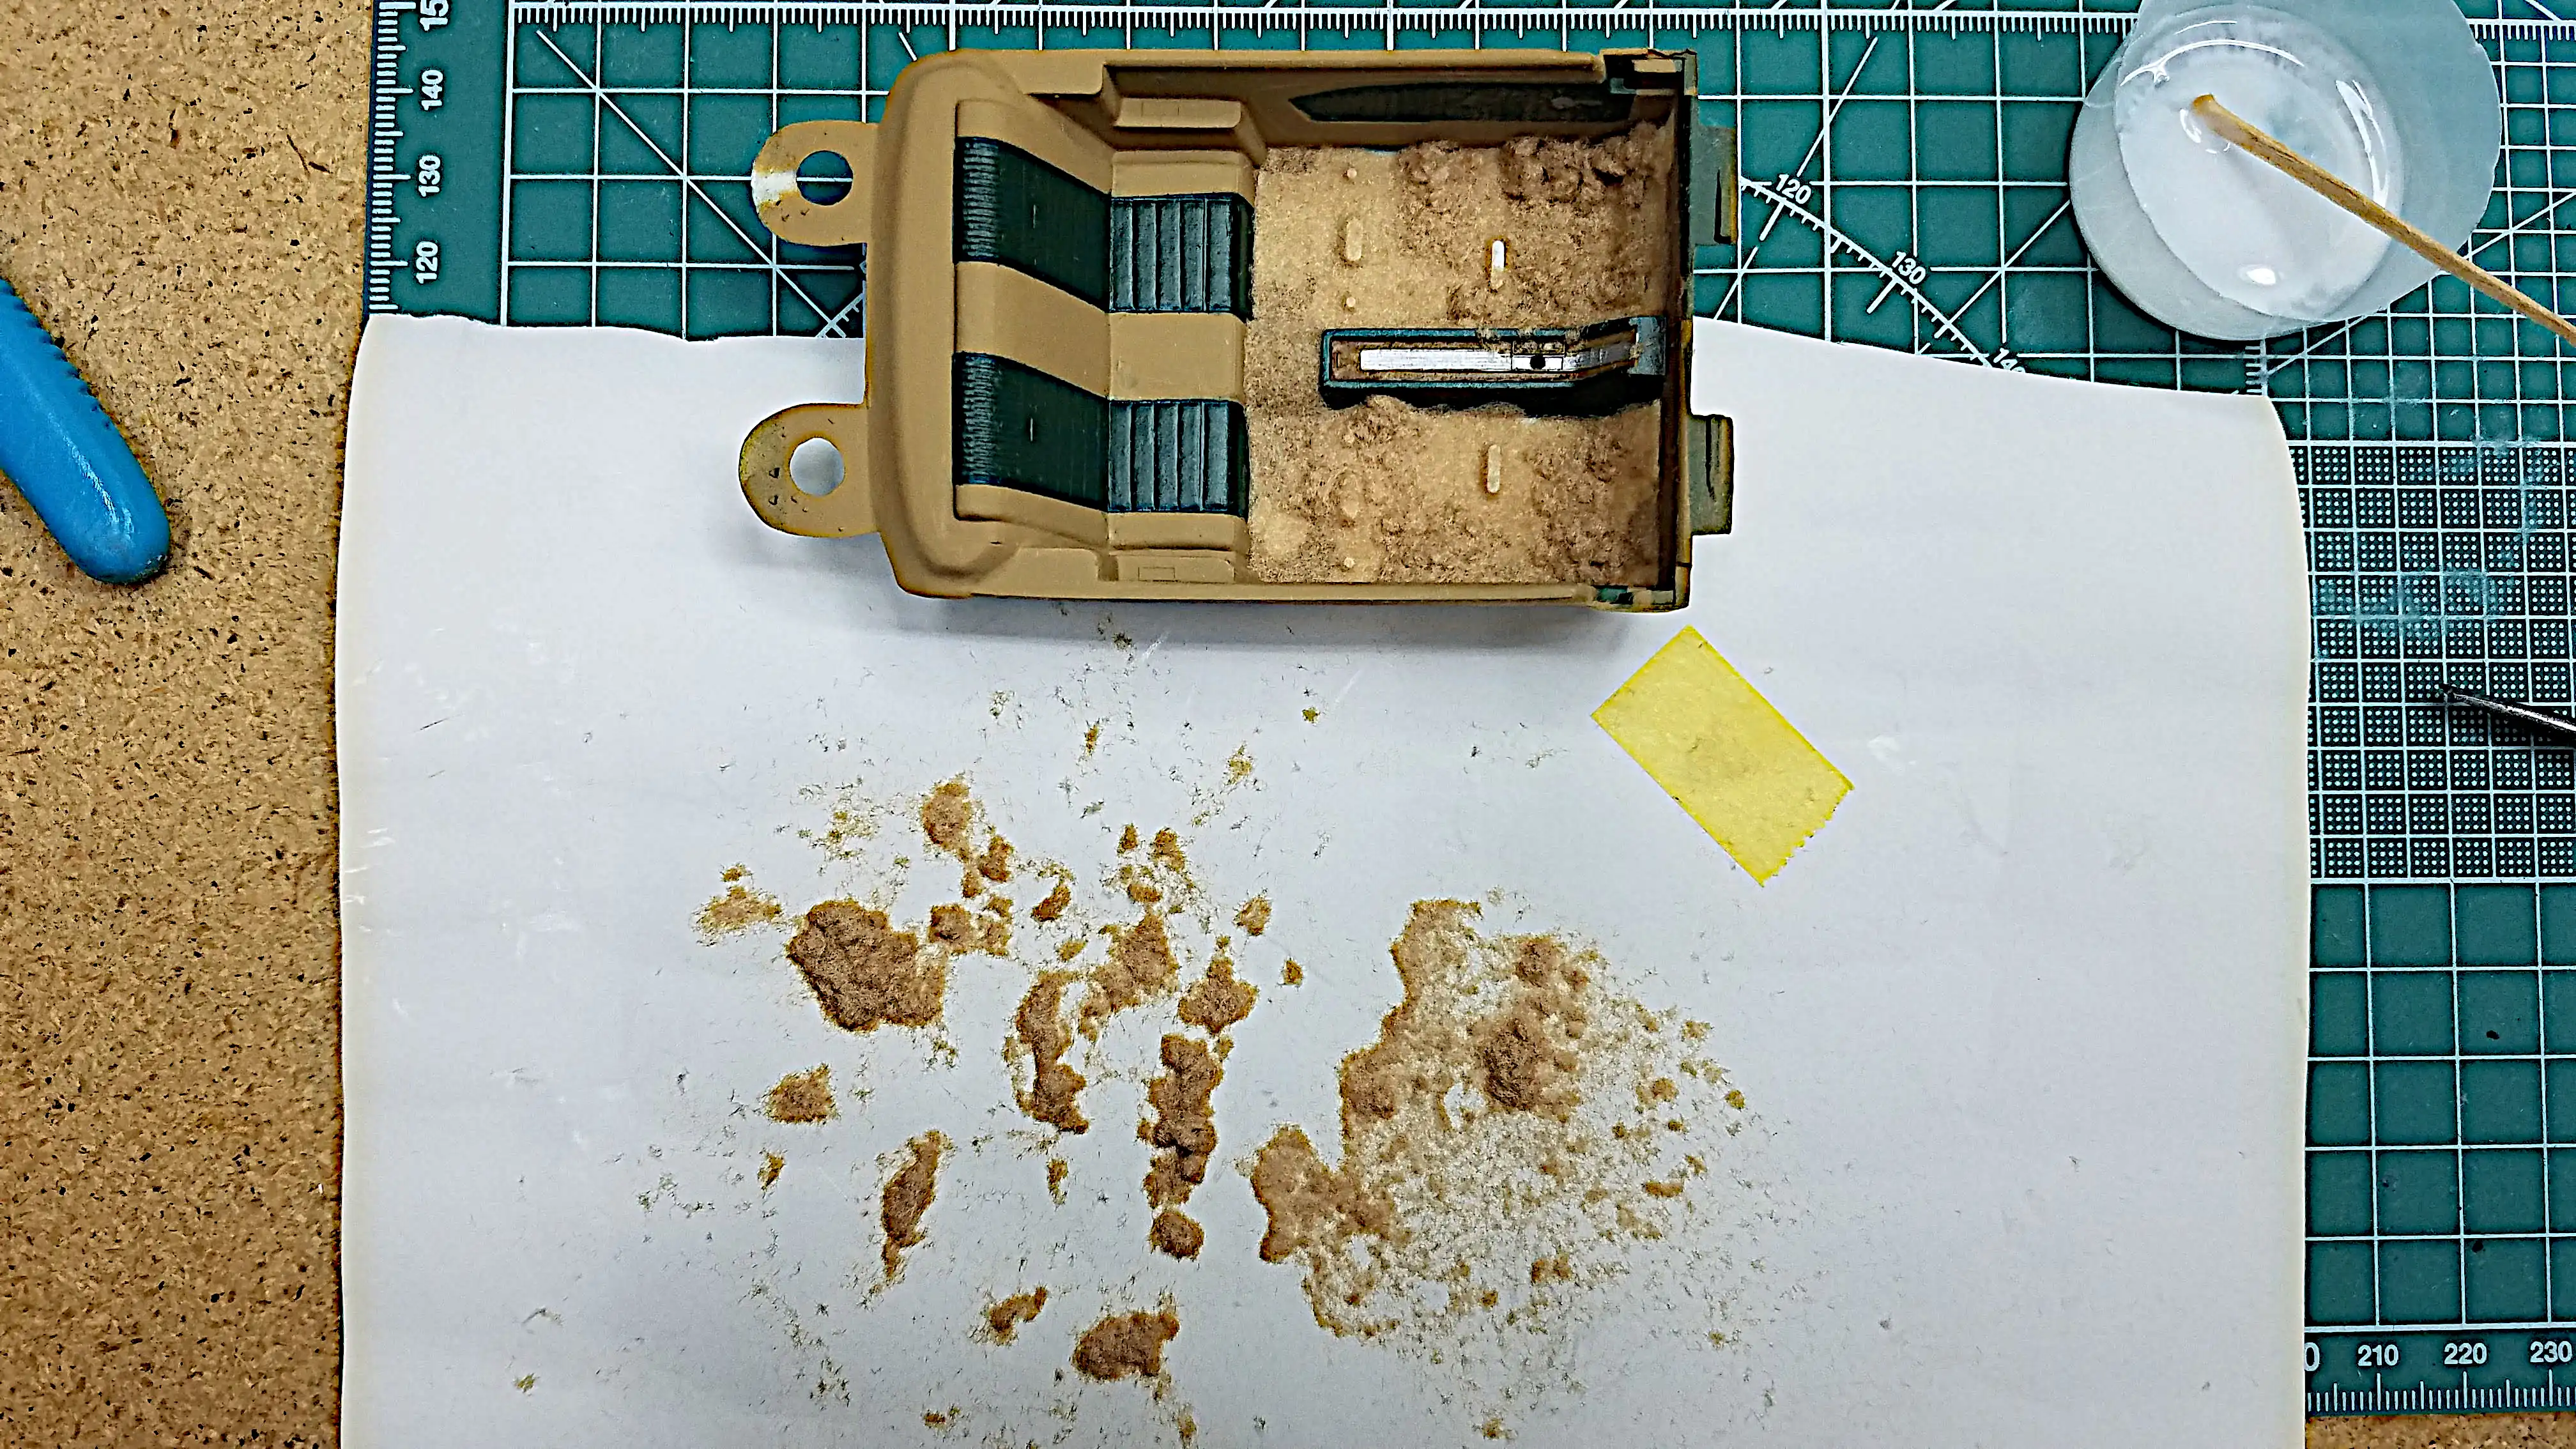 First time using flocking
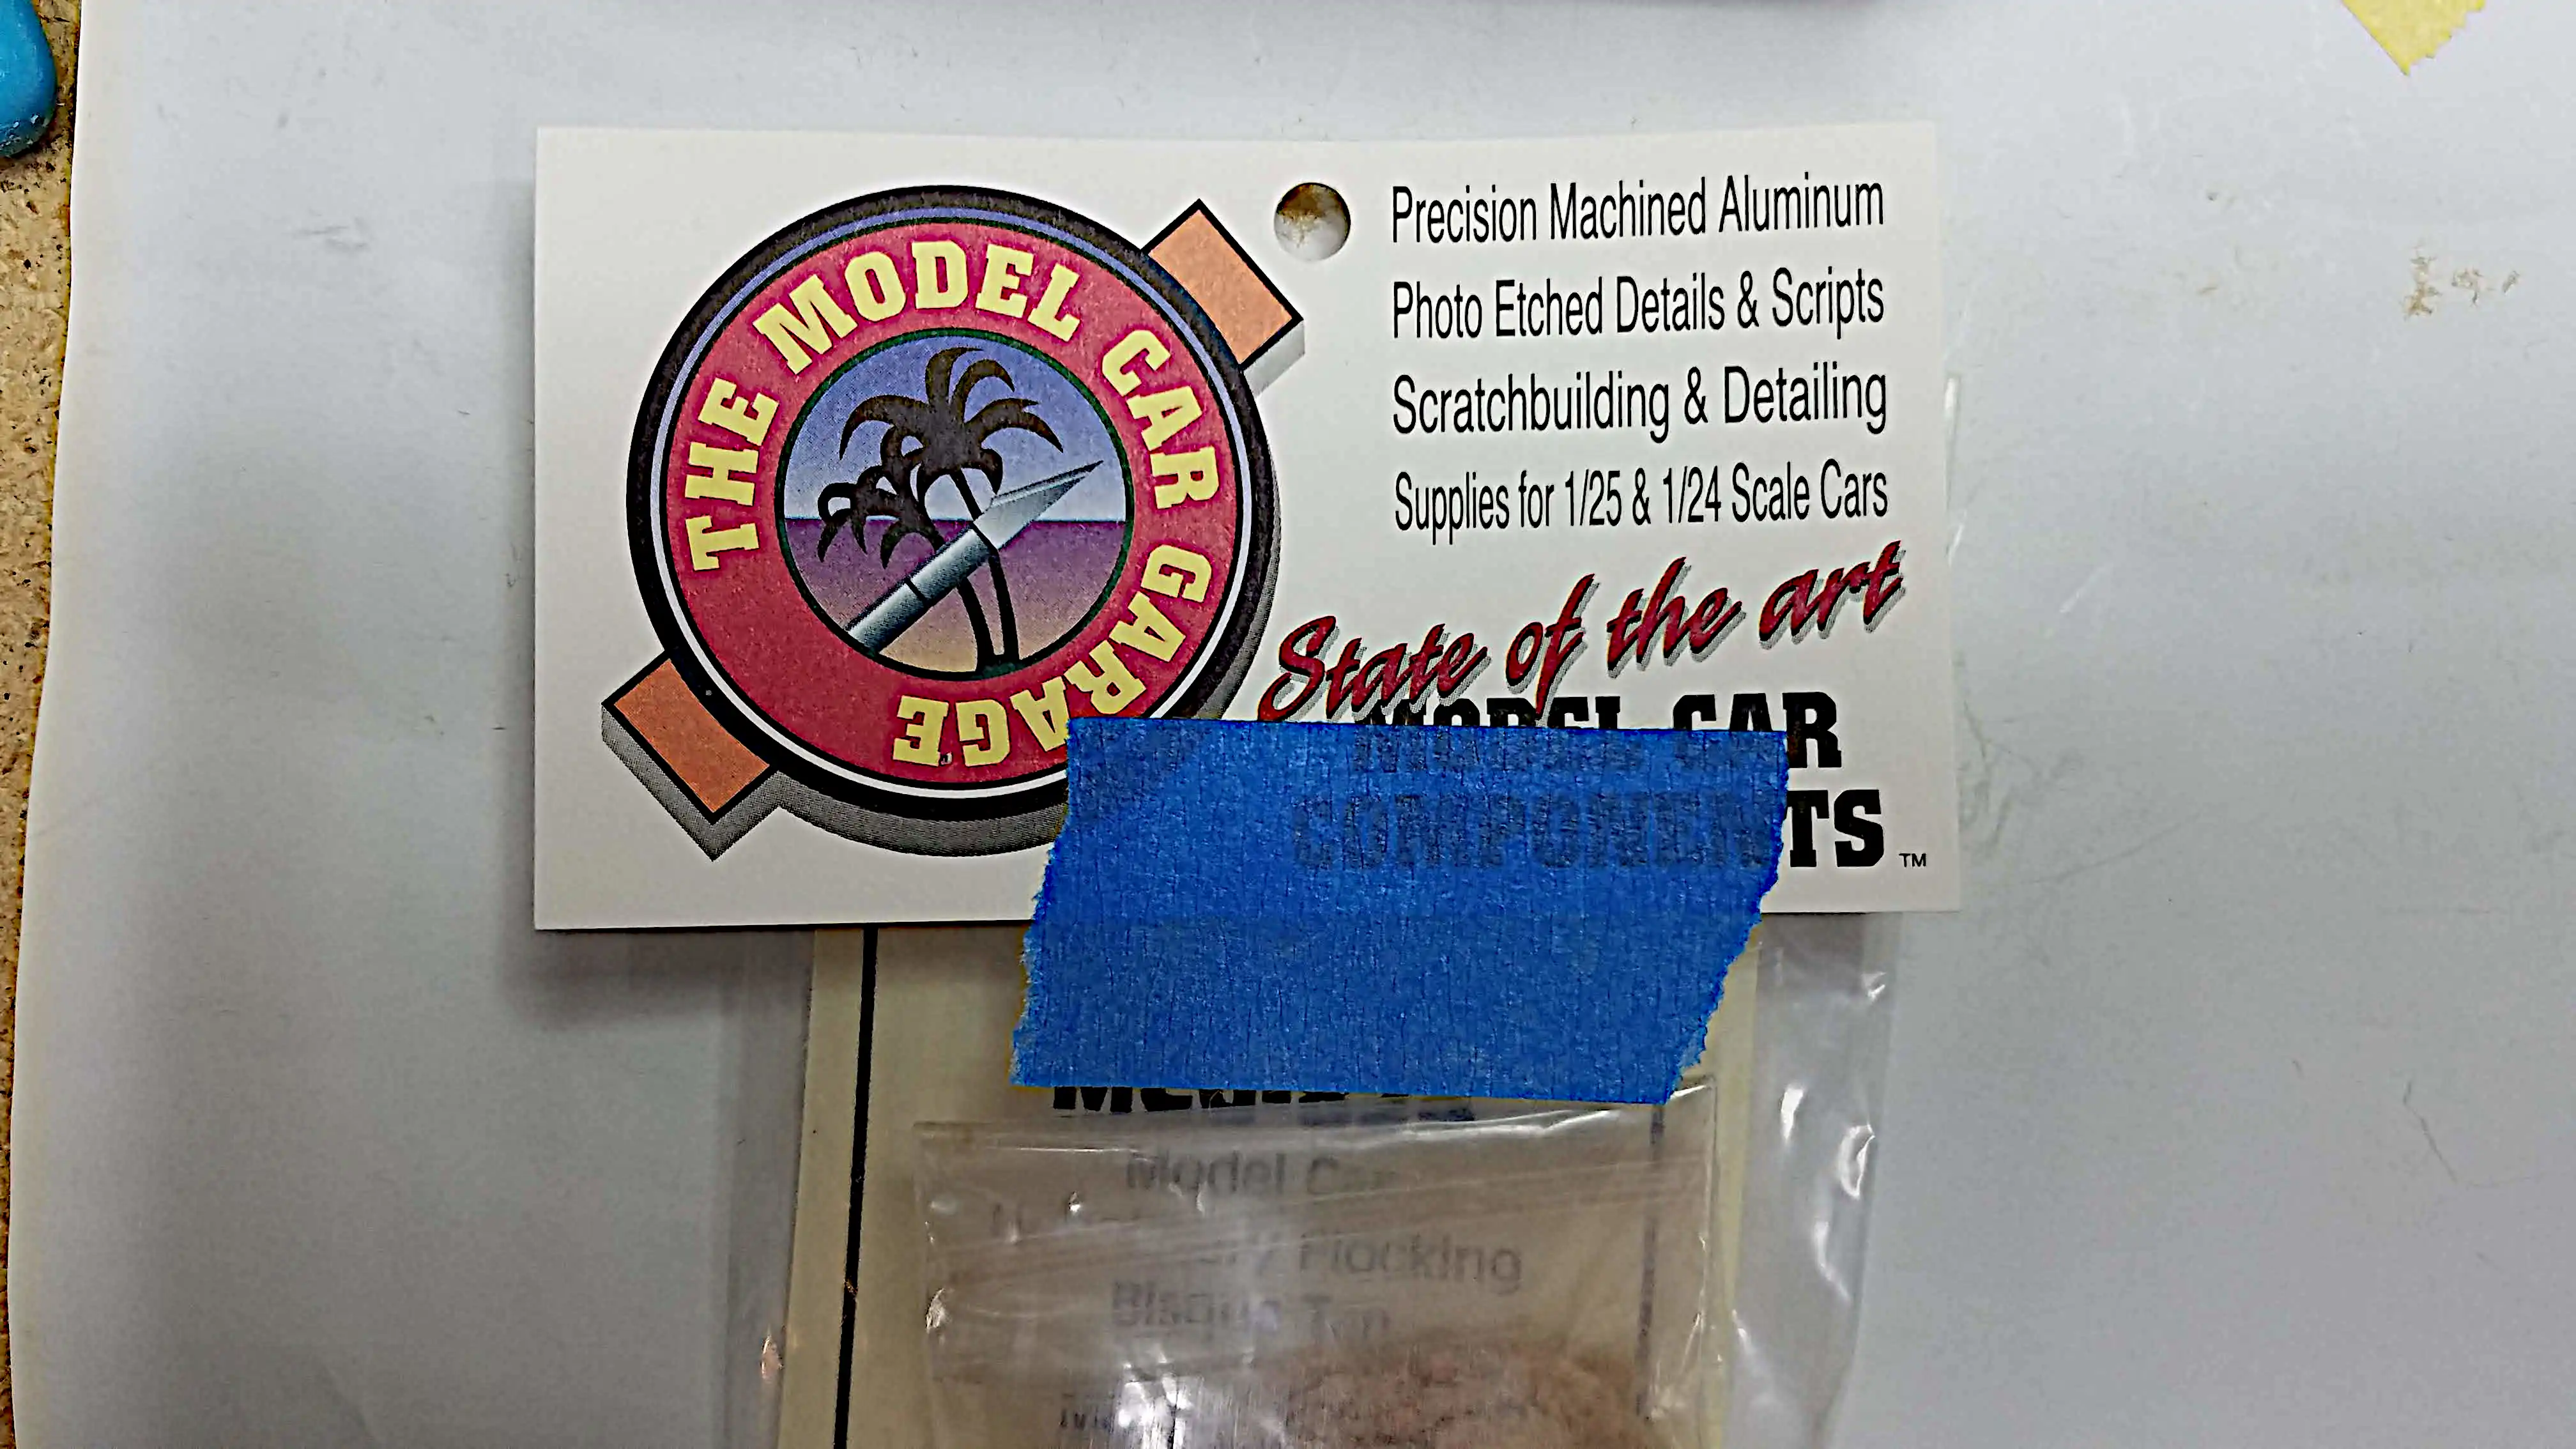 The flock that I used
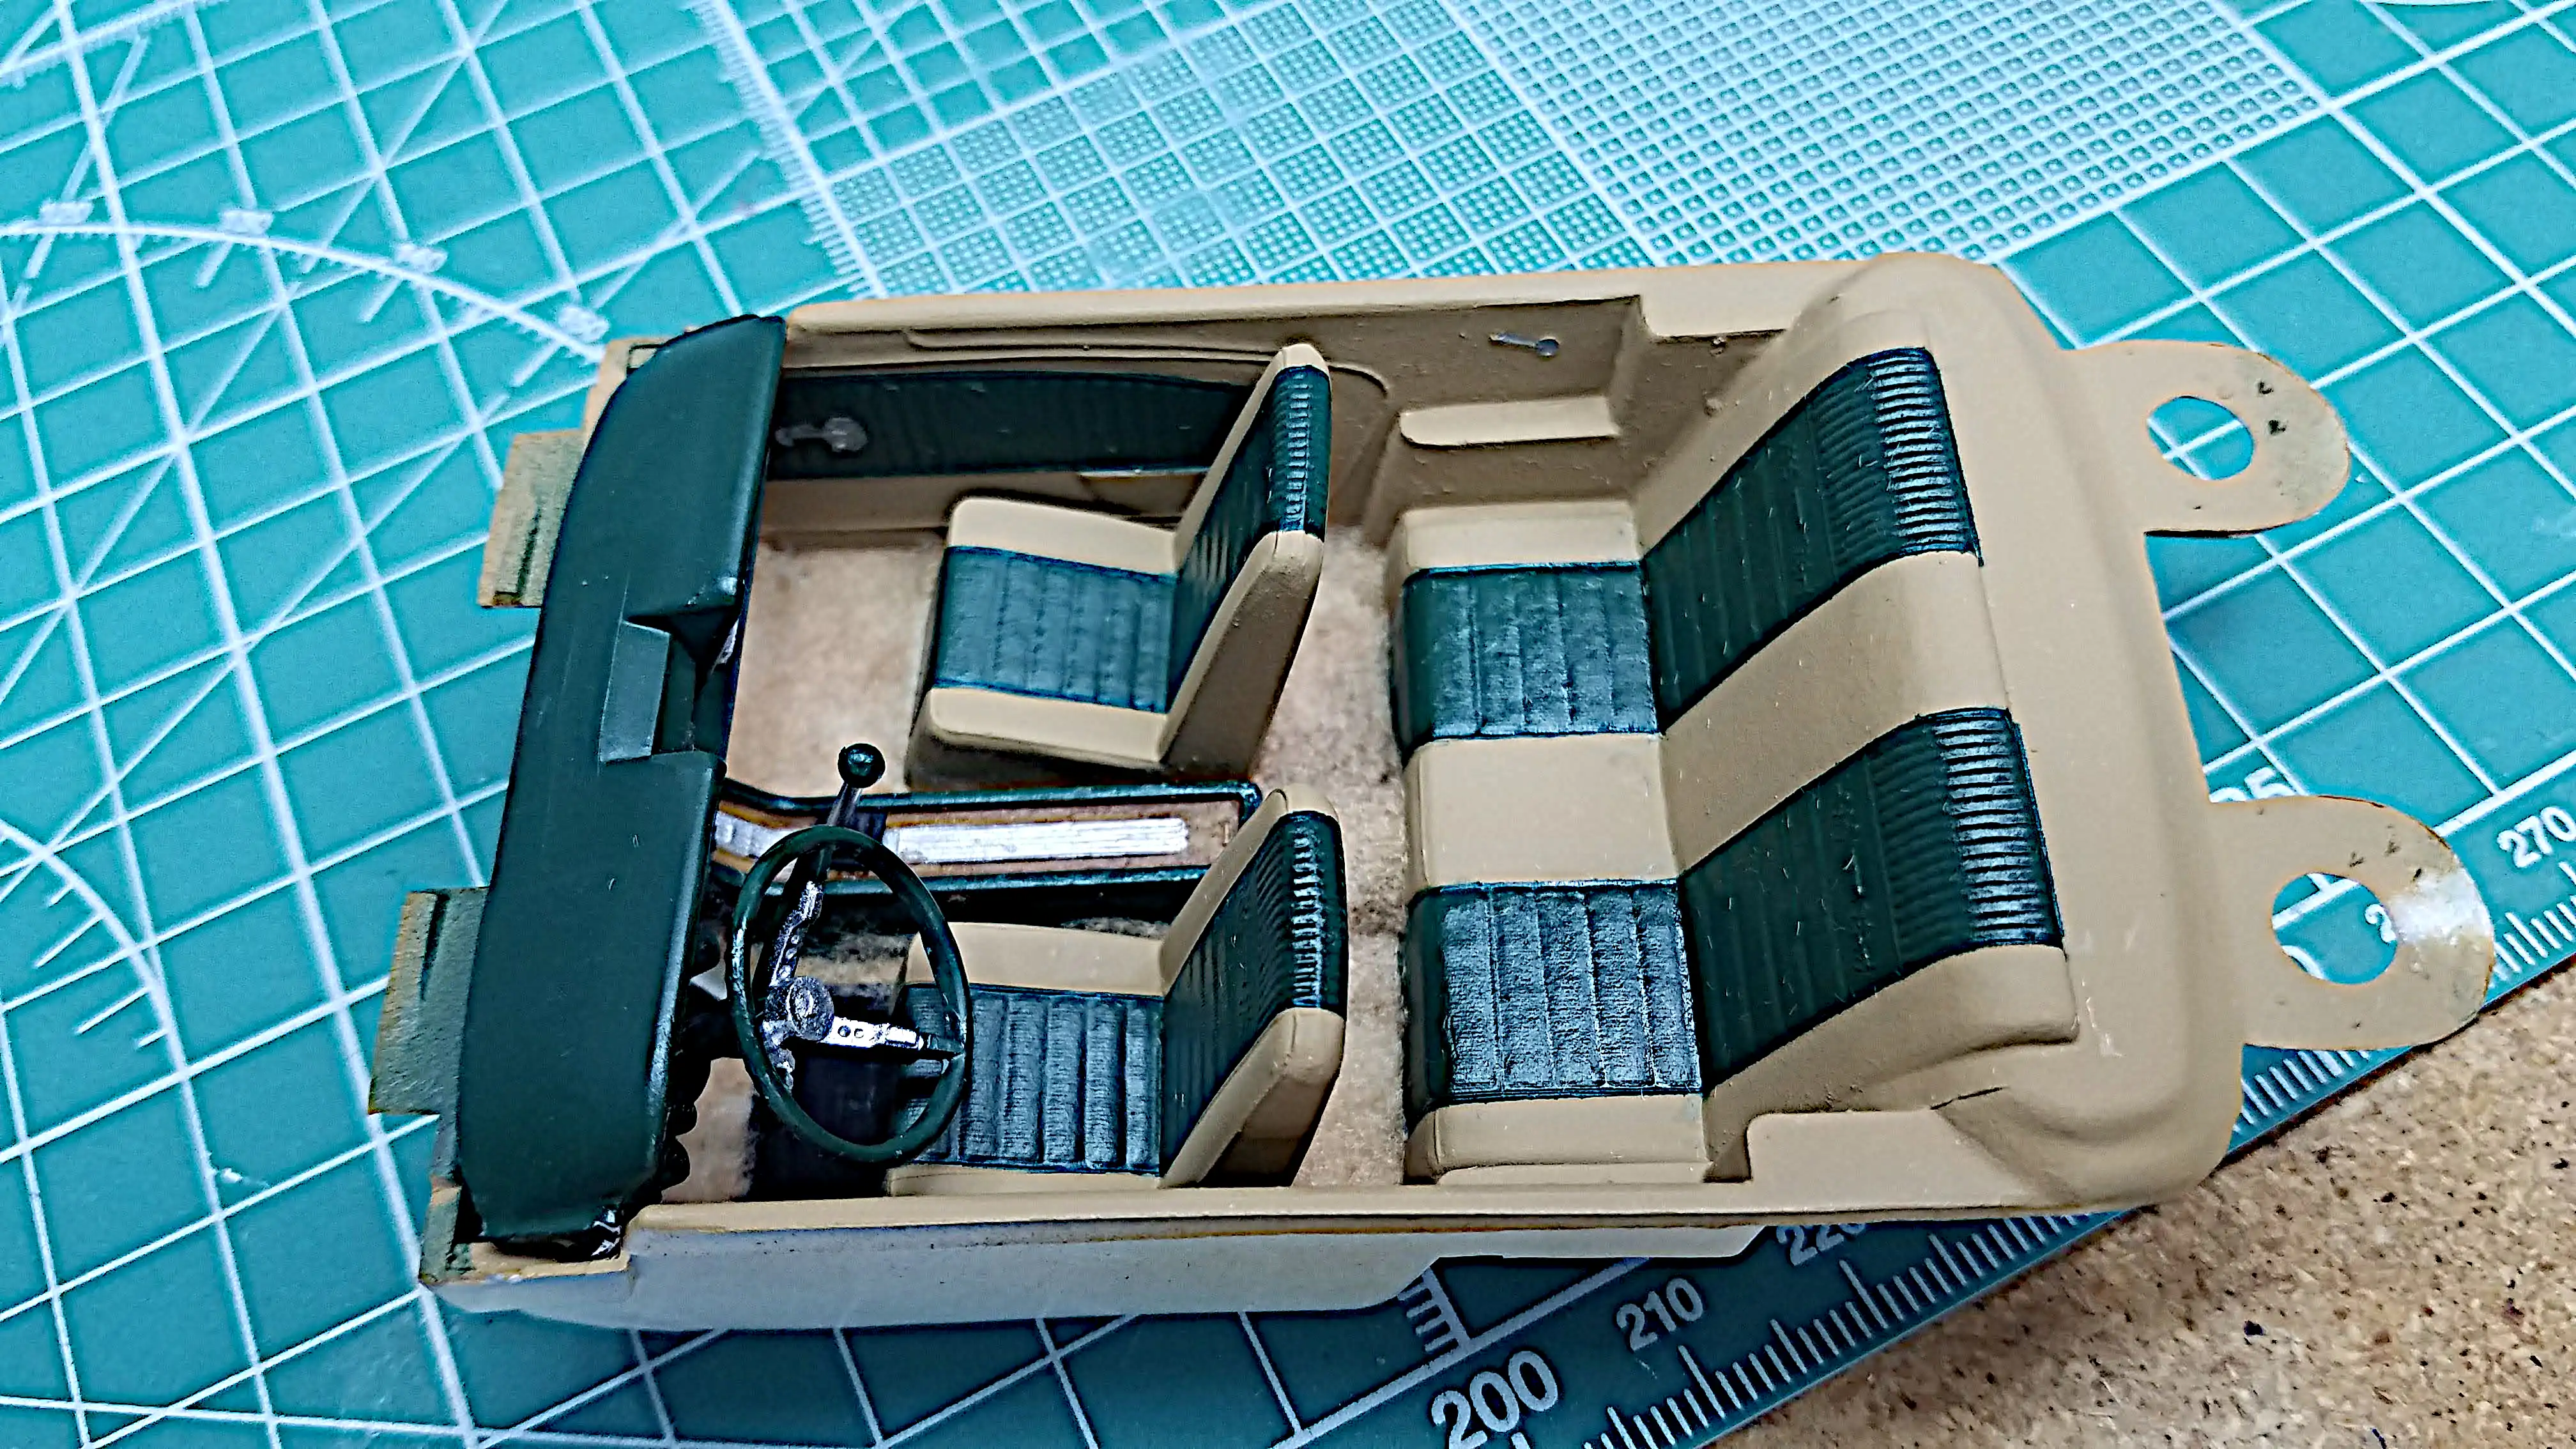 Finished tub with flocking
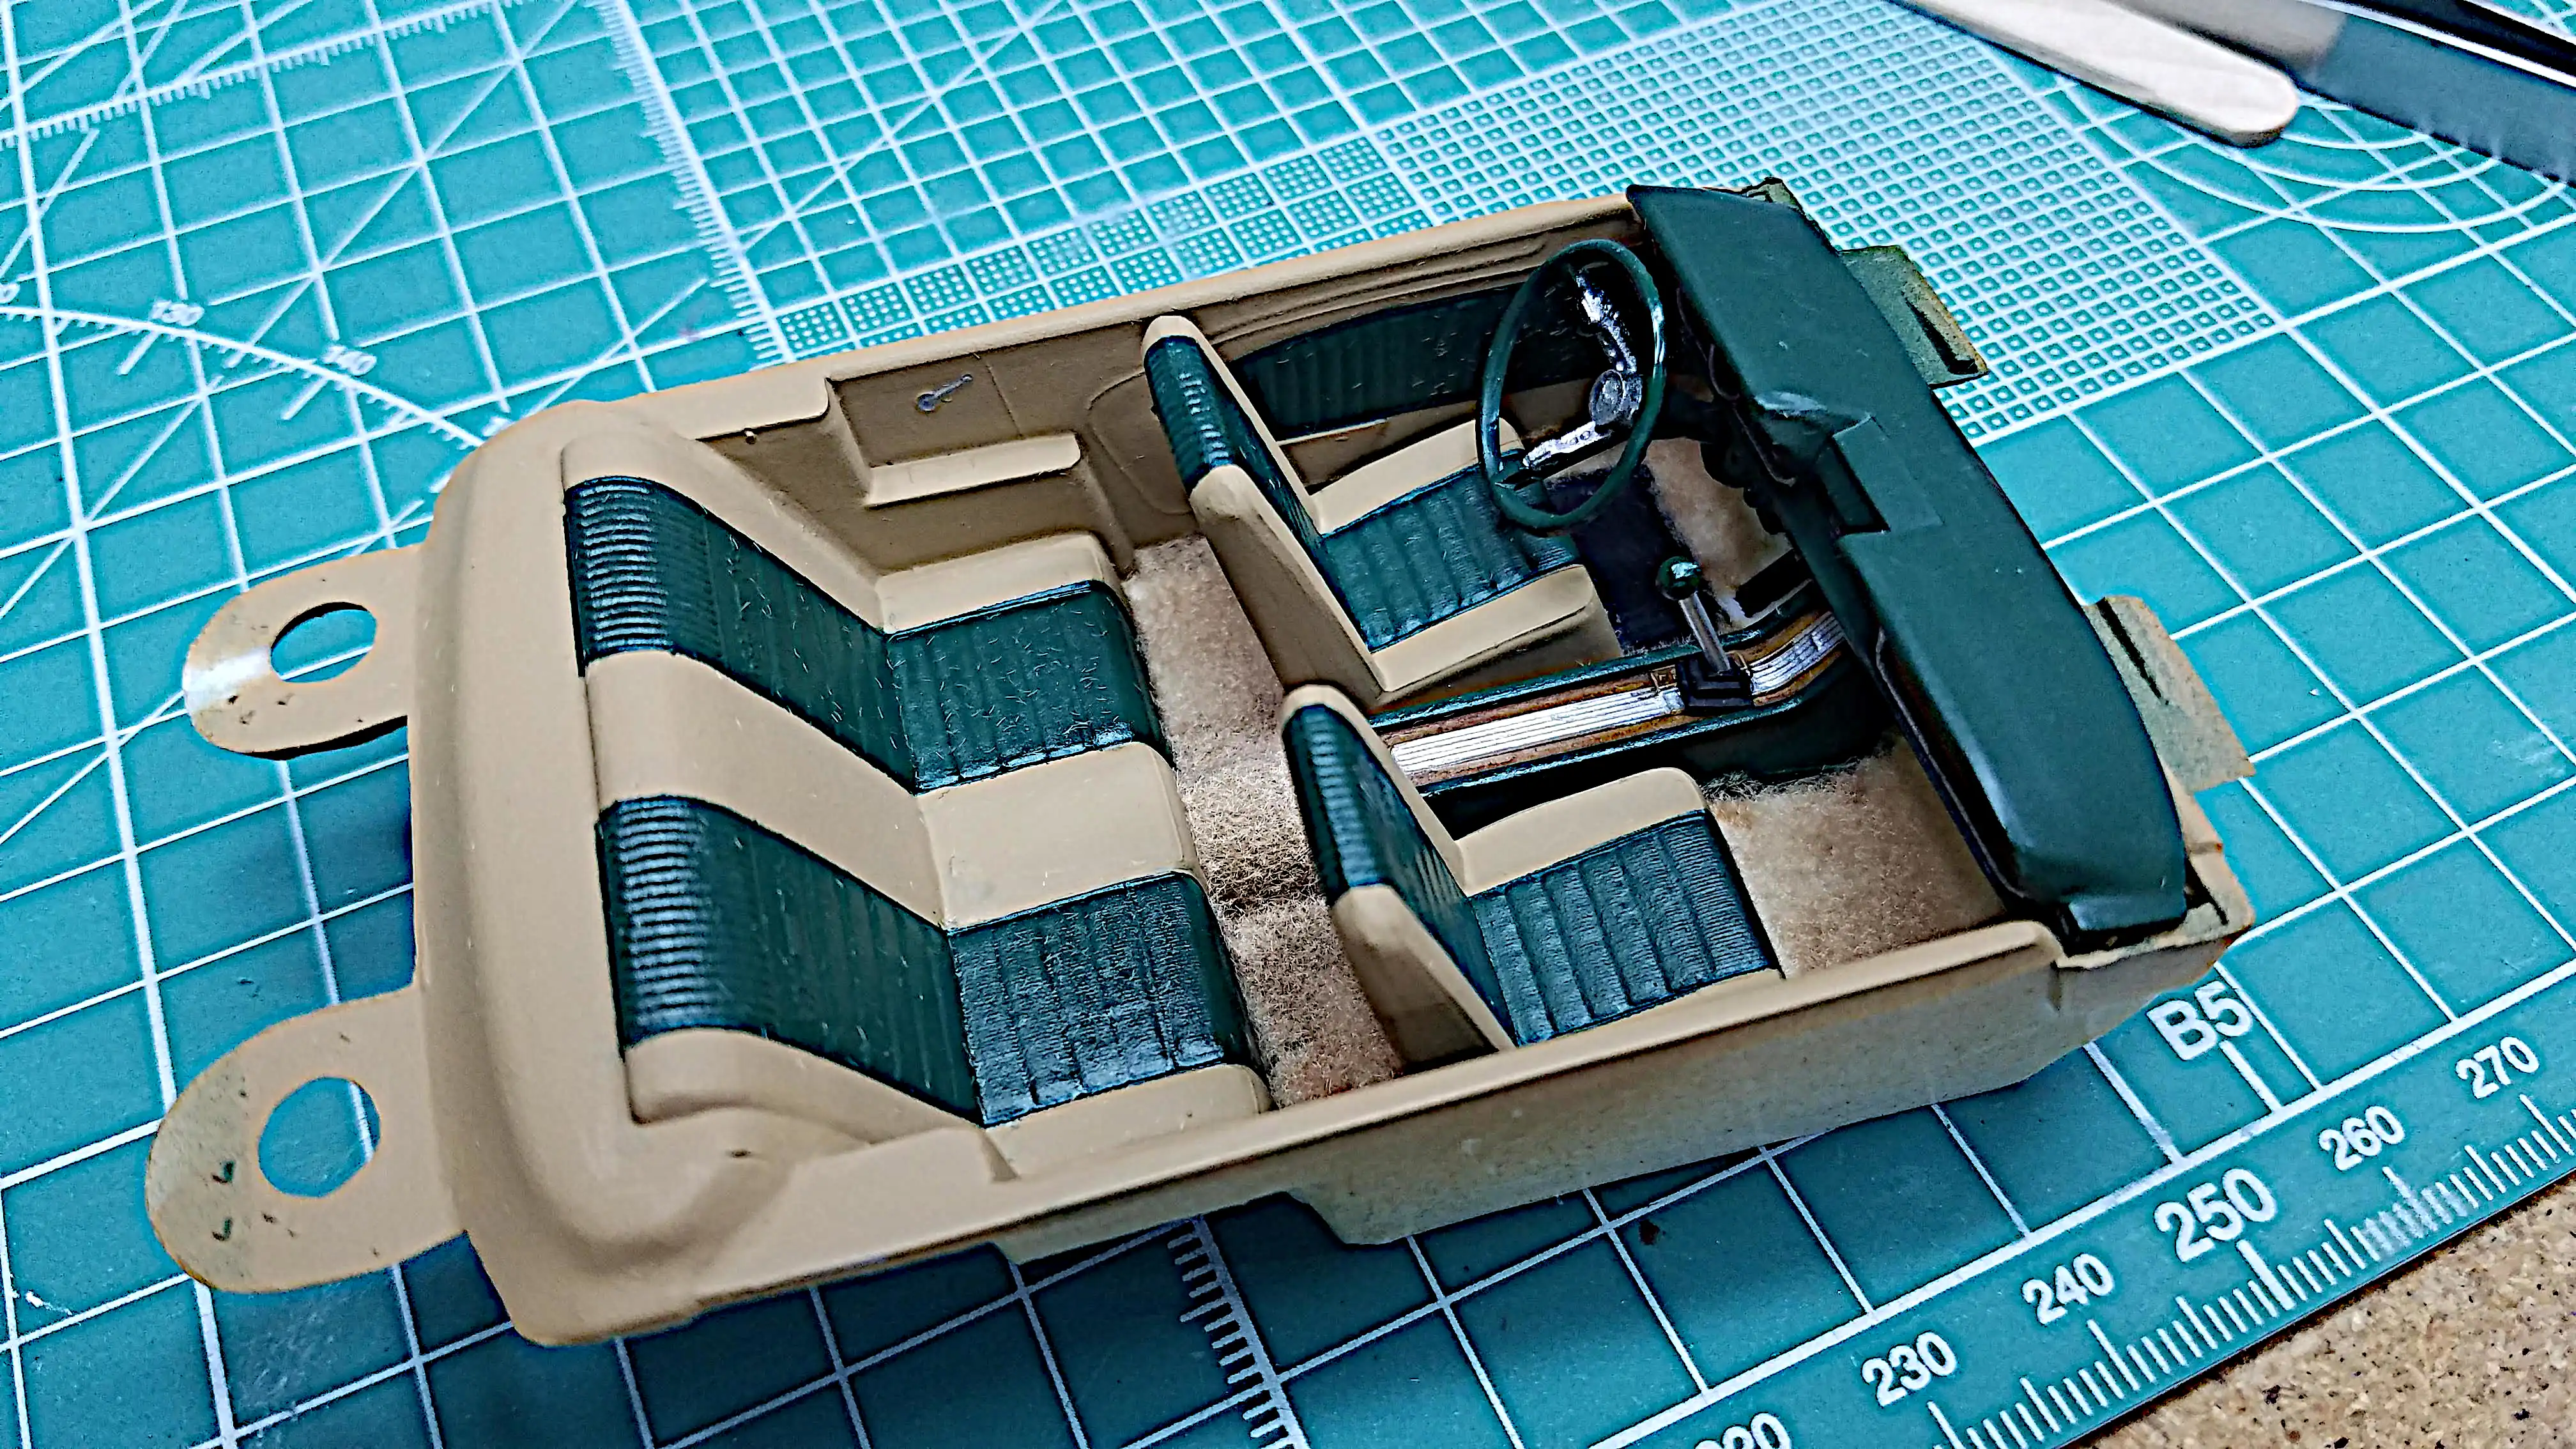 Finished tub with flocking
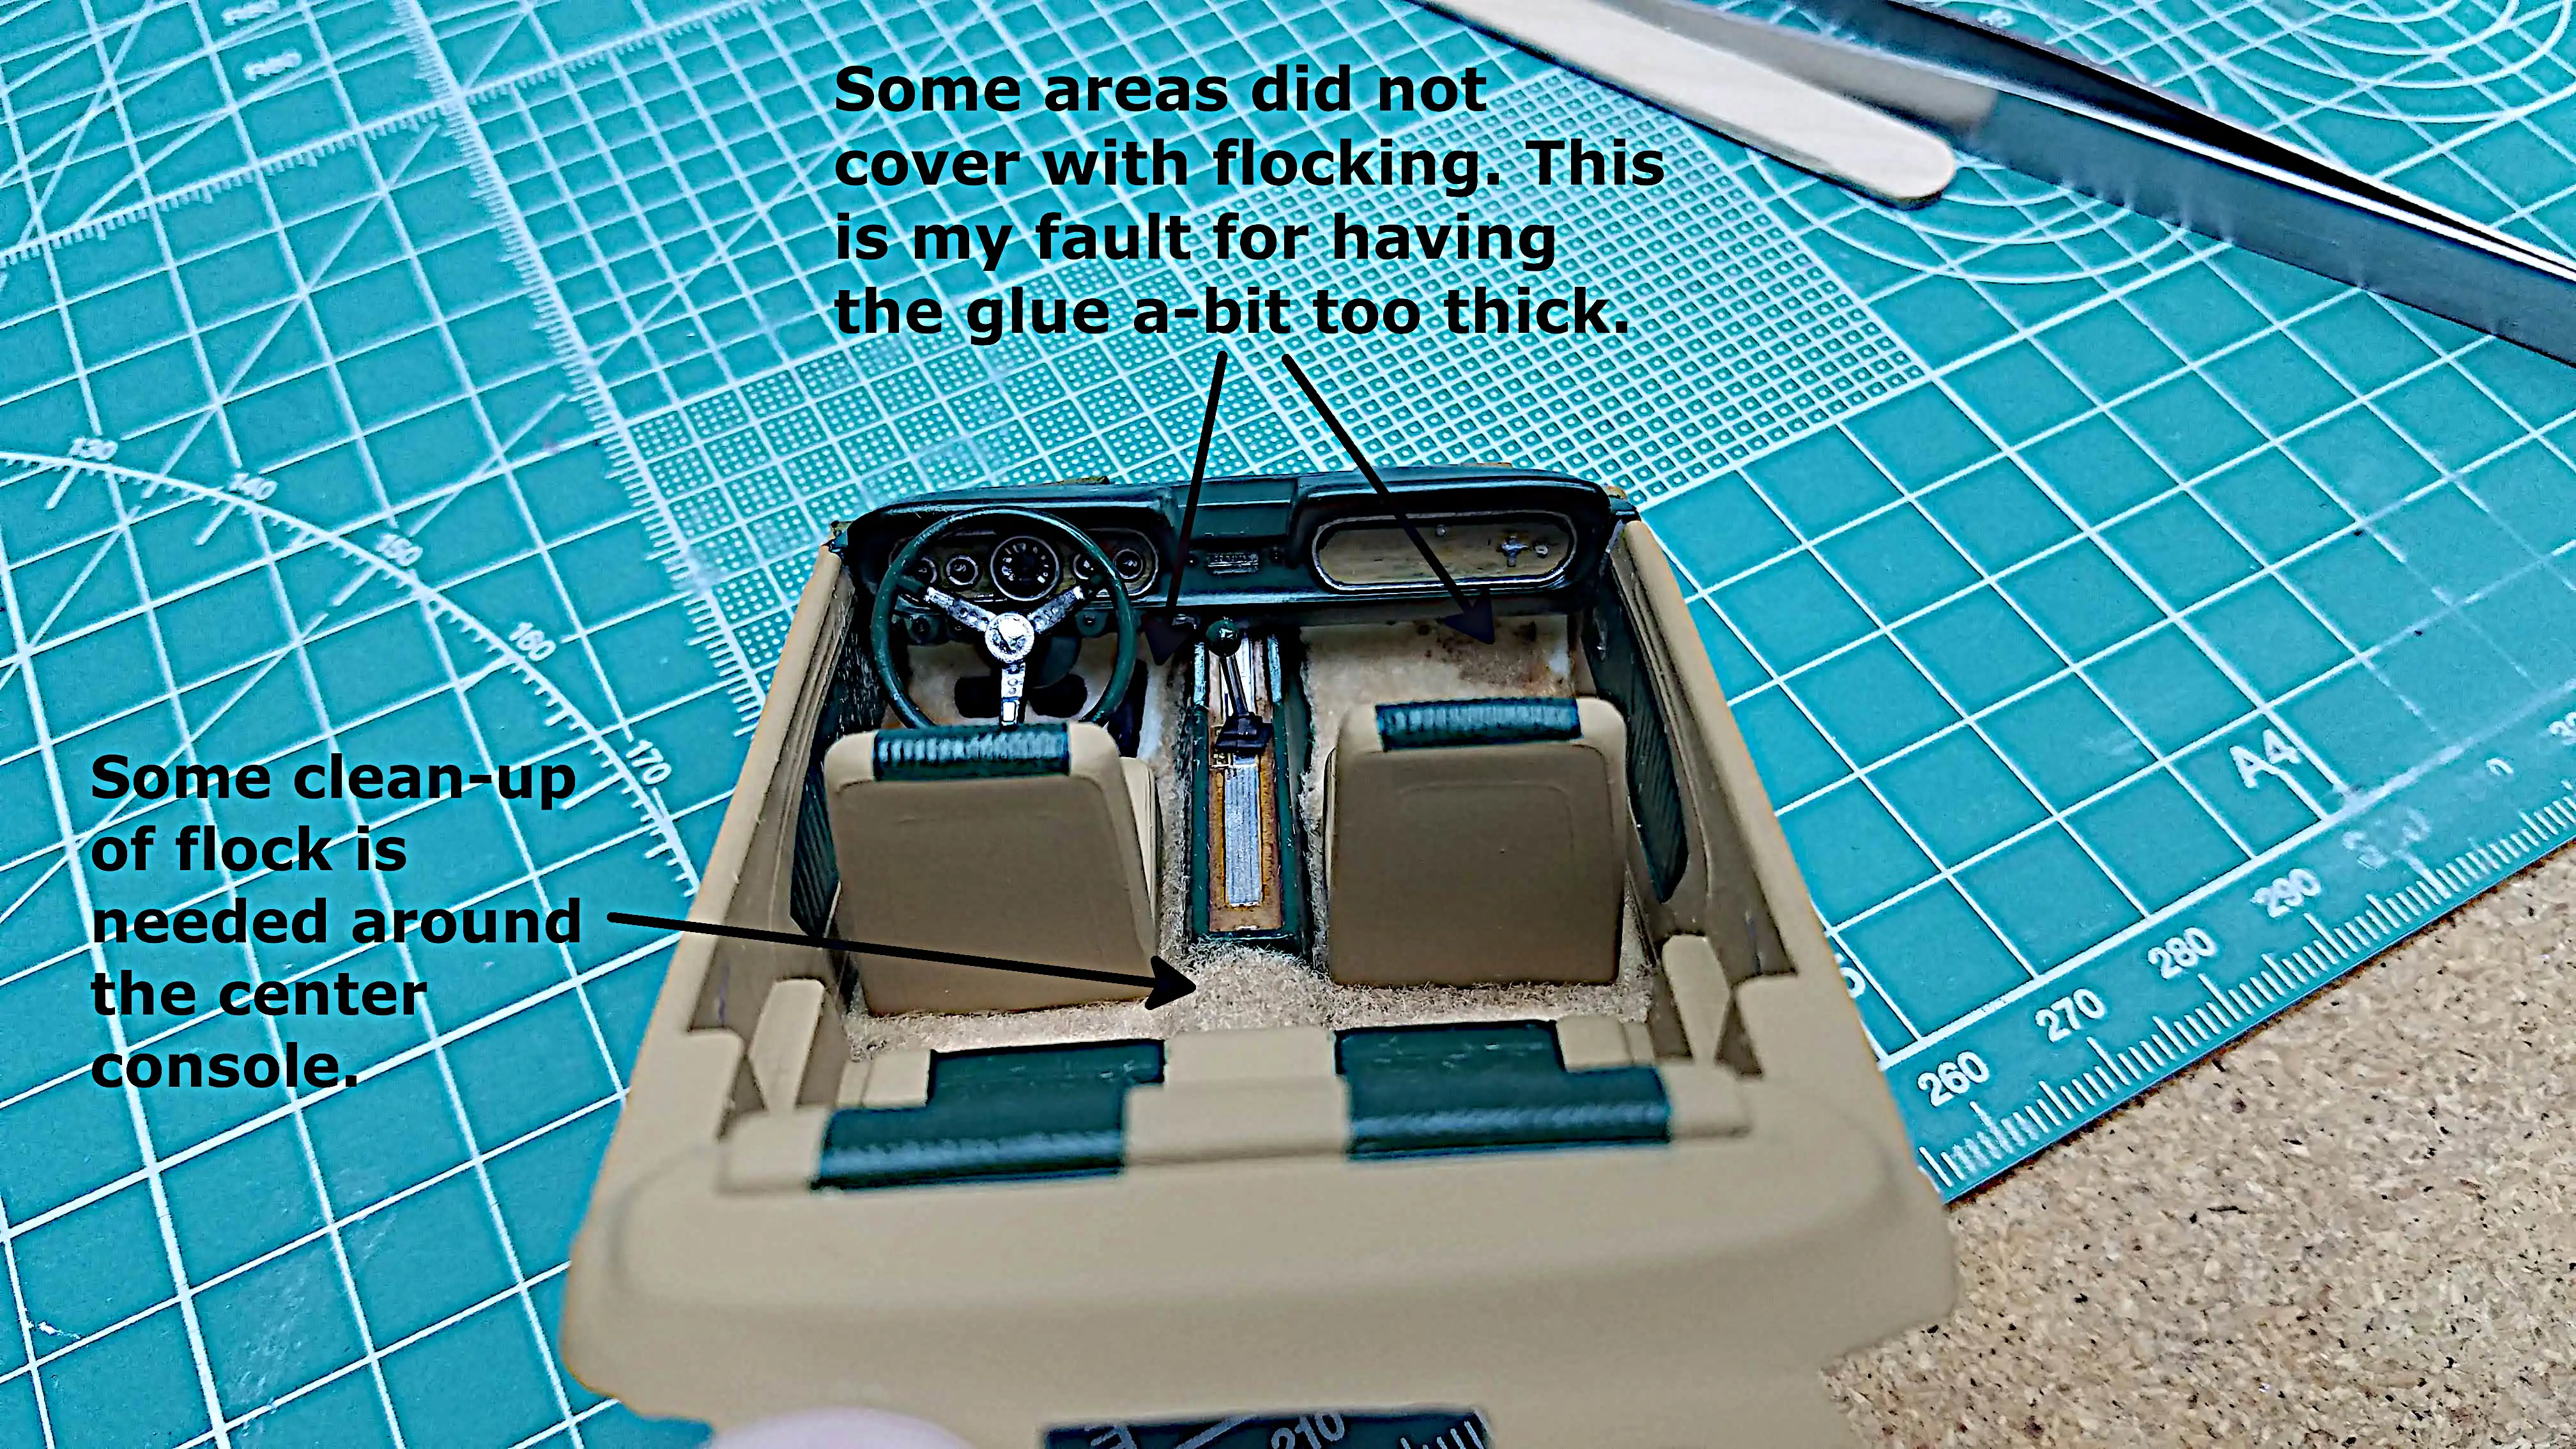 Interior tub needs cleanup
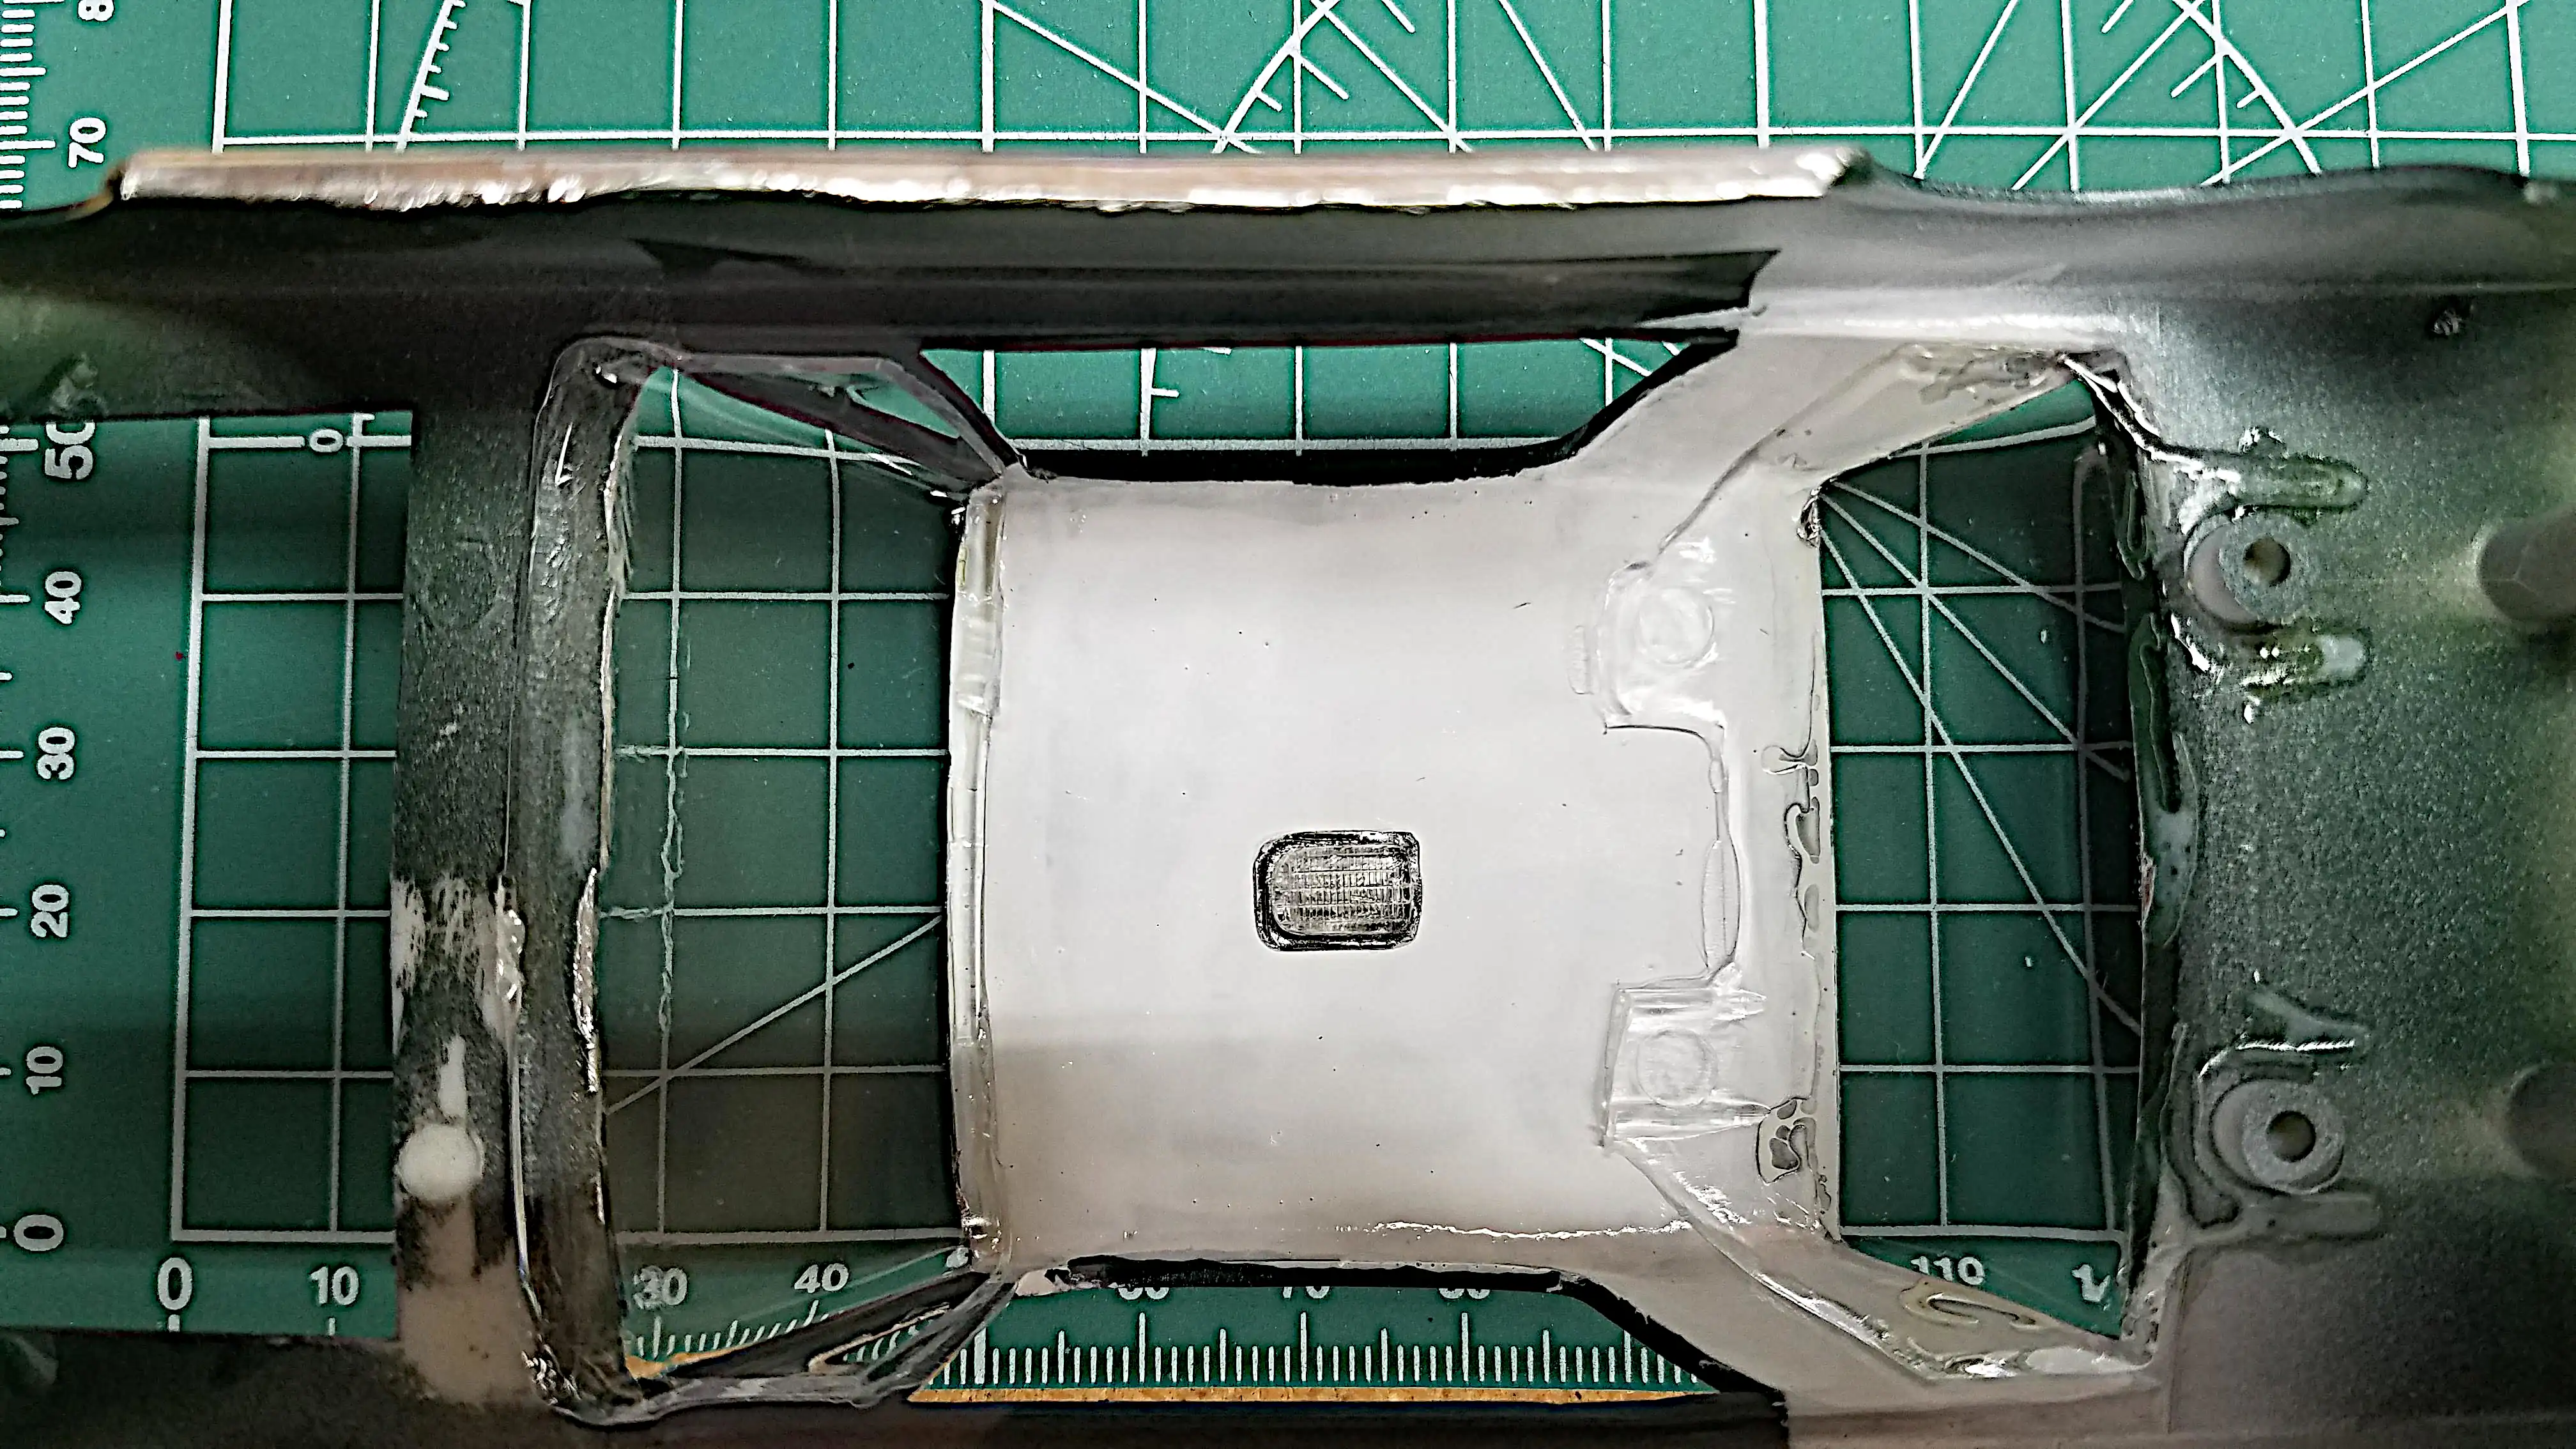 Added an interior dome light
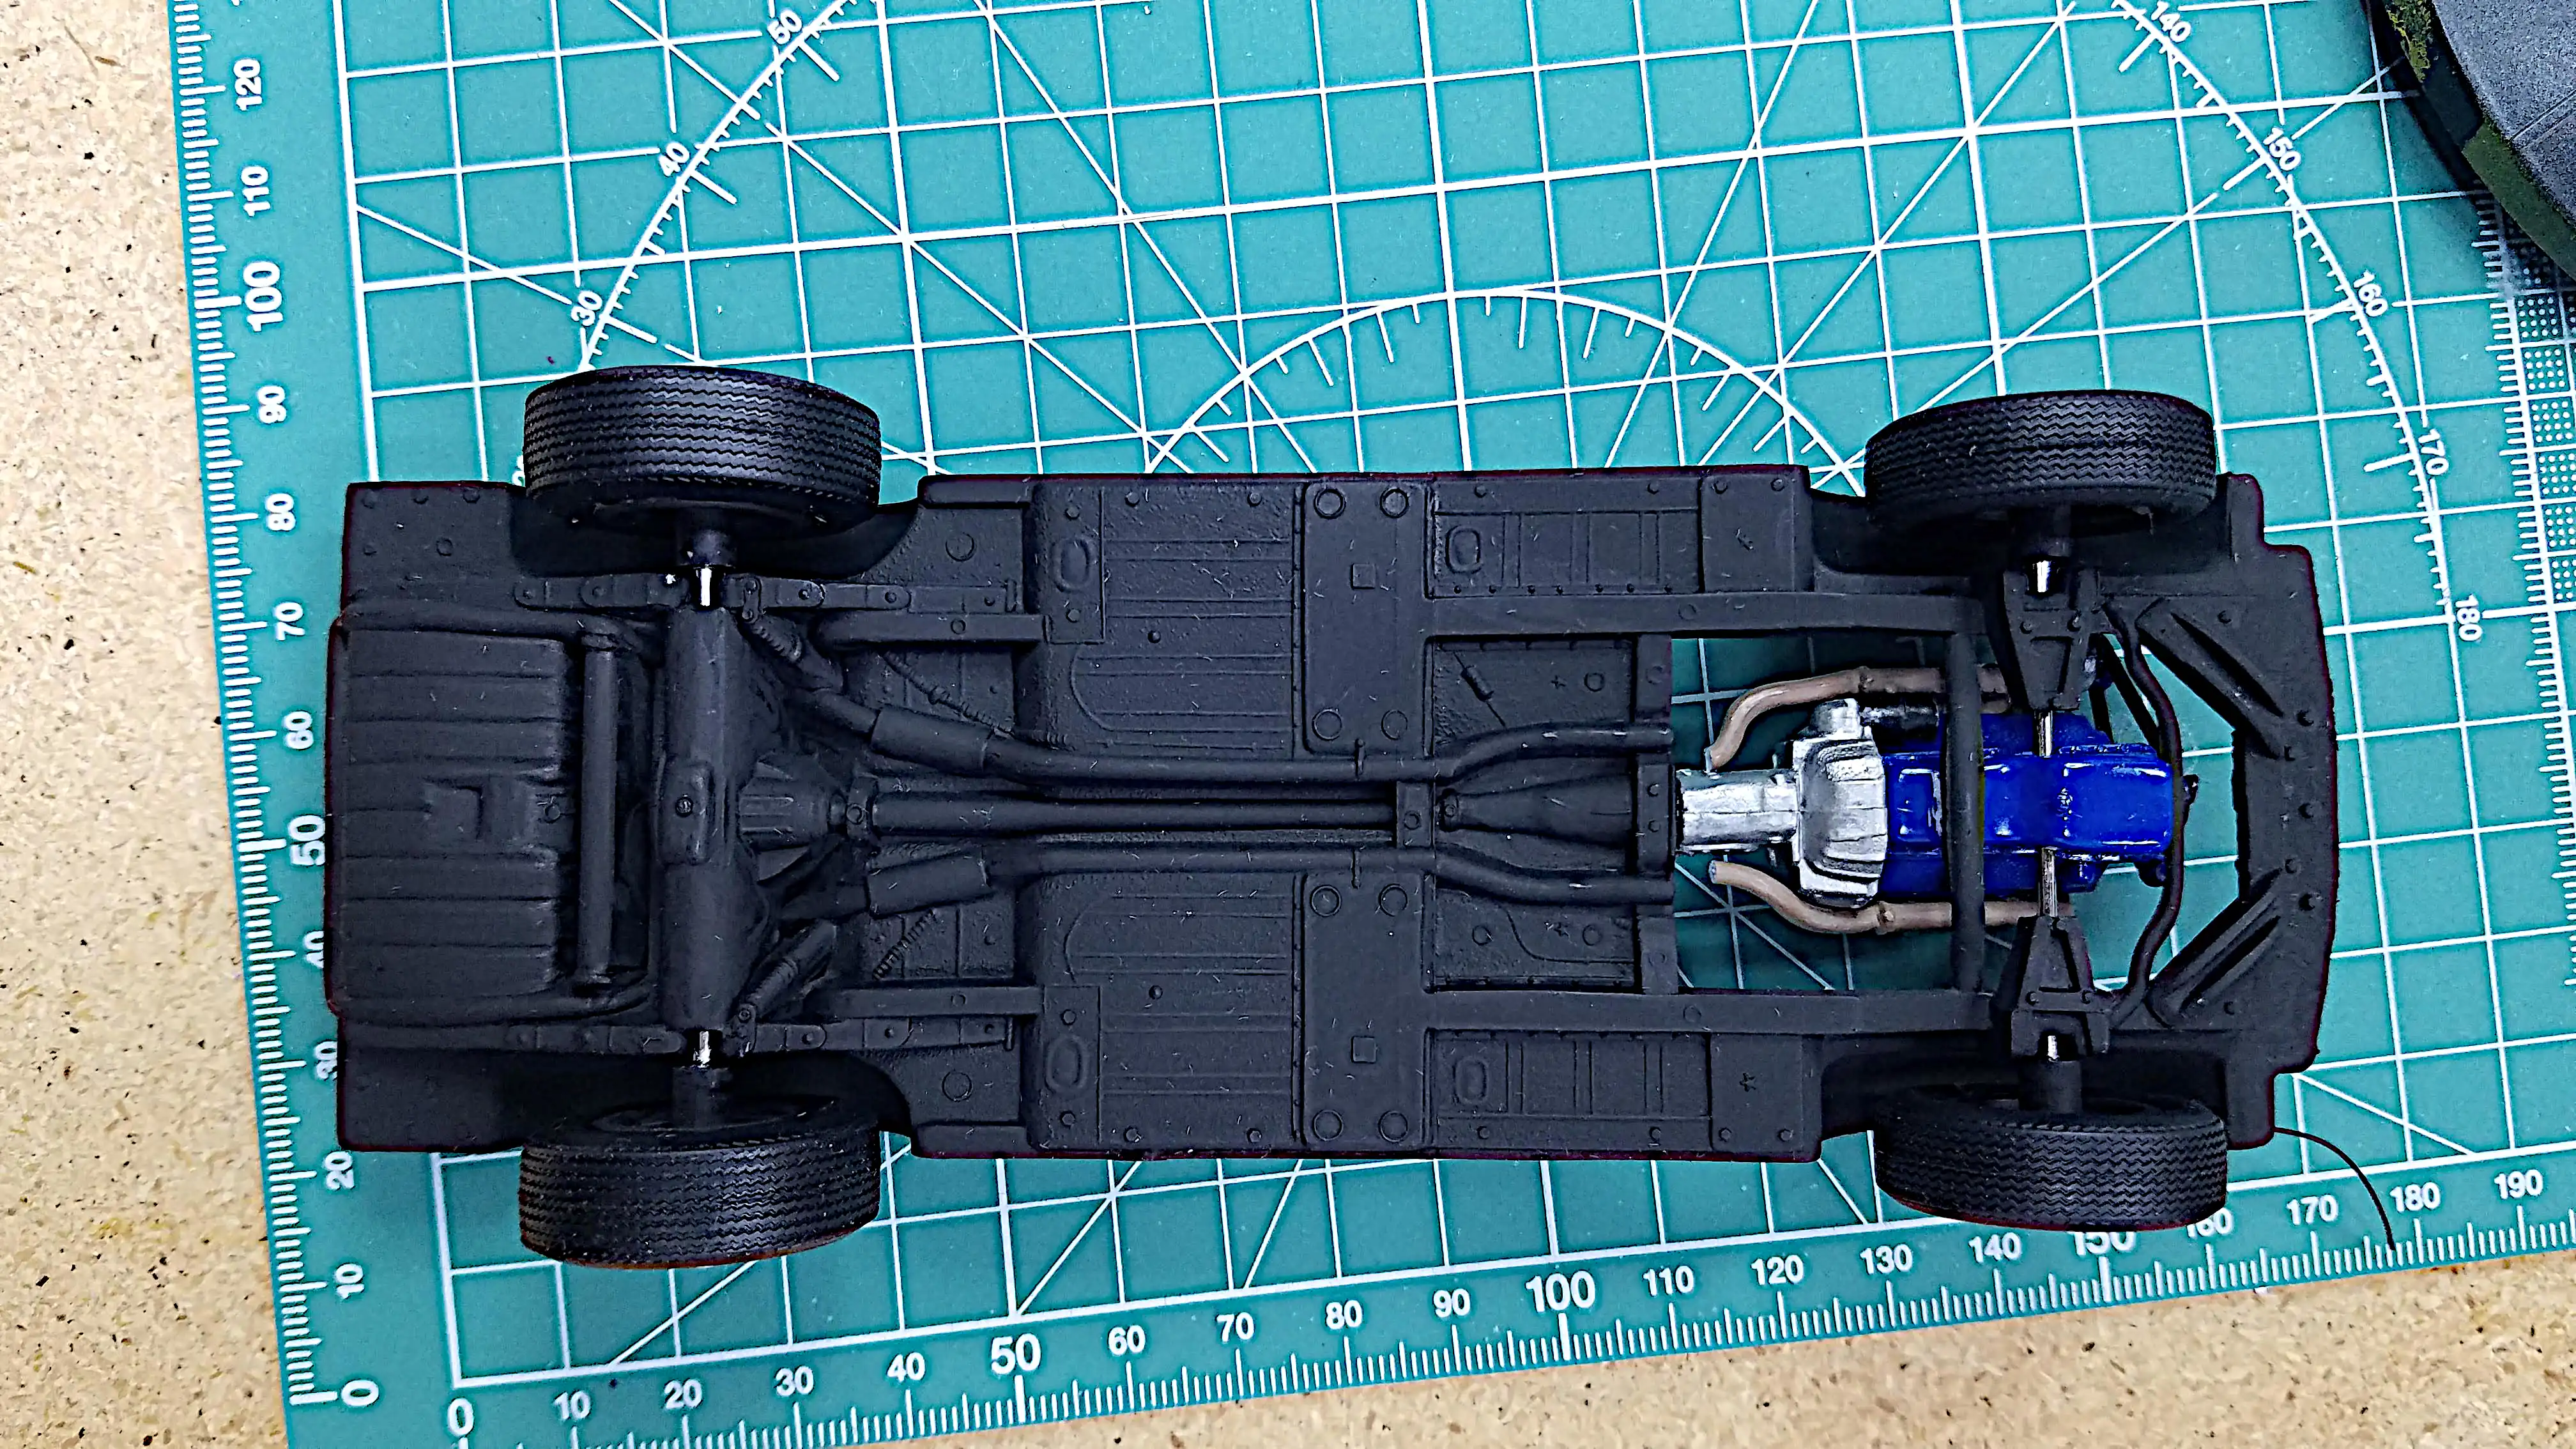 The axles need to be shortened
 Panel lined the wheels
 Interior tub mounted in the body
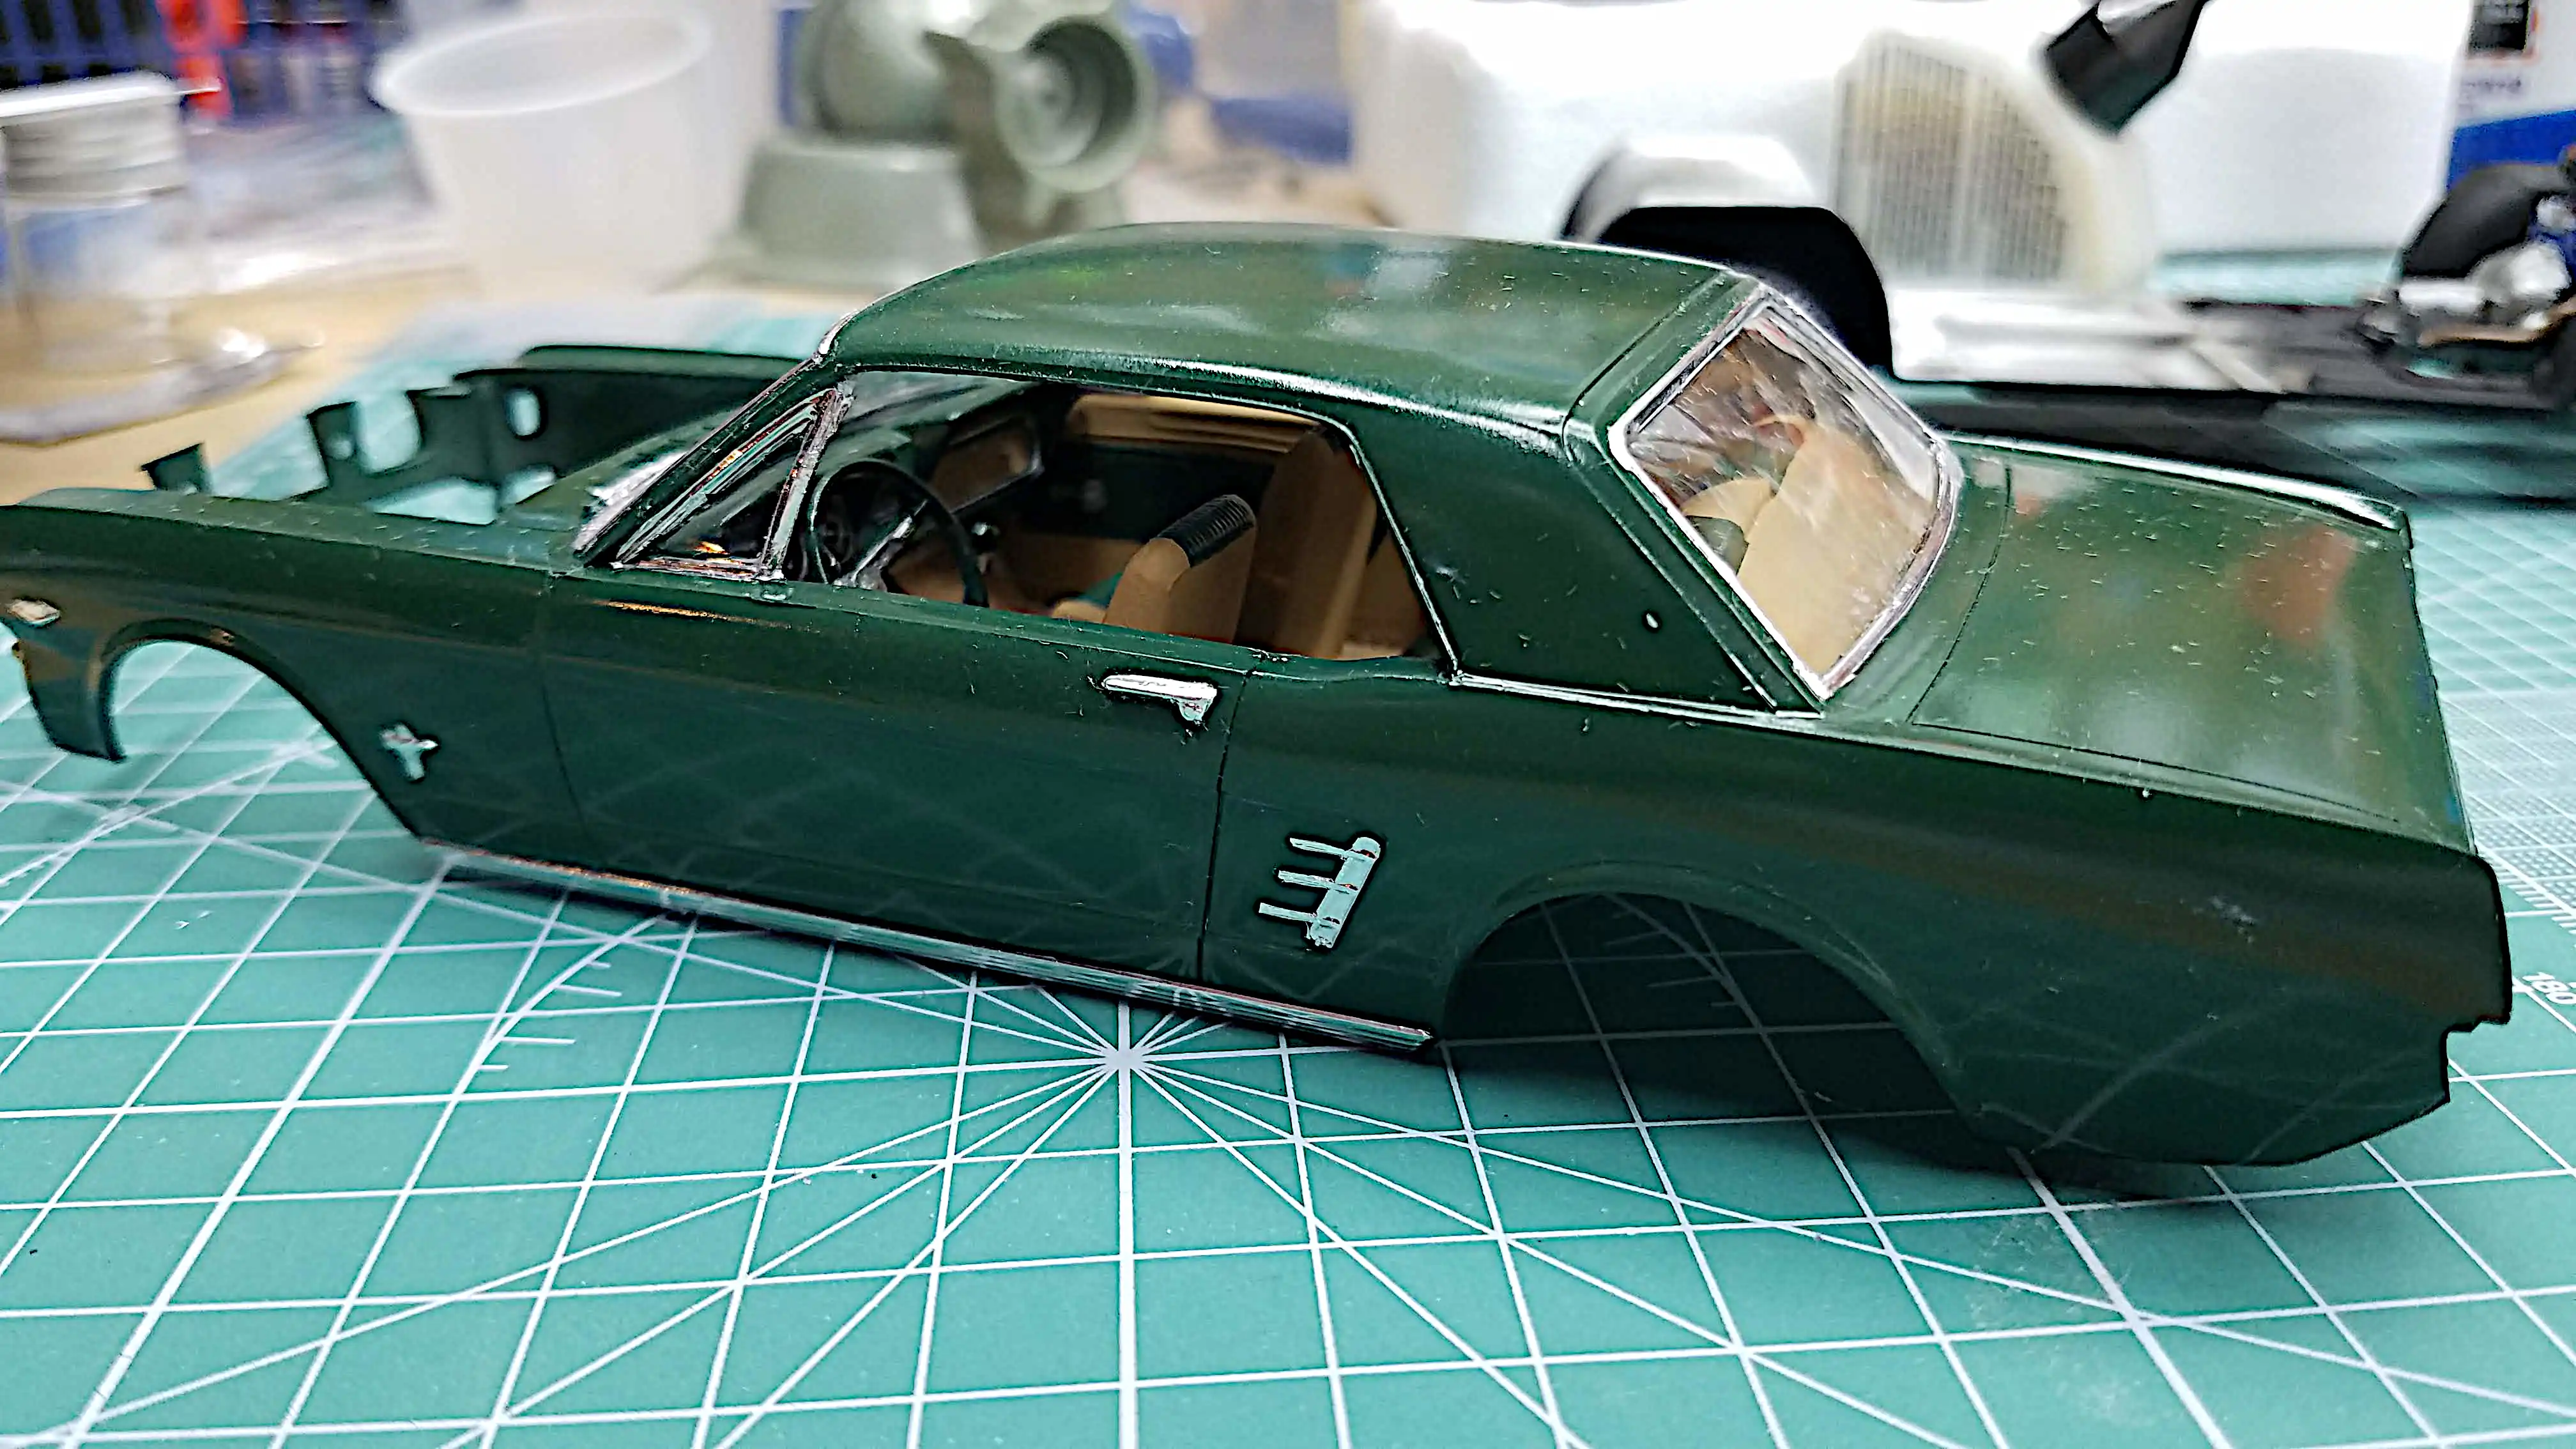 Interior tub mounted in the body
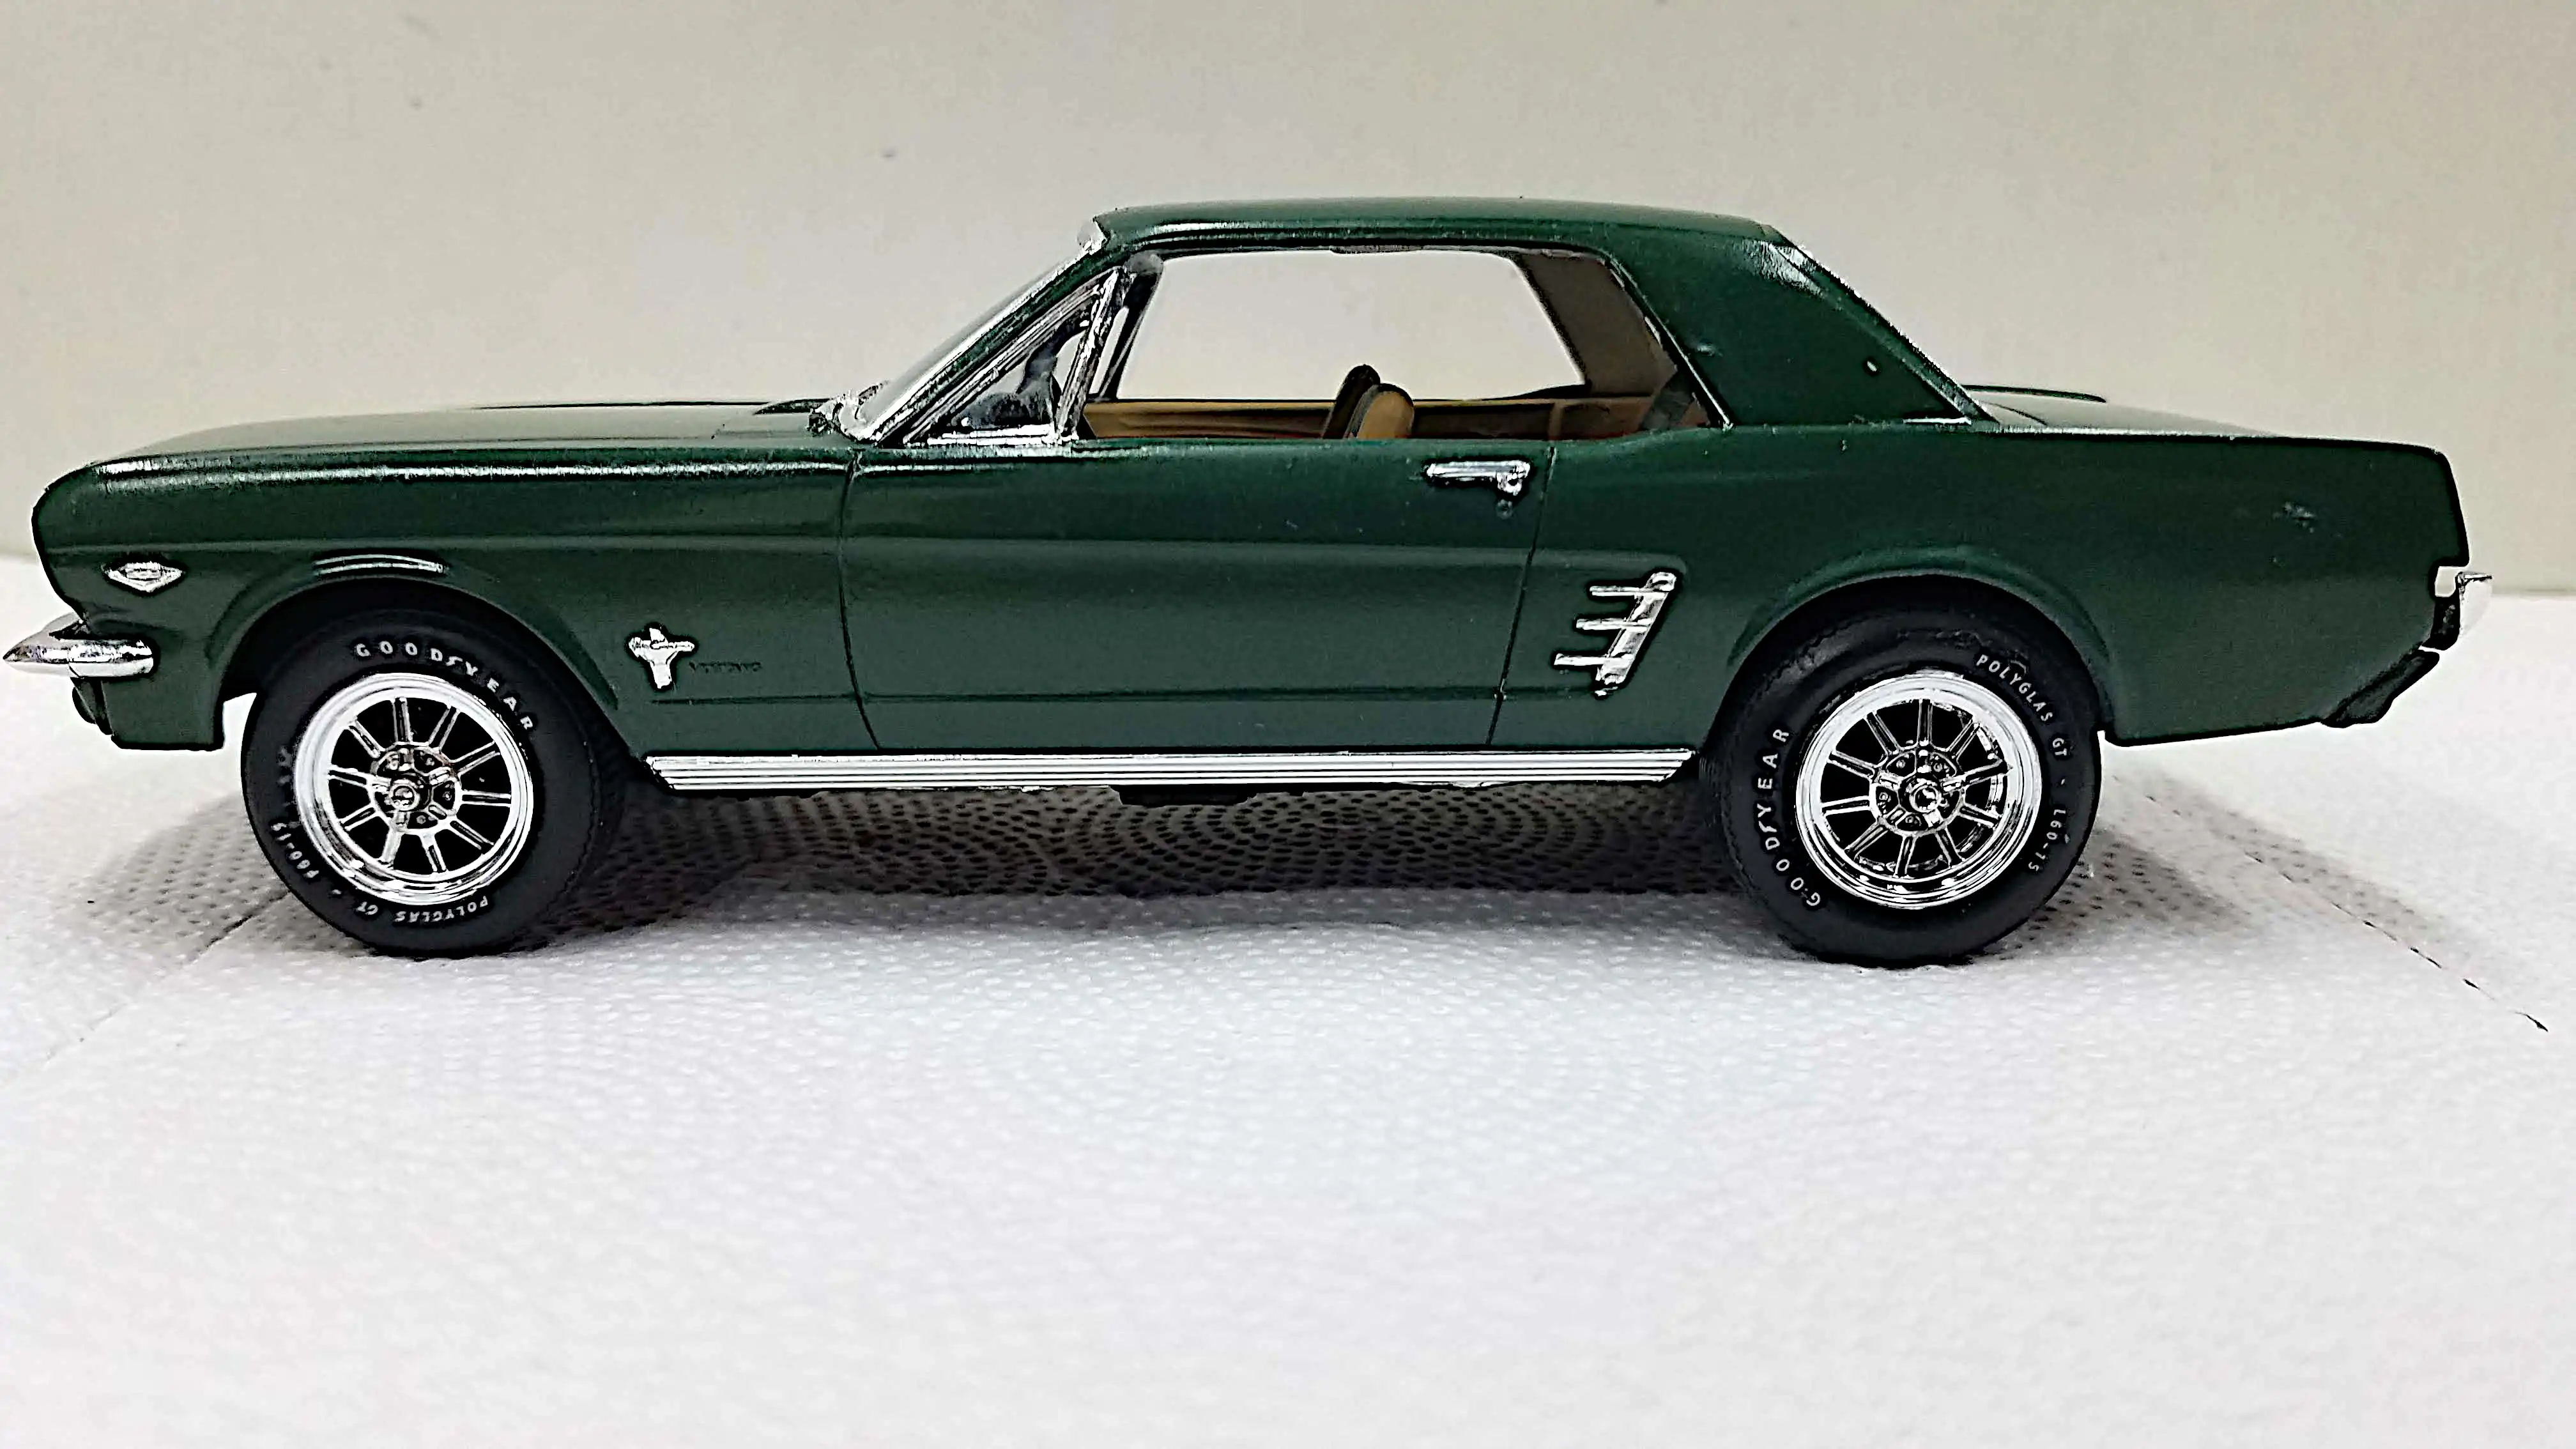
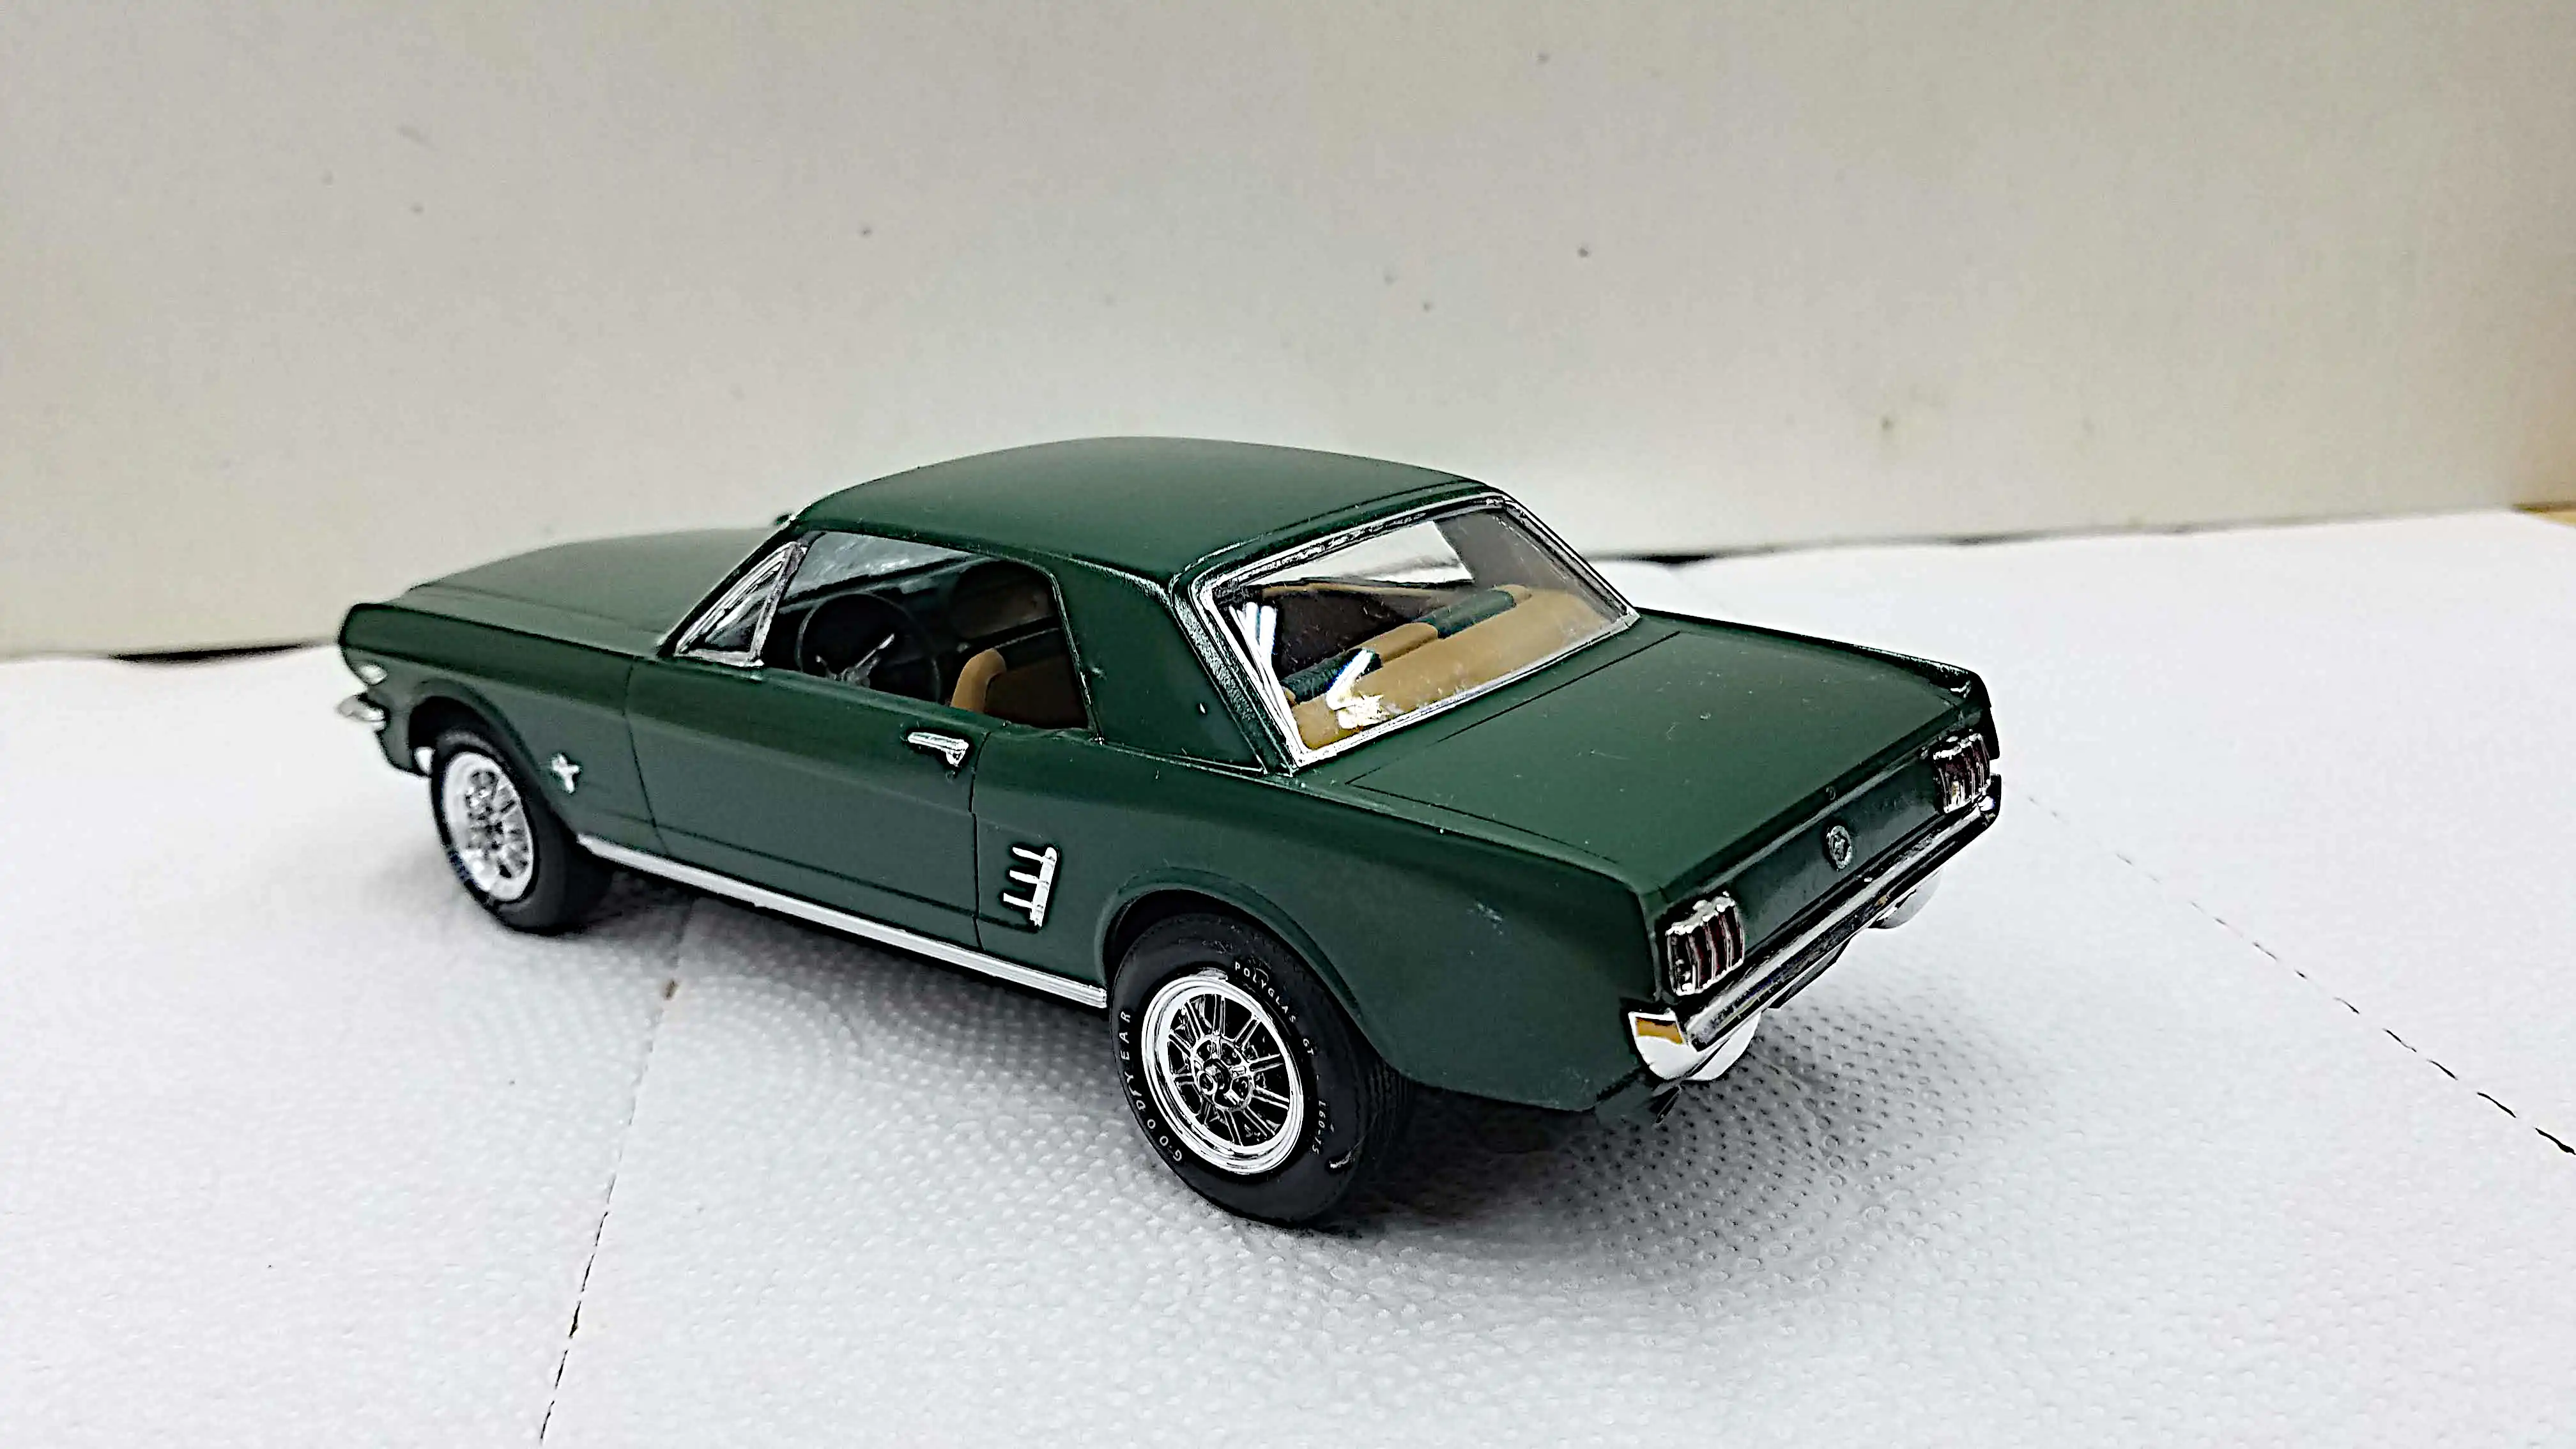
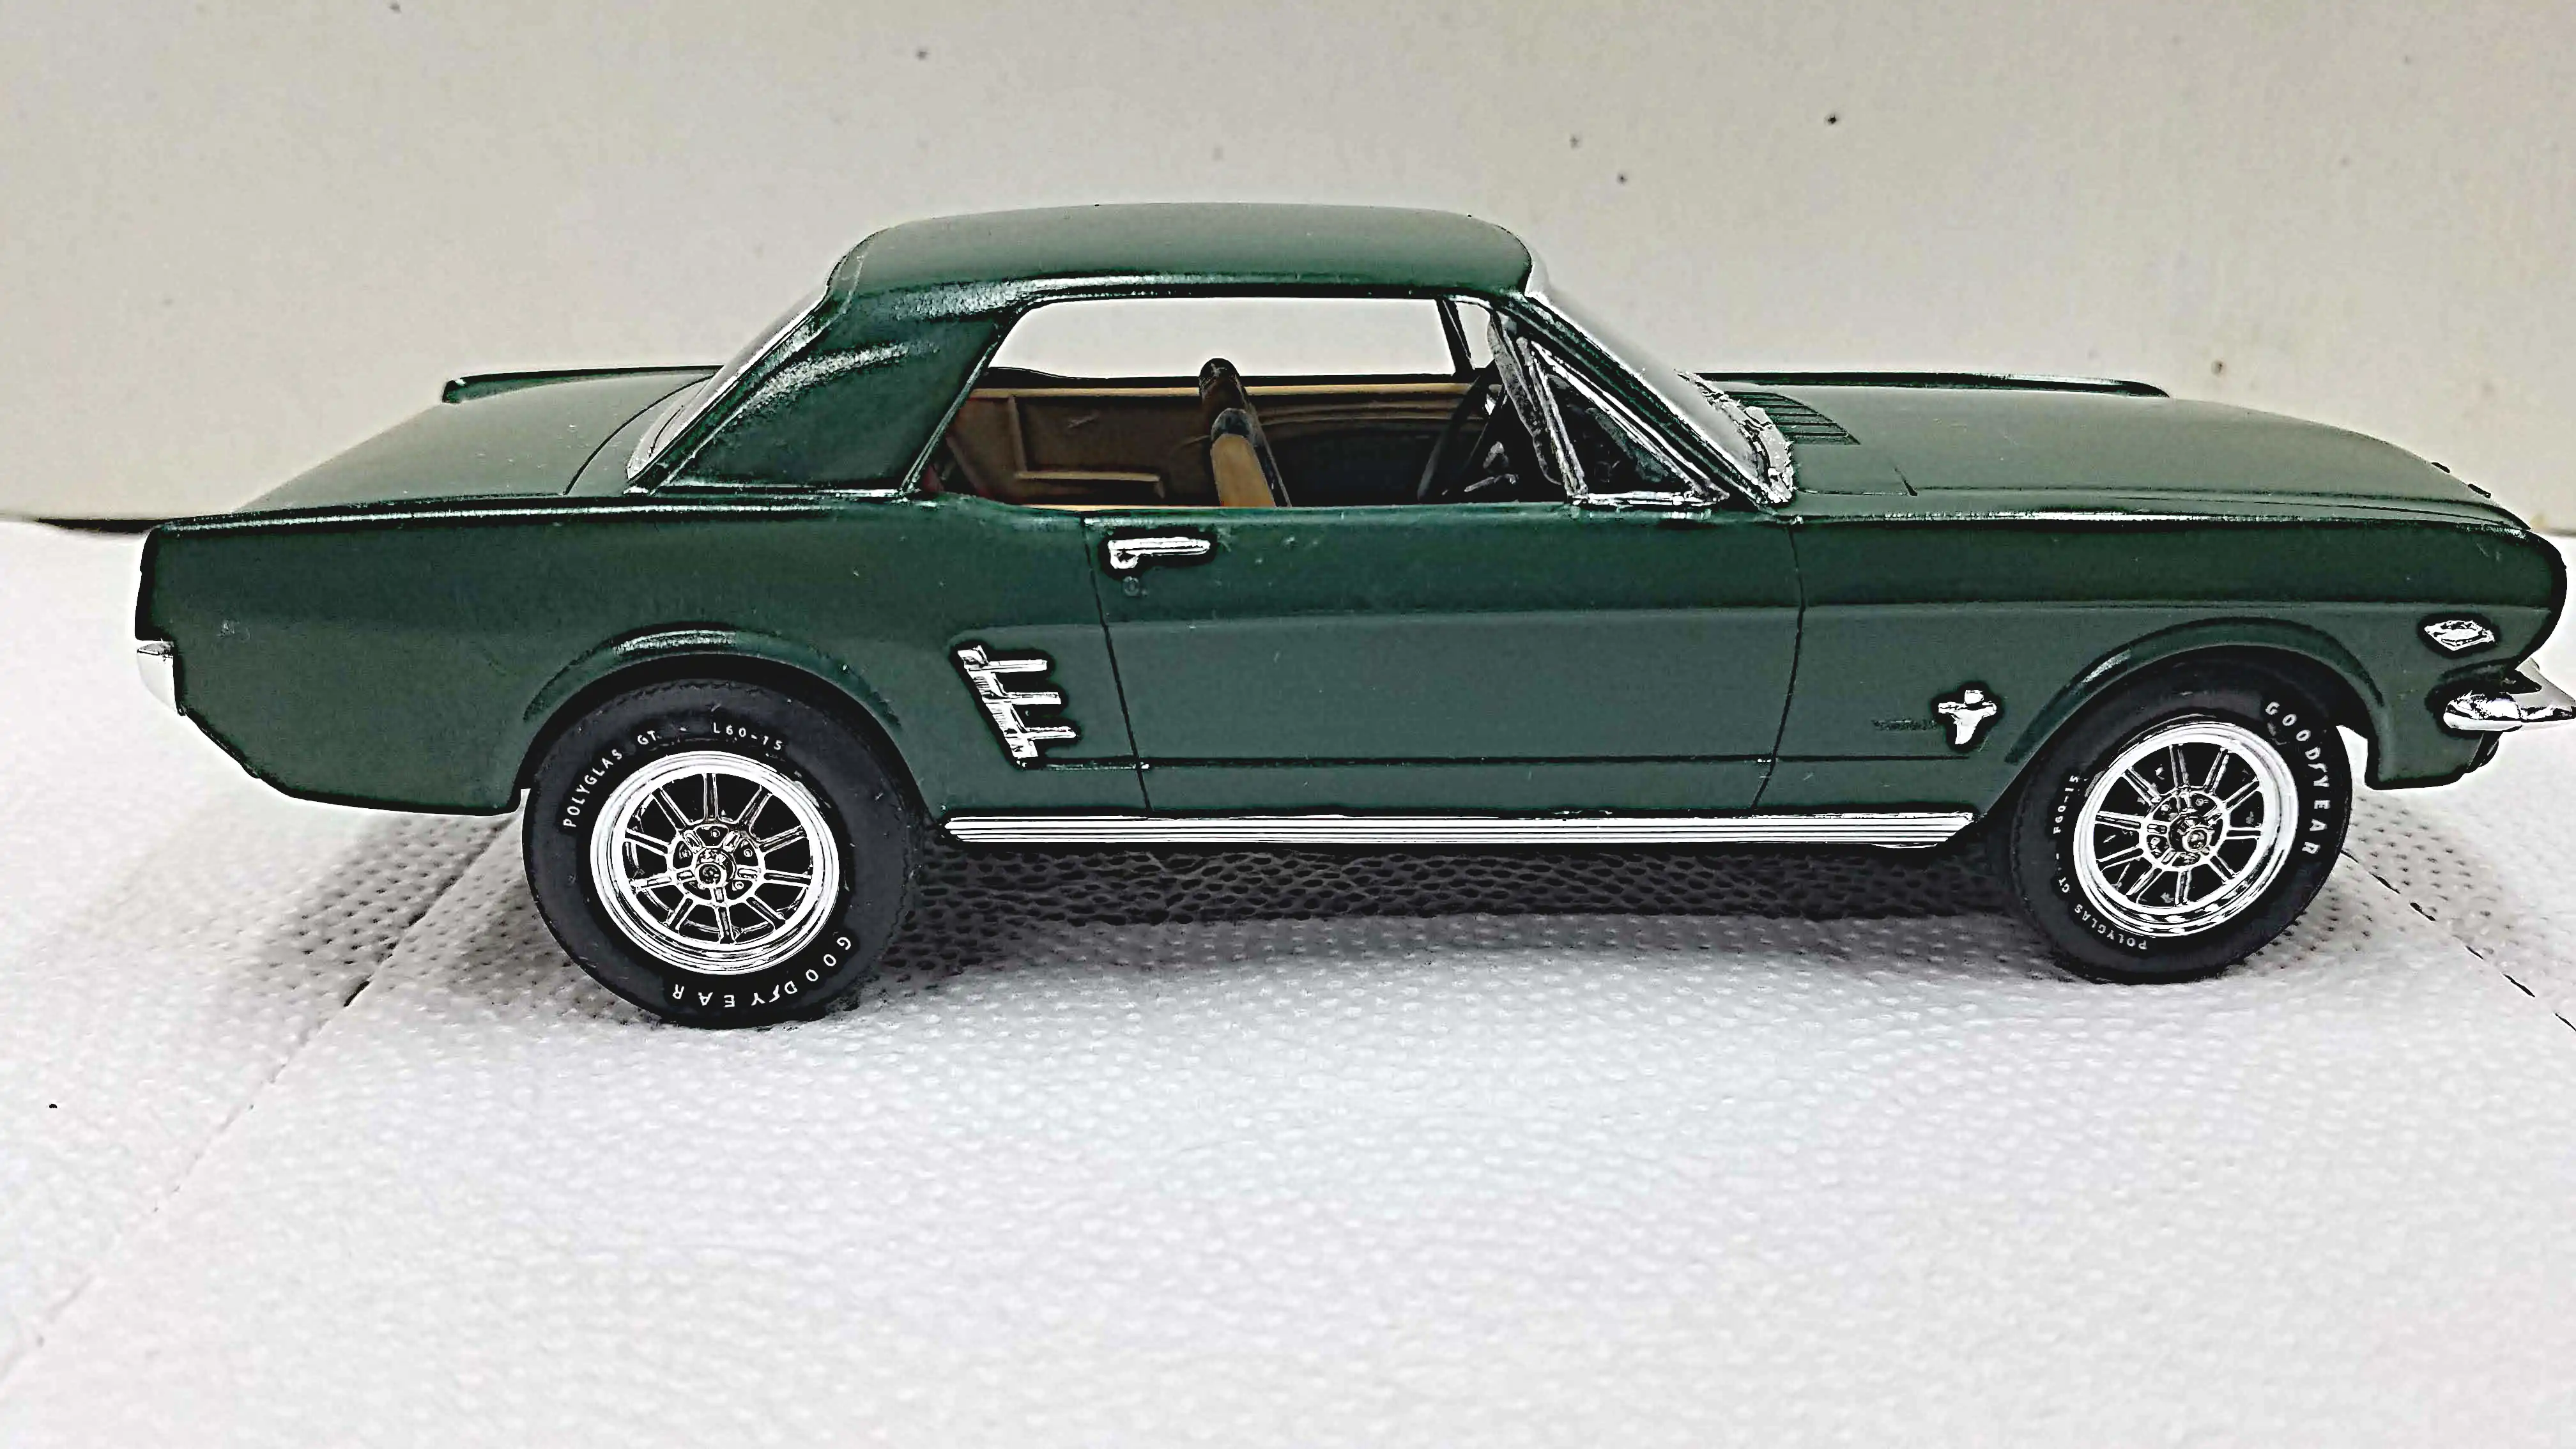 The finished build
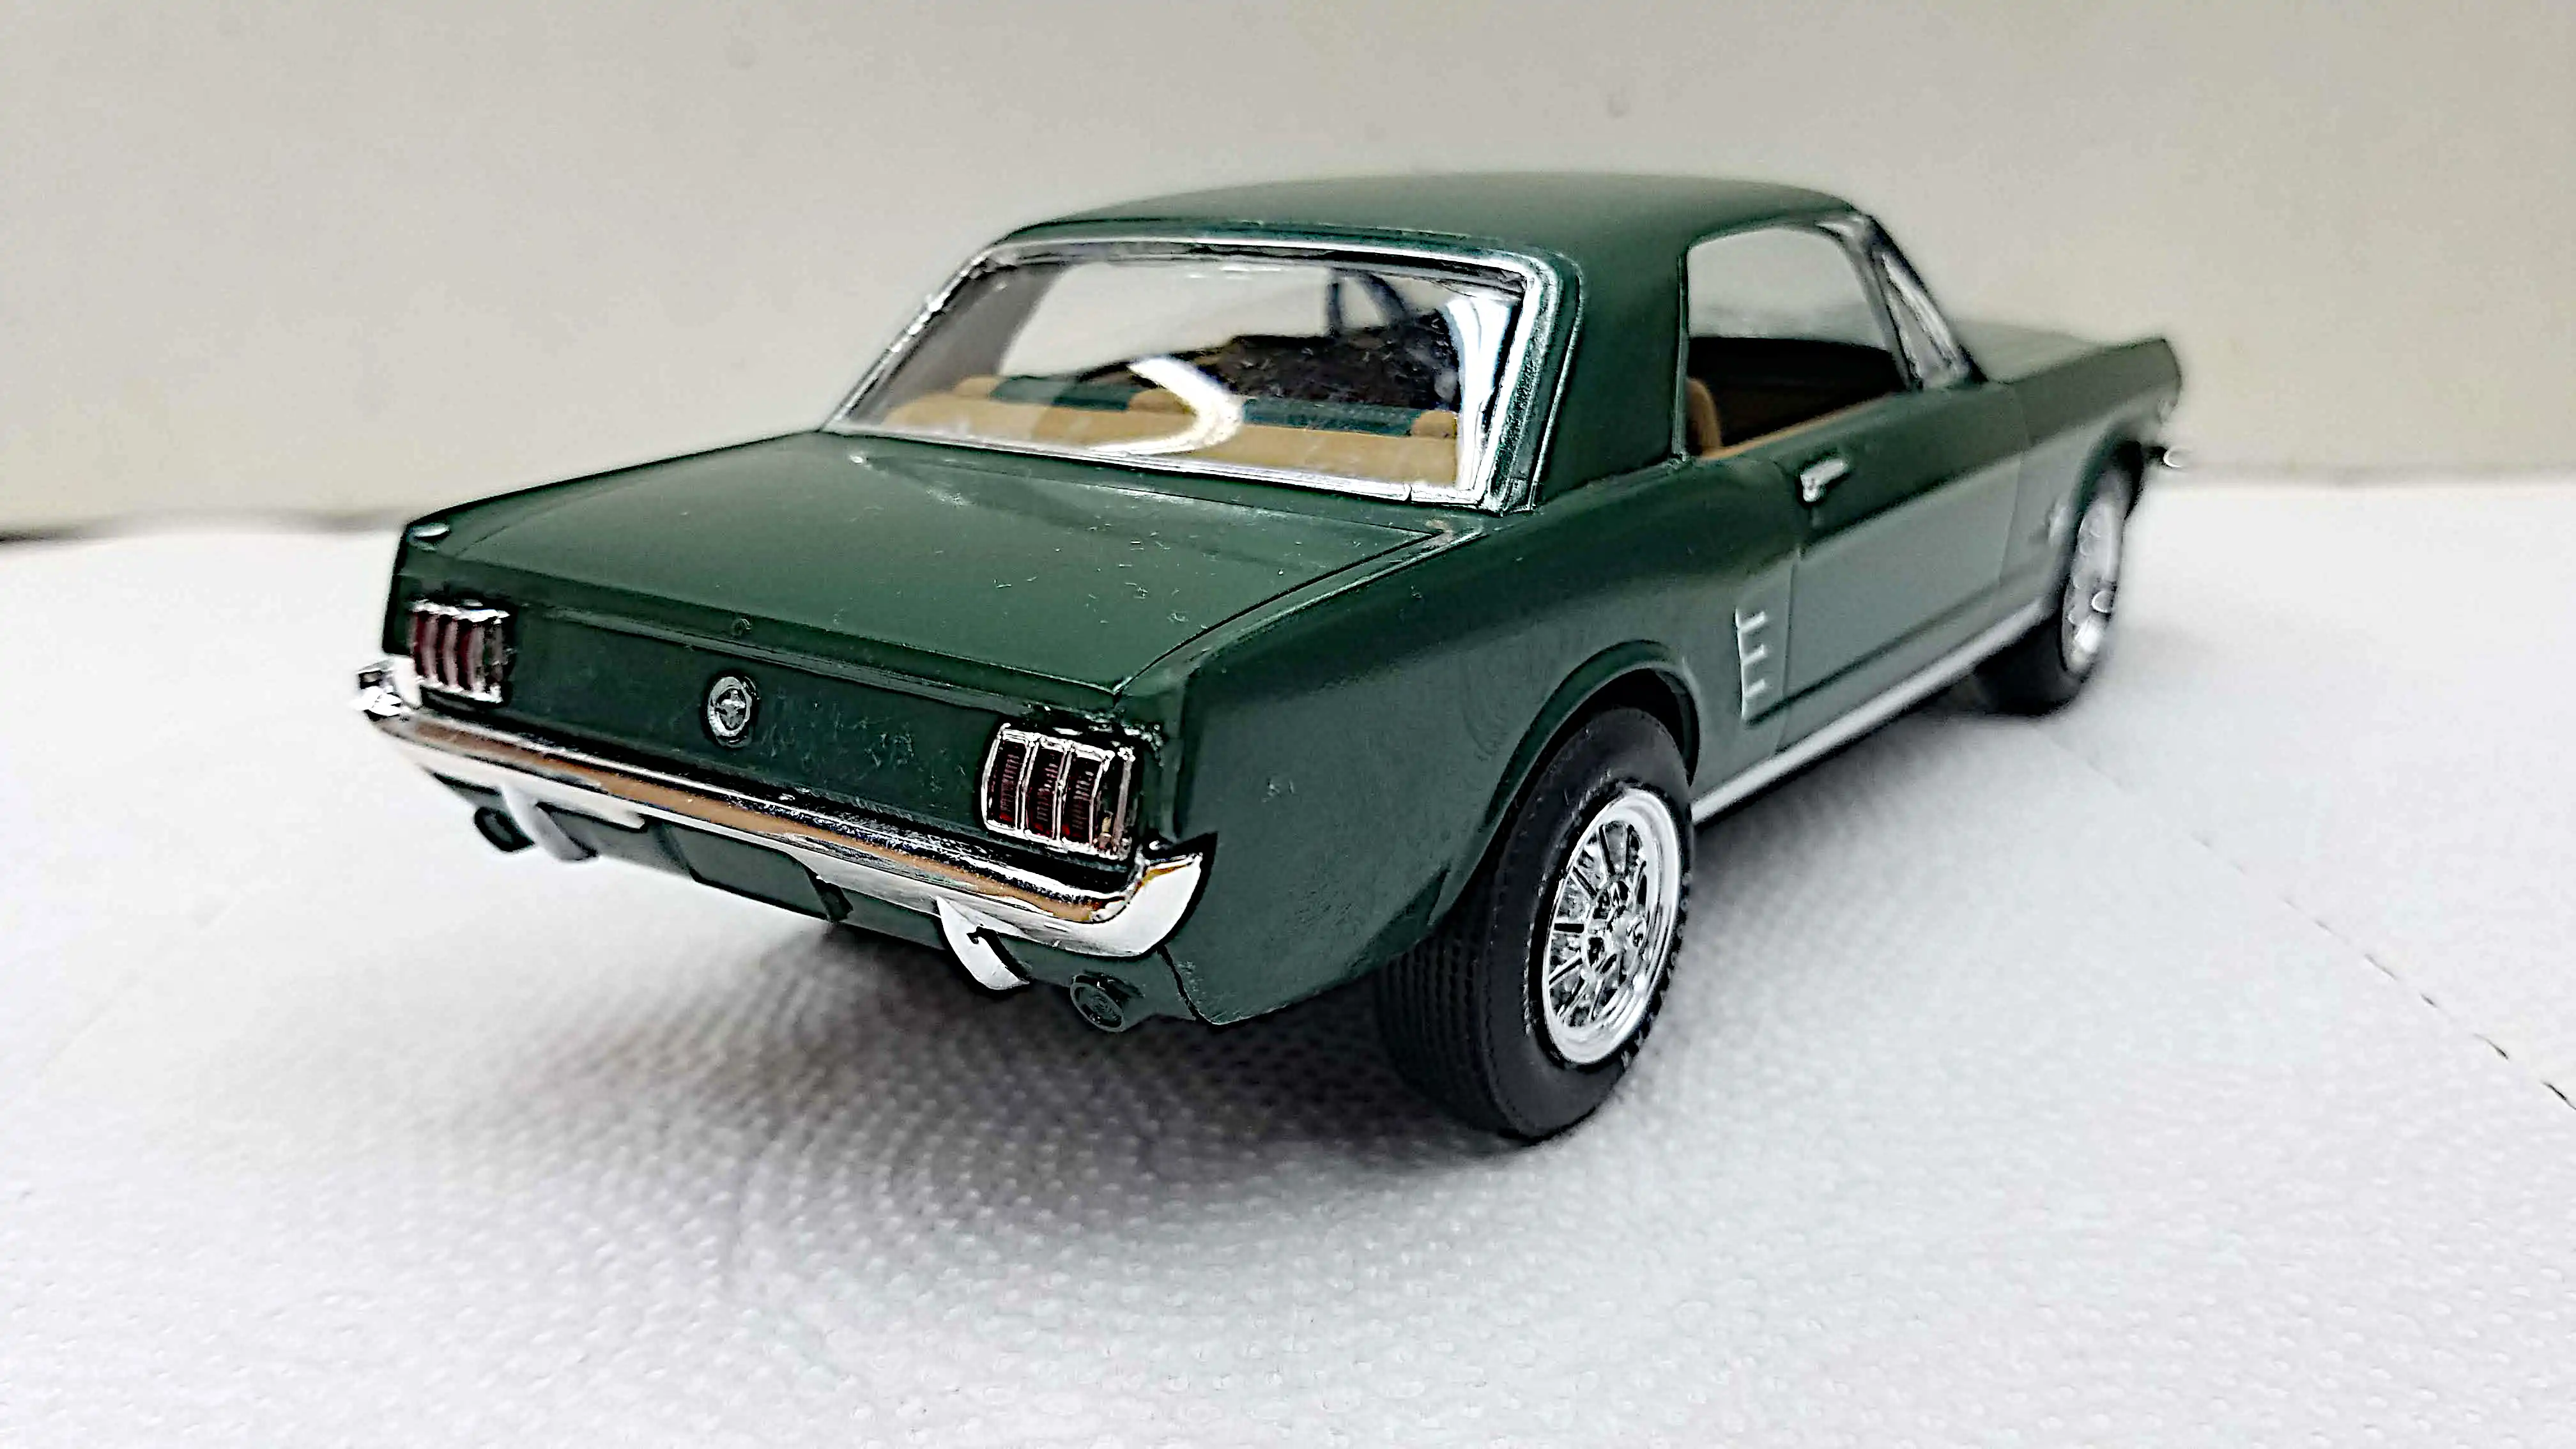 The finished build
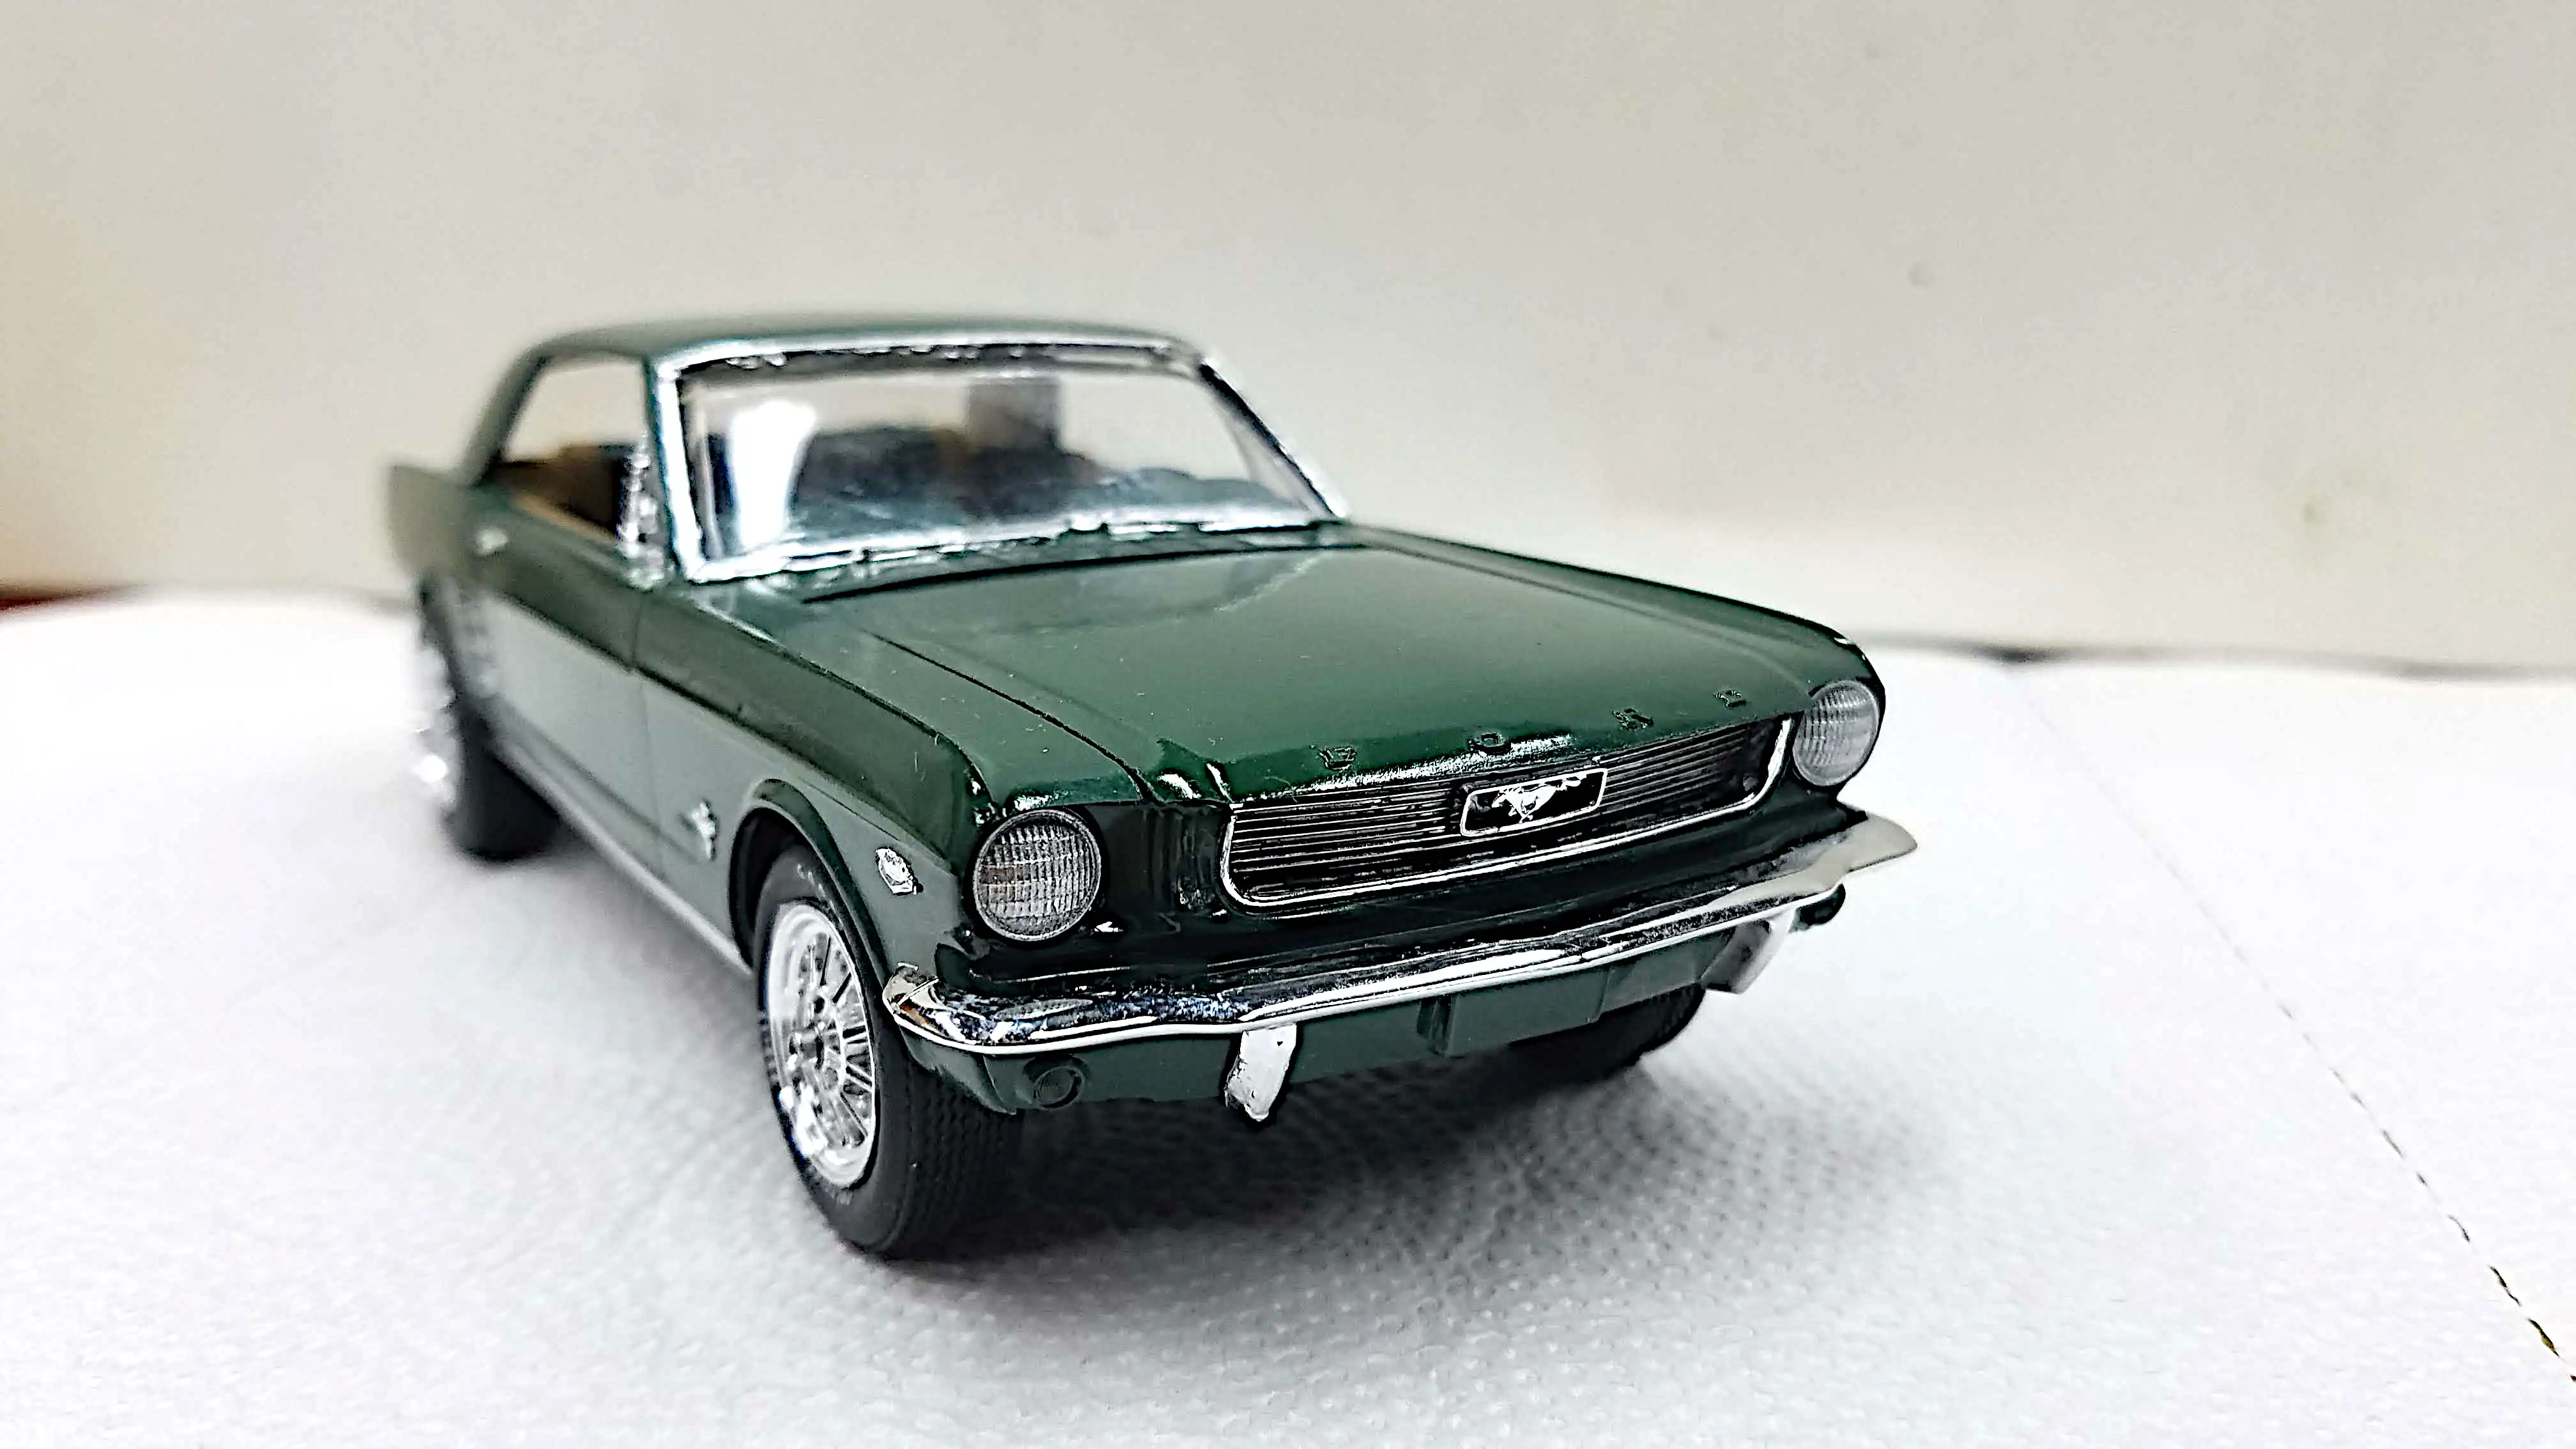 The finished build
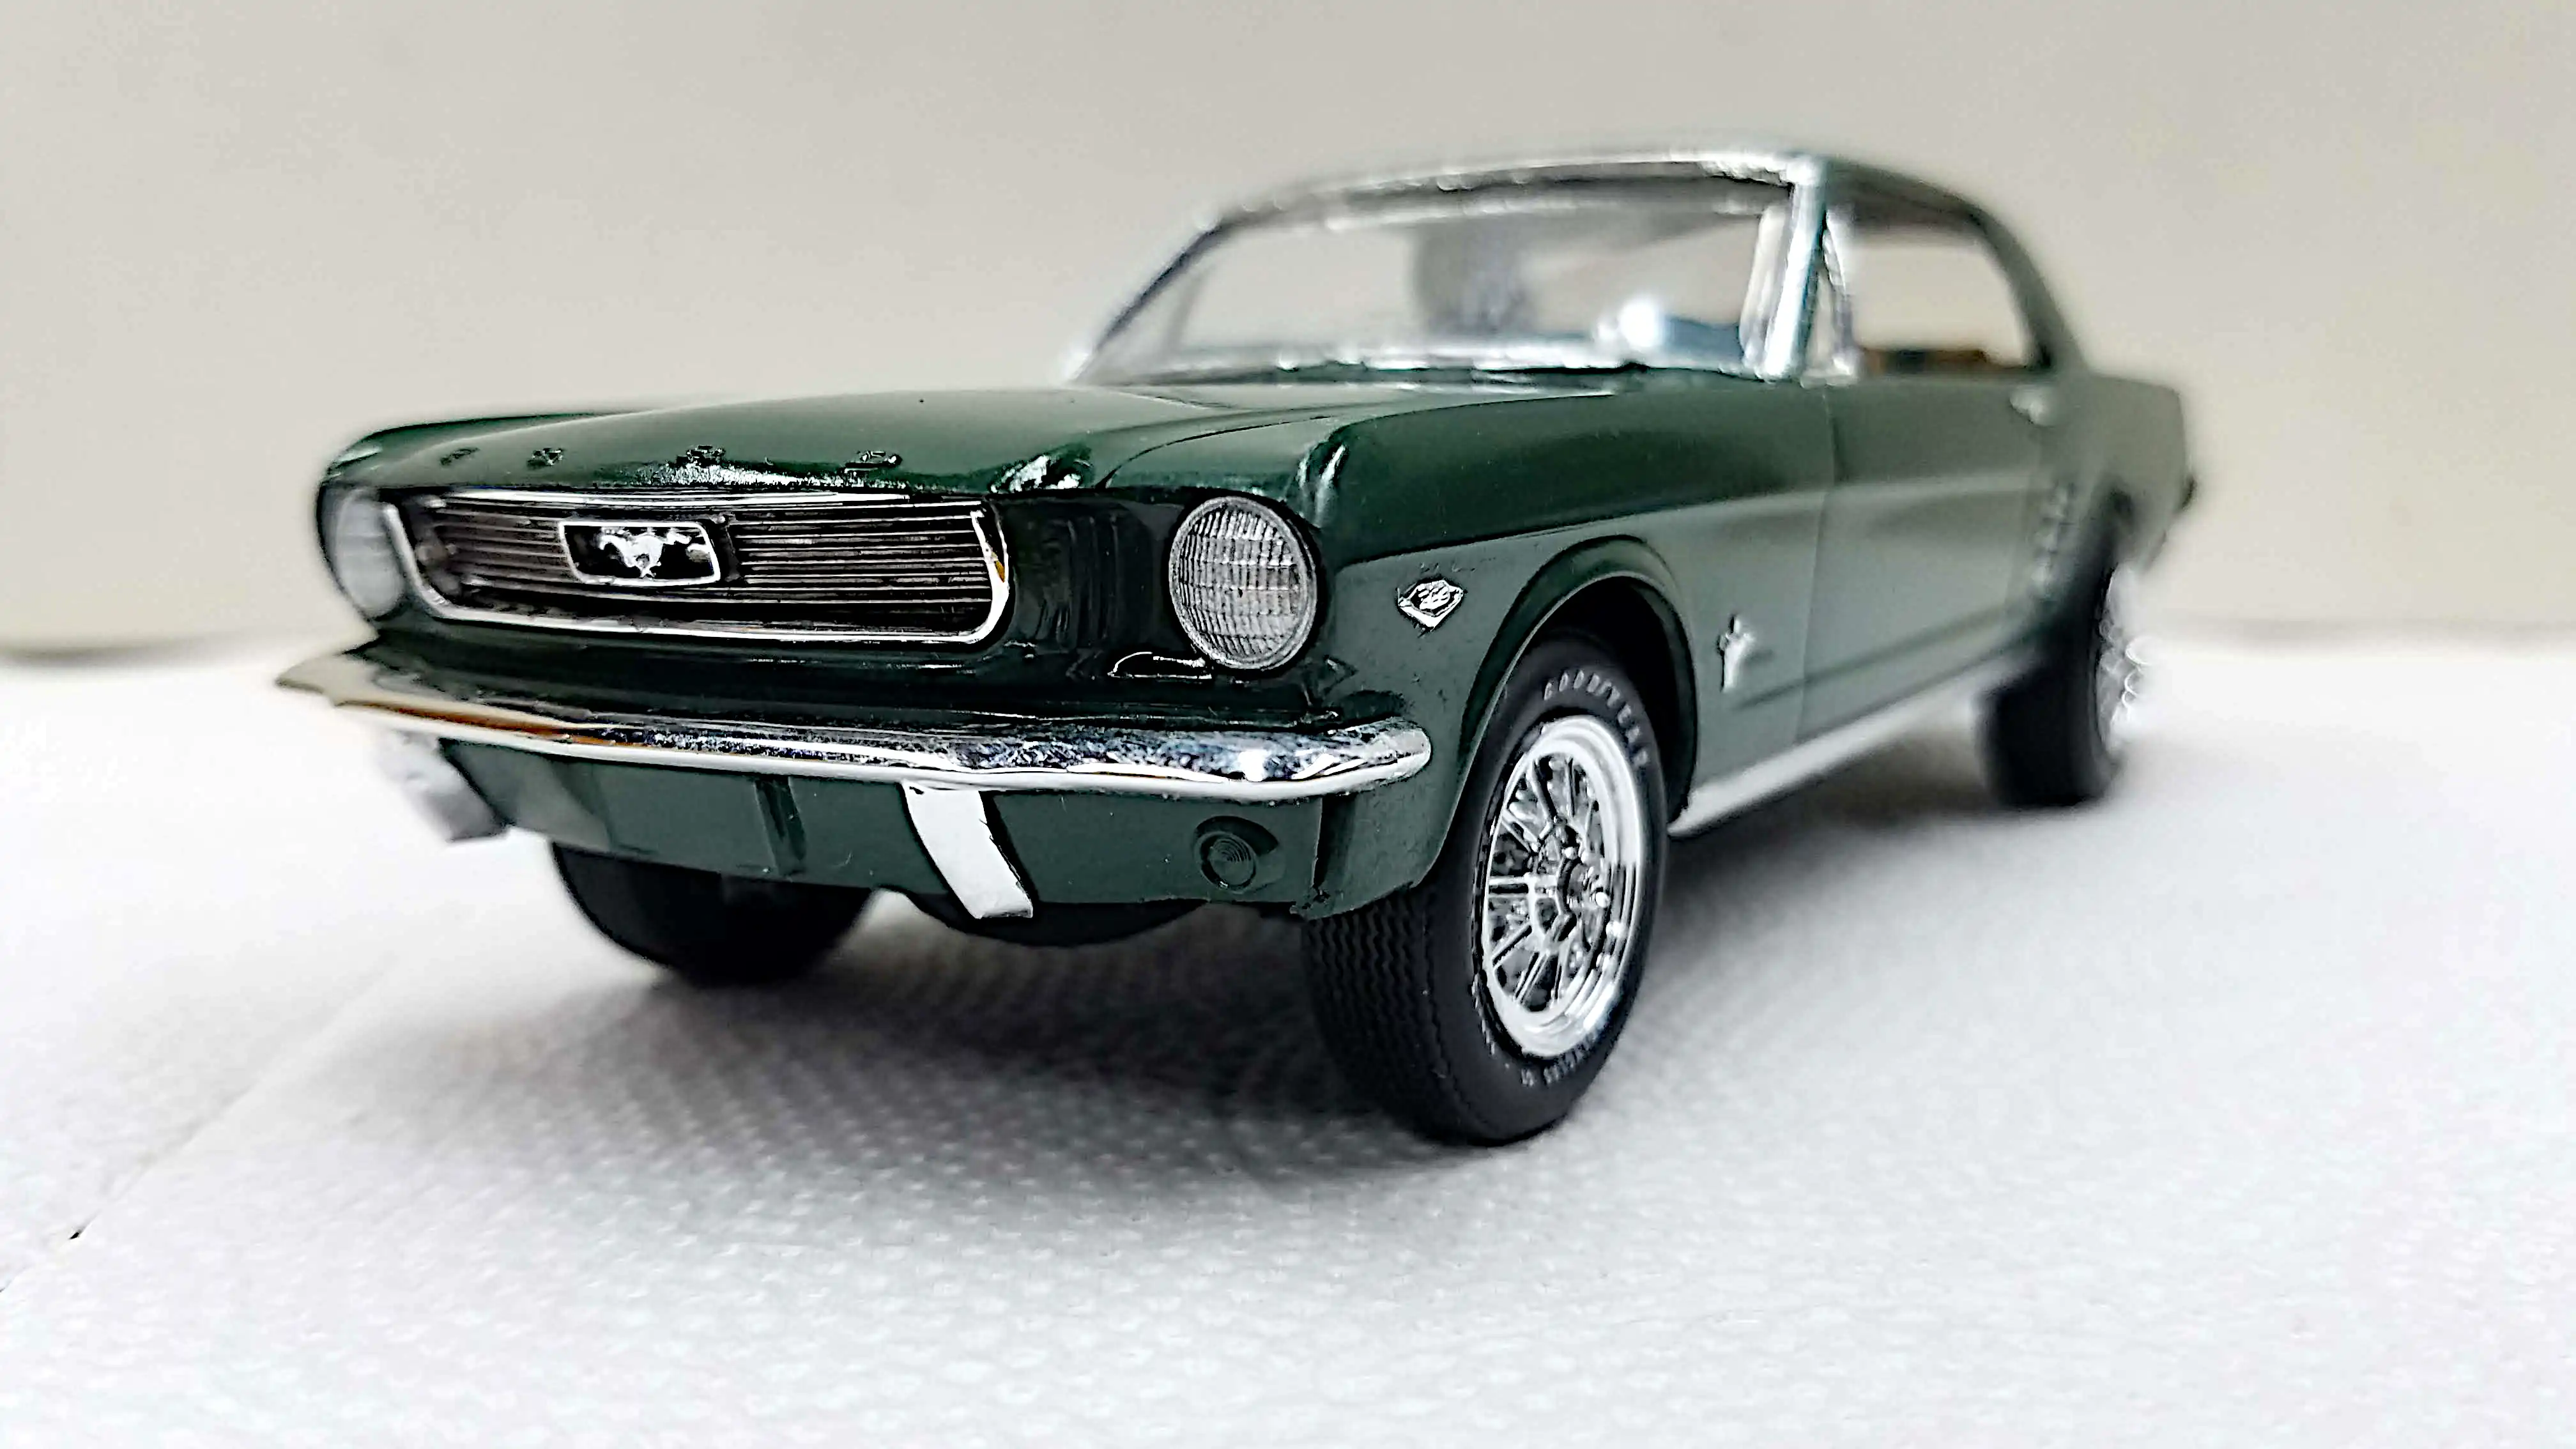 The finished build
 The finished build
 The finished build

