
Opening
Click/tap photo to enlarge
 1954 Hudson Hornet Club Coupe Box Art
This is the box art for the '54 Hudson Hornet Club Coupe I'm building. It can be viewed on Scalemates.
- Brand: Moebius Models
- Title: 1954 Hudson Hornet Club coupe
- Number: 1213
- Scale: 1:25
- Type: Static Model Kit
- Released: 2015 New Tool
- Package: Rigid Box Top Opener
- Barcode: 0854006005190 (EAN)
- Topic: Hudson Hornet >> Cars (Vehicles)
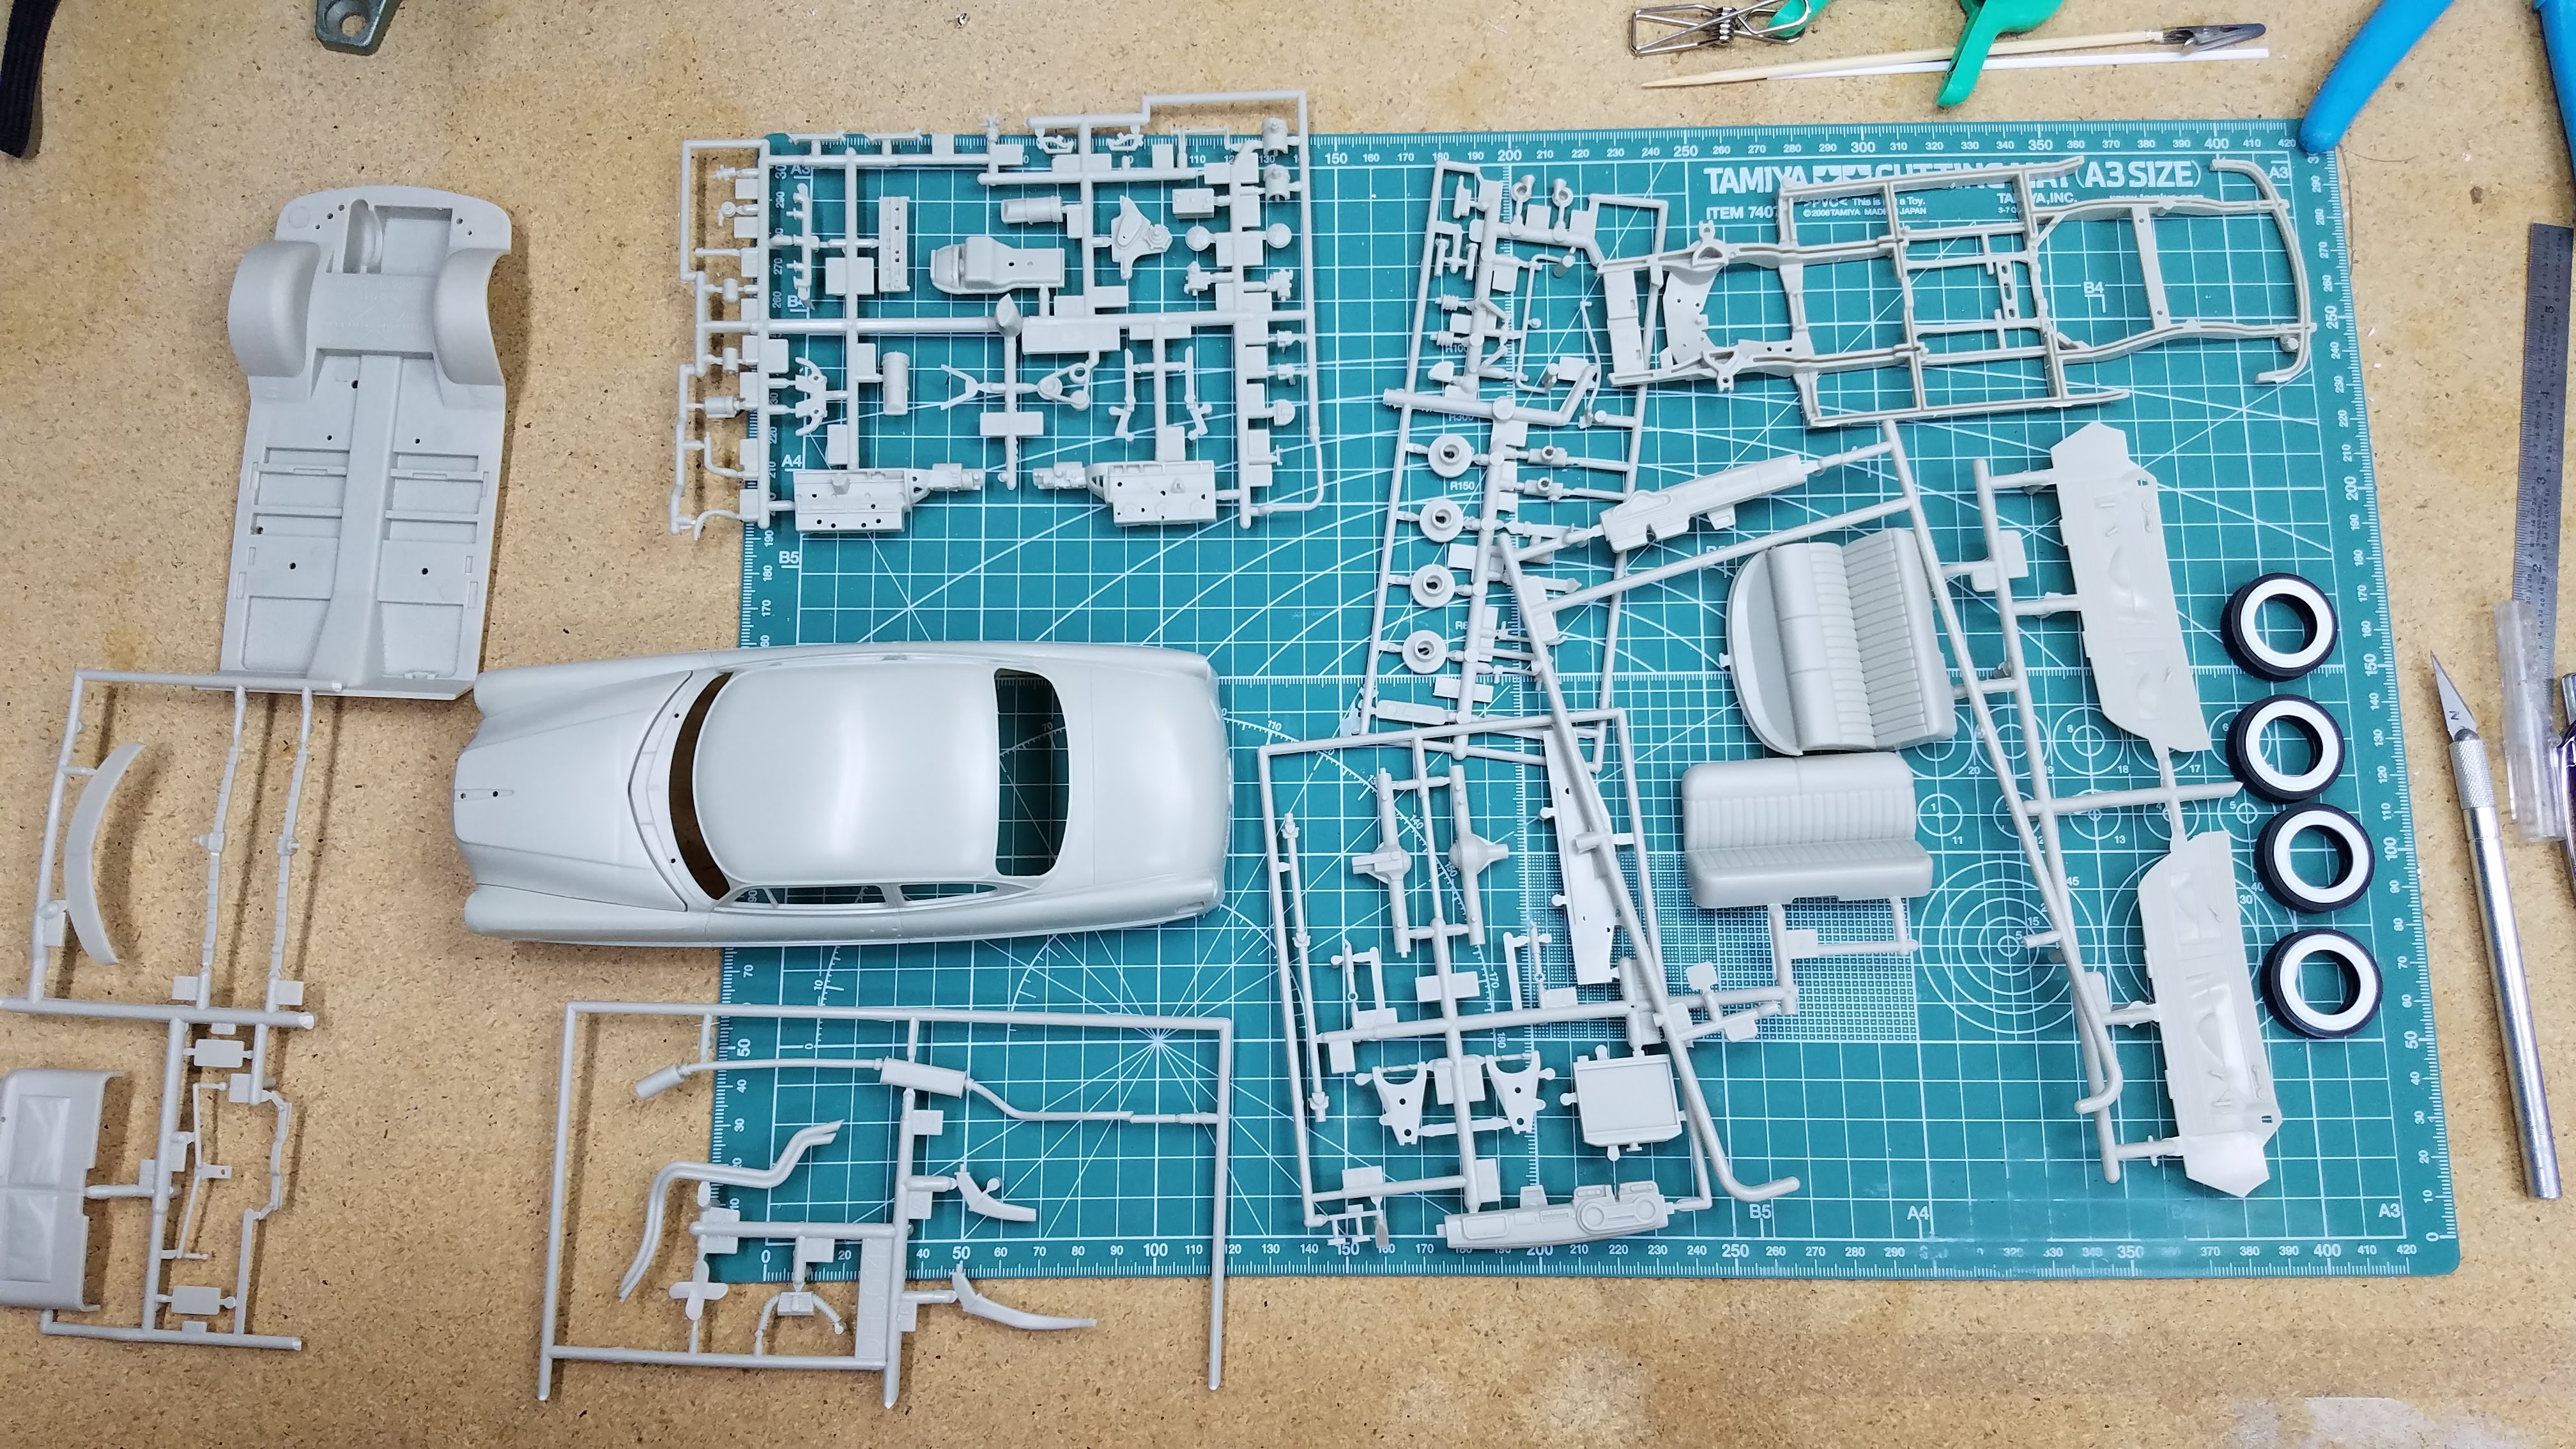 All parts are out of the box and inspected
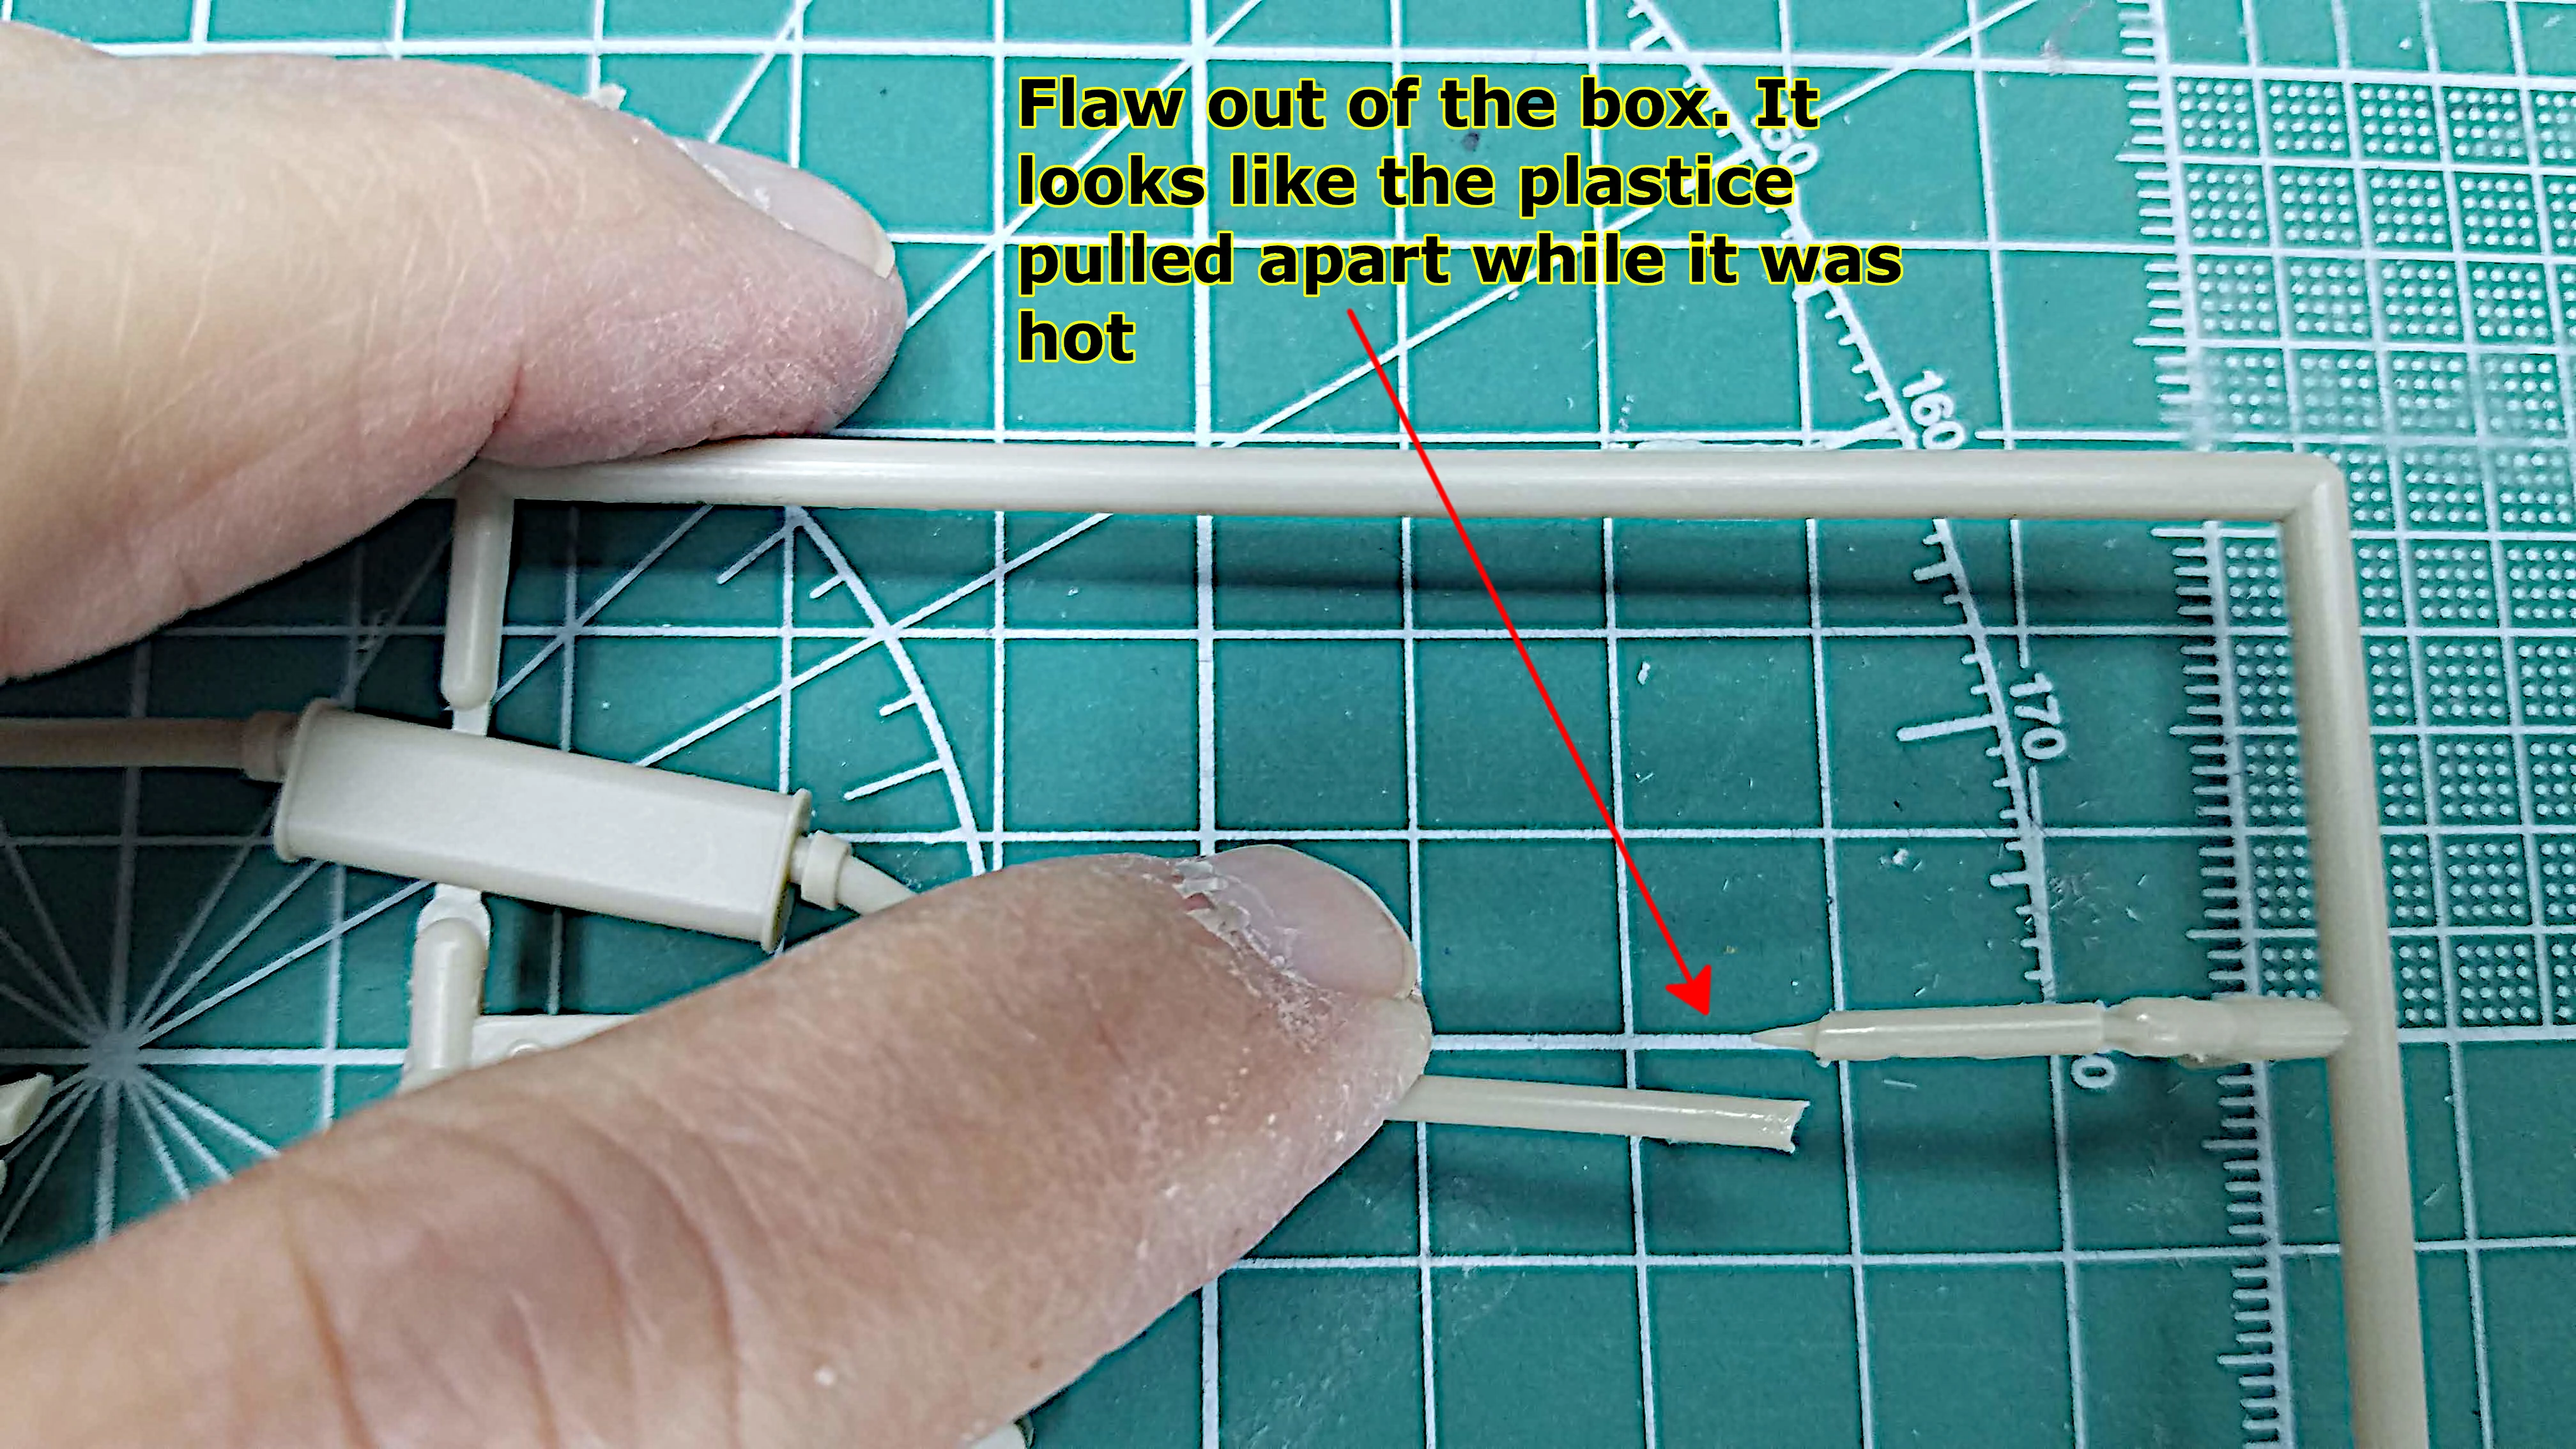 Exhaust pipe flaw out of the box
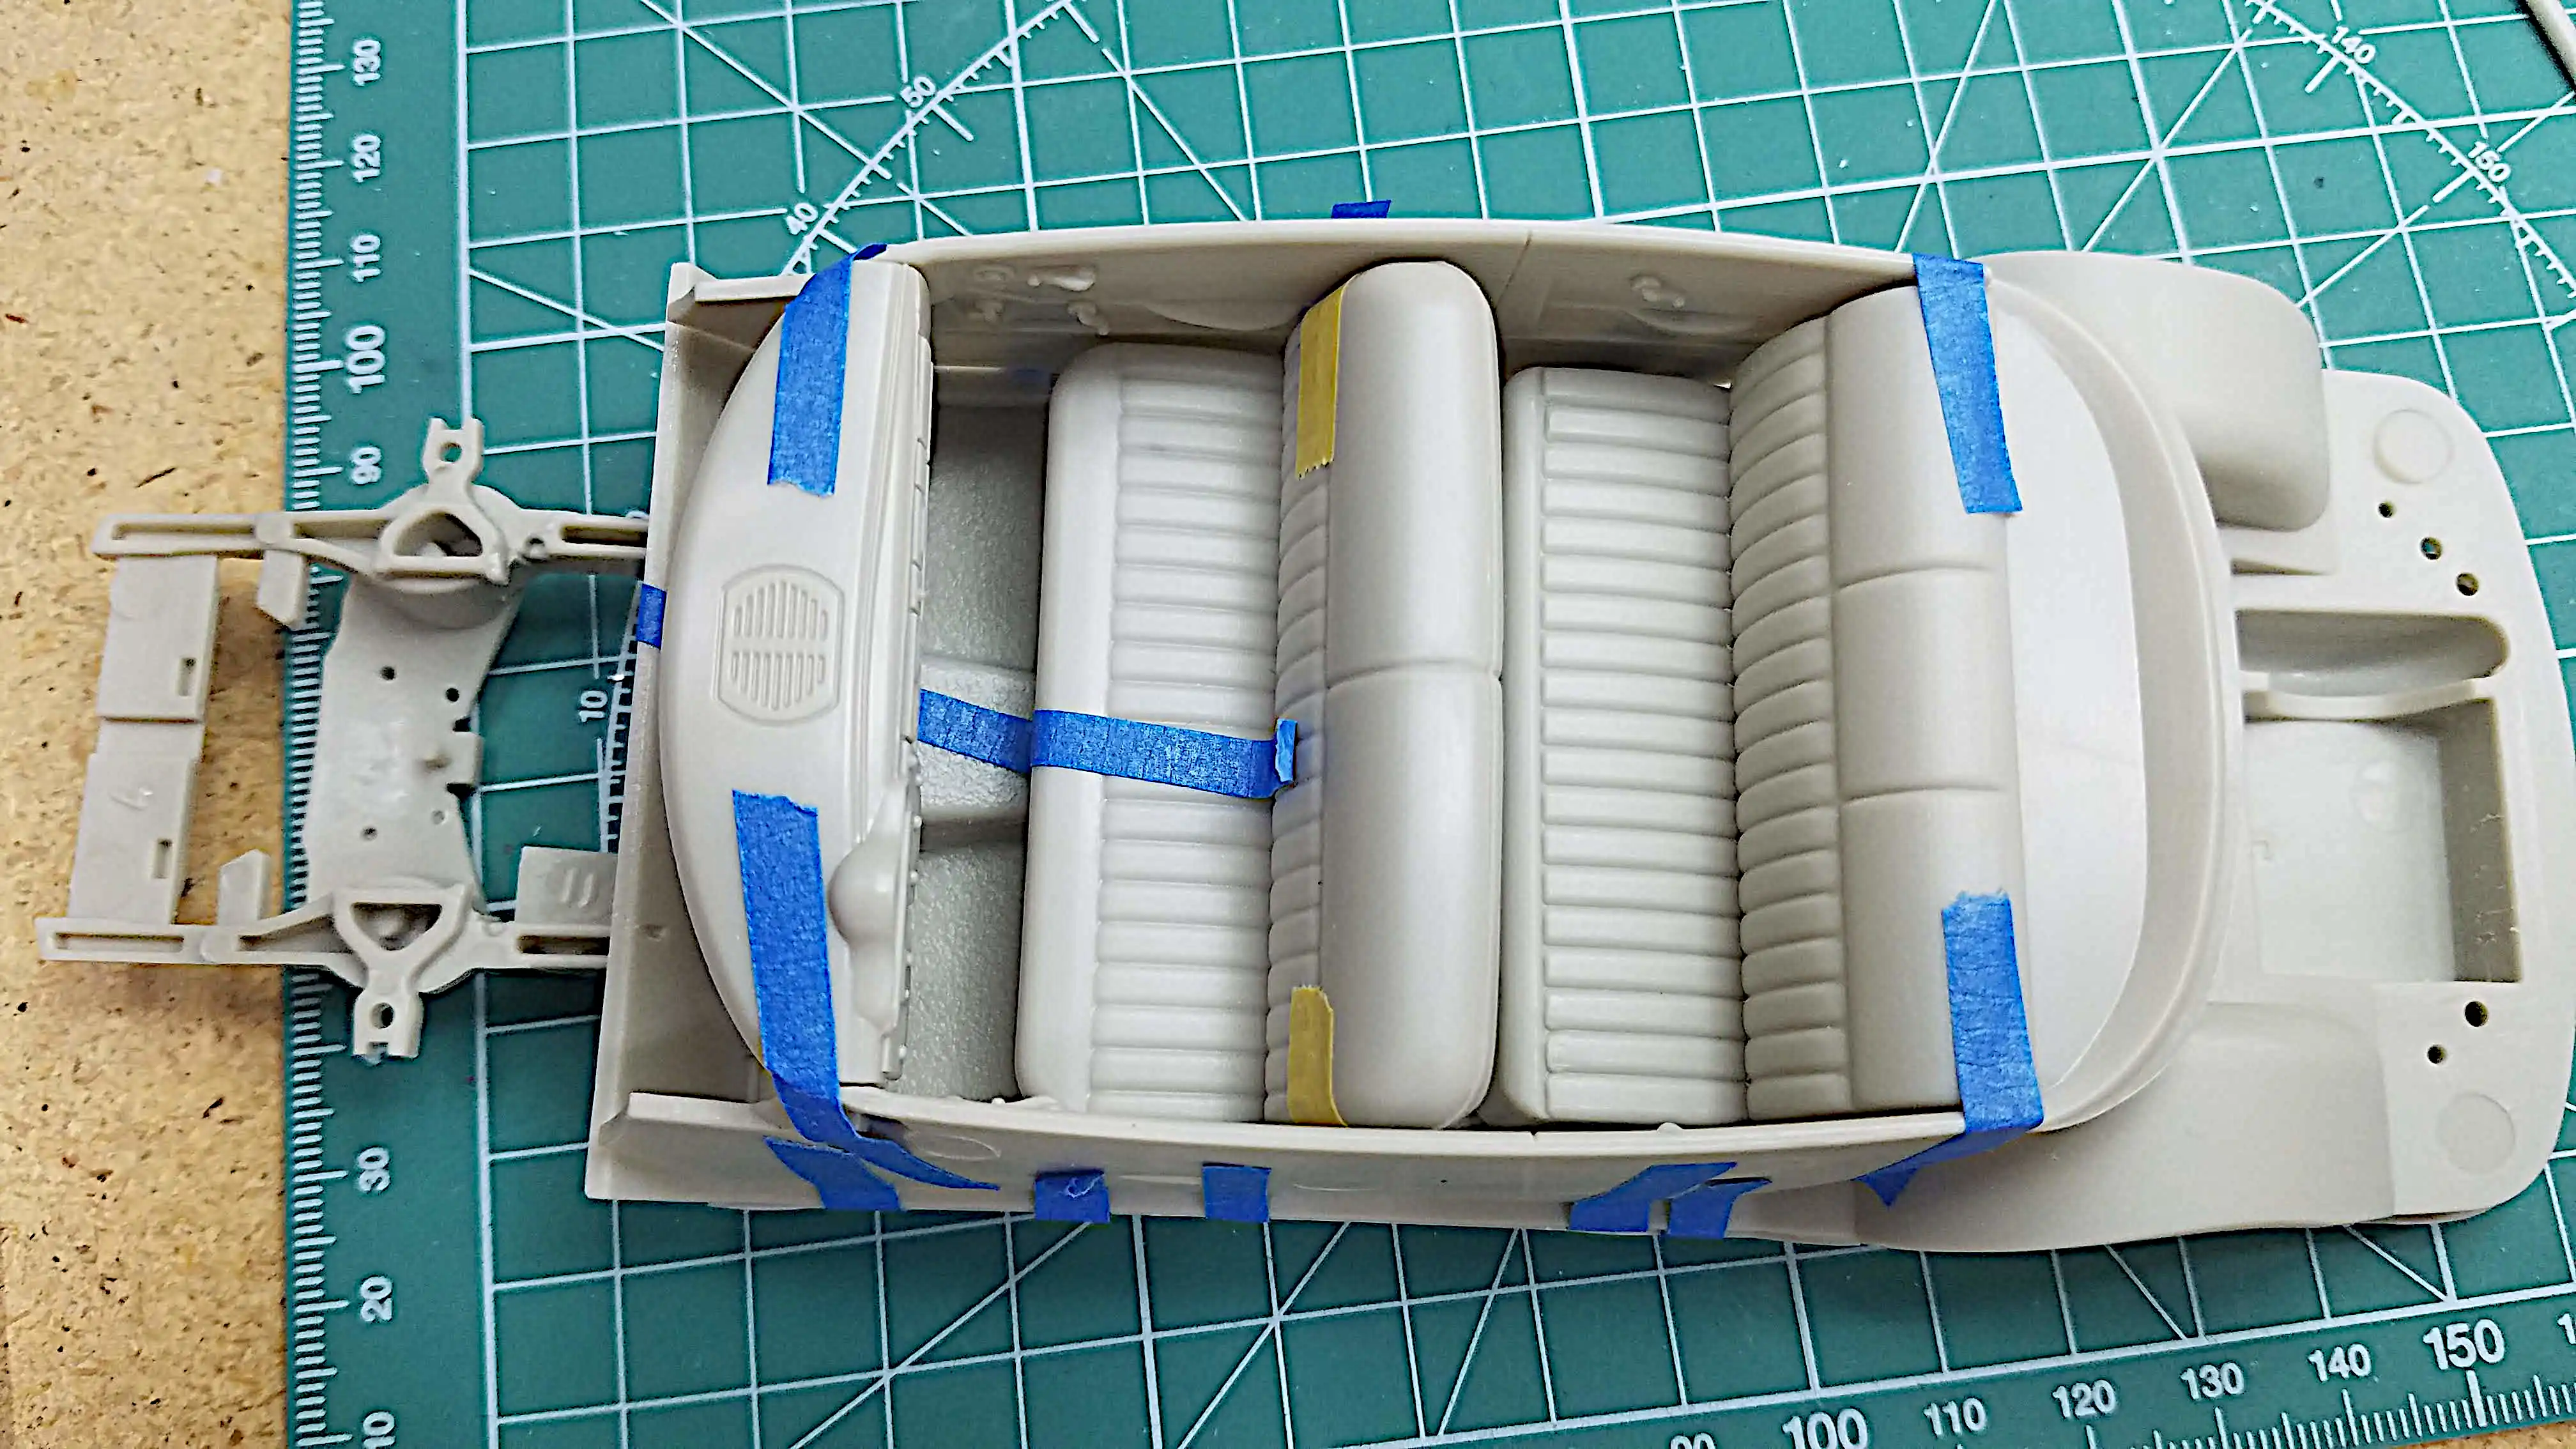 Dry fitting the interior
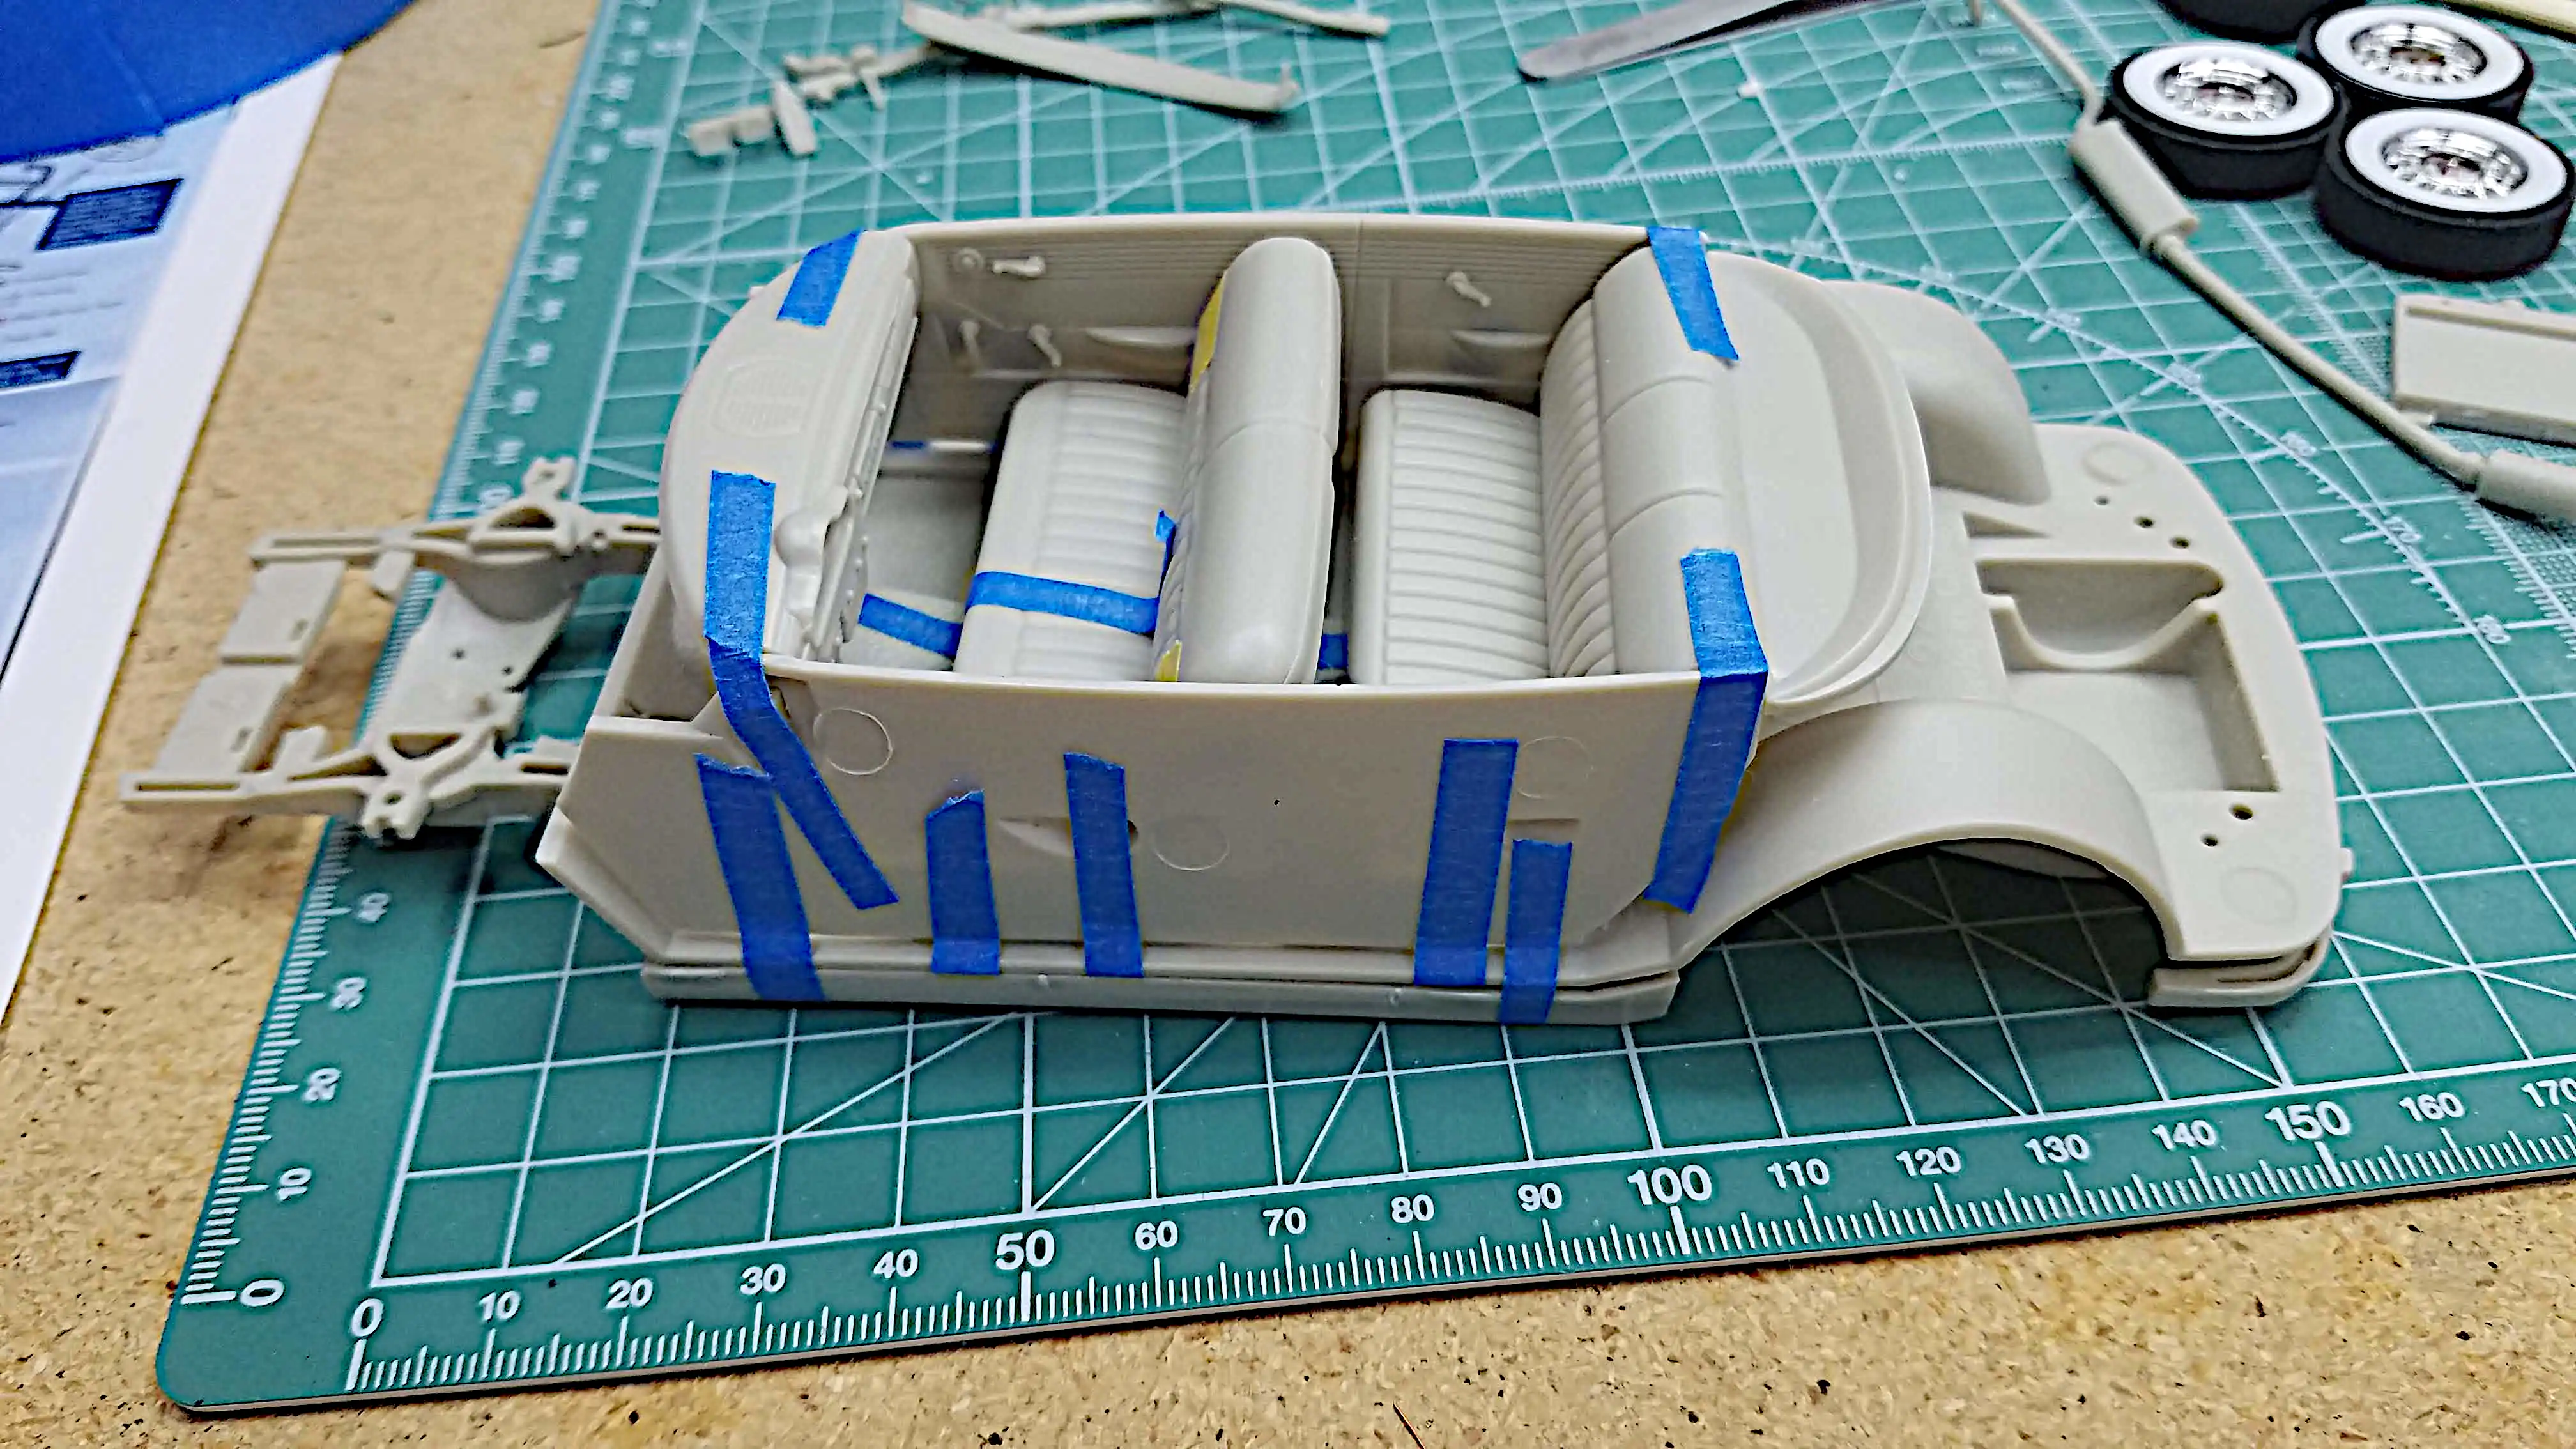 Another view of the mocked up interior
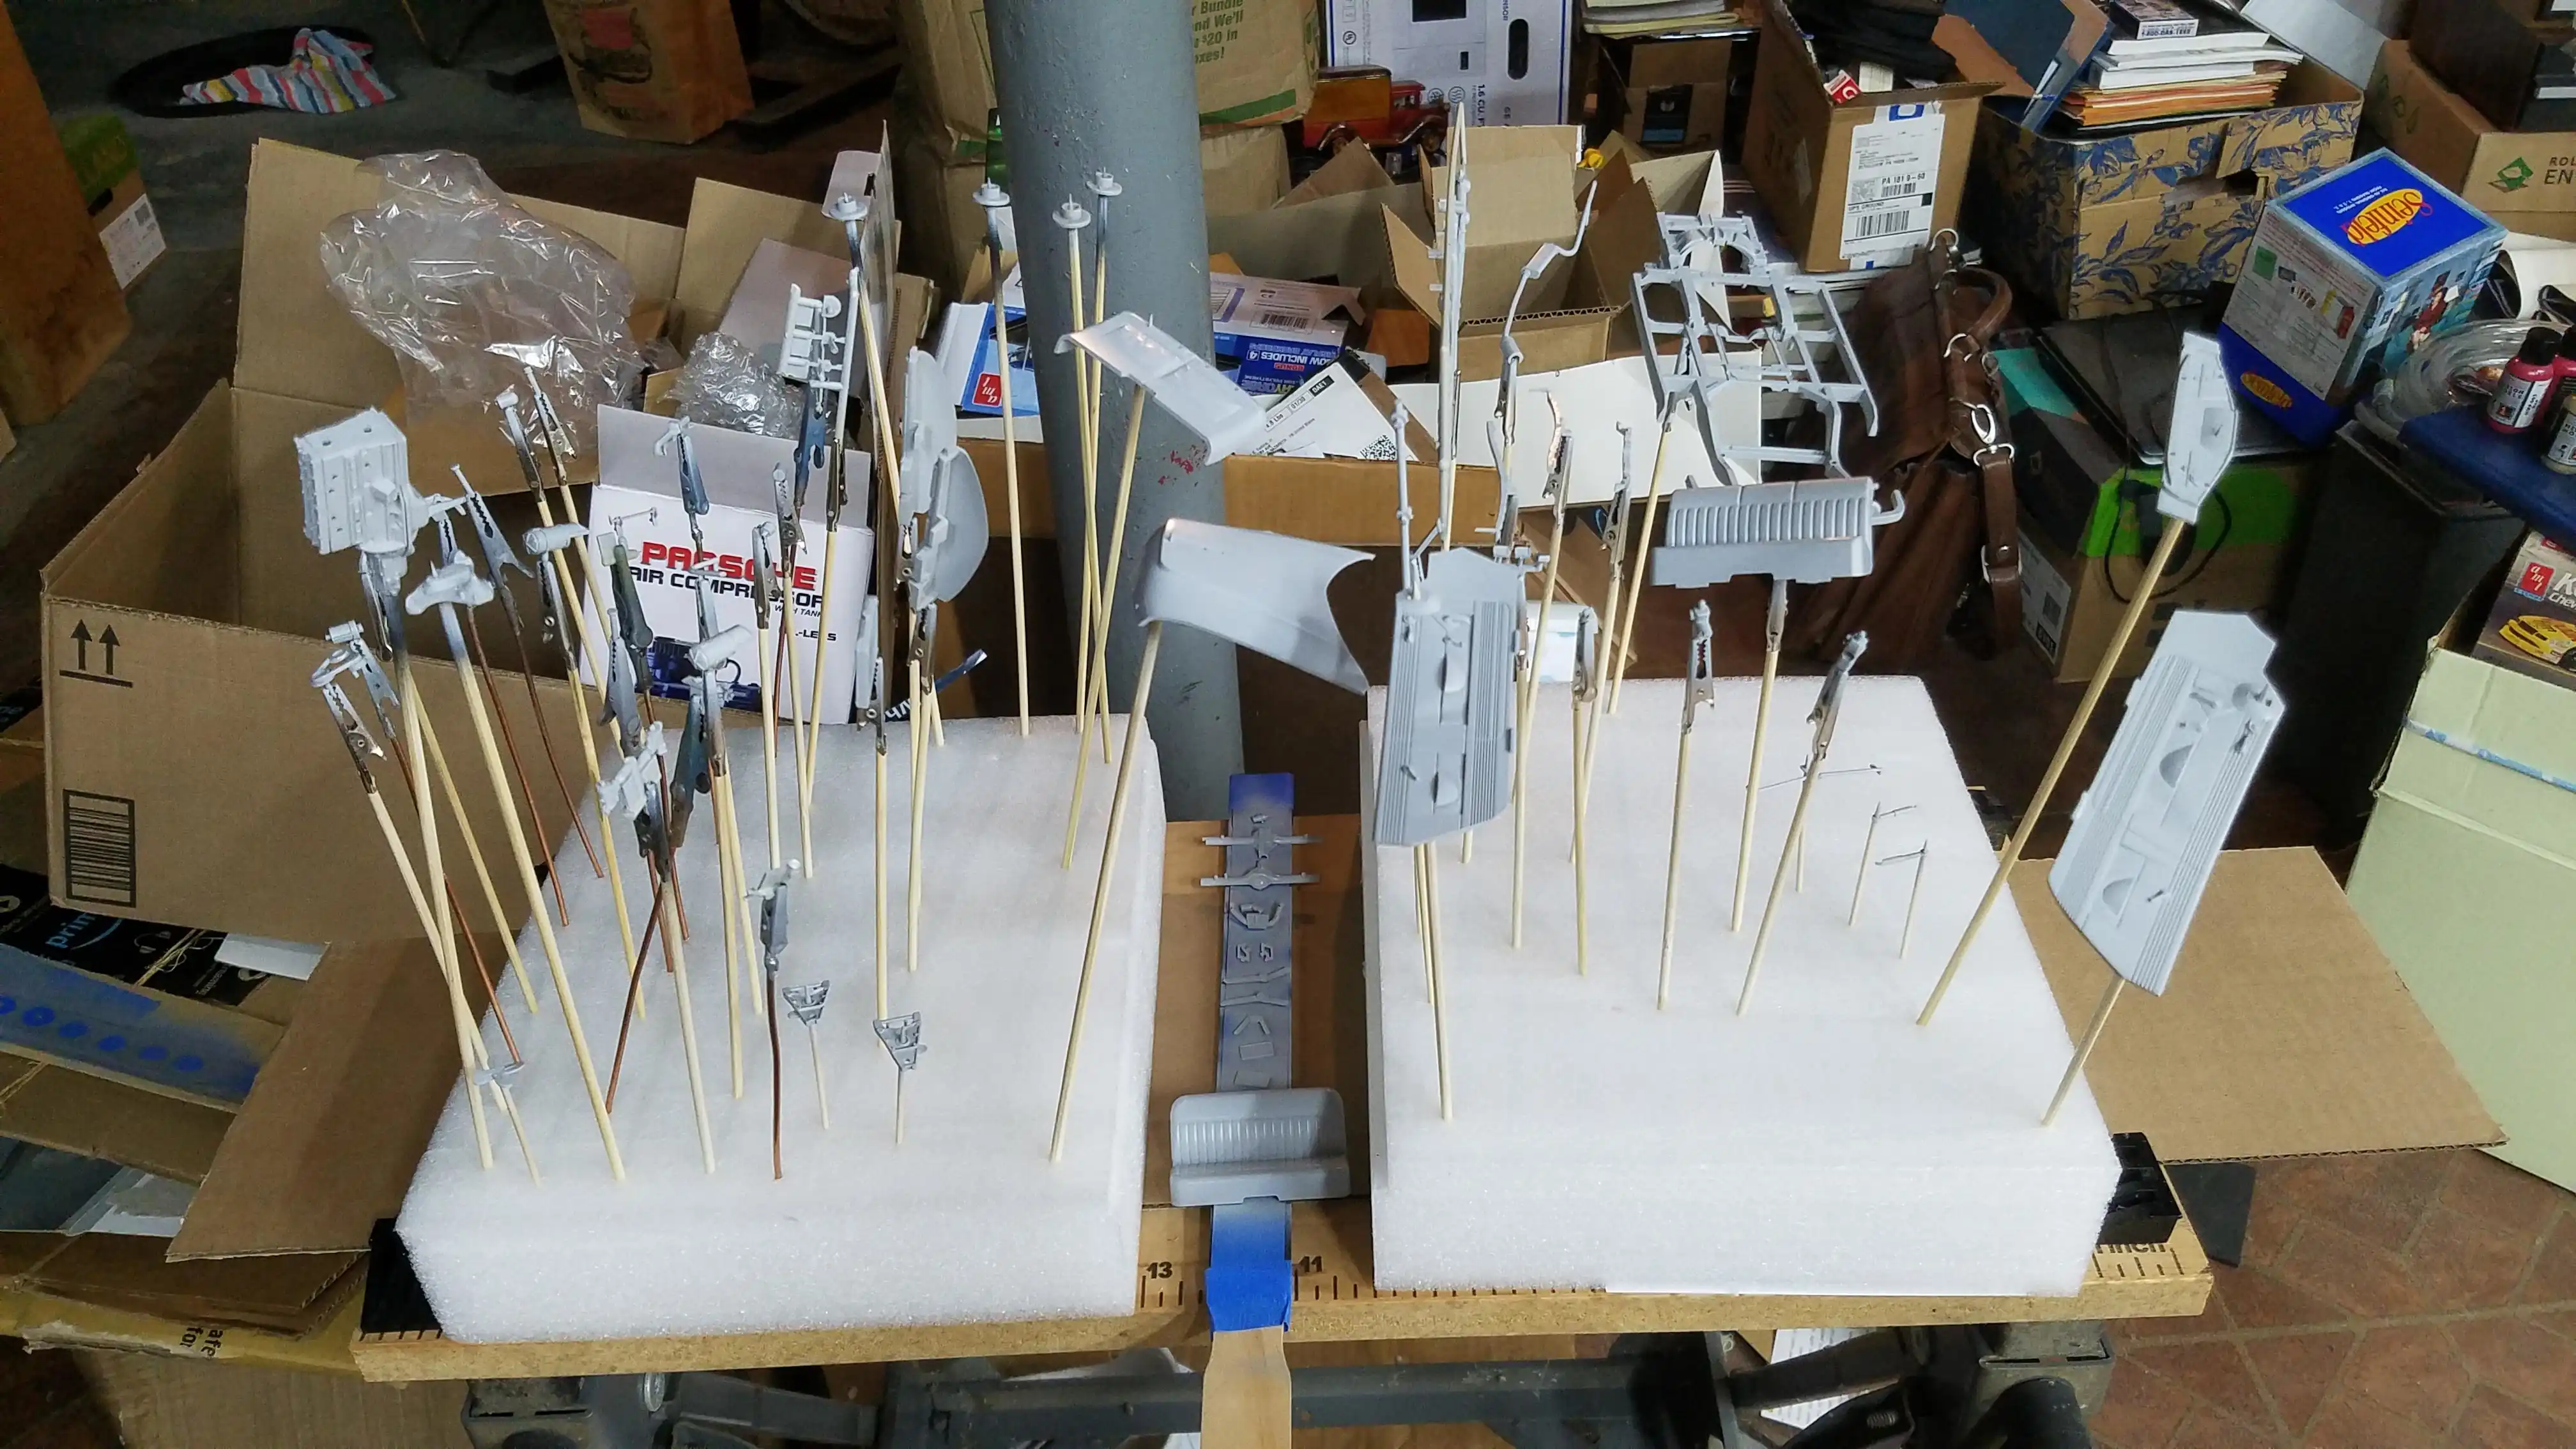
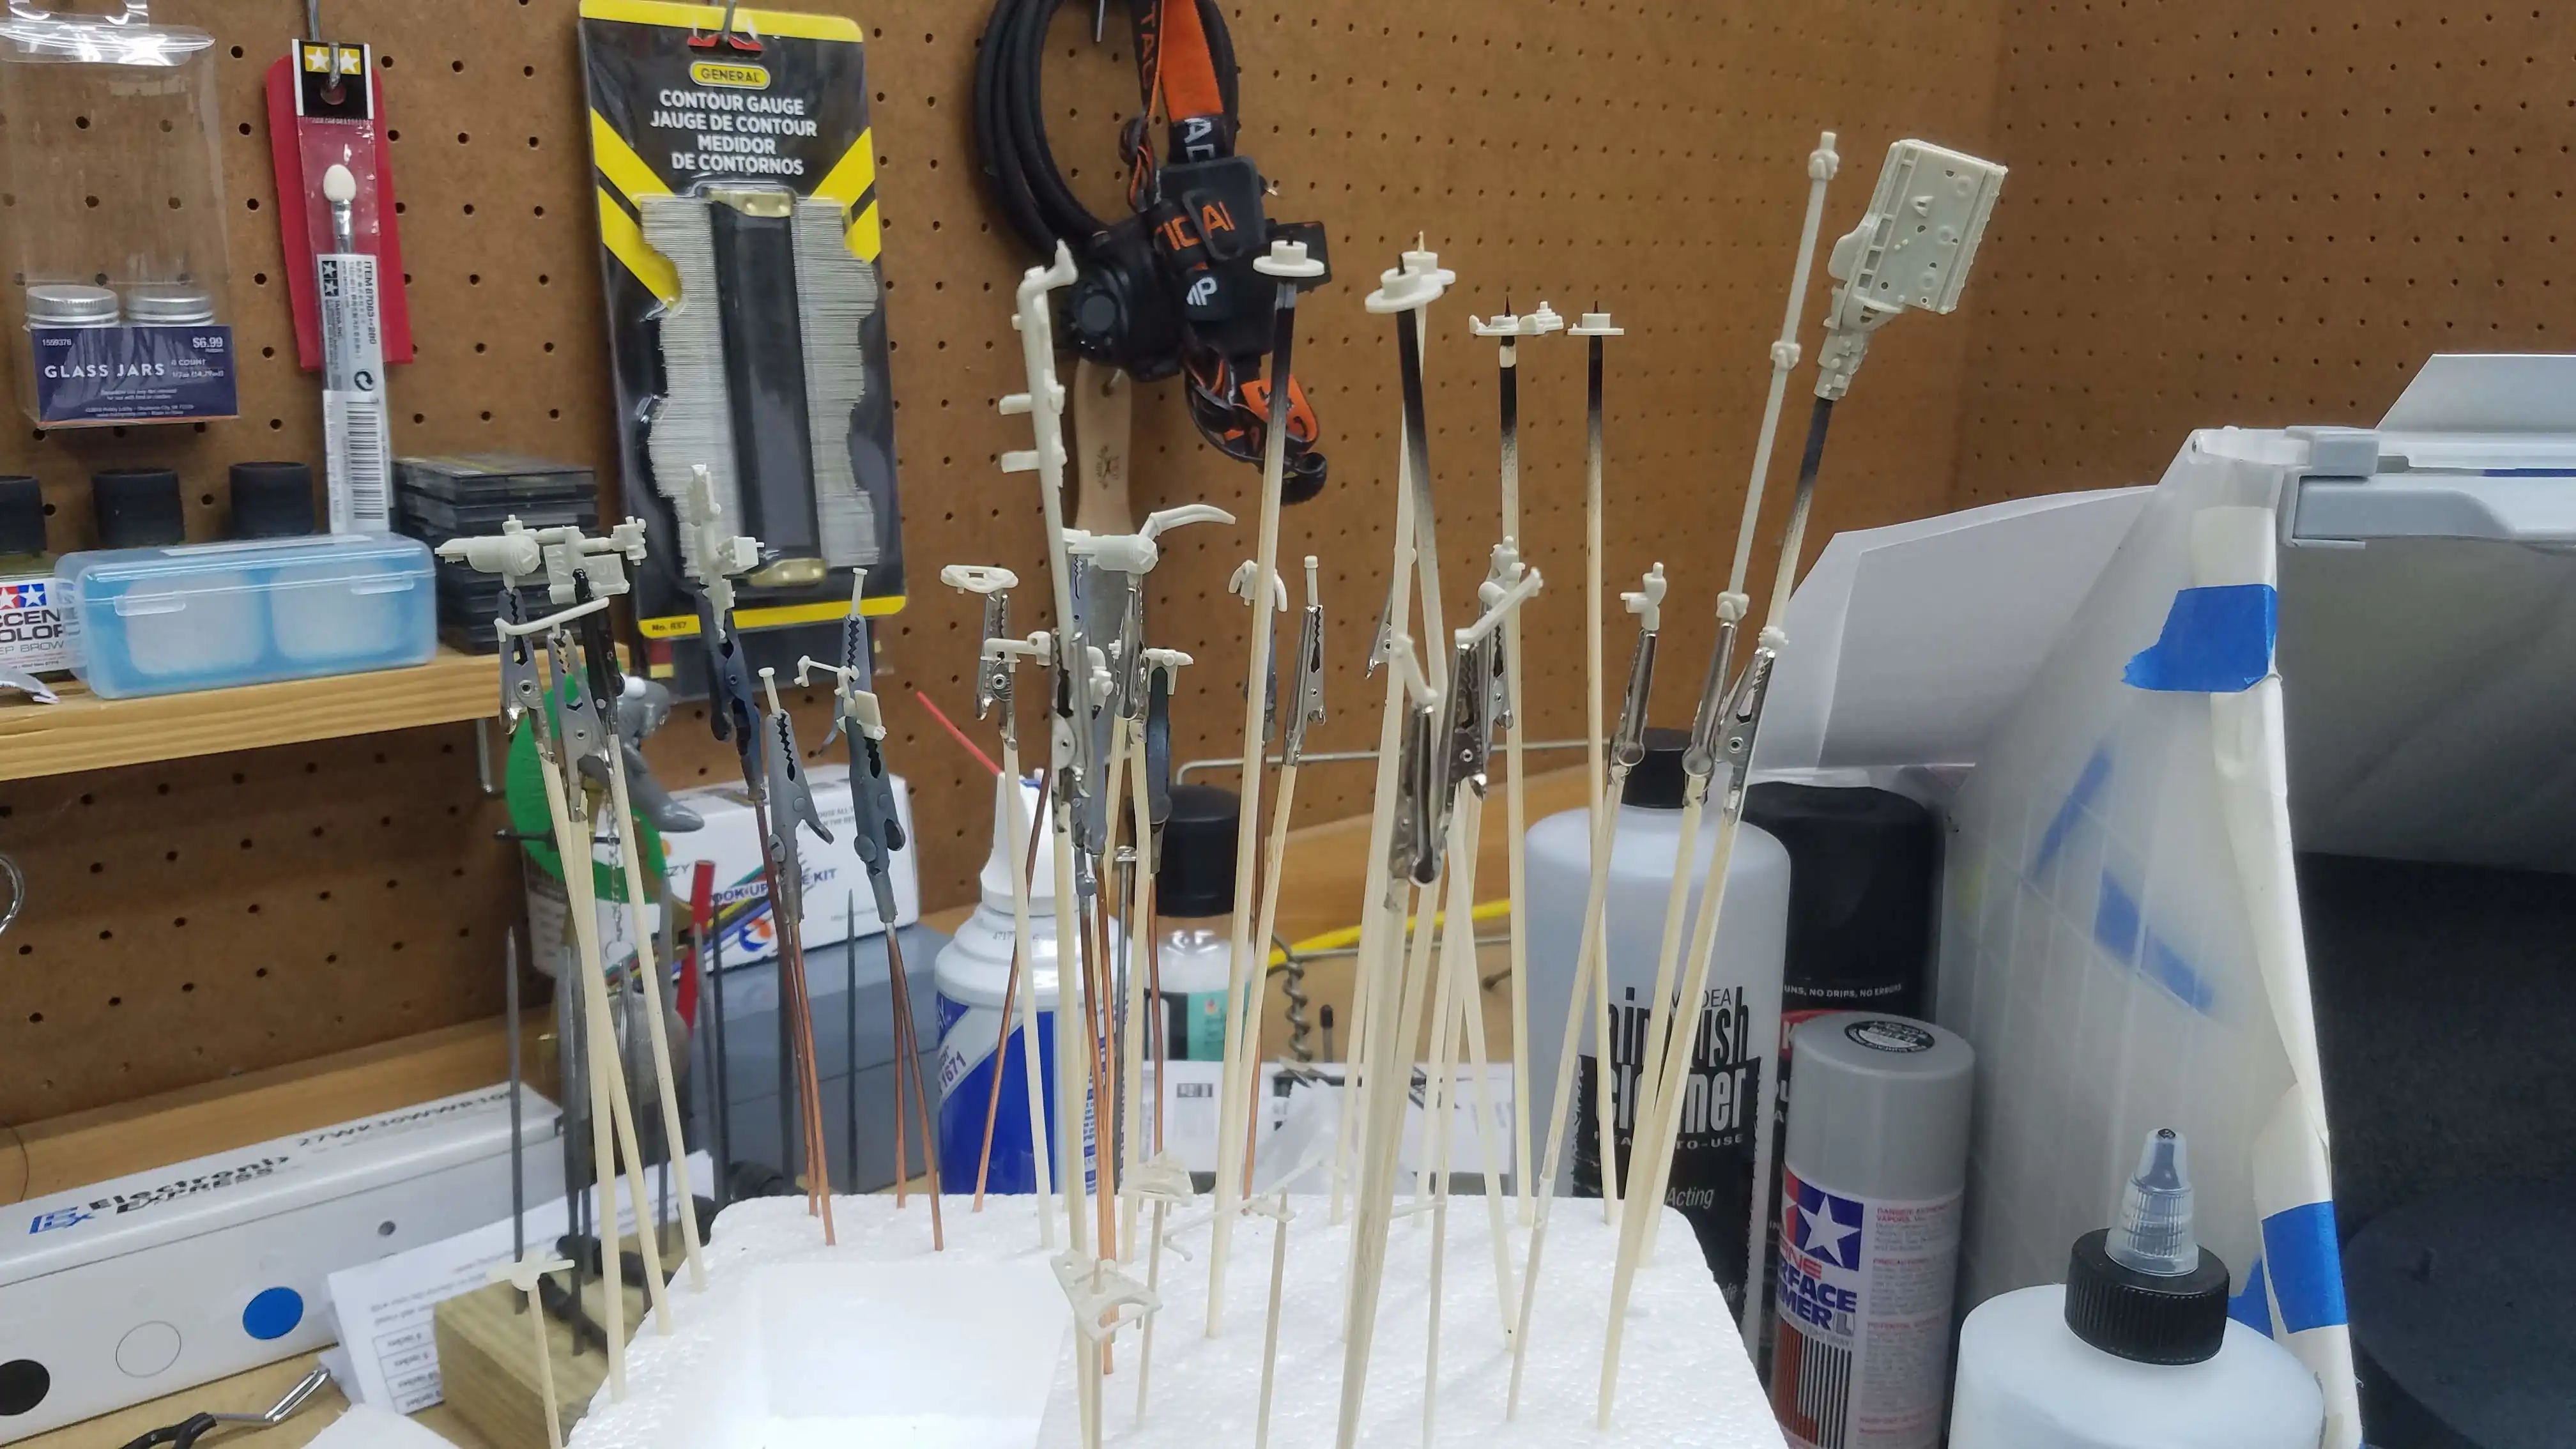 Parts getting ready for primer
 Parts getting ready for primer
 All parts, except the body, are primed
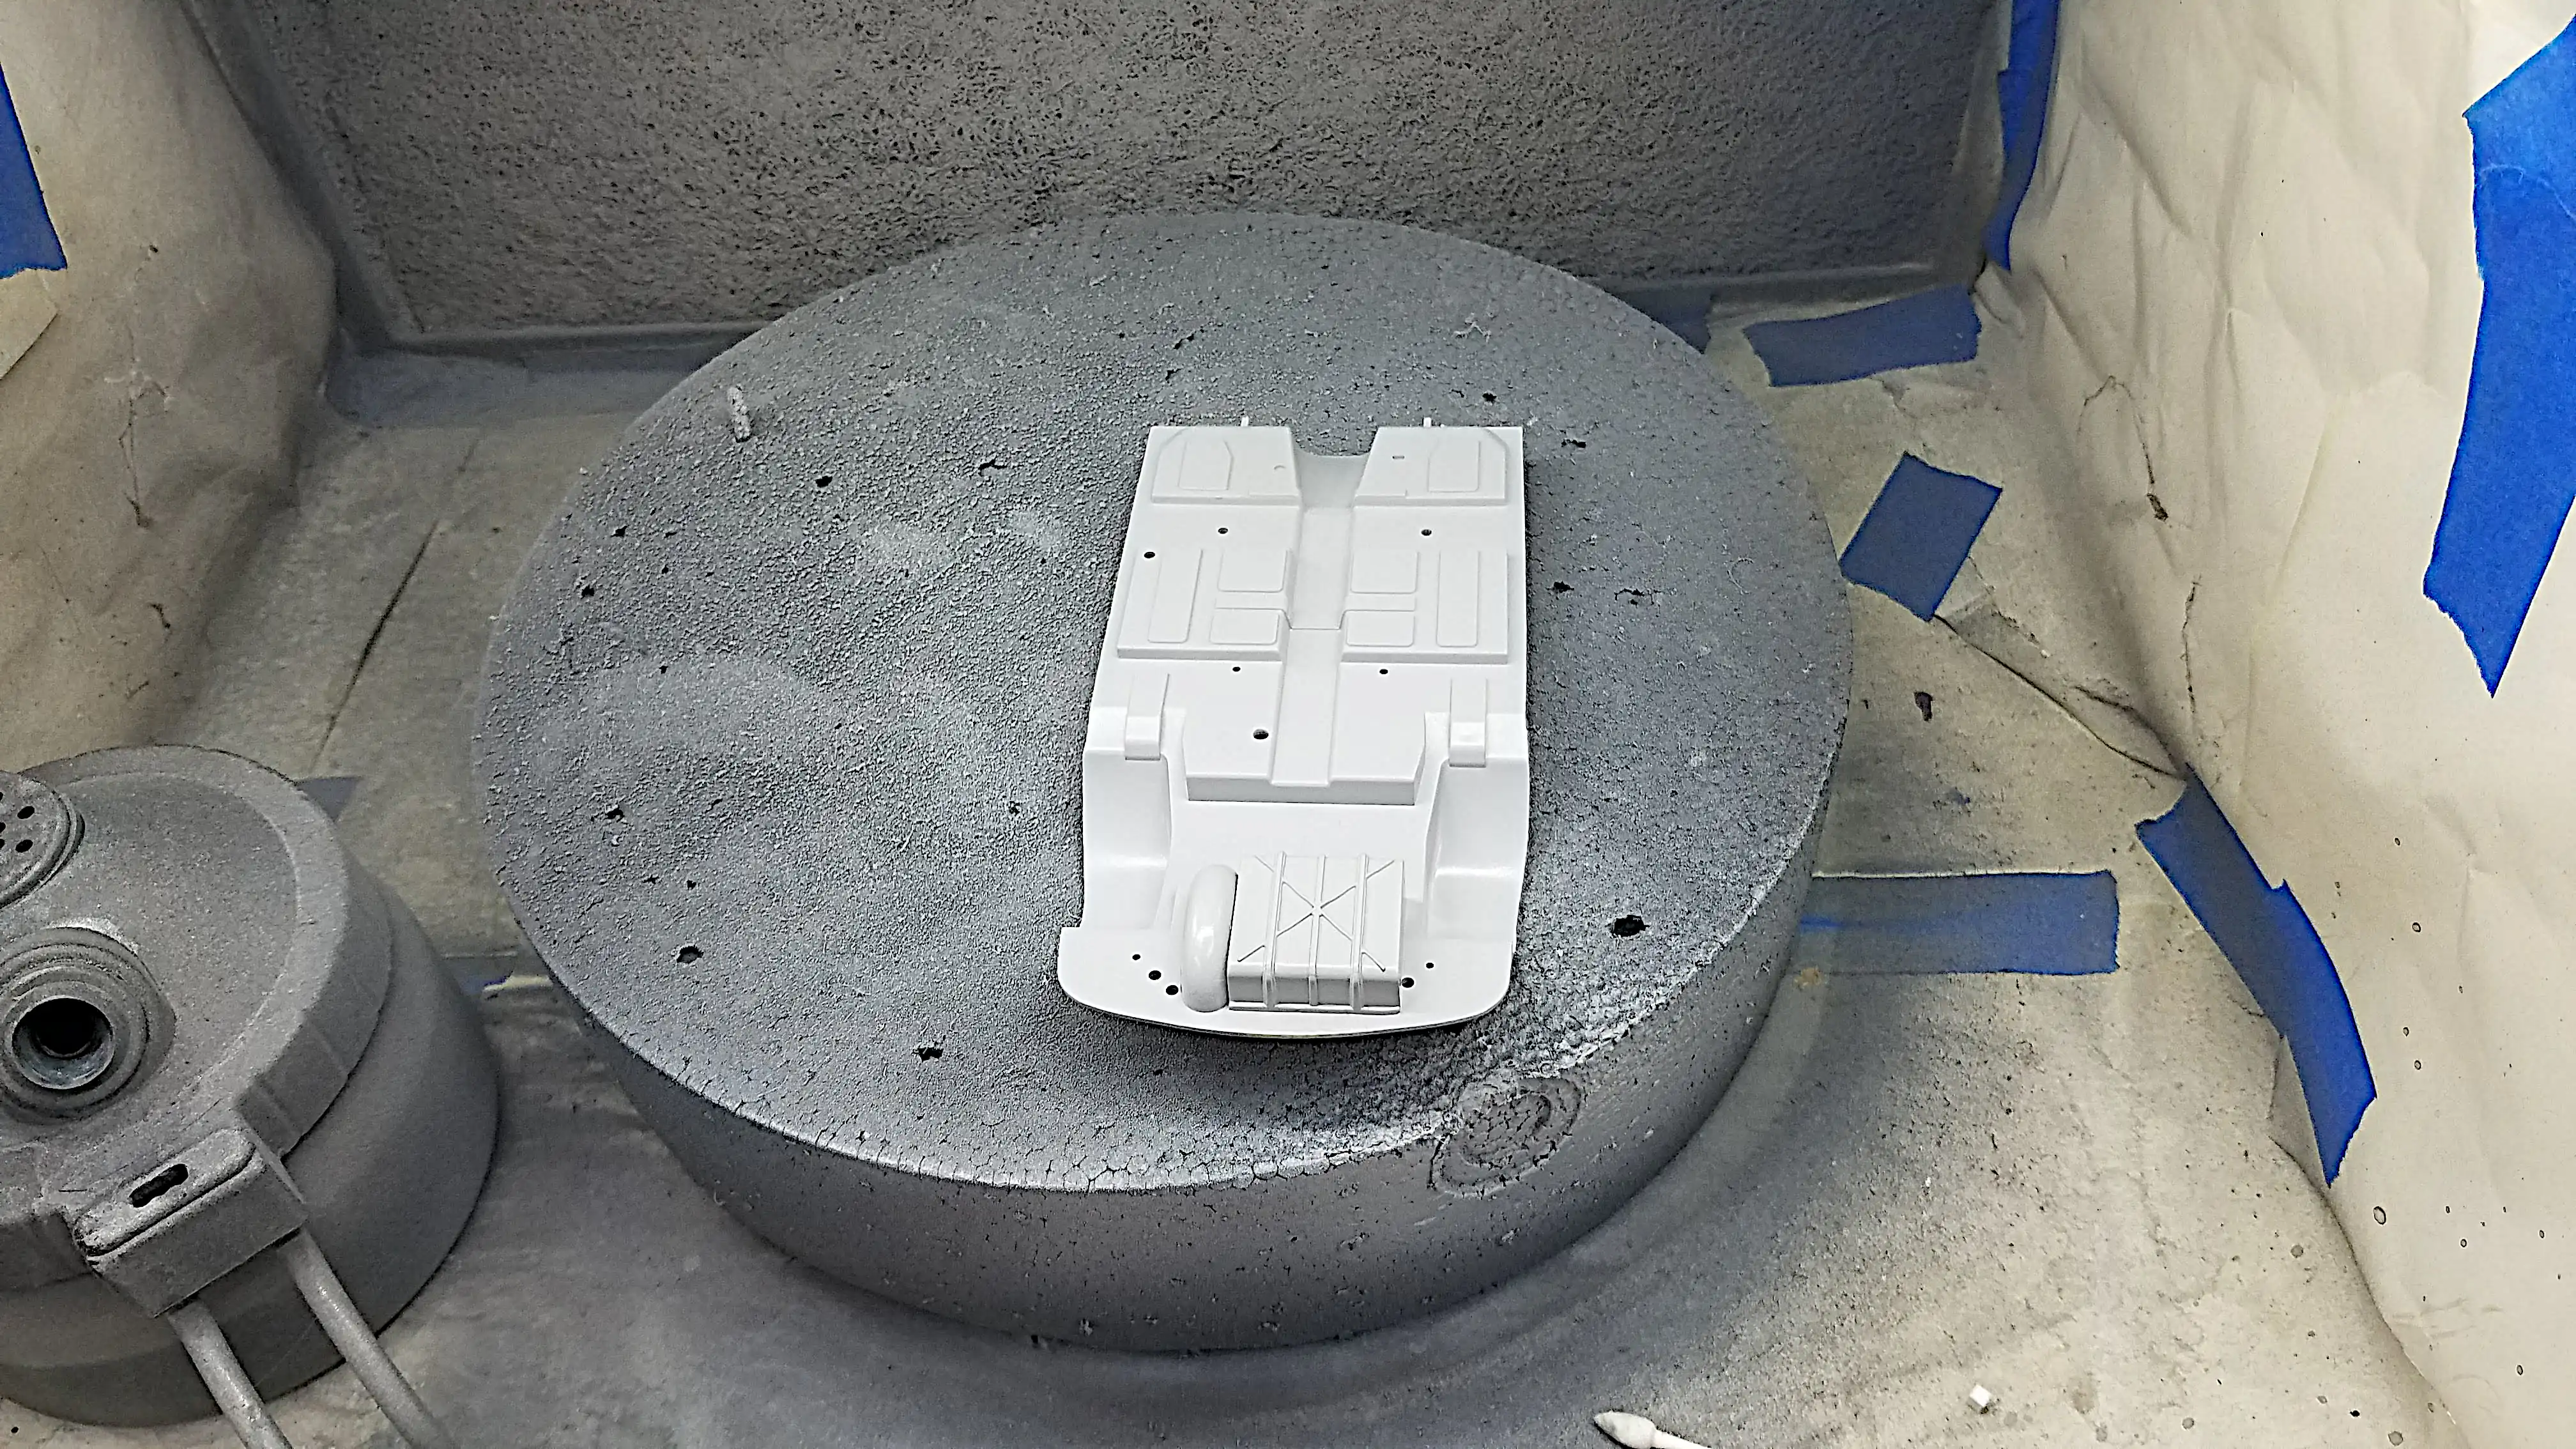 Floor pan primed
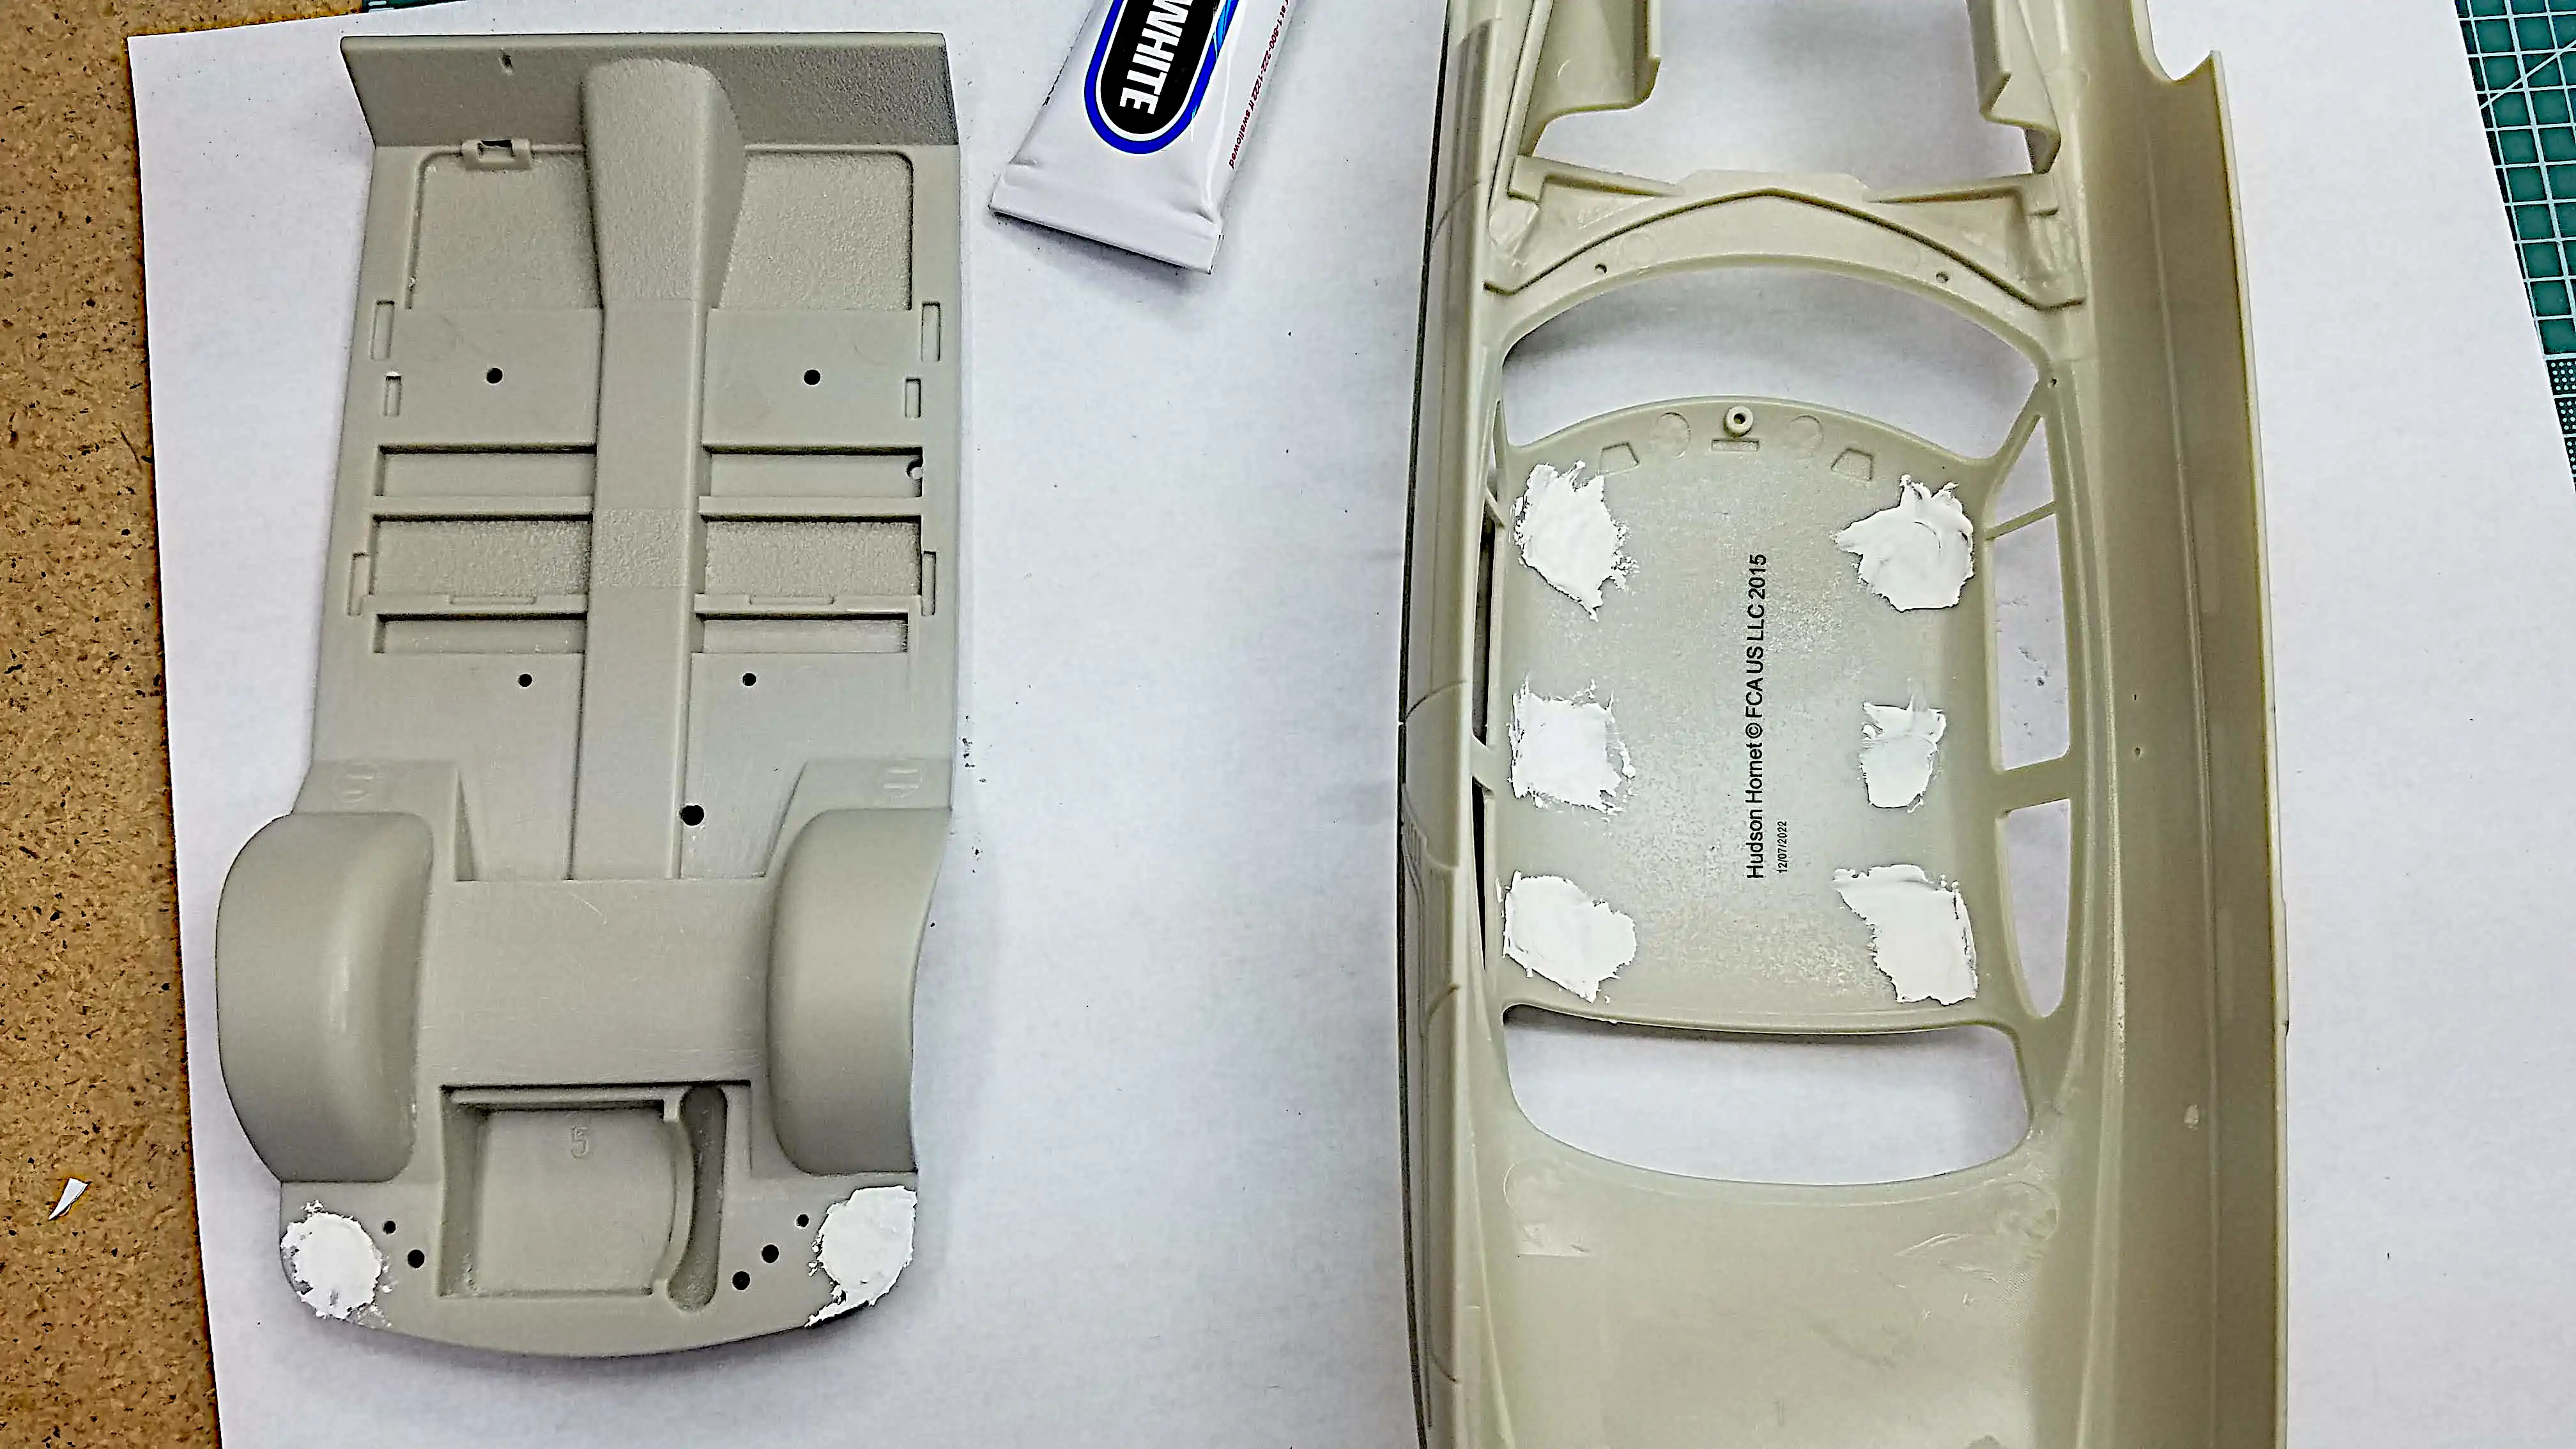 Filling injector pin marks
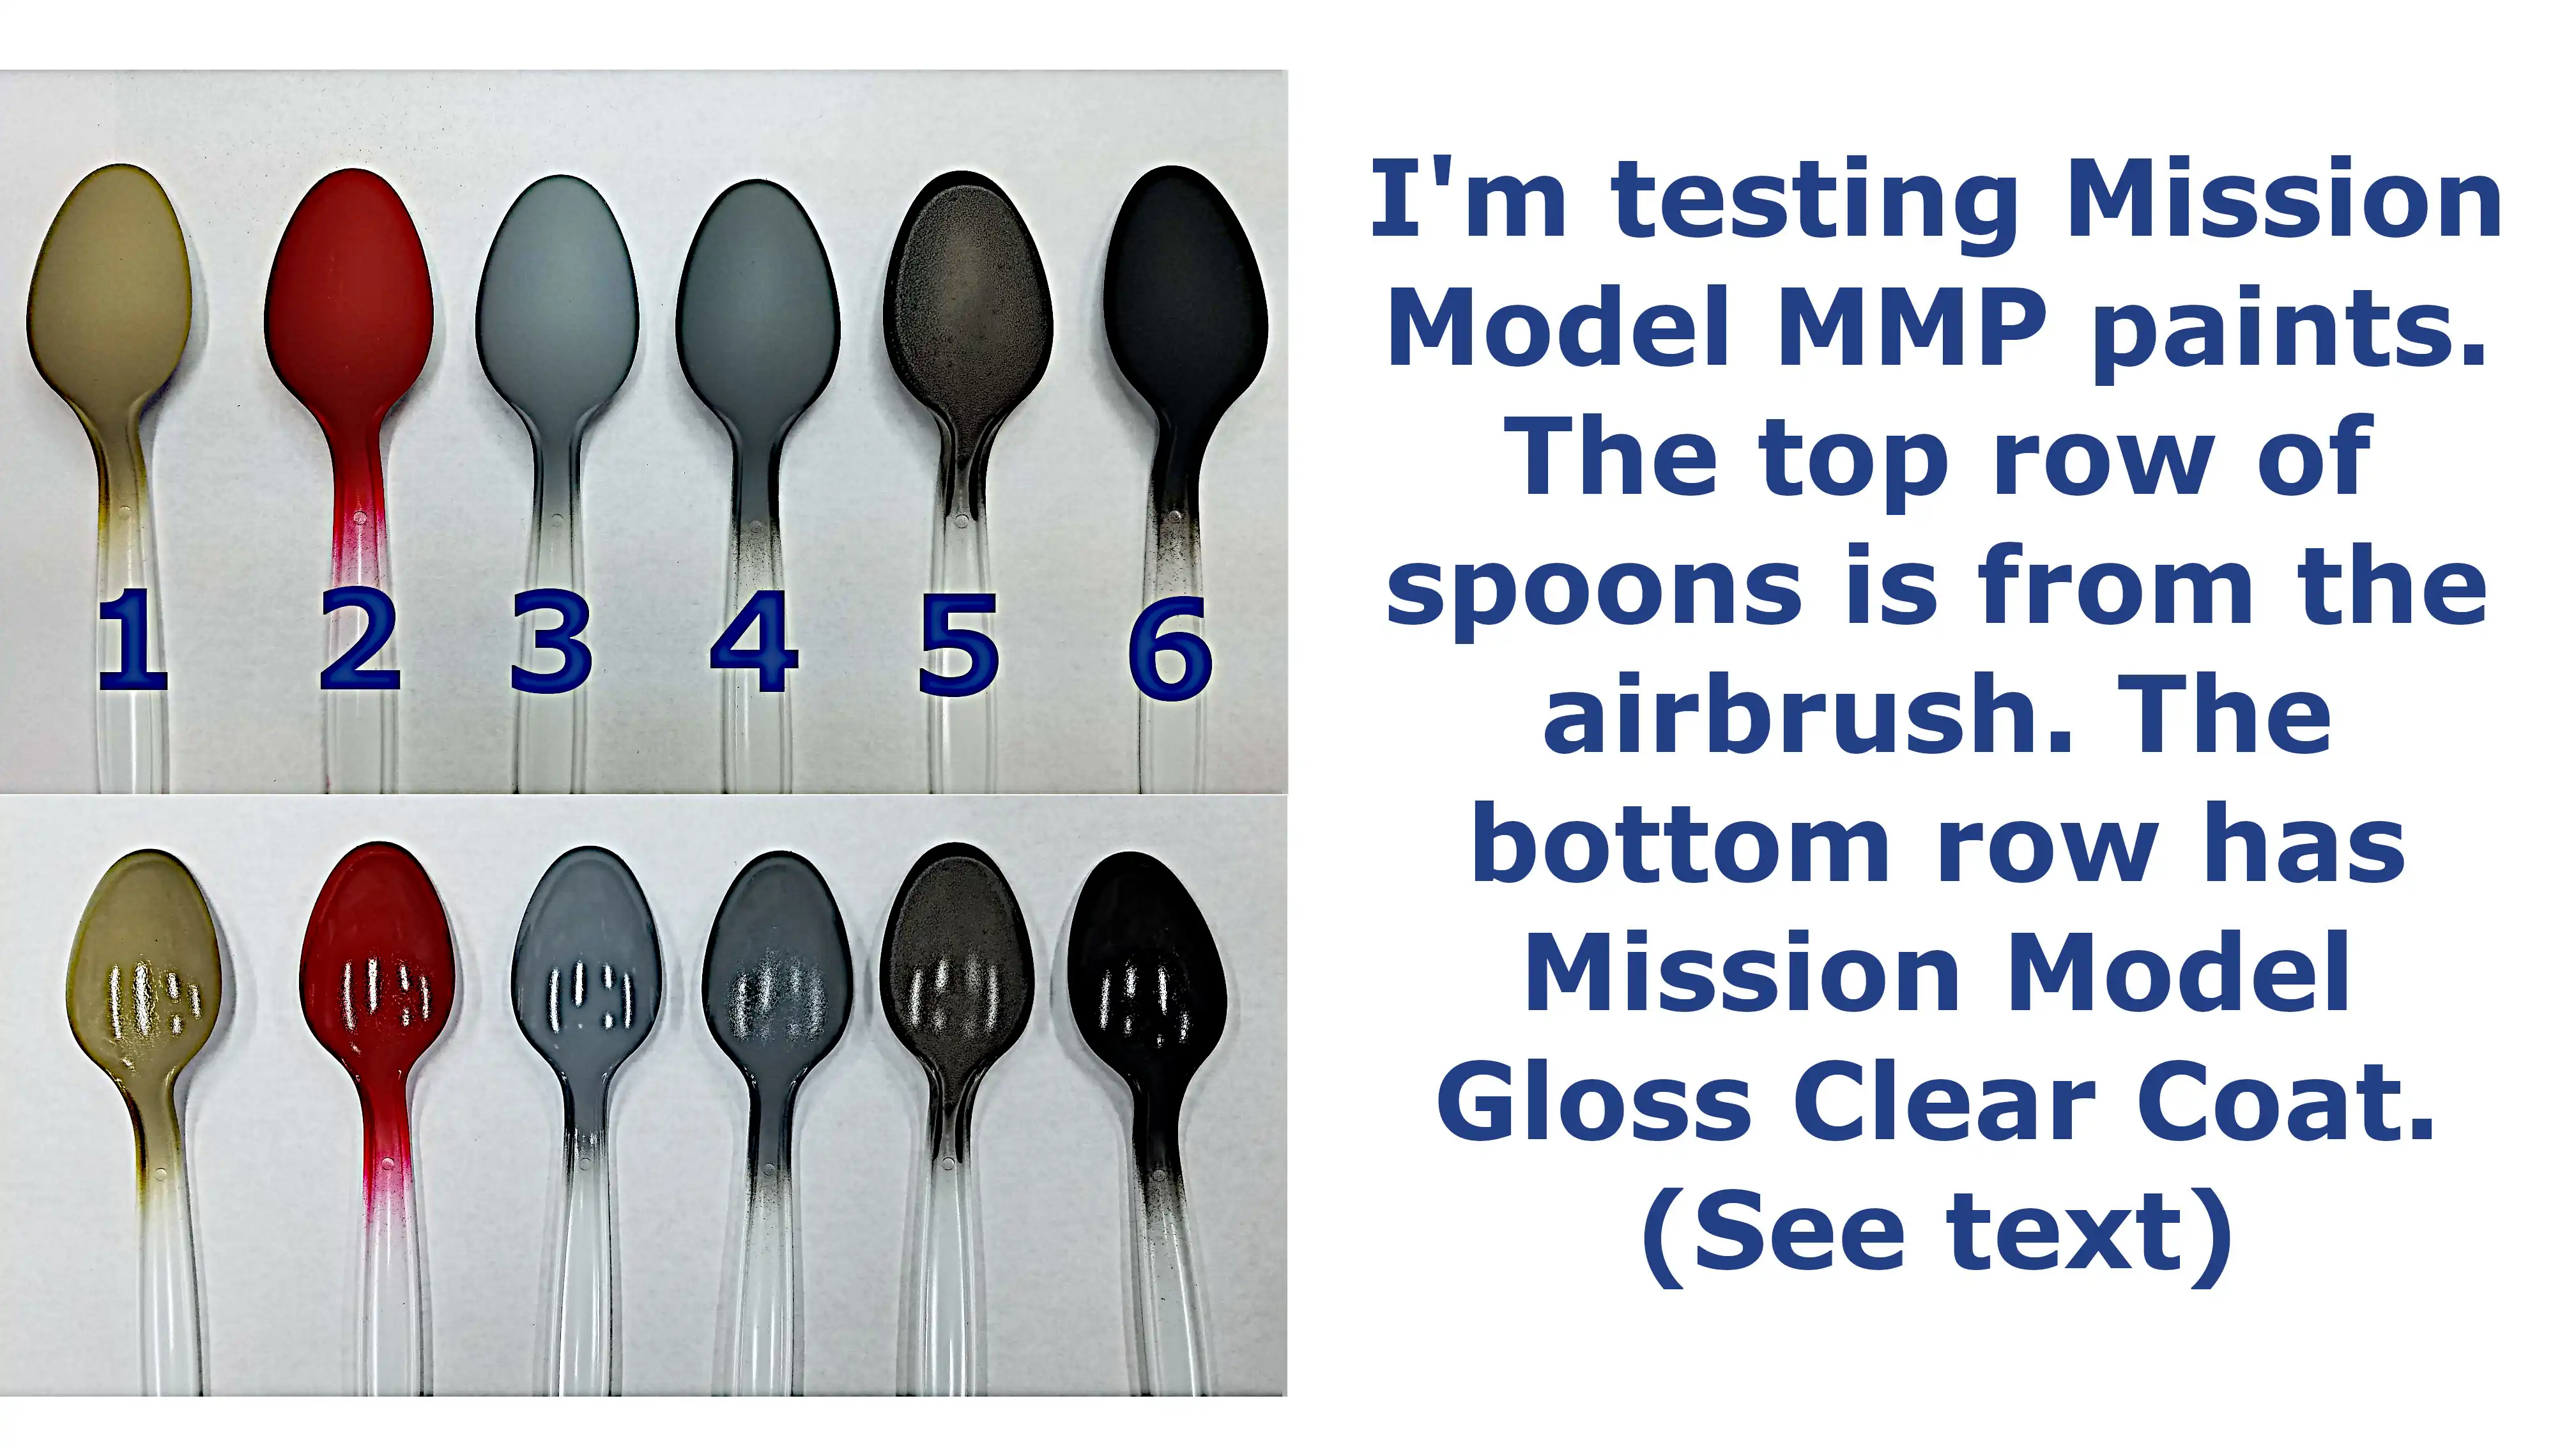 Test spoons for color tests
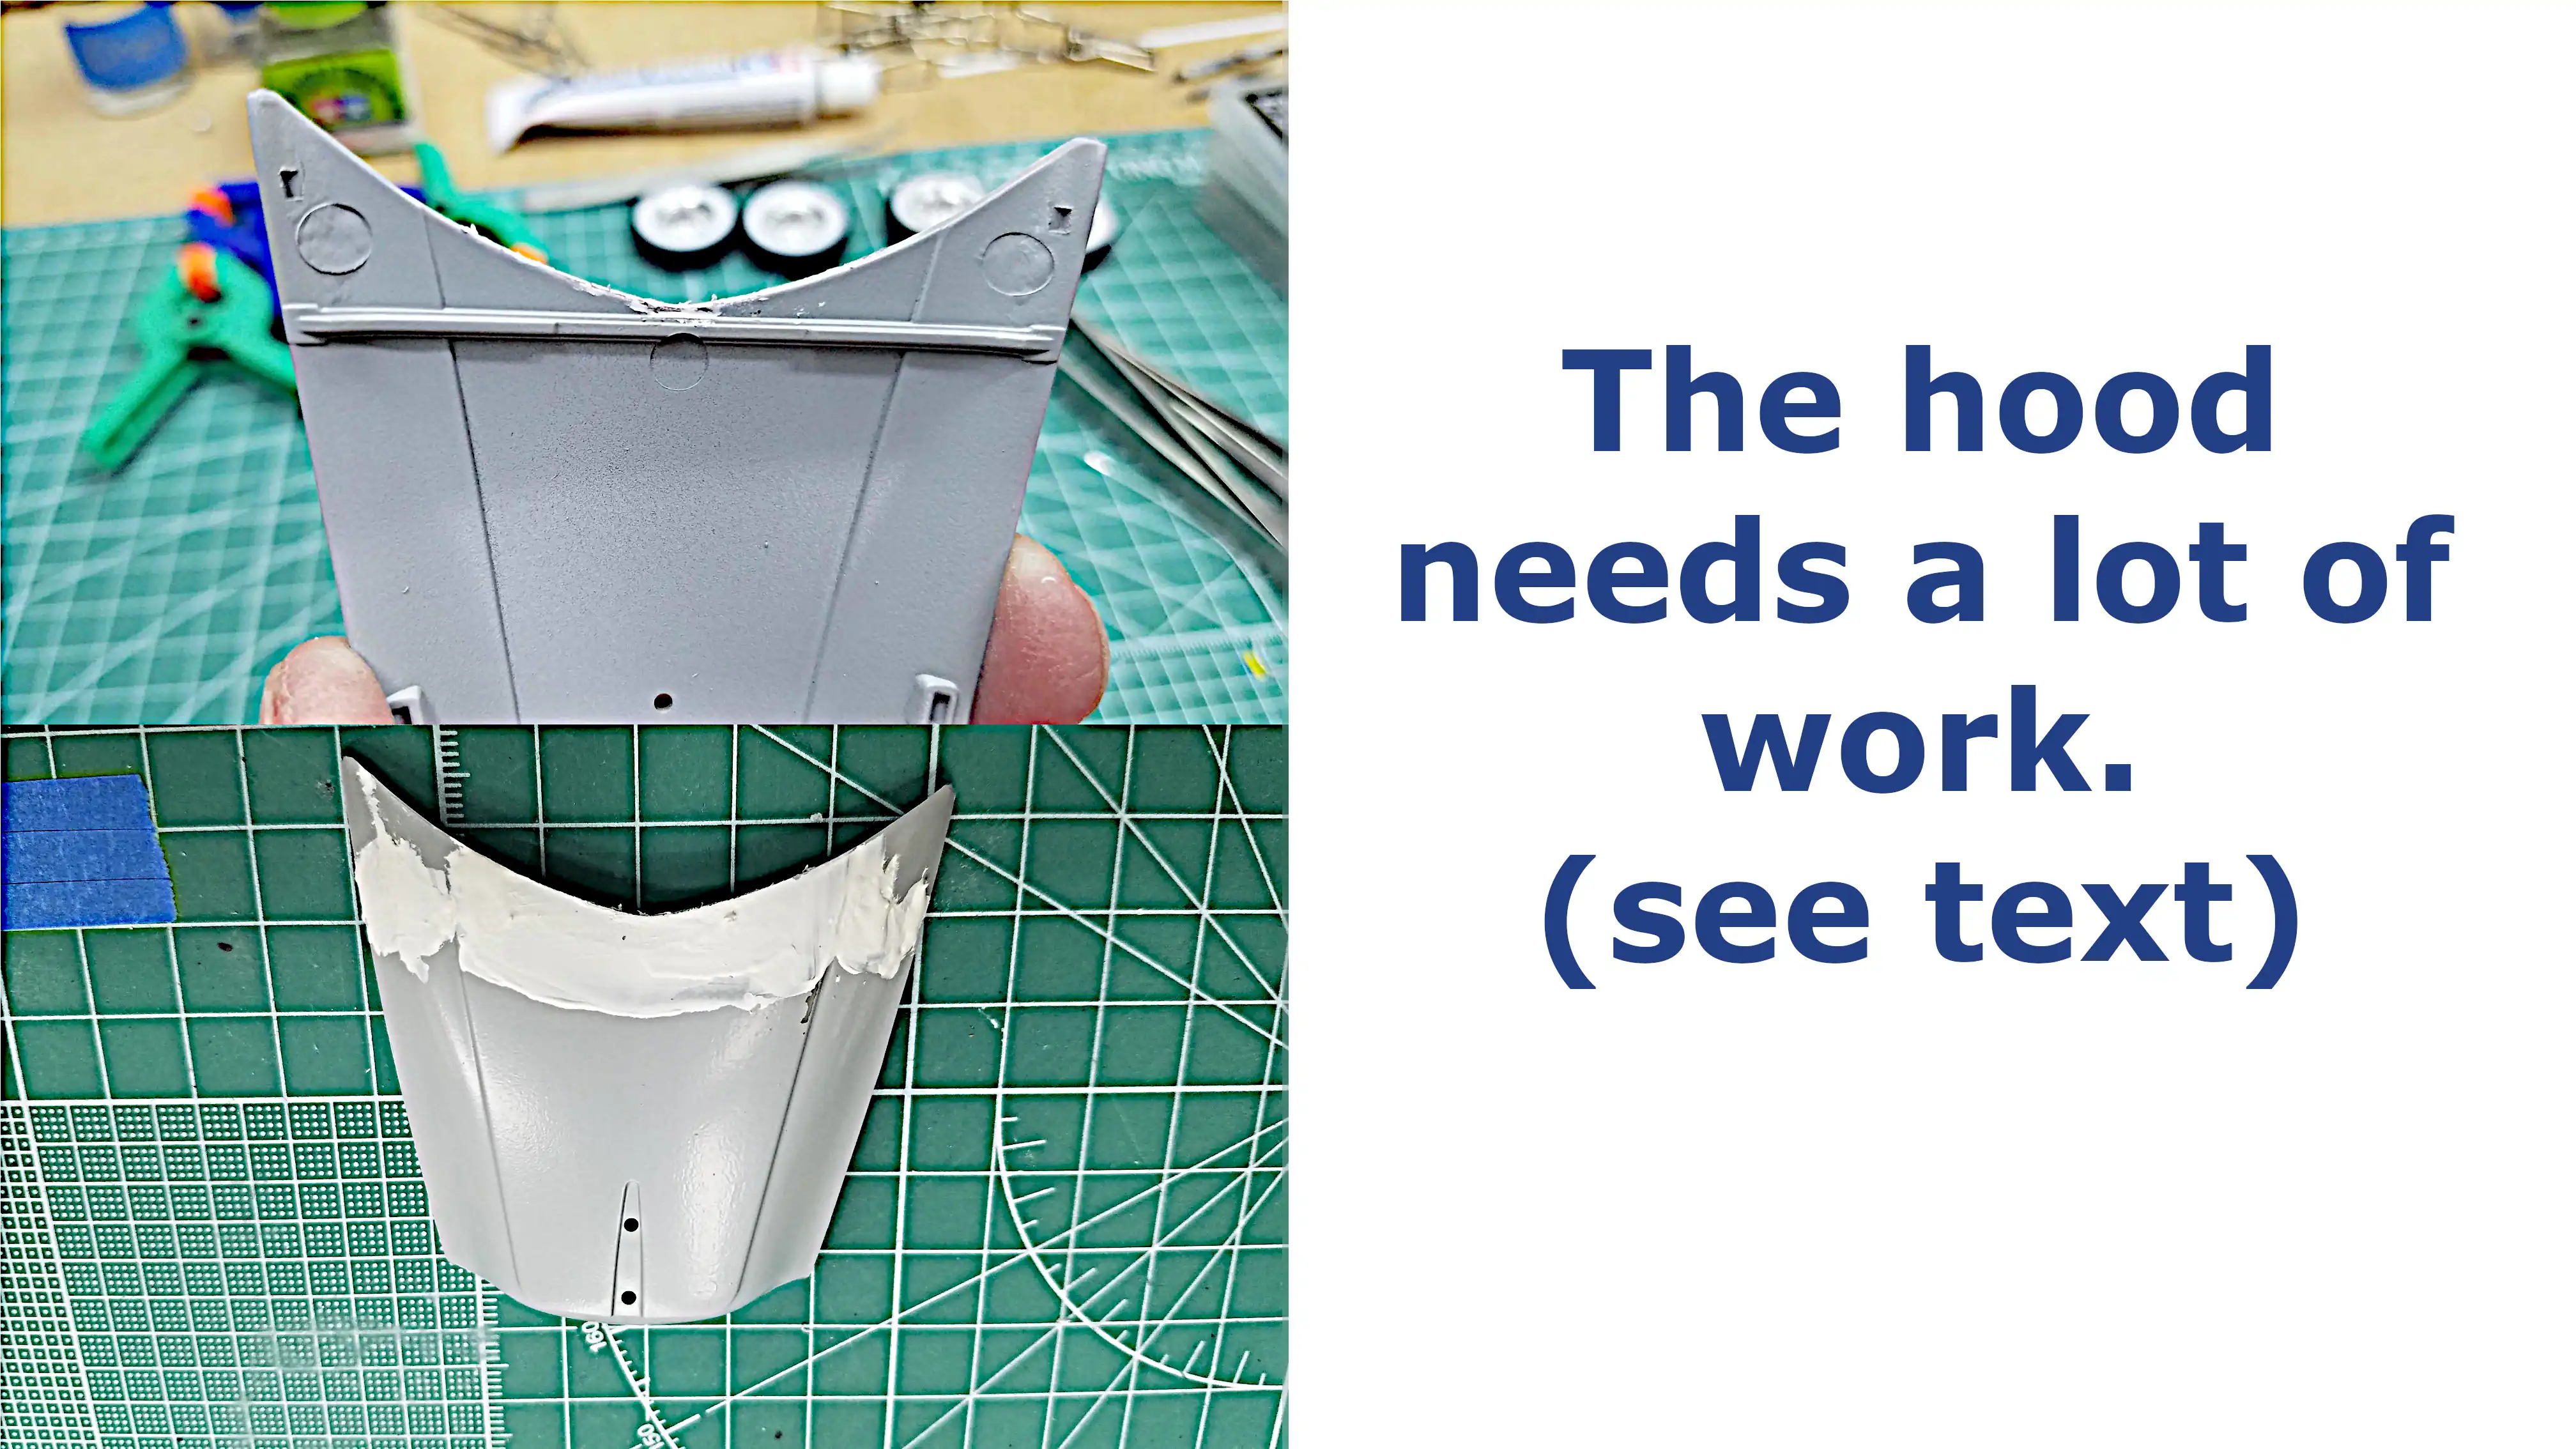 The hood needs a lot of work
 Engine parts are painted
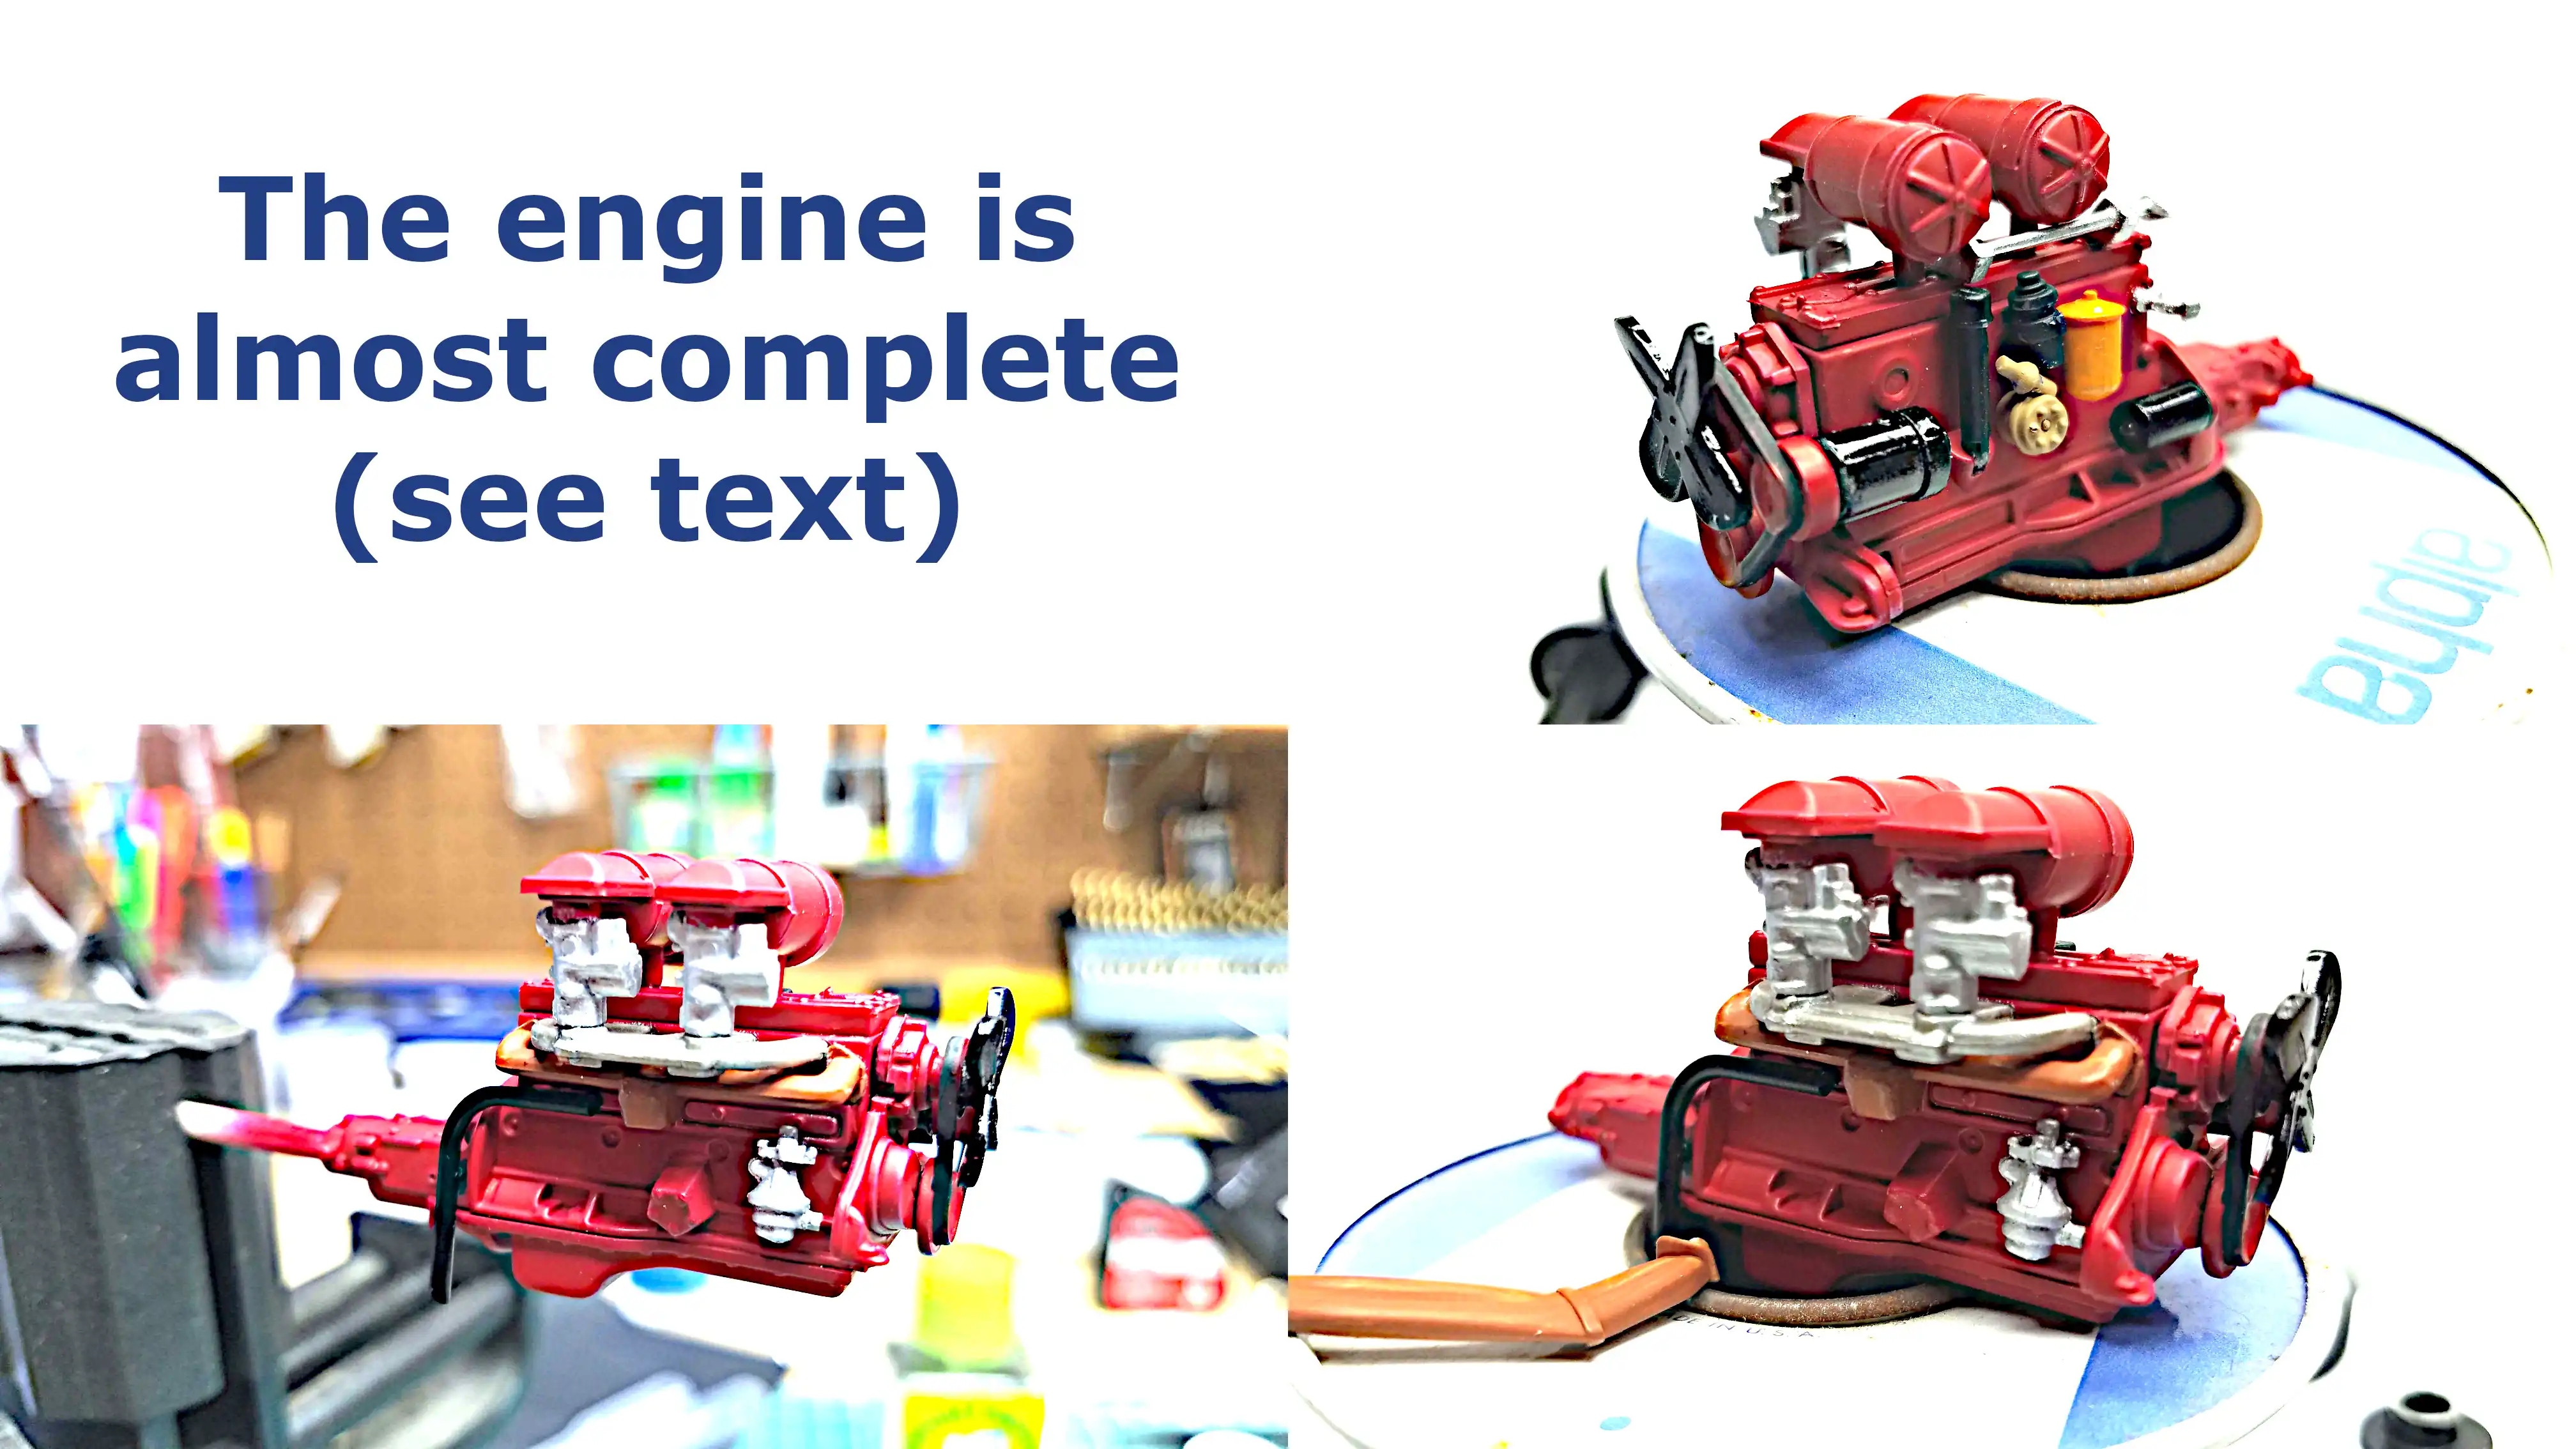 Engine is almost complete
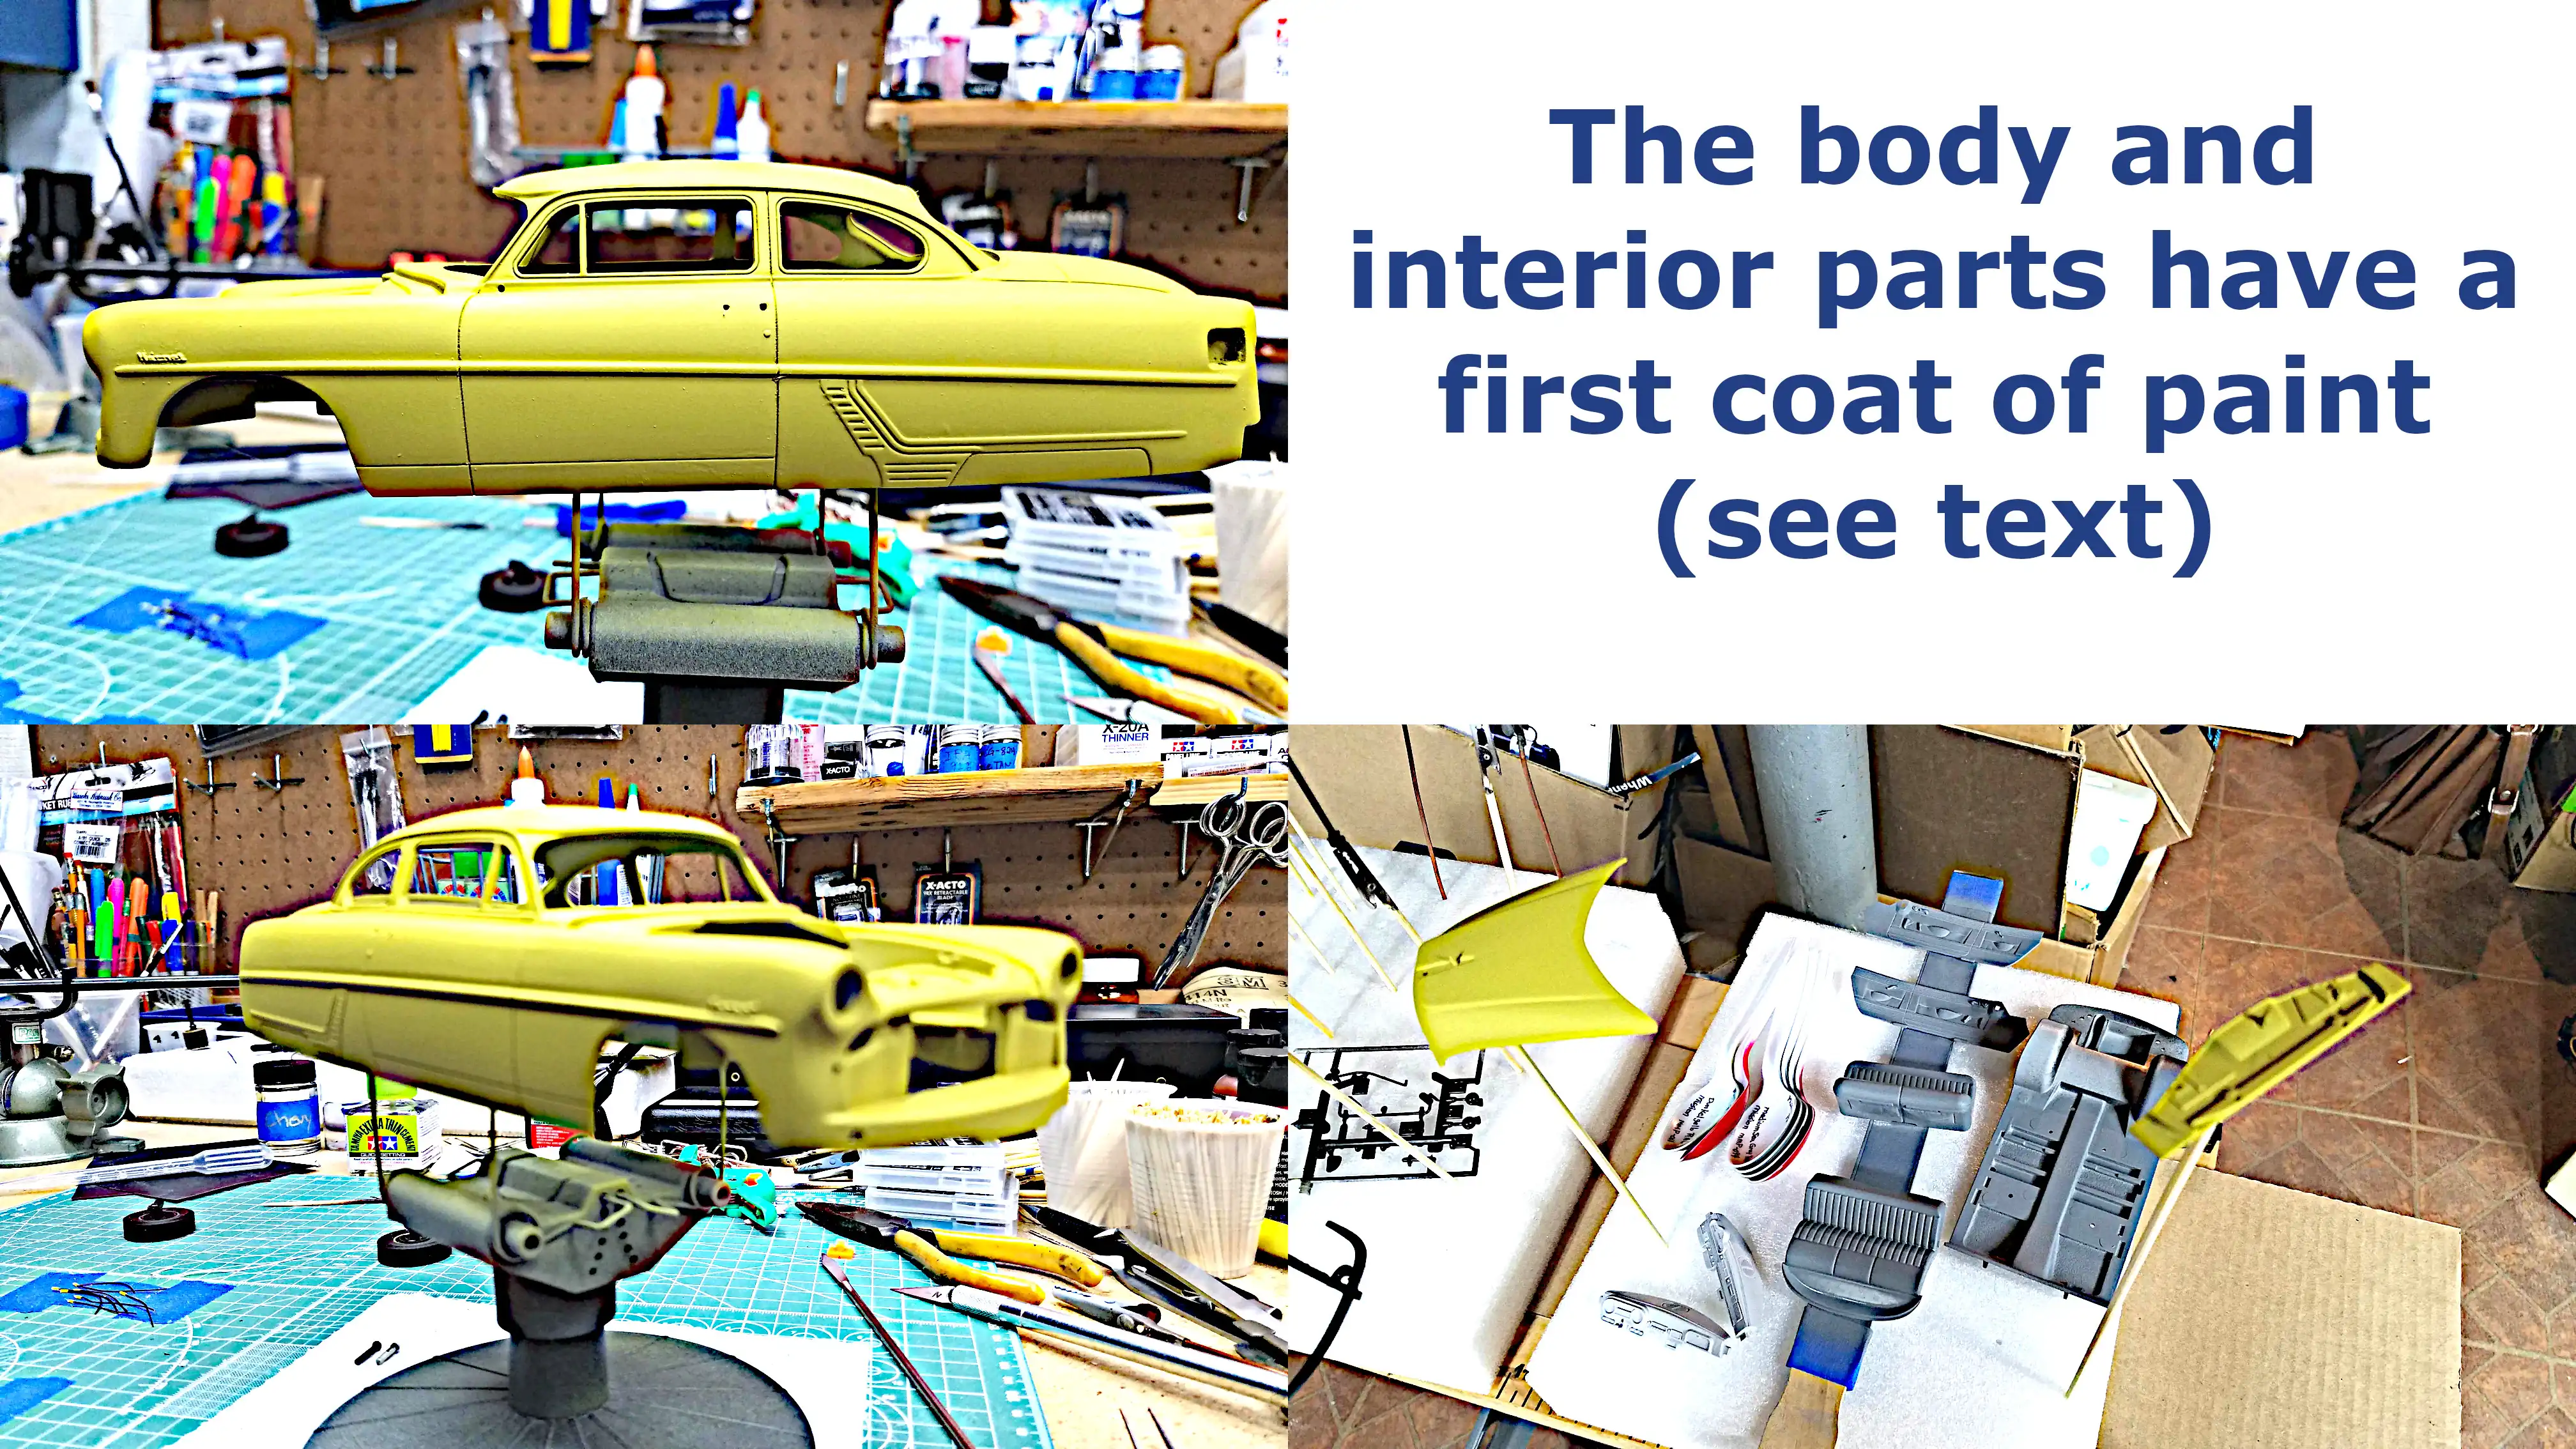 Body gets first coat of paint
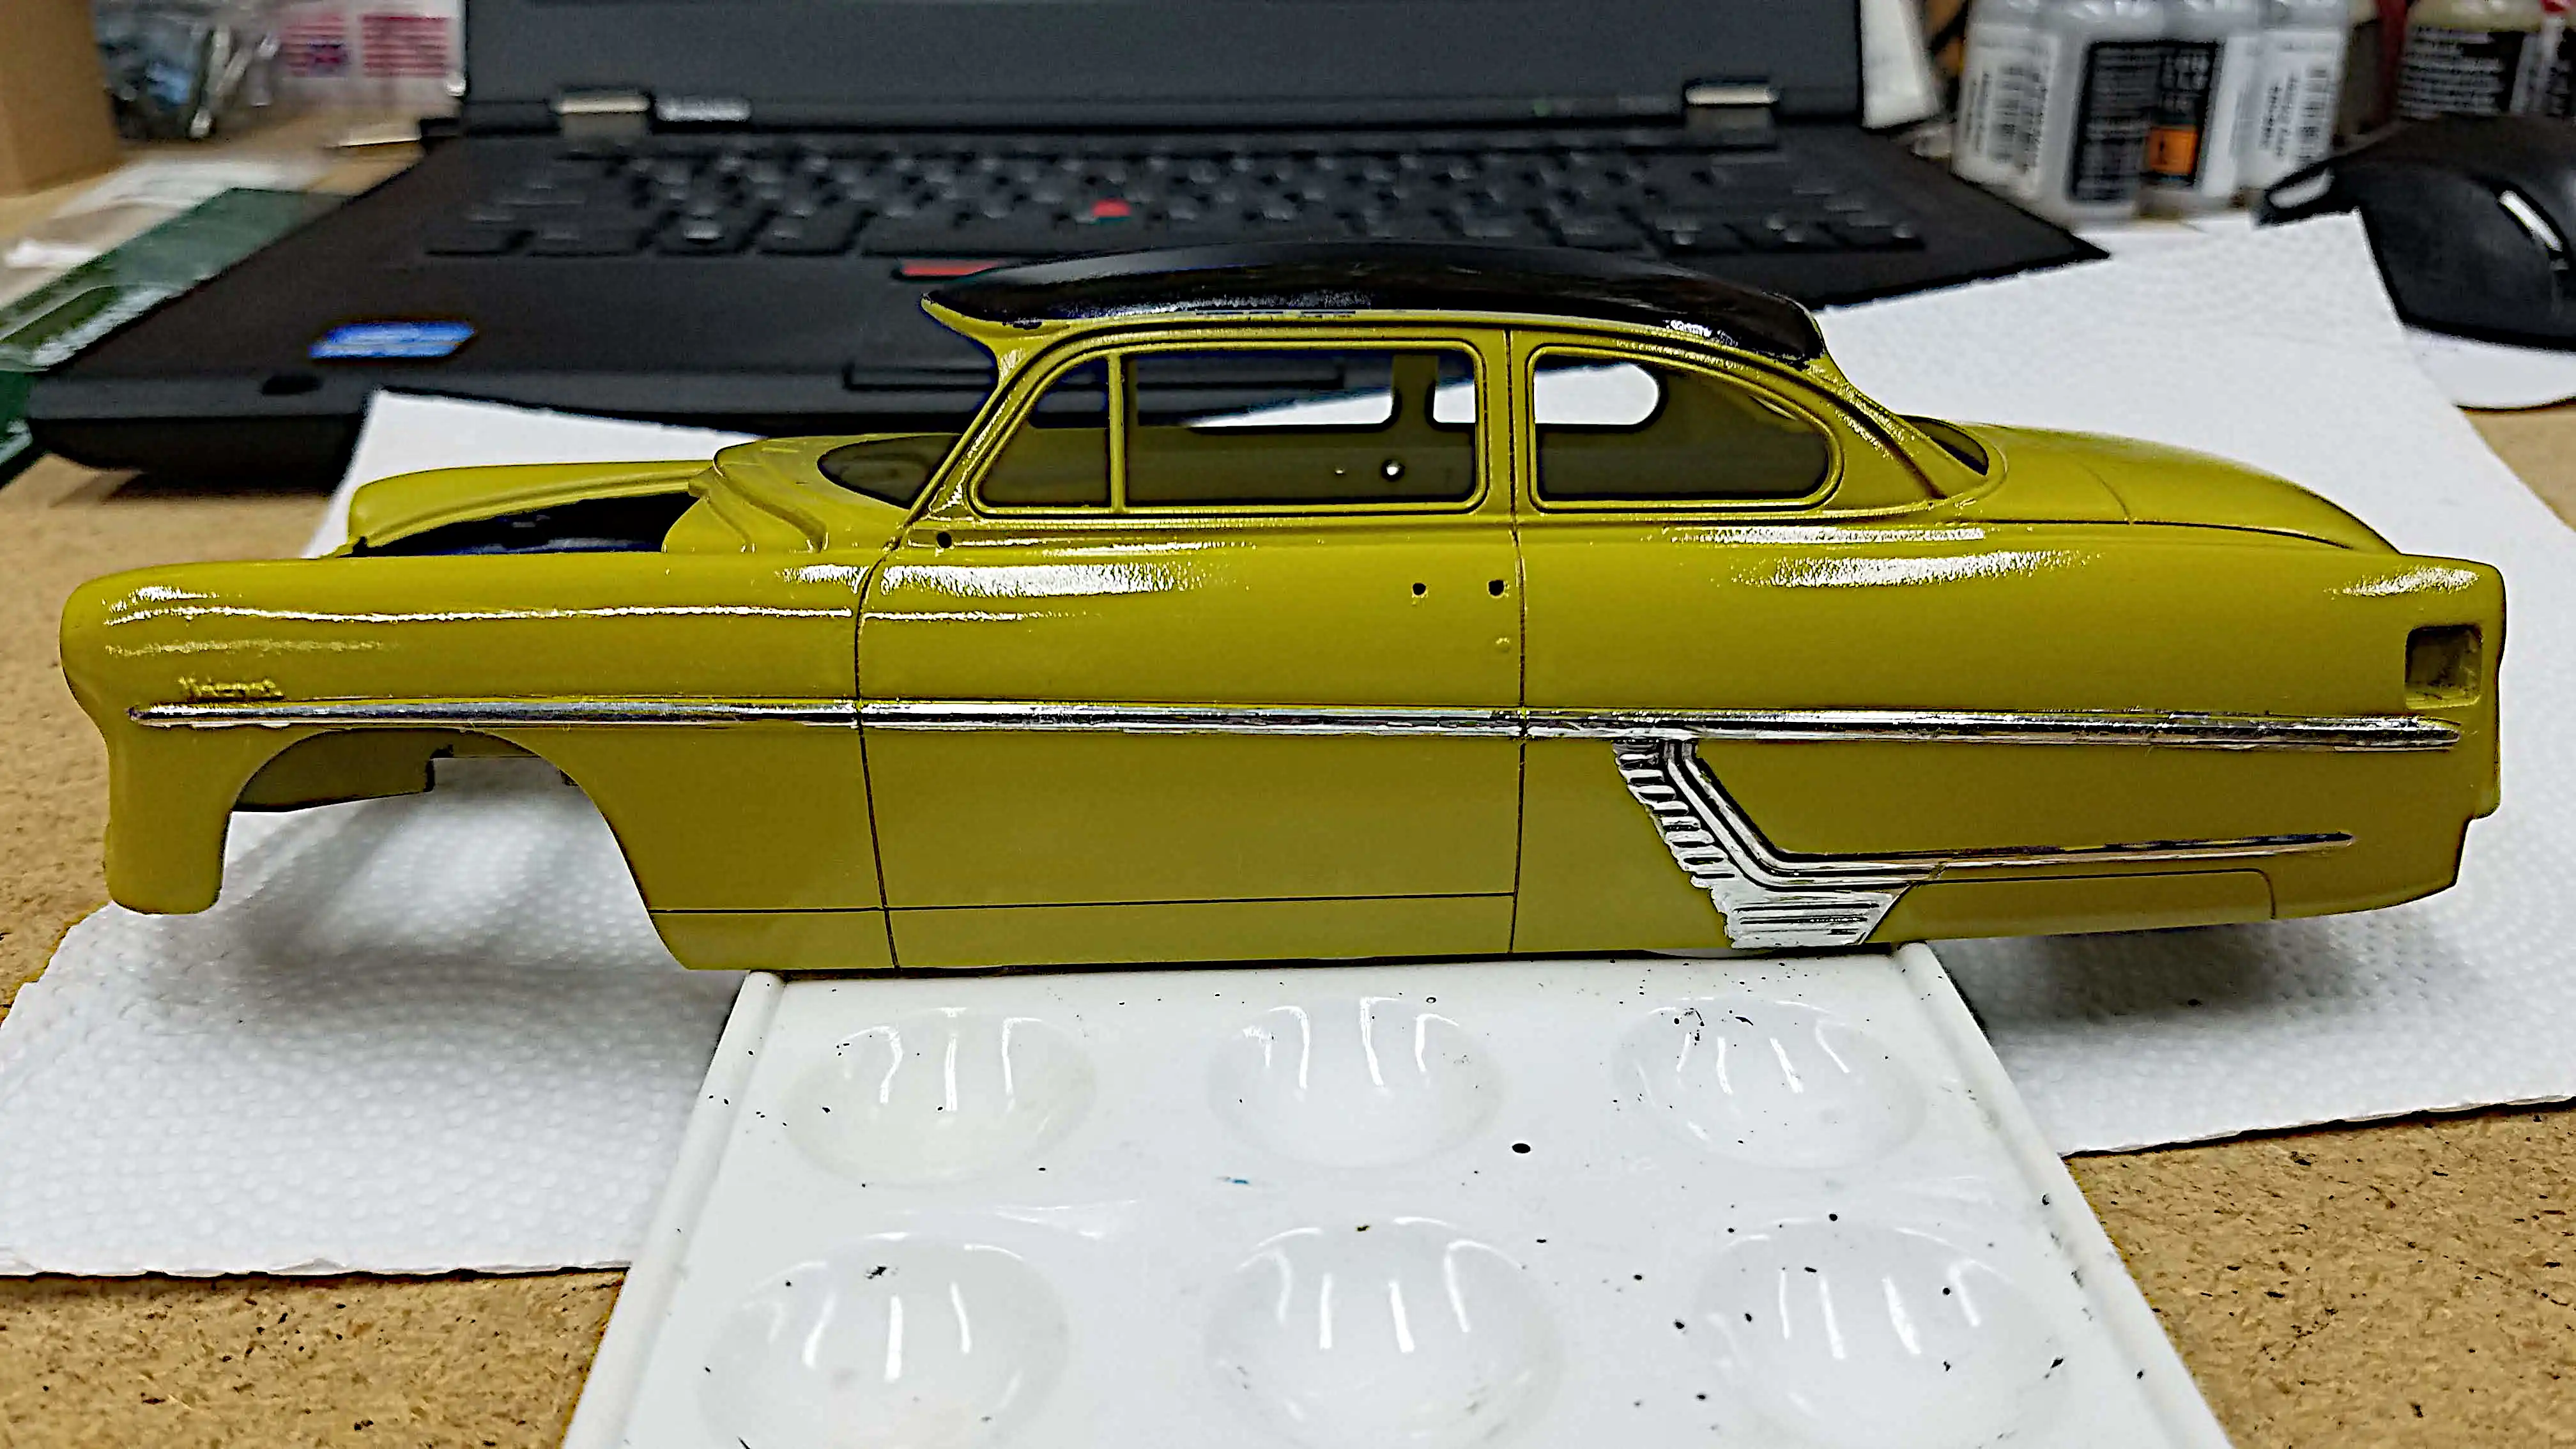
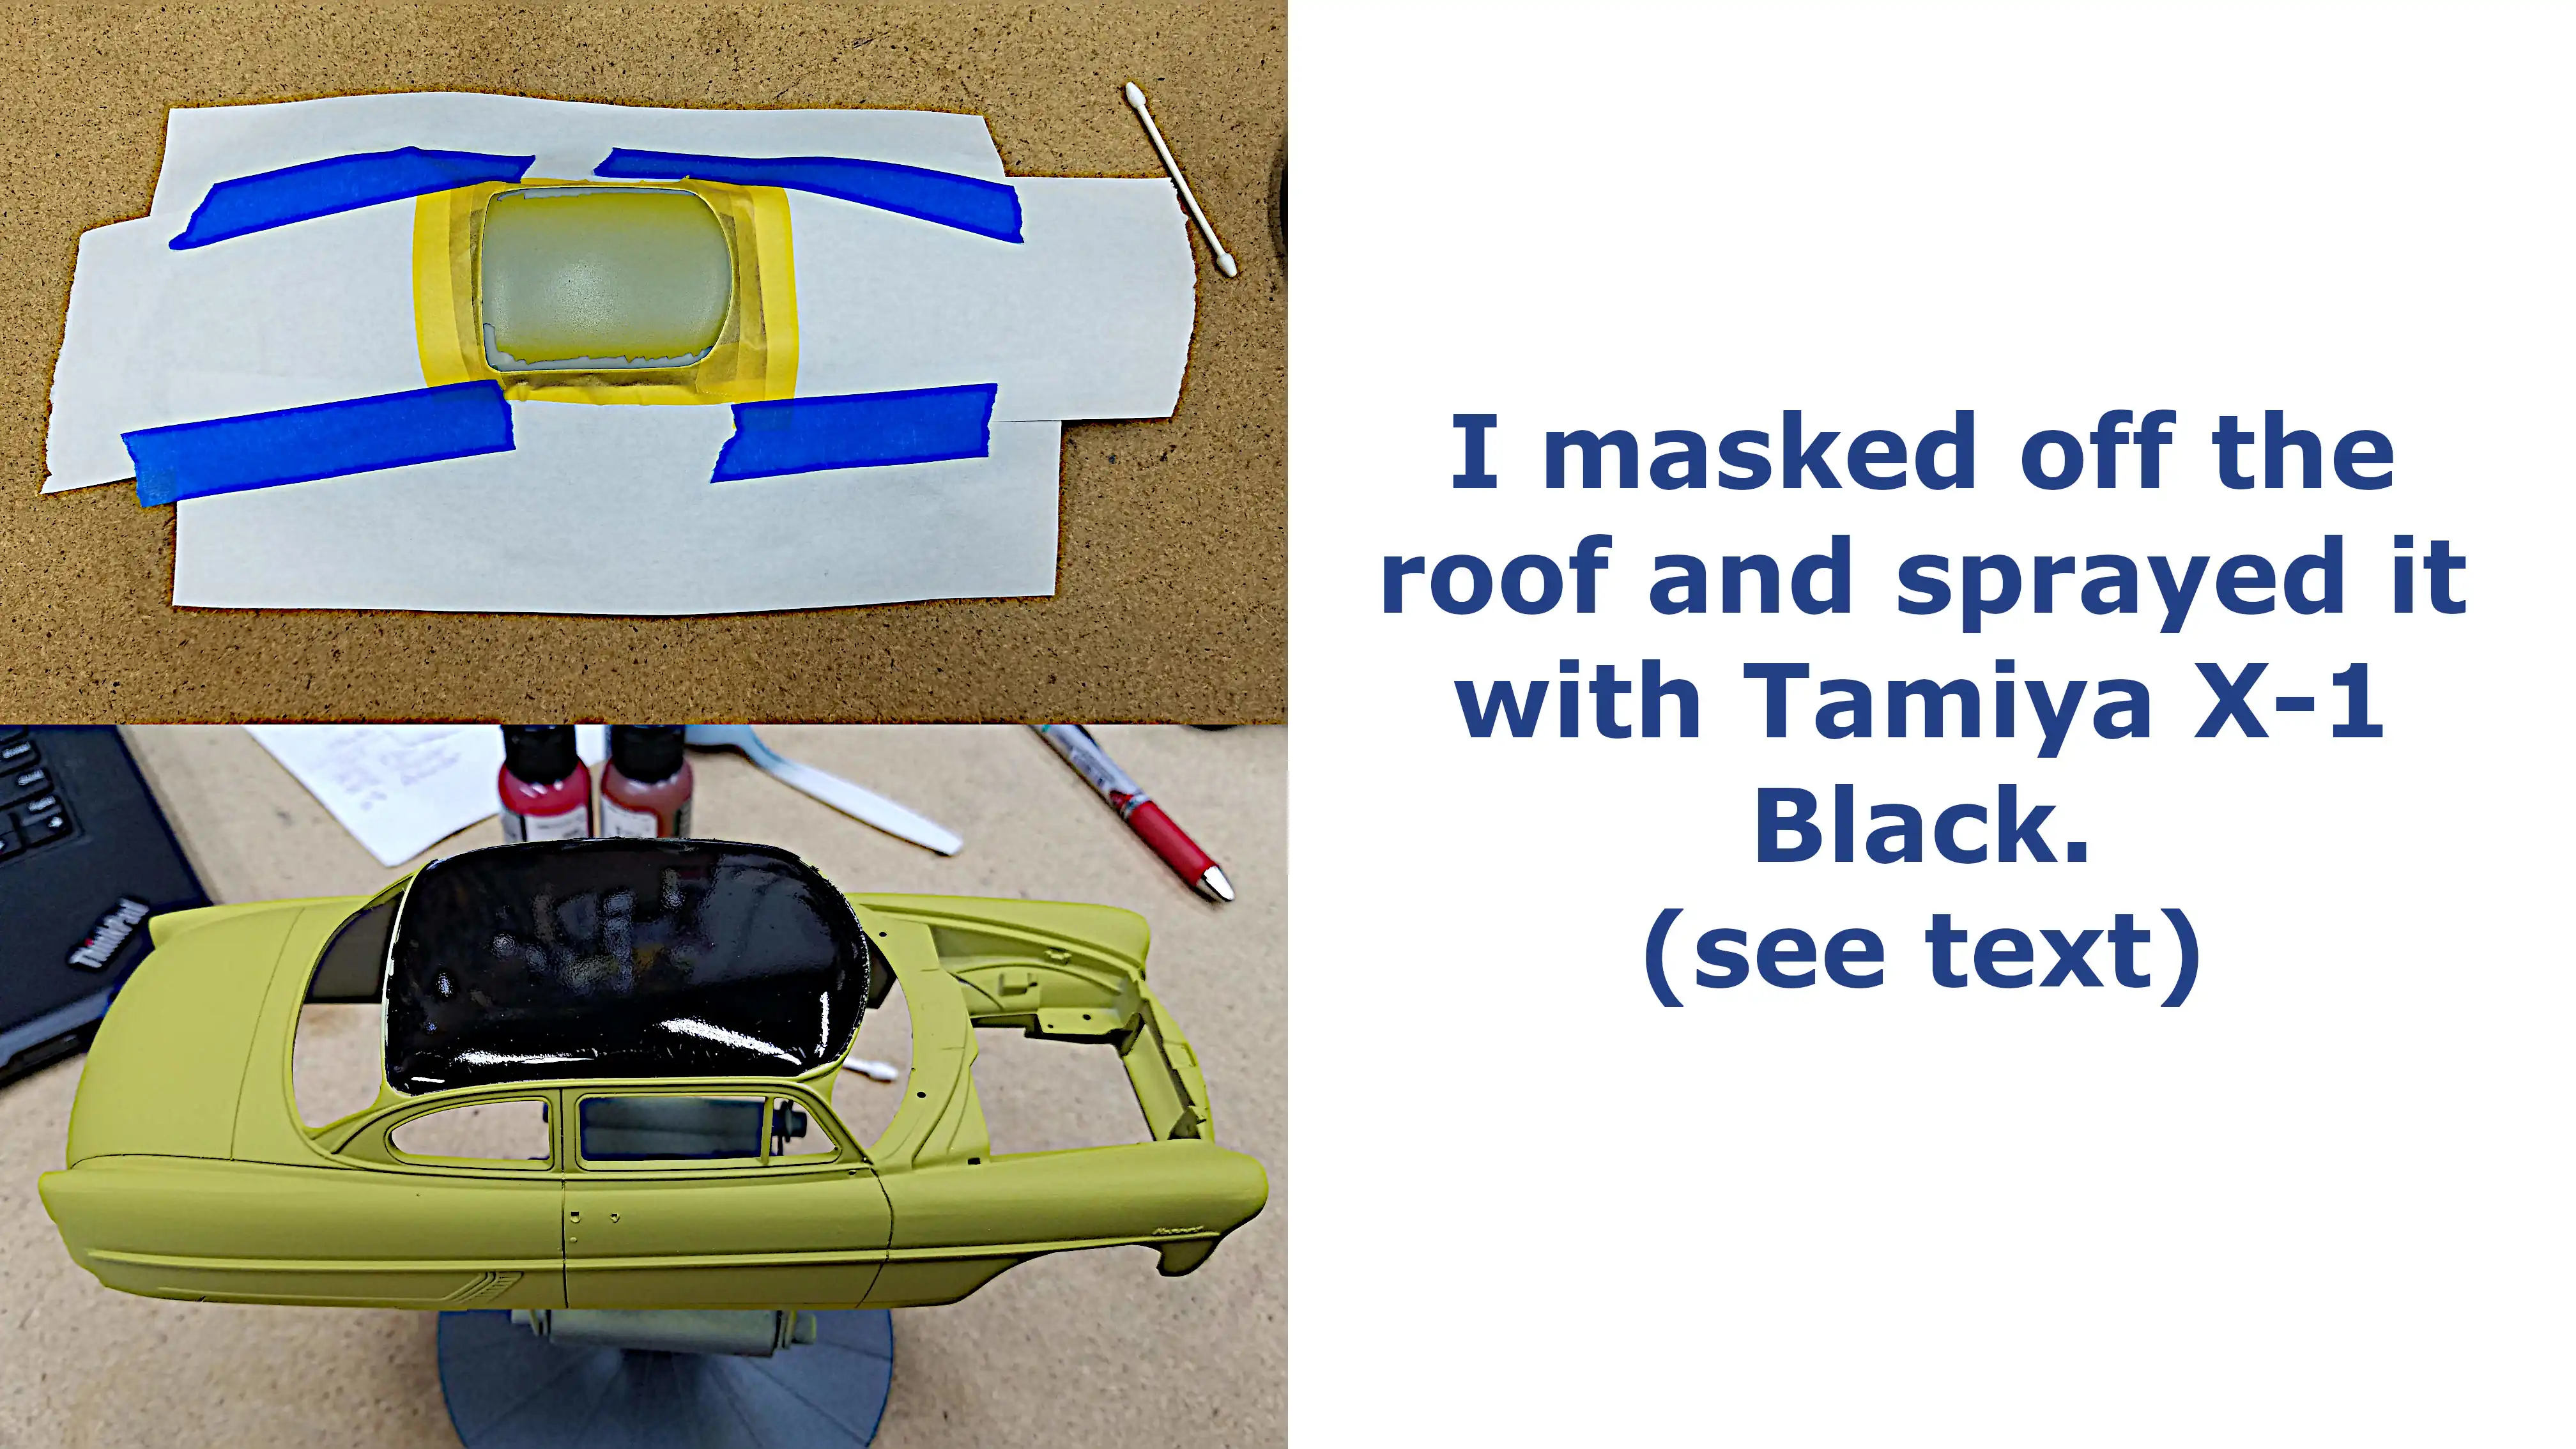 Masked the roof and painted
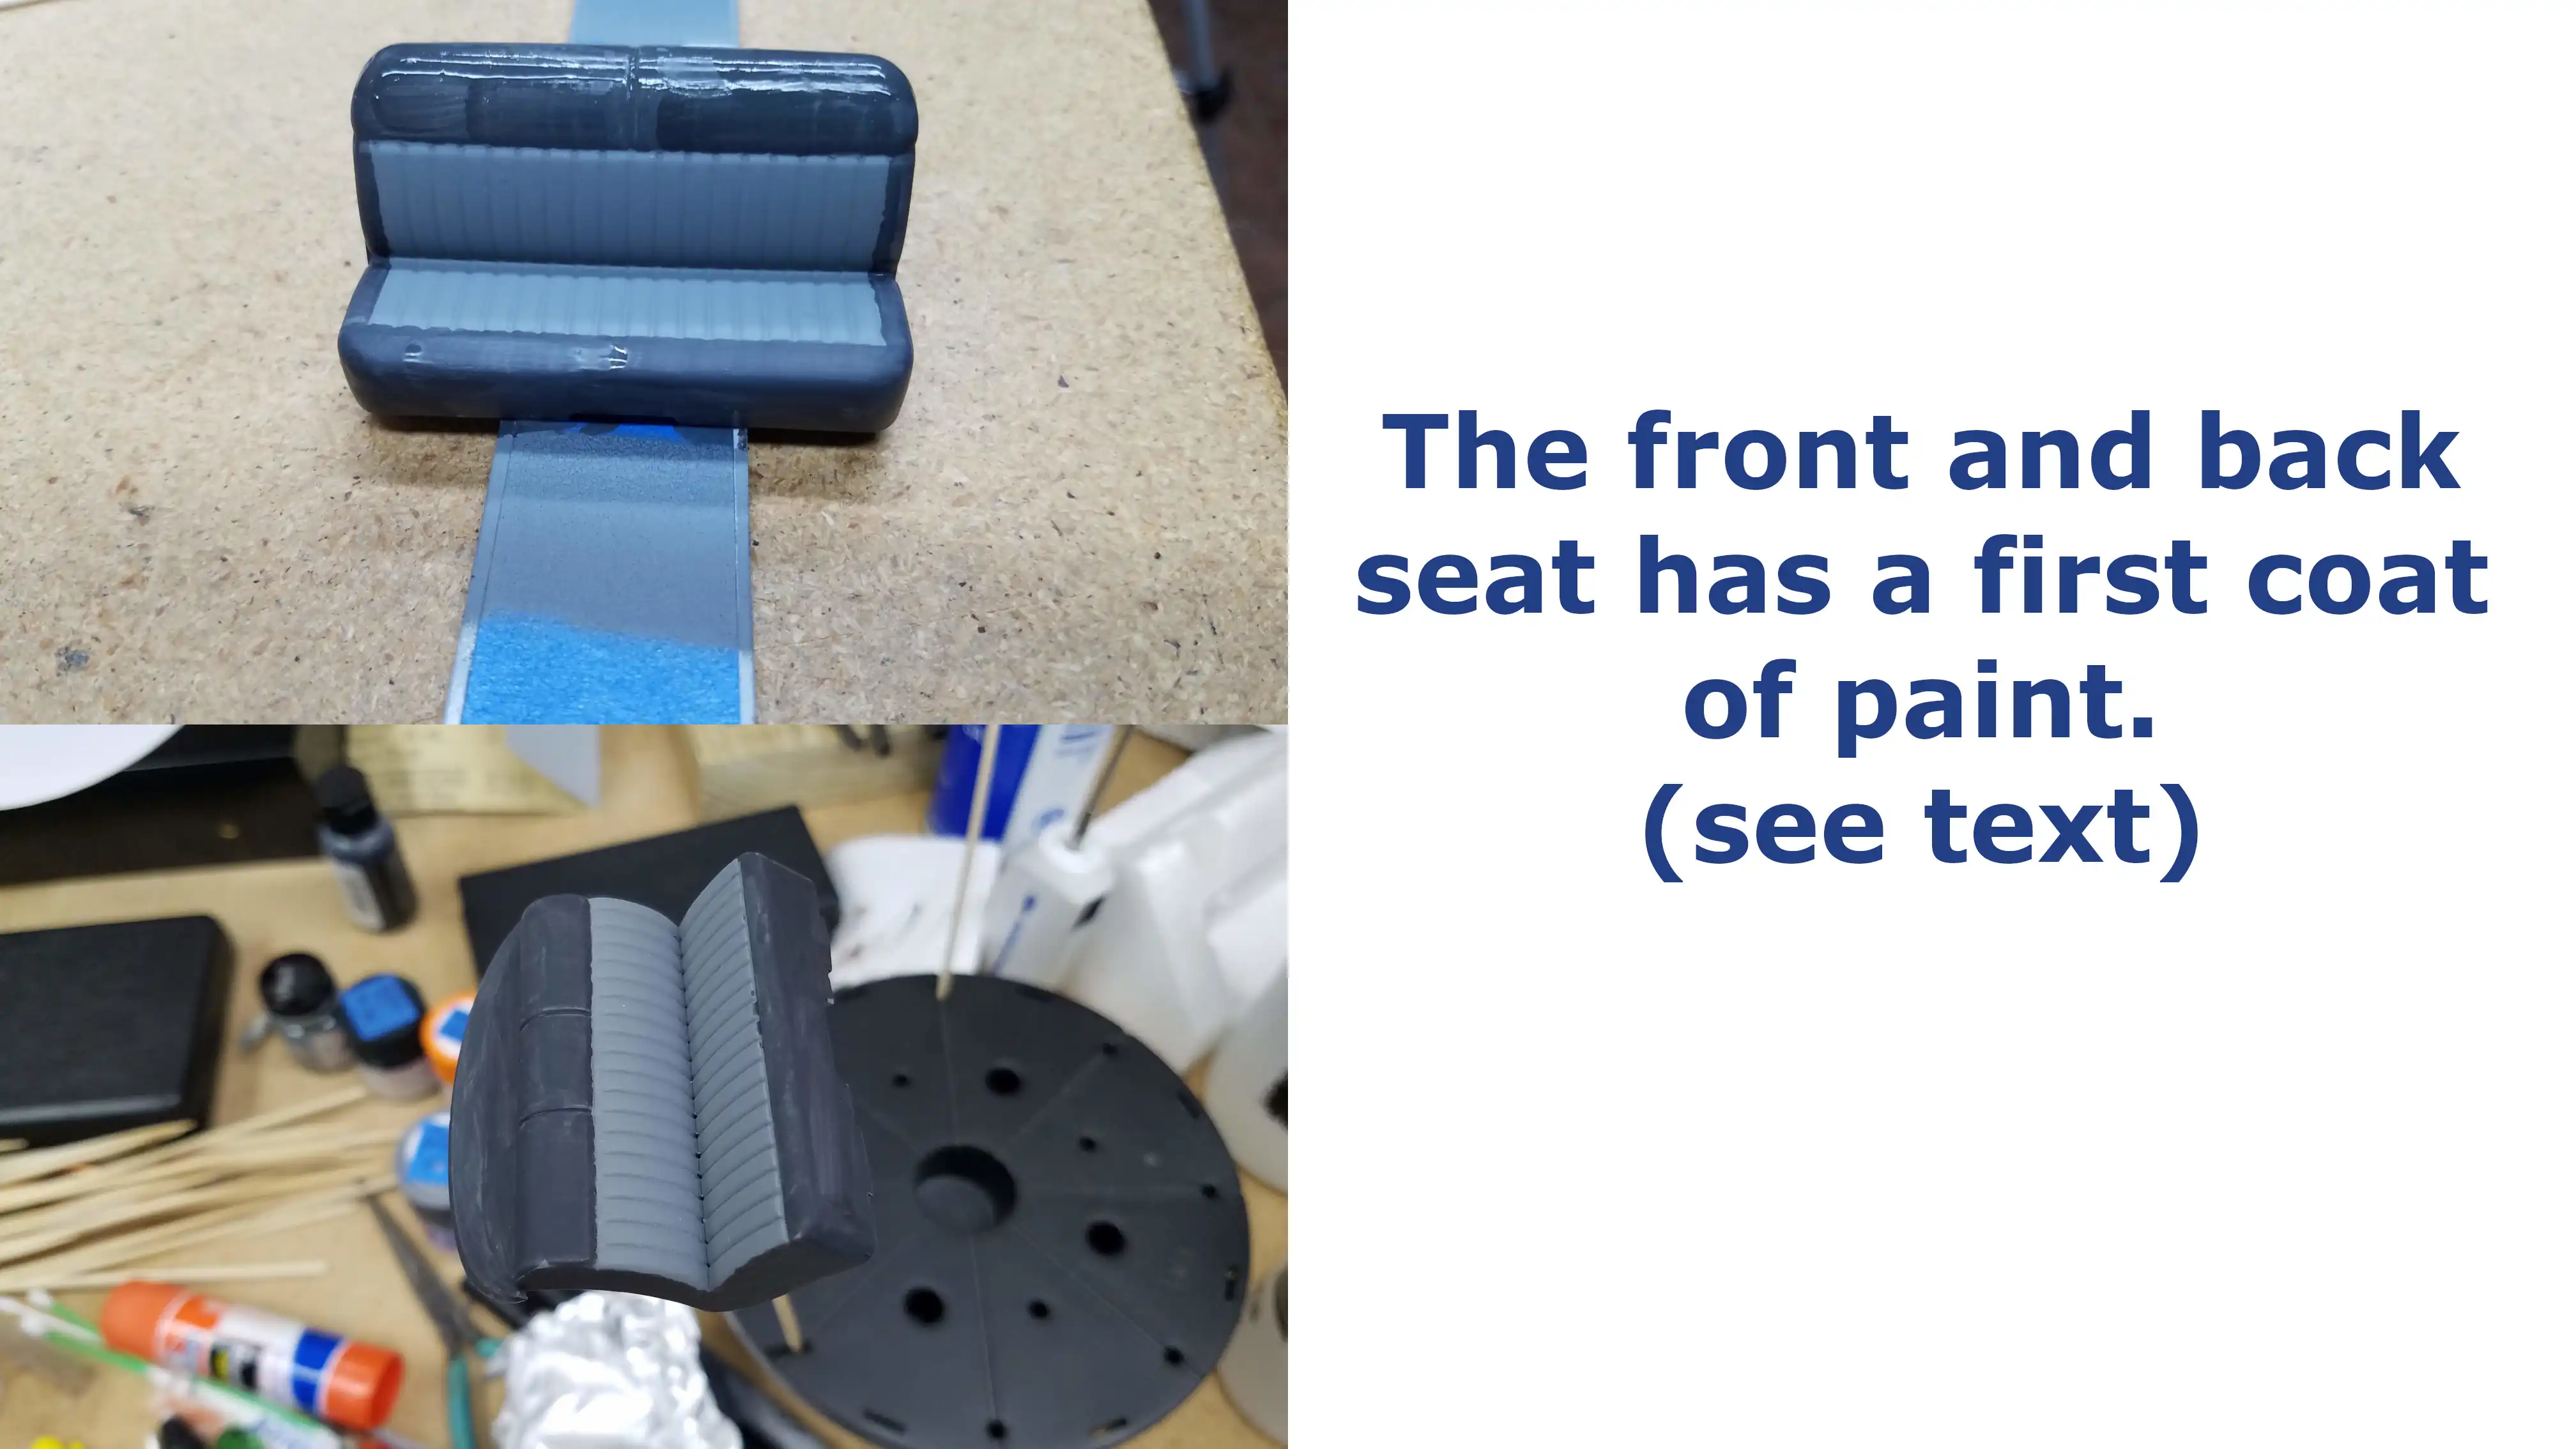 Front and back seat are painted two tone
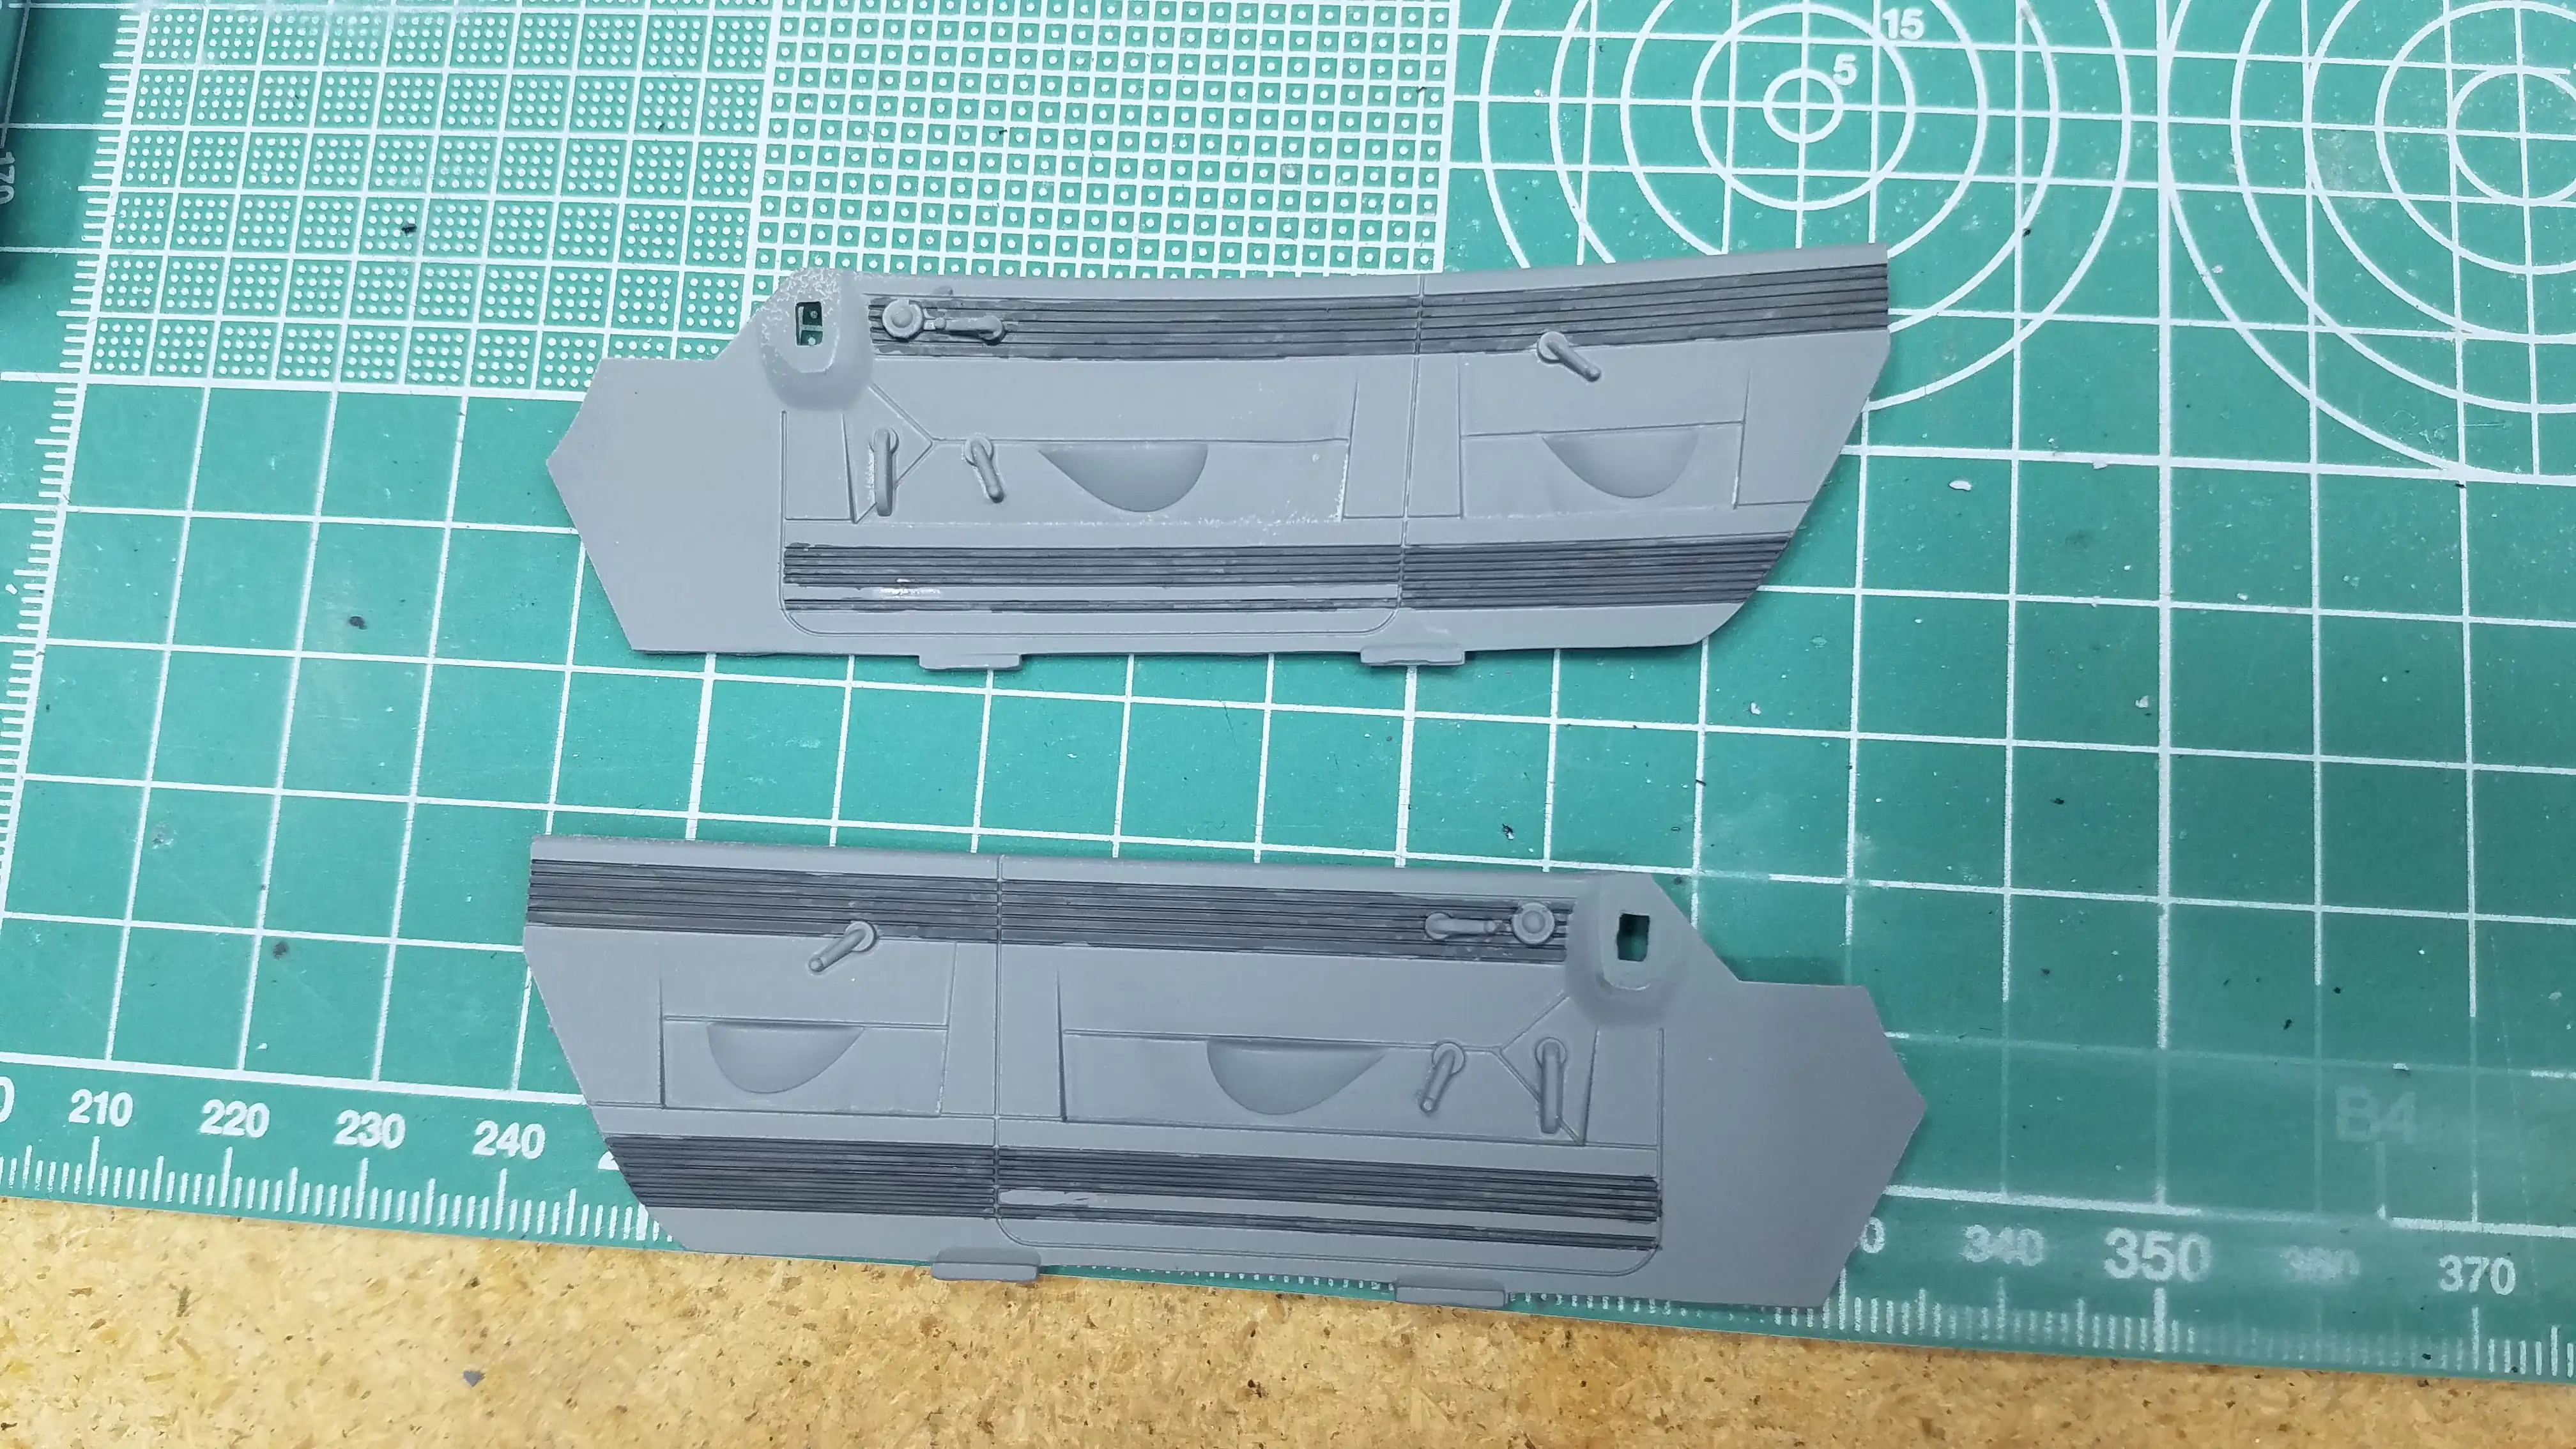 Started detailing the interior door panels
 Exhaust pipe and drive shaft are installed
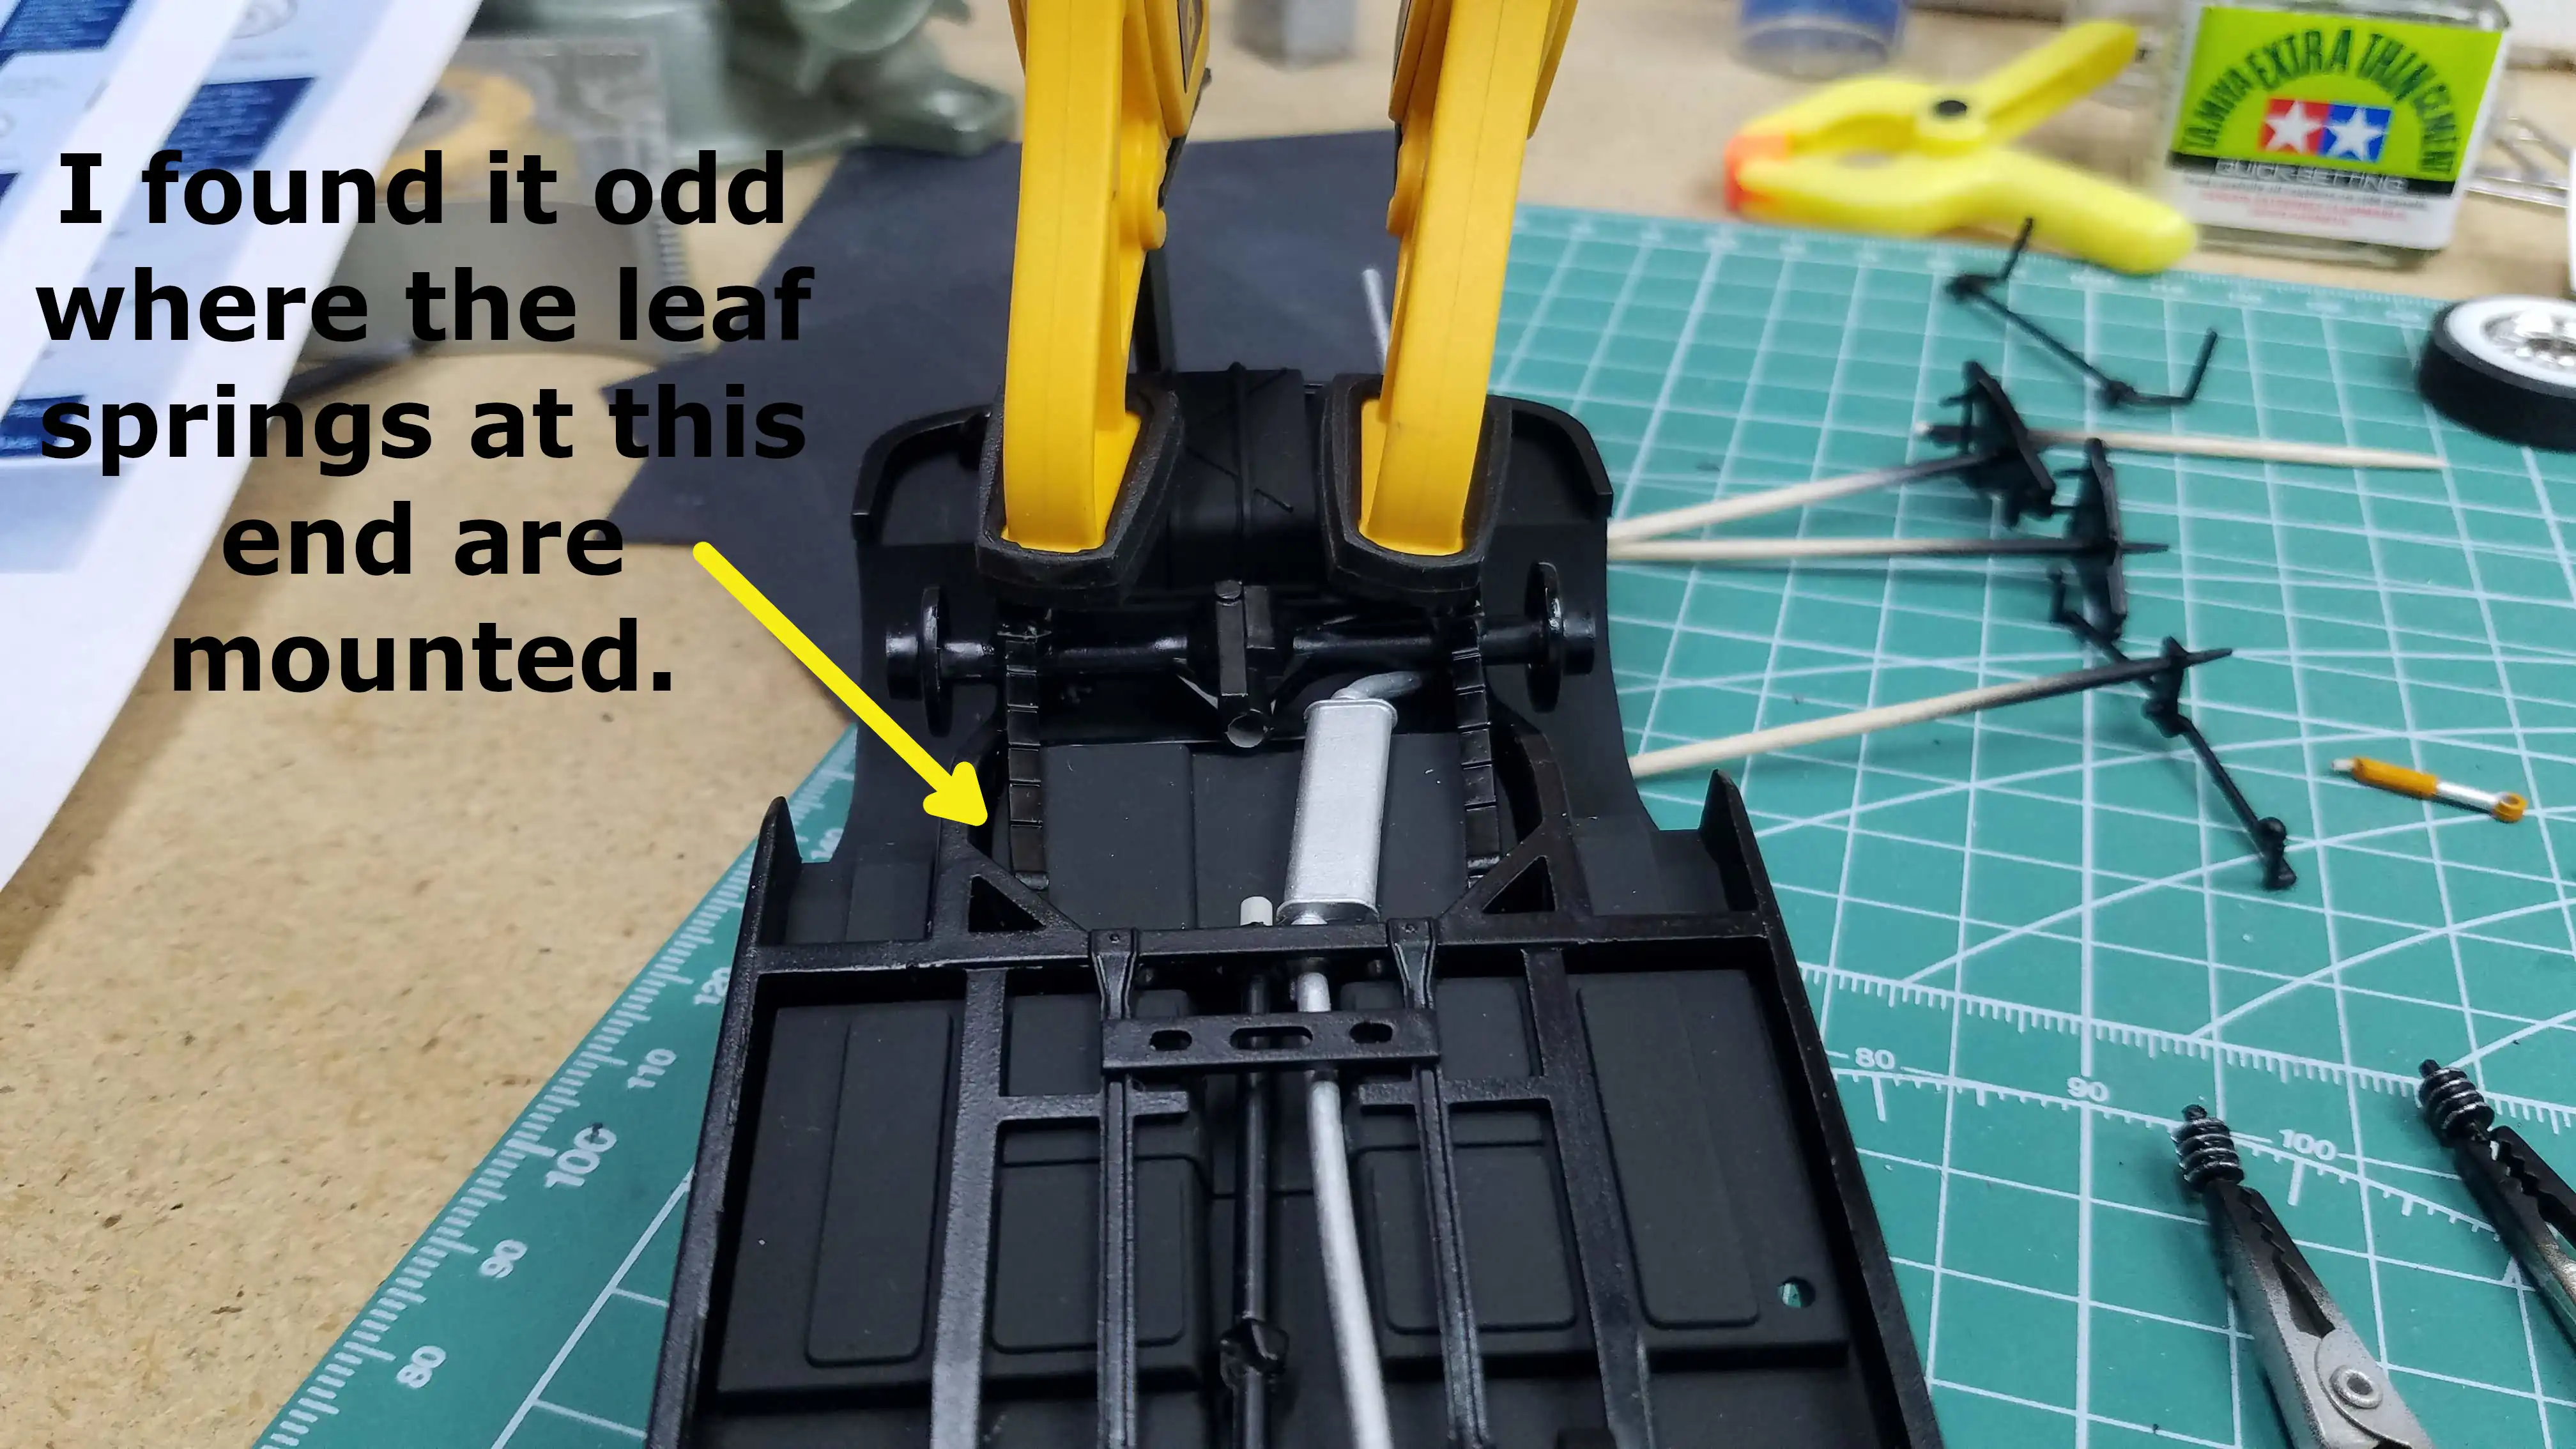 Attaching the rer axle housing and leaf springs
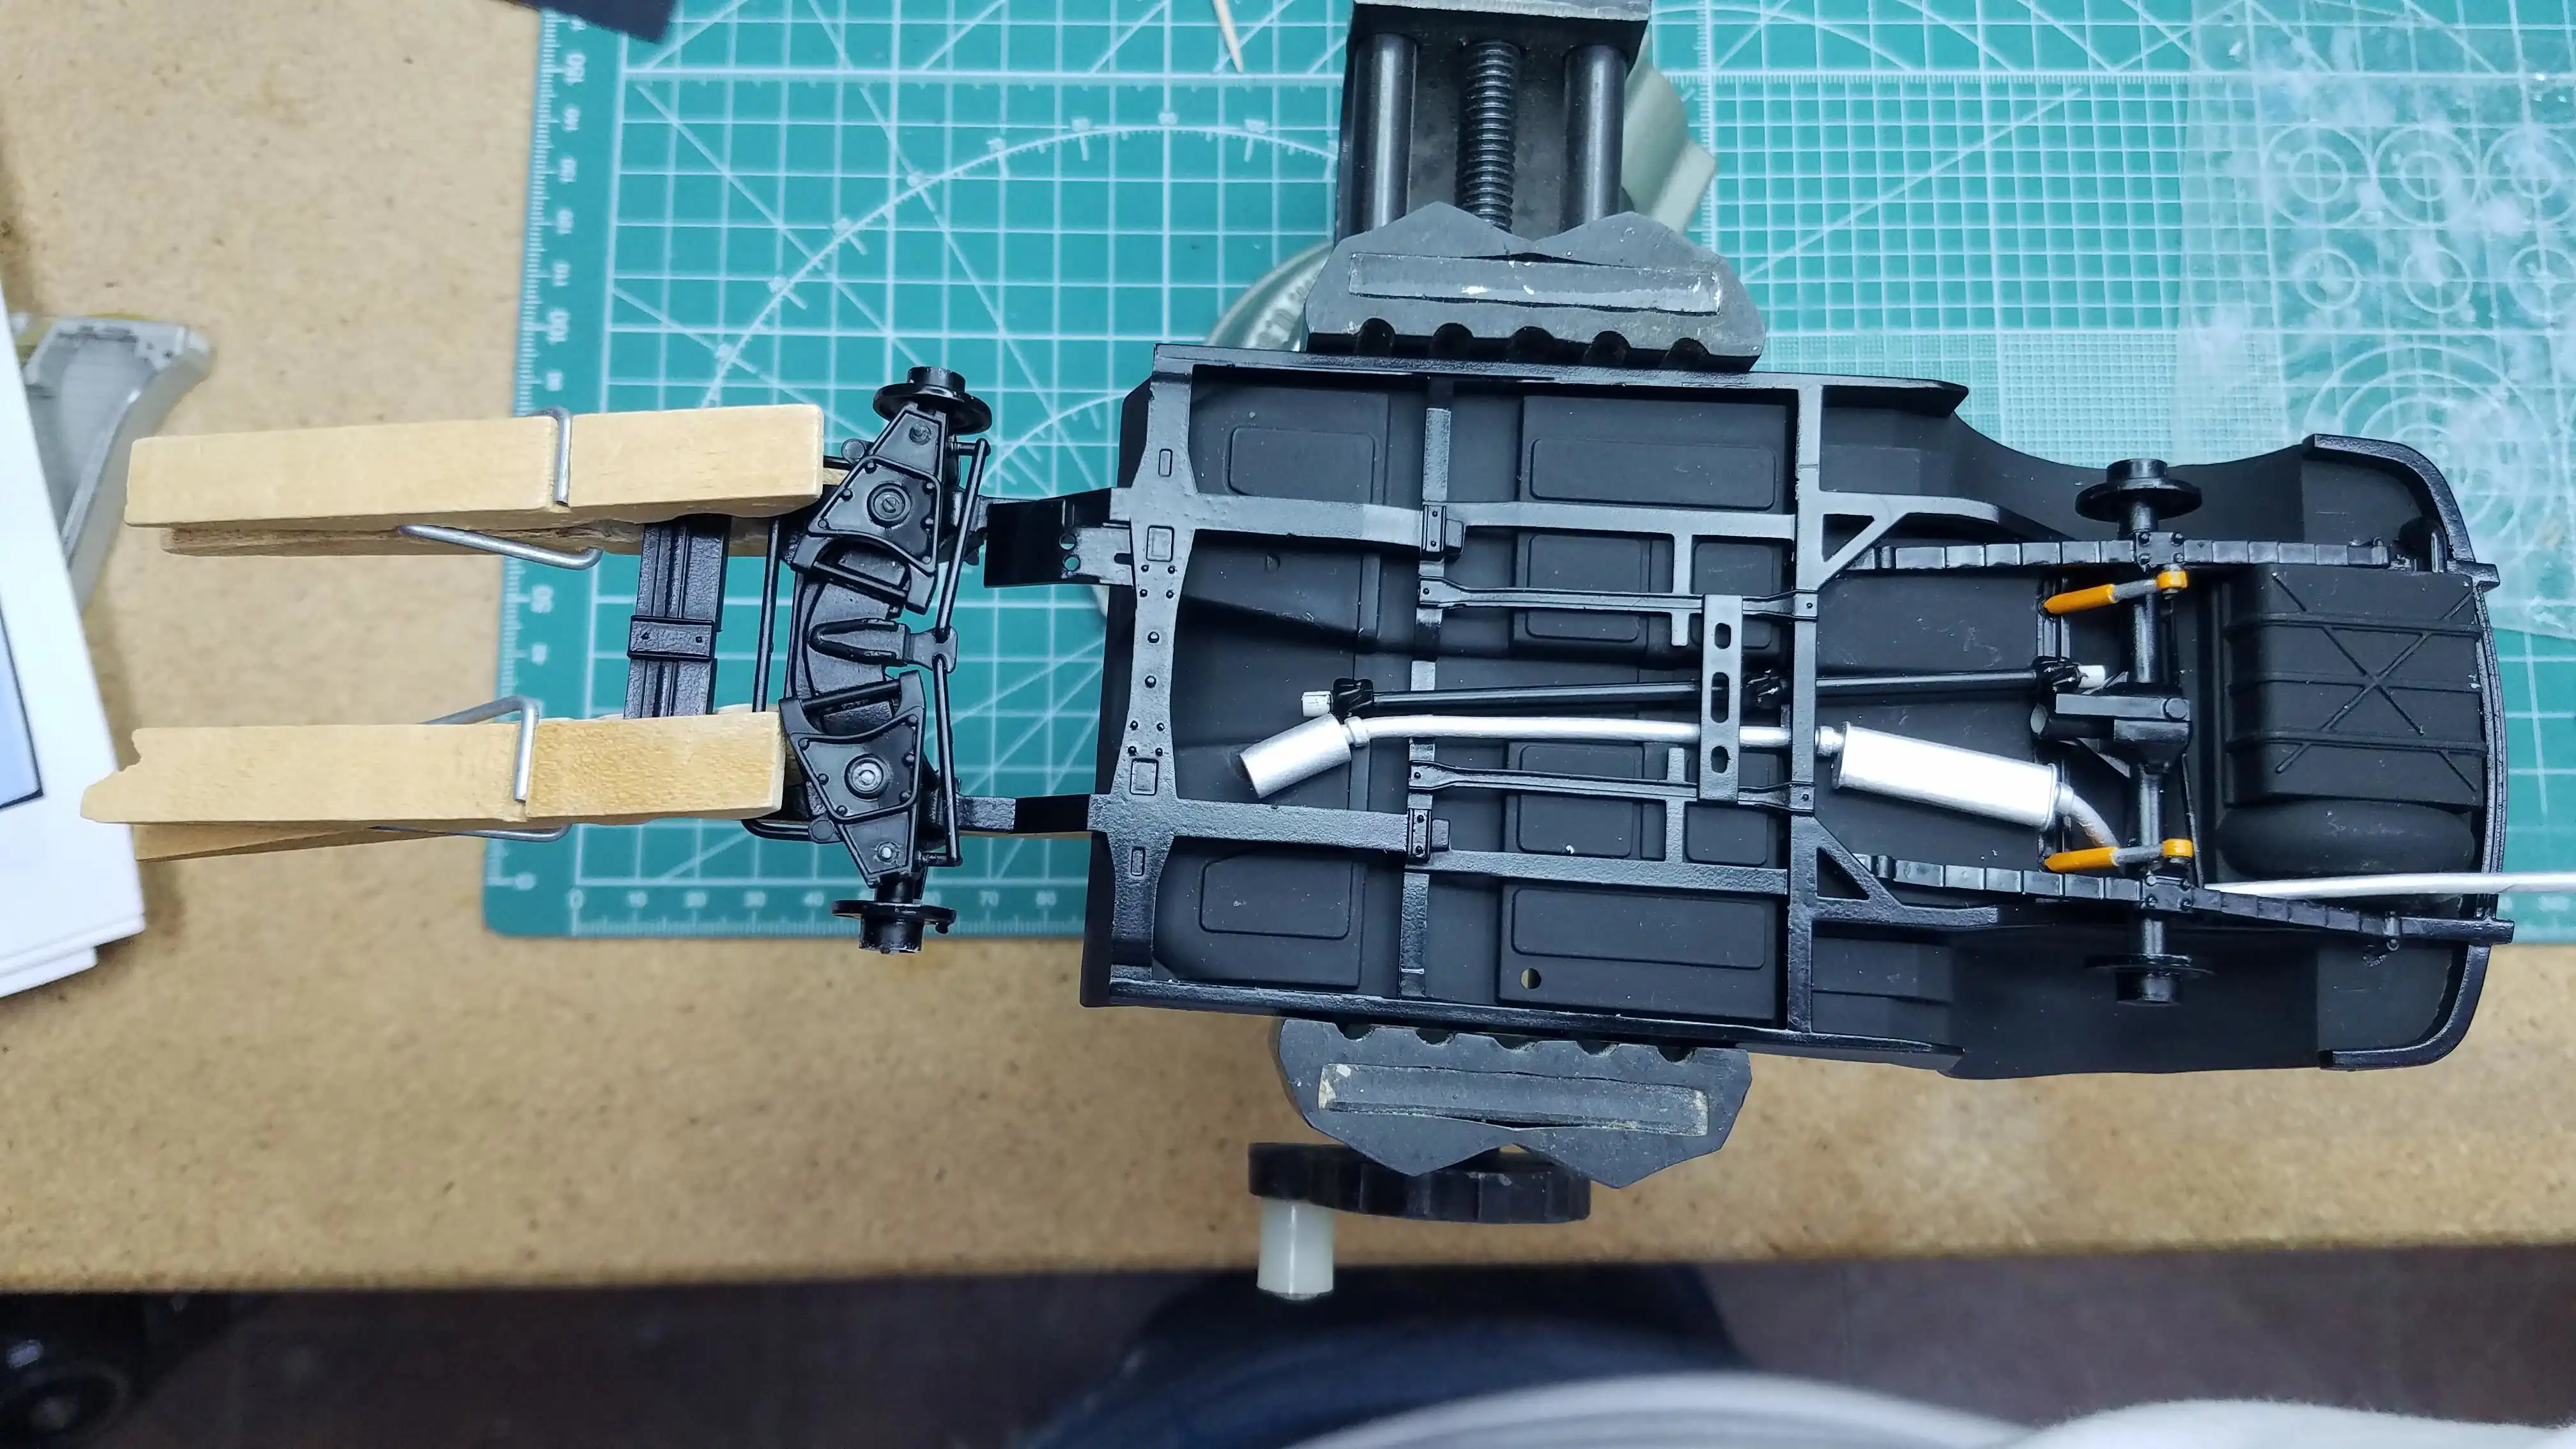 Front suspension being installed
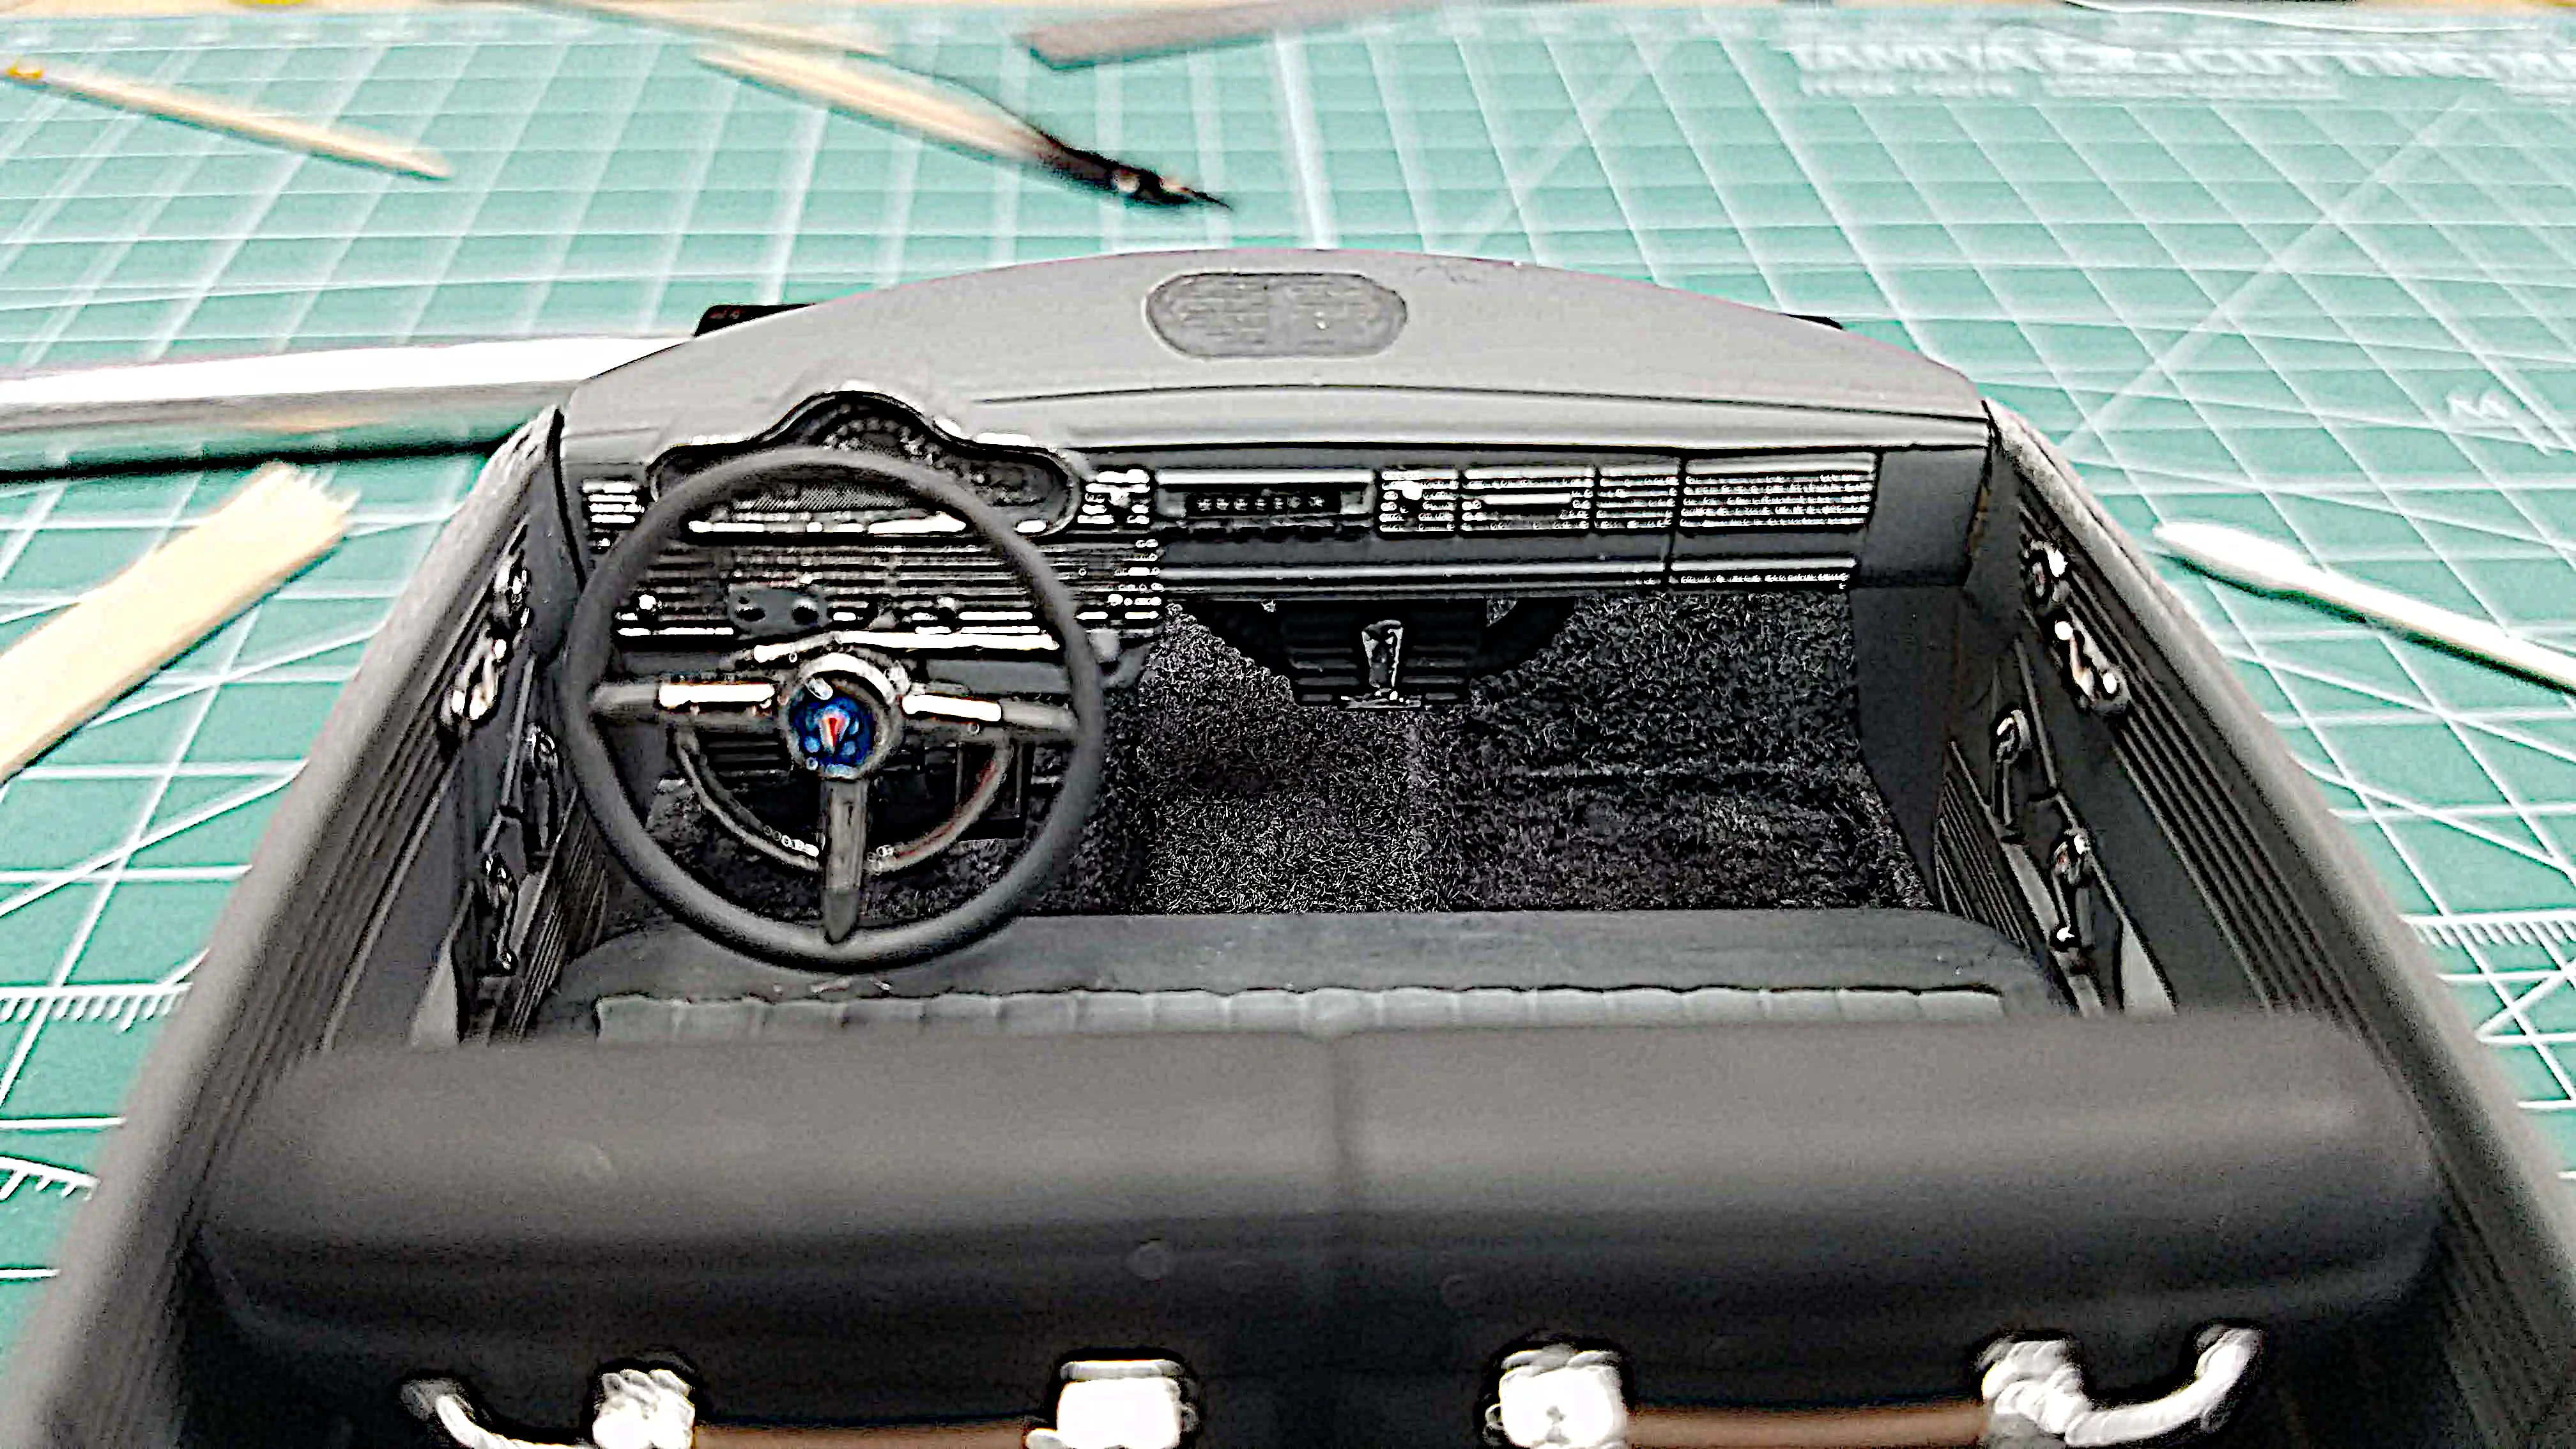
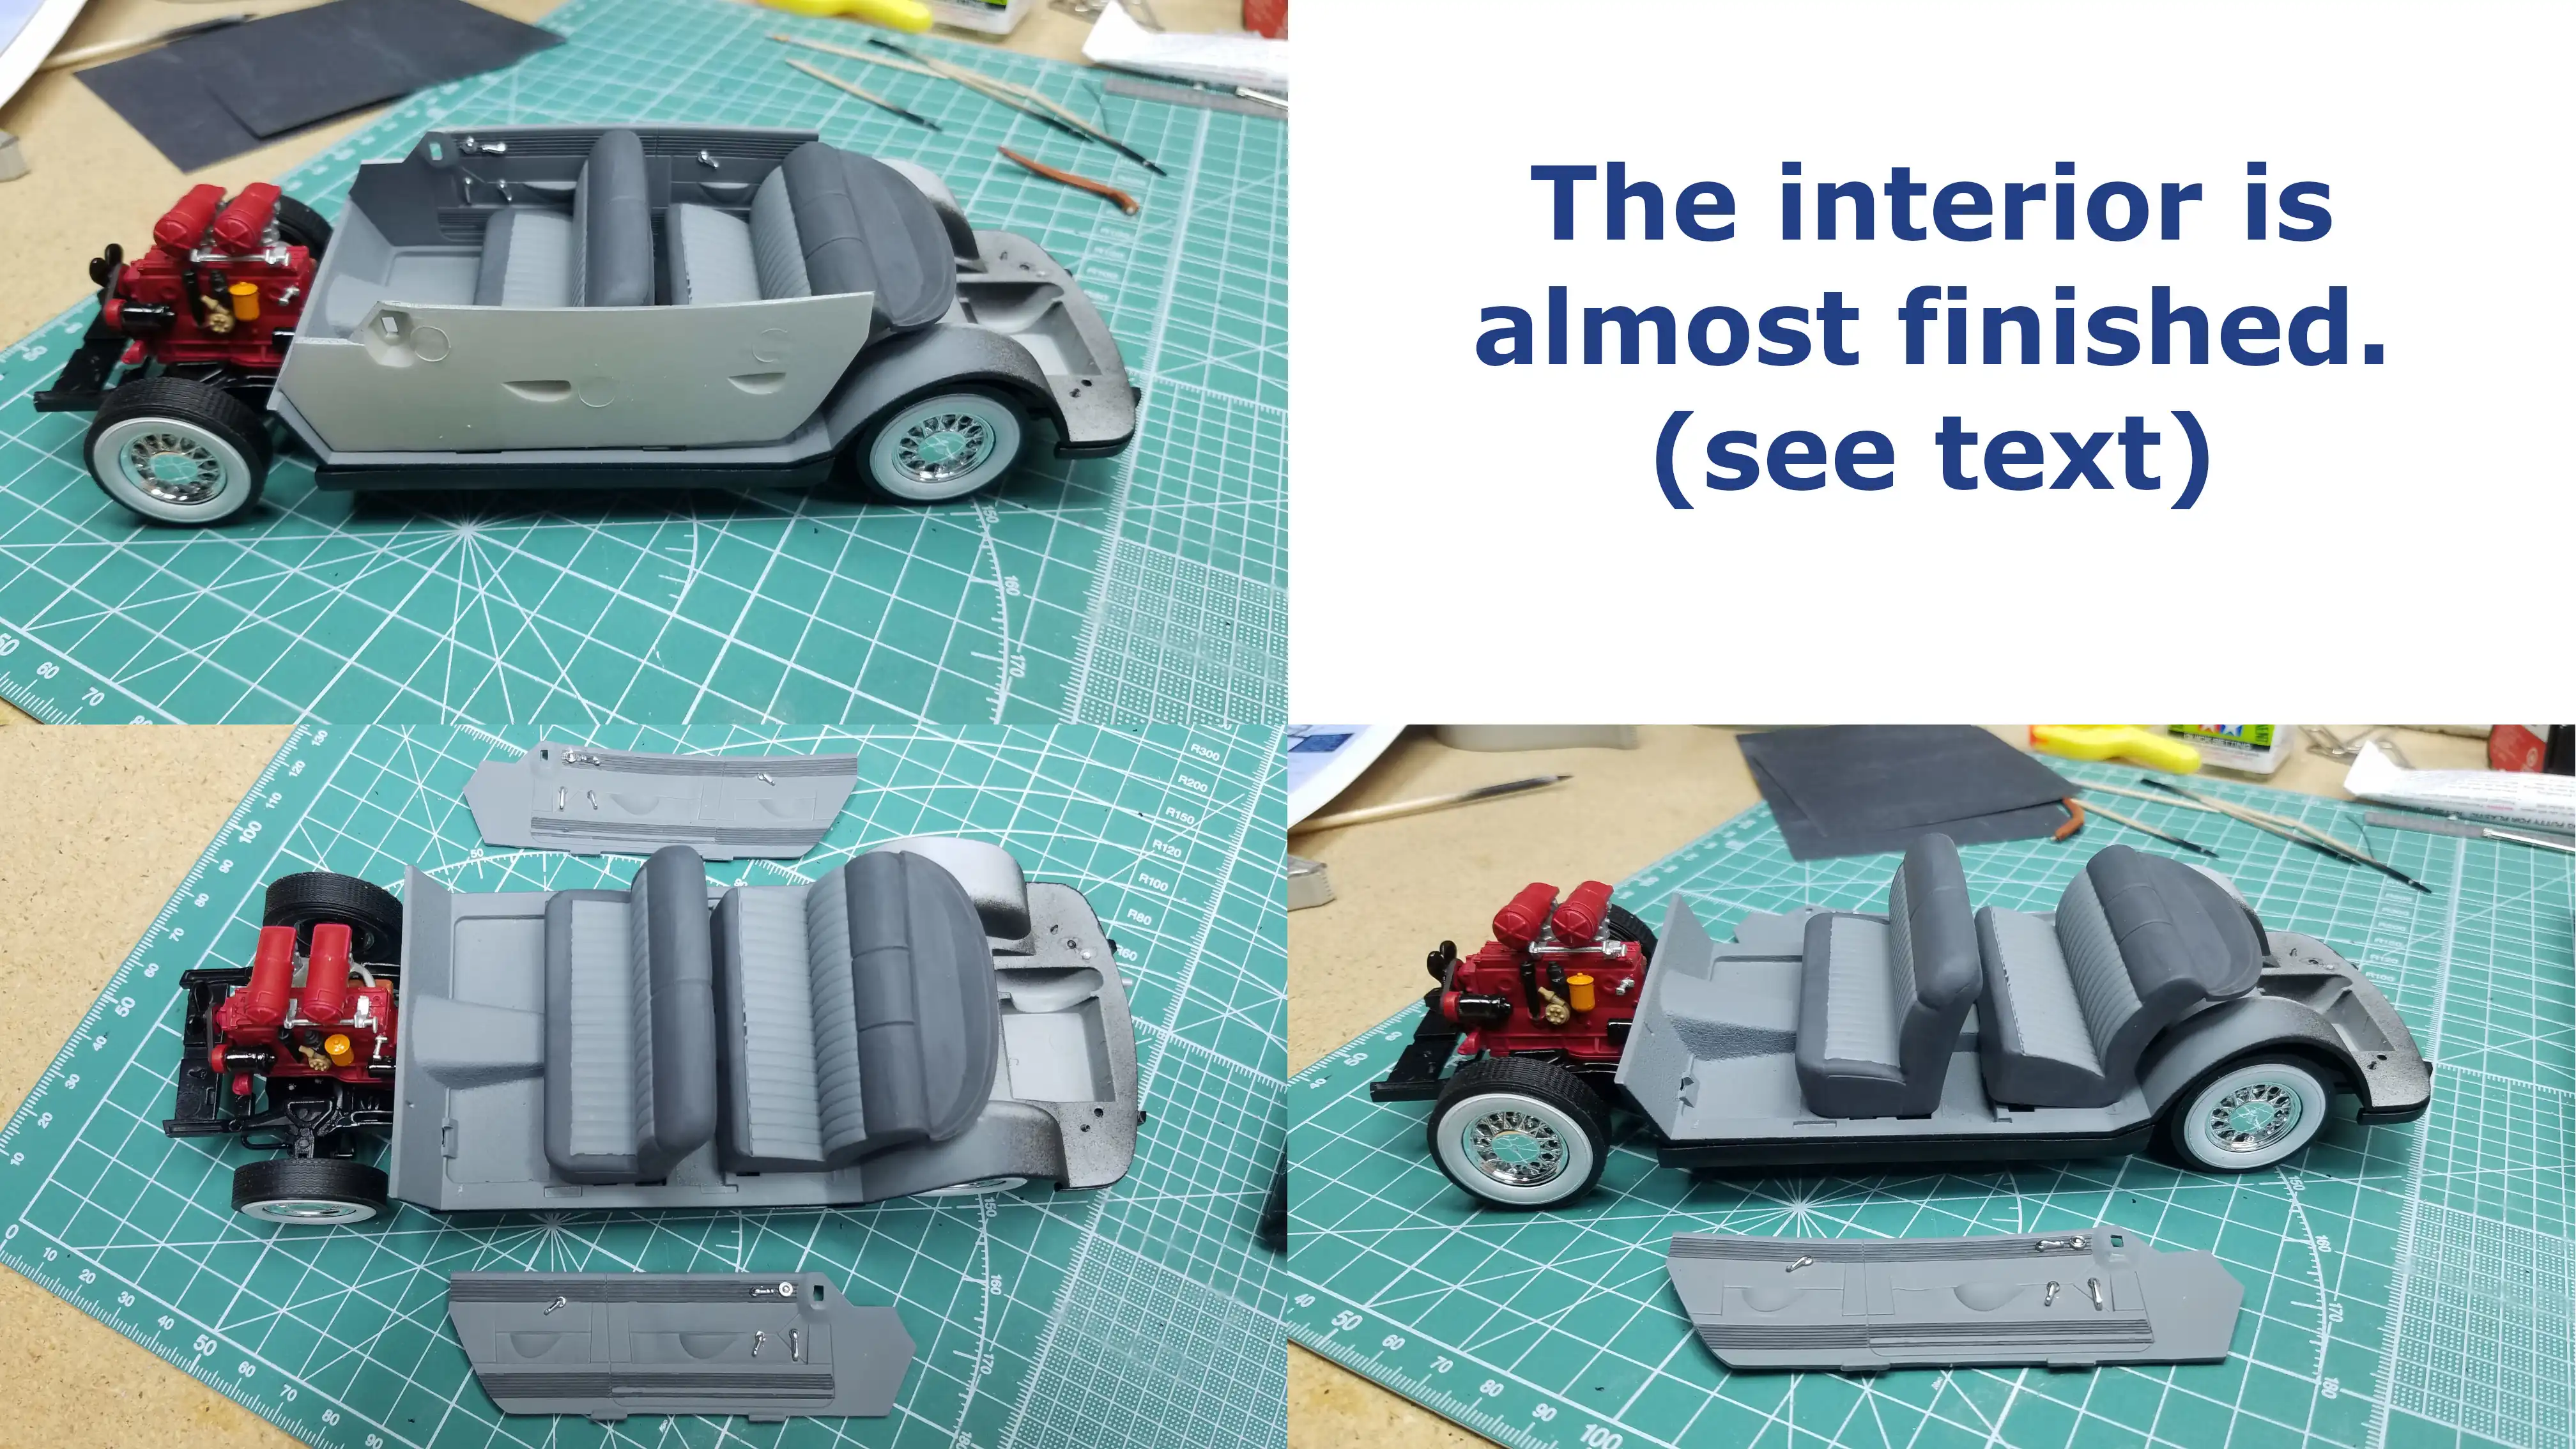 Interior is almost finished
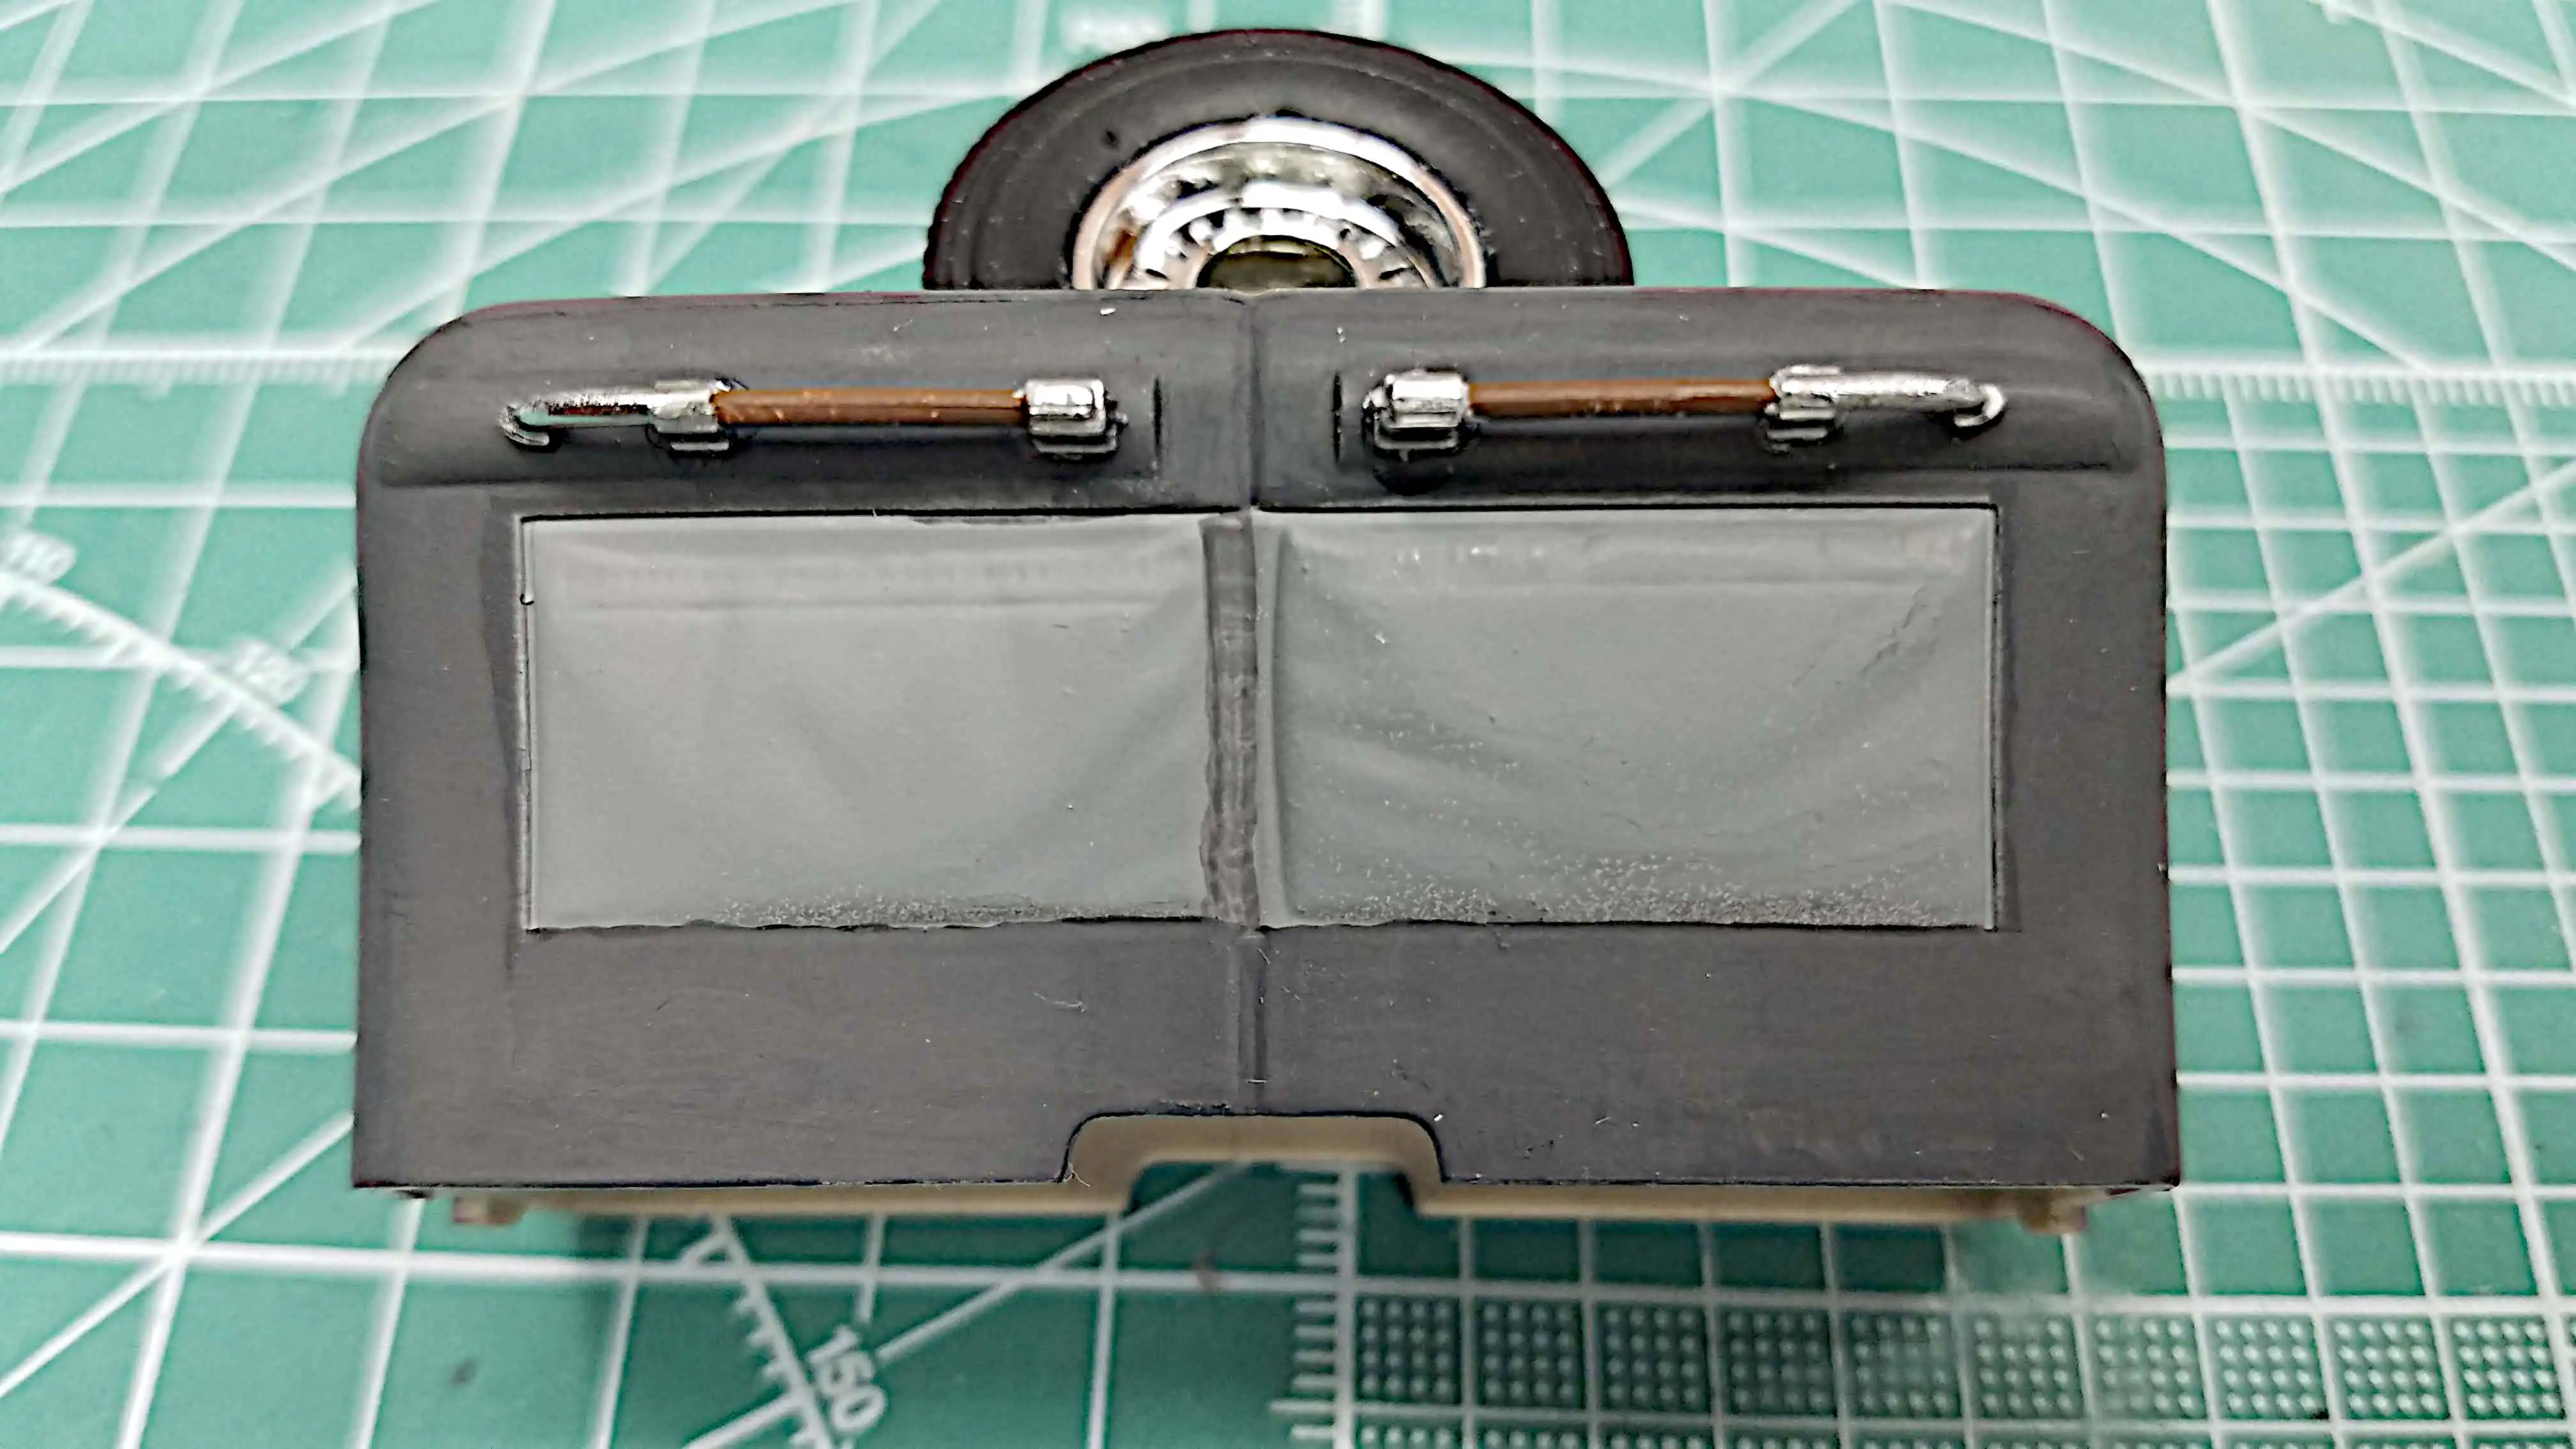 Back of the front seat is detailed
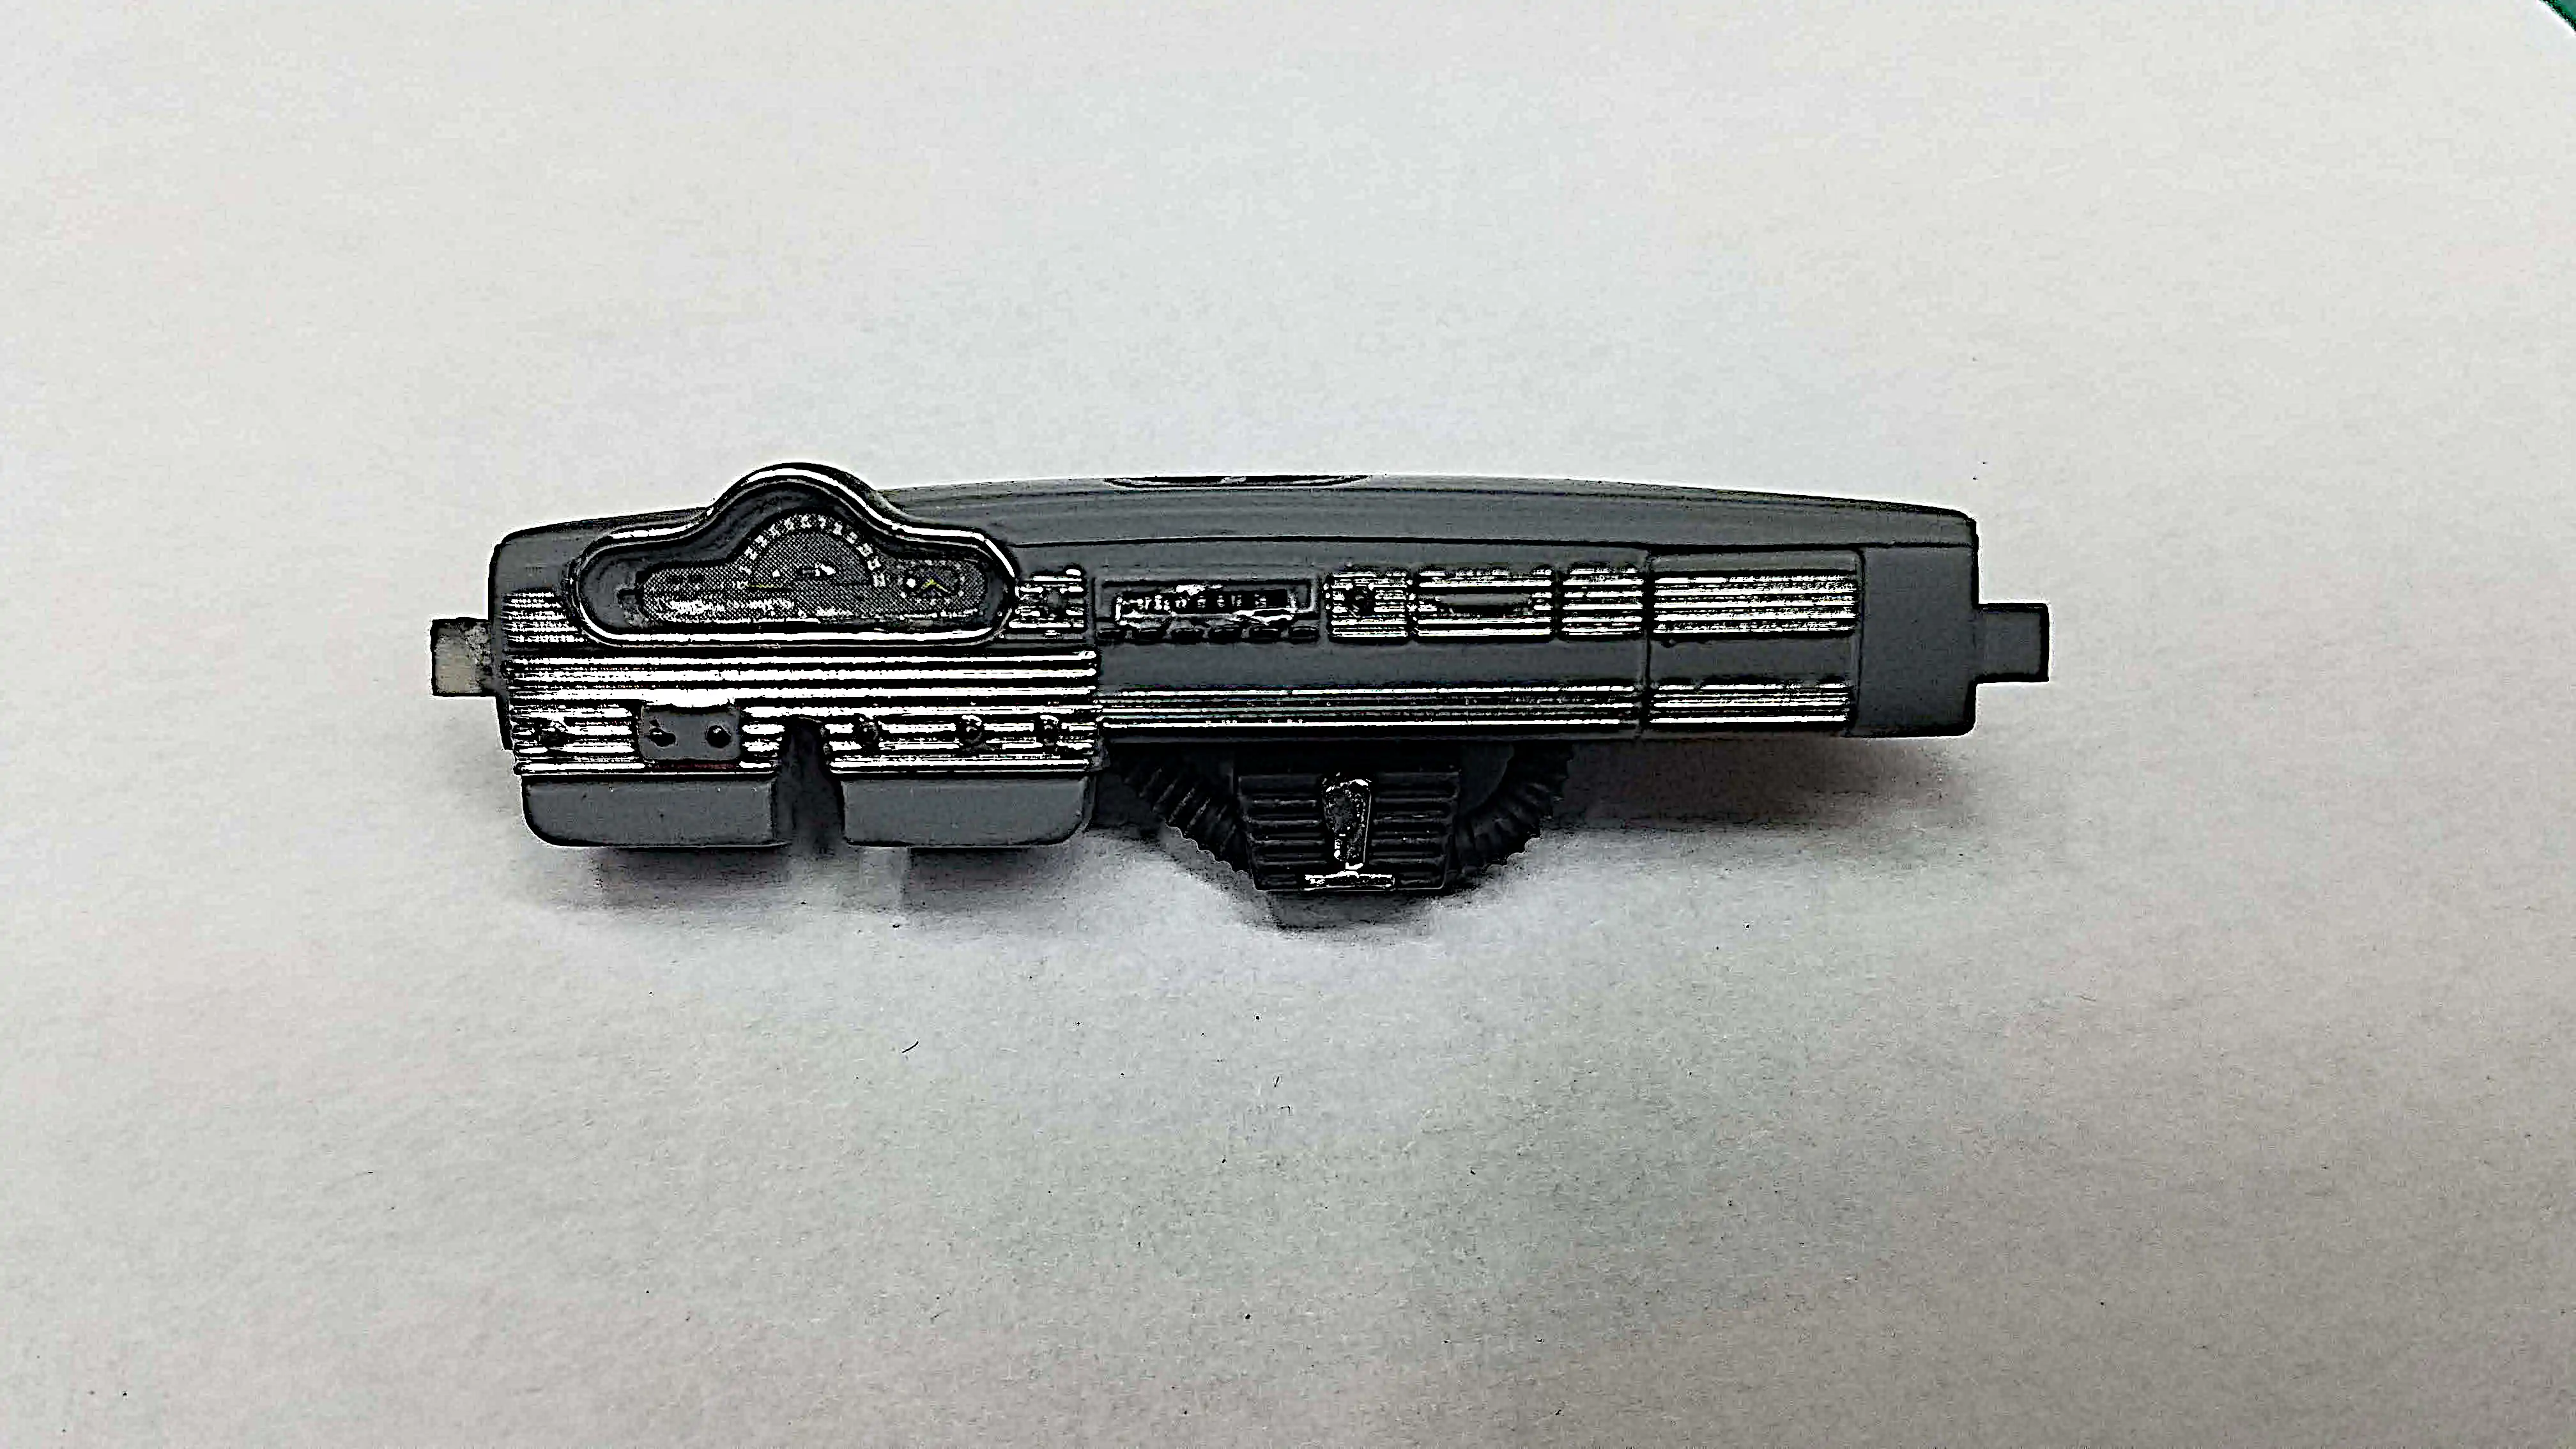 Dashboard is detailed
 Interior is finished
 Interior is finished
 Starting to apply the body chrome
 Sun visors, dome light and rear view mirror installed
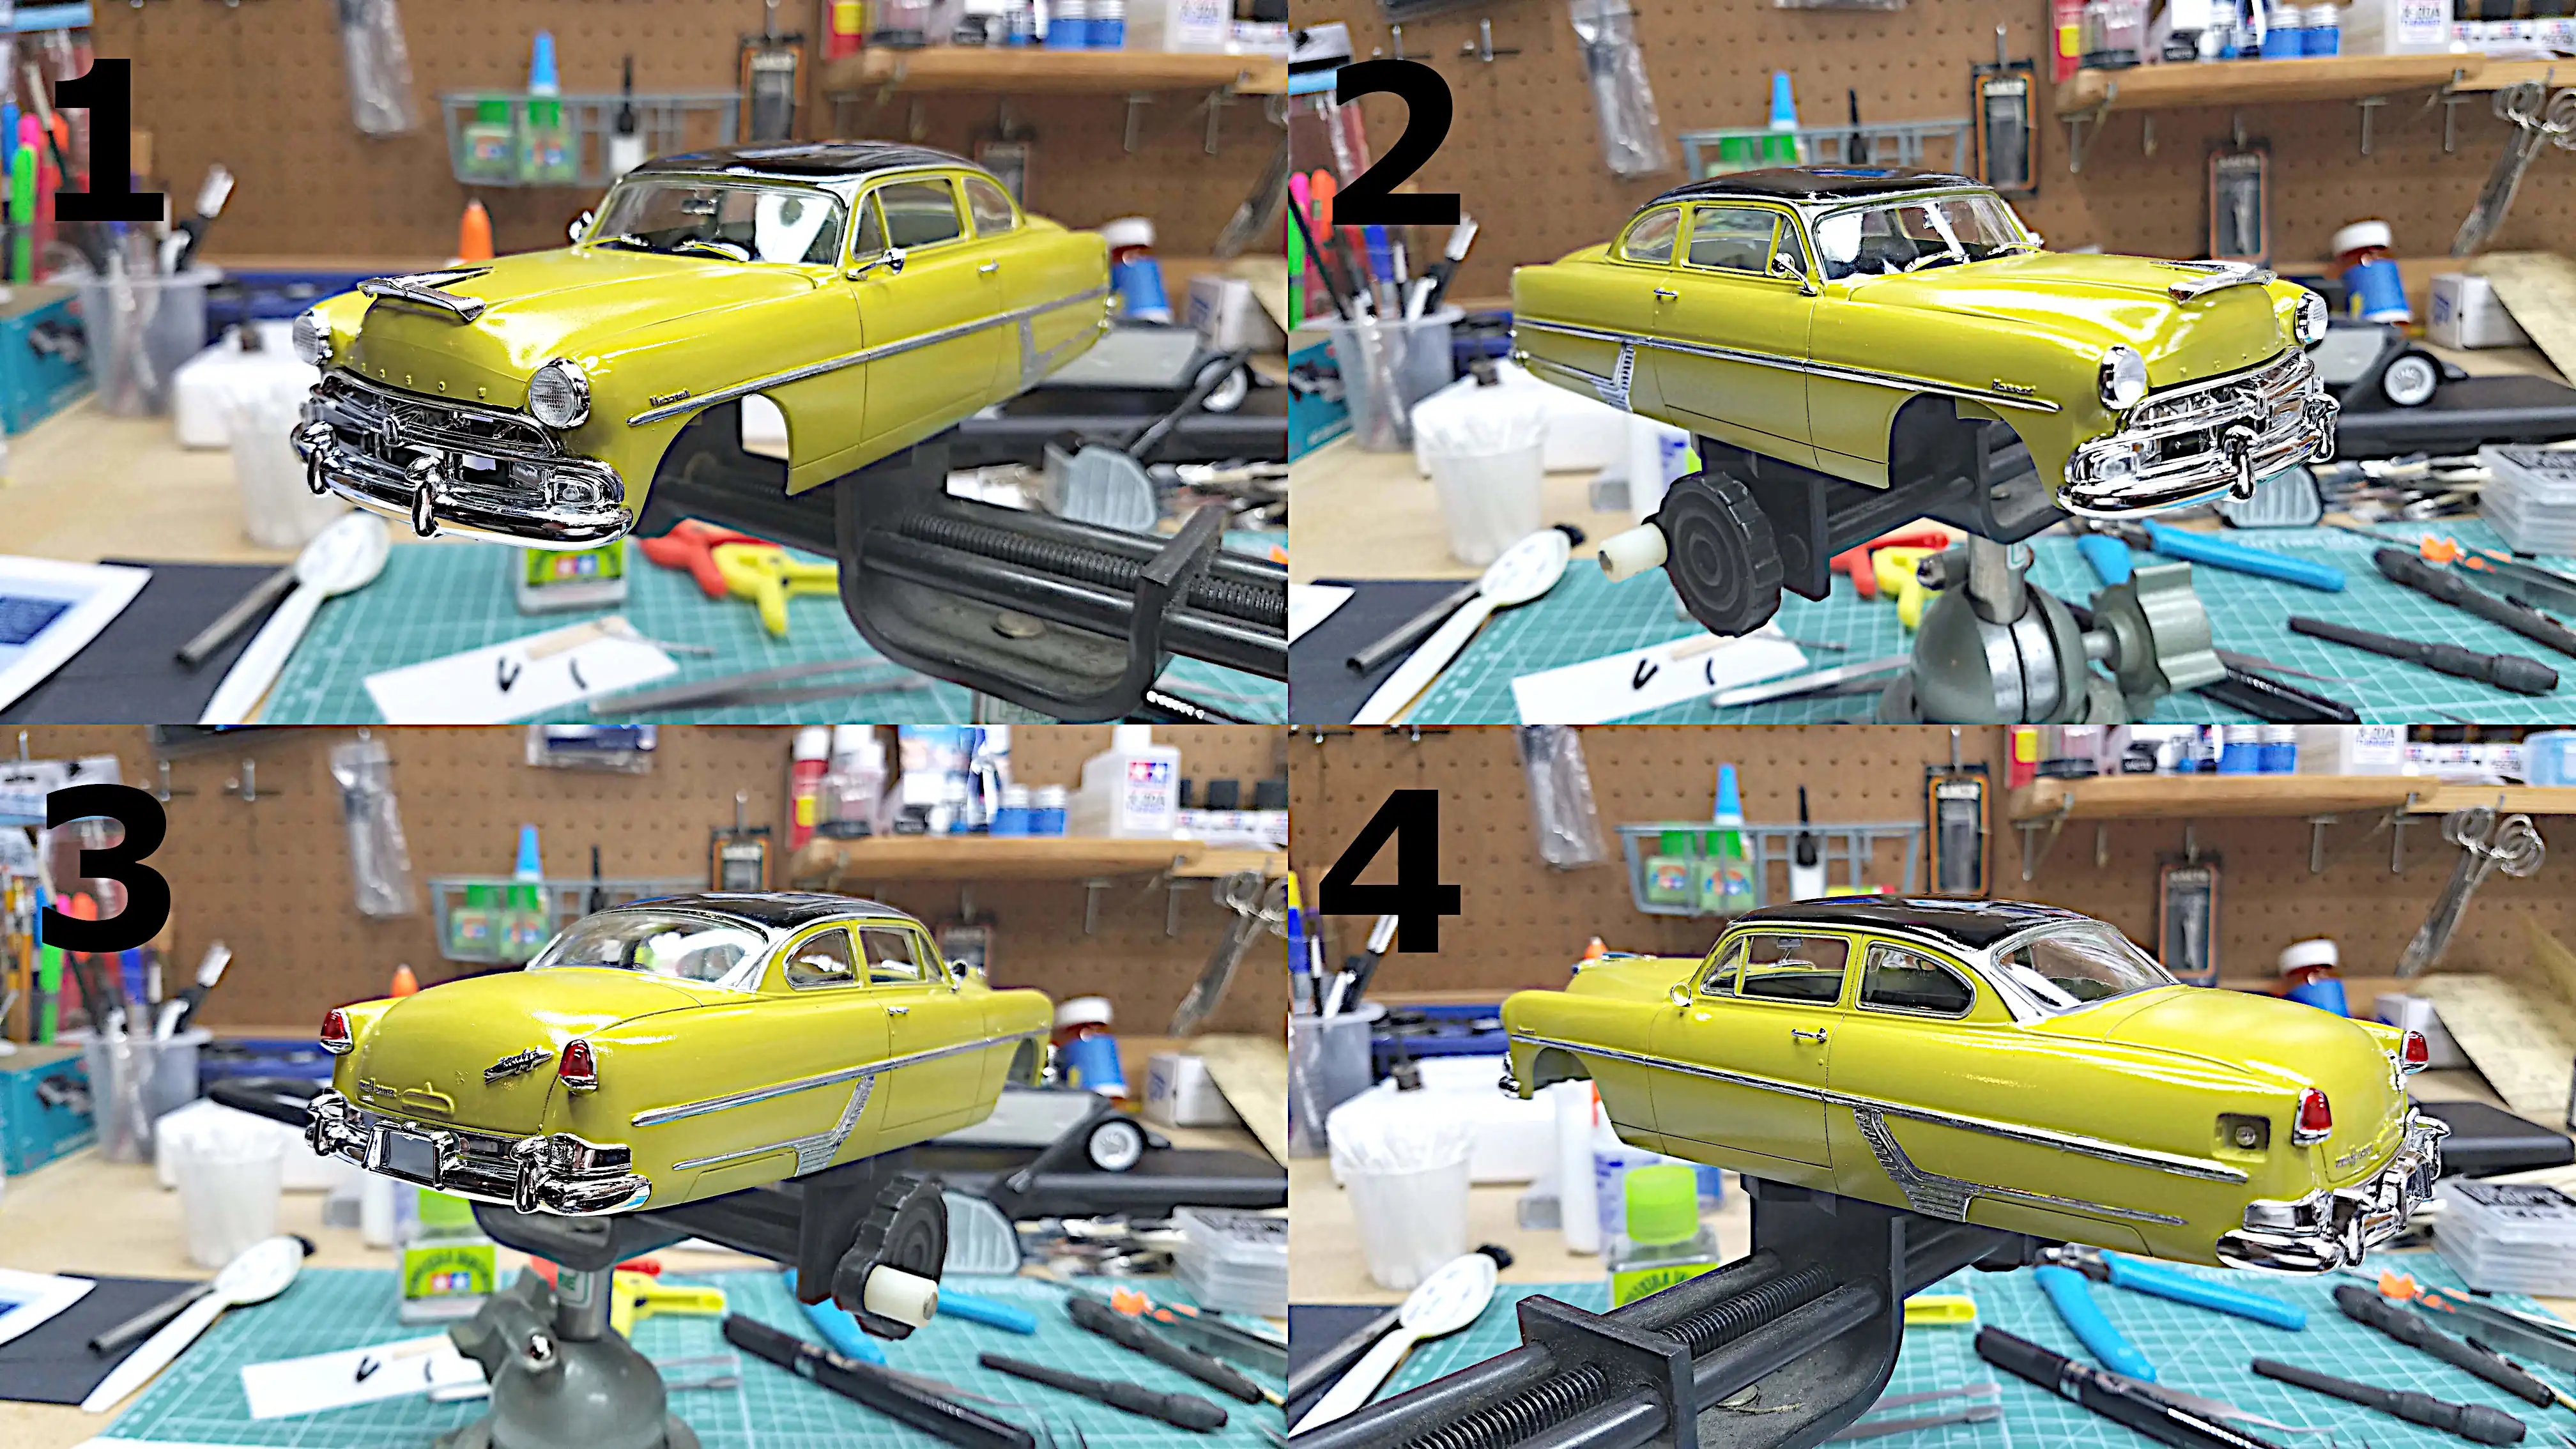 Body is almost finished - 5-Photos
 End of build - Remaining photos are completed build
 Completed build
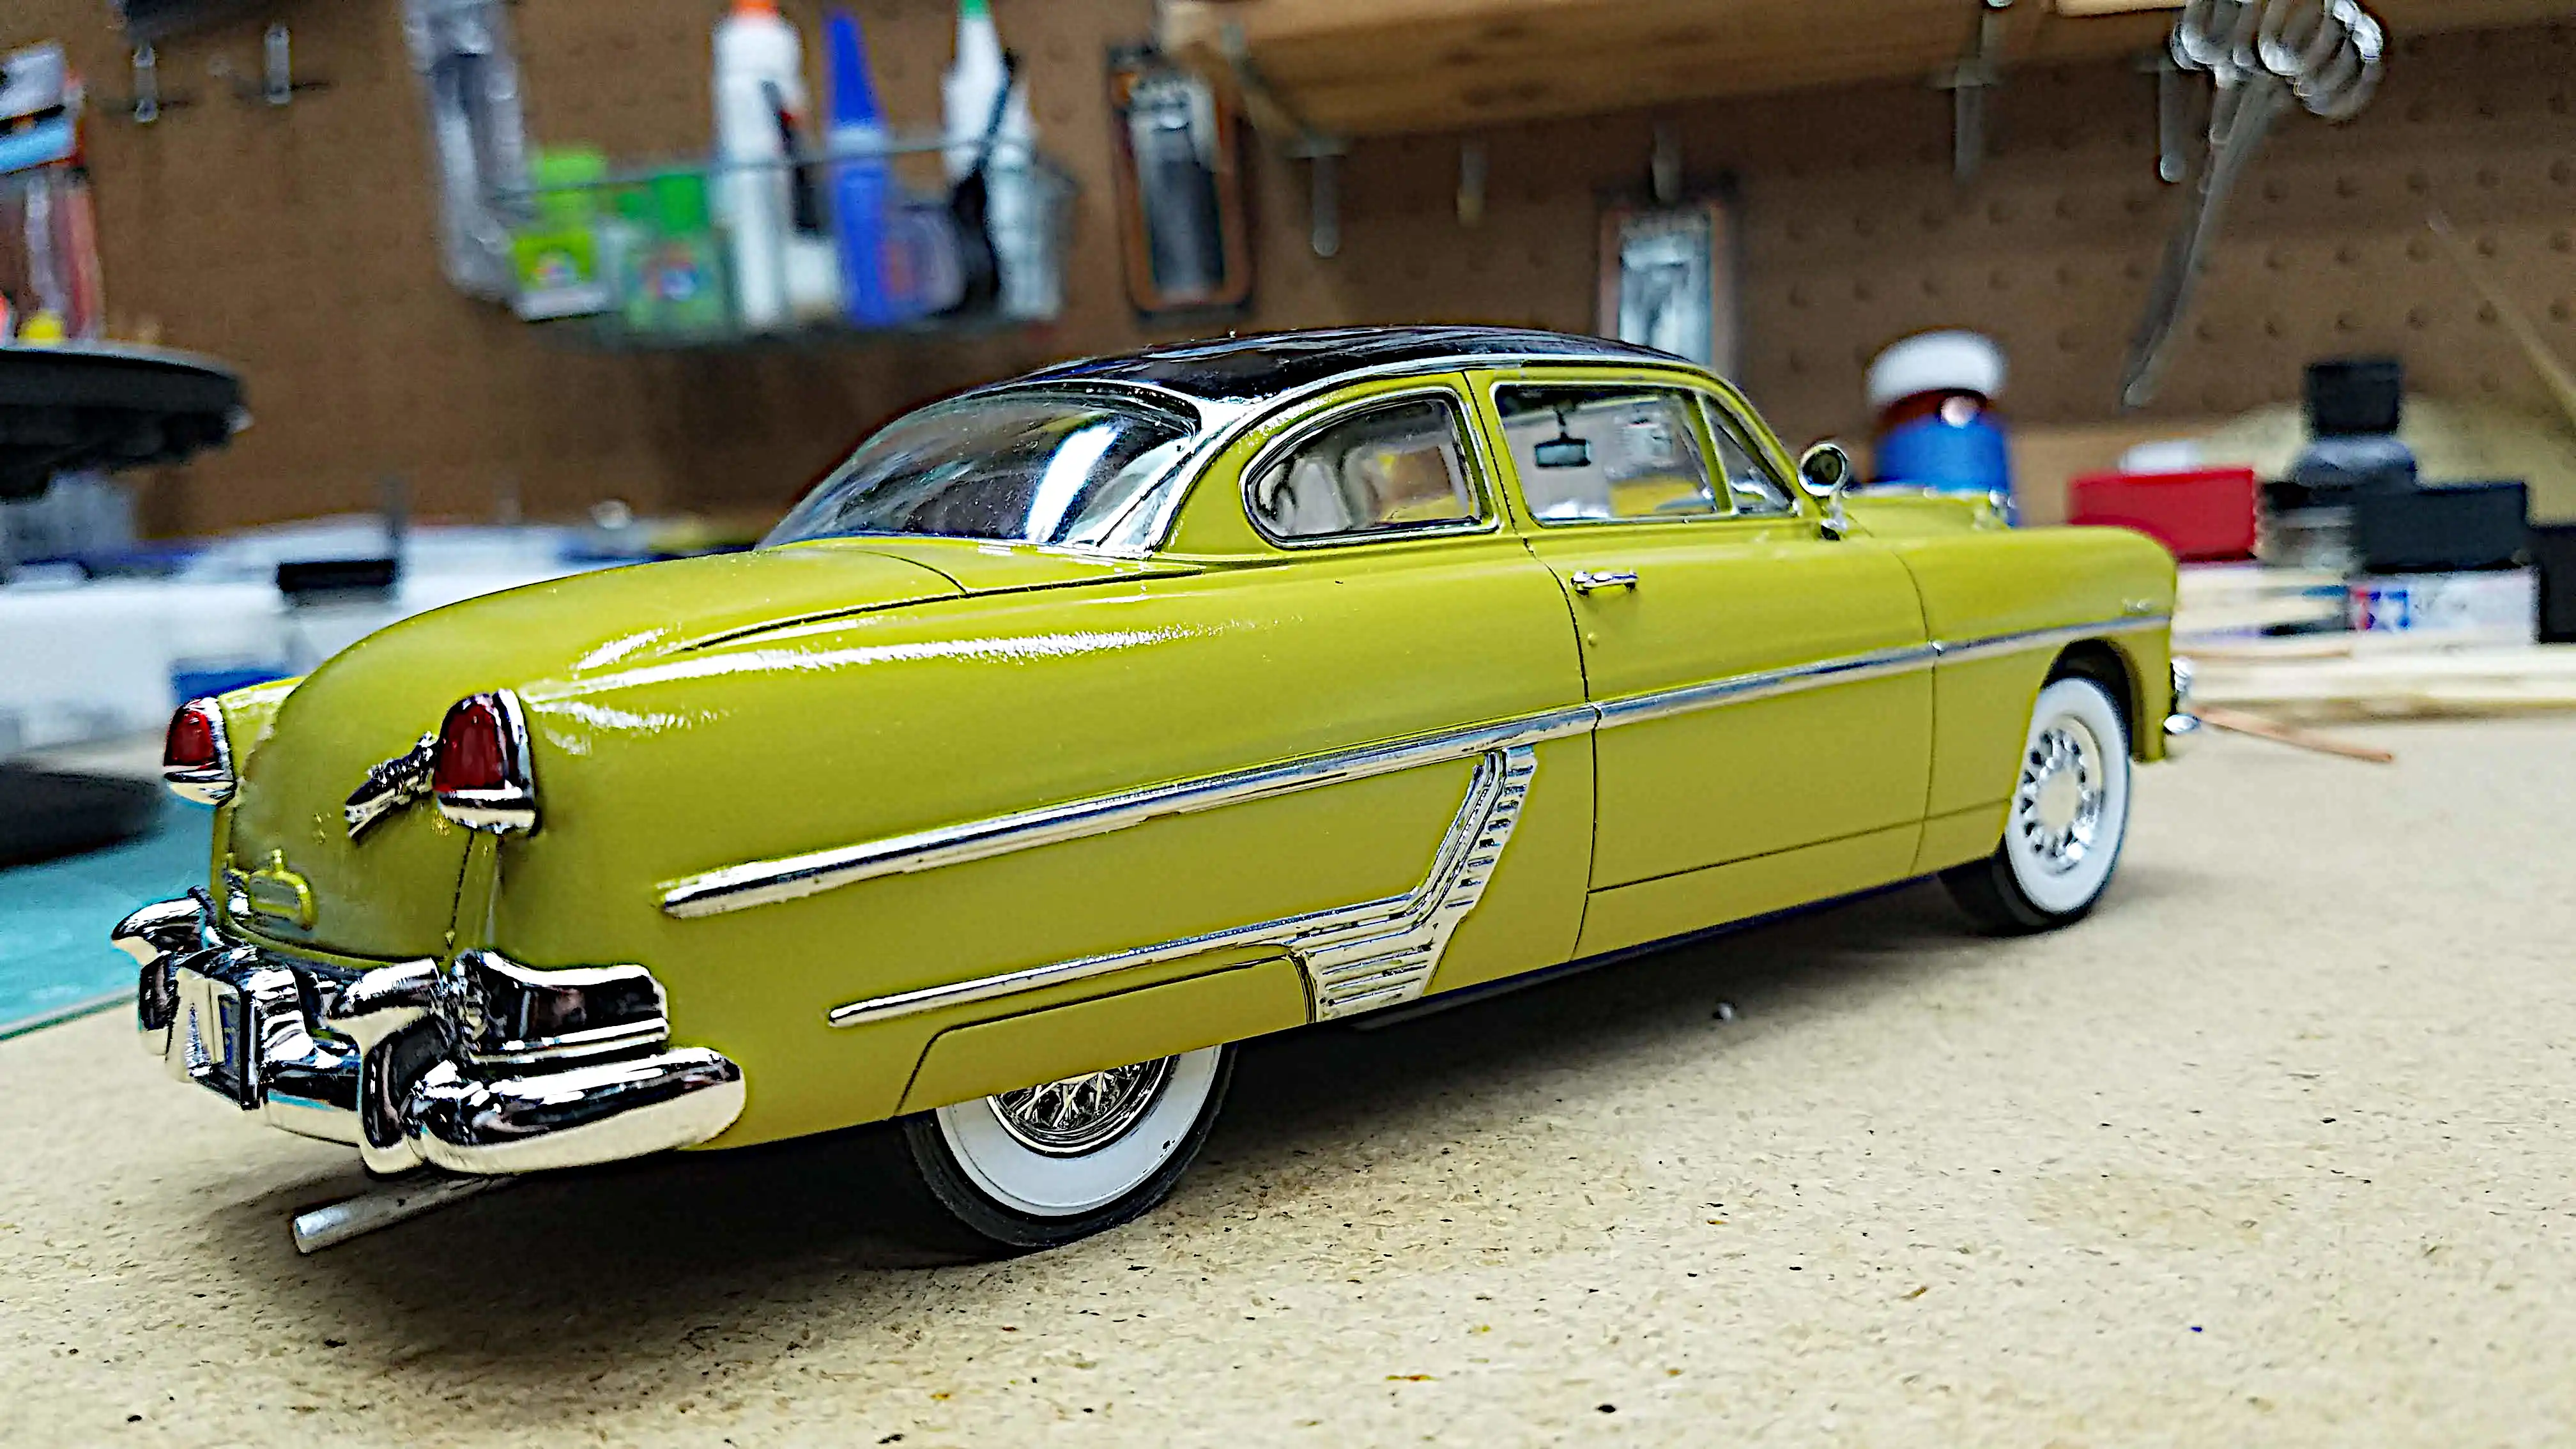
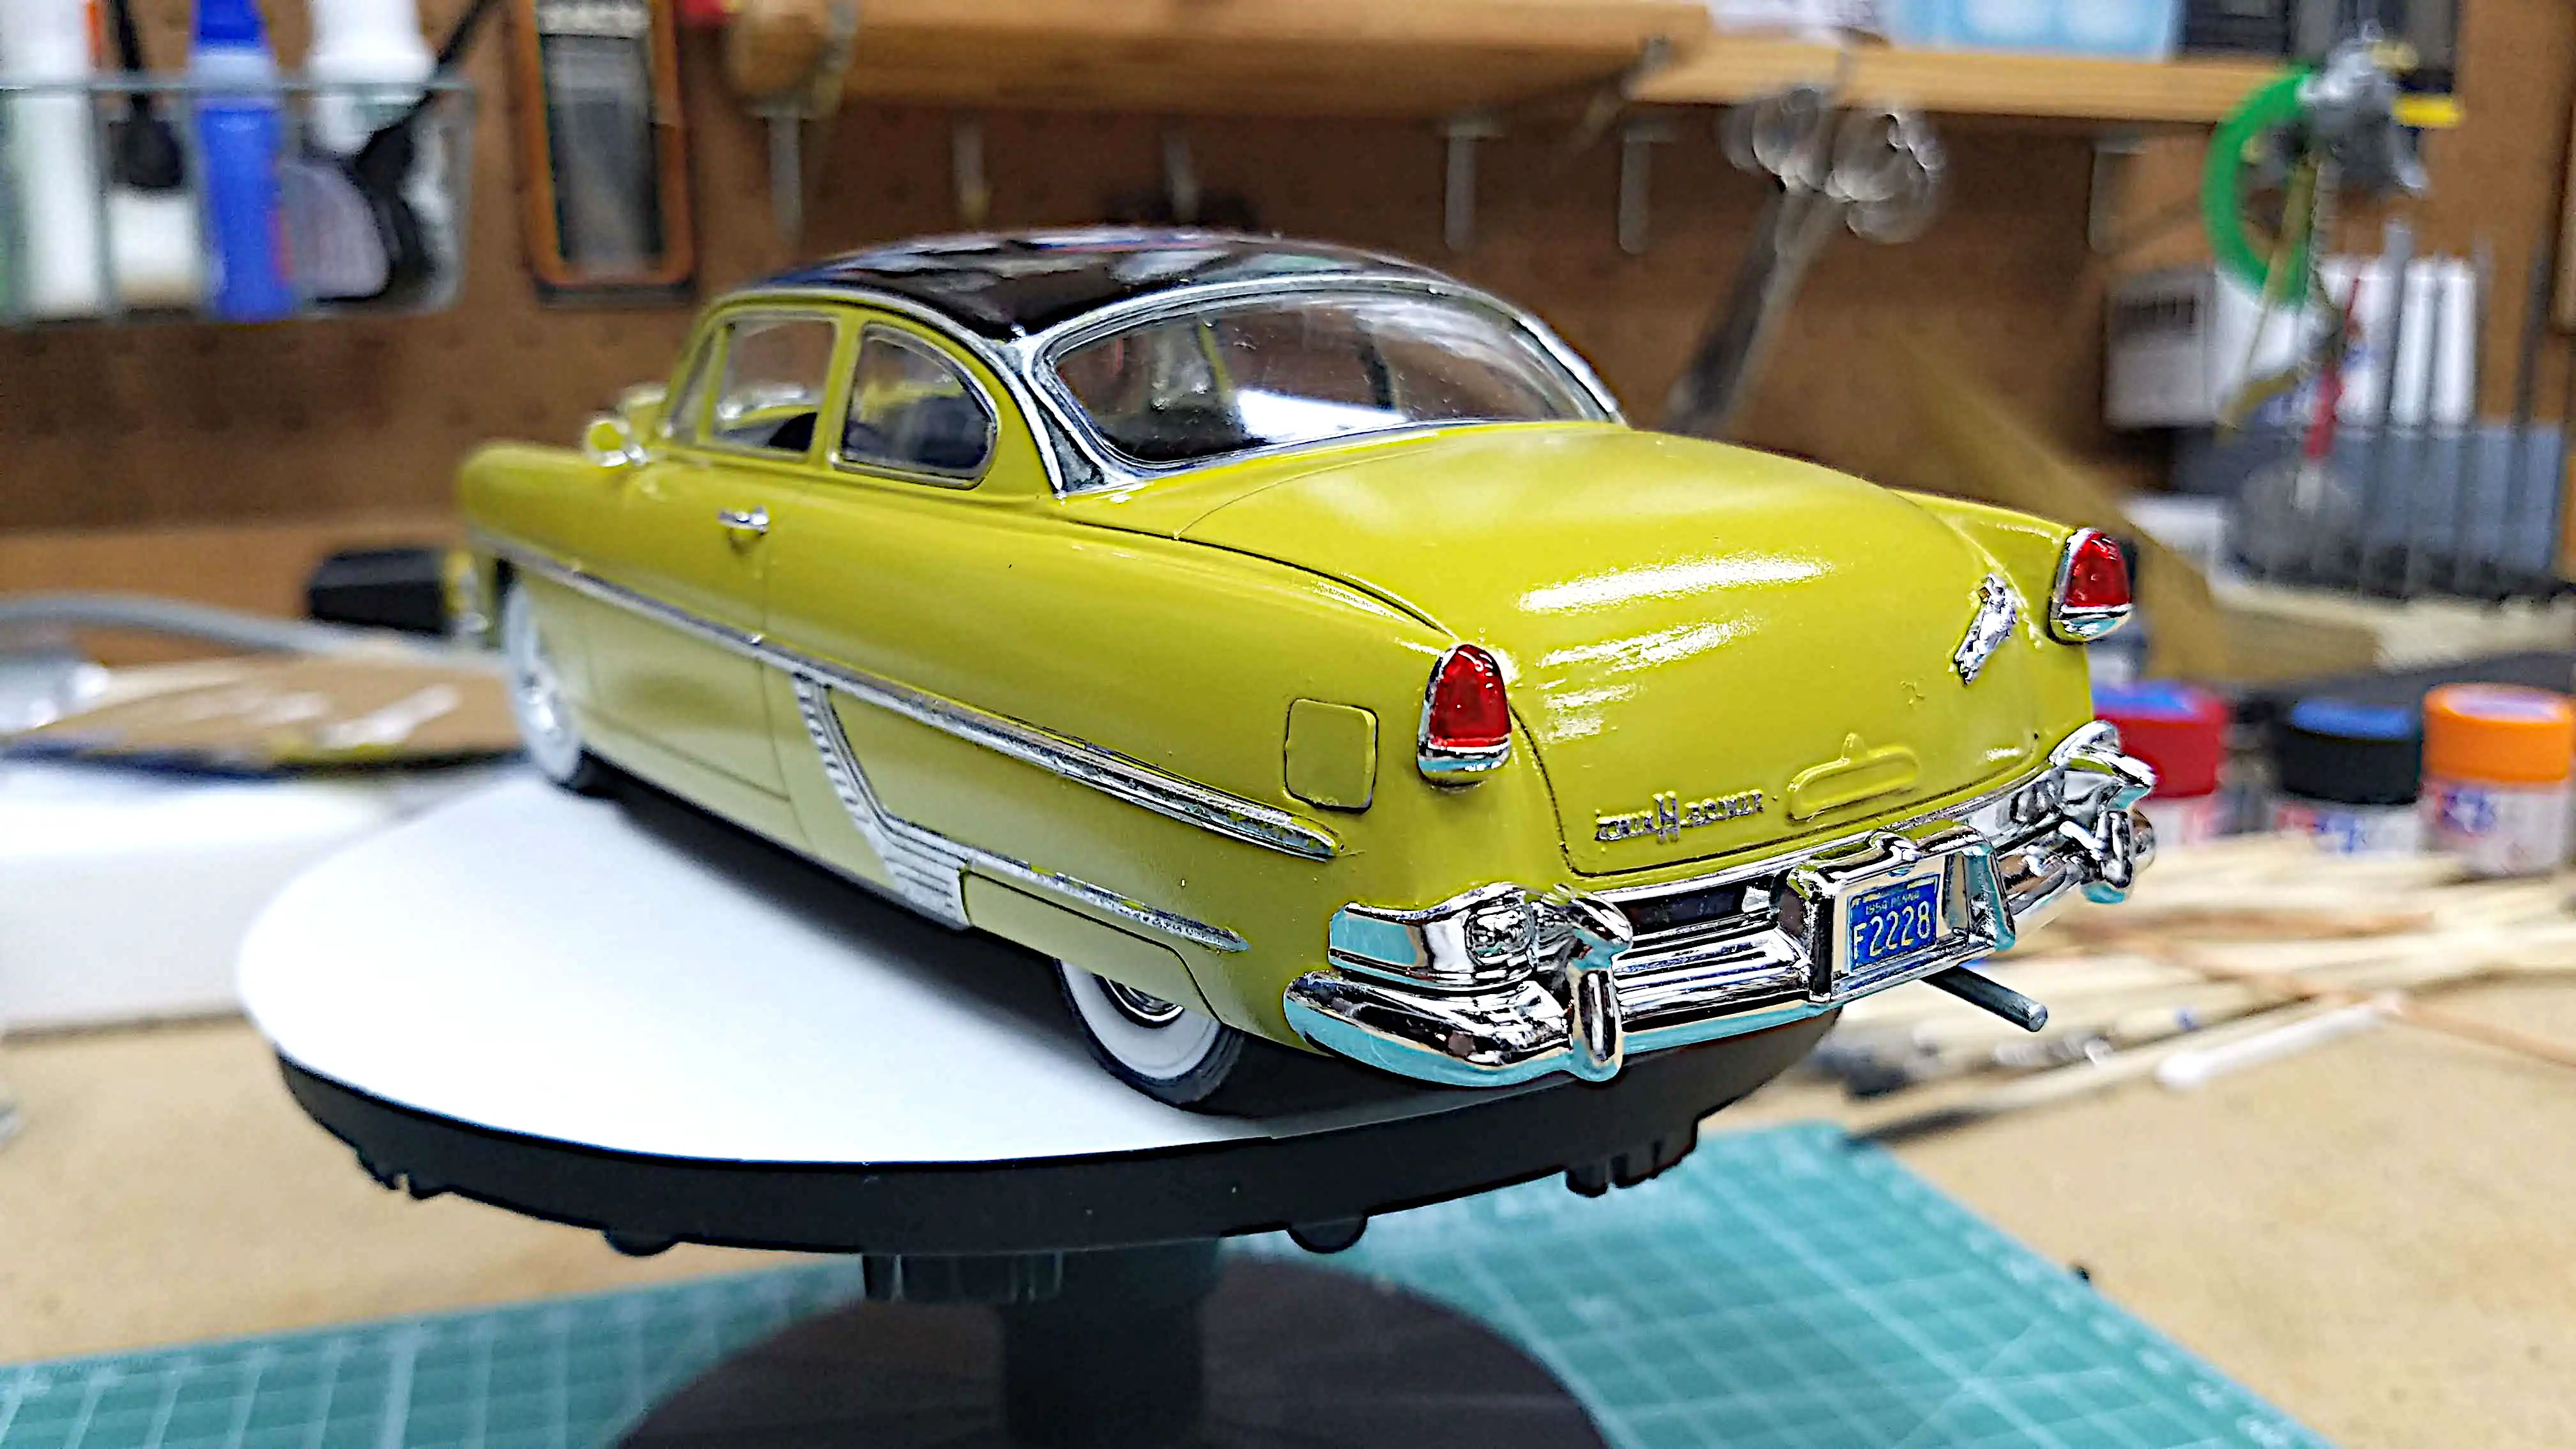 Completed build - View from right rear corner
 Completed build - View from left front
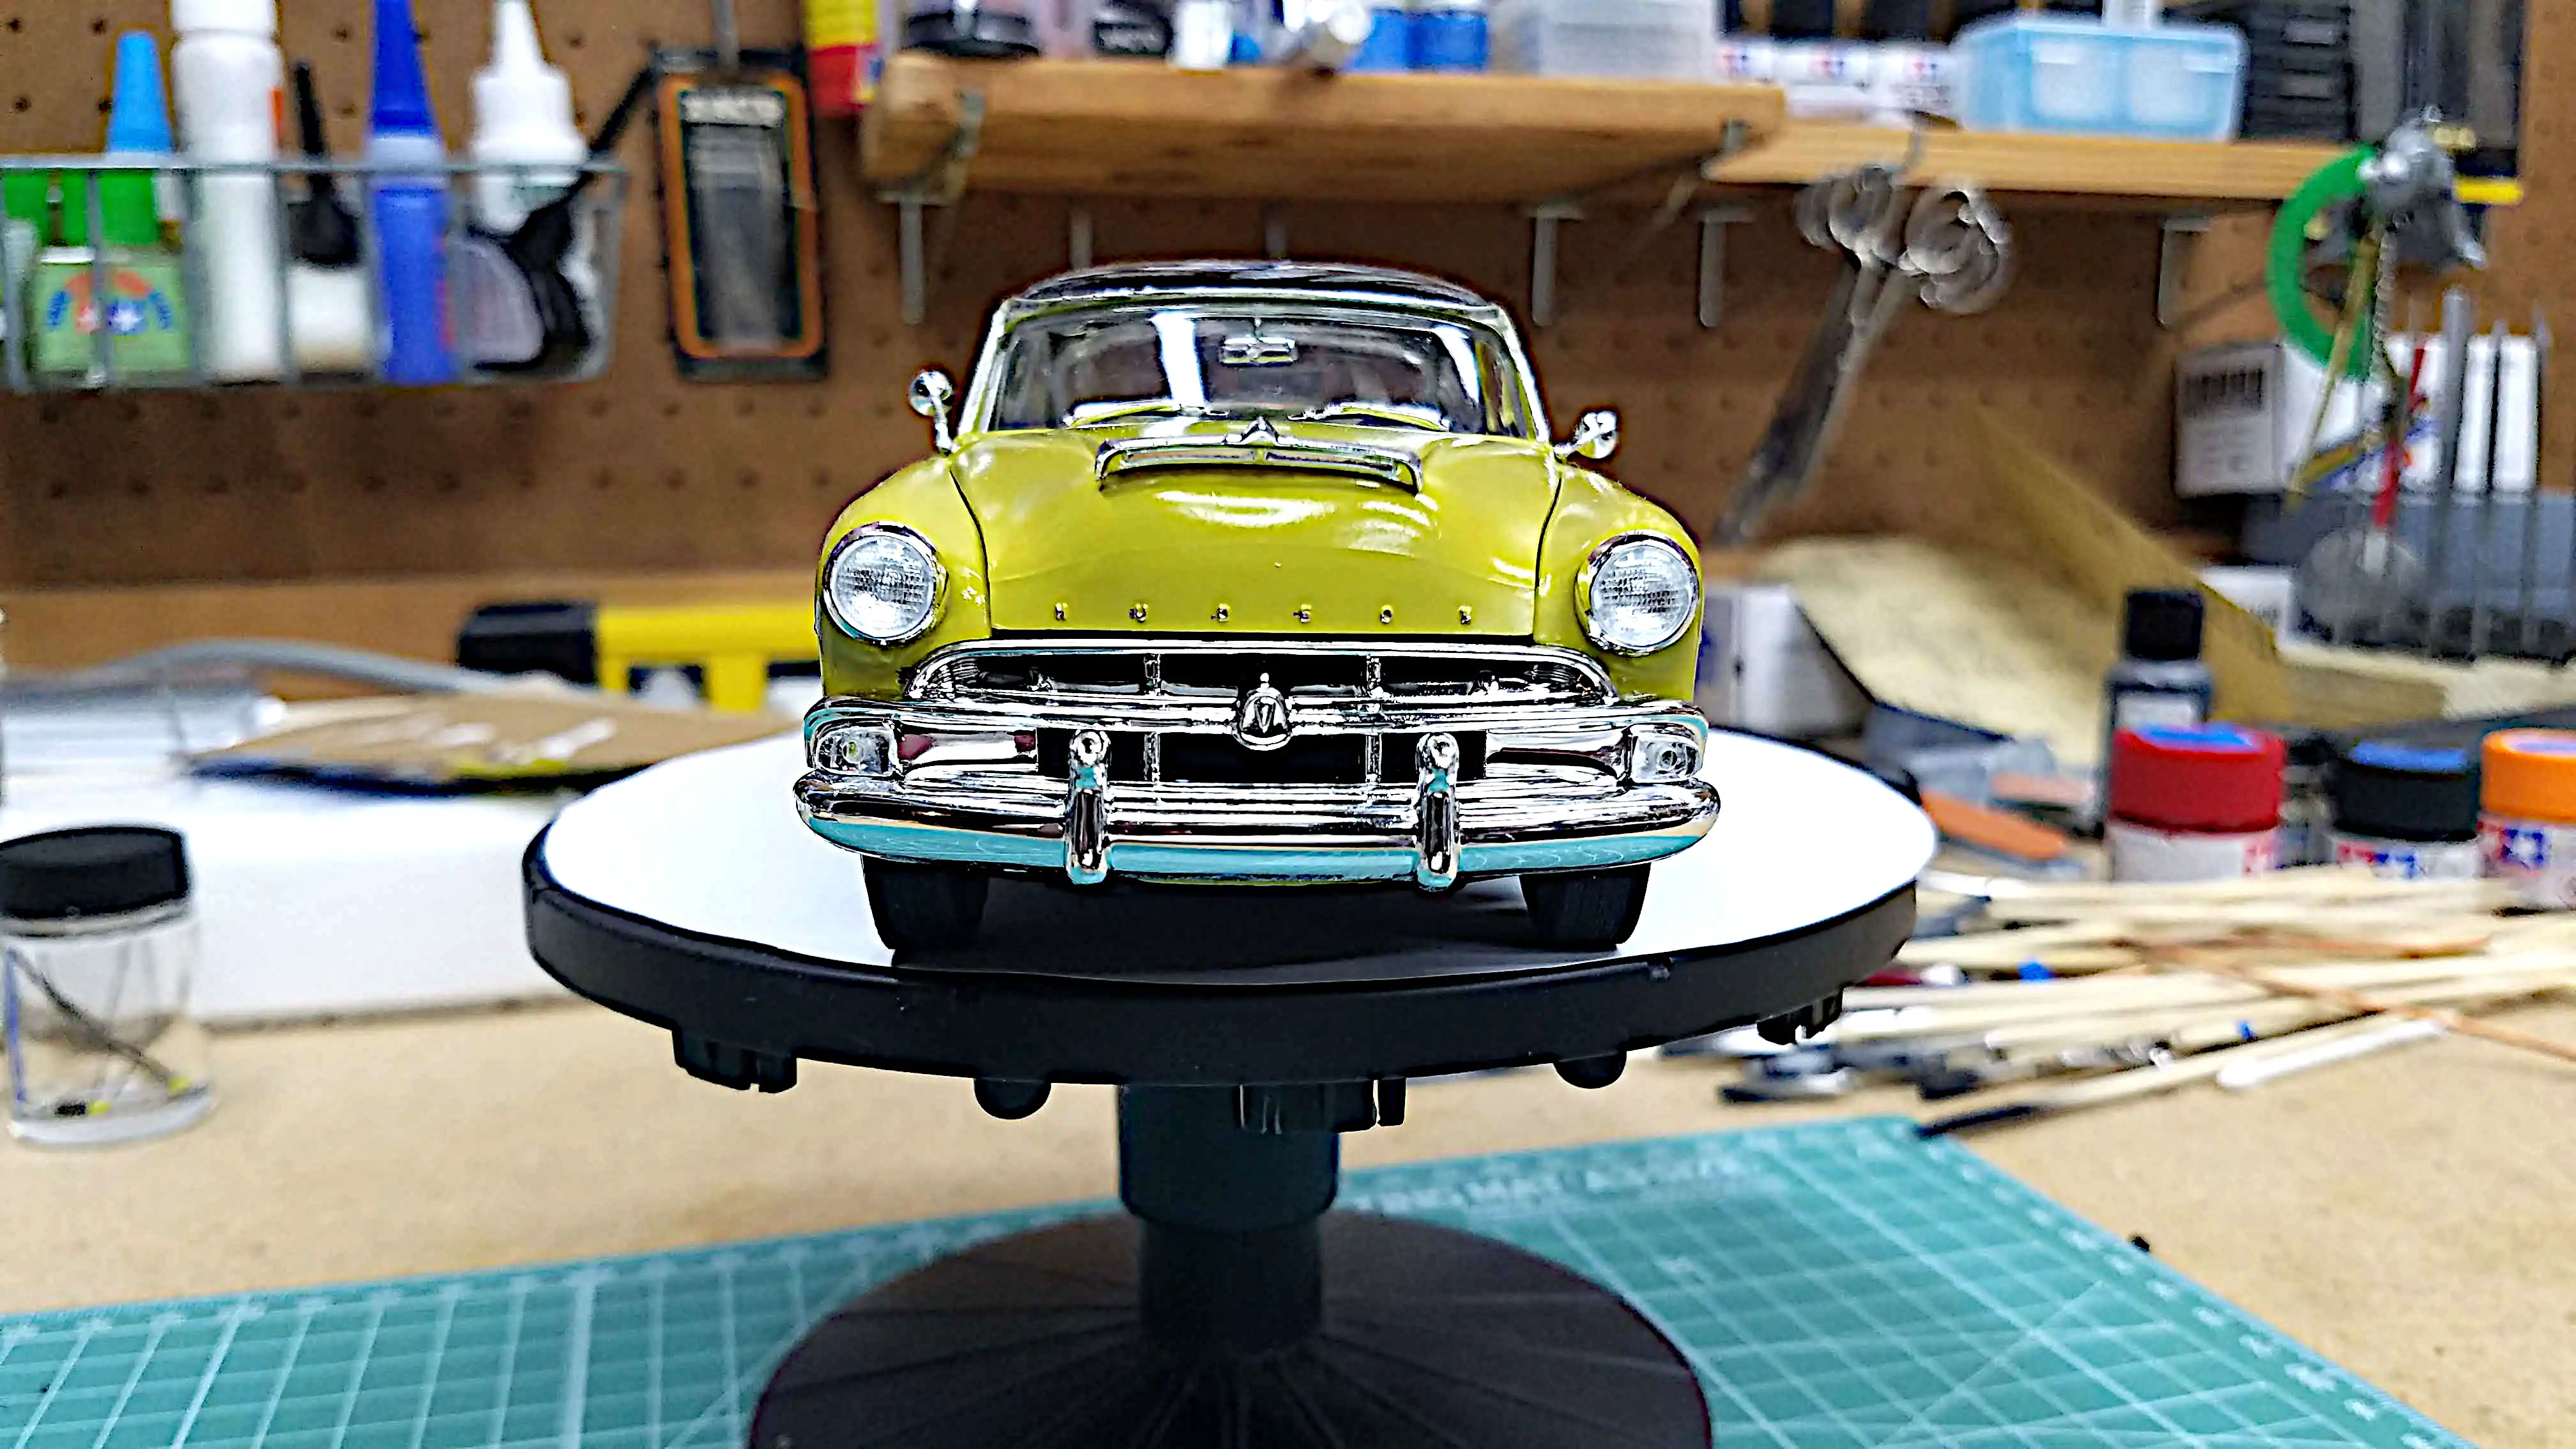 Completed build - Front view
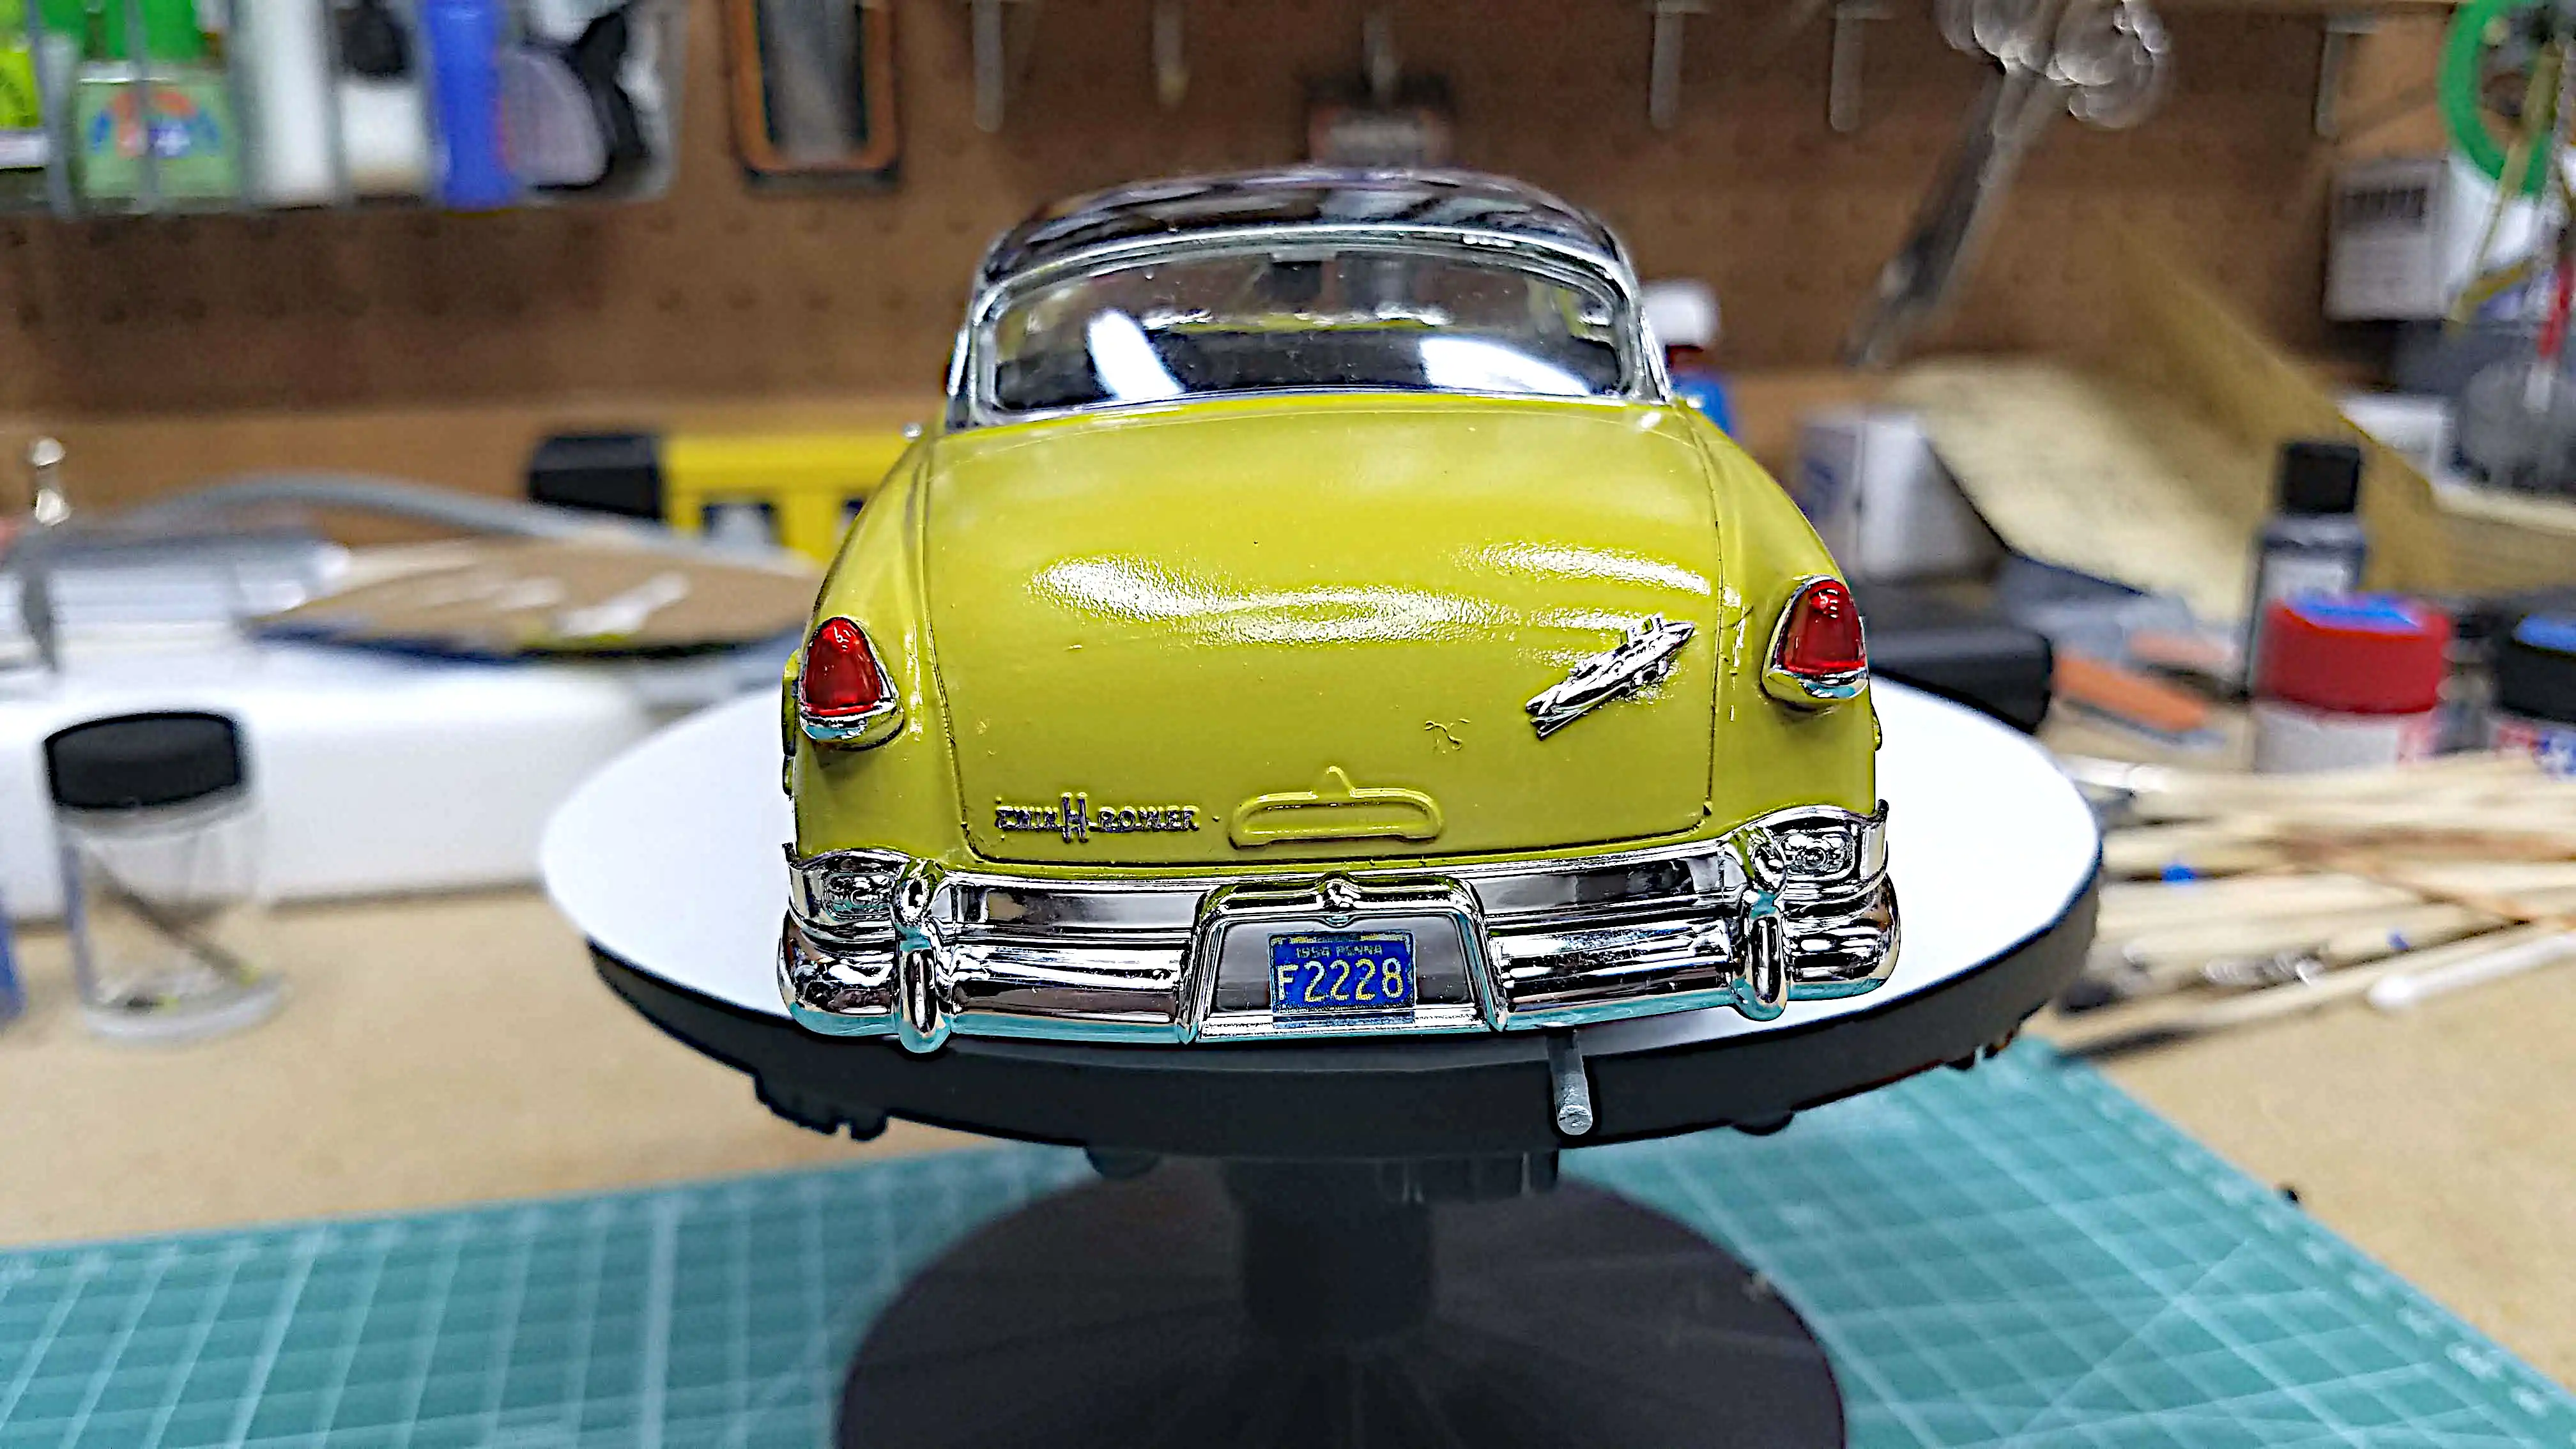 Completed build - Rear view
 Completed build - View from right rear
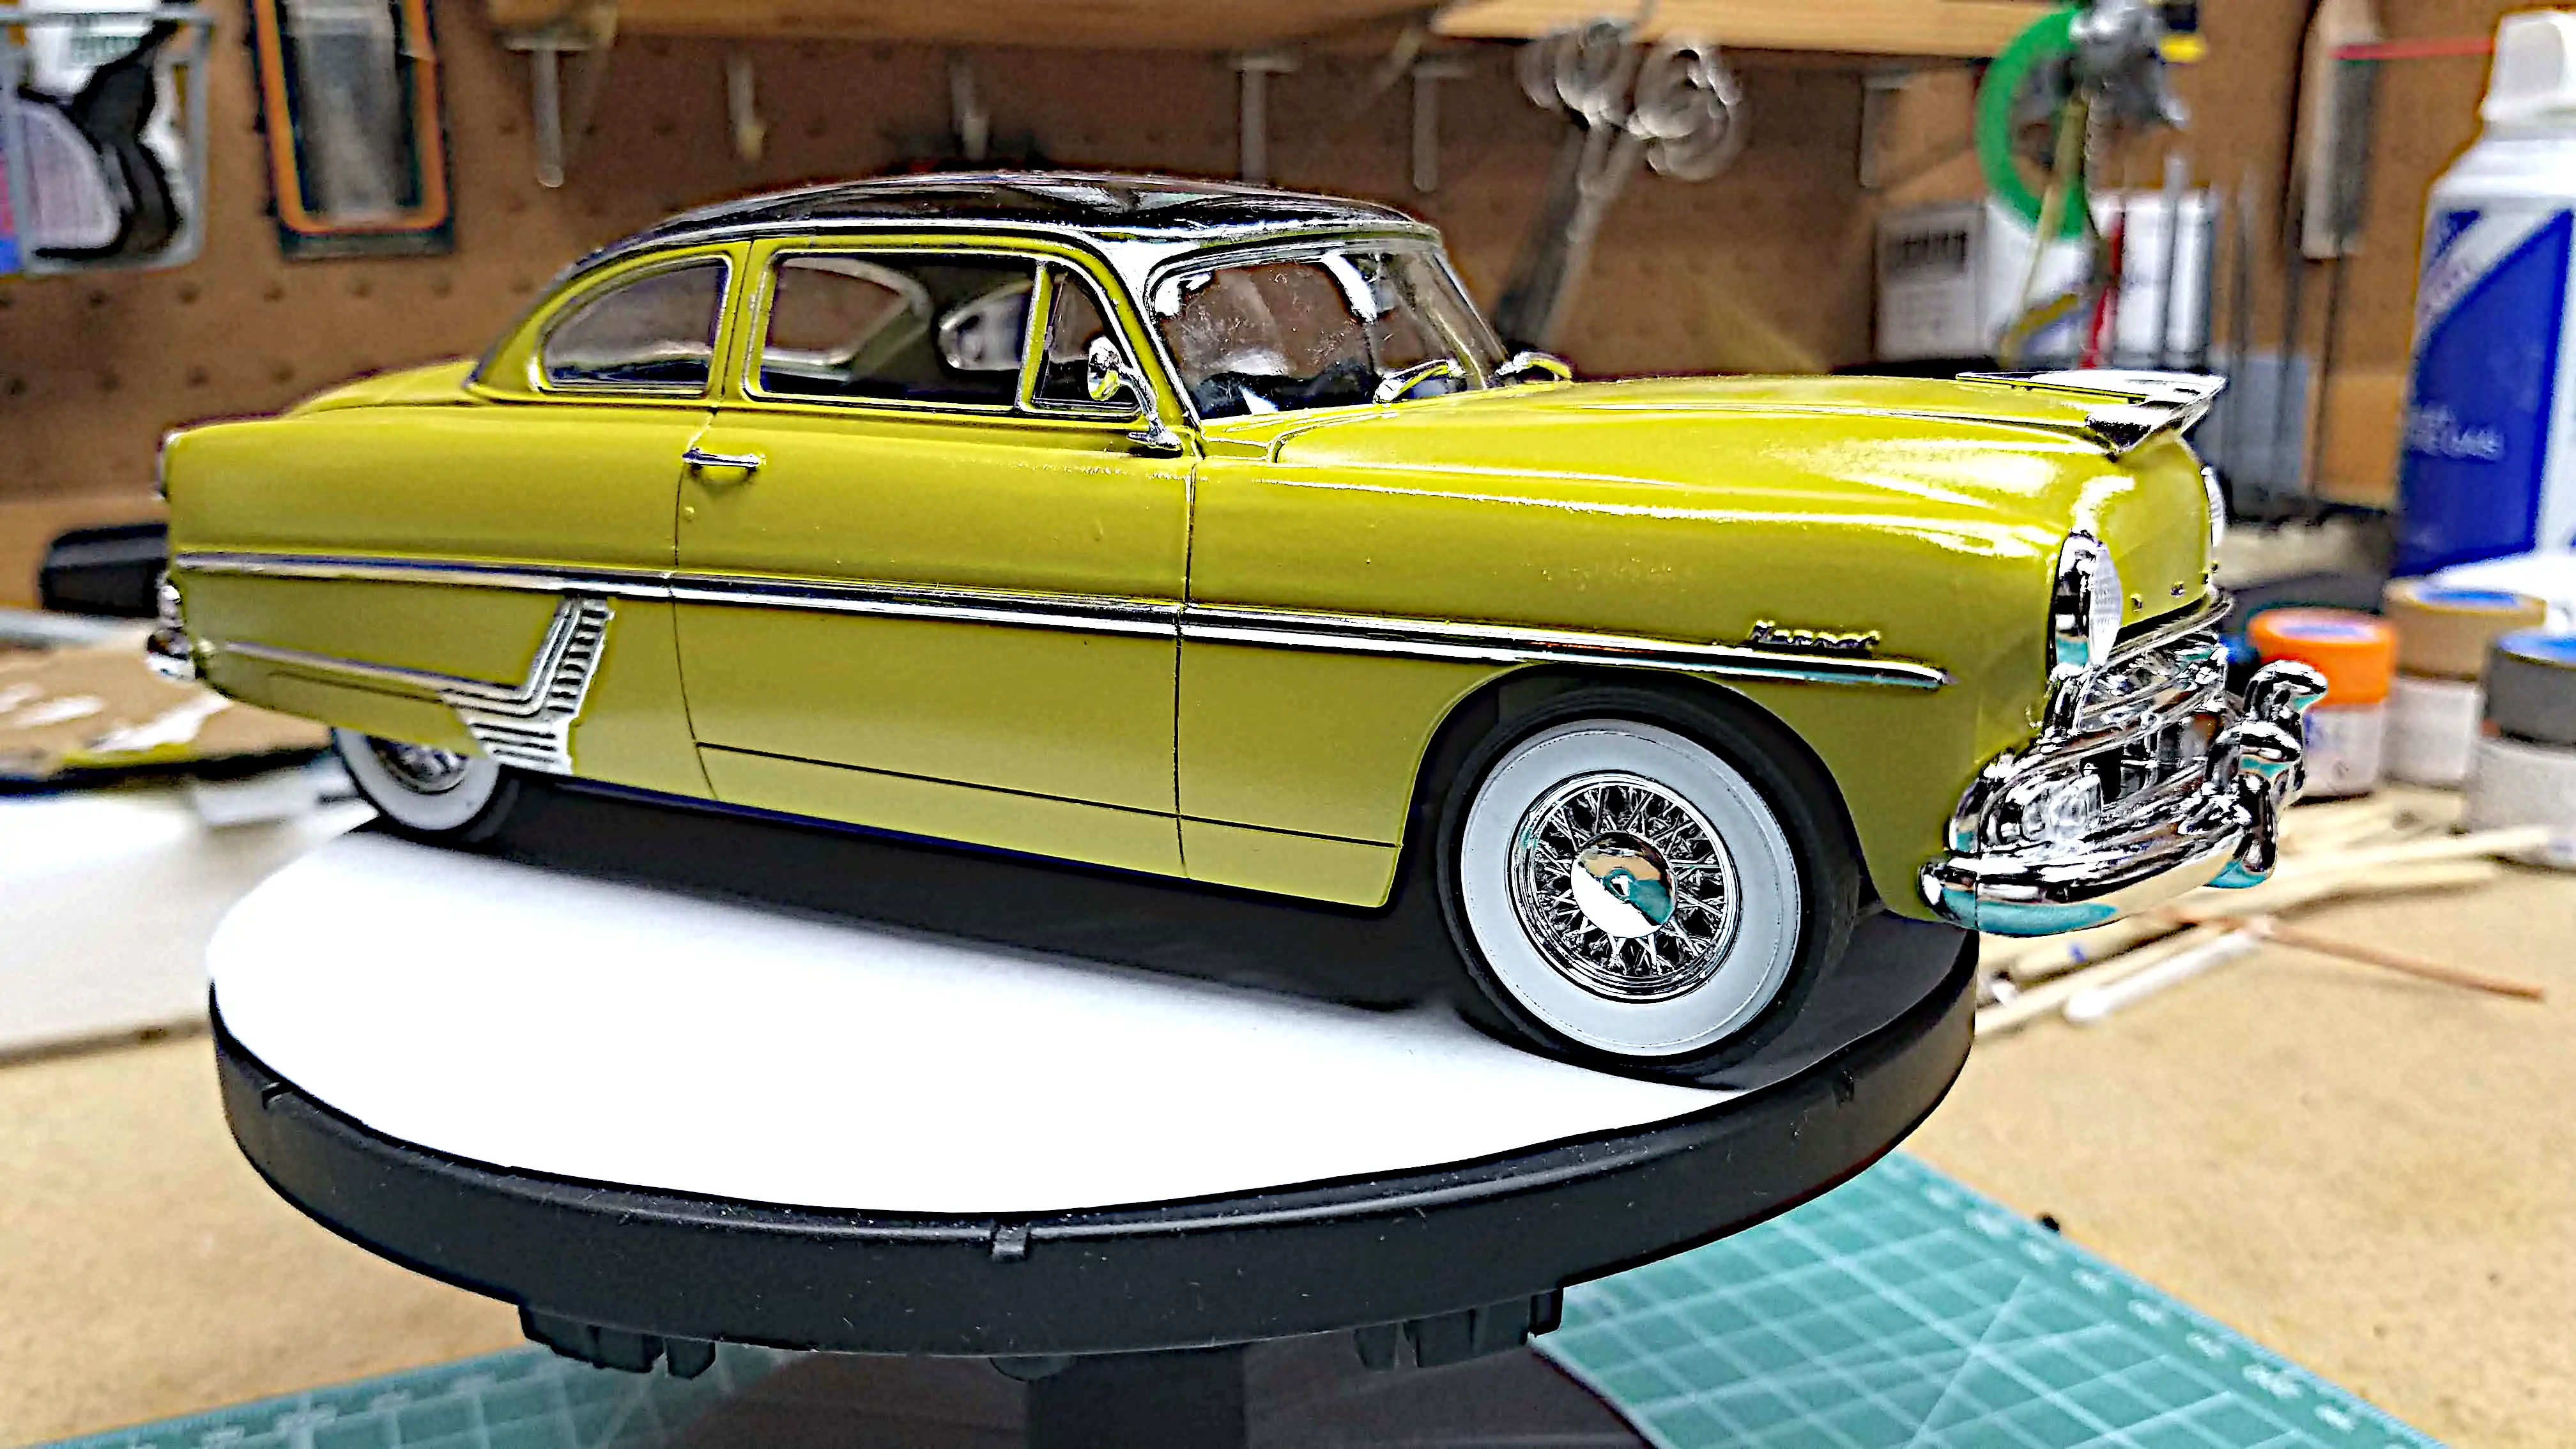
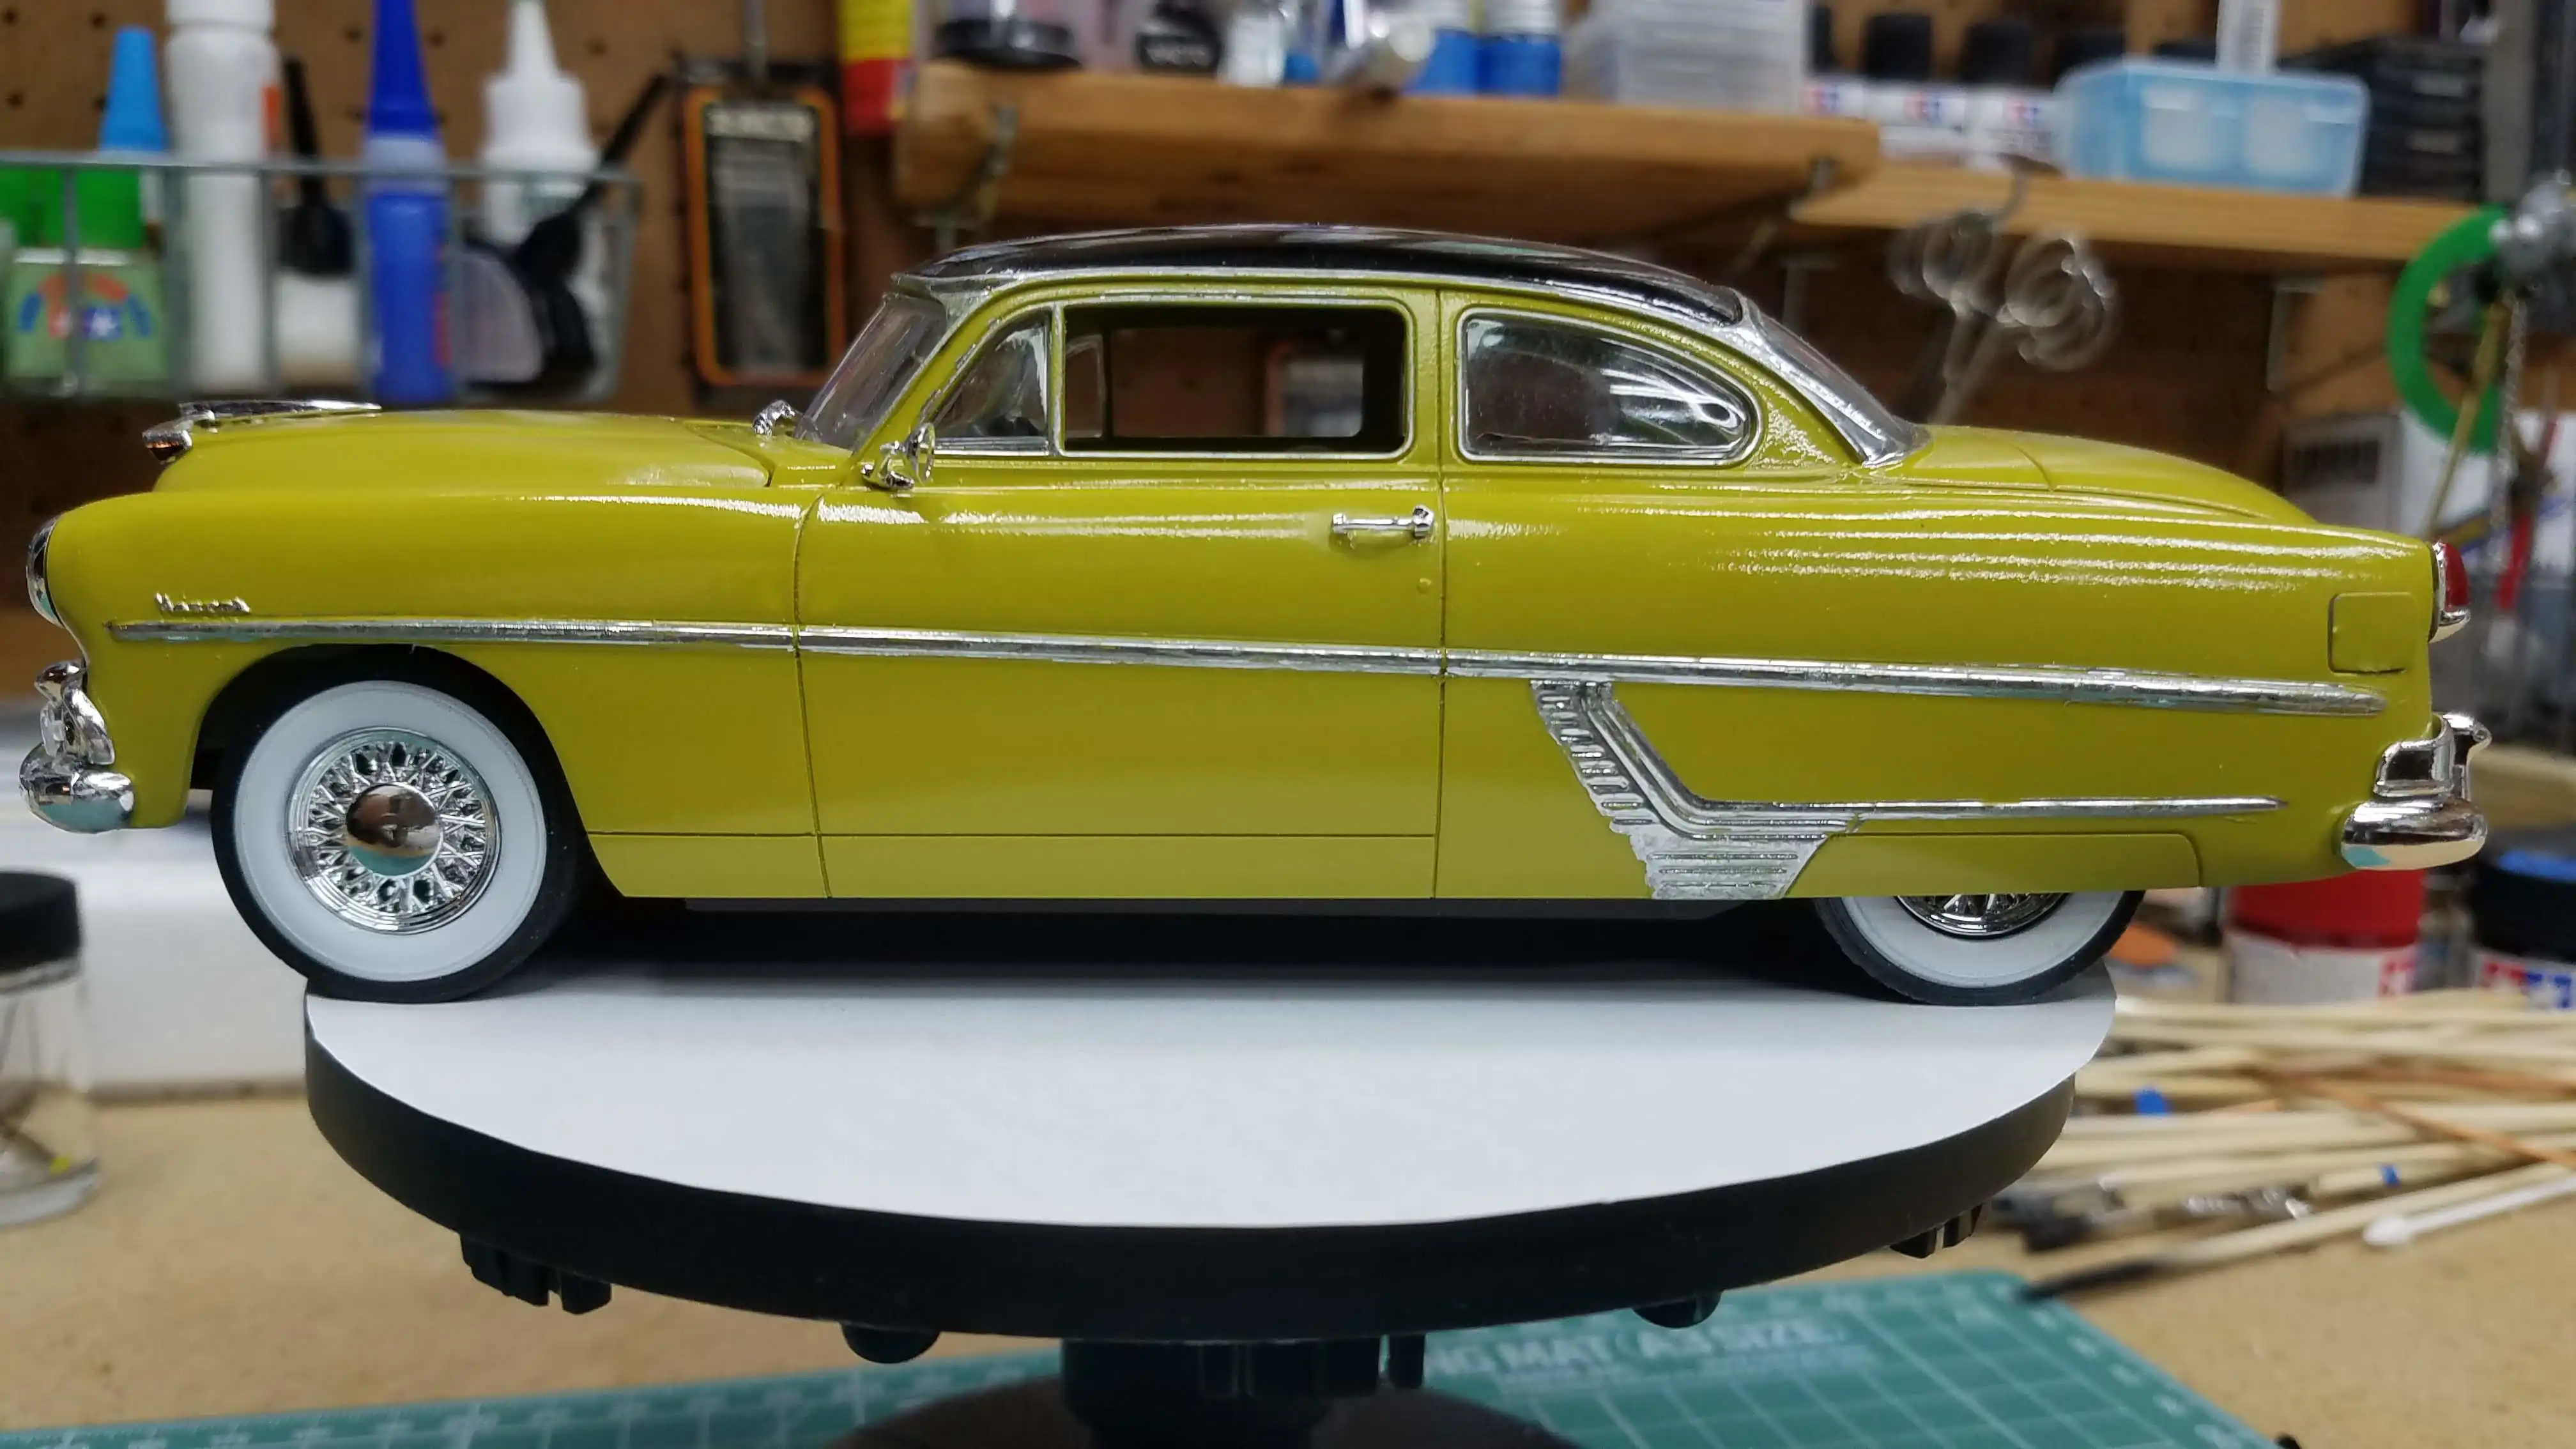
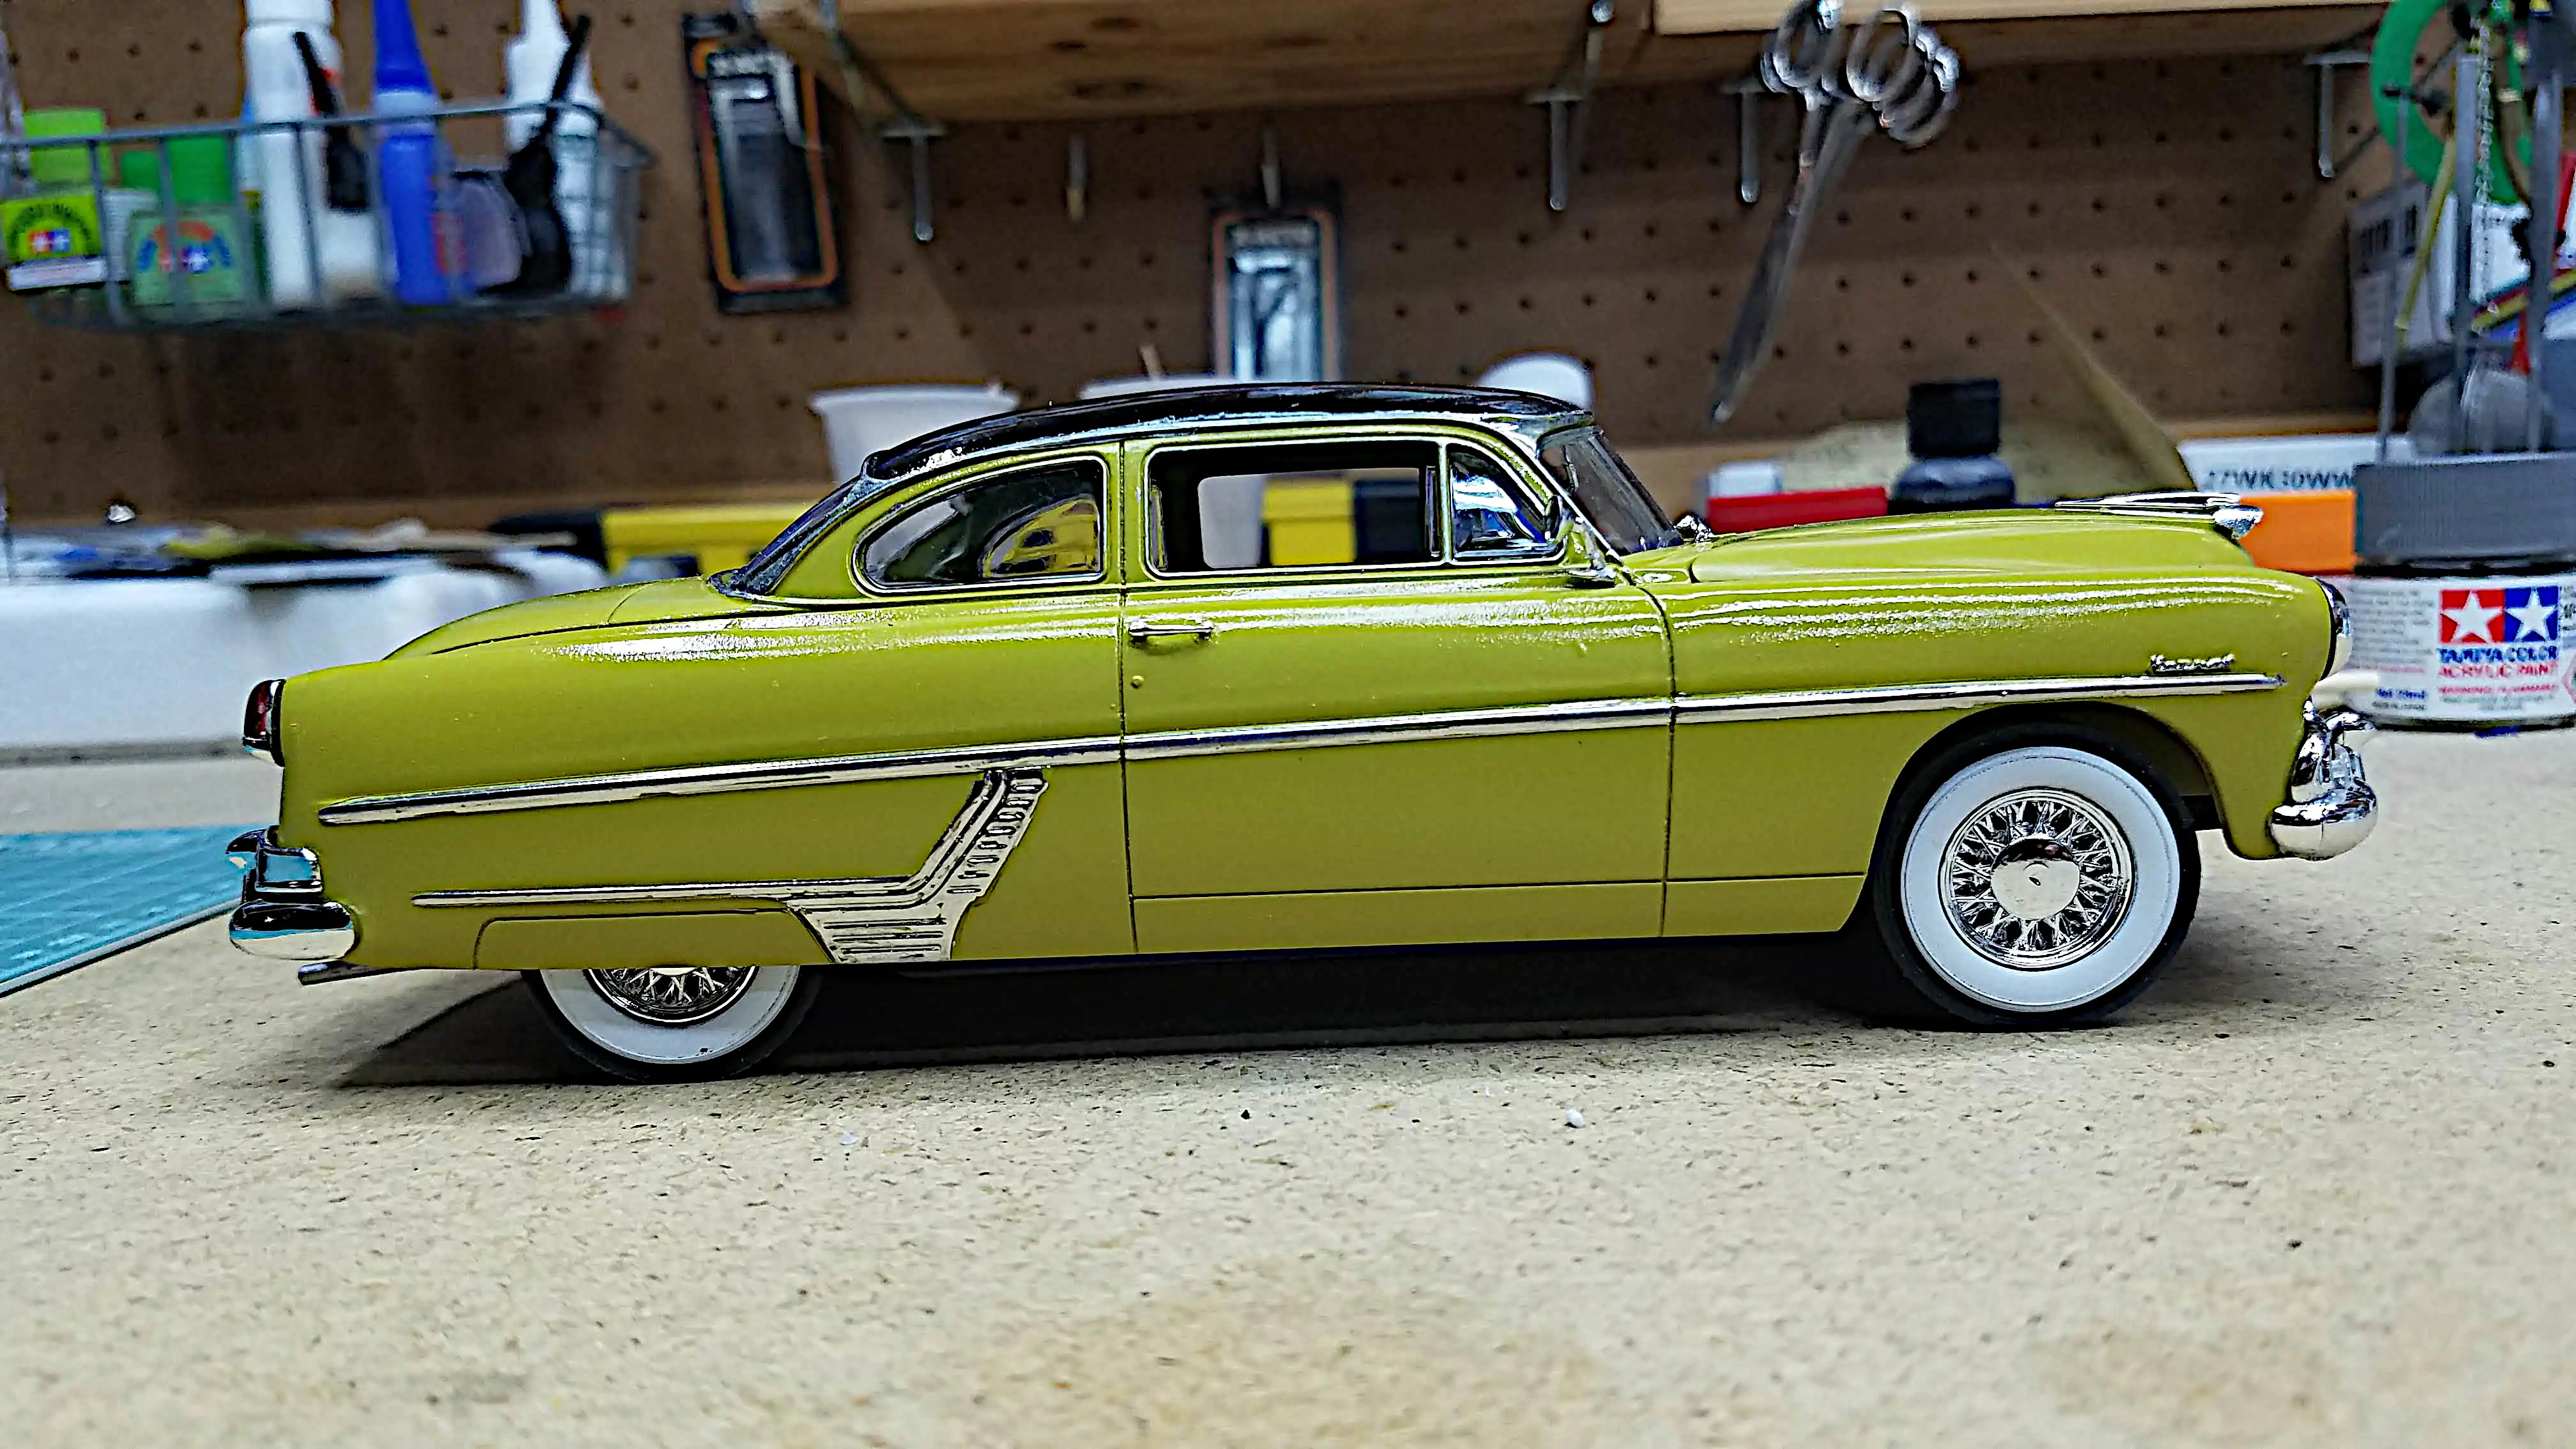
 Completed build - Right side
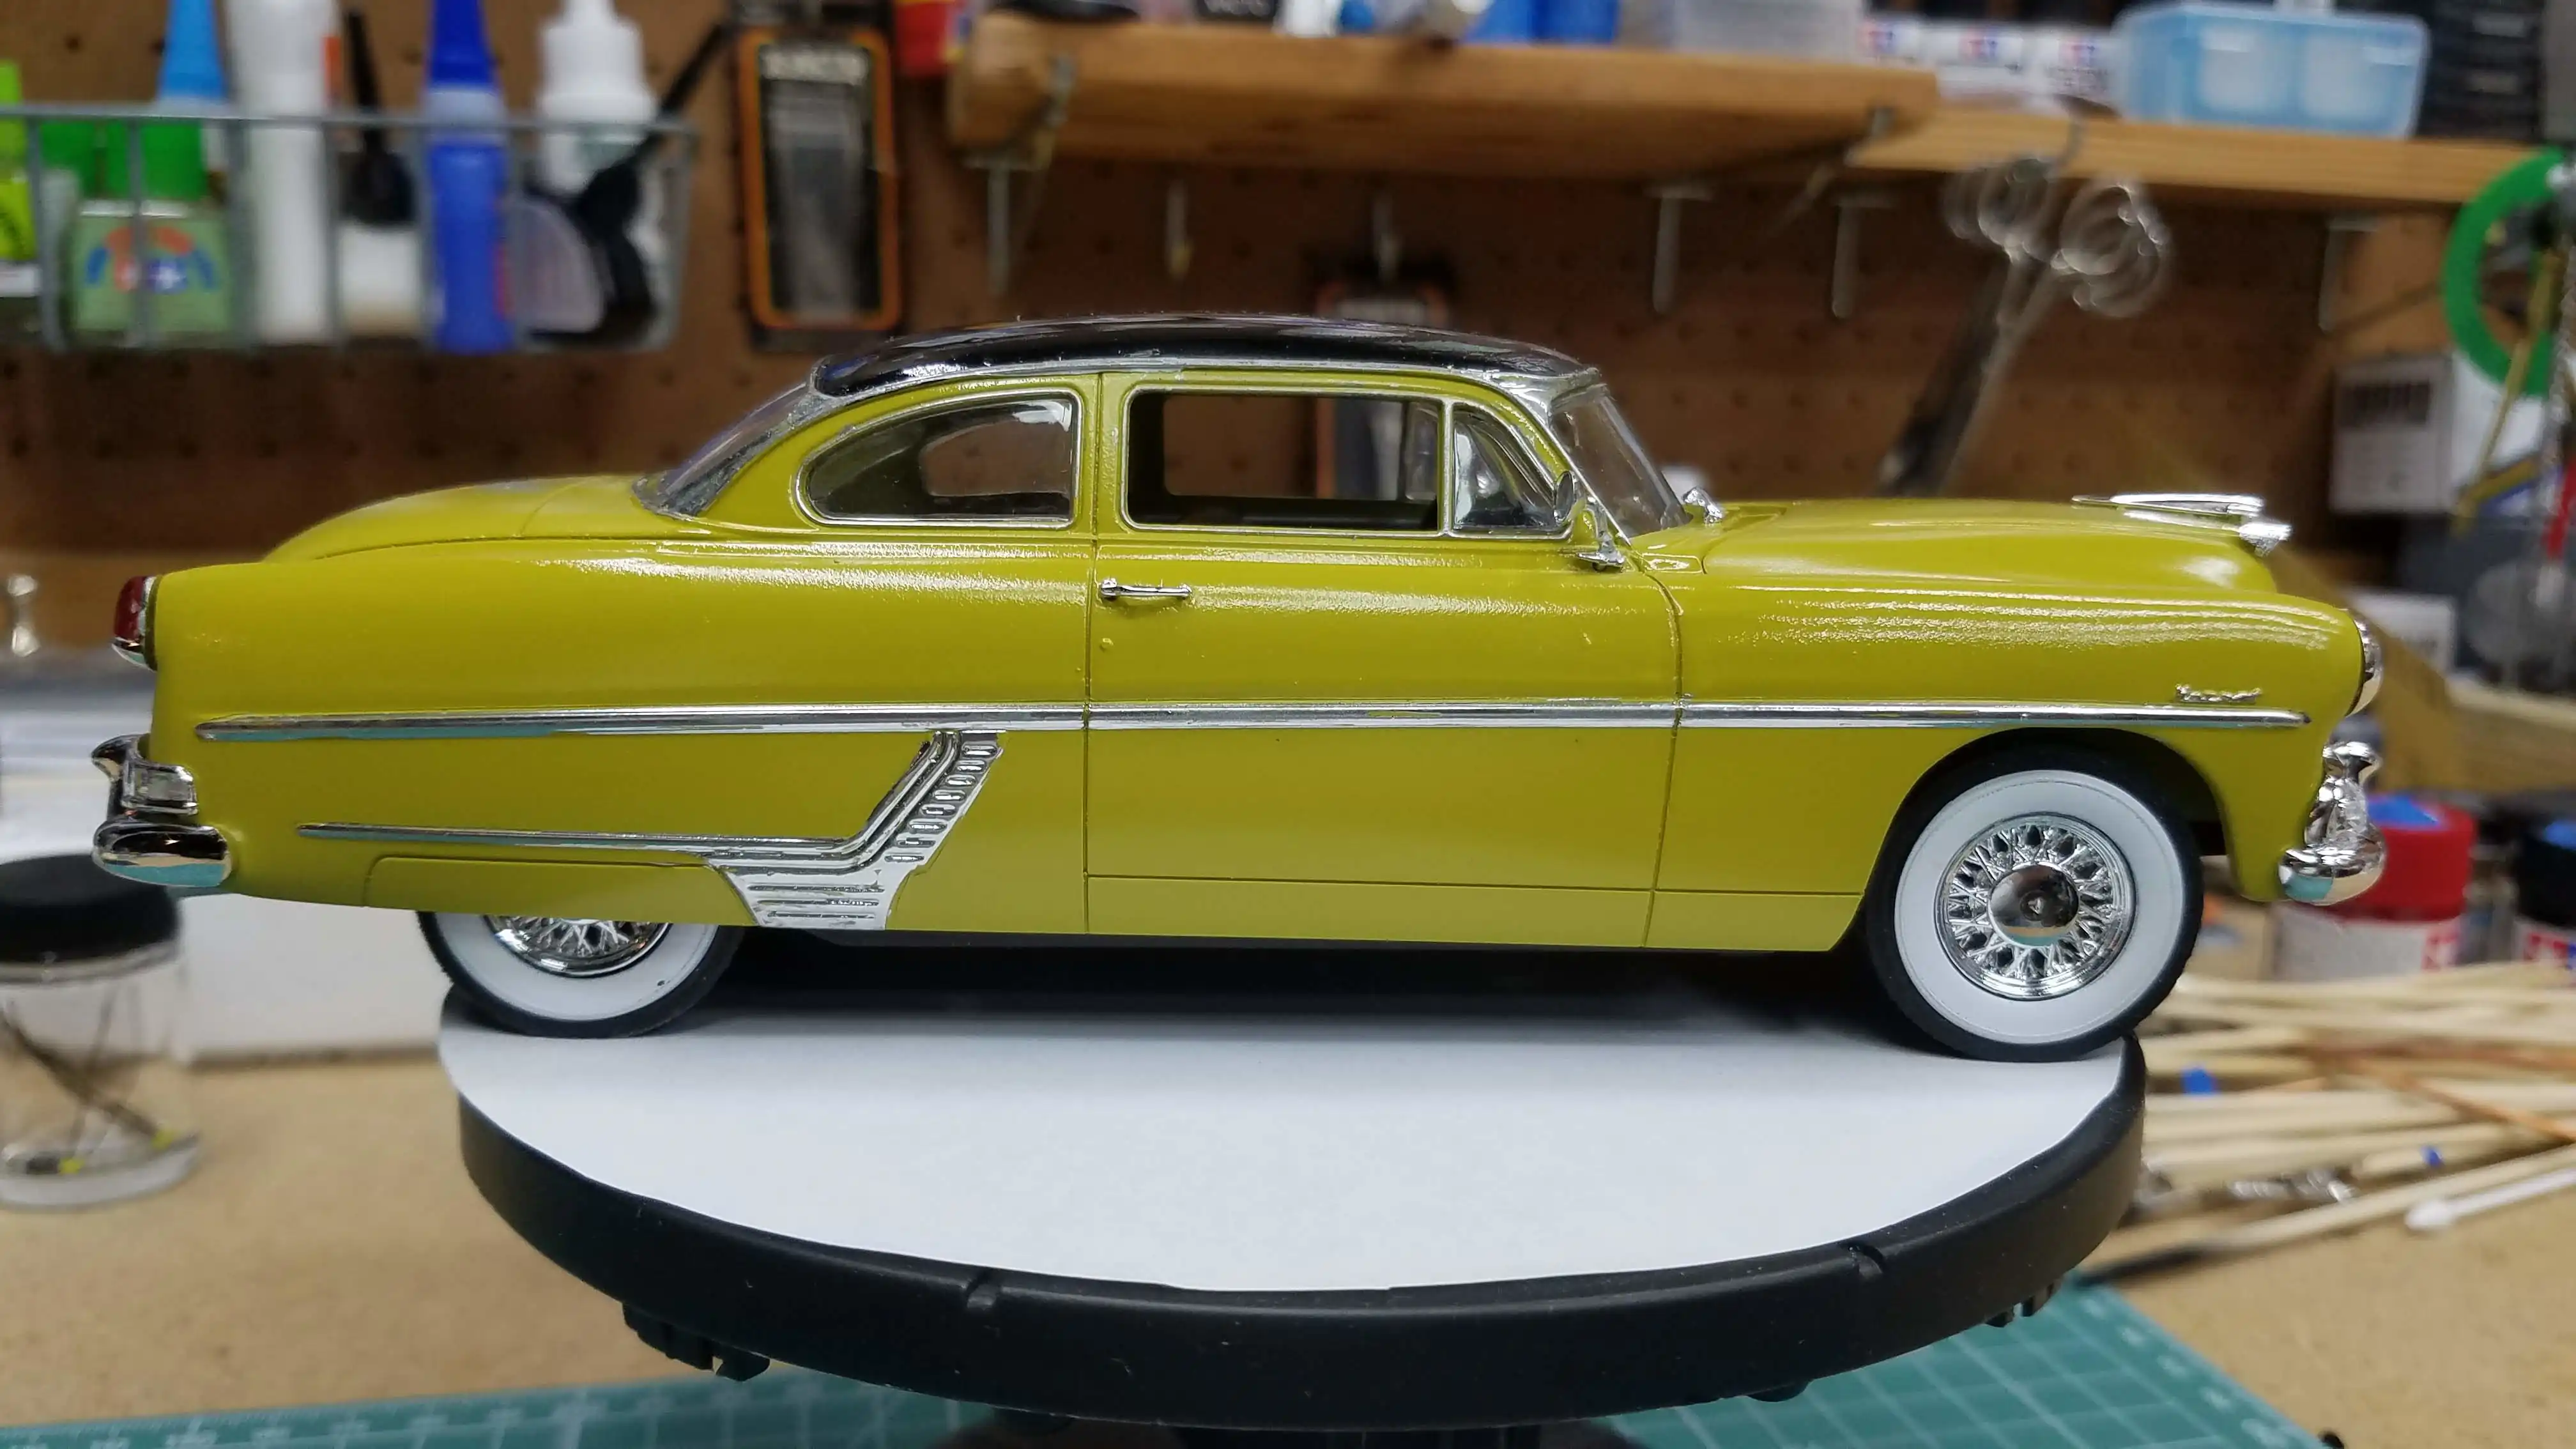
 Completed build - Left side
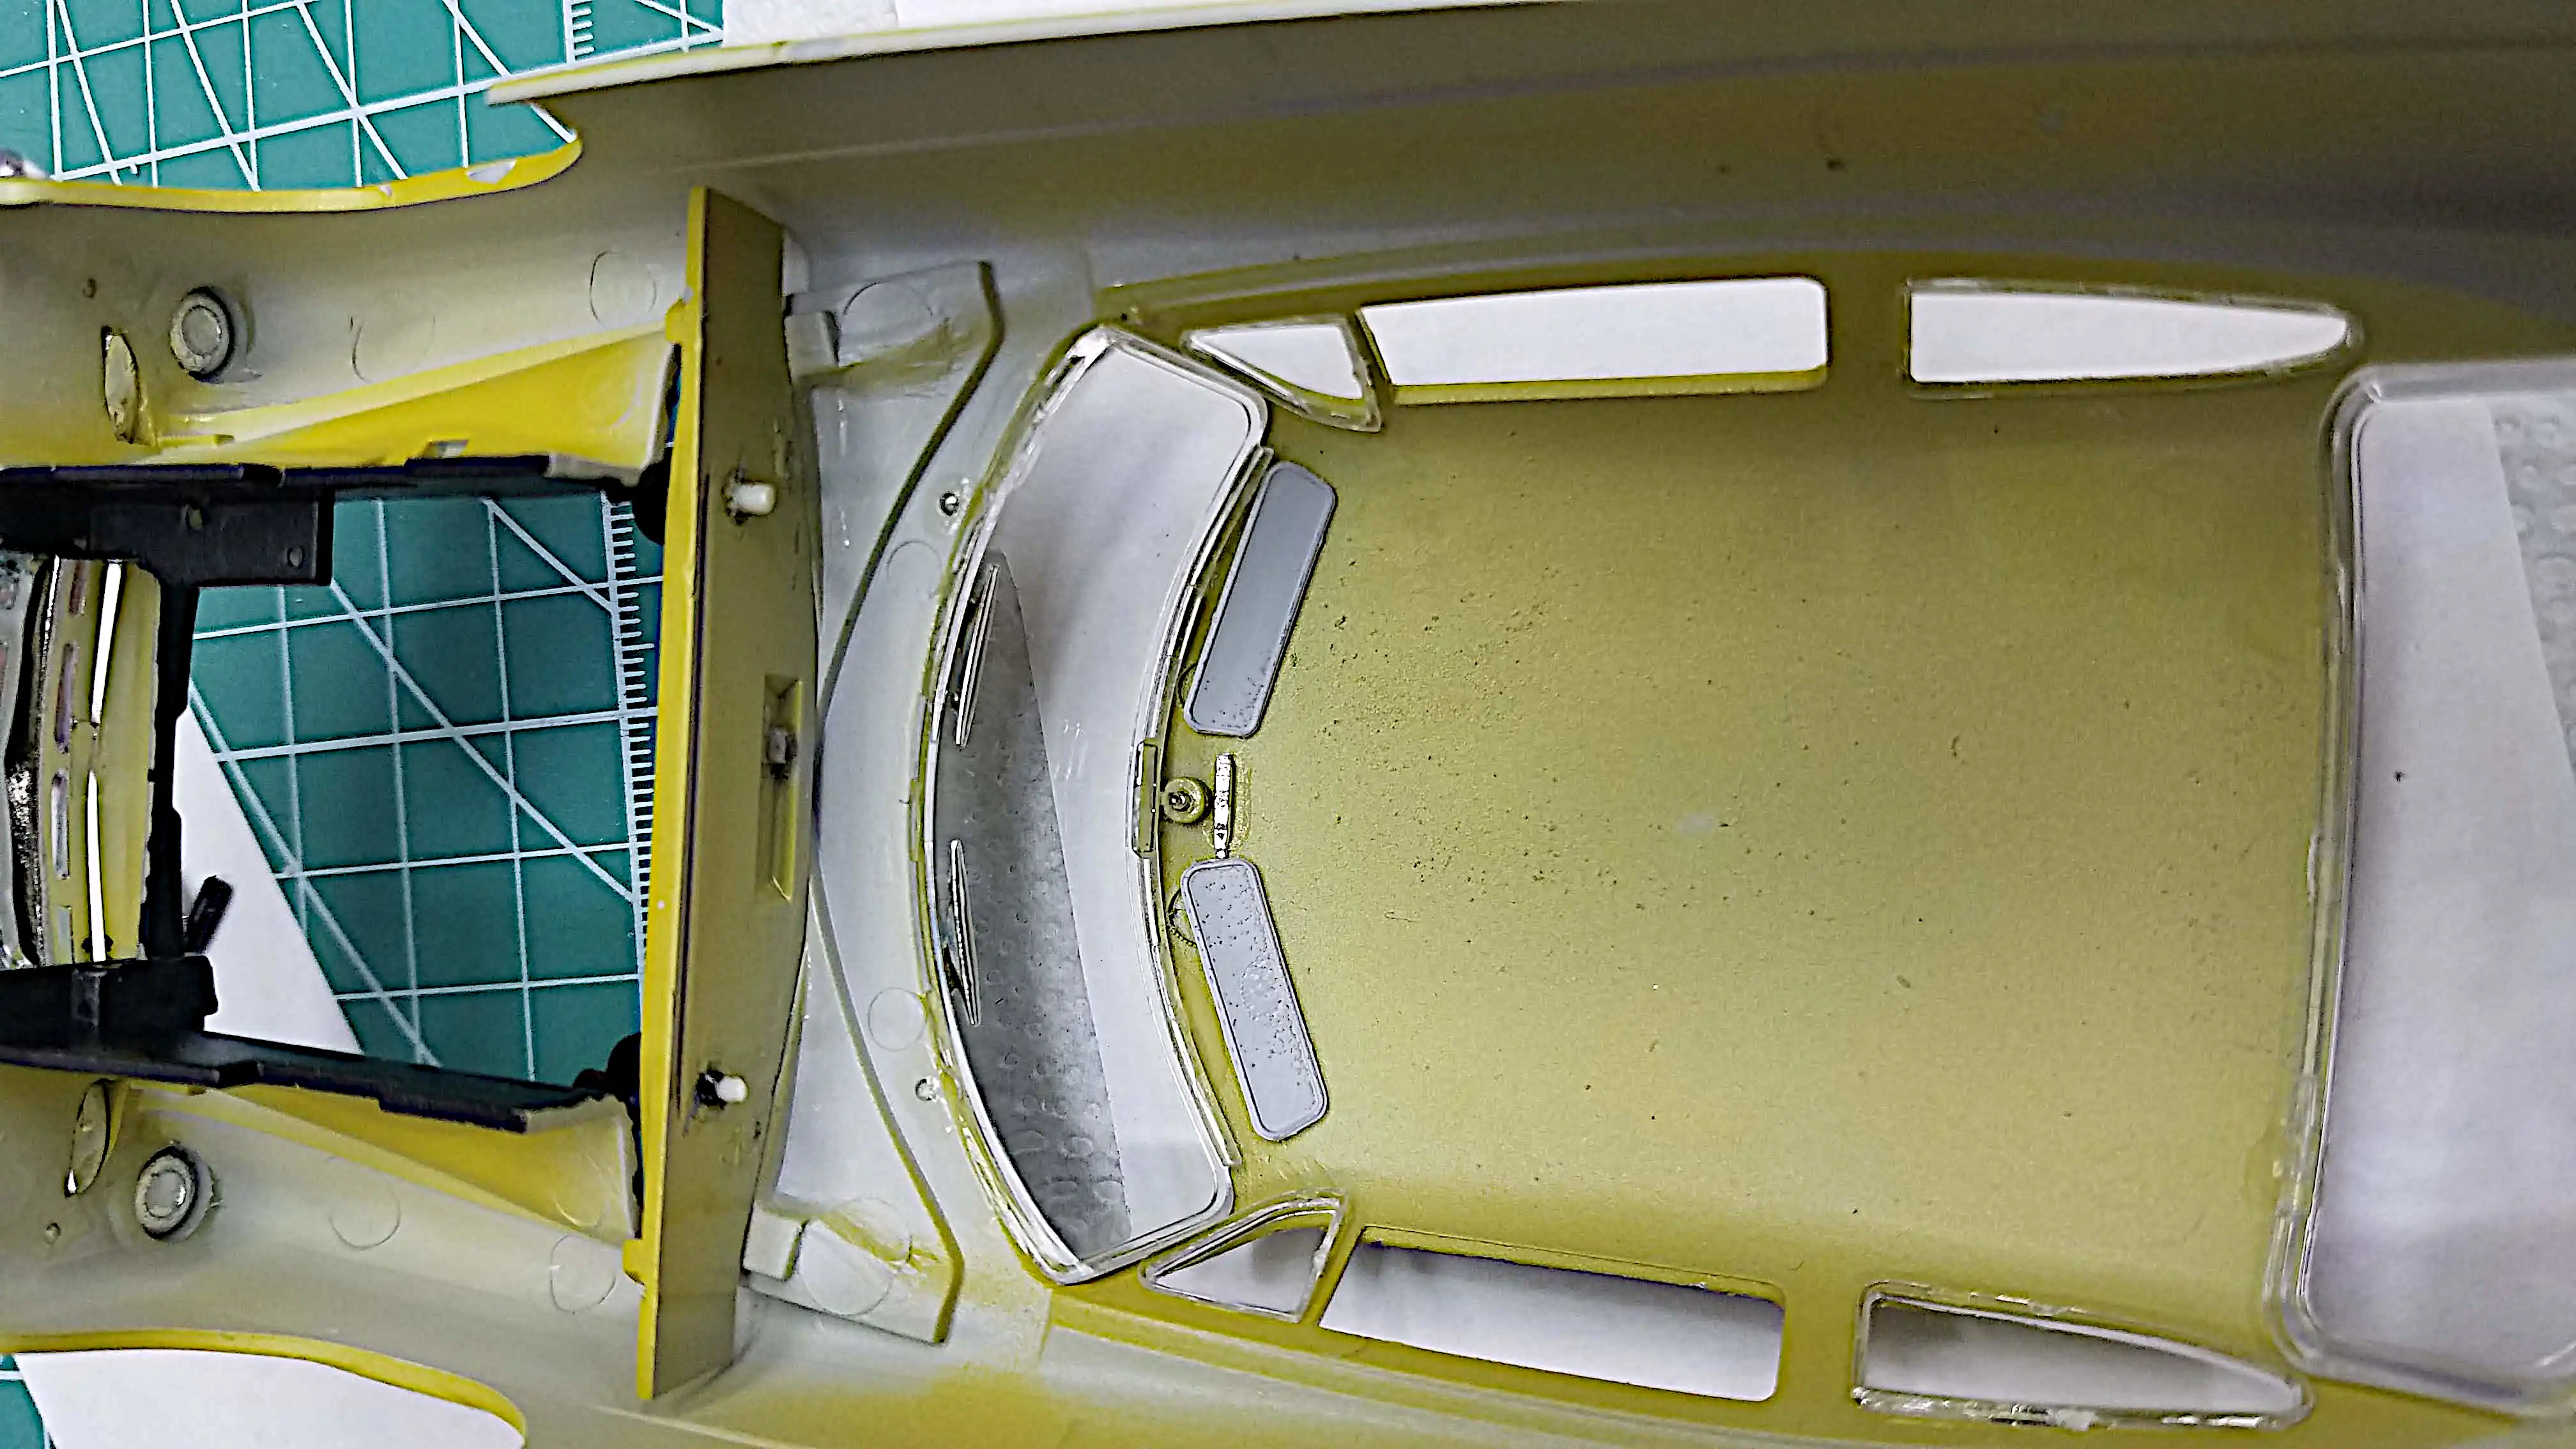
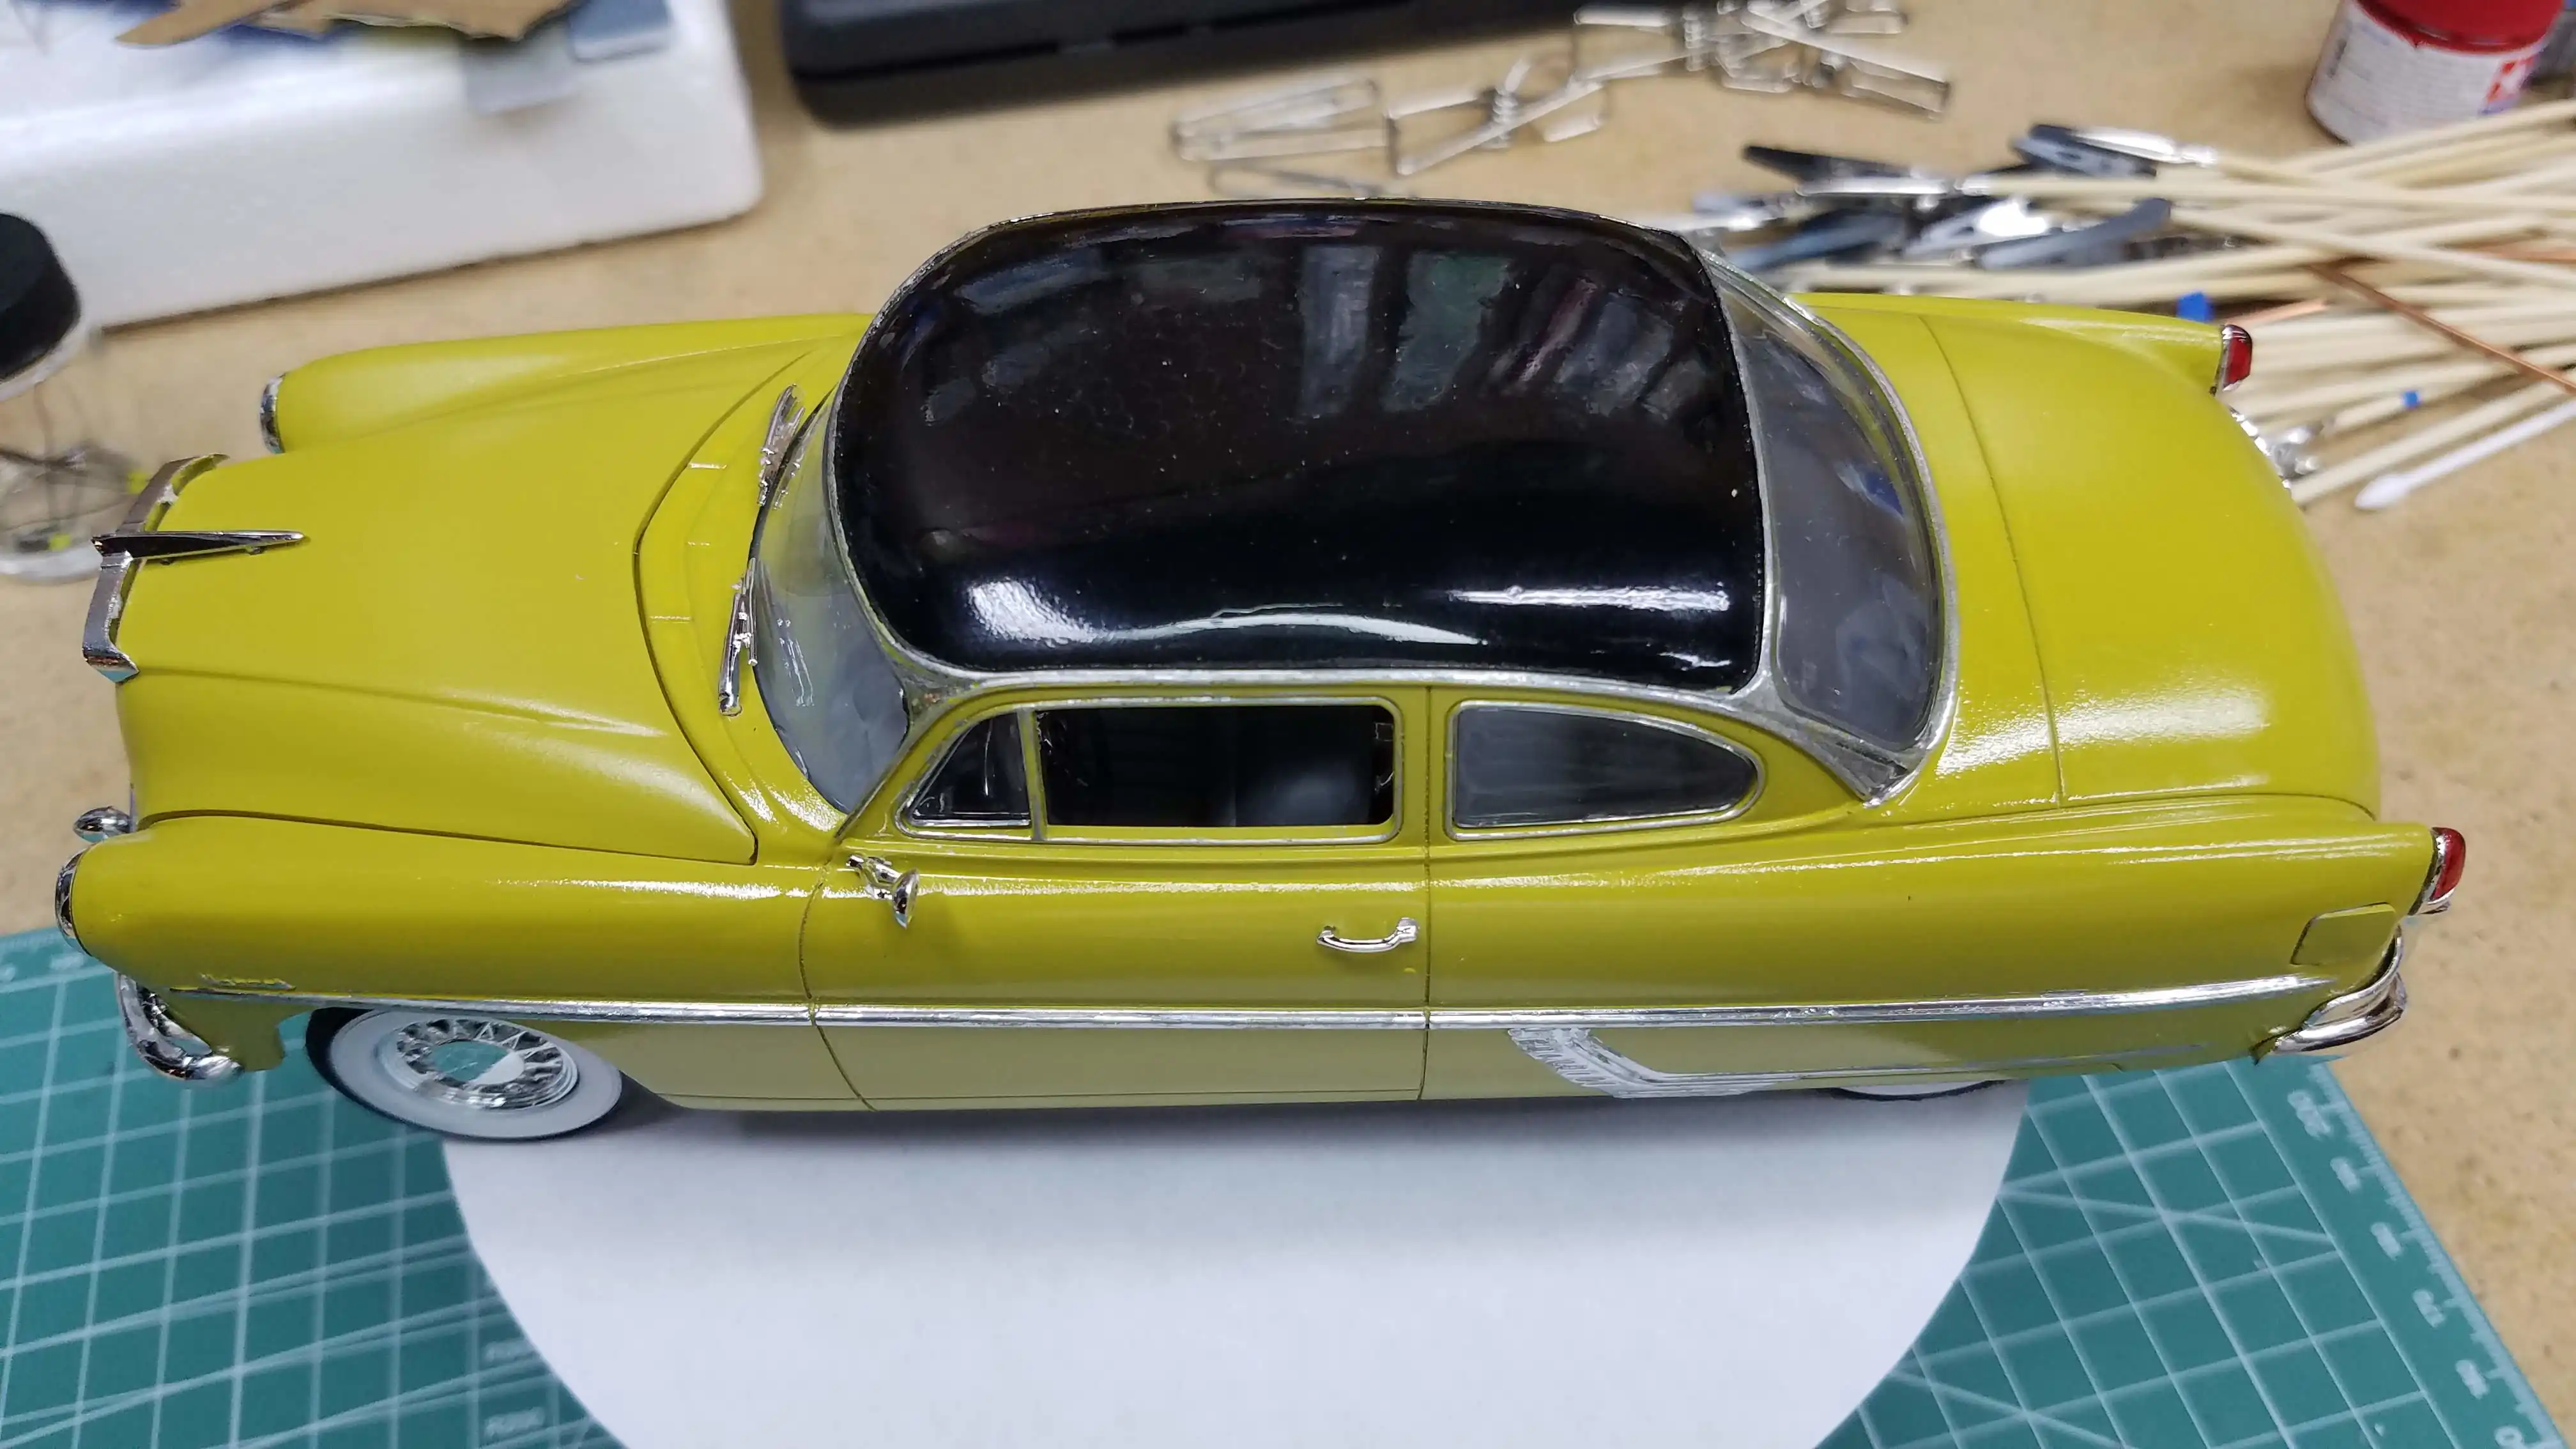 Completed build - Looking down from the left side
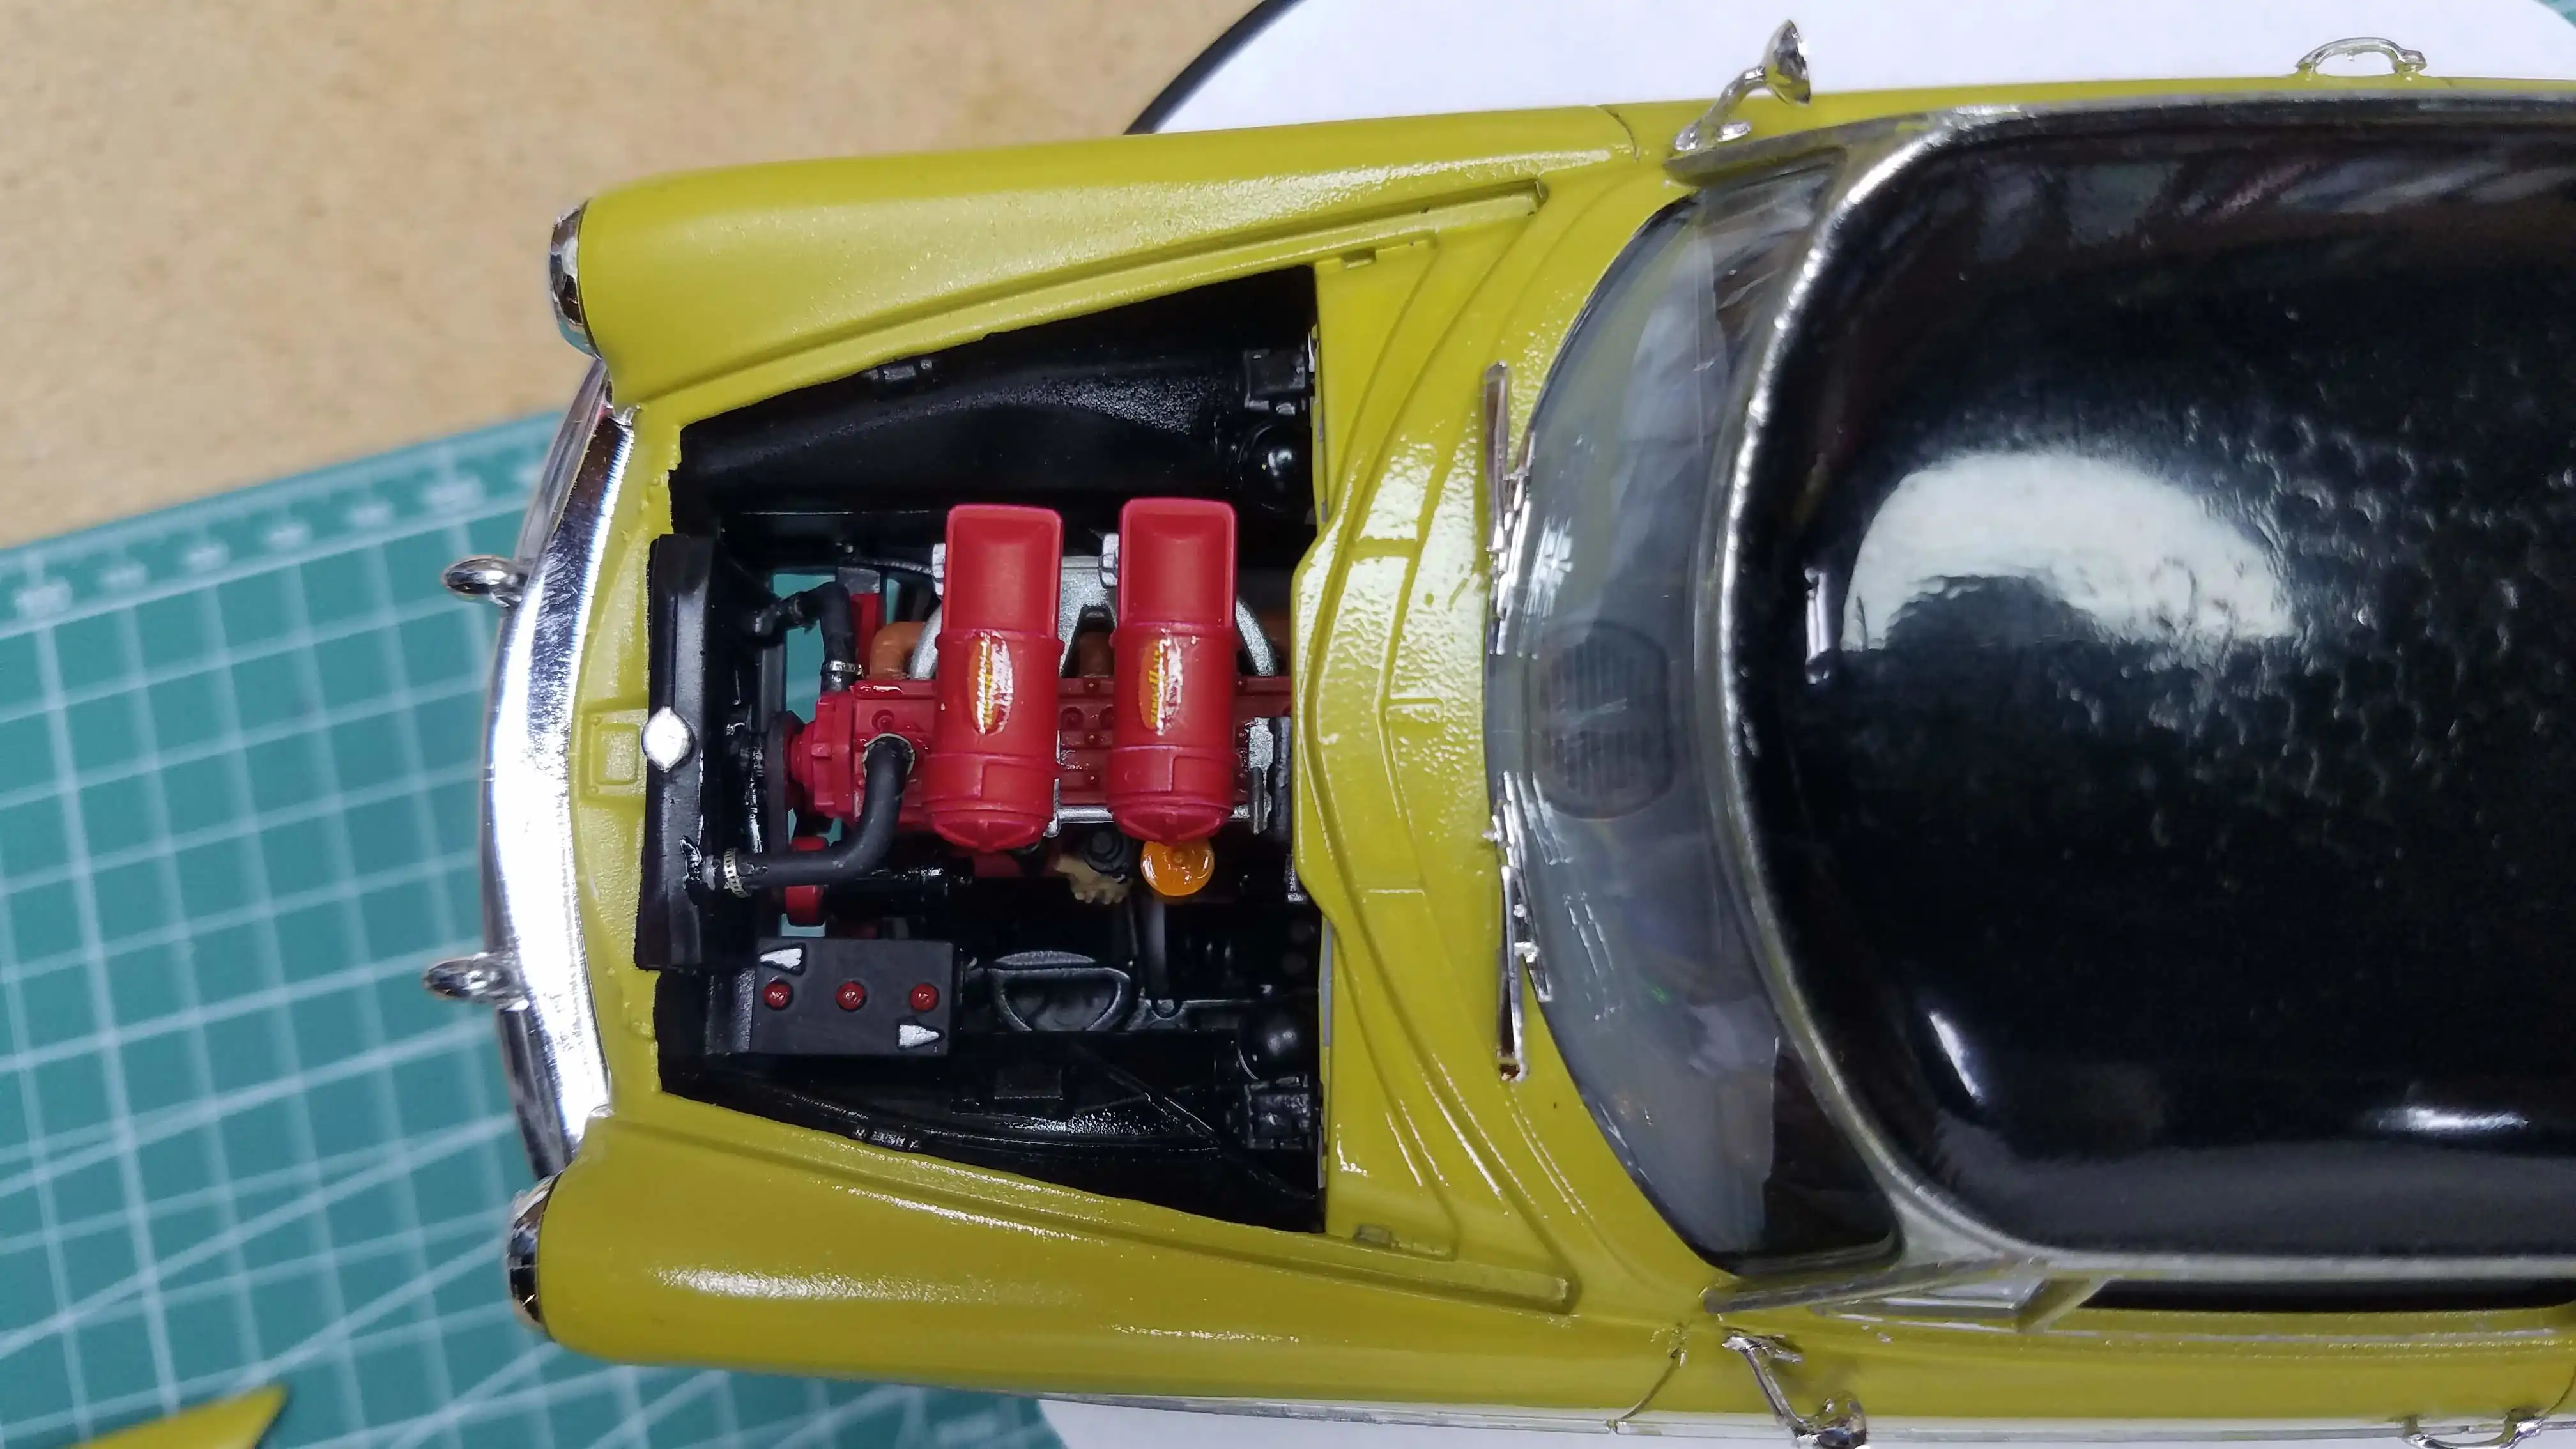 Completed build - Looking down at the engine
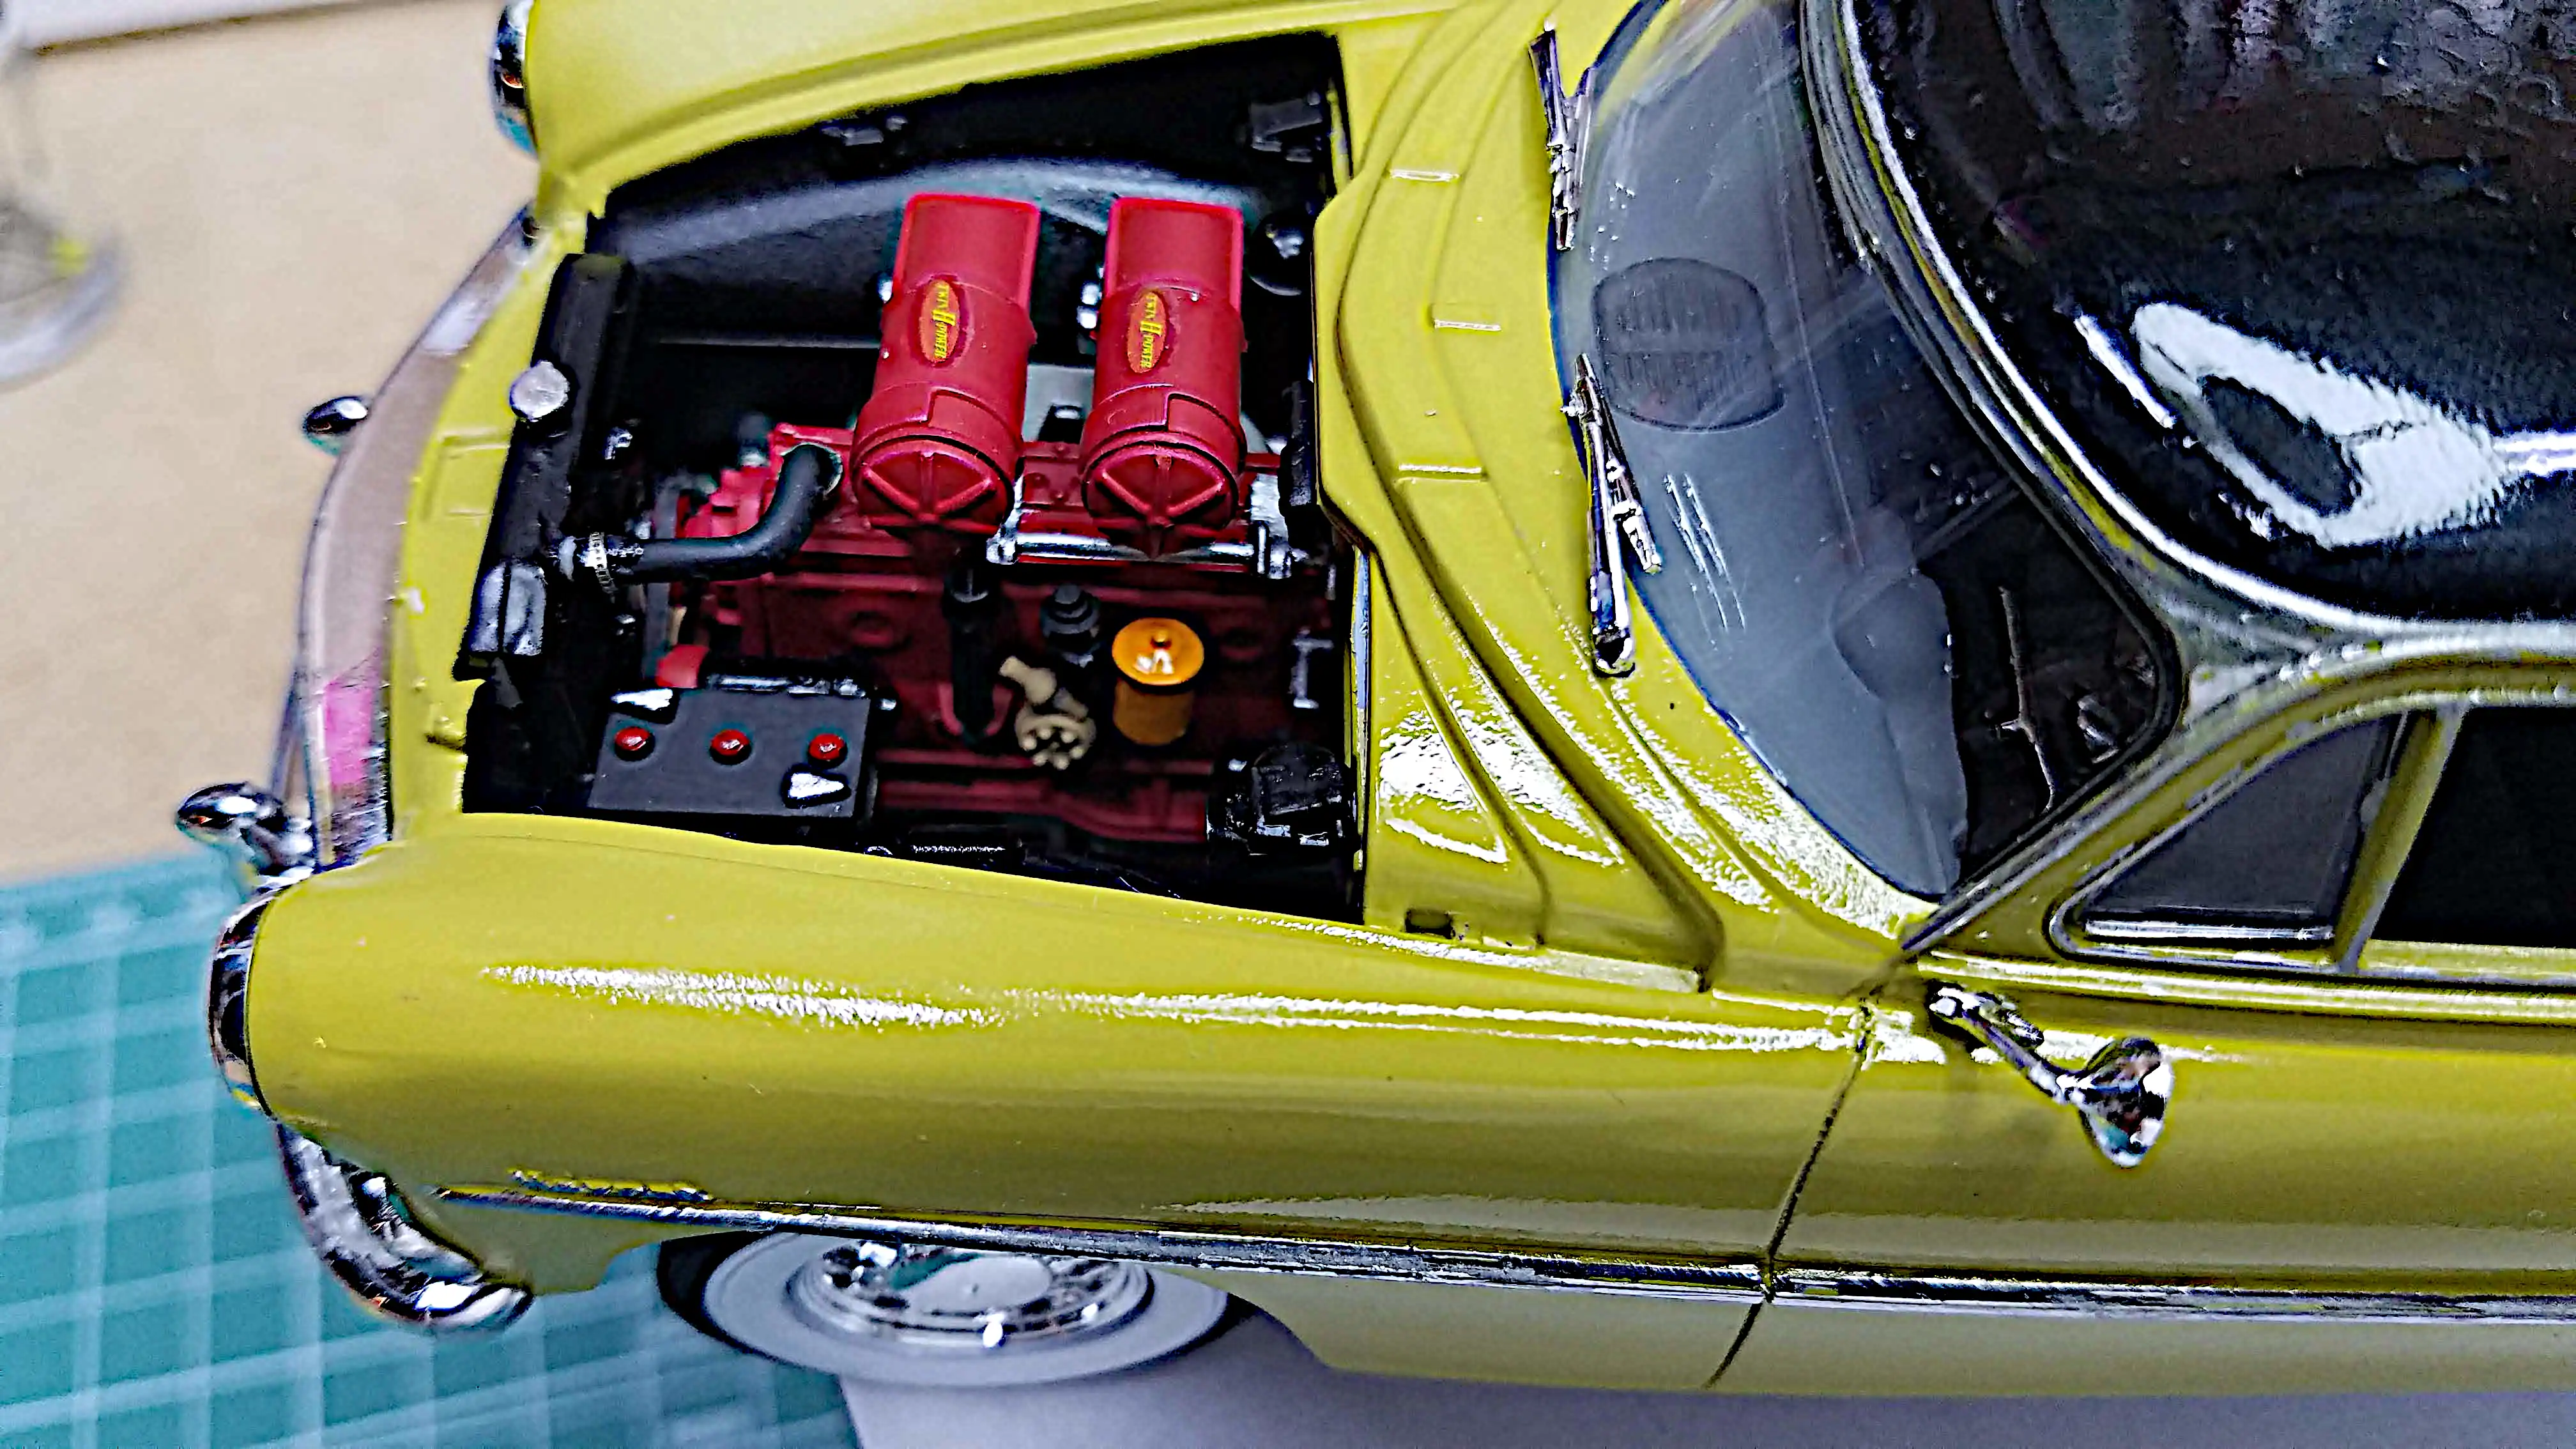 Completed build - Engine from the left side
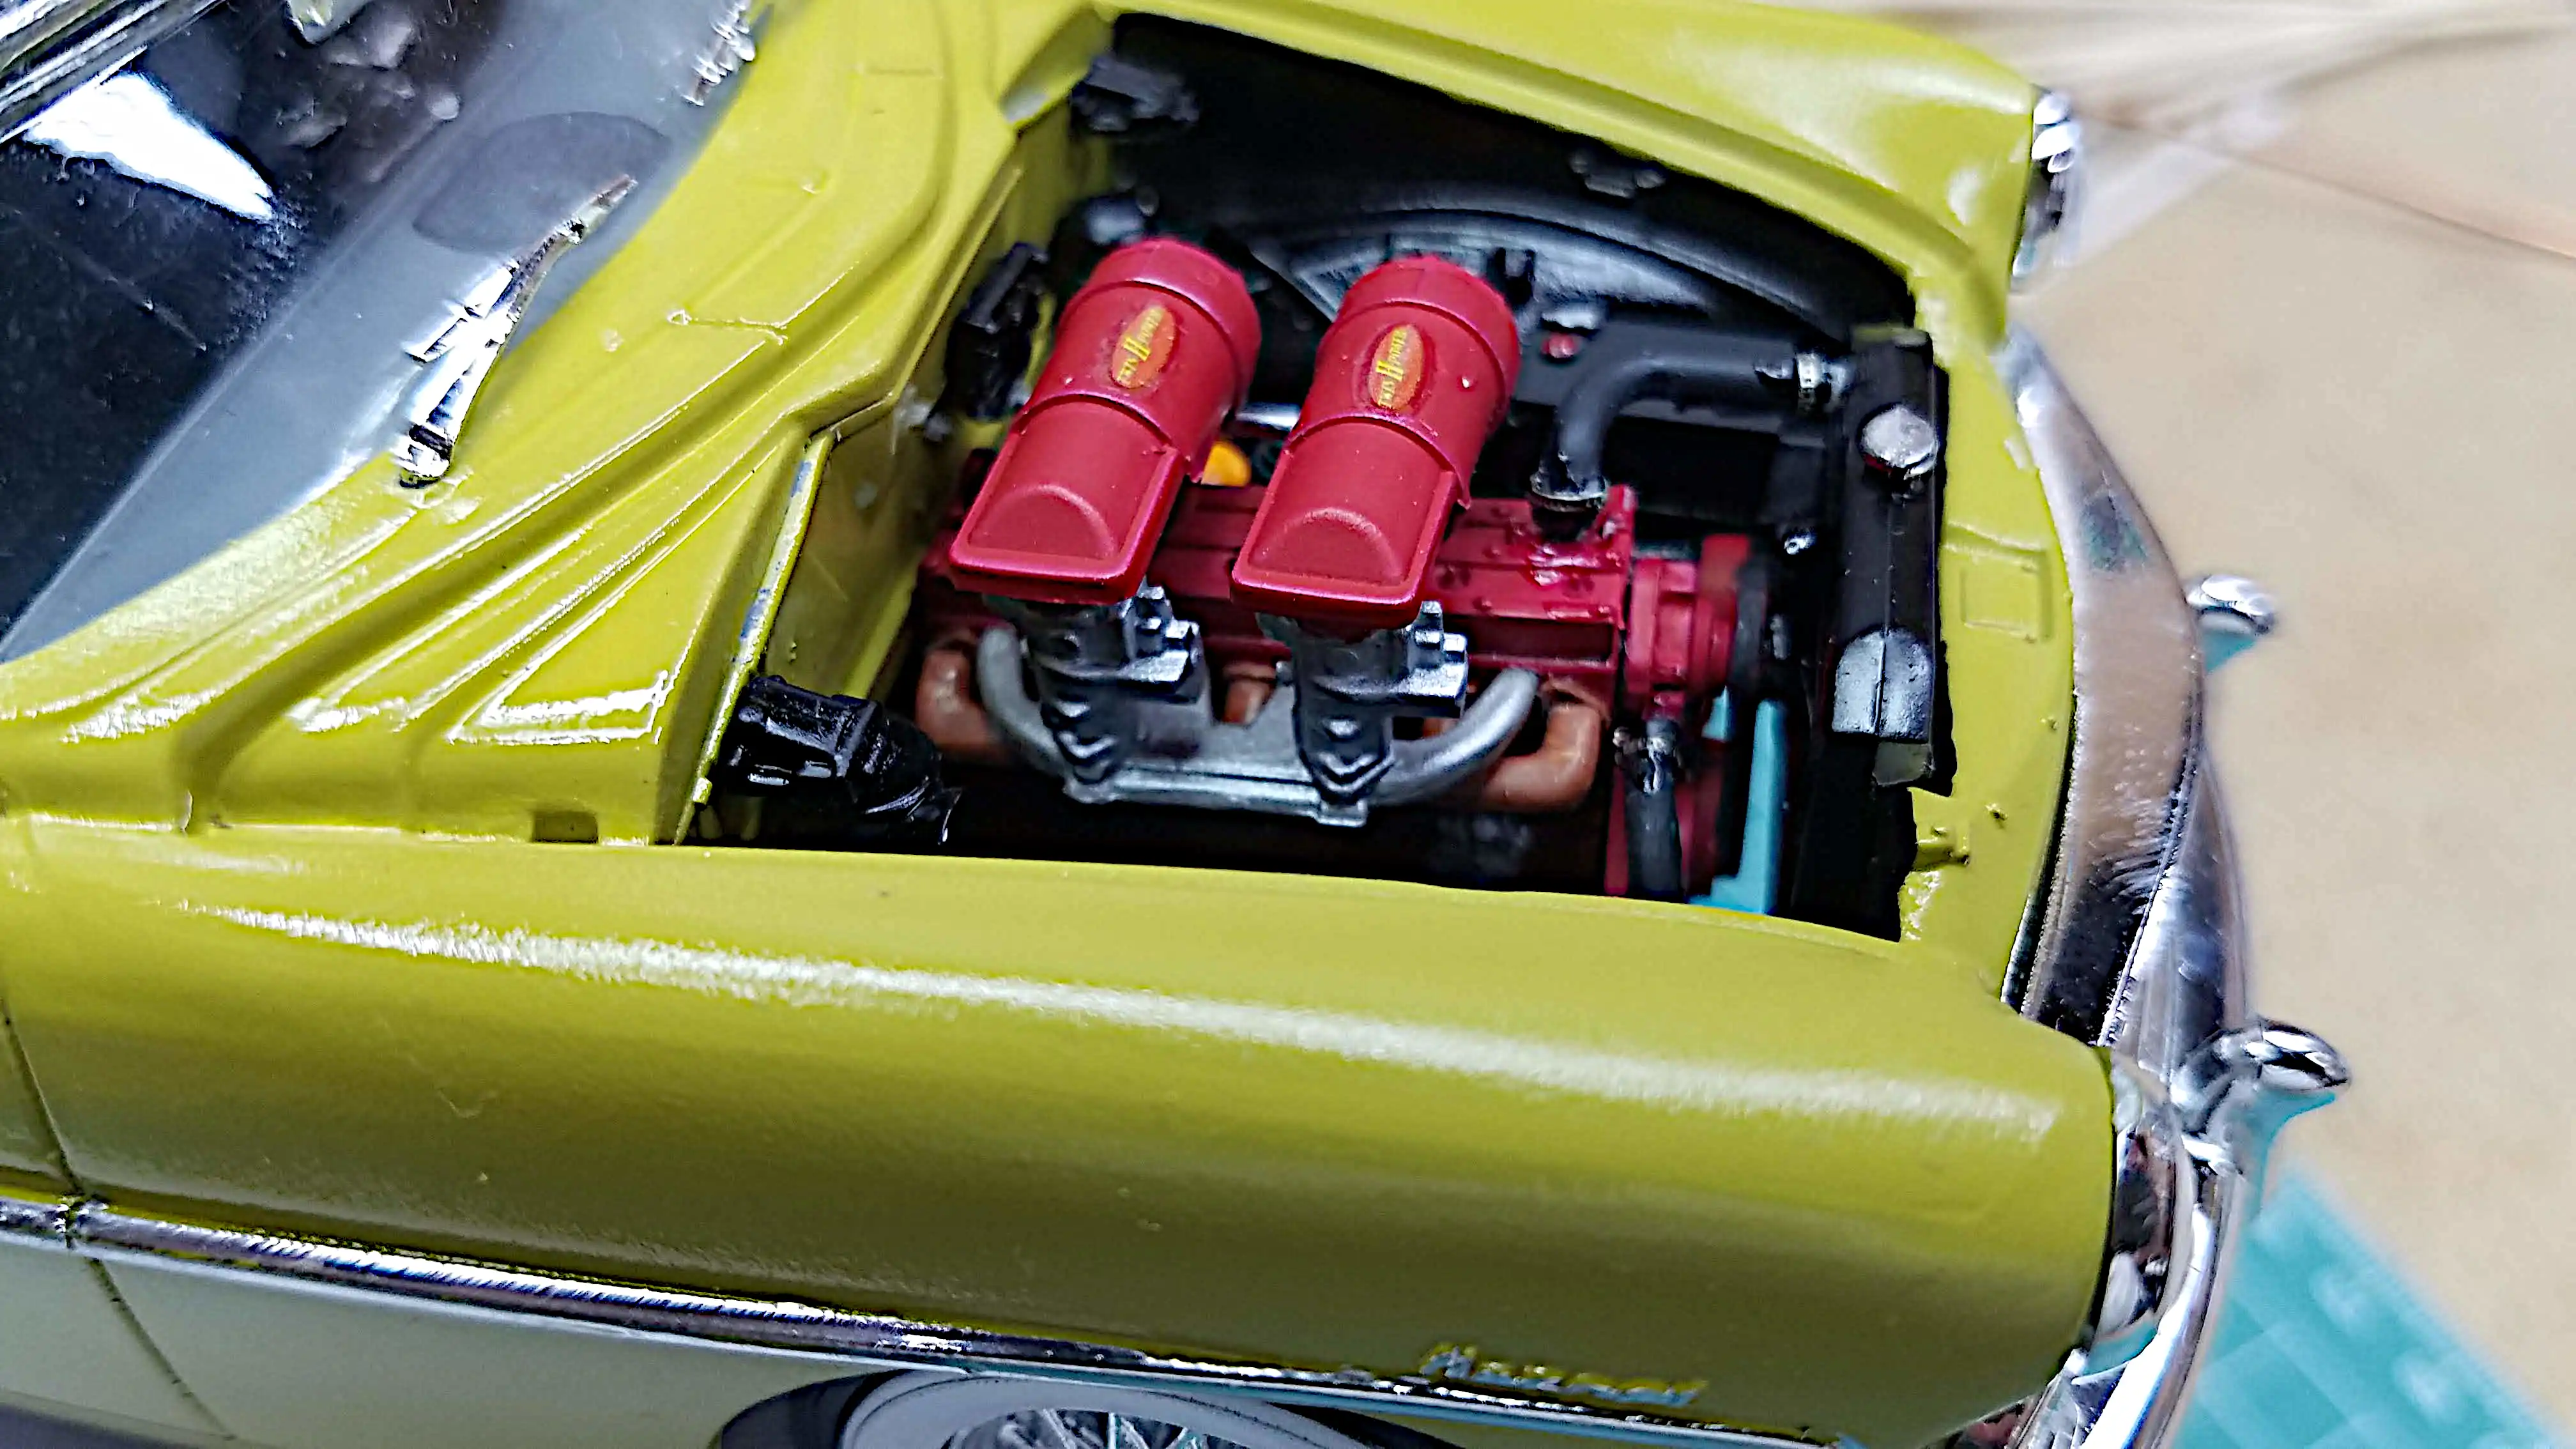 Completed build - Engine from the right side
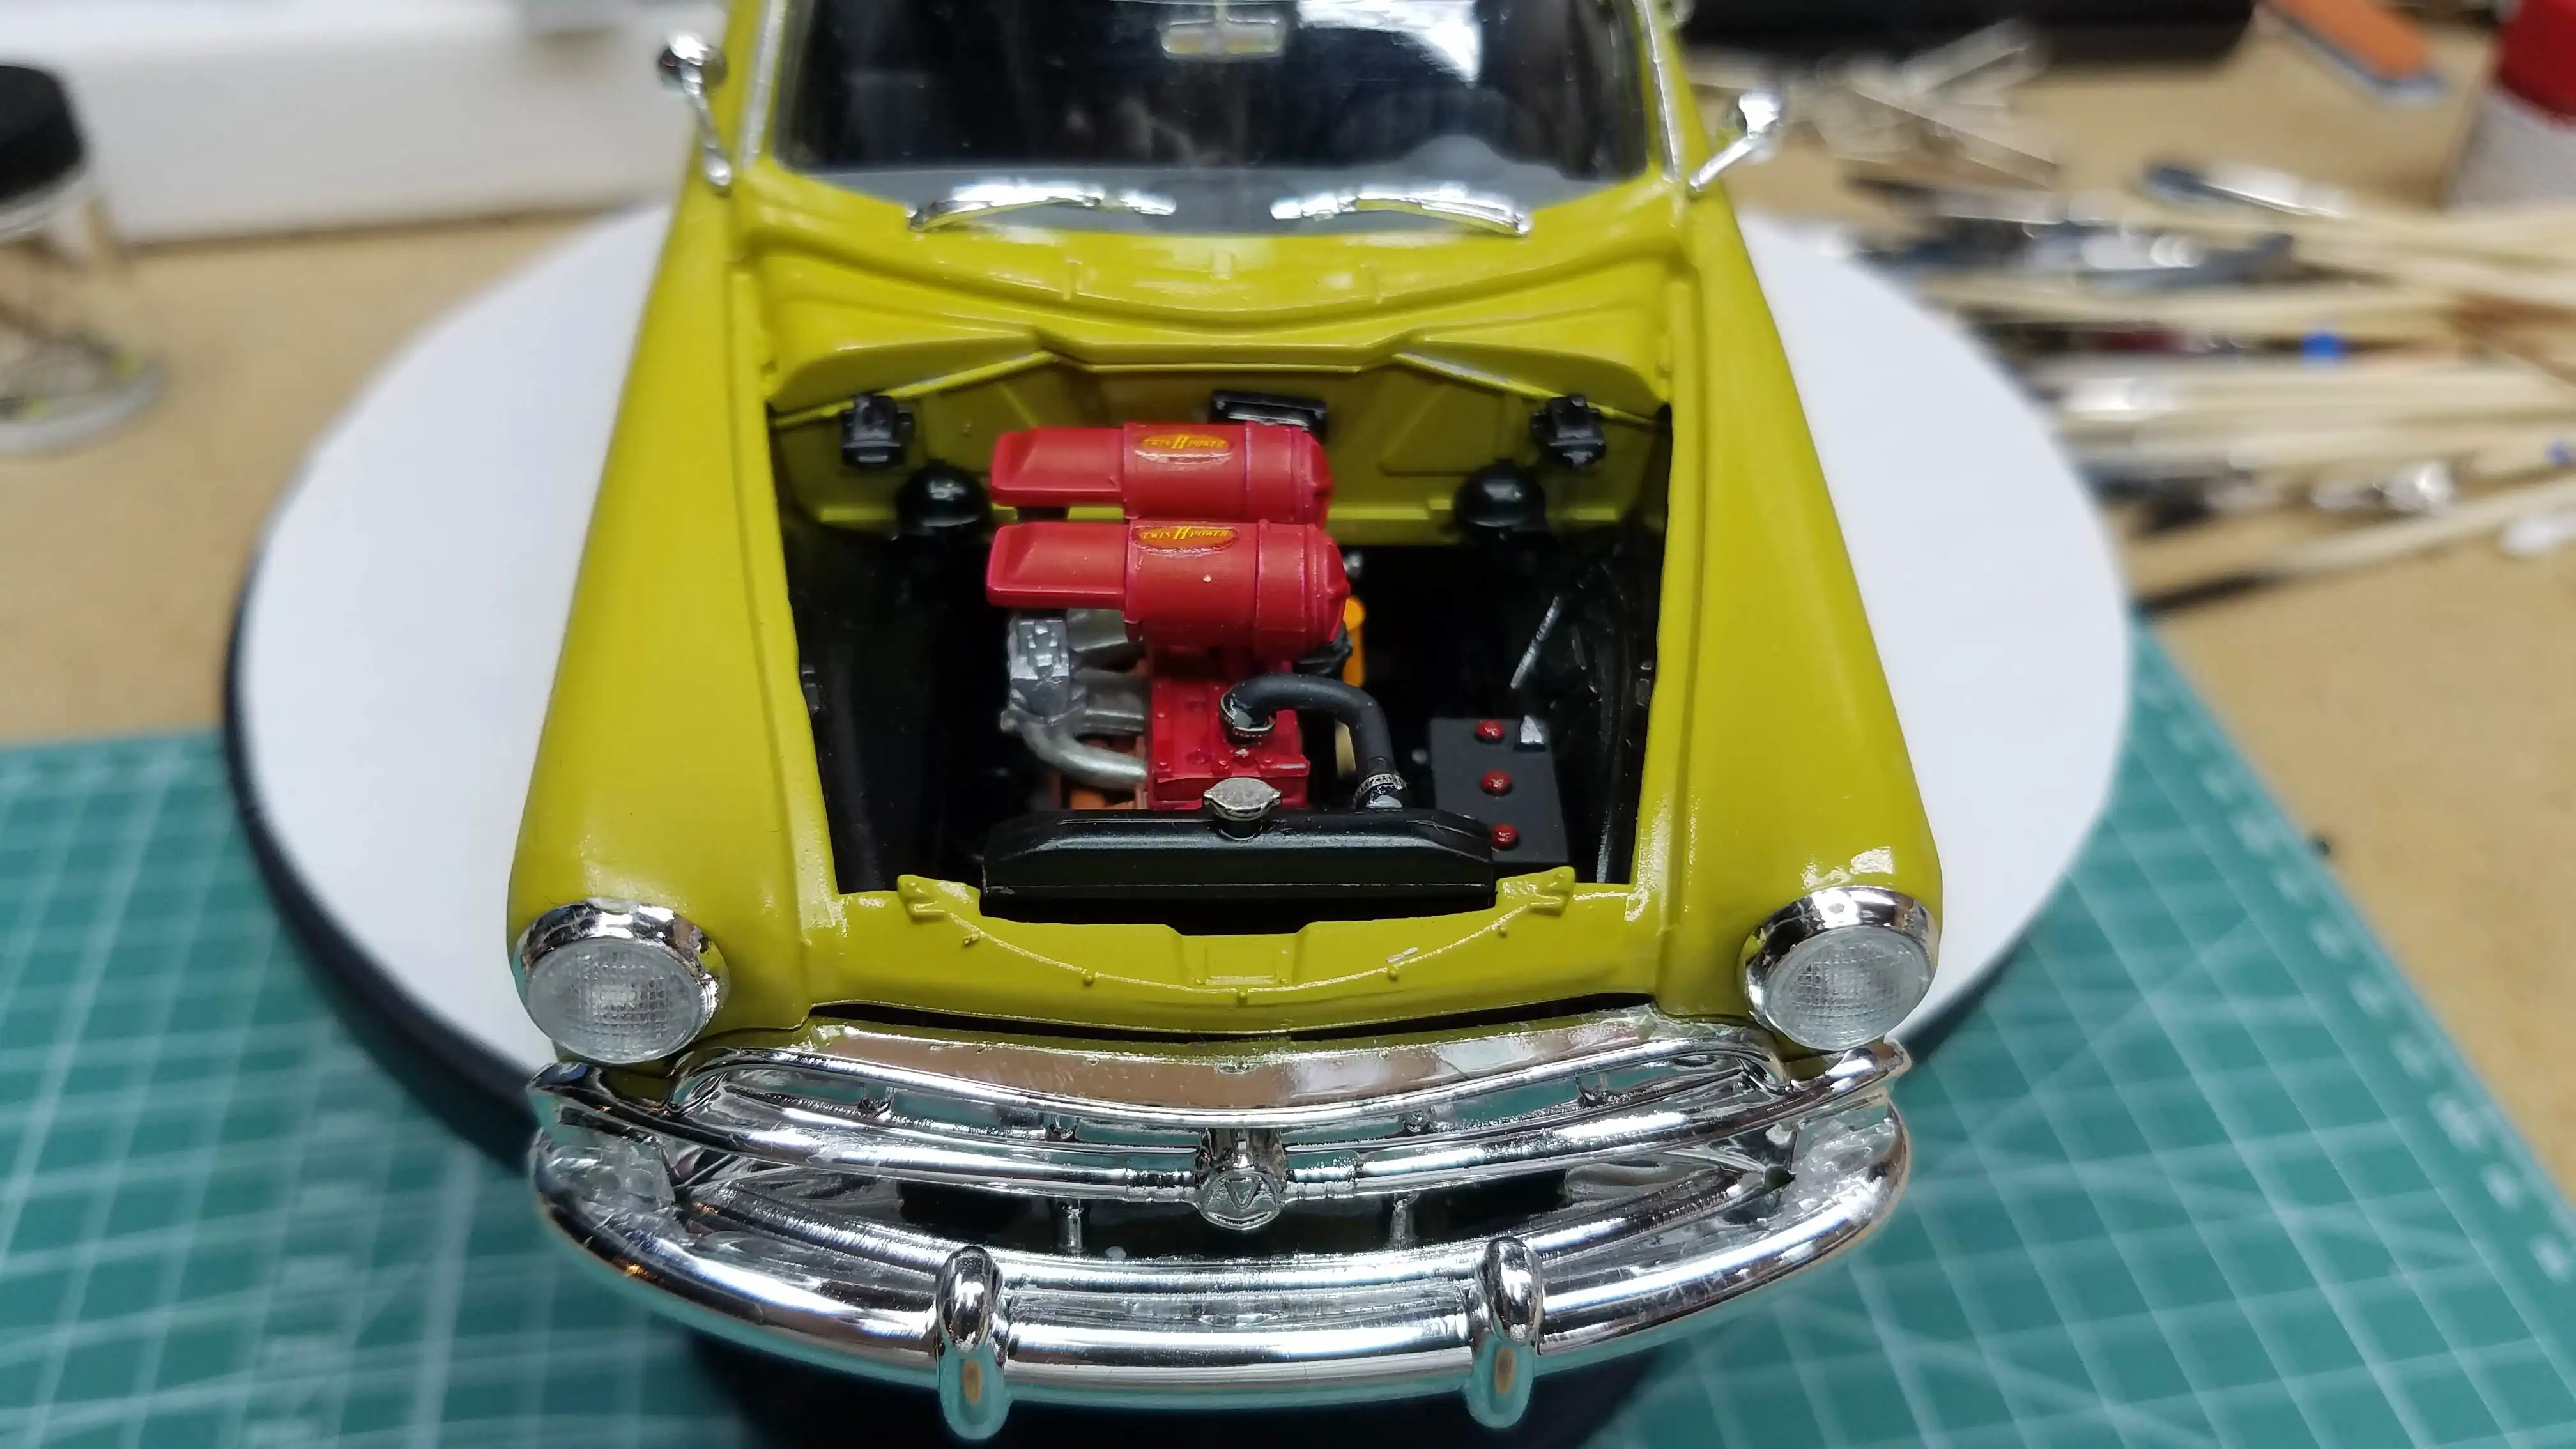 Completed build - Engine from the front
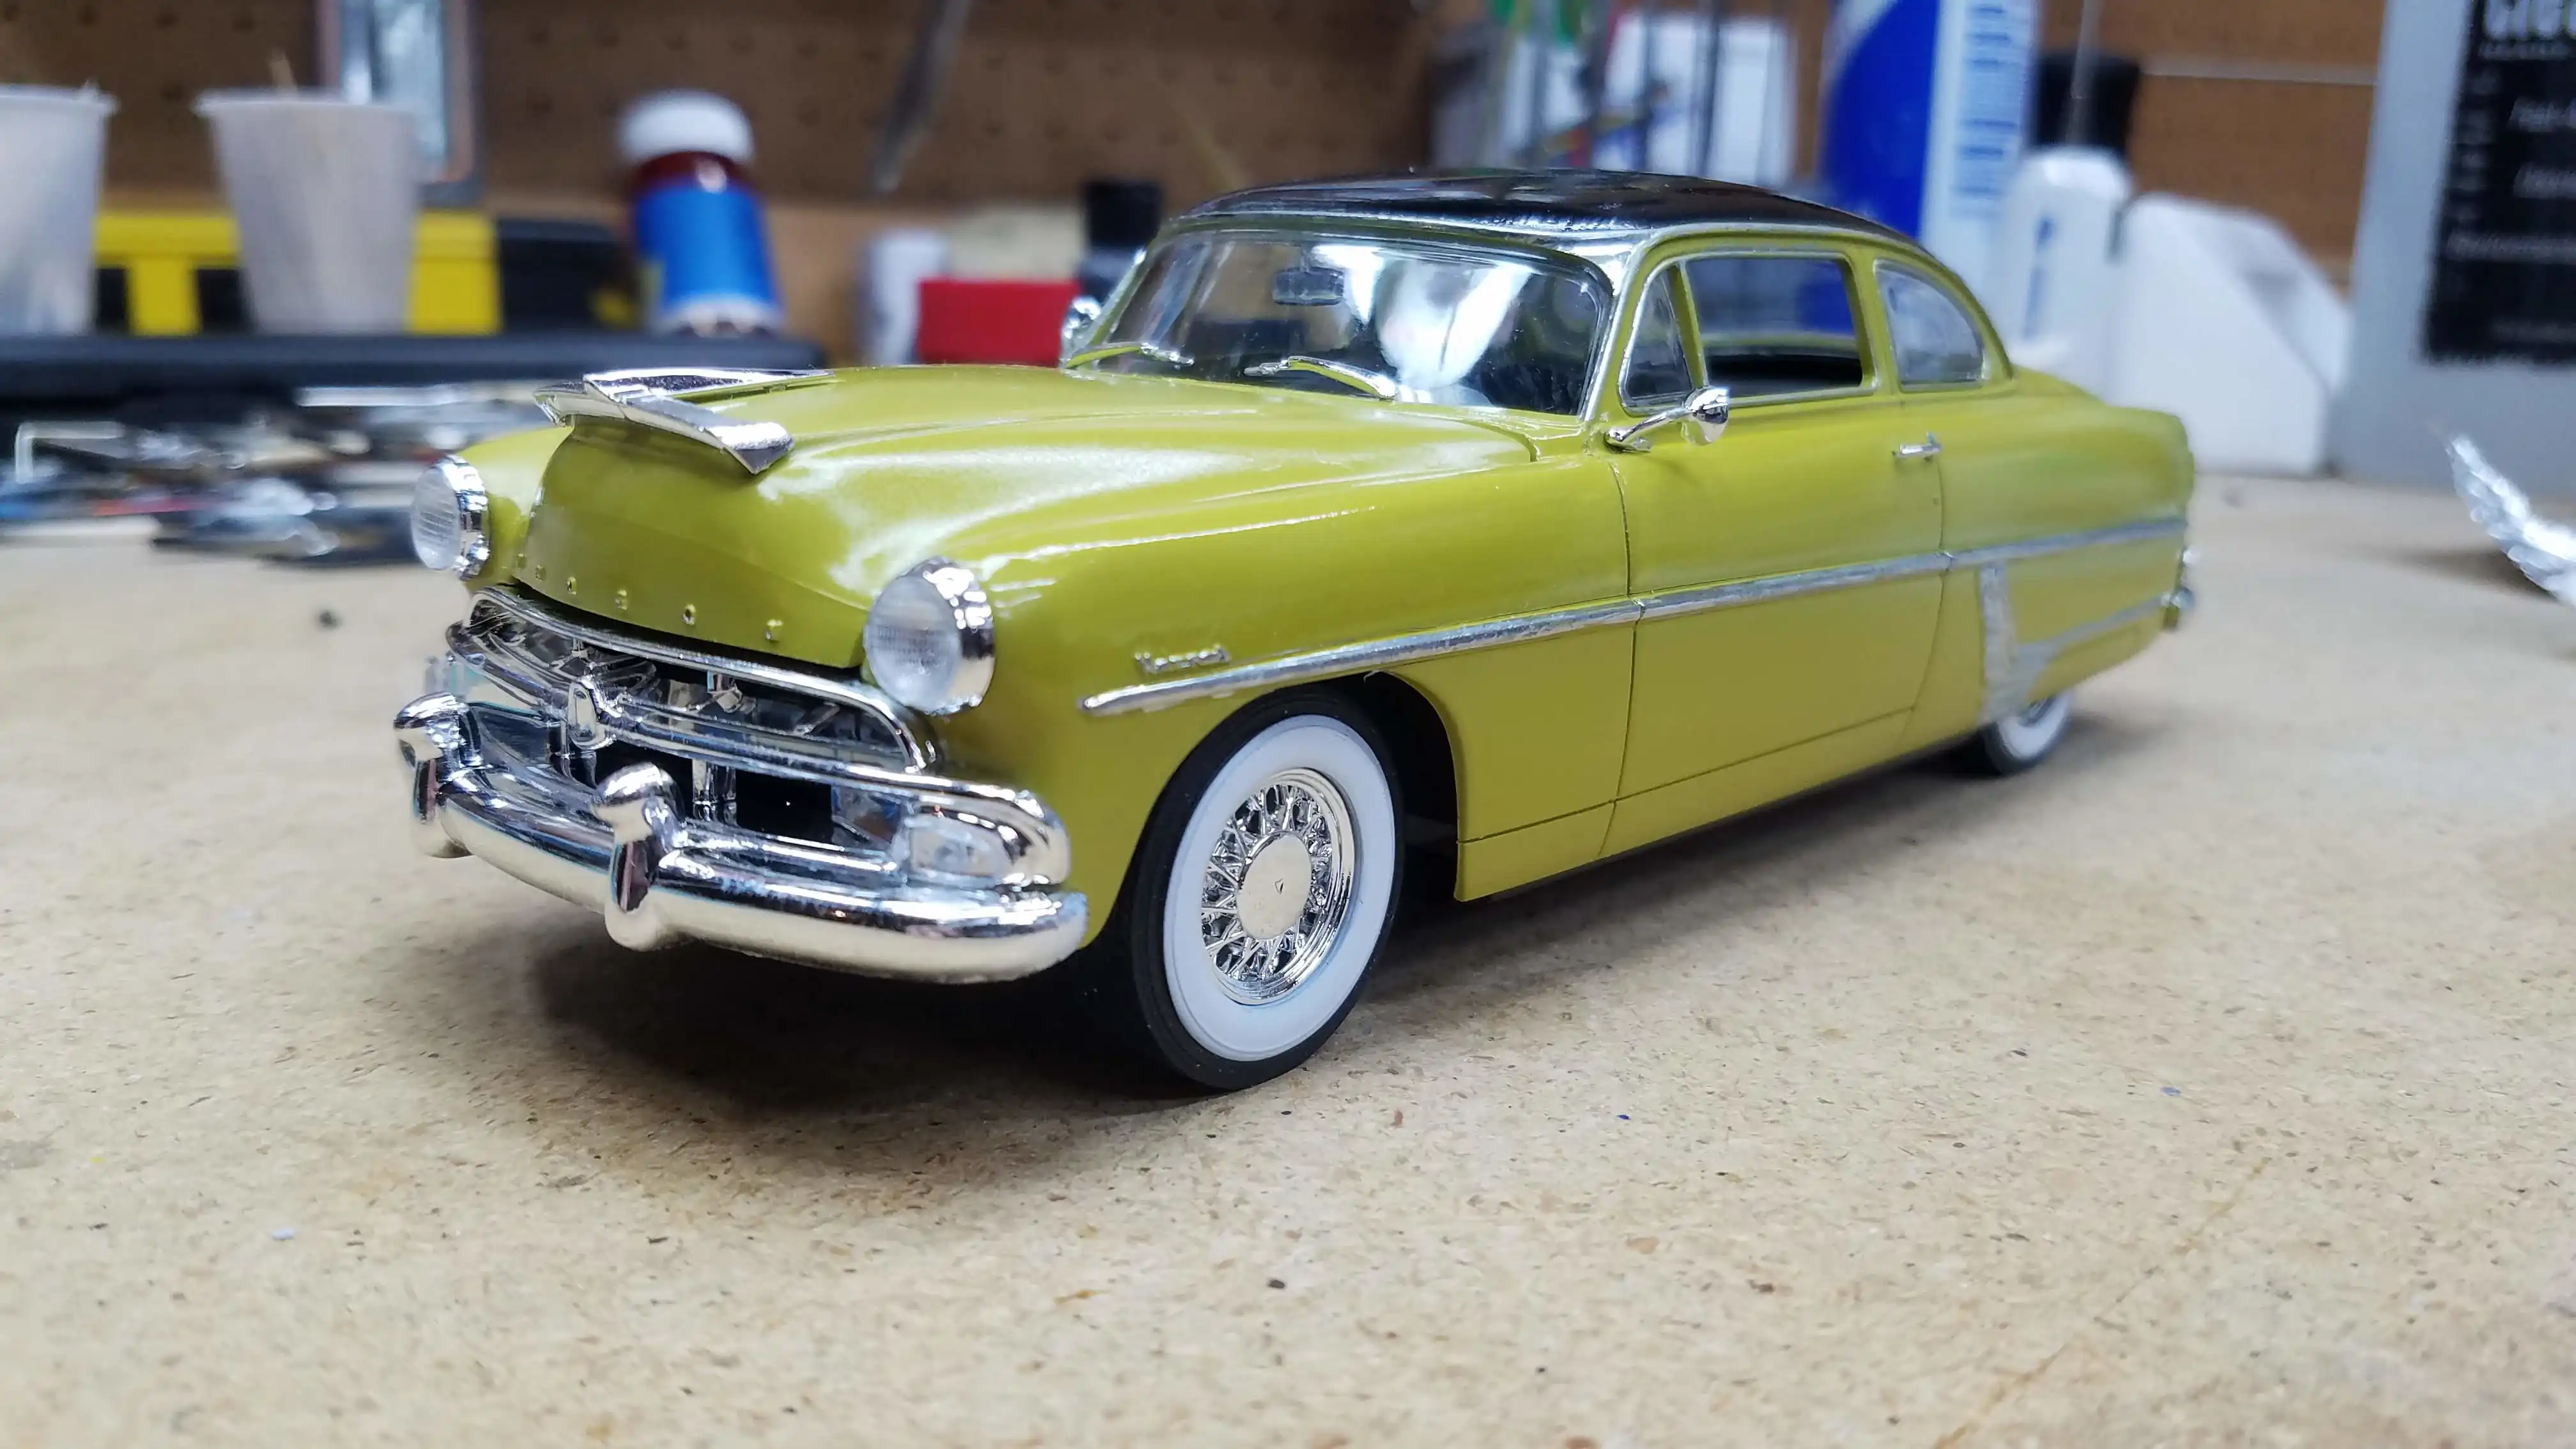 Completed build - View from left front
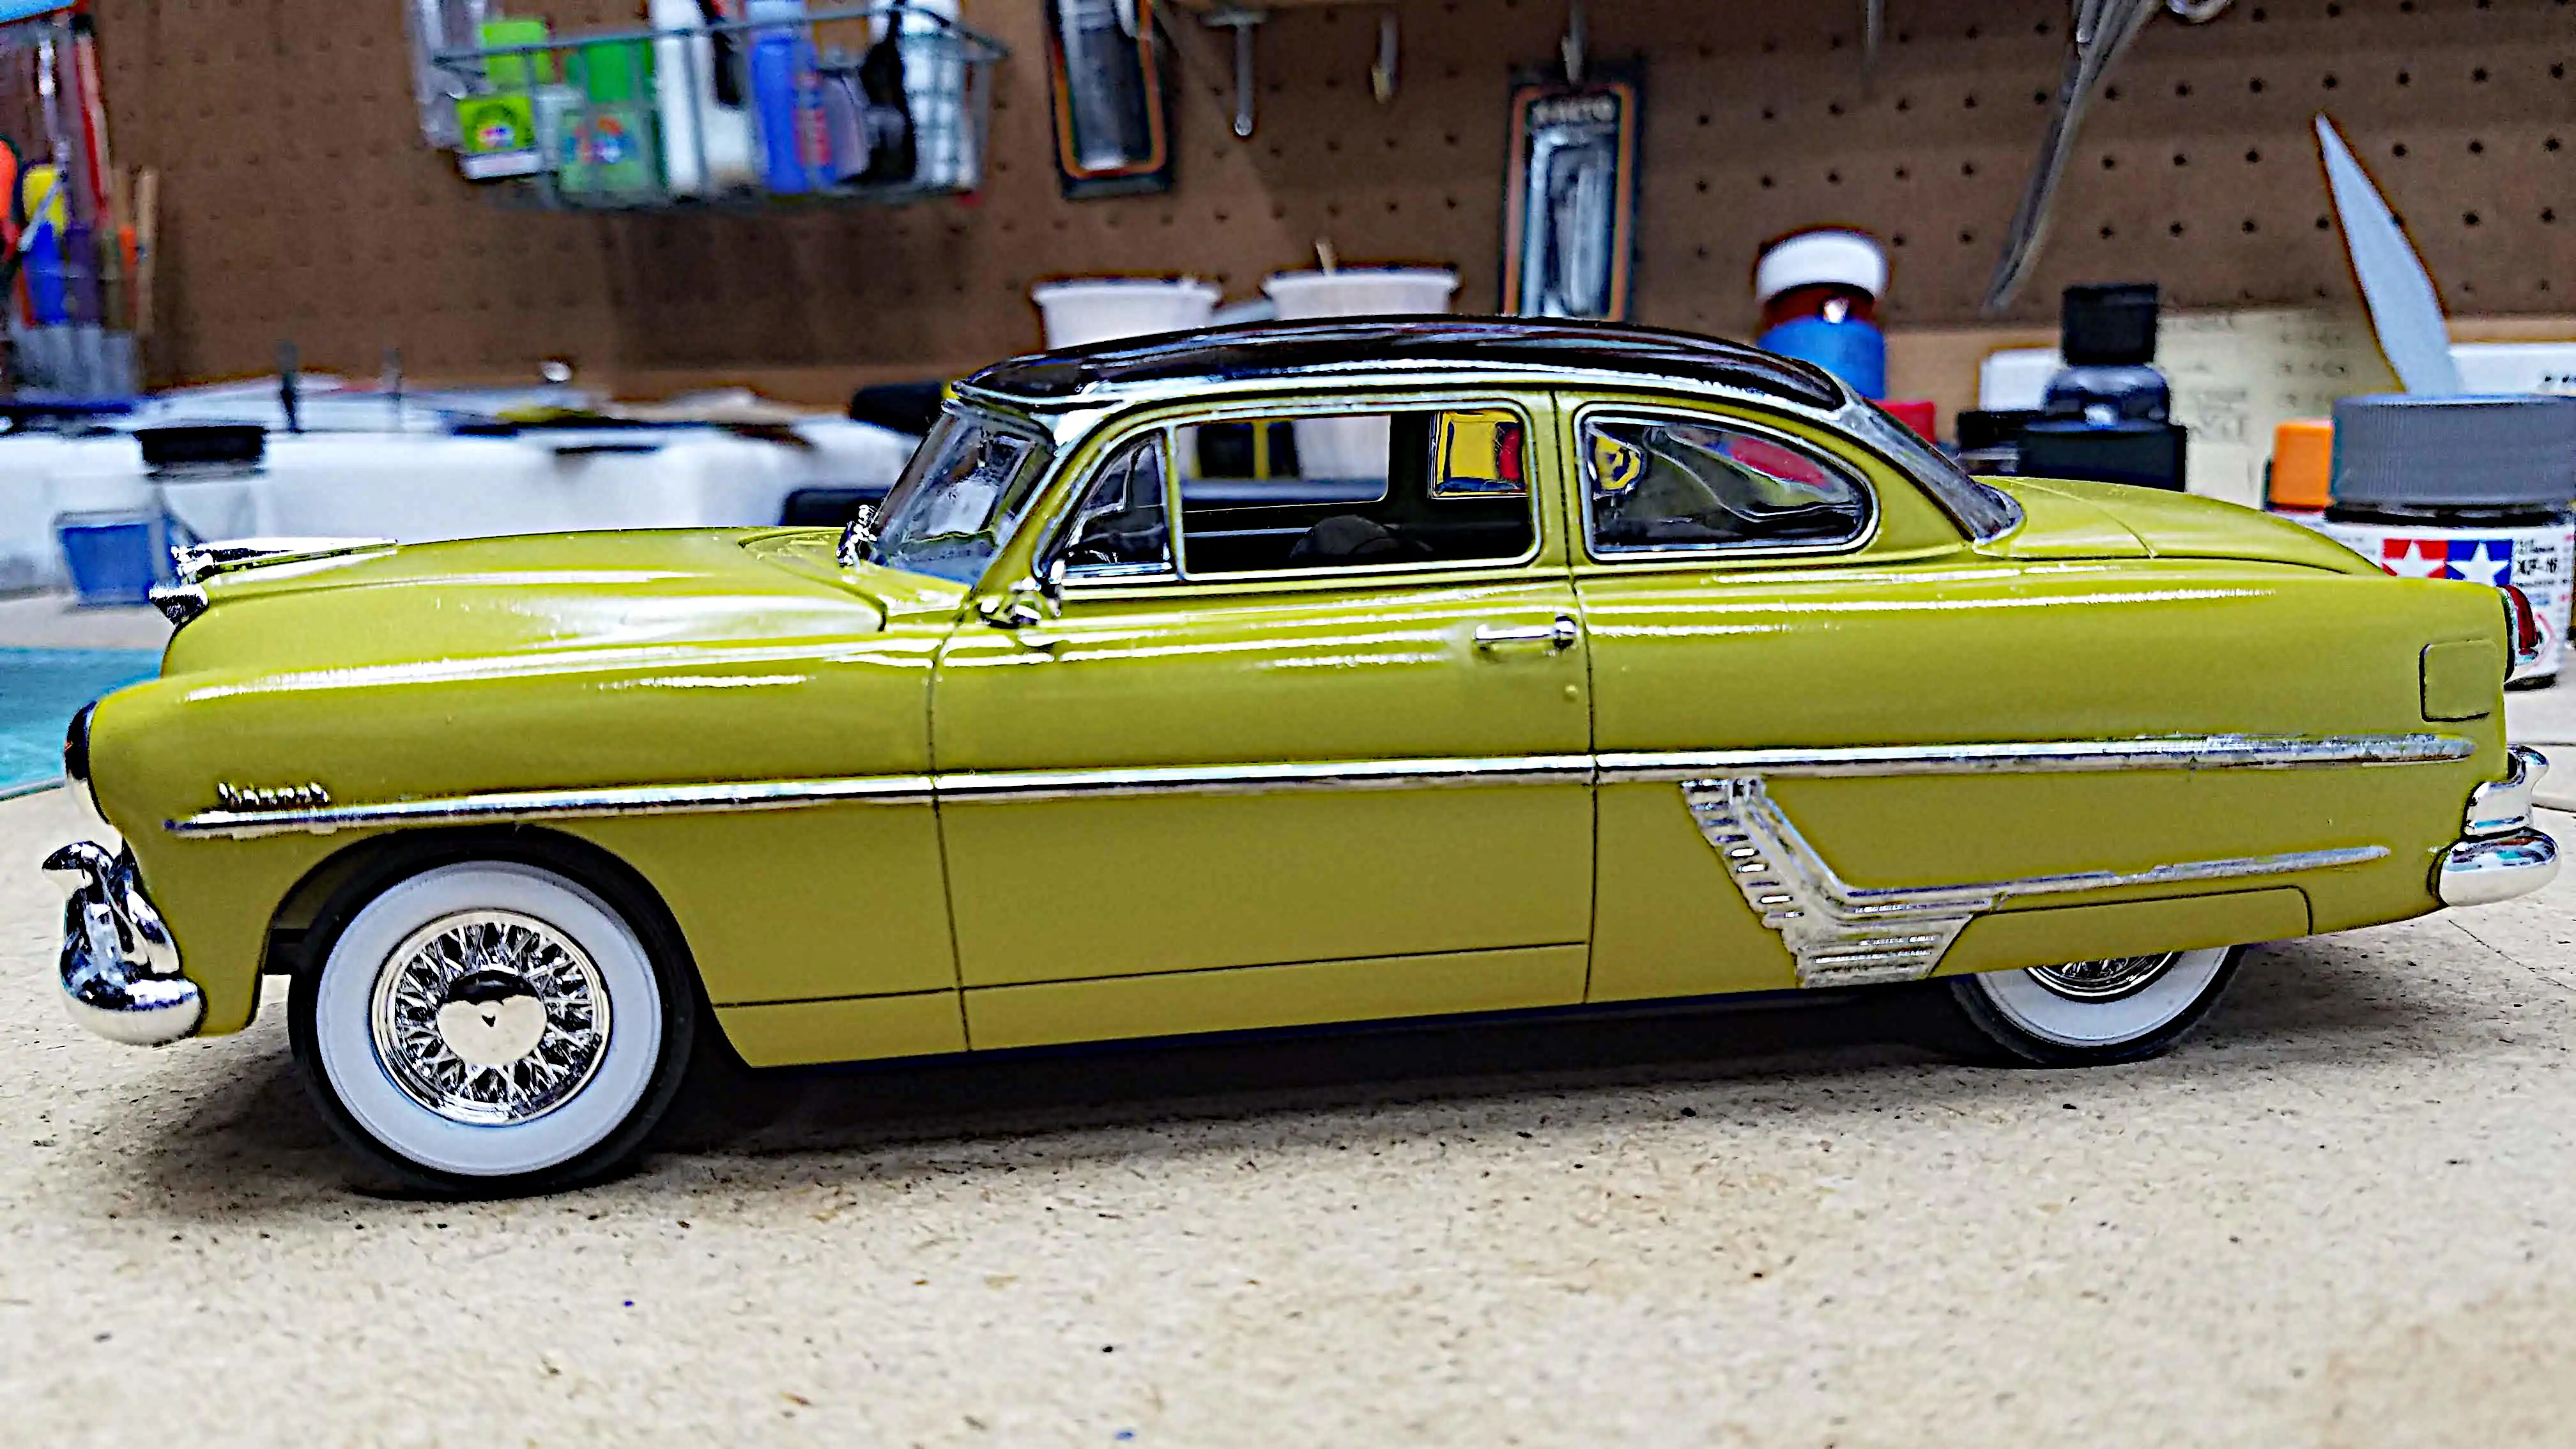 Completed build - Leftt side view
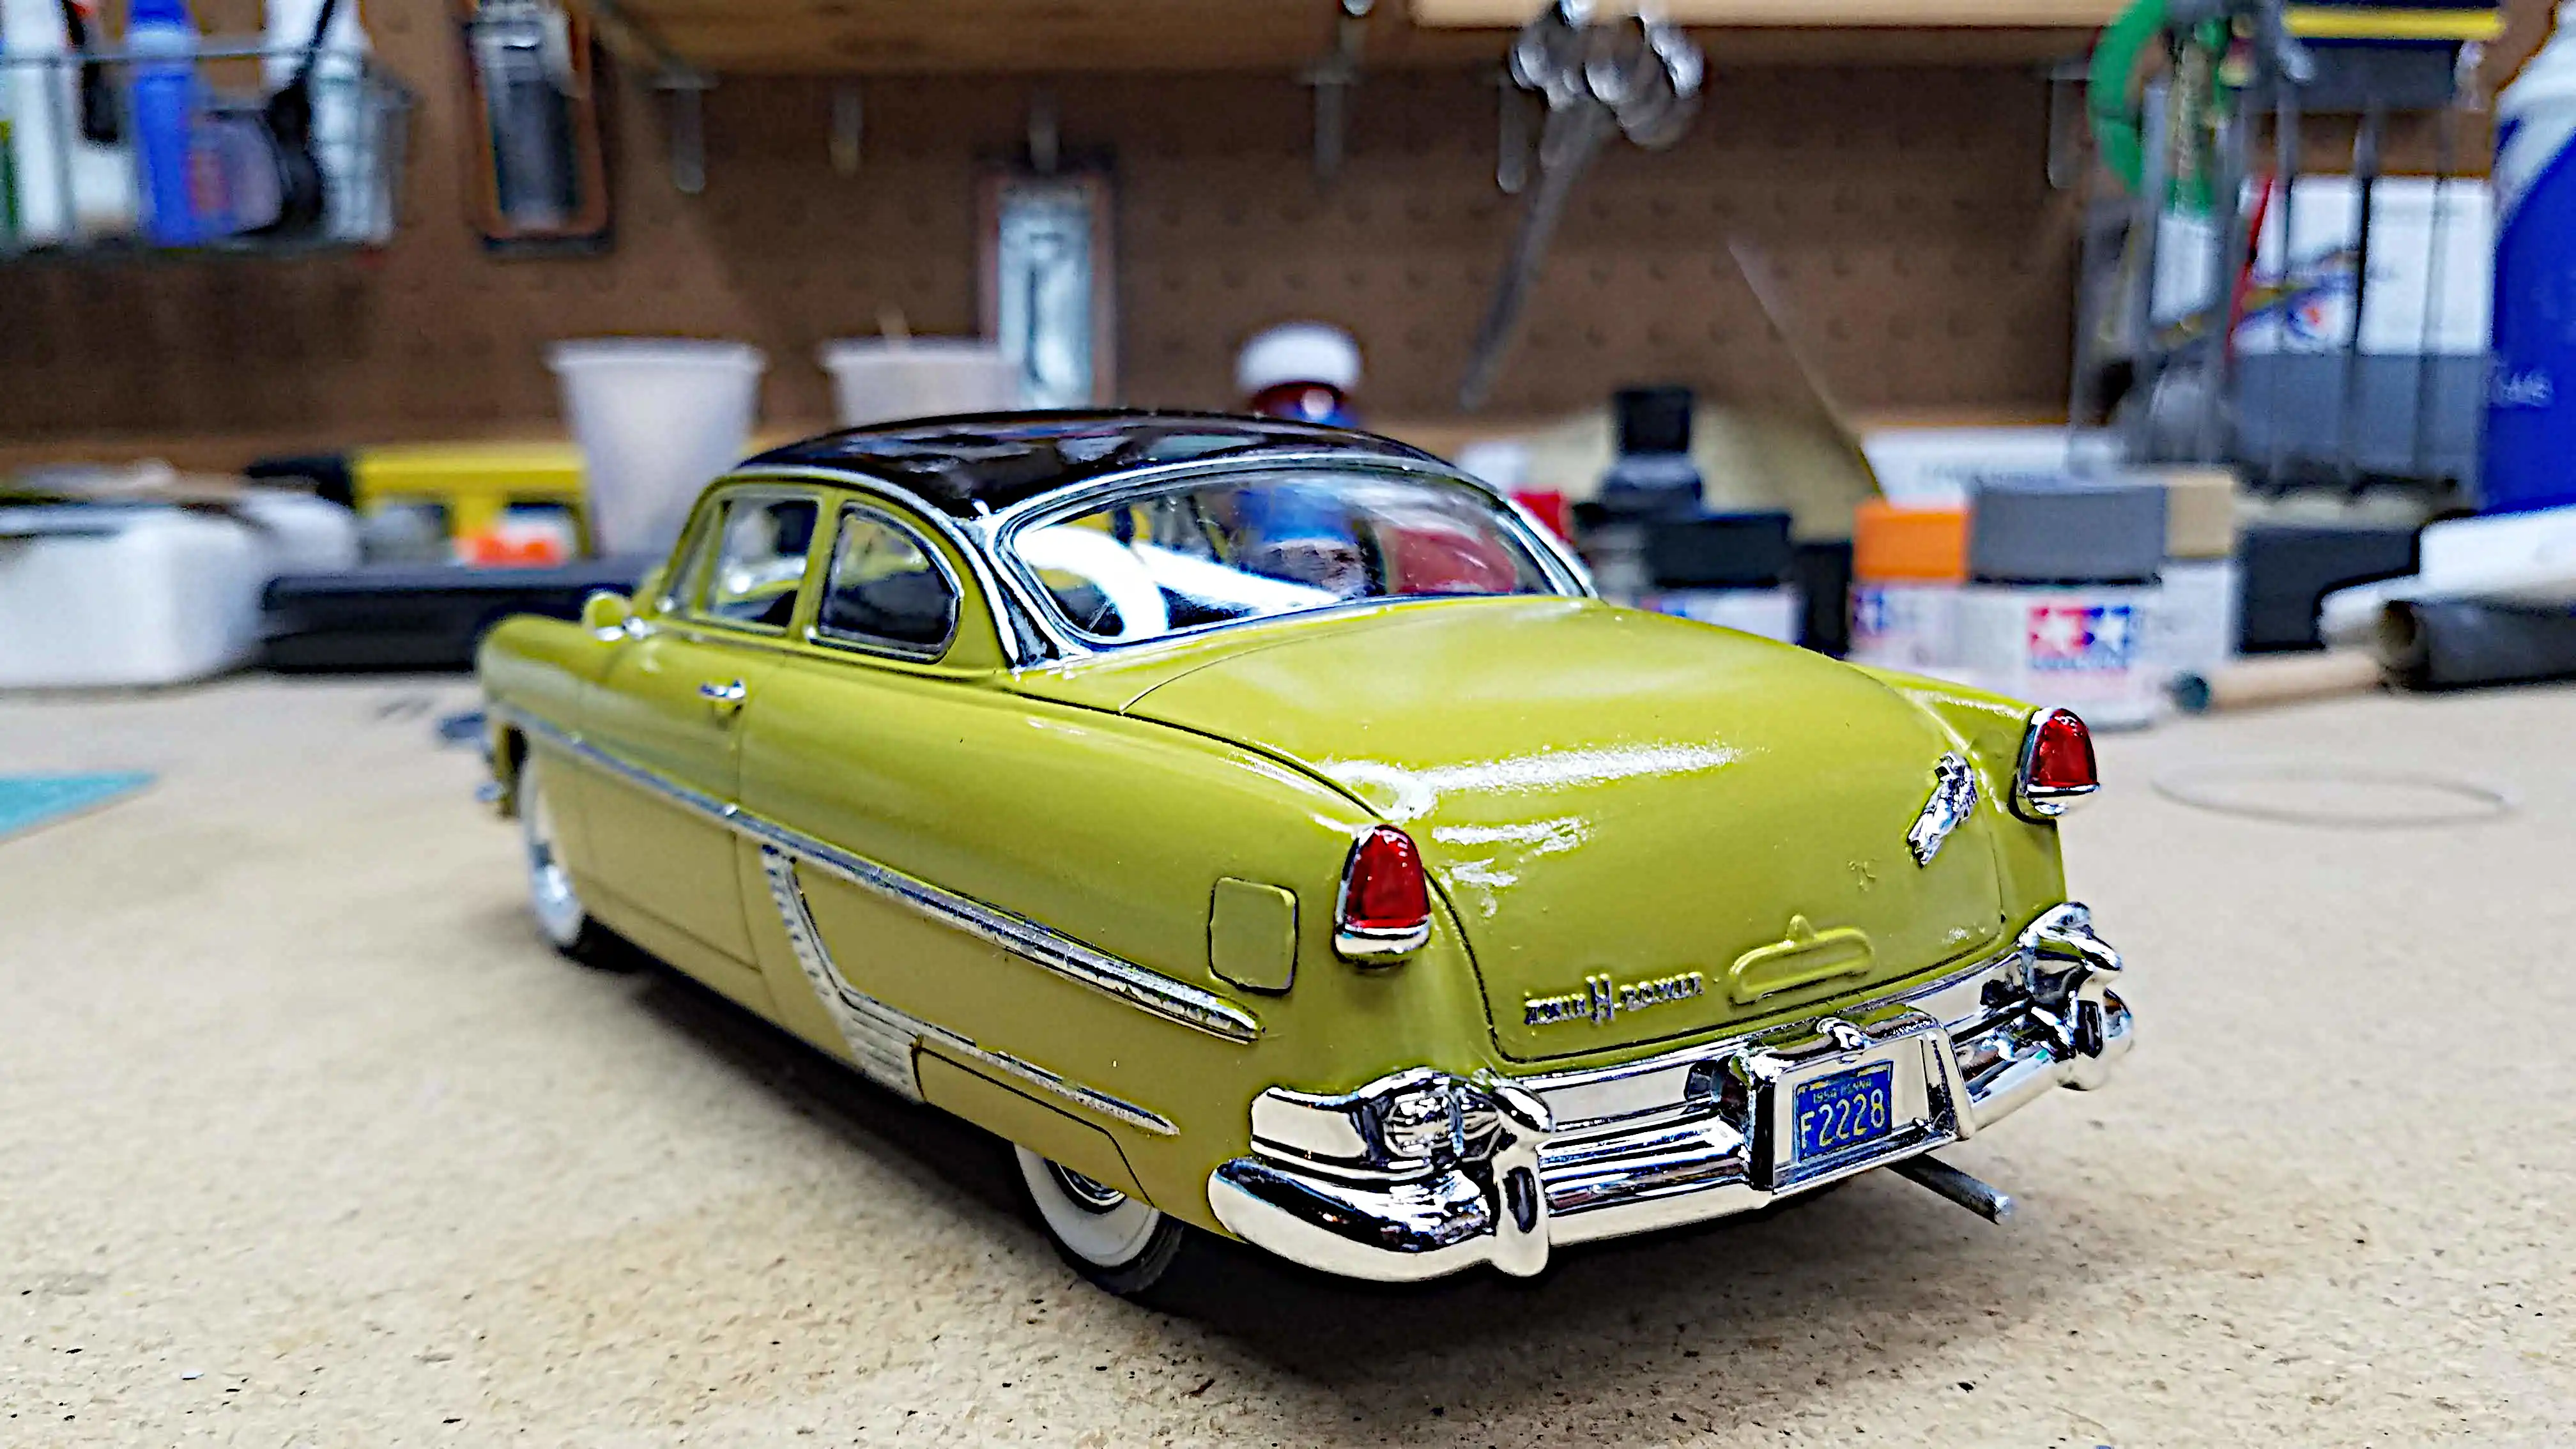 Completed build - Left rear corner
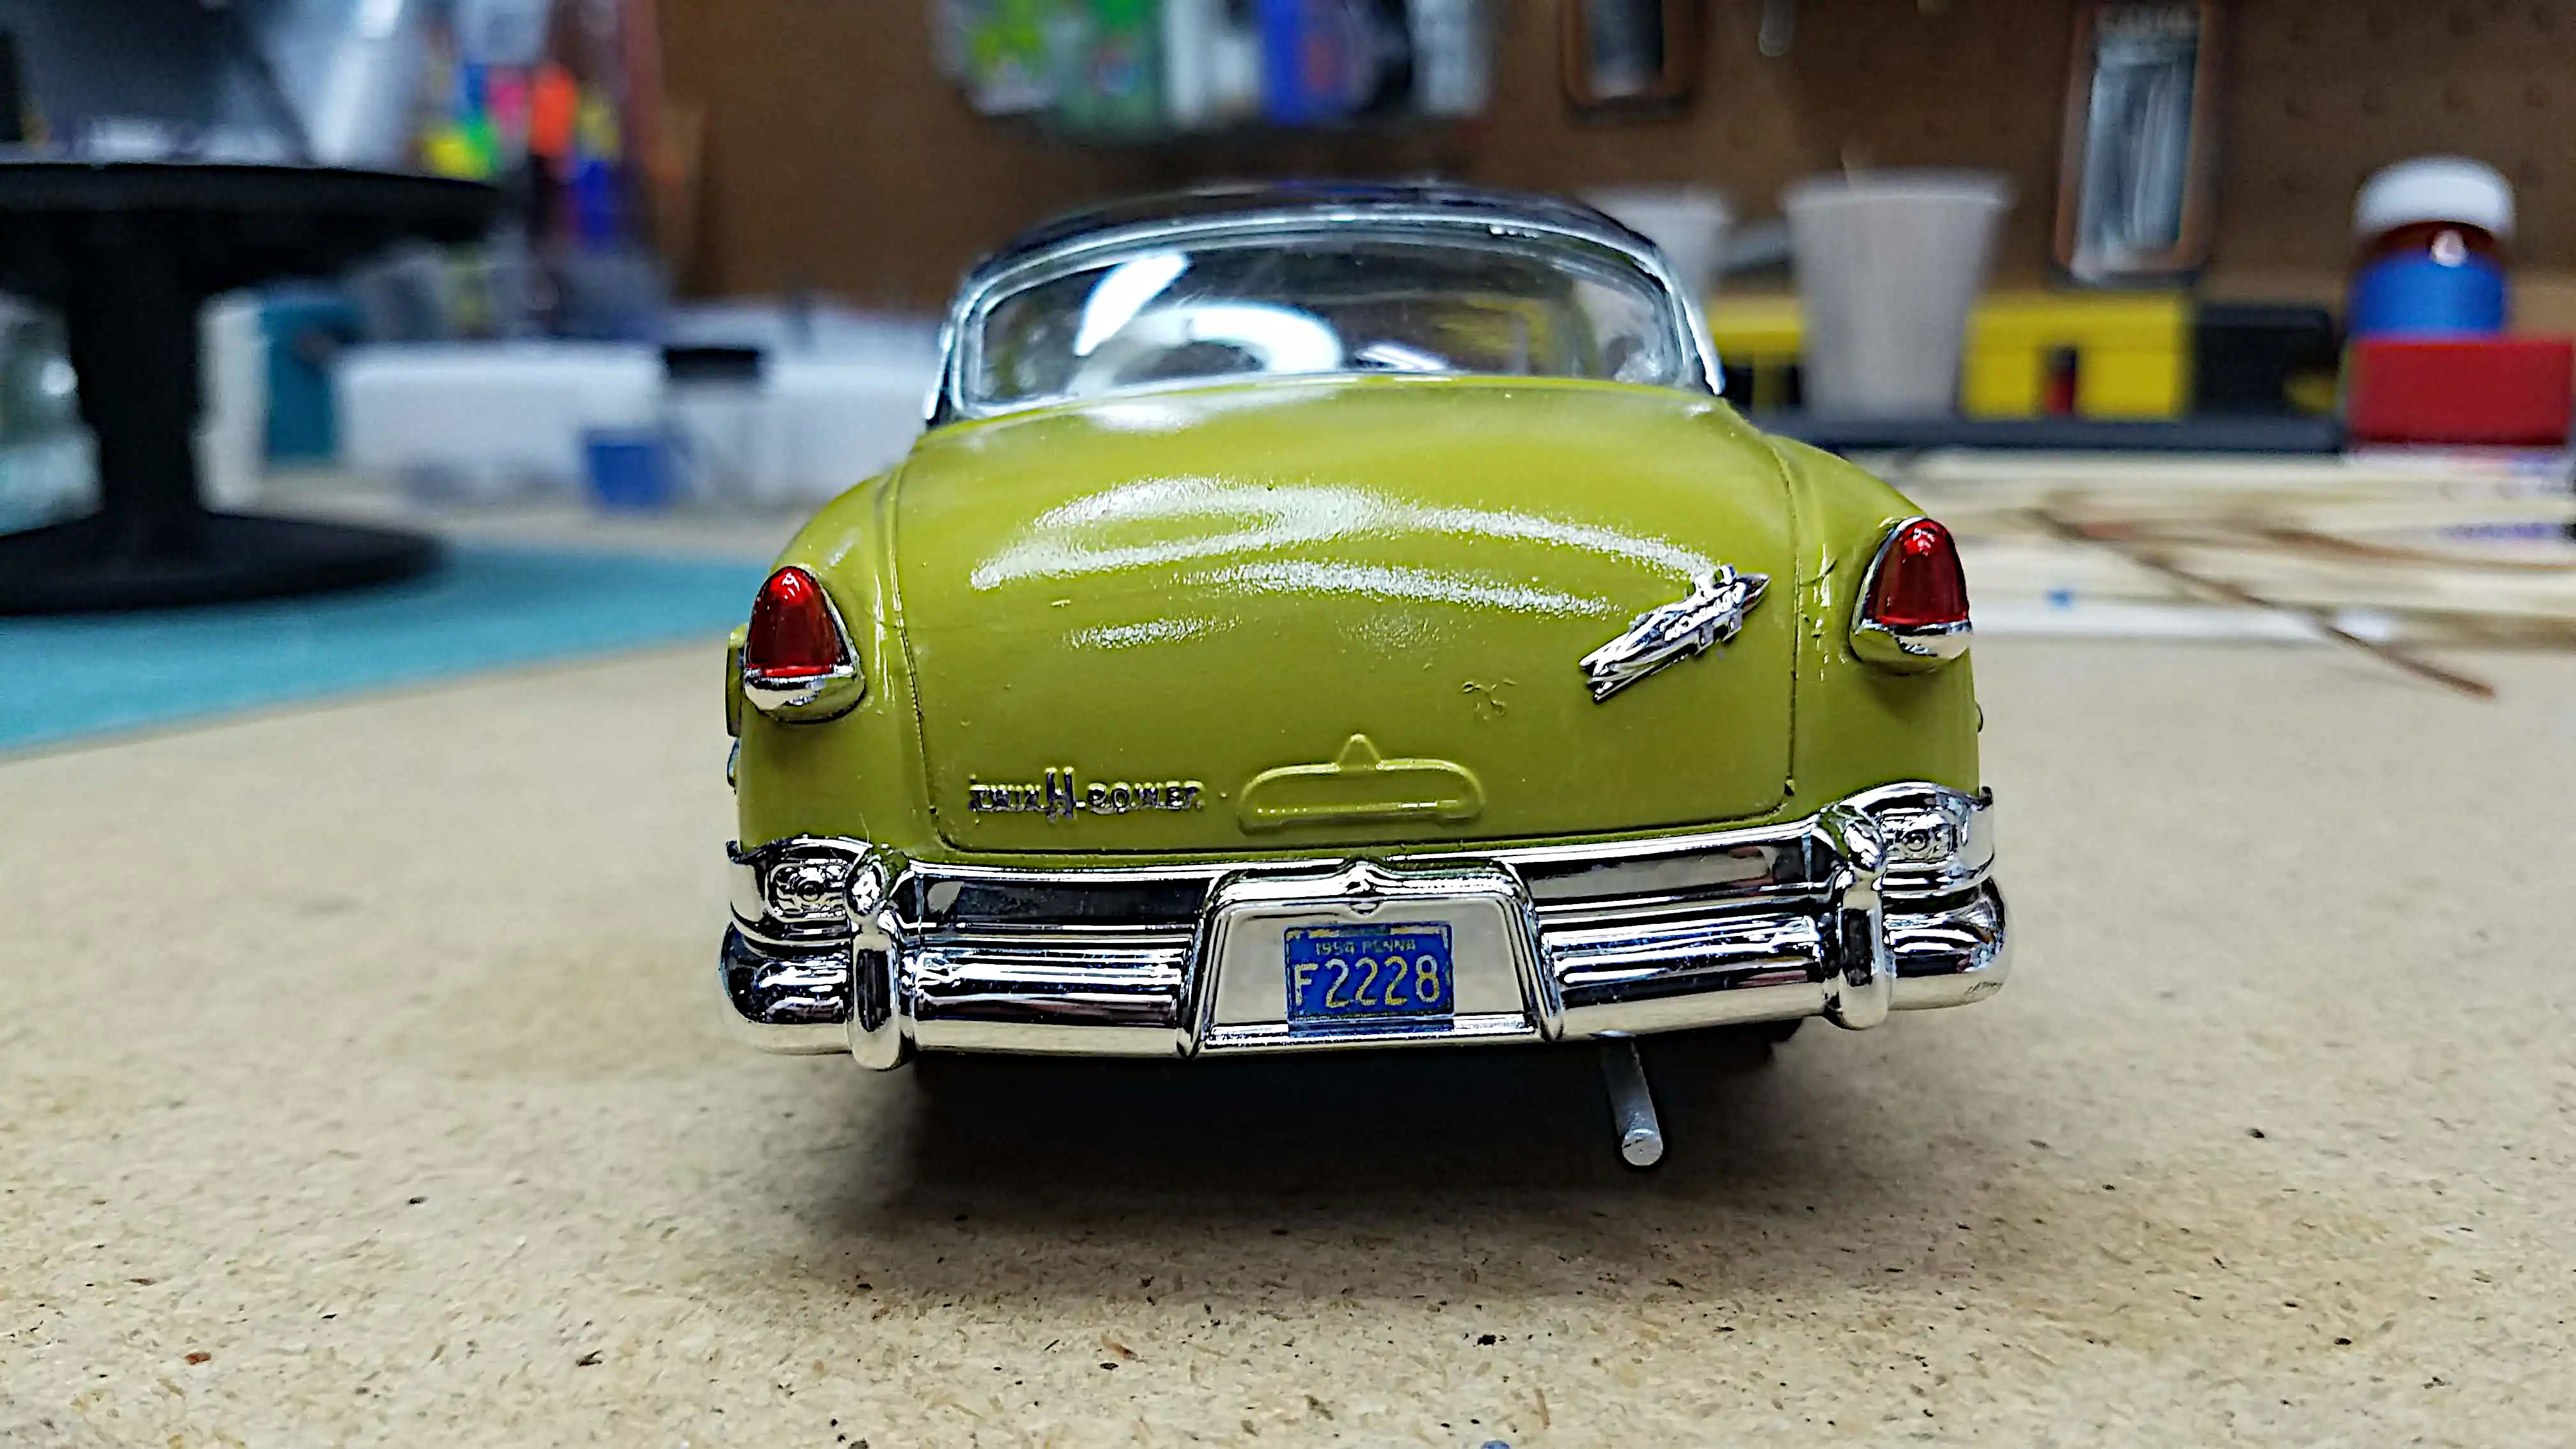 Completed build - Rear view
 Completed build - Right rear corner
 Completed build - Right side
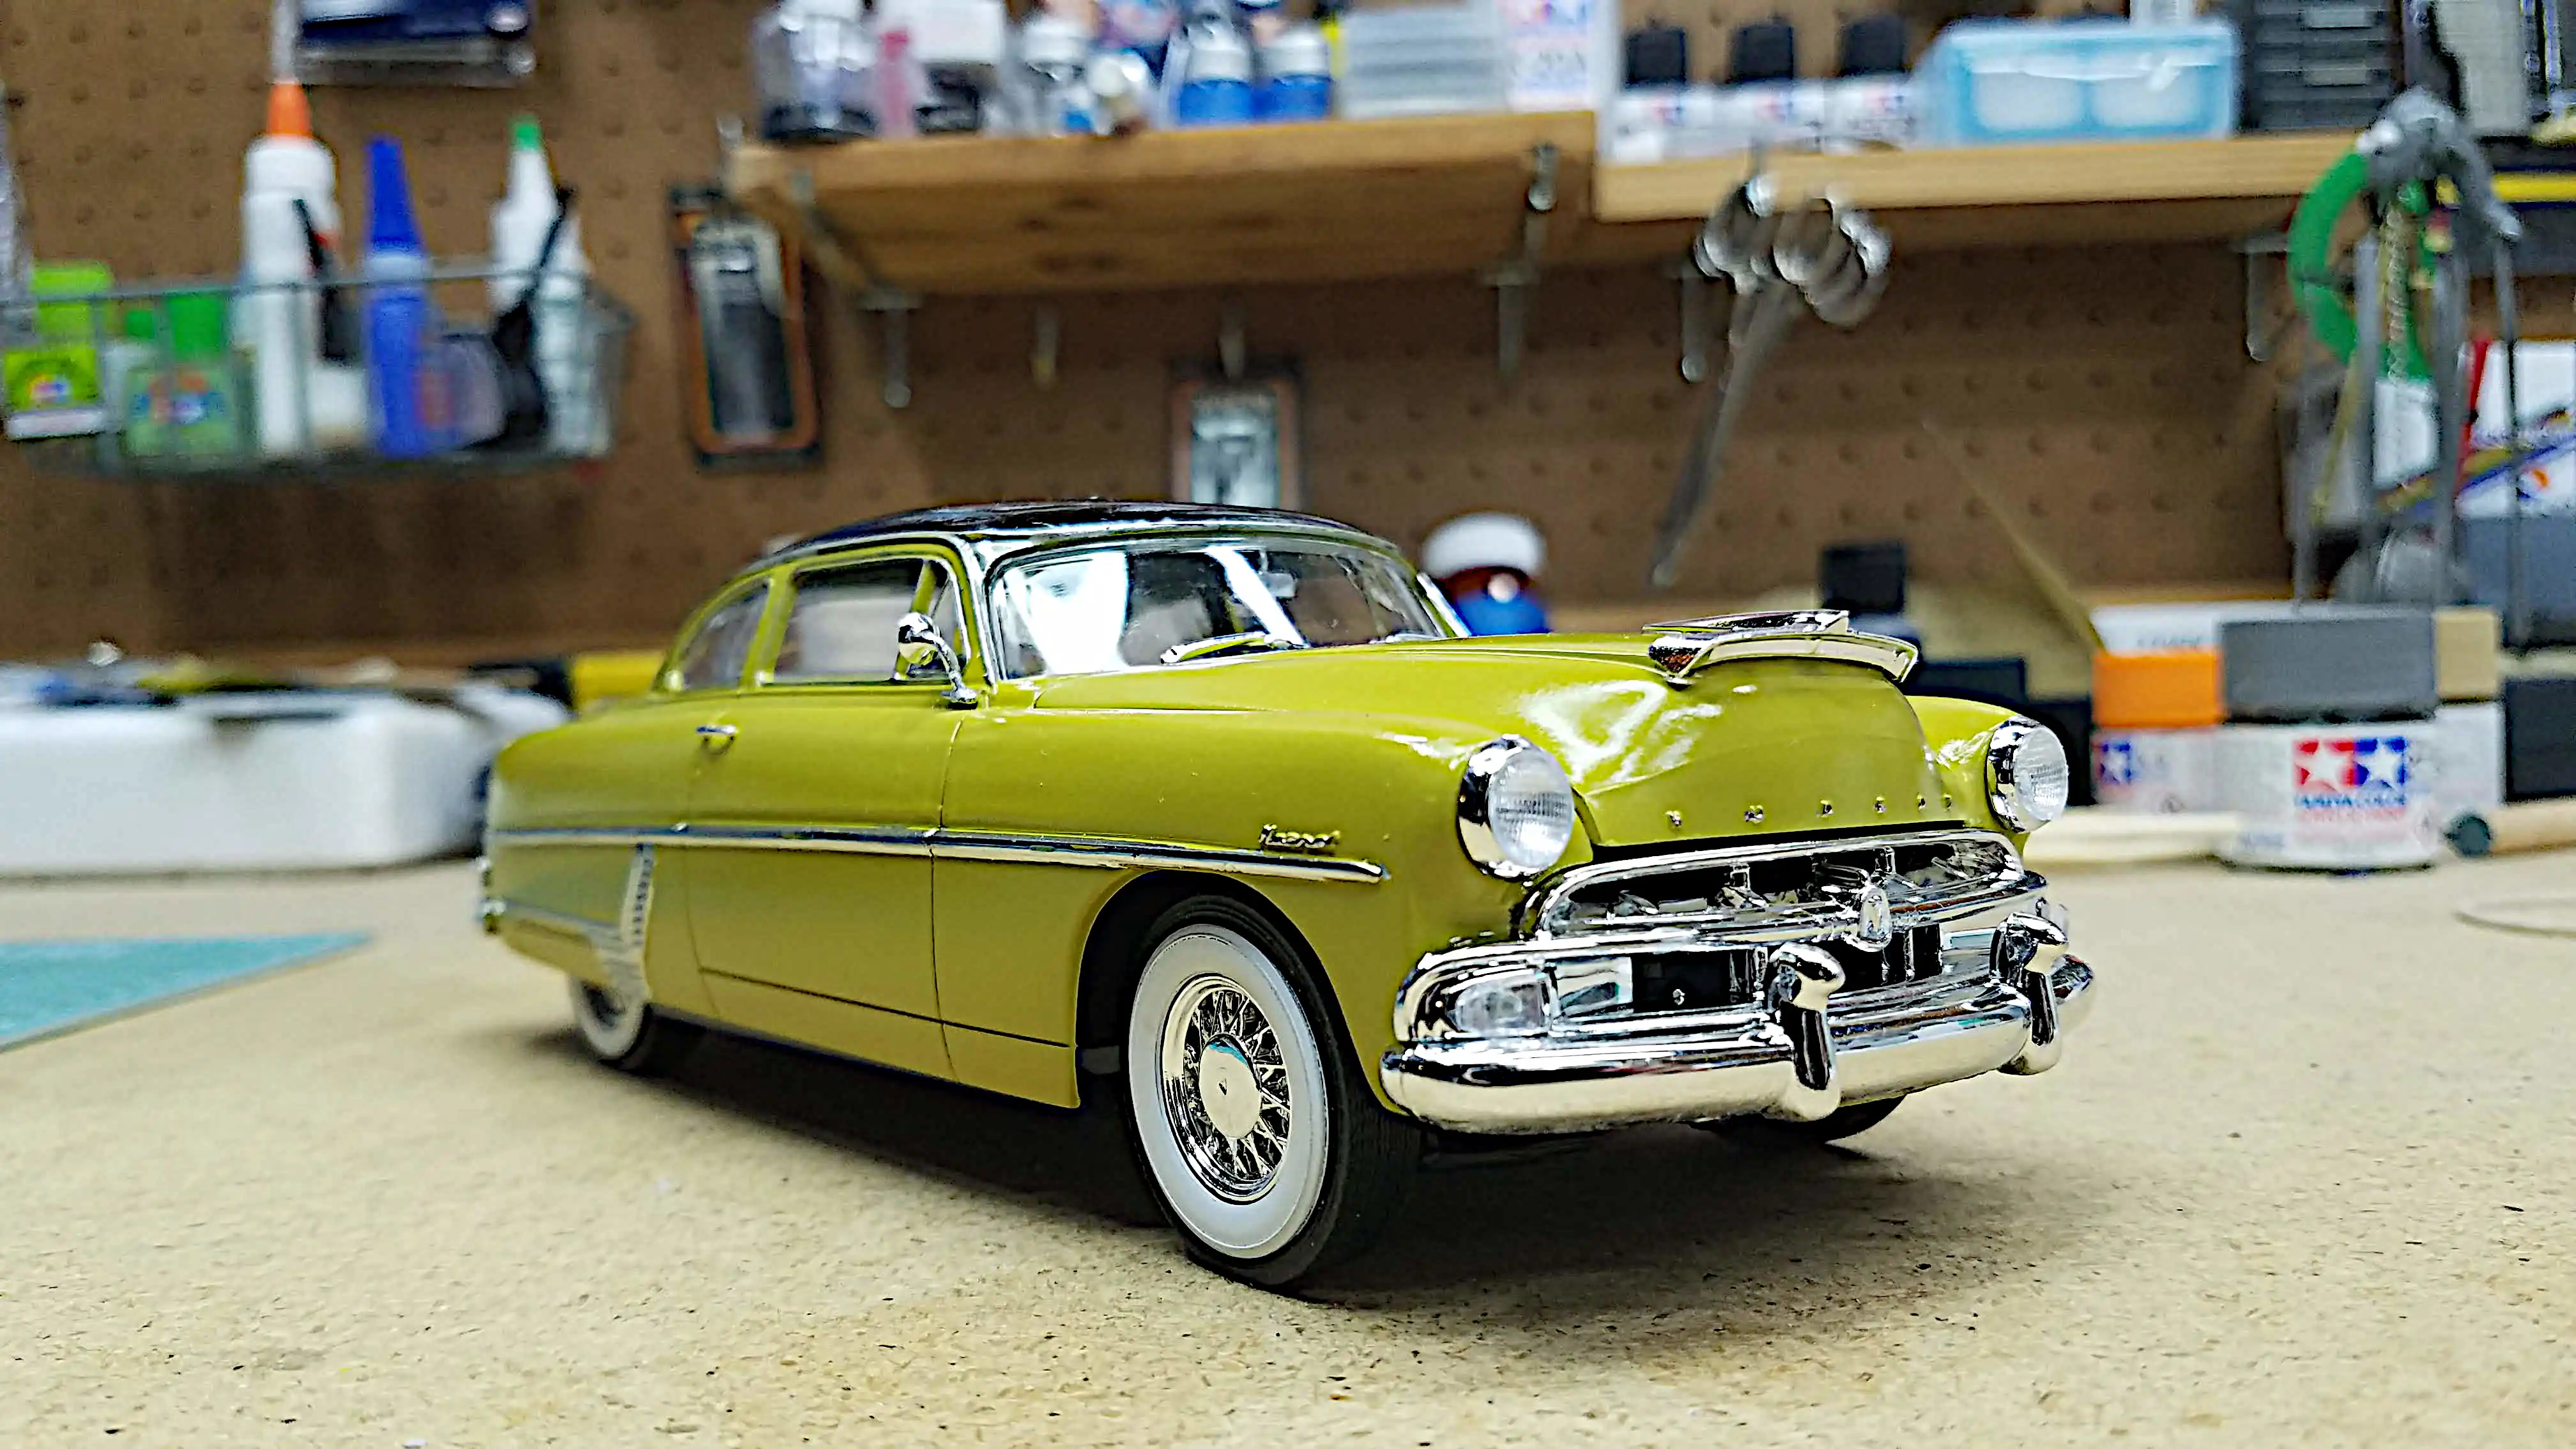 Completed build - Front right corner
 Completed build superimposed in front of a drive-in theatre
 Completed build superimposed in front of a drive-in theatre with Betty Boop
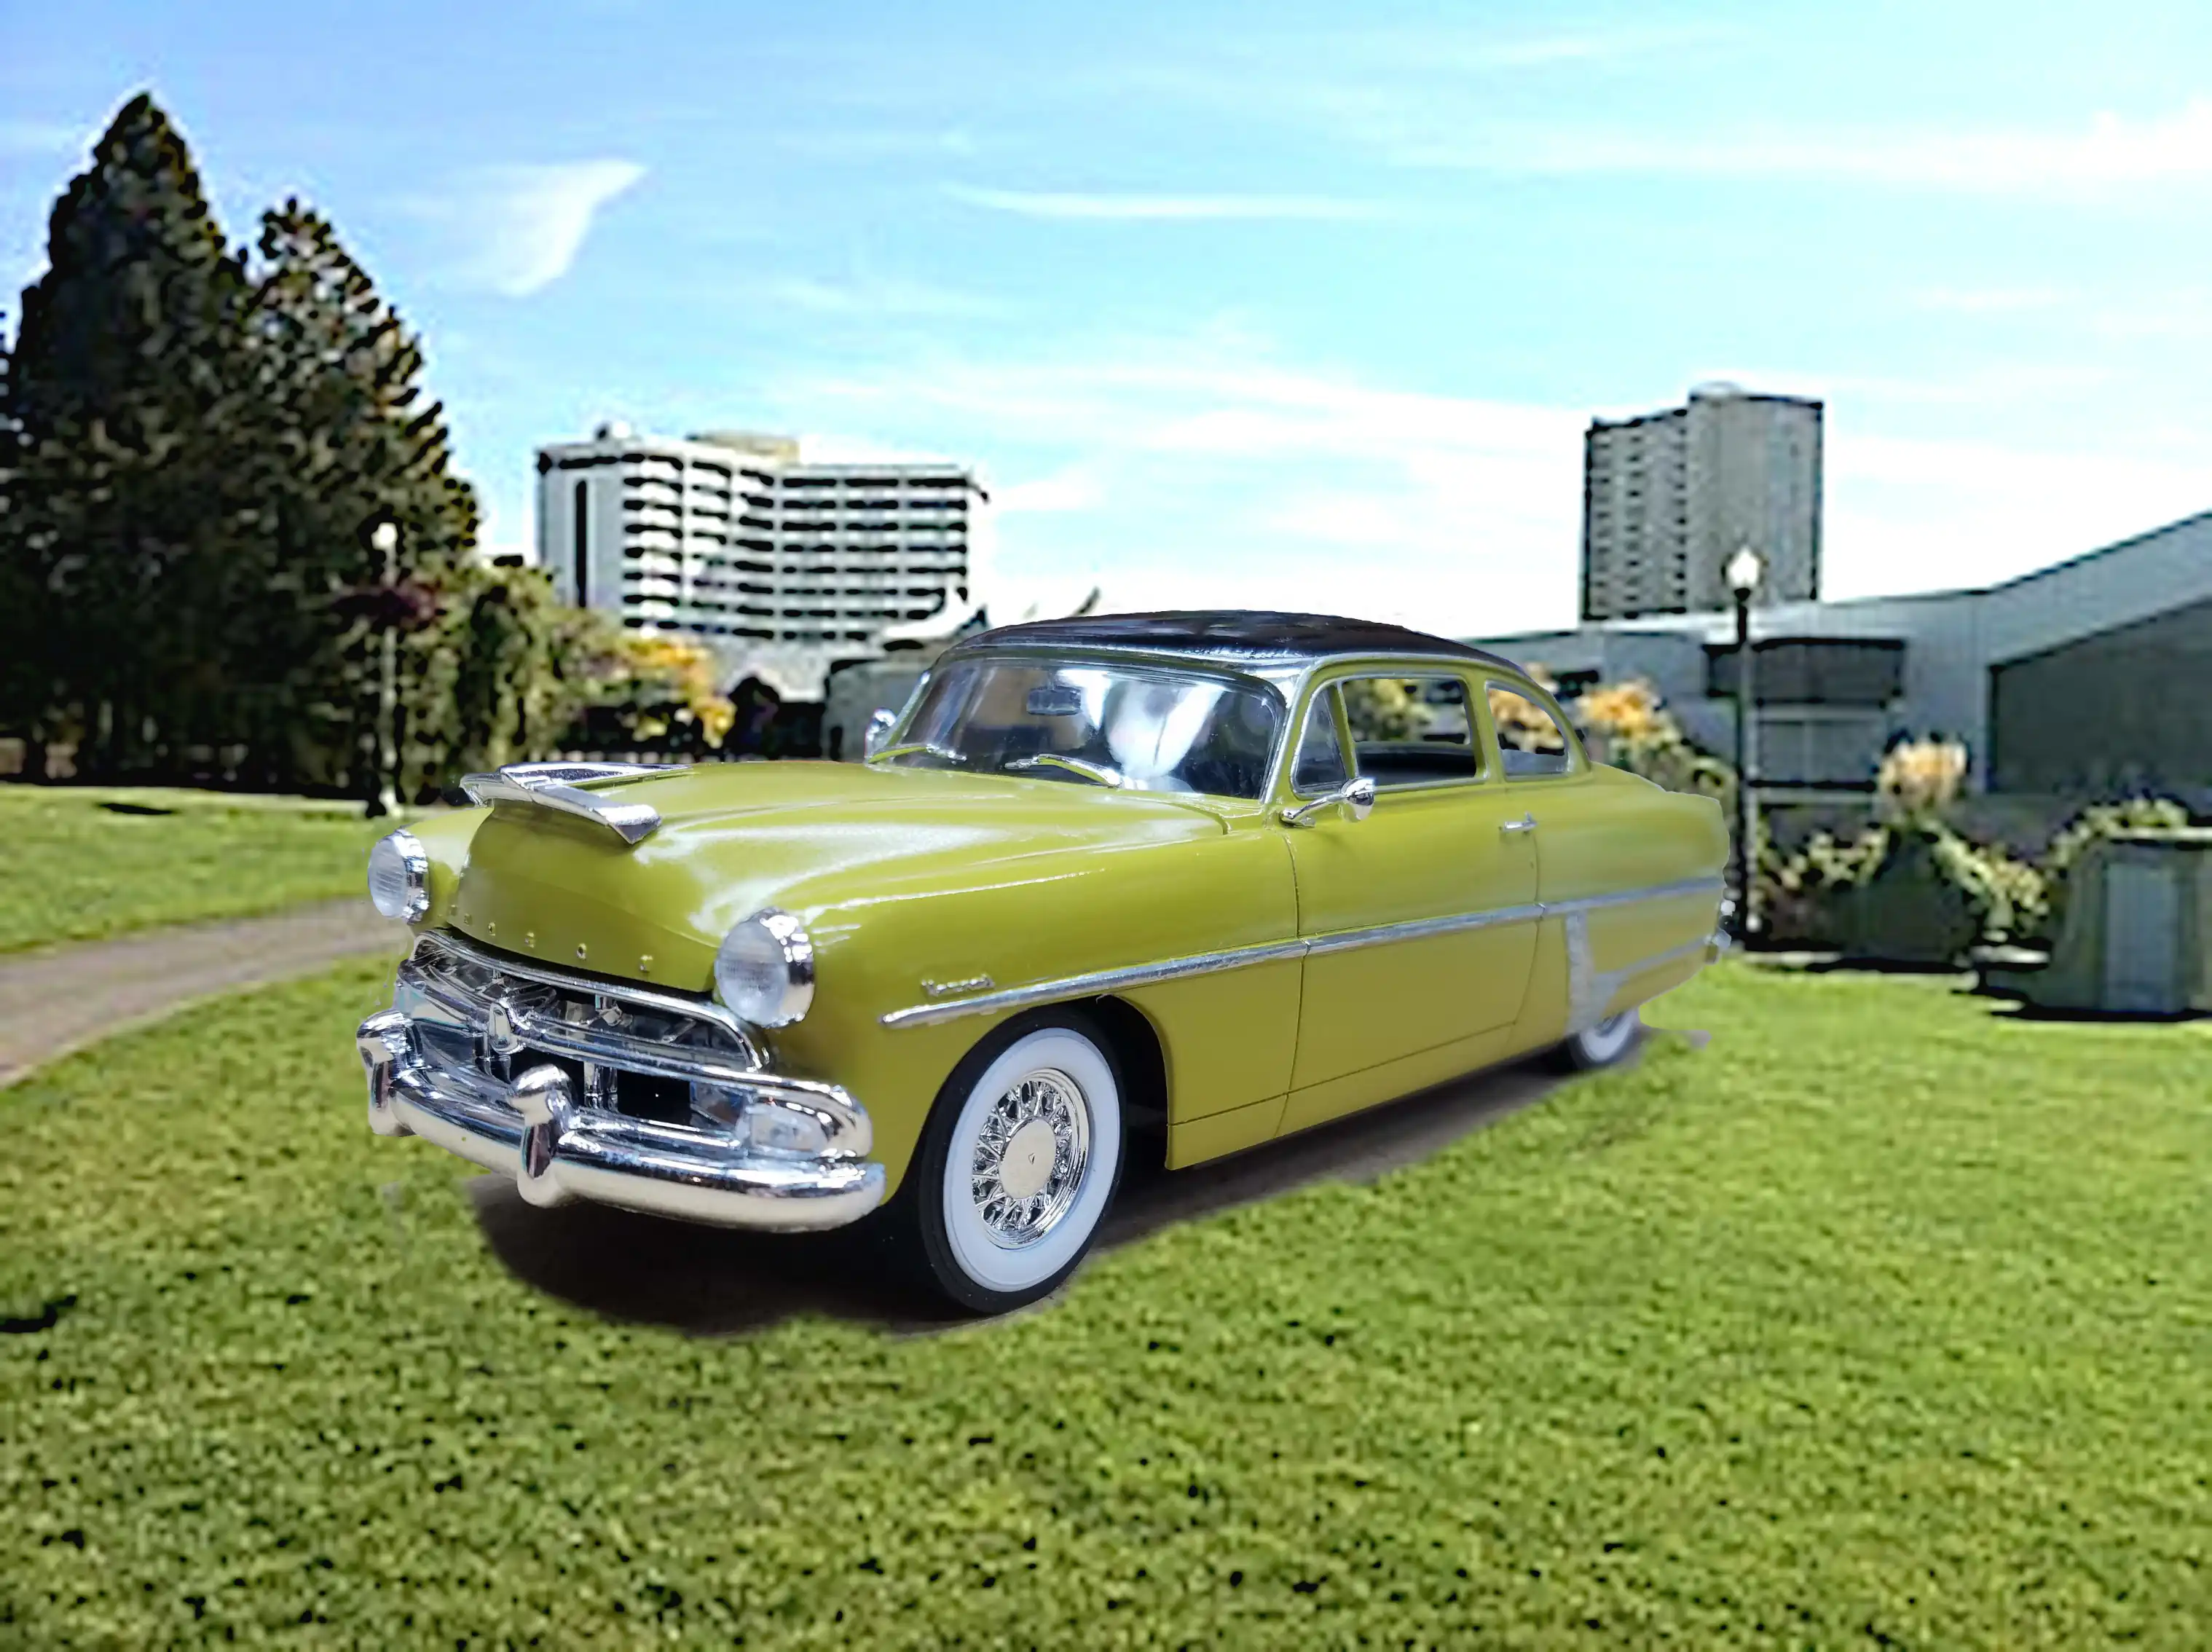 Completed build superimposed with city line in the back ground
 Completed build superimposed with city line in the back ground with Betty Boop
 Completed build superimposed outside of 'The Club' with Betty Boob

