
Opening
Click/tap photo to enlarge
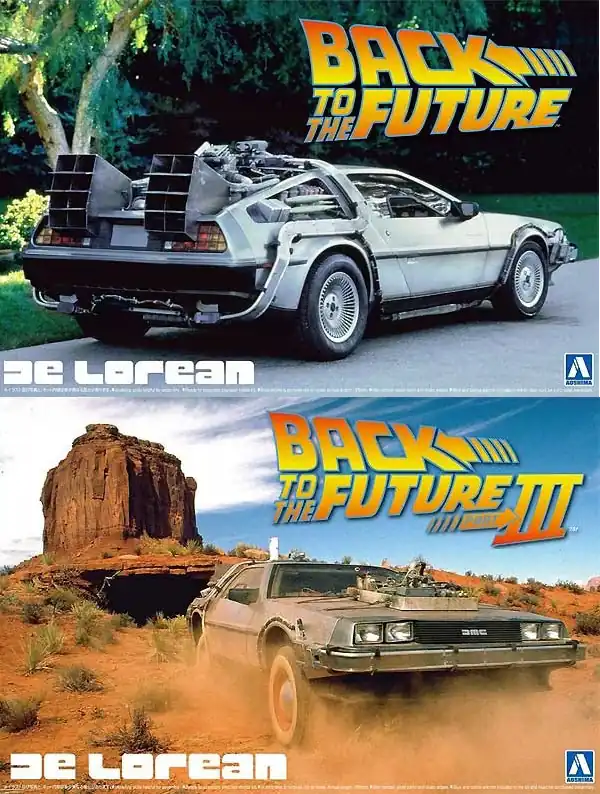 Back to the Future I & III Box Art
This is the box art for the Back to the Future I and Back to the Future III DeLorean. Back to the Future I can be viewed on Scalemates.
- Brand: Aoshima
- Title: Back to the Future DeLorean
- Number: 059166
- Scale: 1:24
- Type: Static Model Kit
- Released: 2020 Now Box
- Package: Rigid Box Top Opener
- Barcode: 4905083059166 (EAN)
- Topic: Delorean Time Machine >> Other (Science Fiction)
Back to the Future III can be viewed on Scalemates.
- Brand: Aoshima
- Title: Back to the Future III DeLorean Road/Rail
- Number: 059180
- Scale: 1:24
- Type: Static Model Kit
- Released: 2020 Now Box
- Package: Rigid Box Top Opener
- Barcode: 490508305918 (EAN)
- Topic: Delorean Time Machine >> Other (Science Fiction)
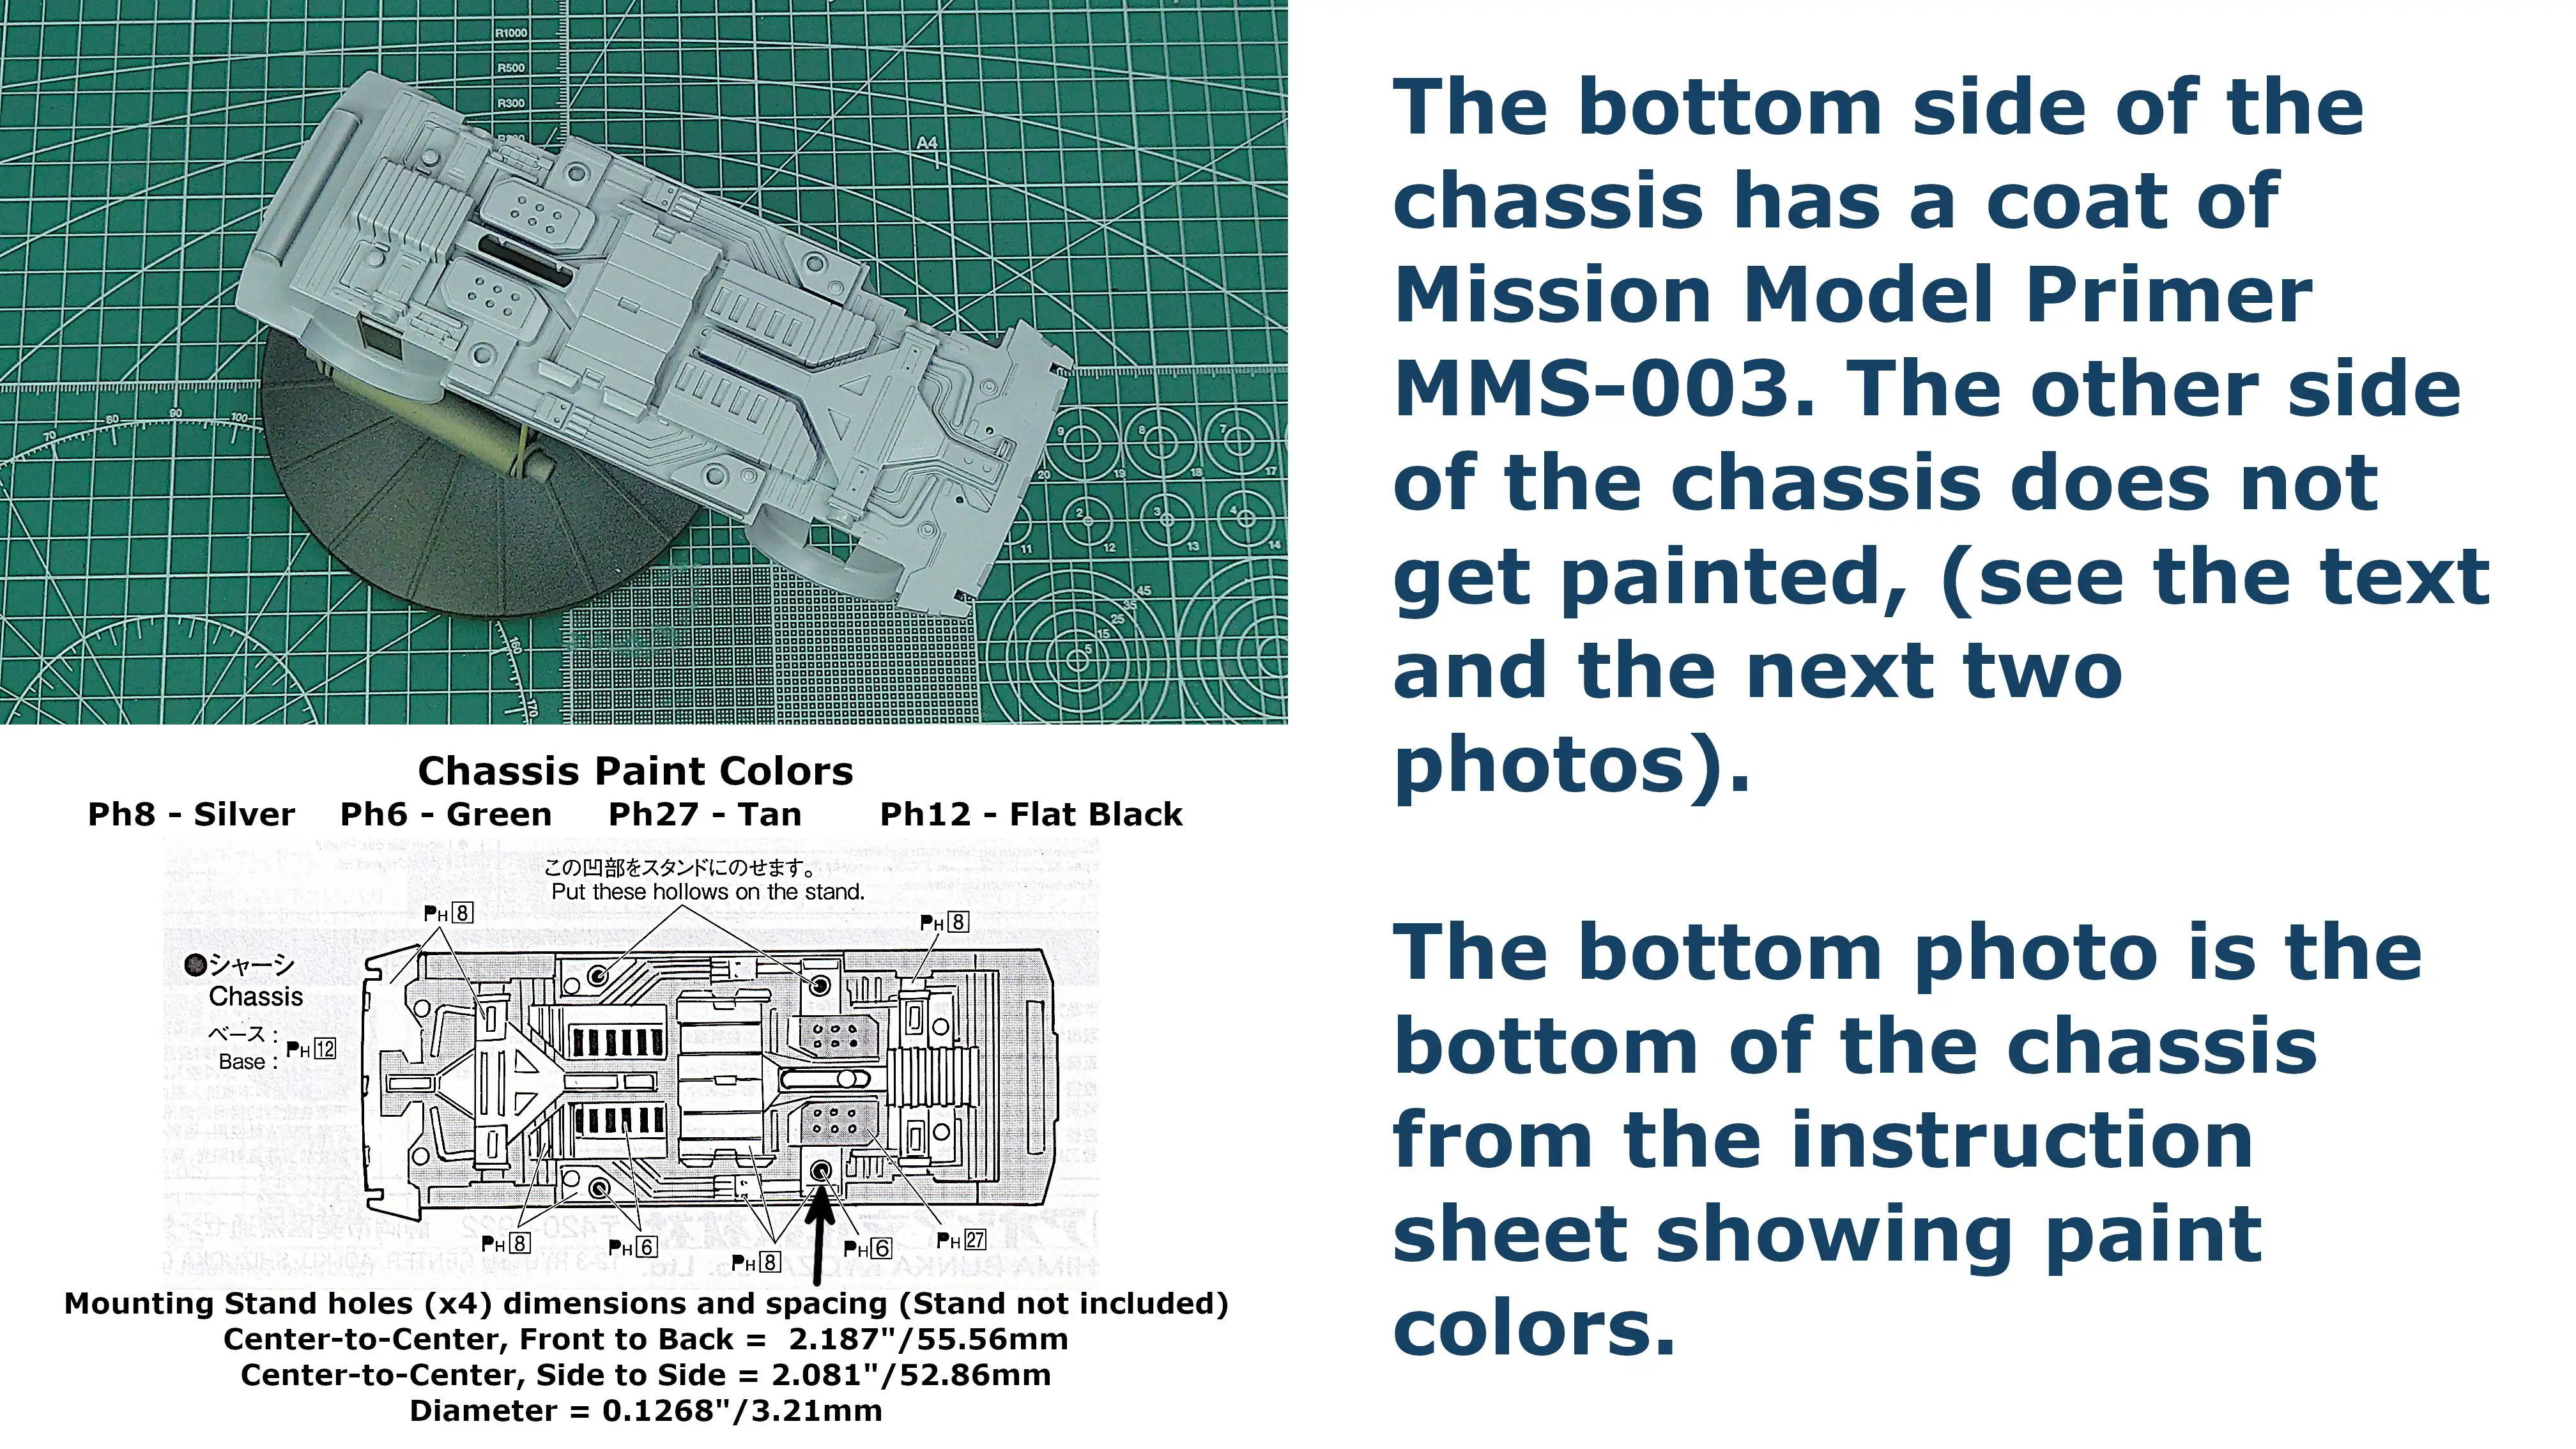 The bottom of the chassis
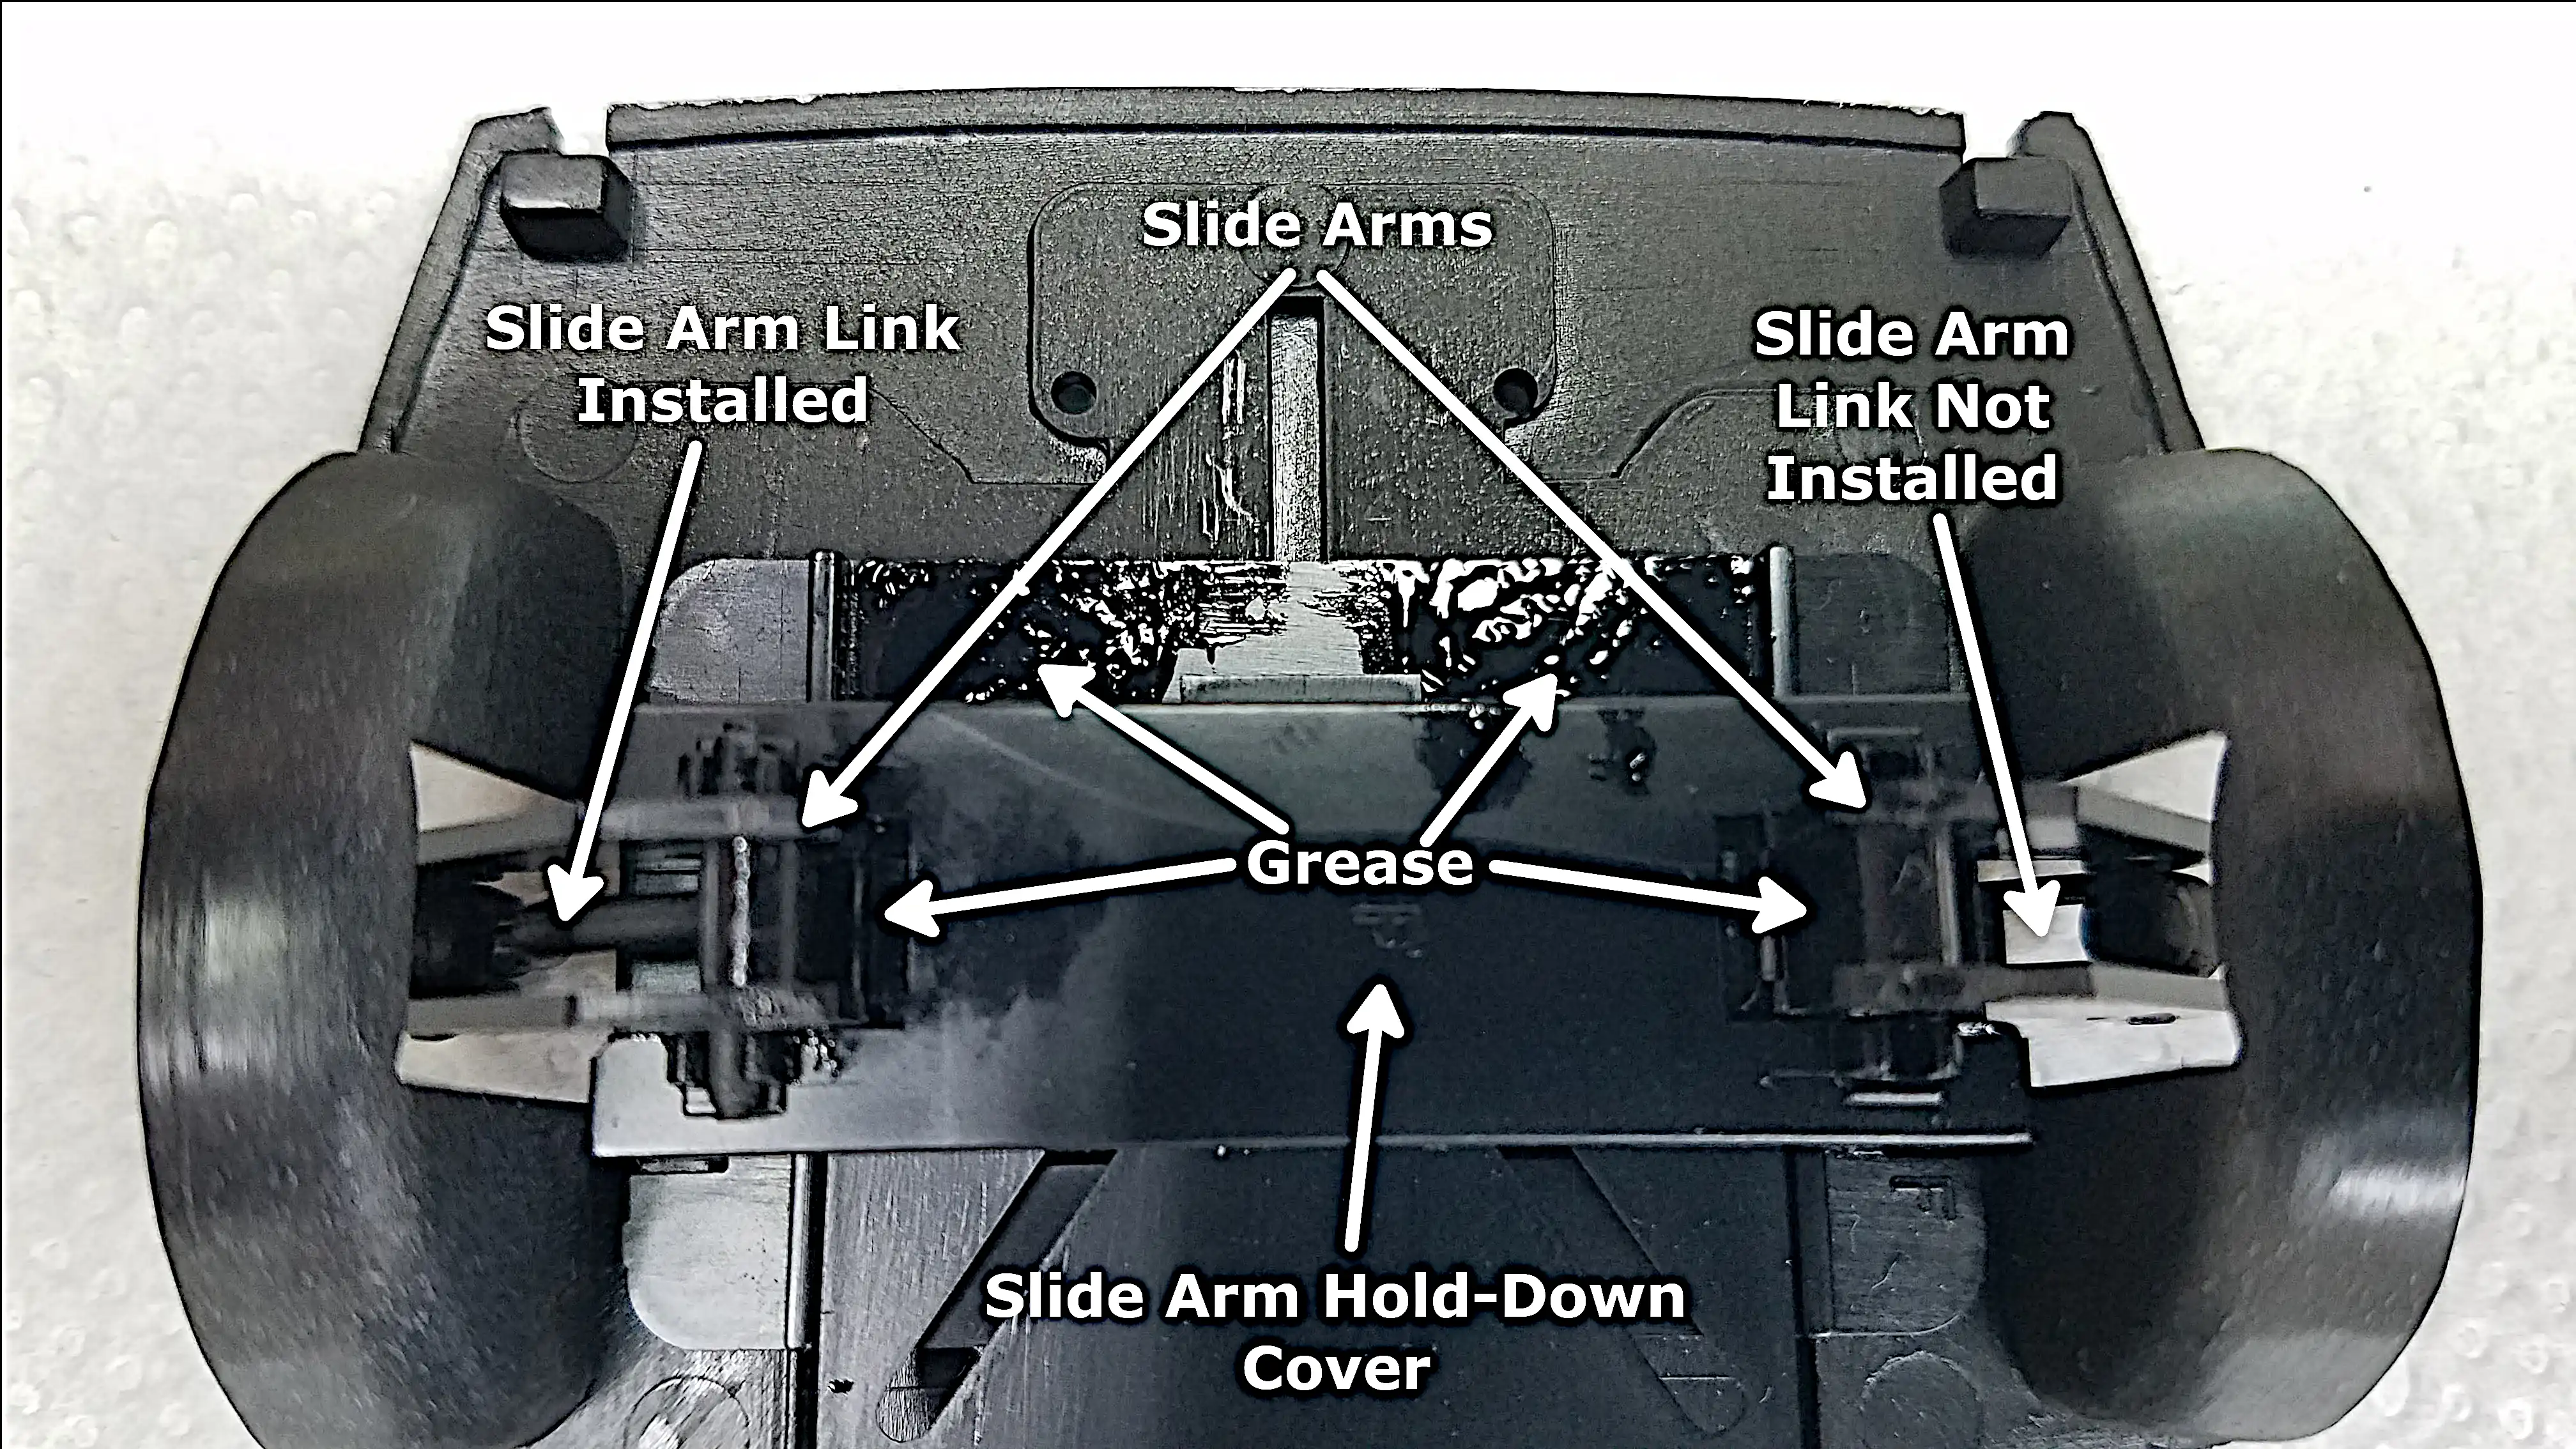
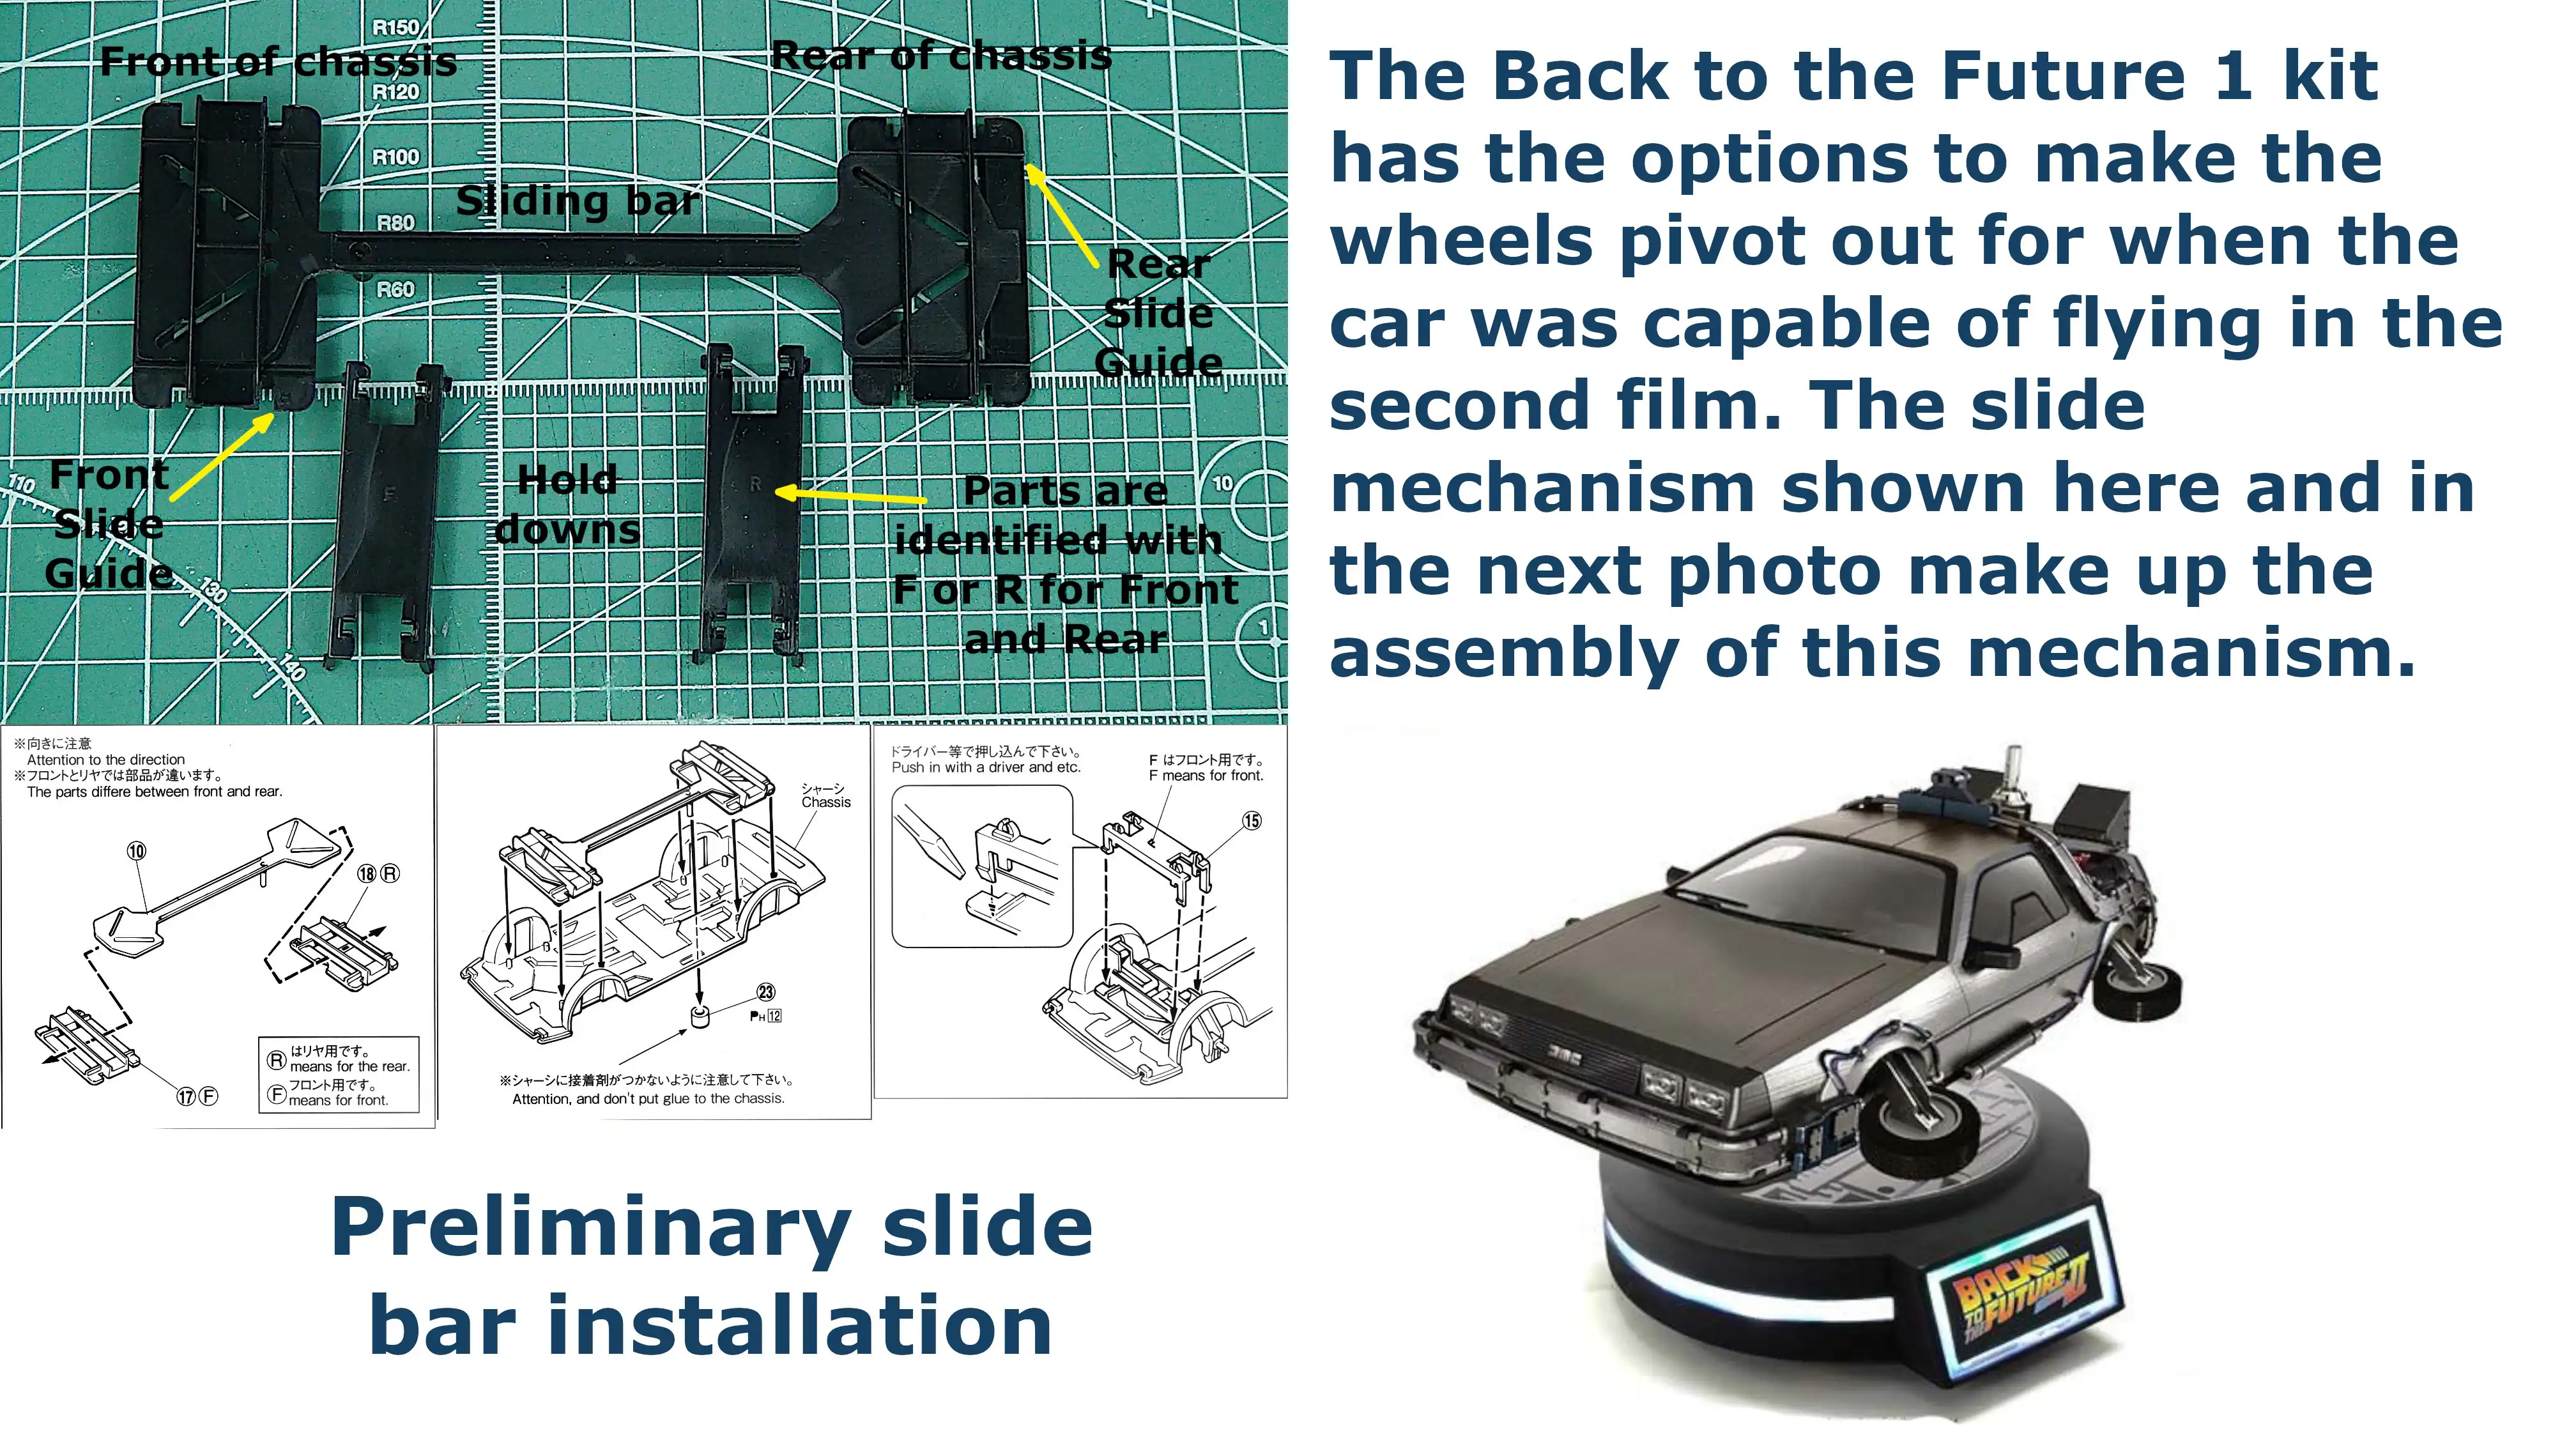 Tire tilting mechanism for the DeLorean for when it flies
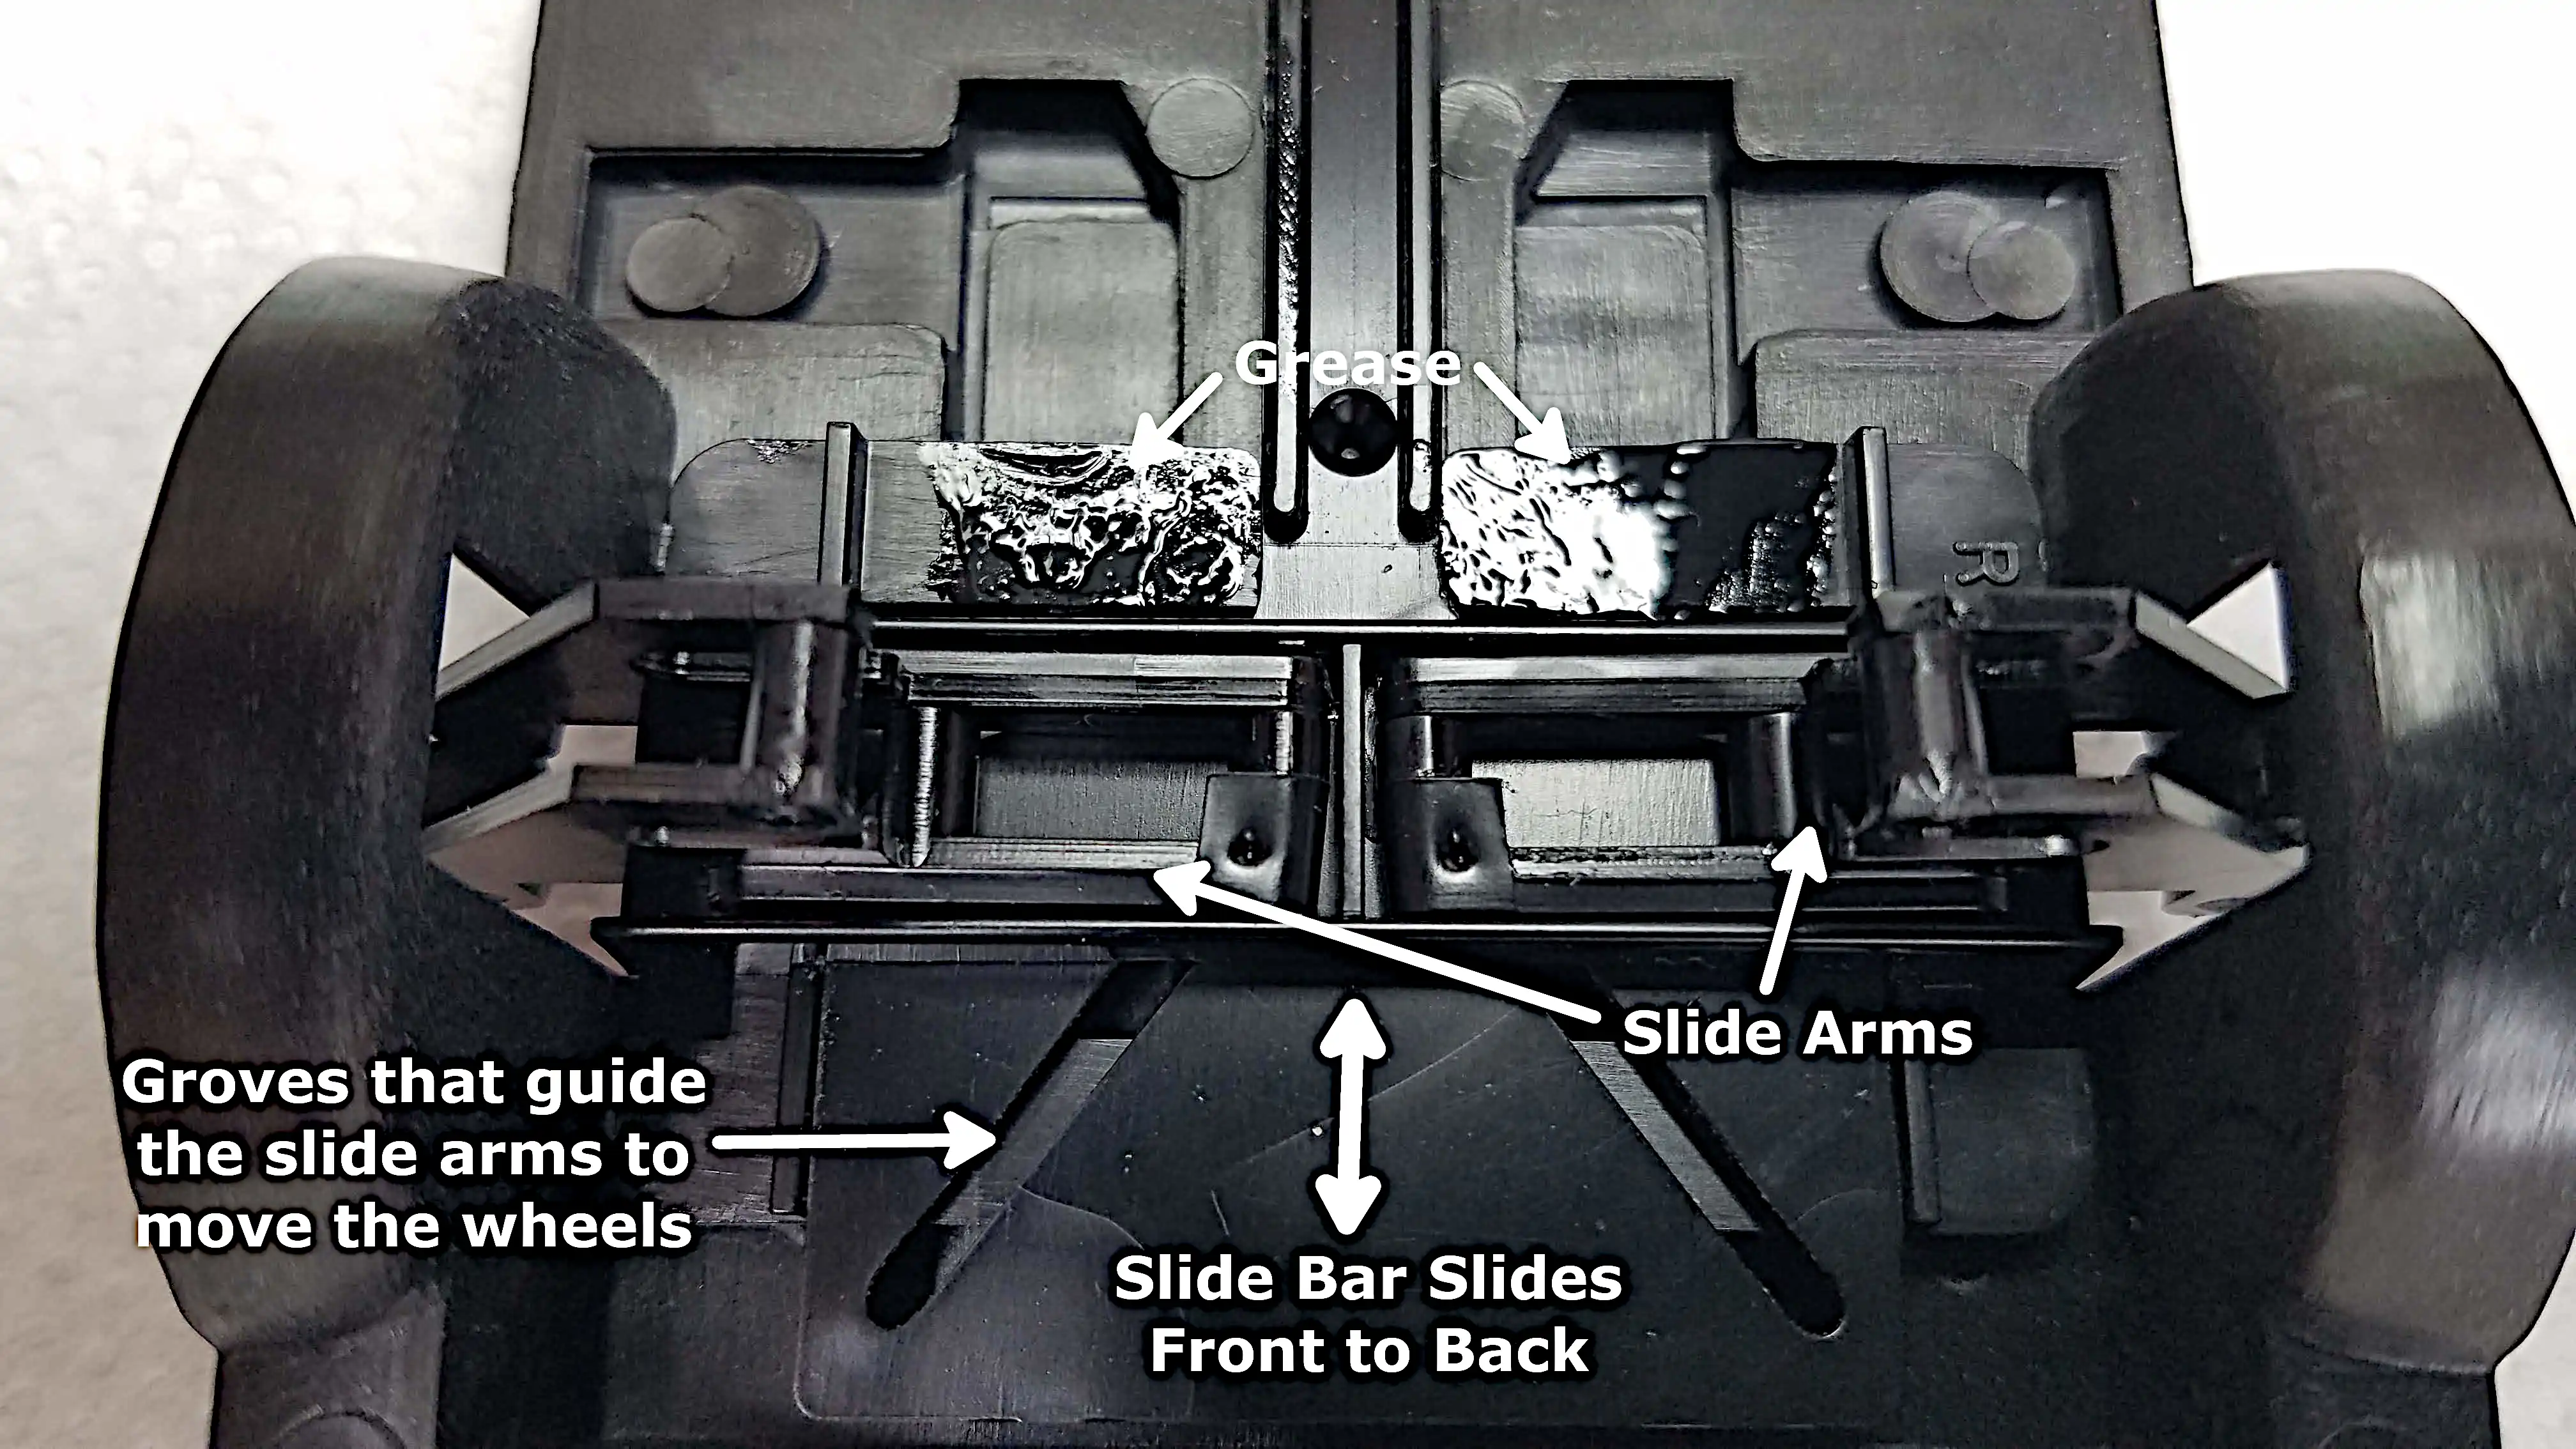
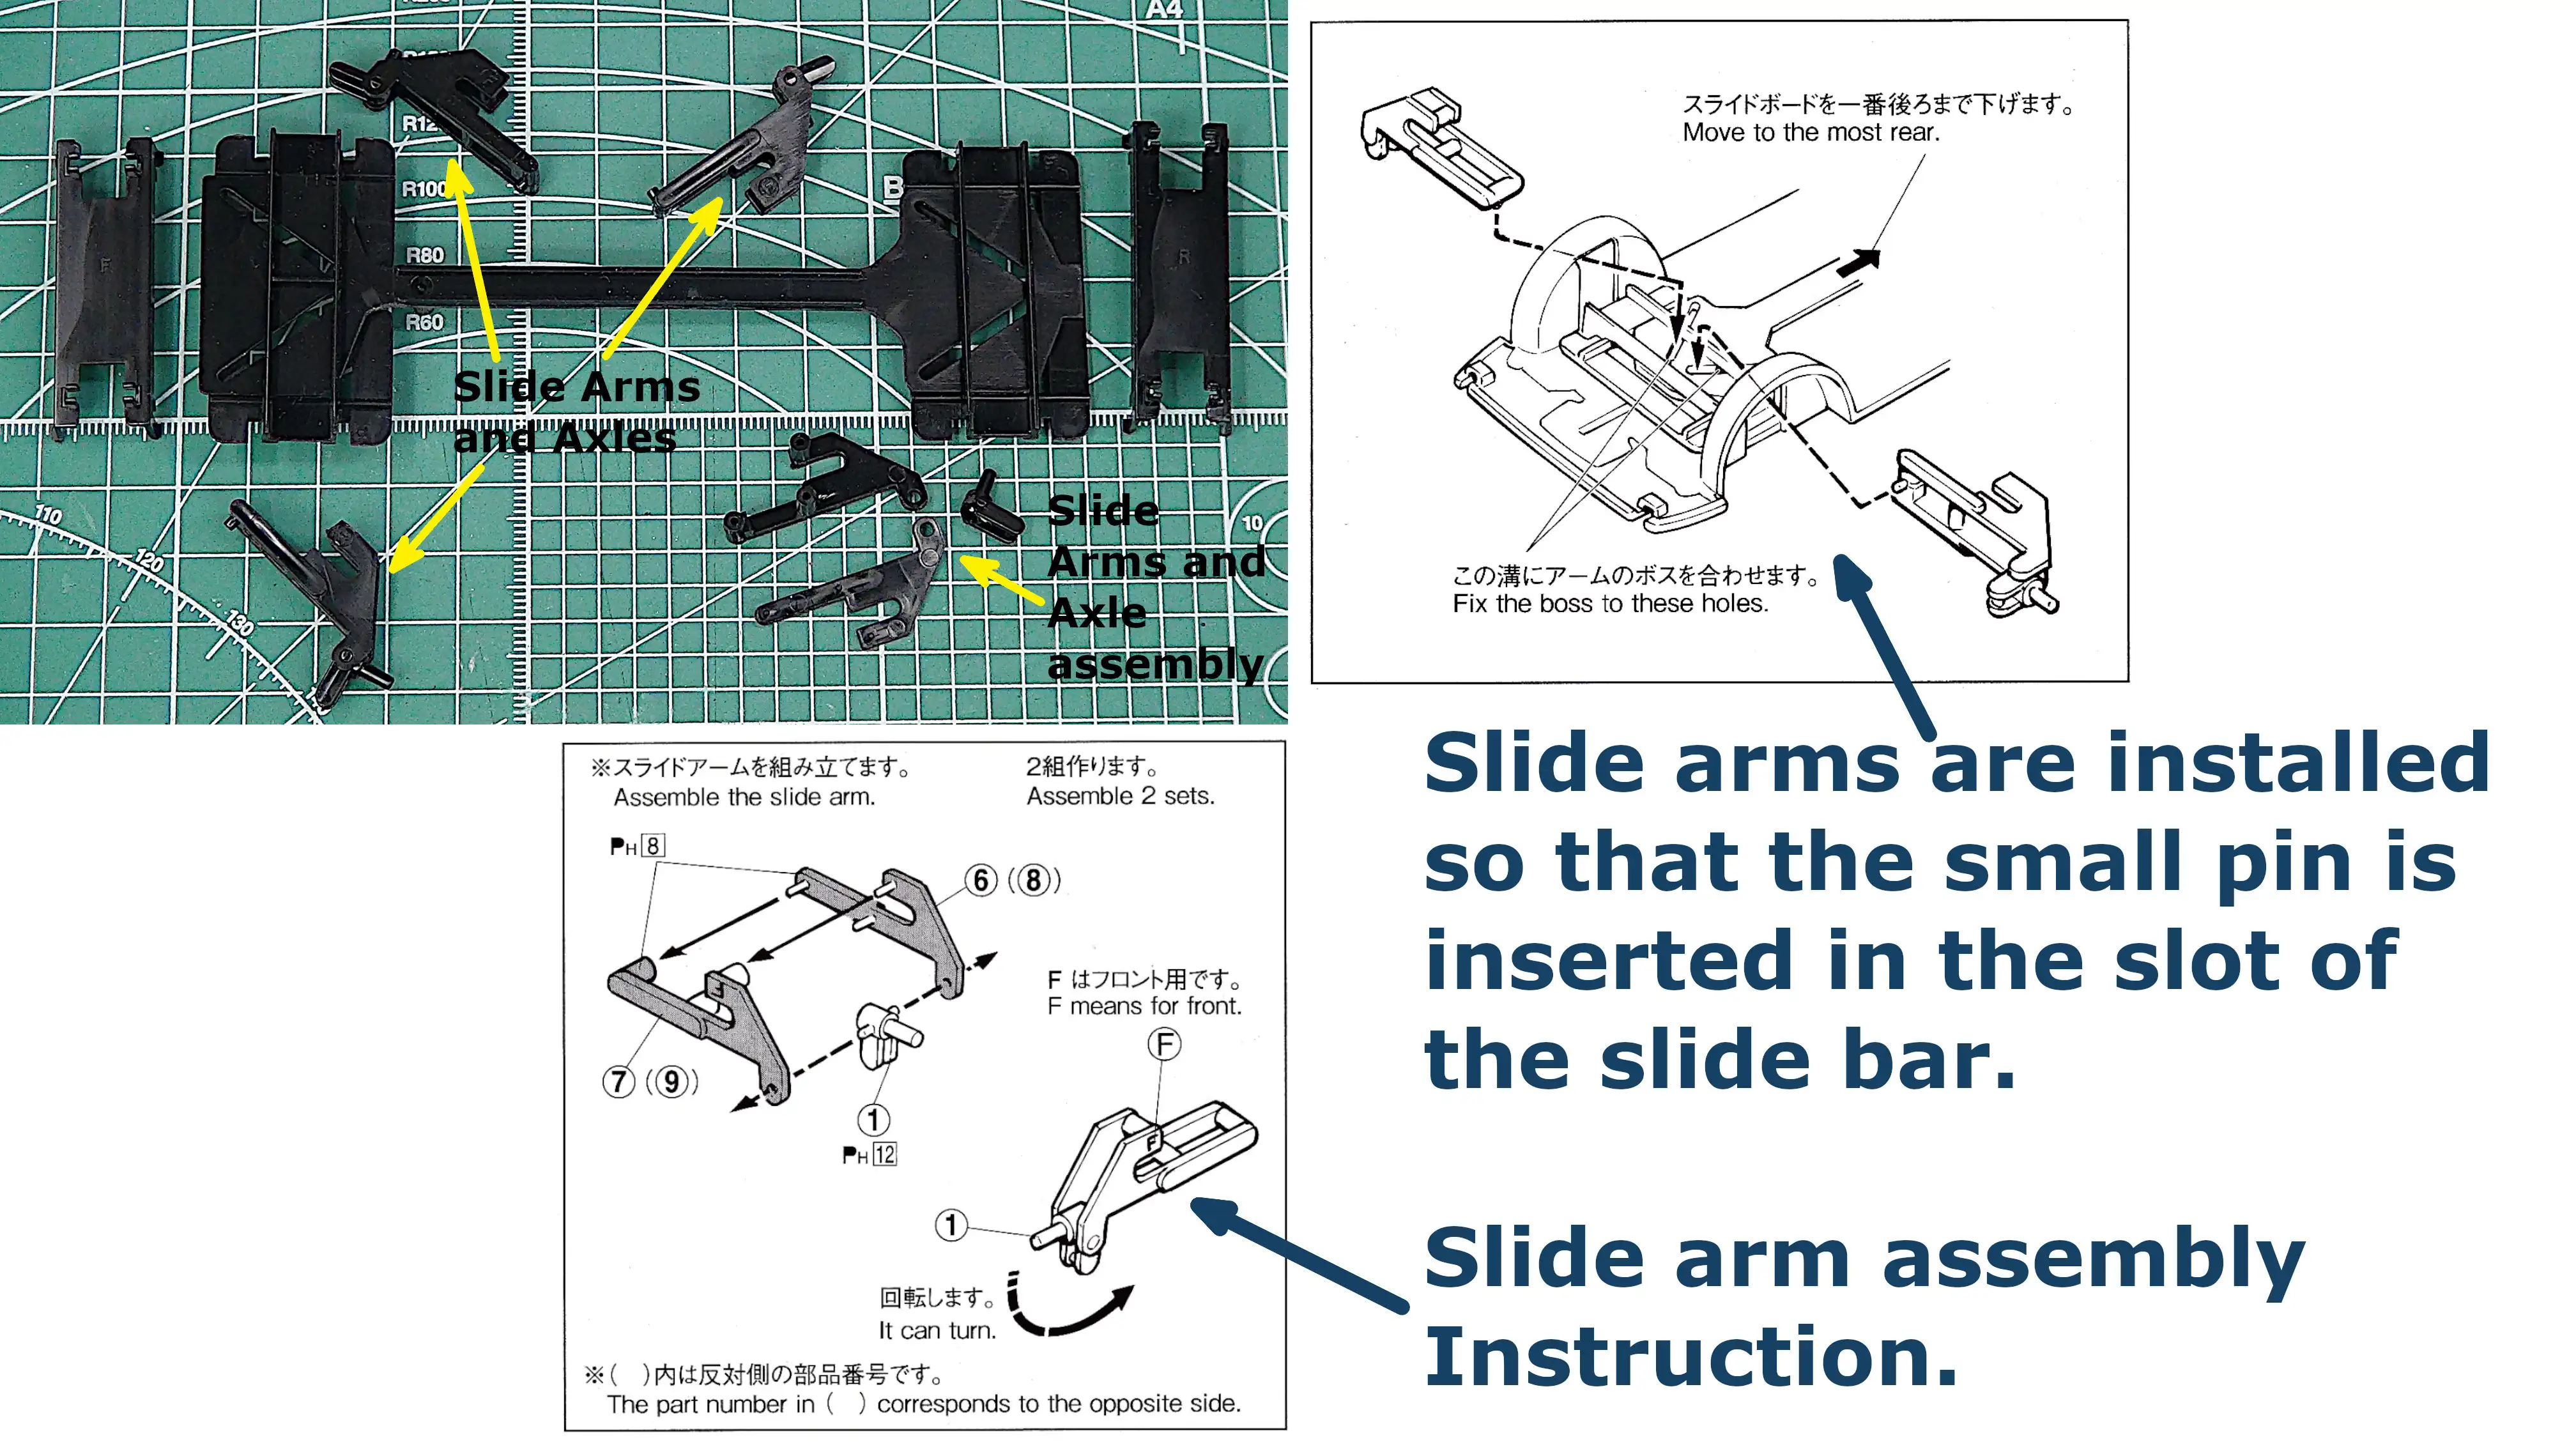 Slide arm assemblies
 First coat of silver on the bottom of the chassis
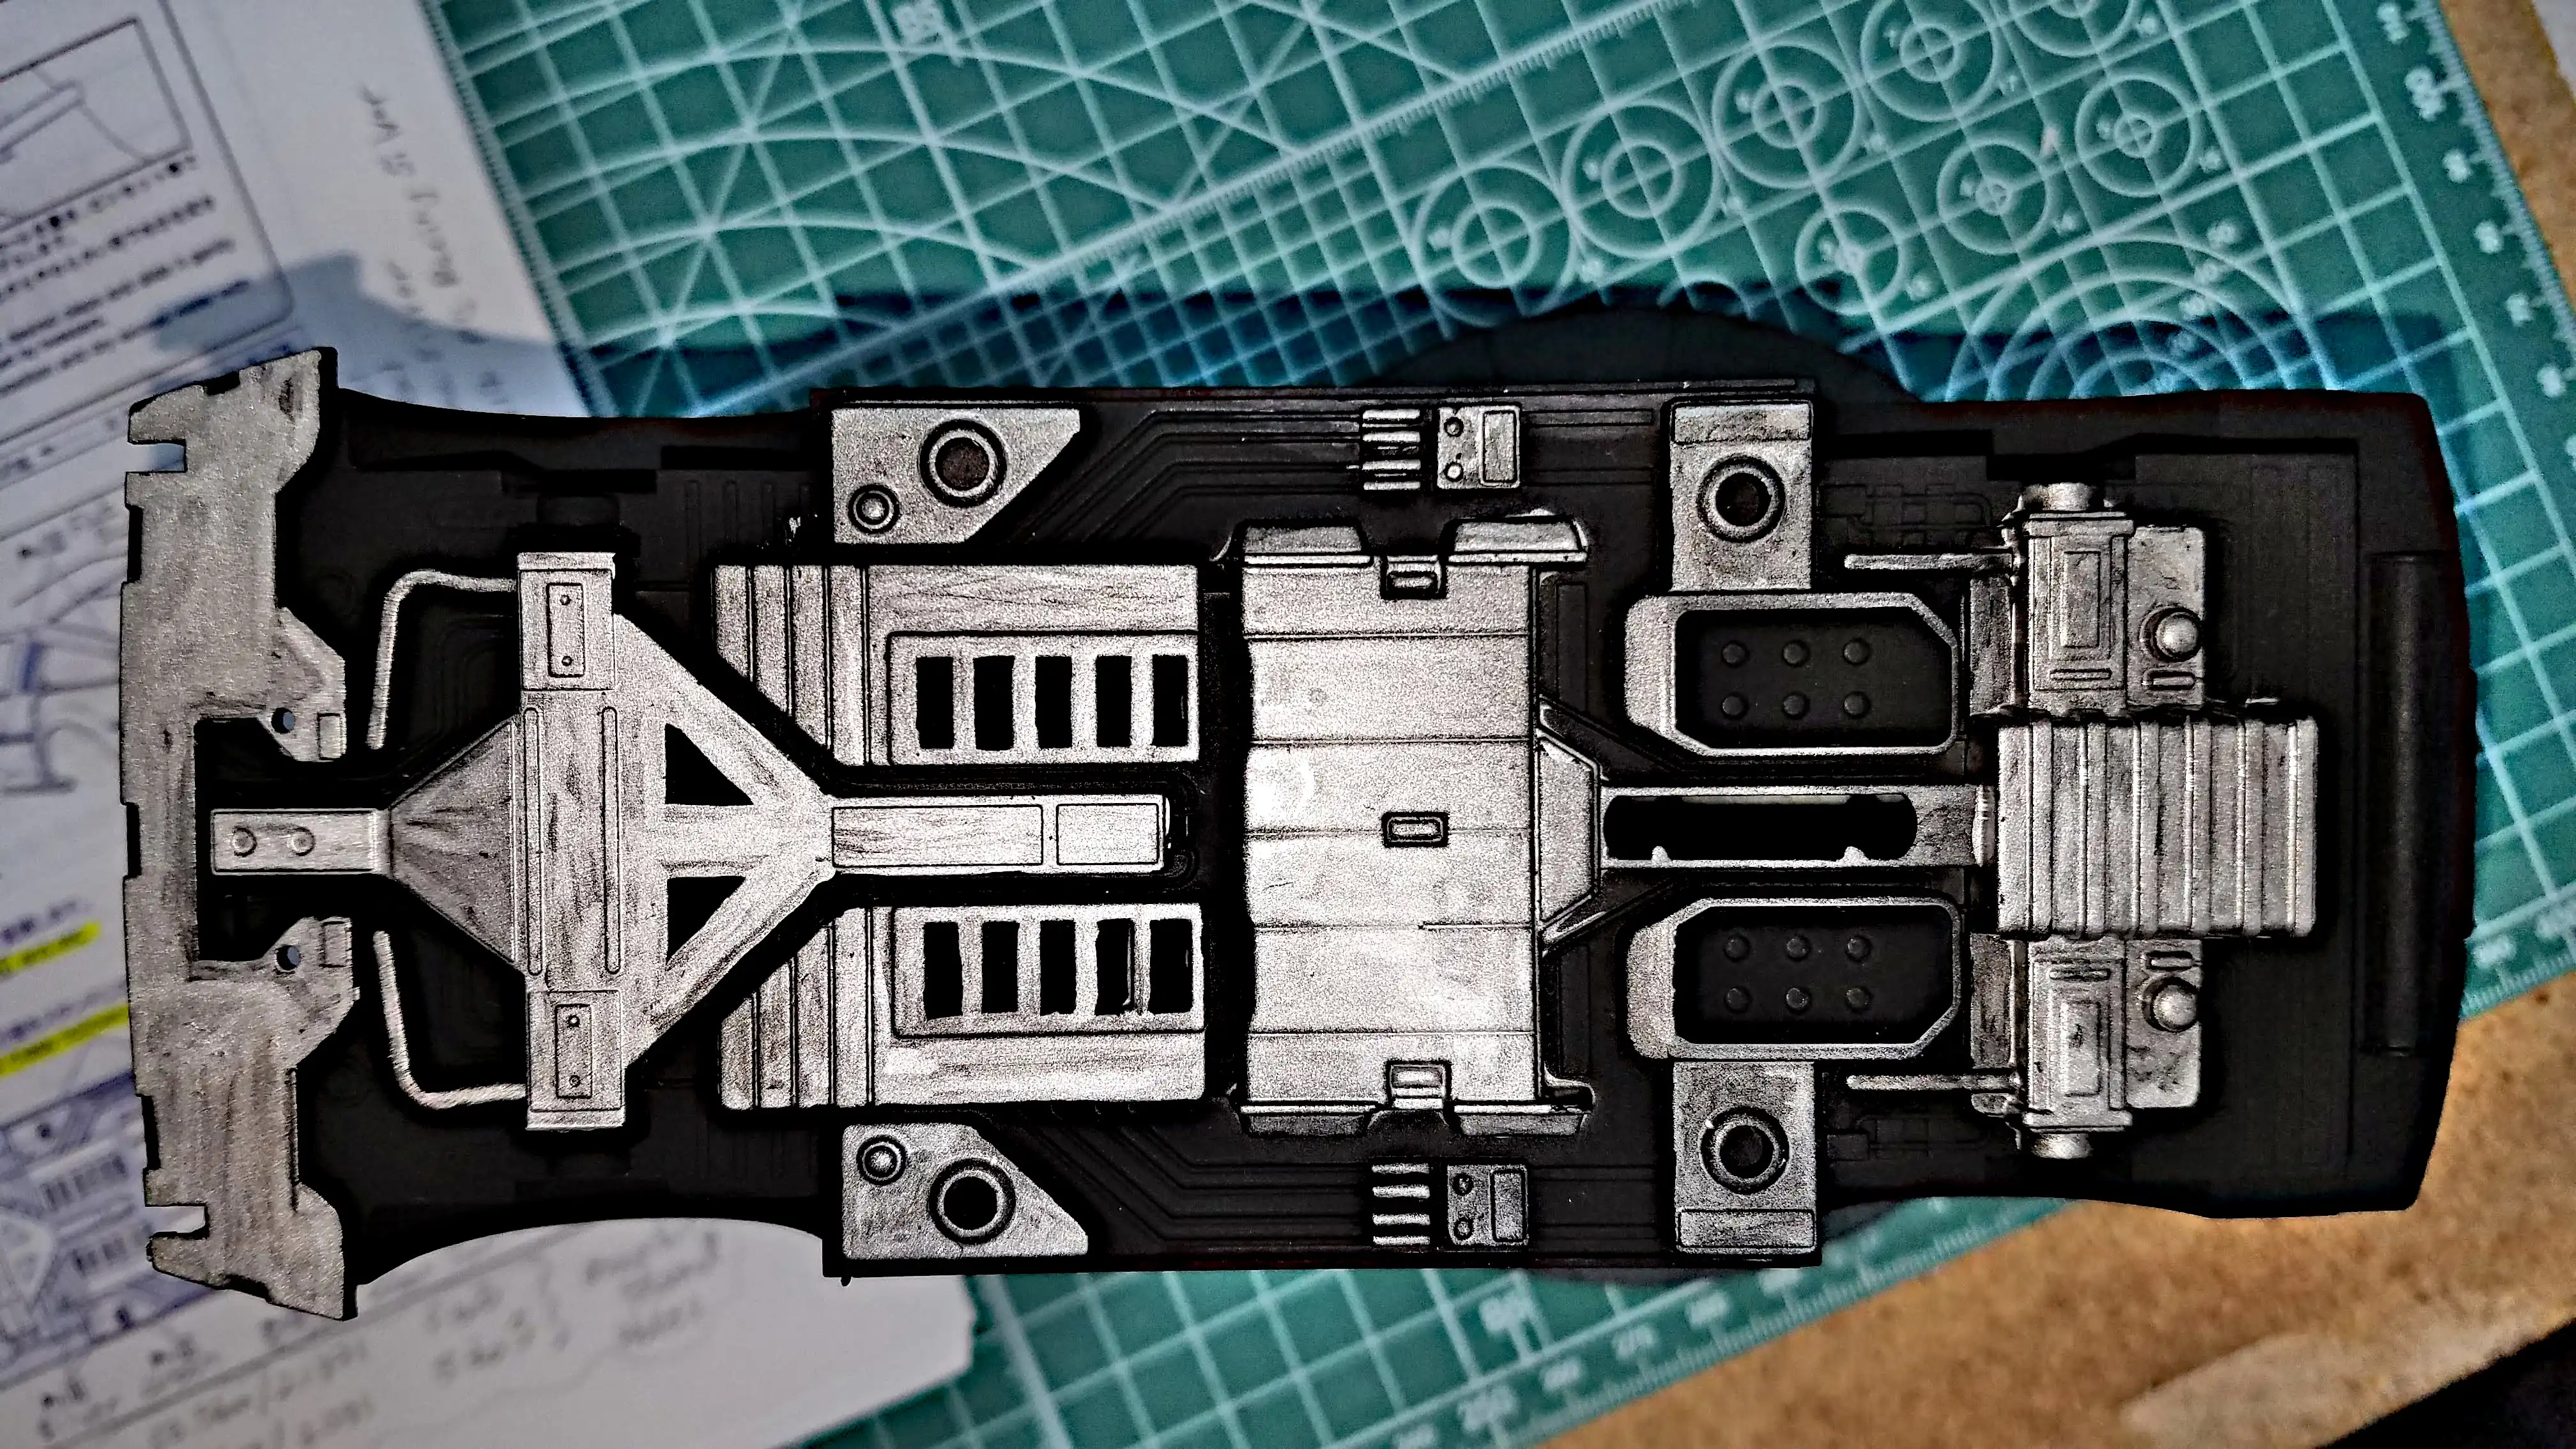
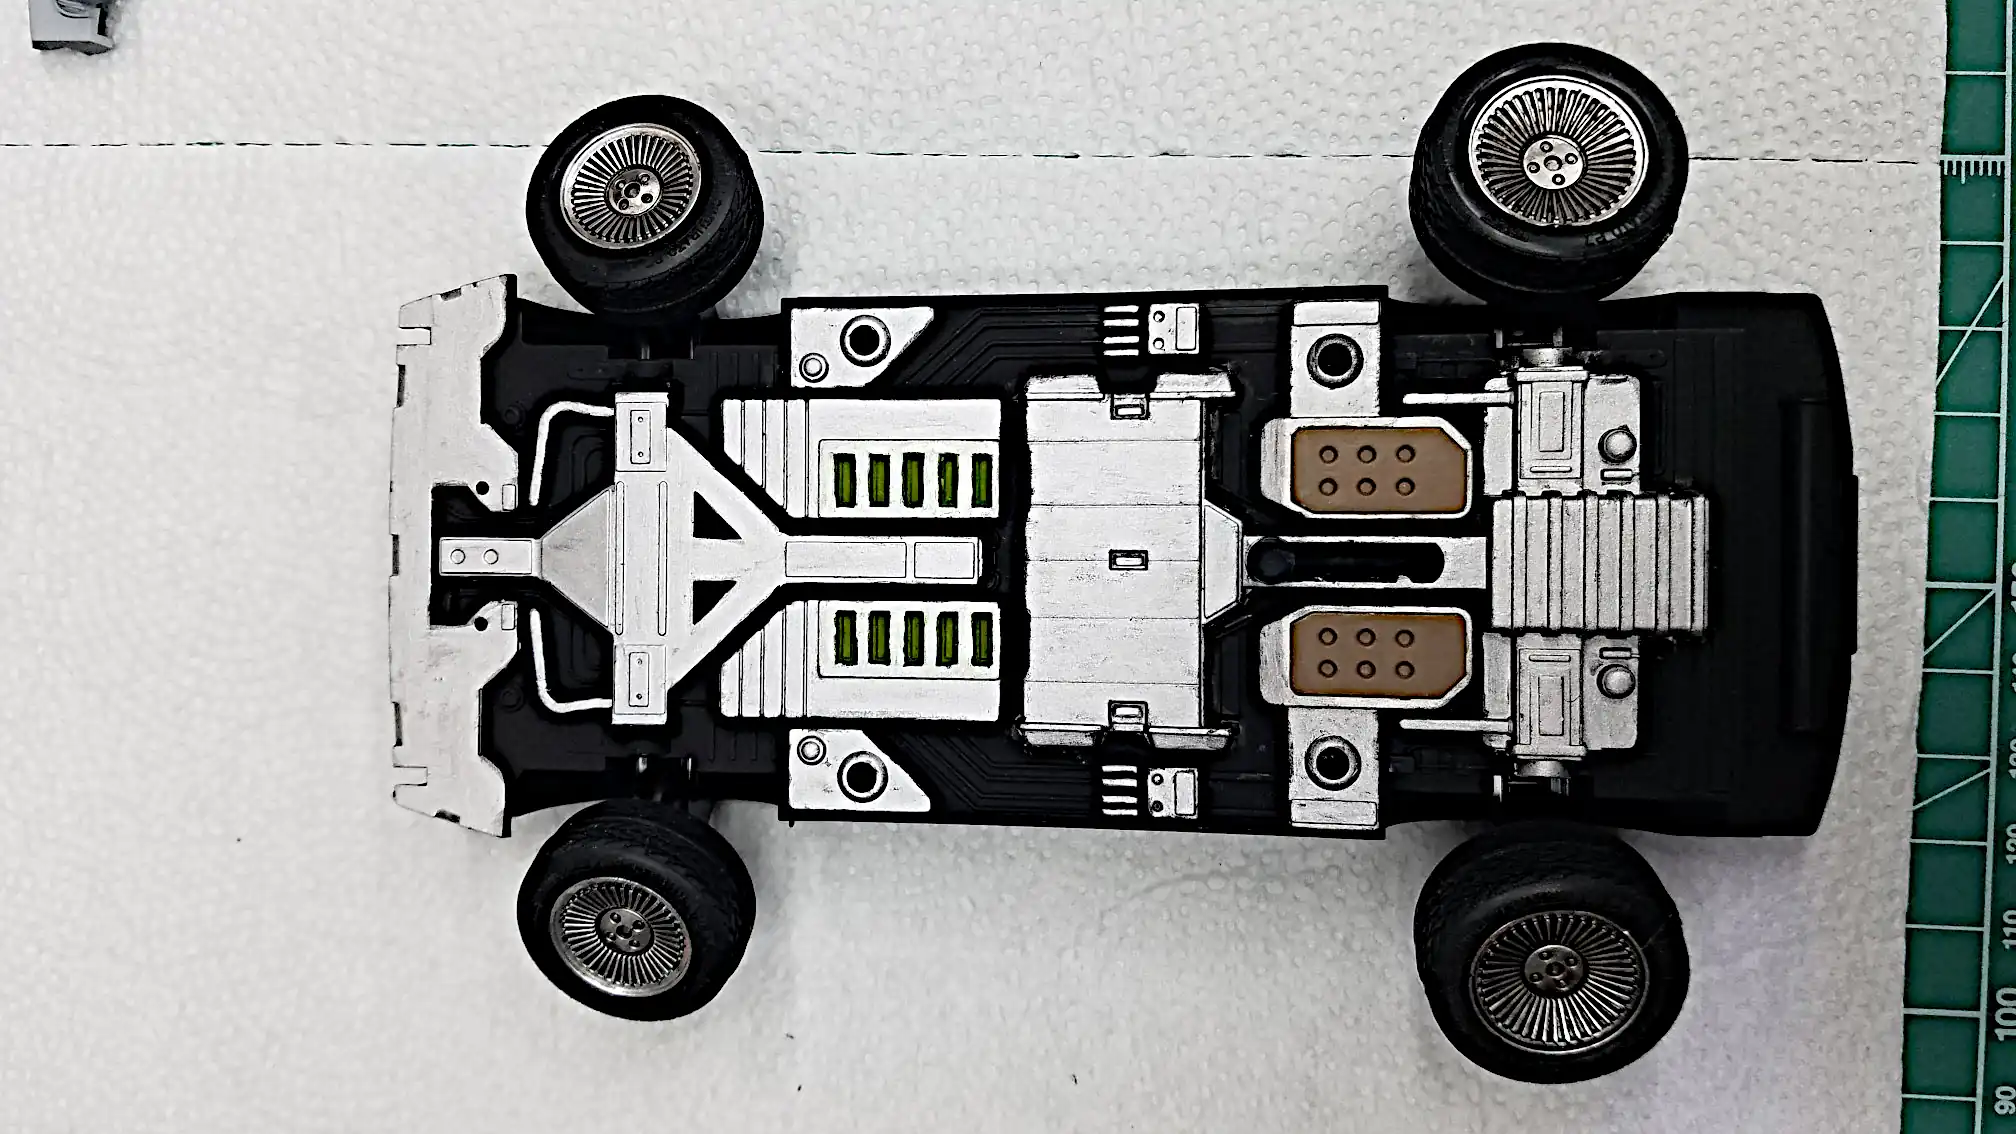
 Chassis bottom is painted
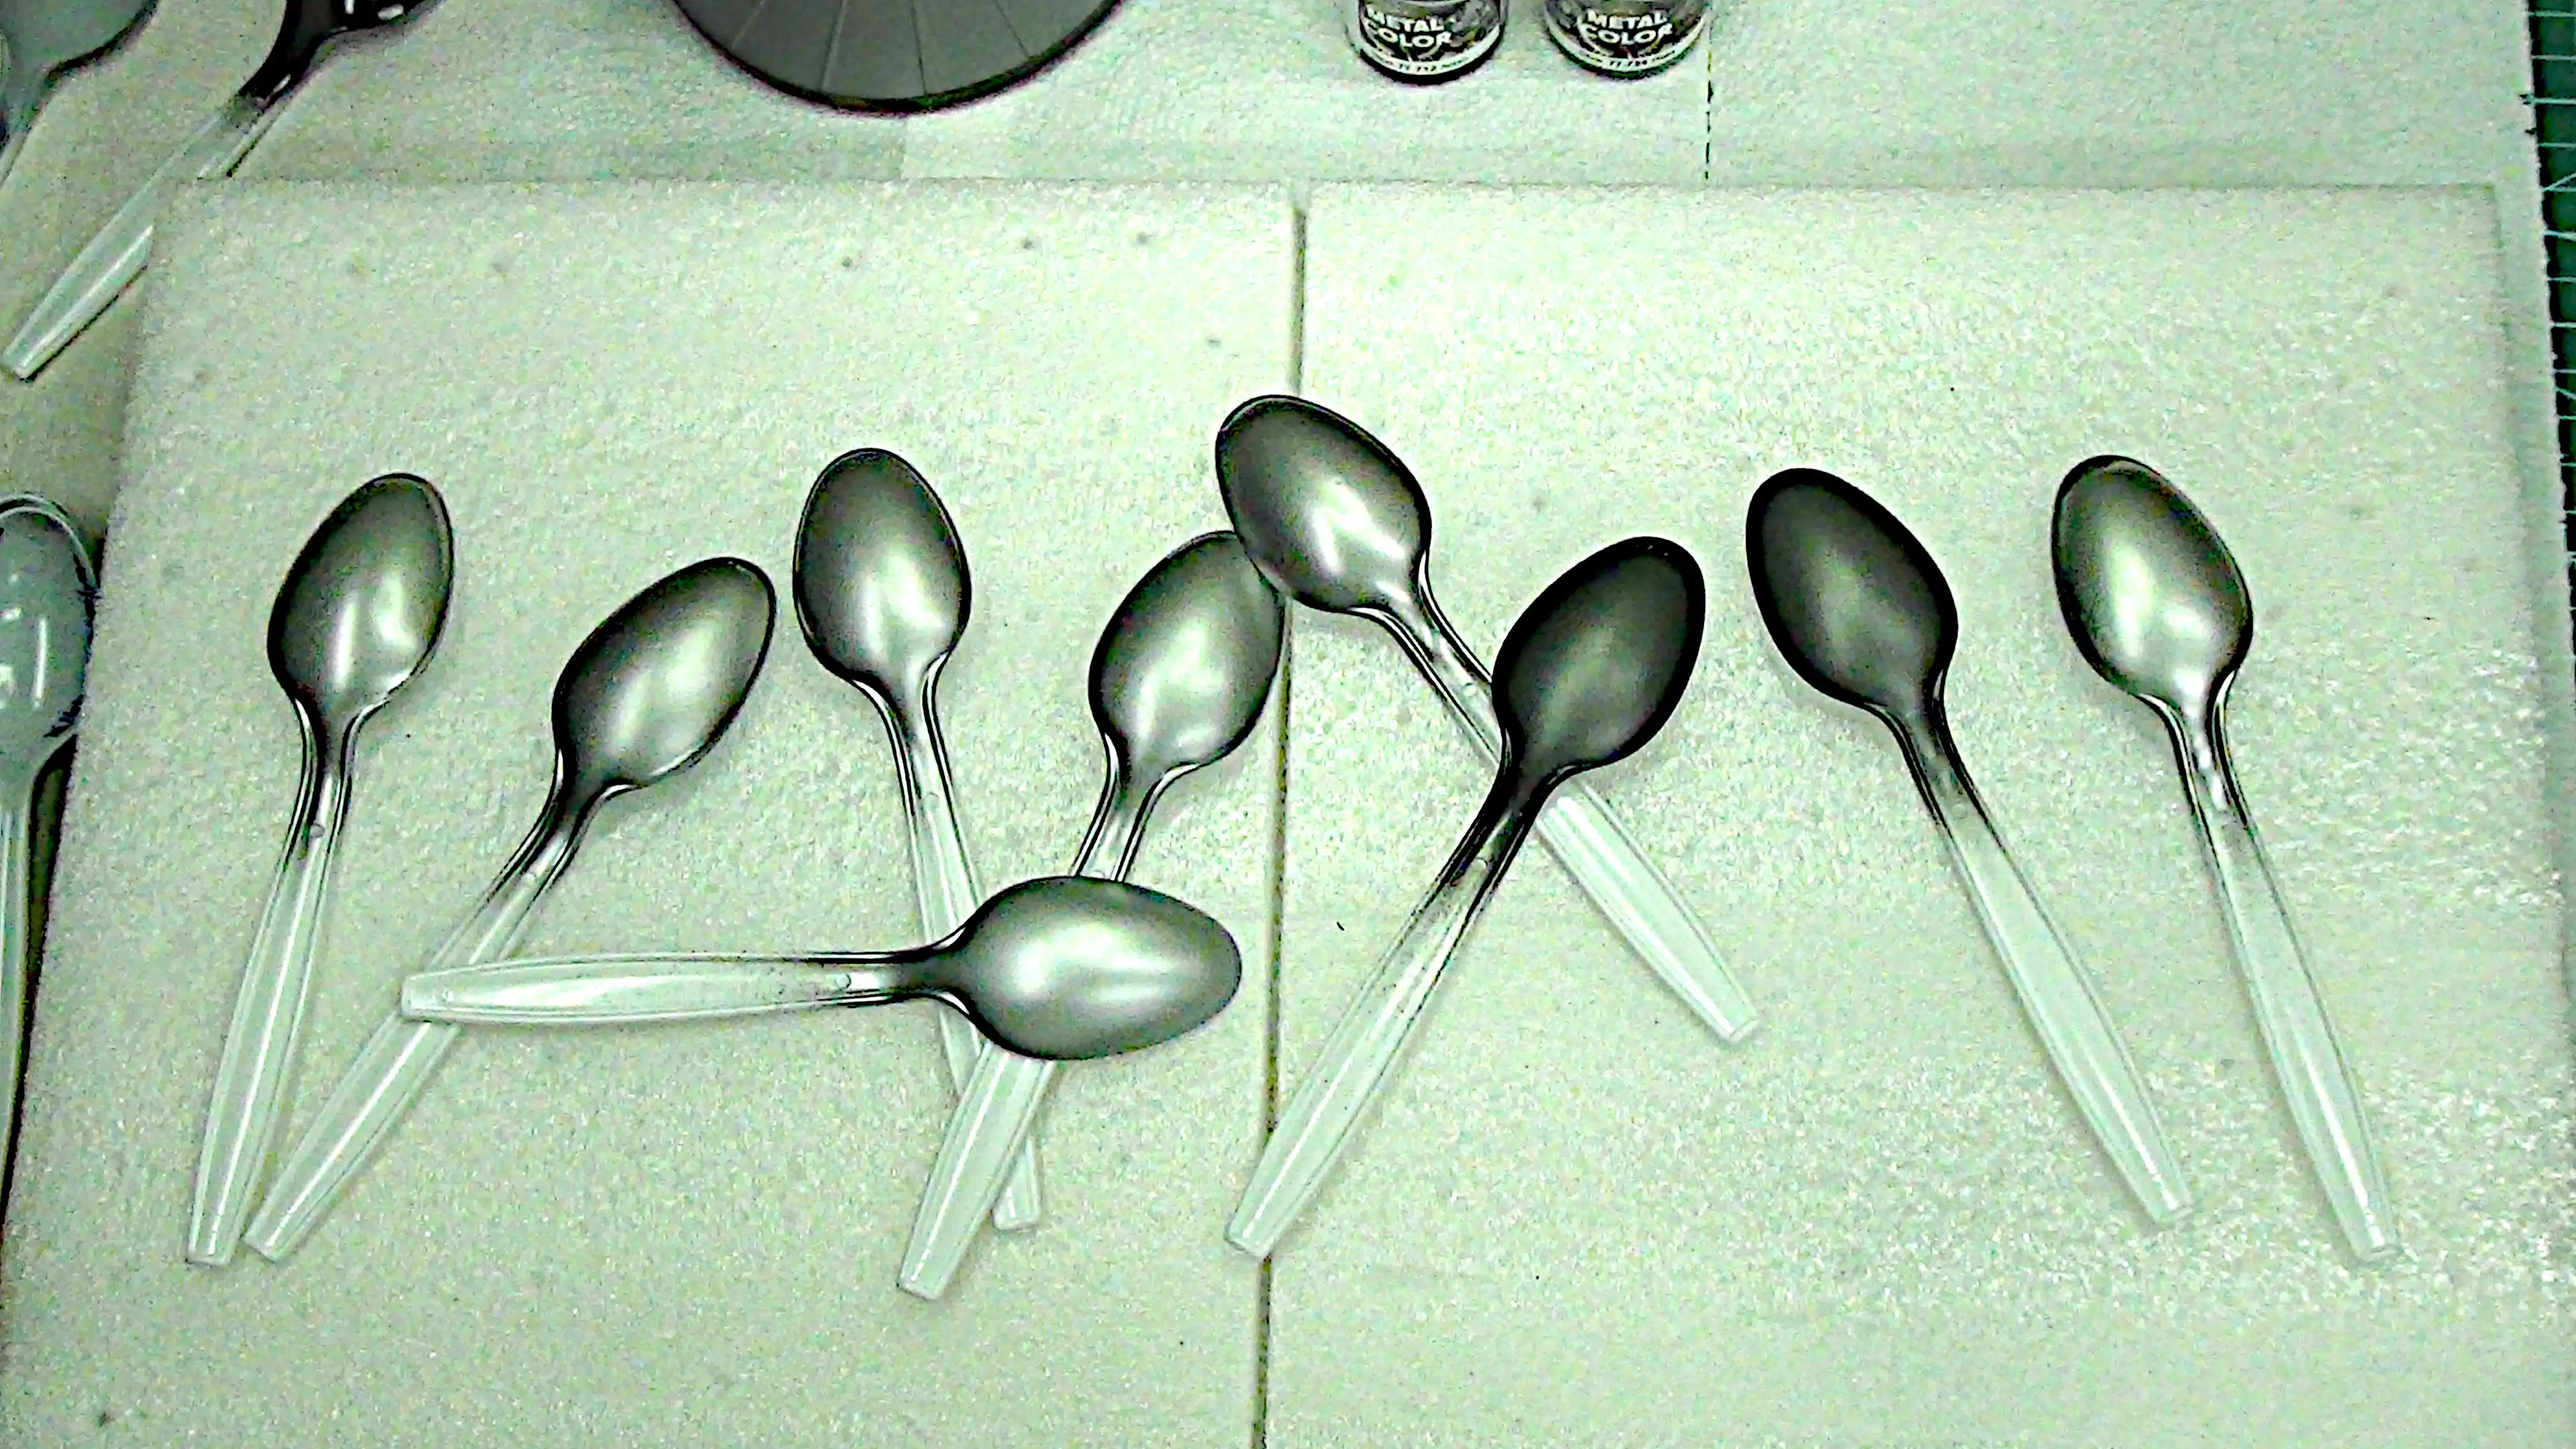
 Test spoons with Vallejo primers
 Testing paints to achieve the look of stainless steel
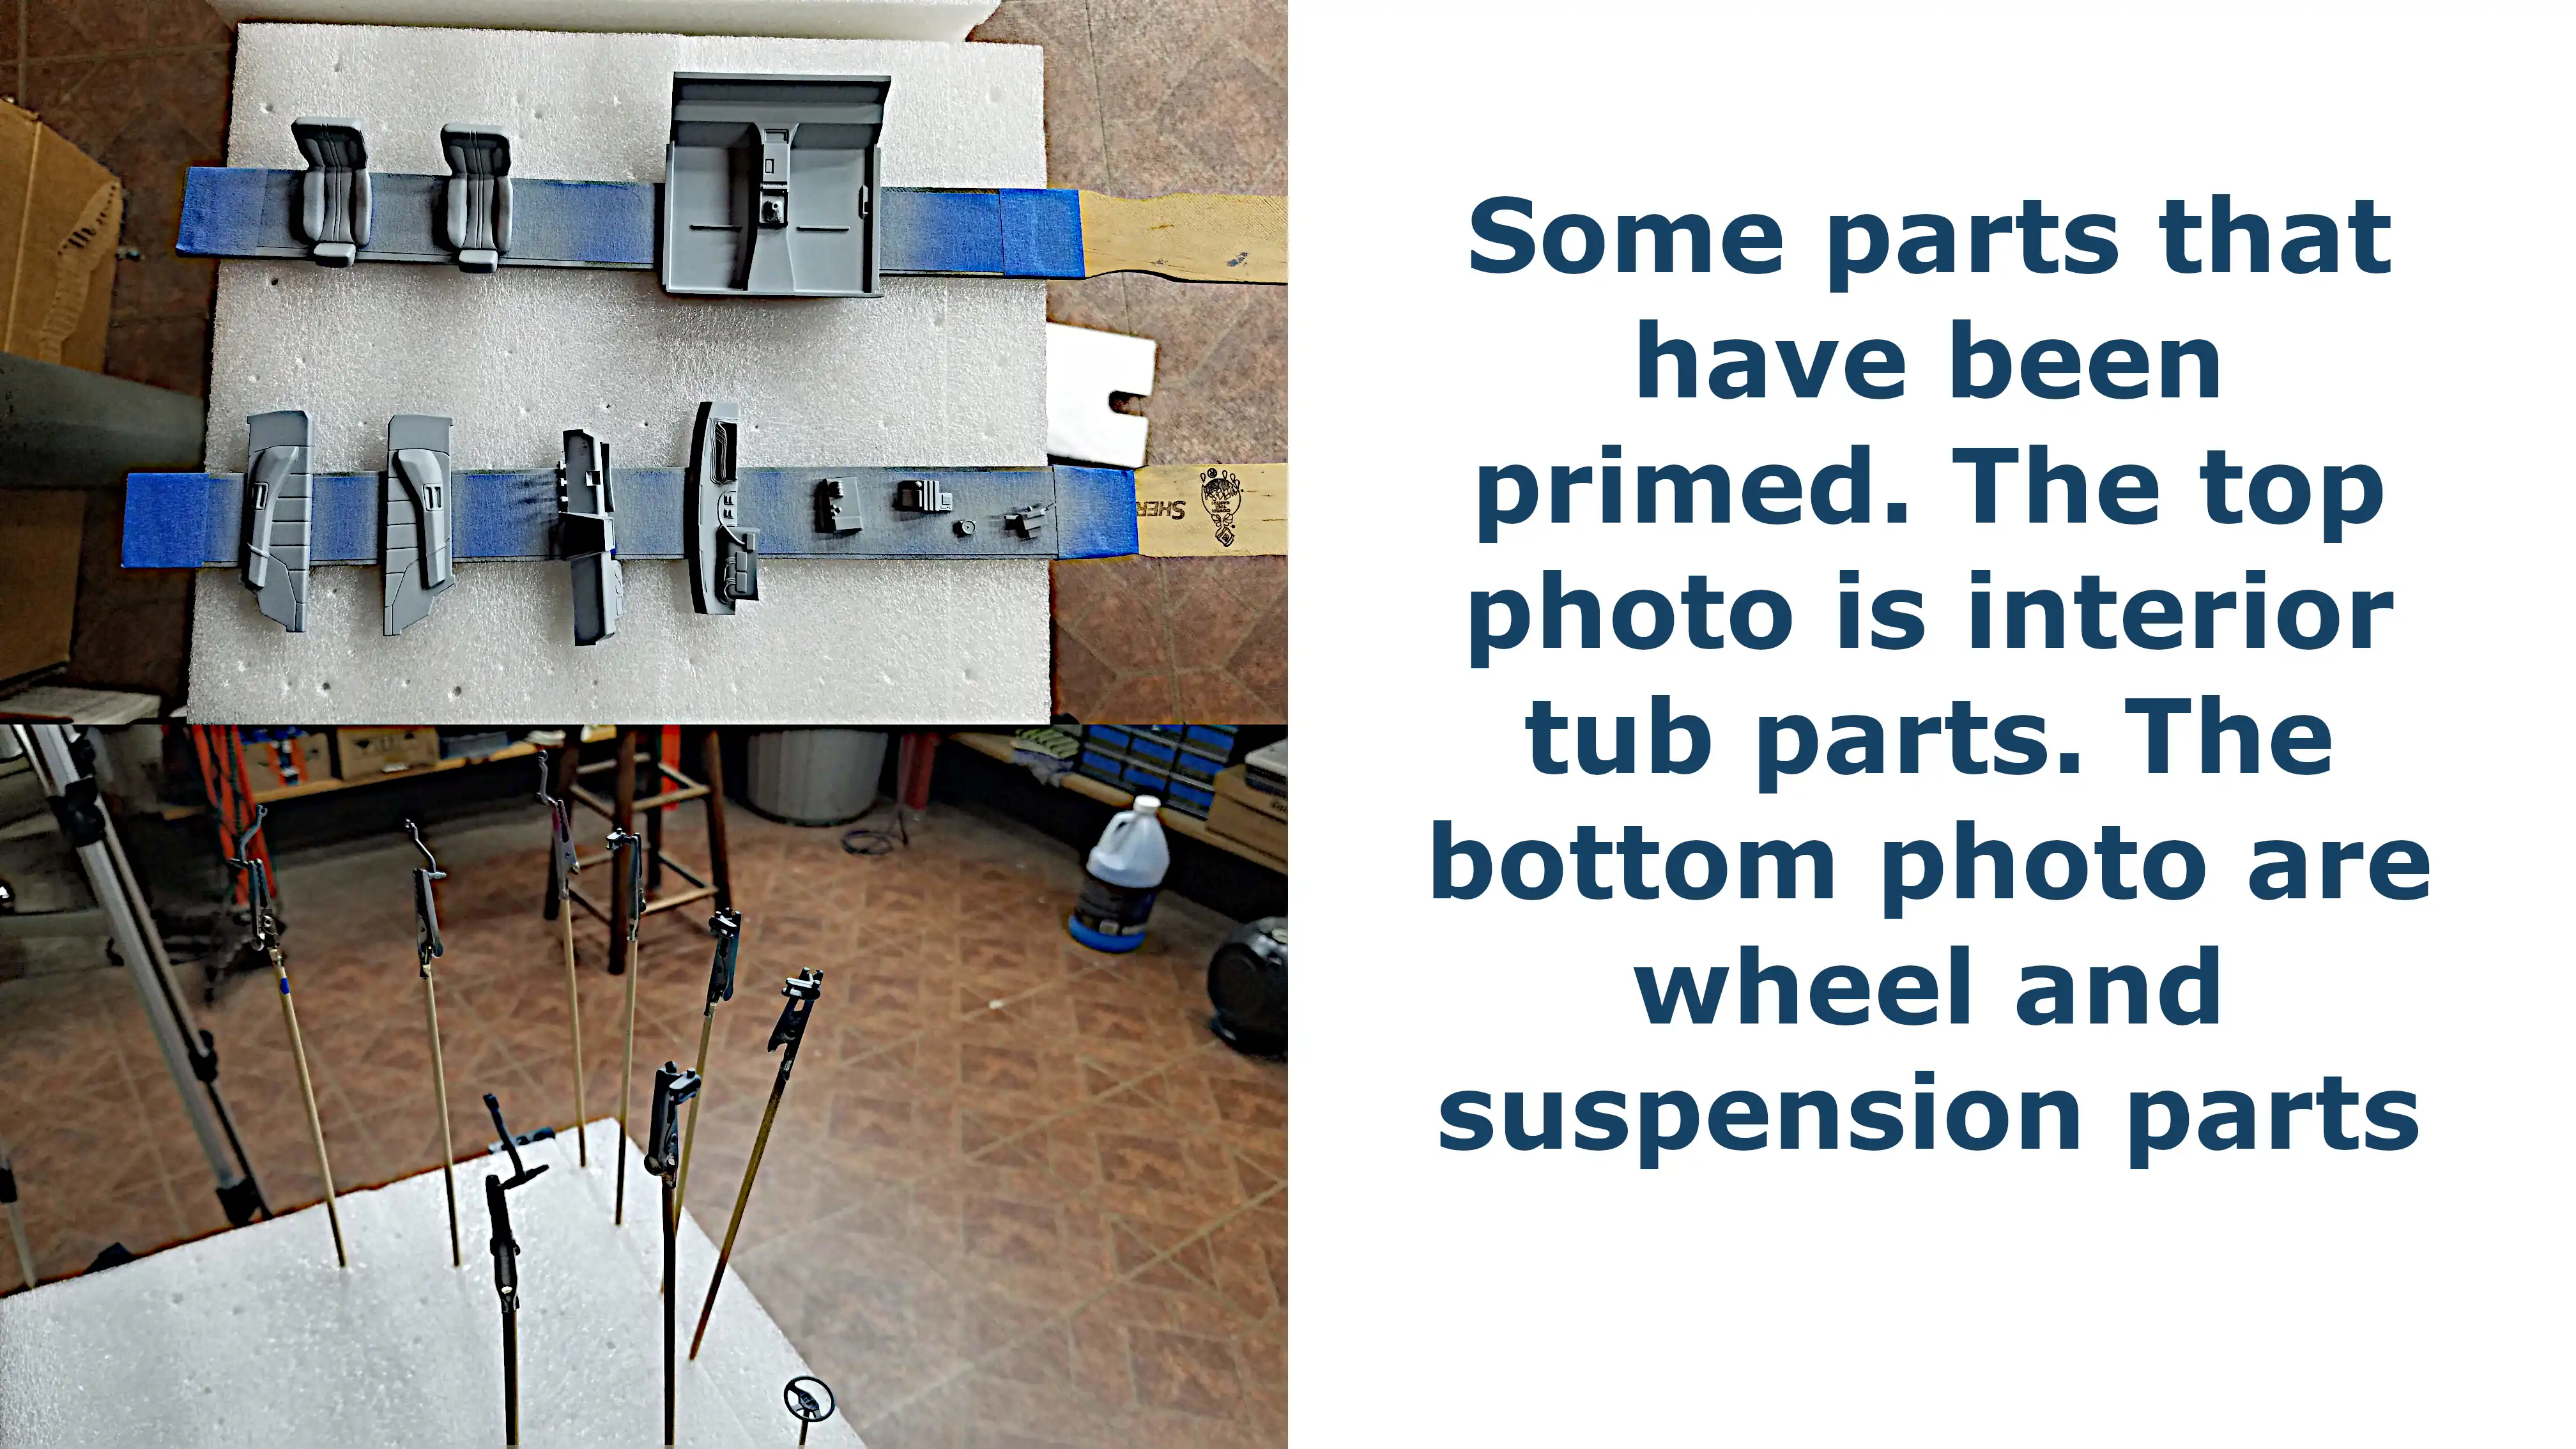 Starting to prime some parts
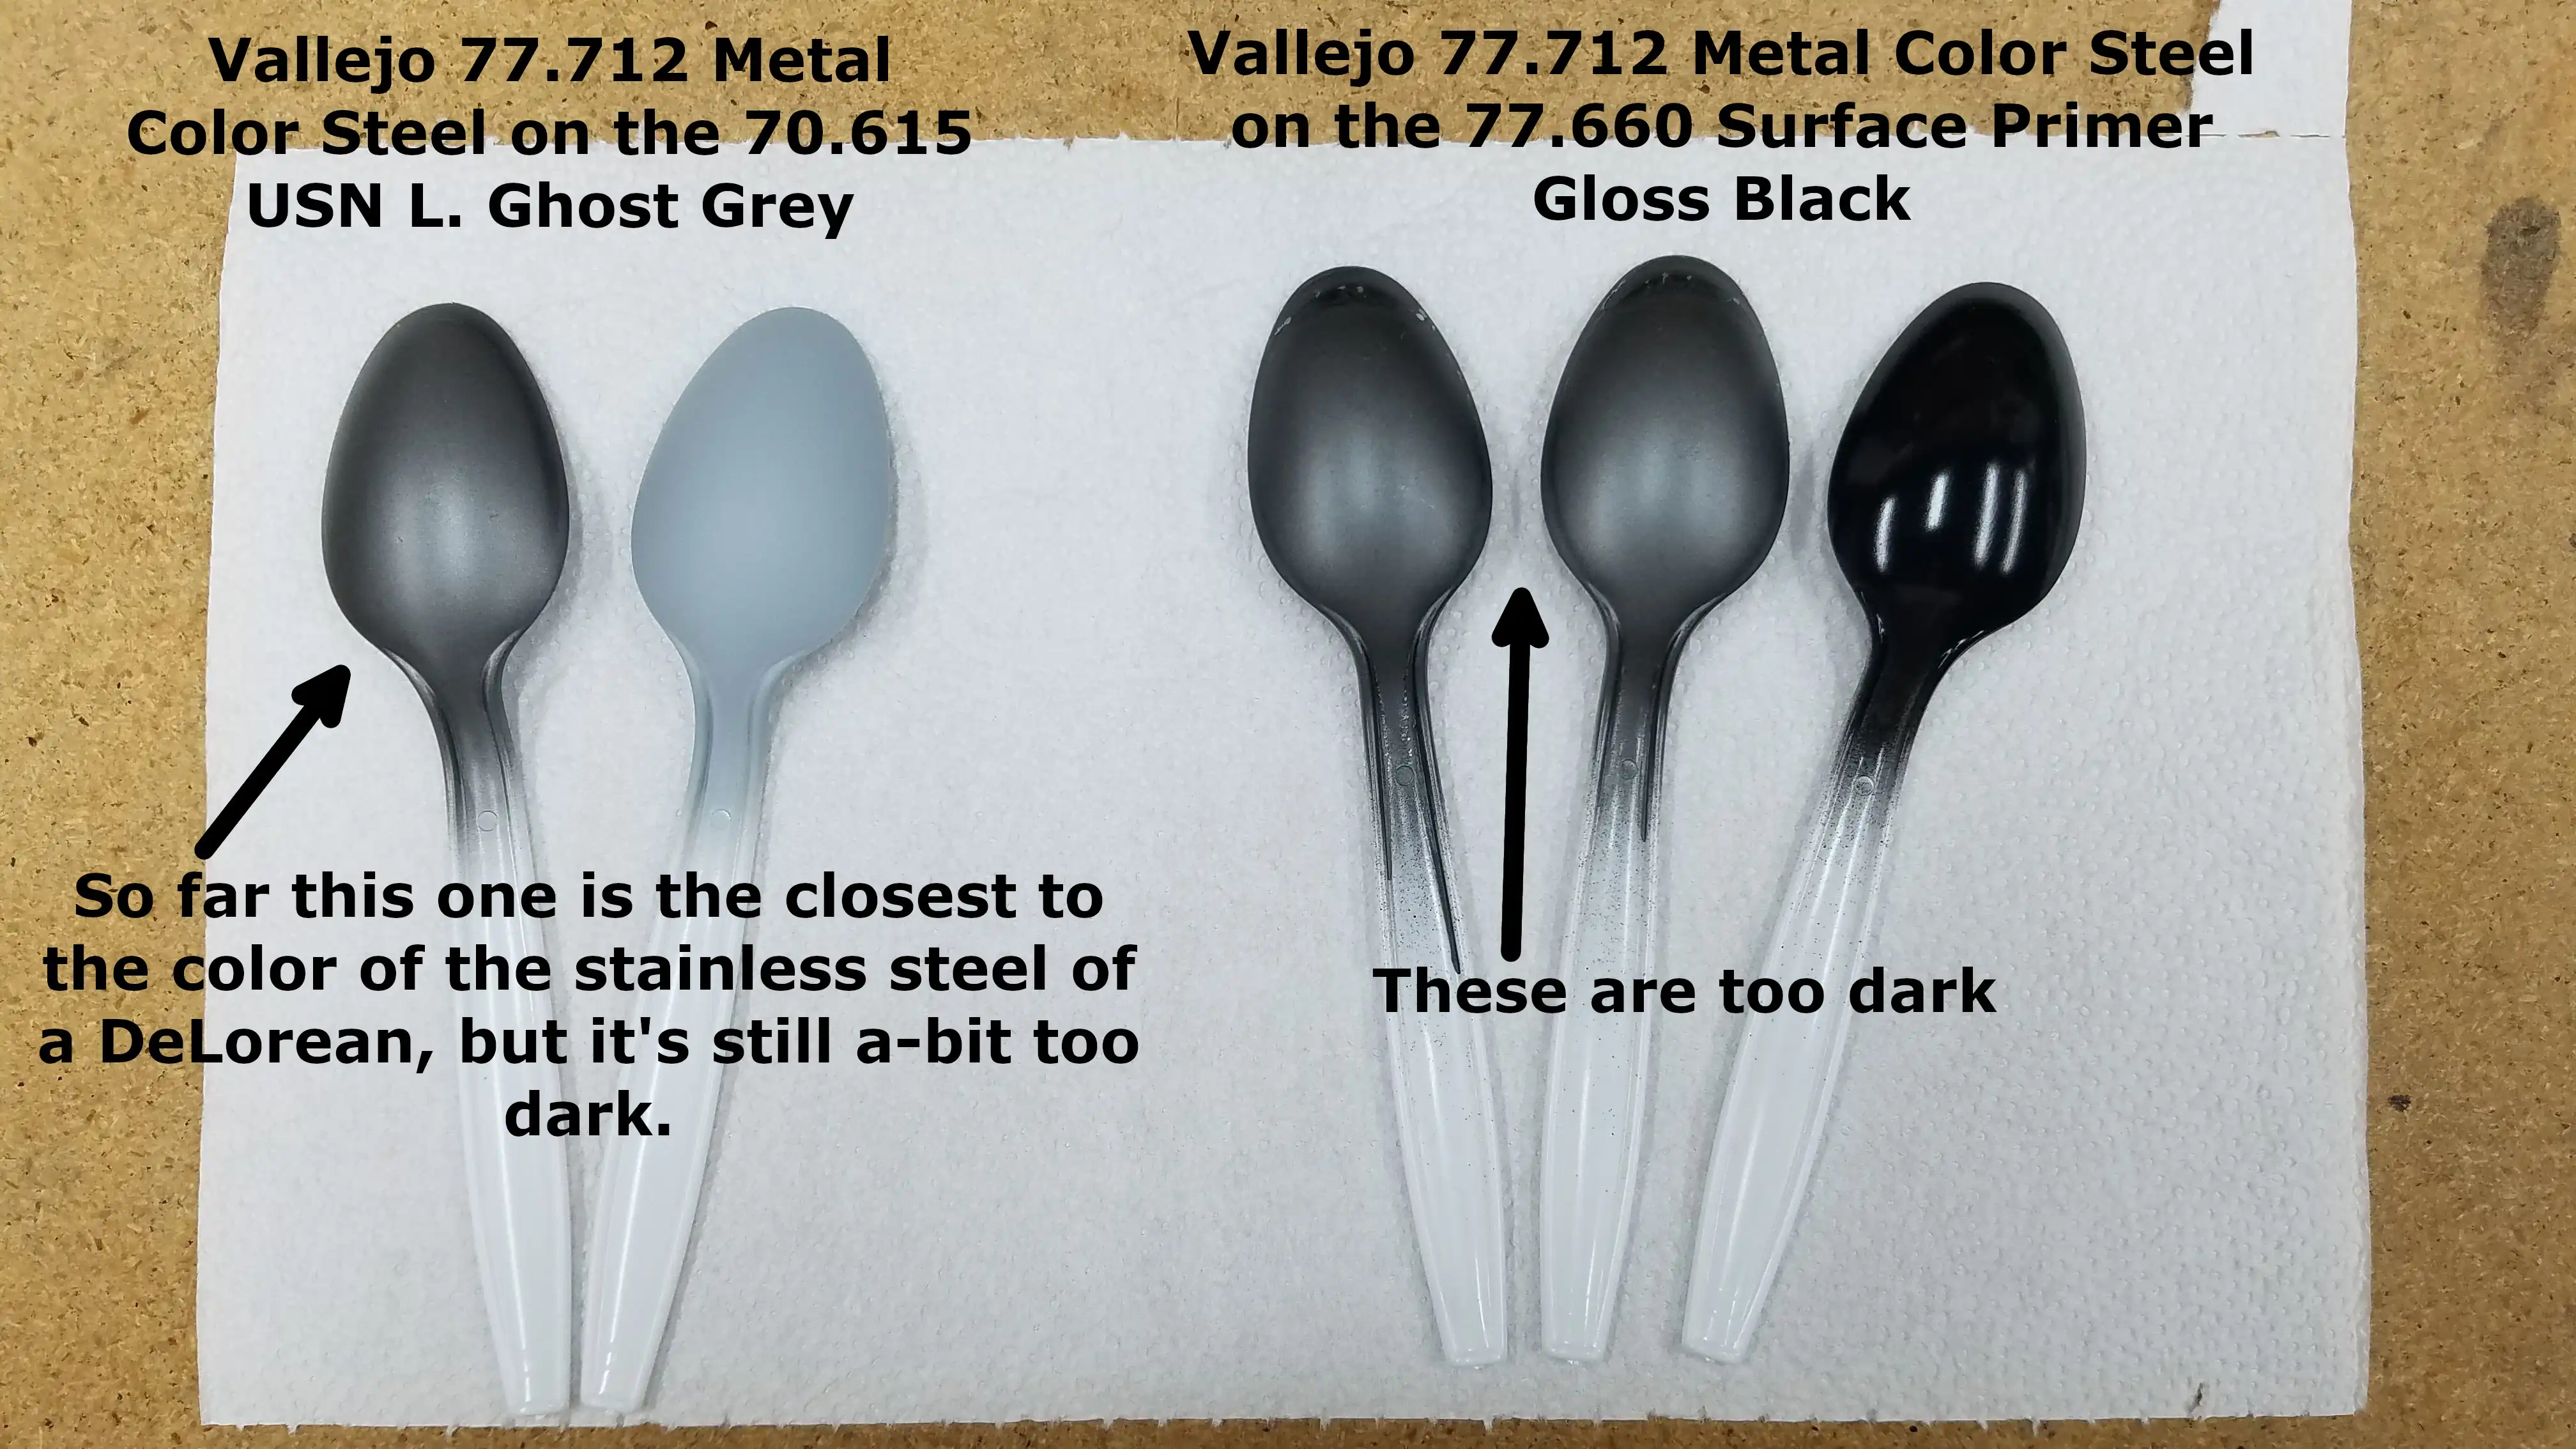
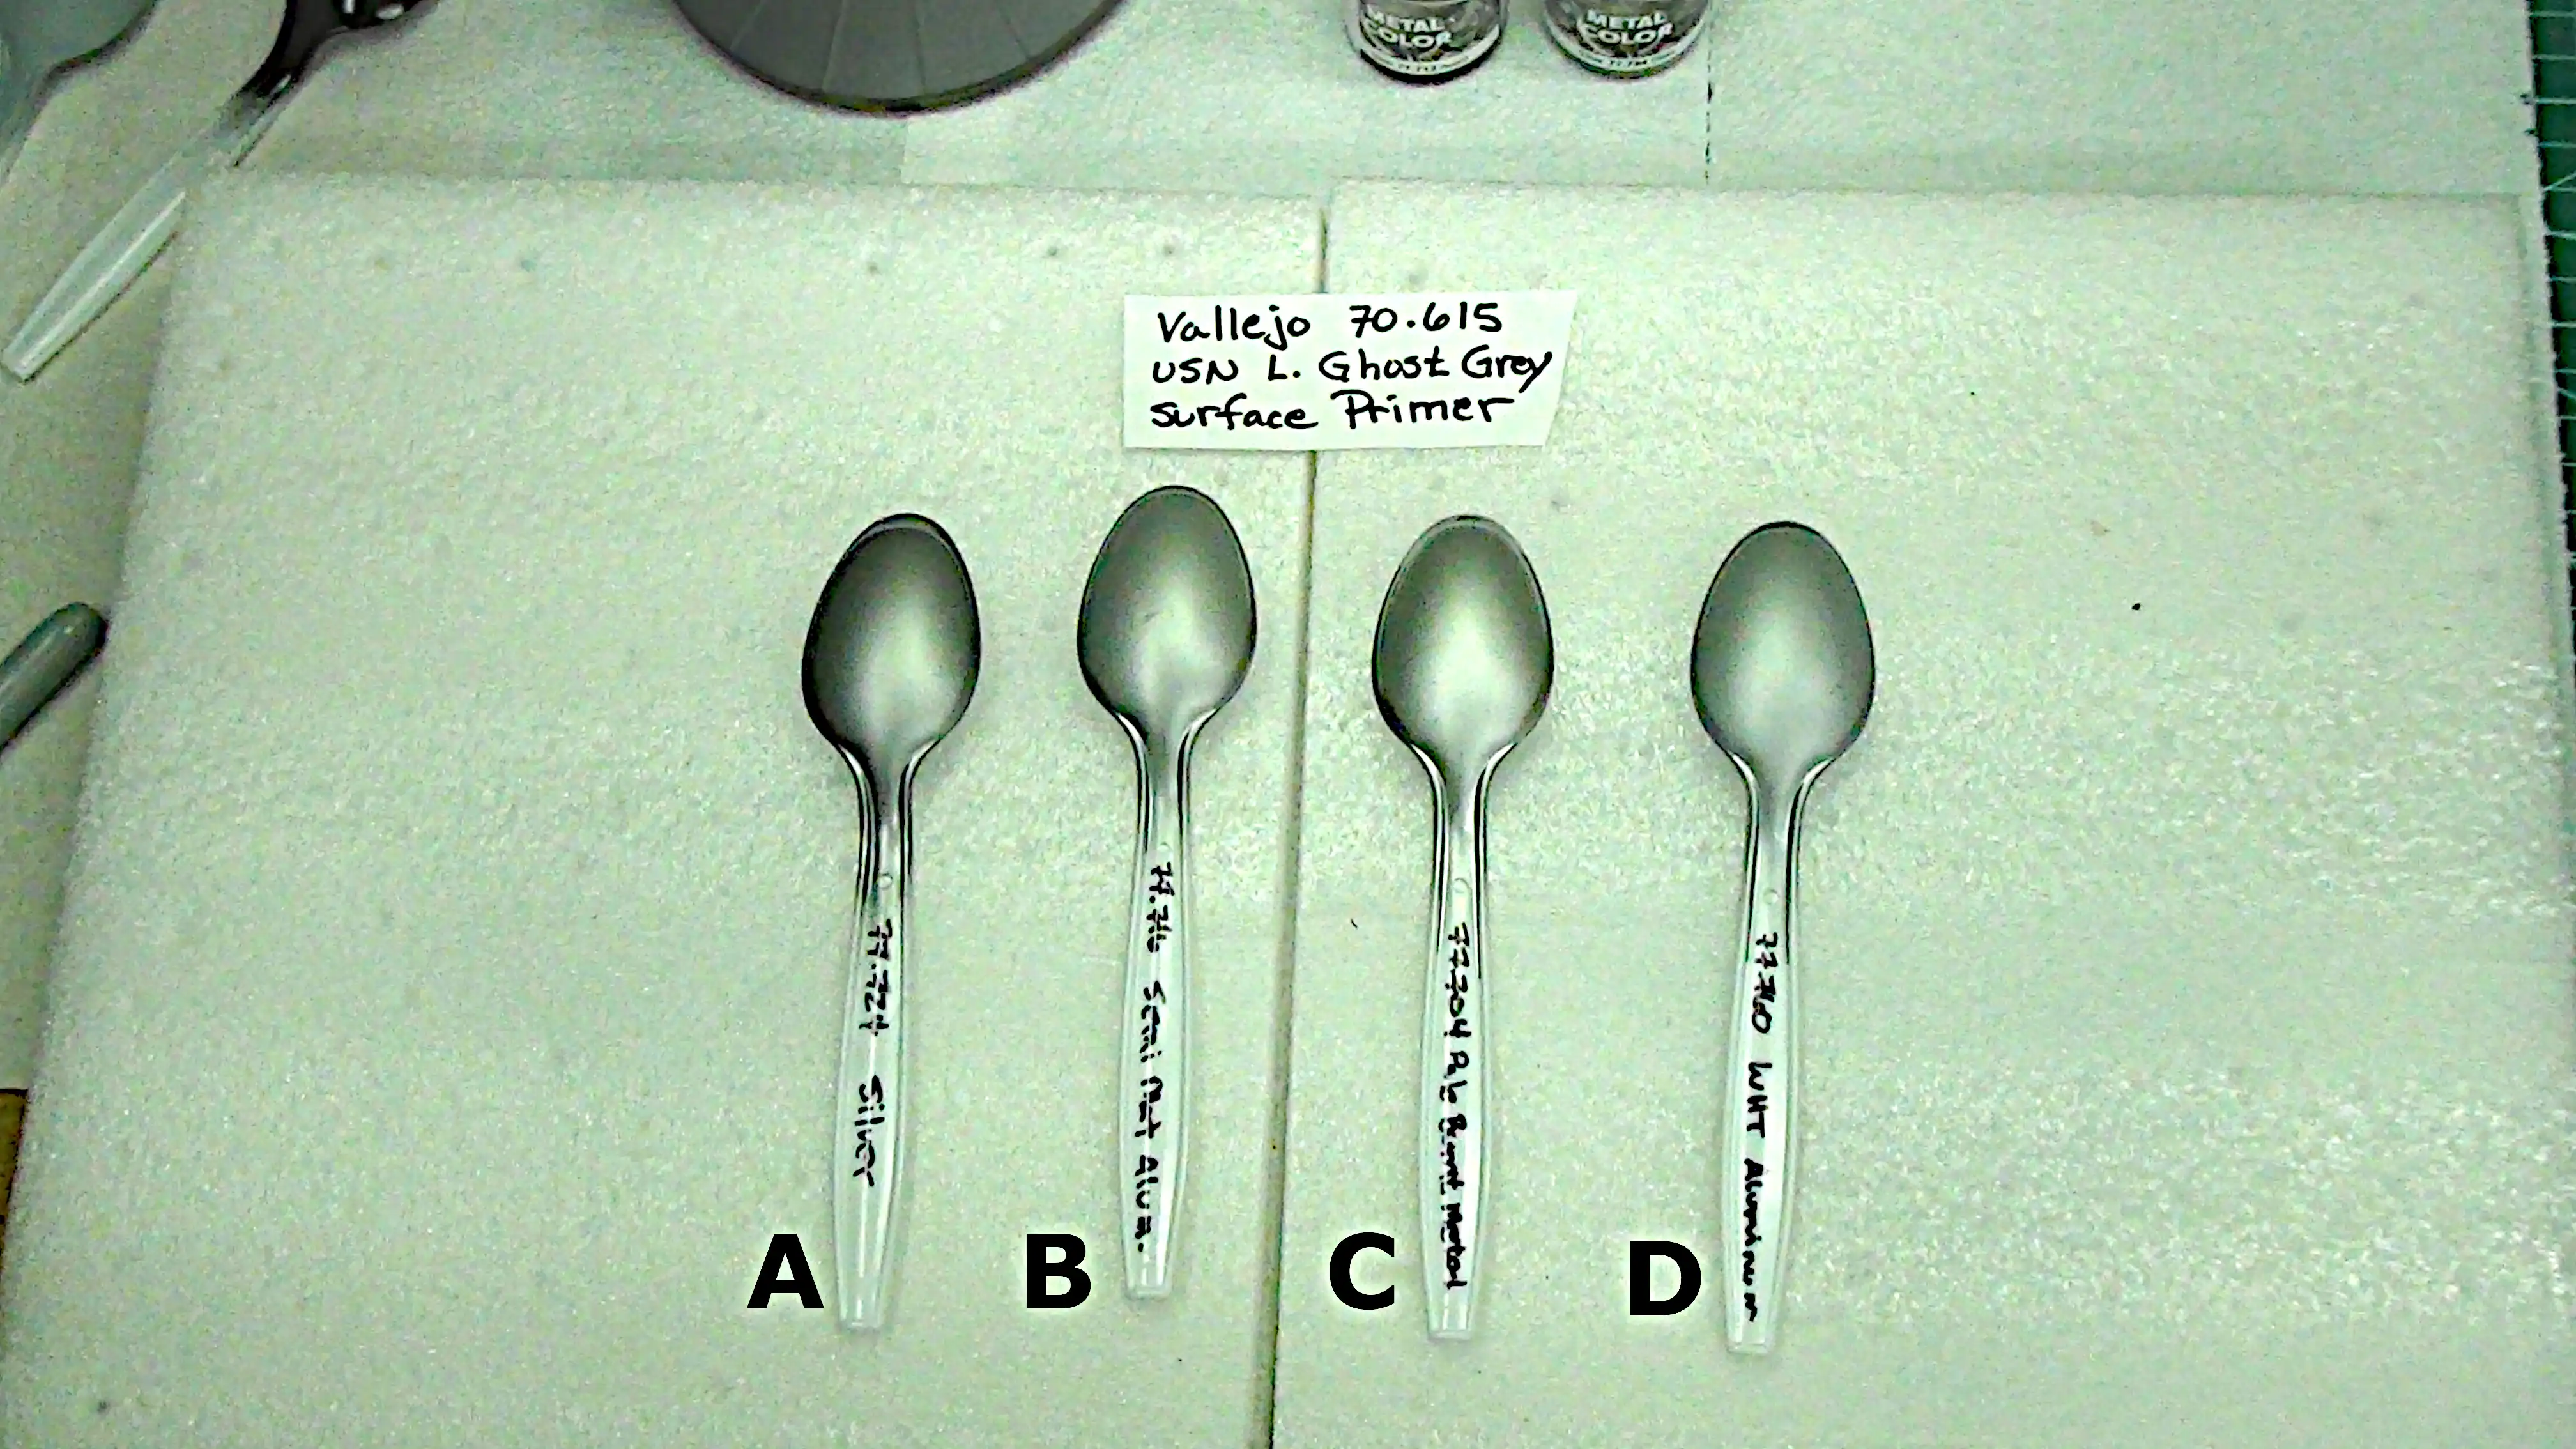
 Test spoons searching for the right stainless steel
 Starting the assemble of the slide arms
 Assembling the slide arms
 Photos showing slide arms in driving and flying positions
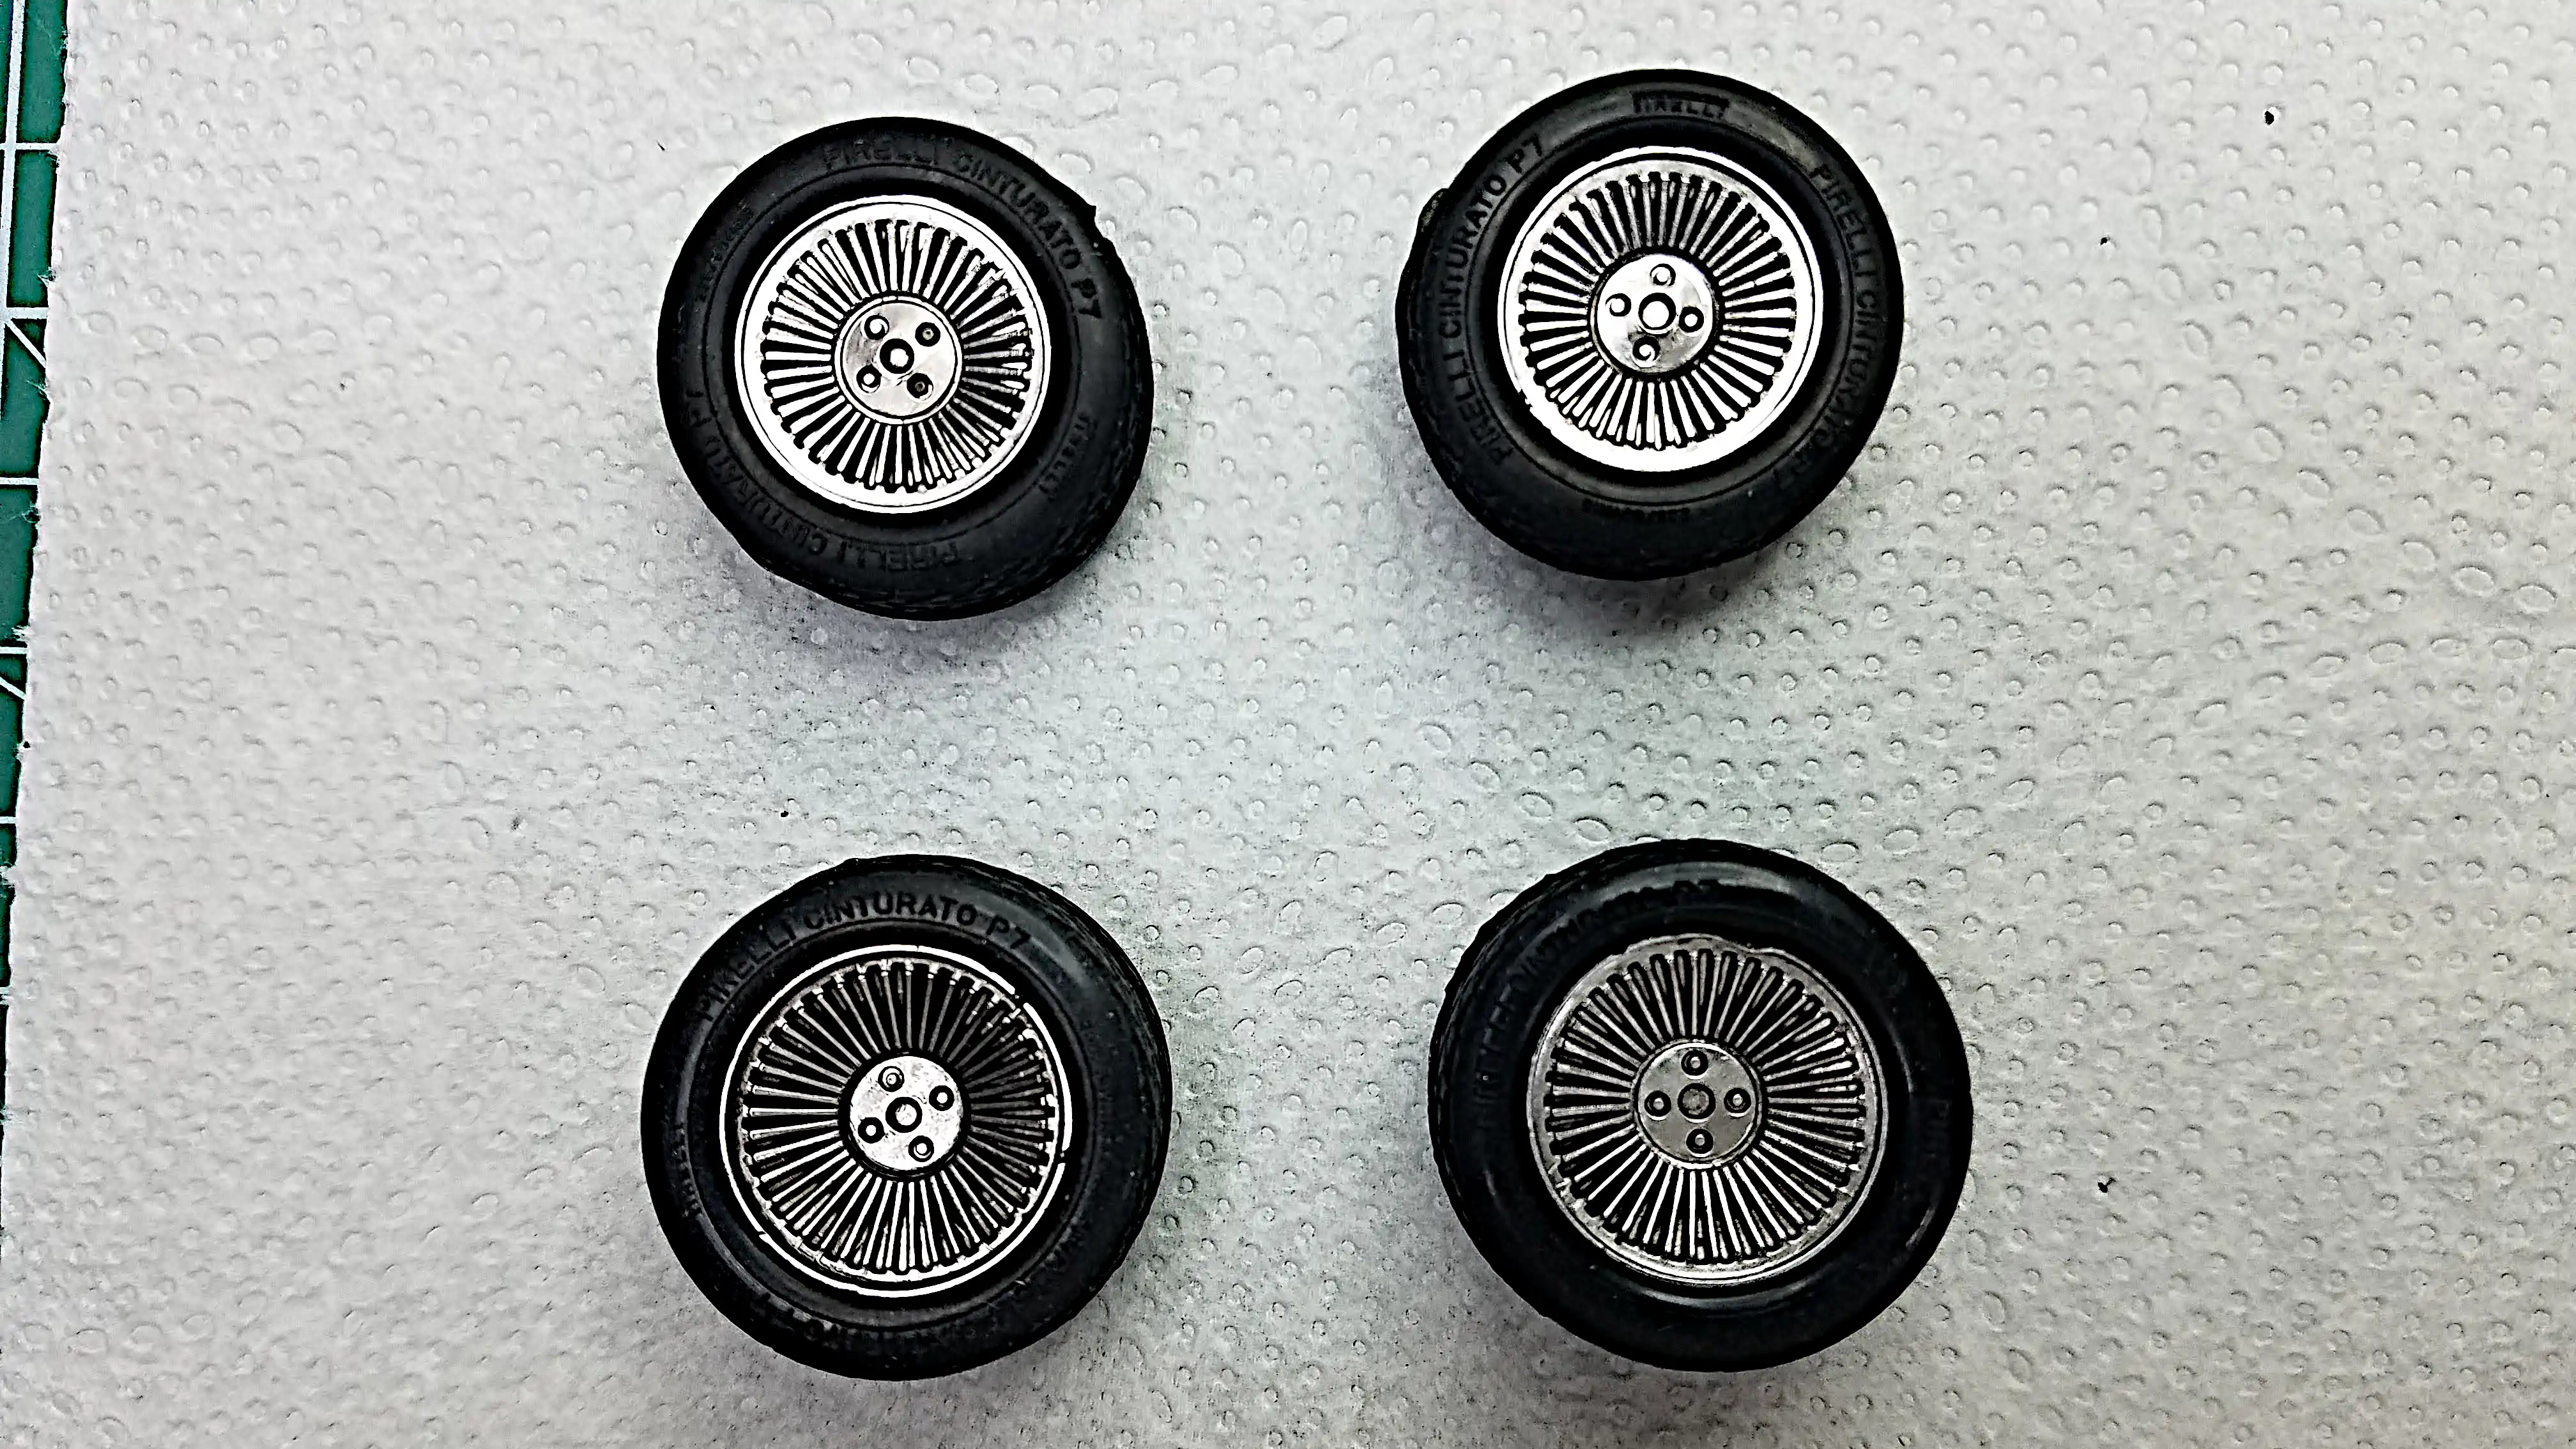 Wheels are being assembled and black lined
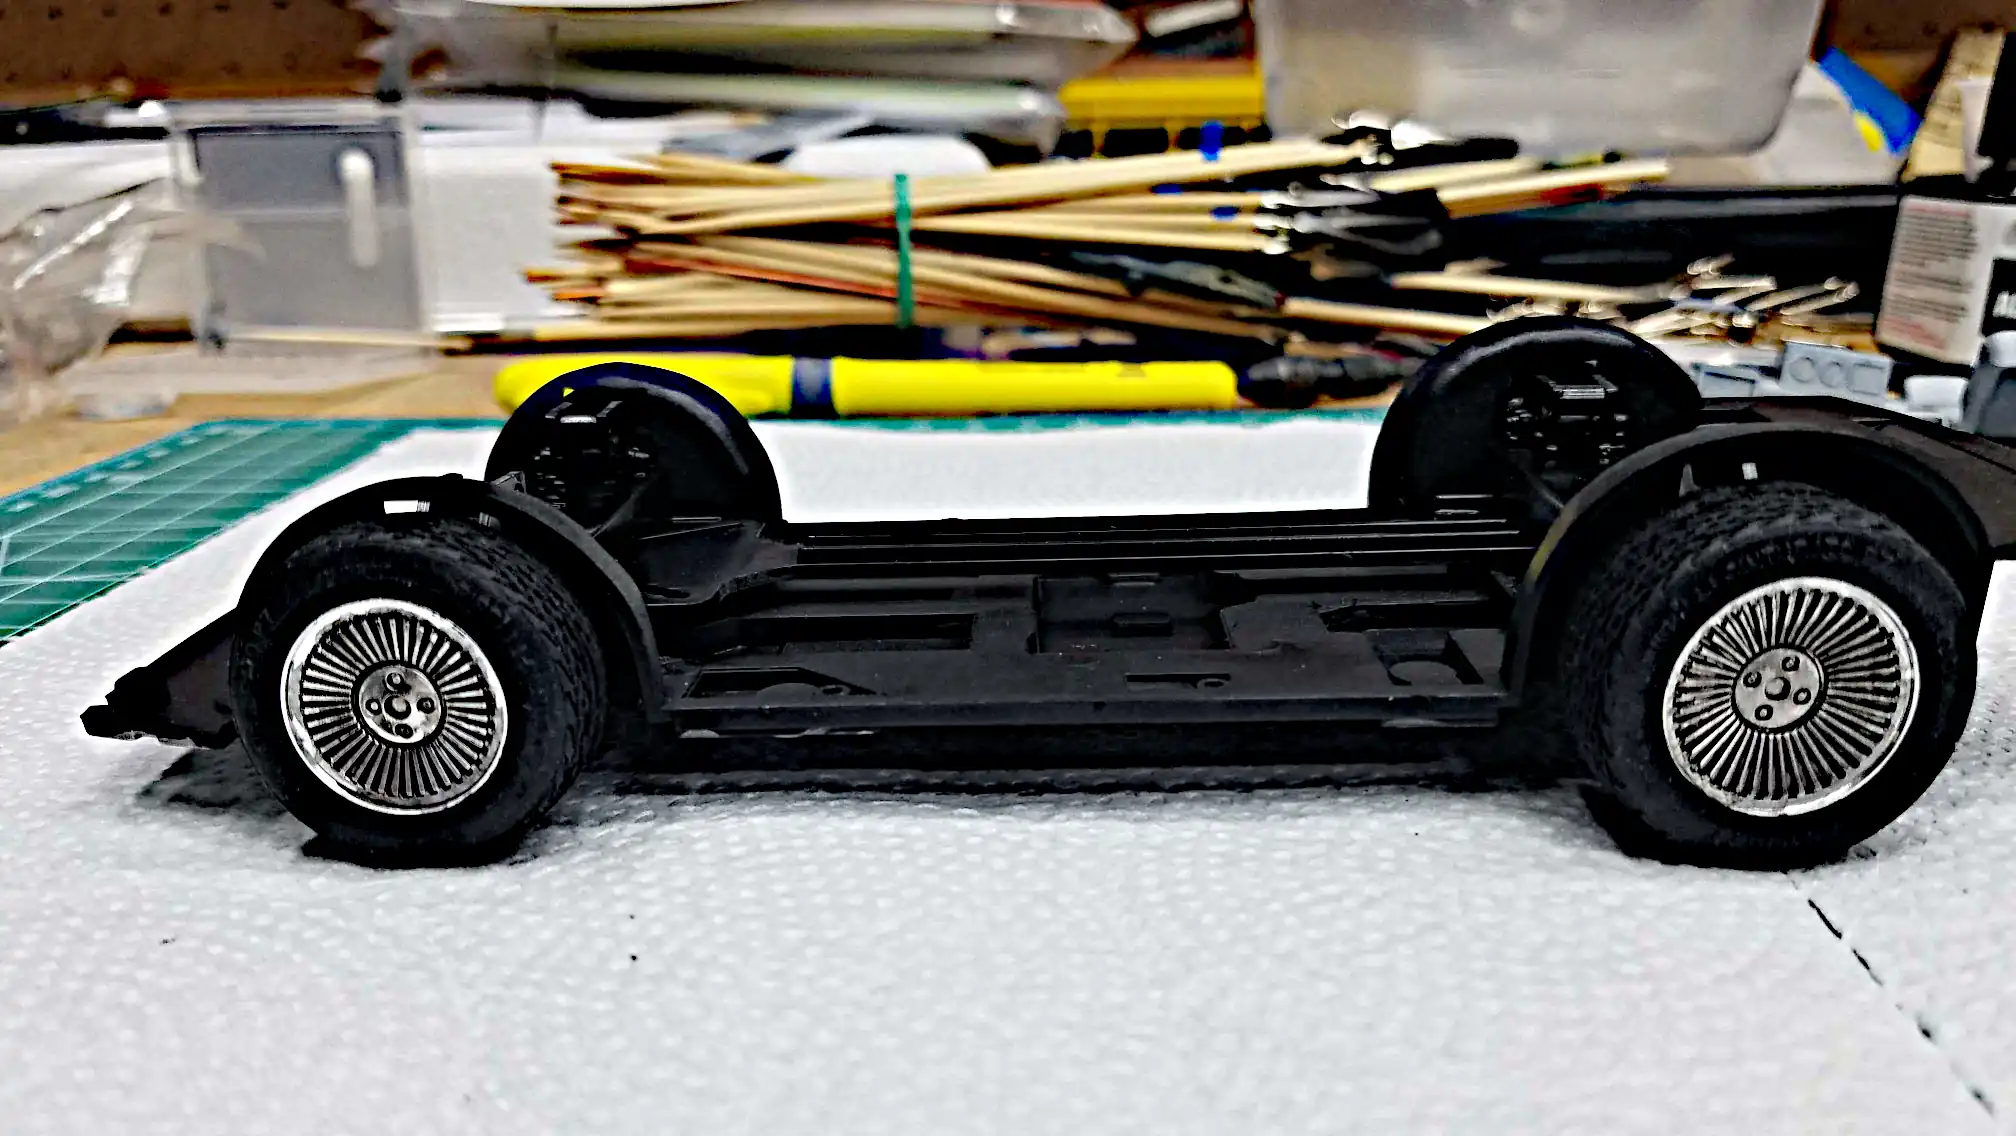 Side view of chassis with wheels in the driving position
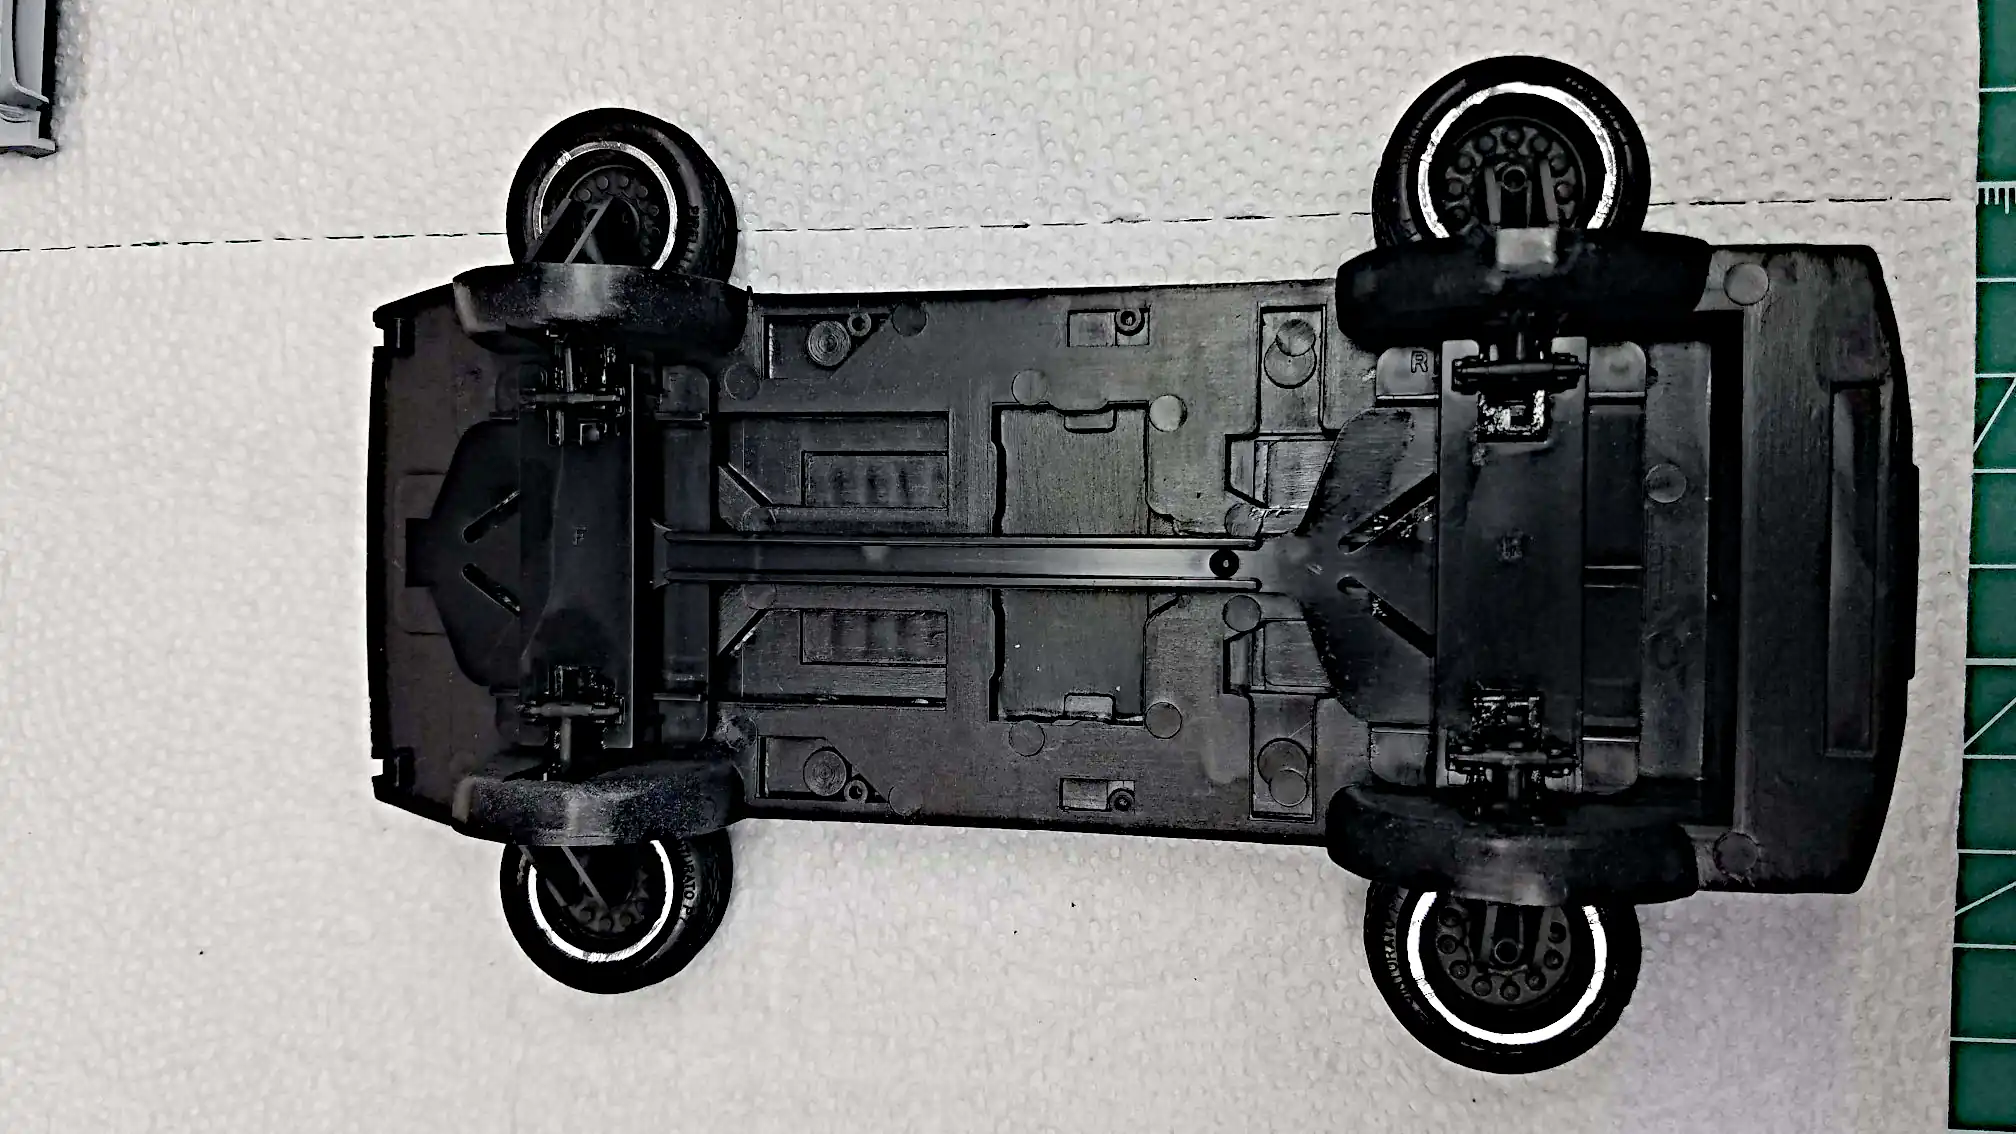
 Top view of chassis with wheels in driving position
 Top view of the chassis with wheels in the flying position
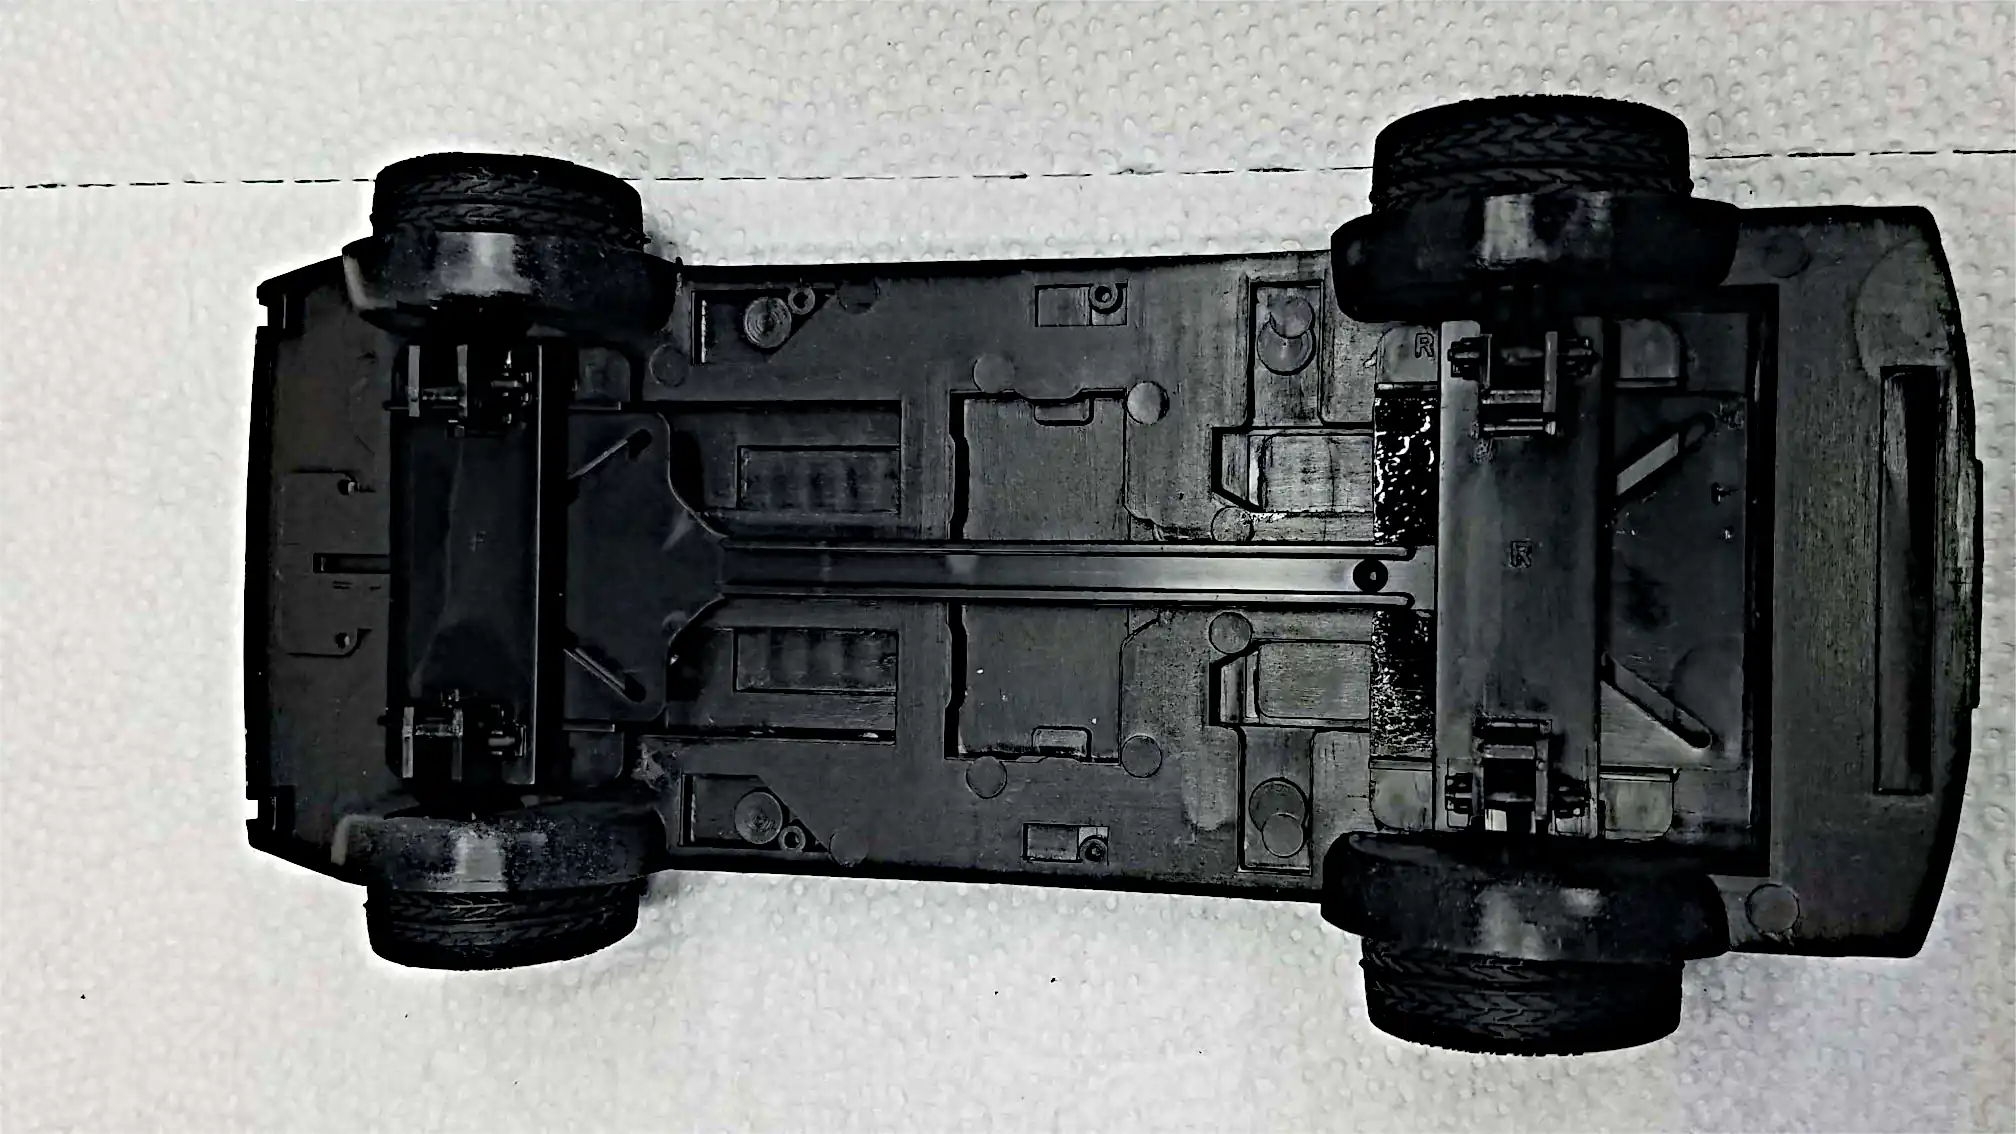
 Bottom view of the chassis with wheels in the flying position
 Test spoons of Vallejo Metal Colors on different primers
 Test spoons of Vallejo Metal Colors on different primers
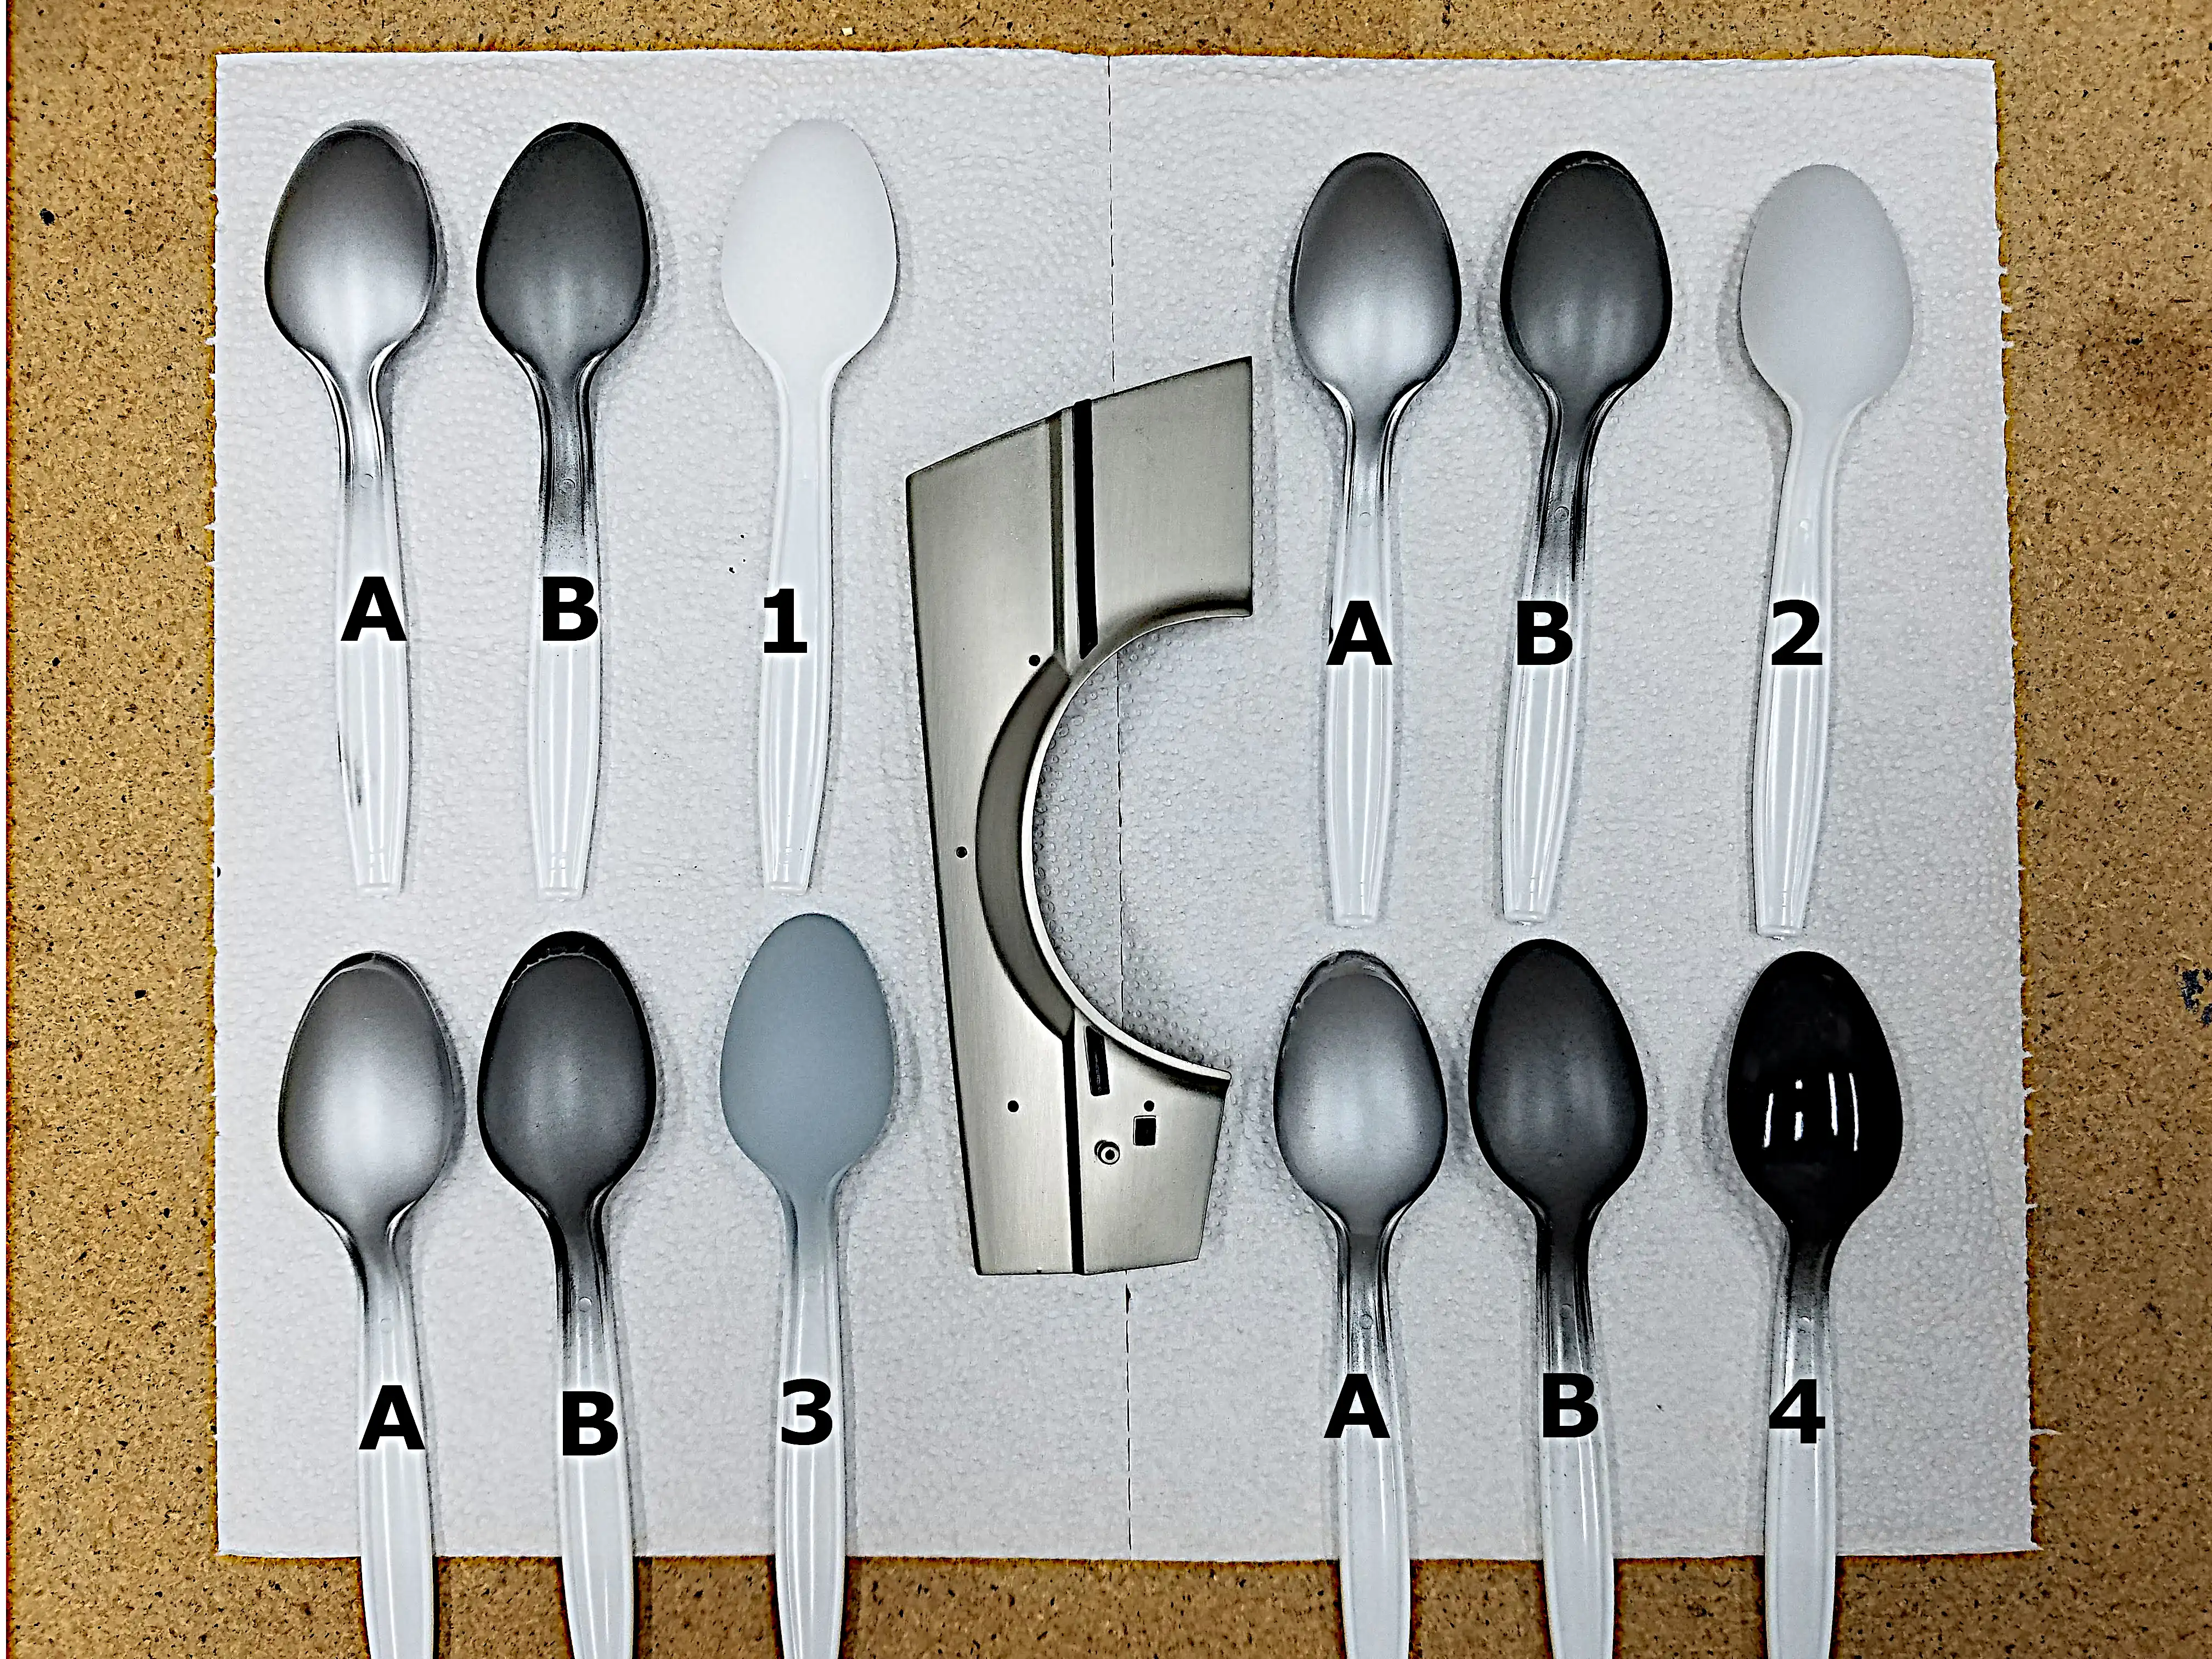
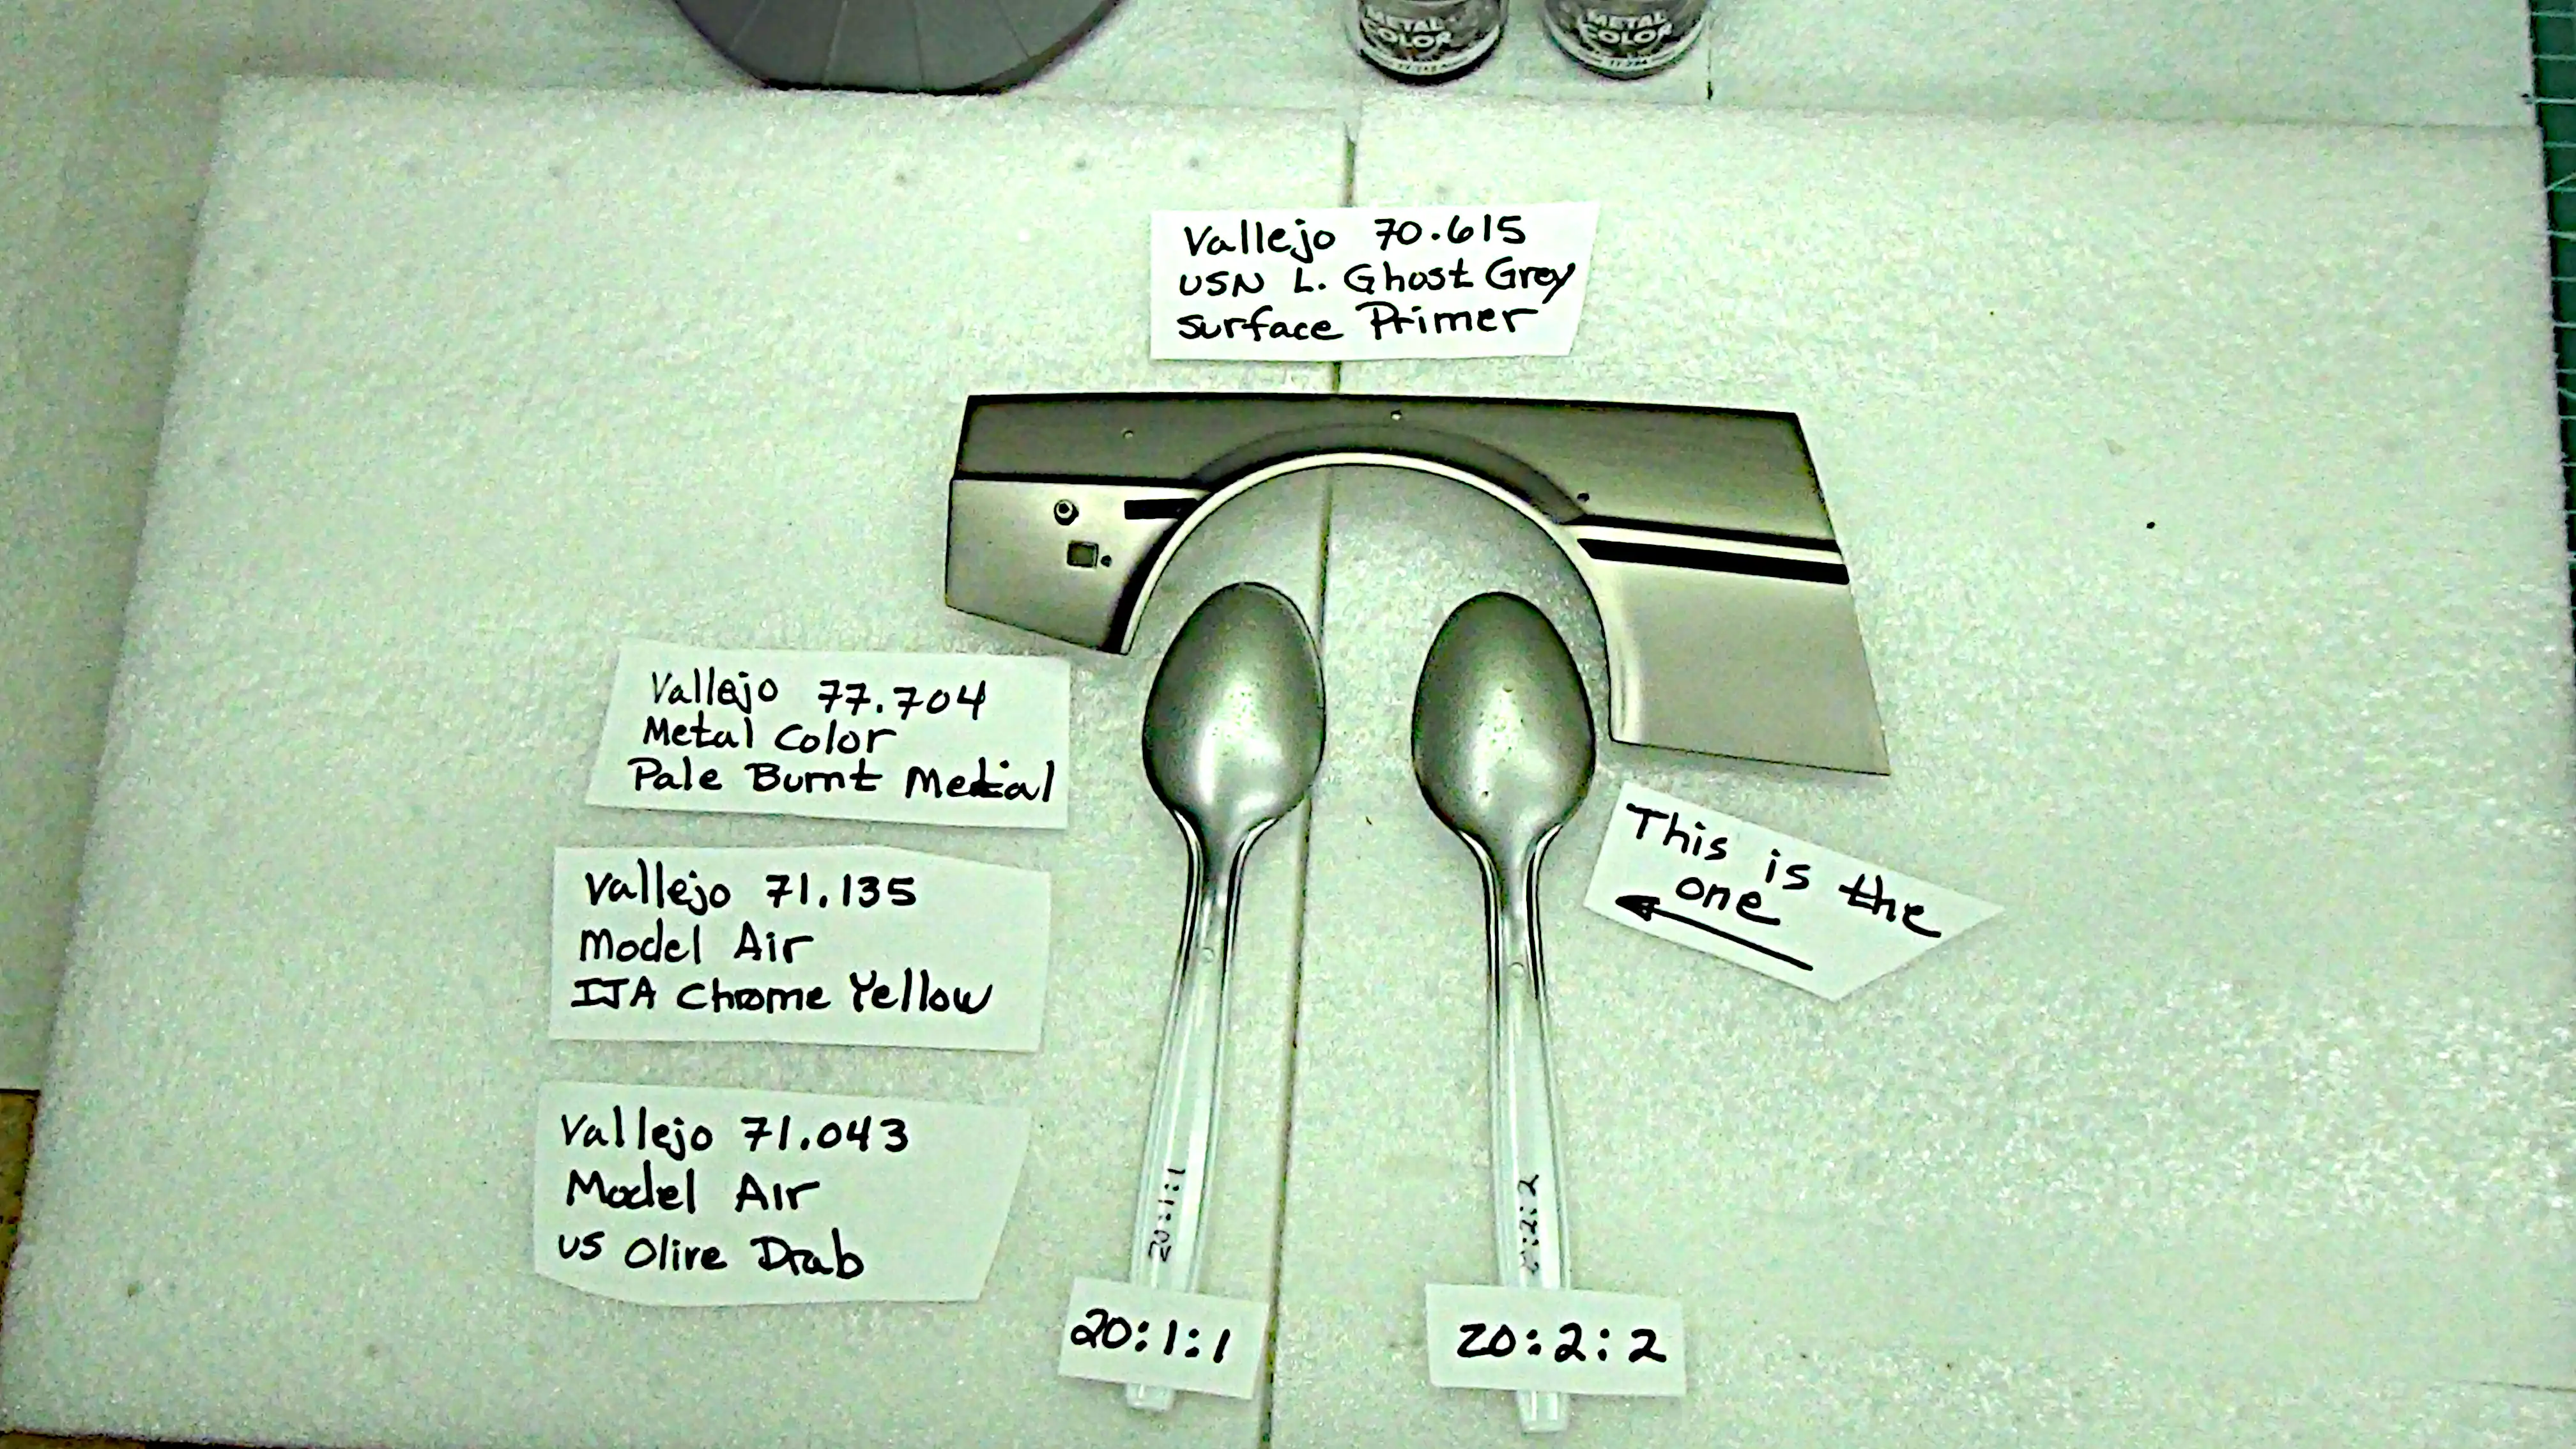 Two test spoons showing good match to fender from Fanhome 1:8 Delorean
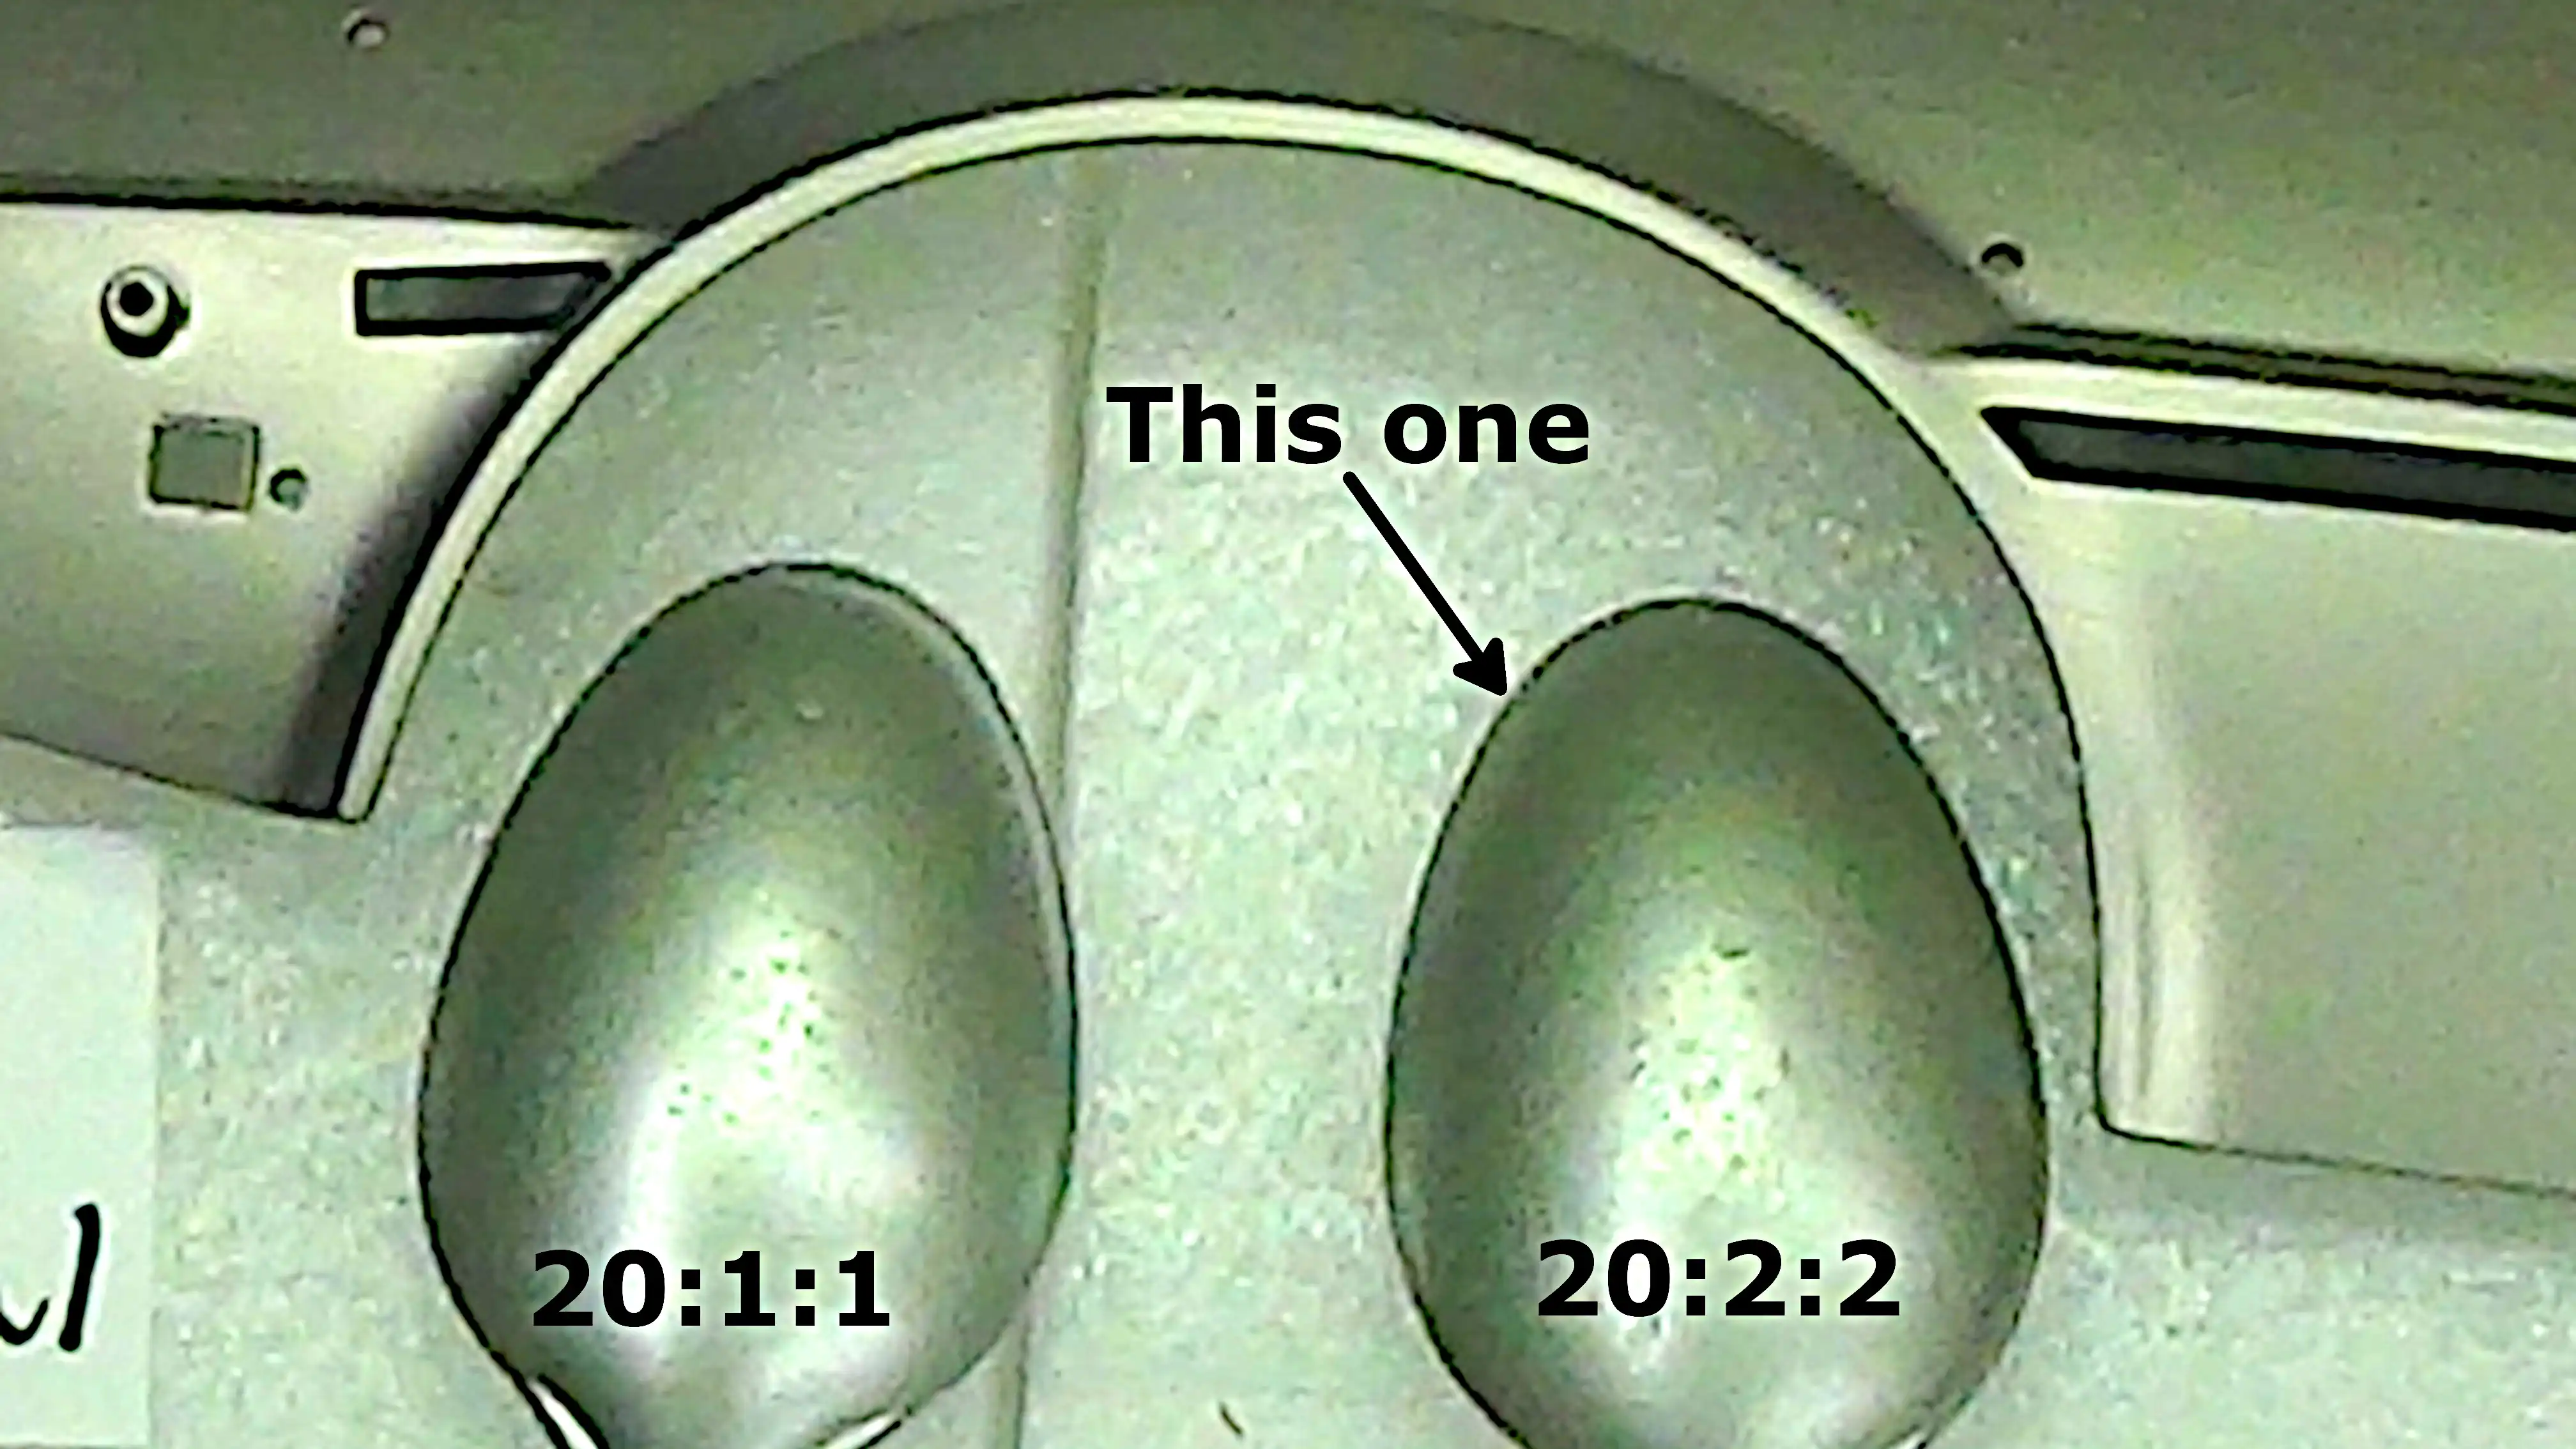 Close up of good match to fender from 1:8 Delorean from Fanhome
 Test spoons for interior color
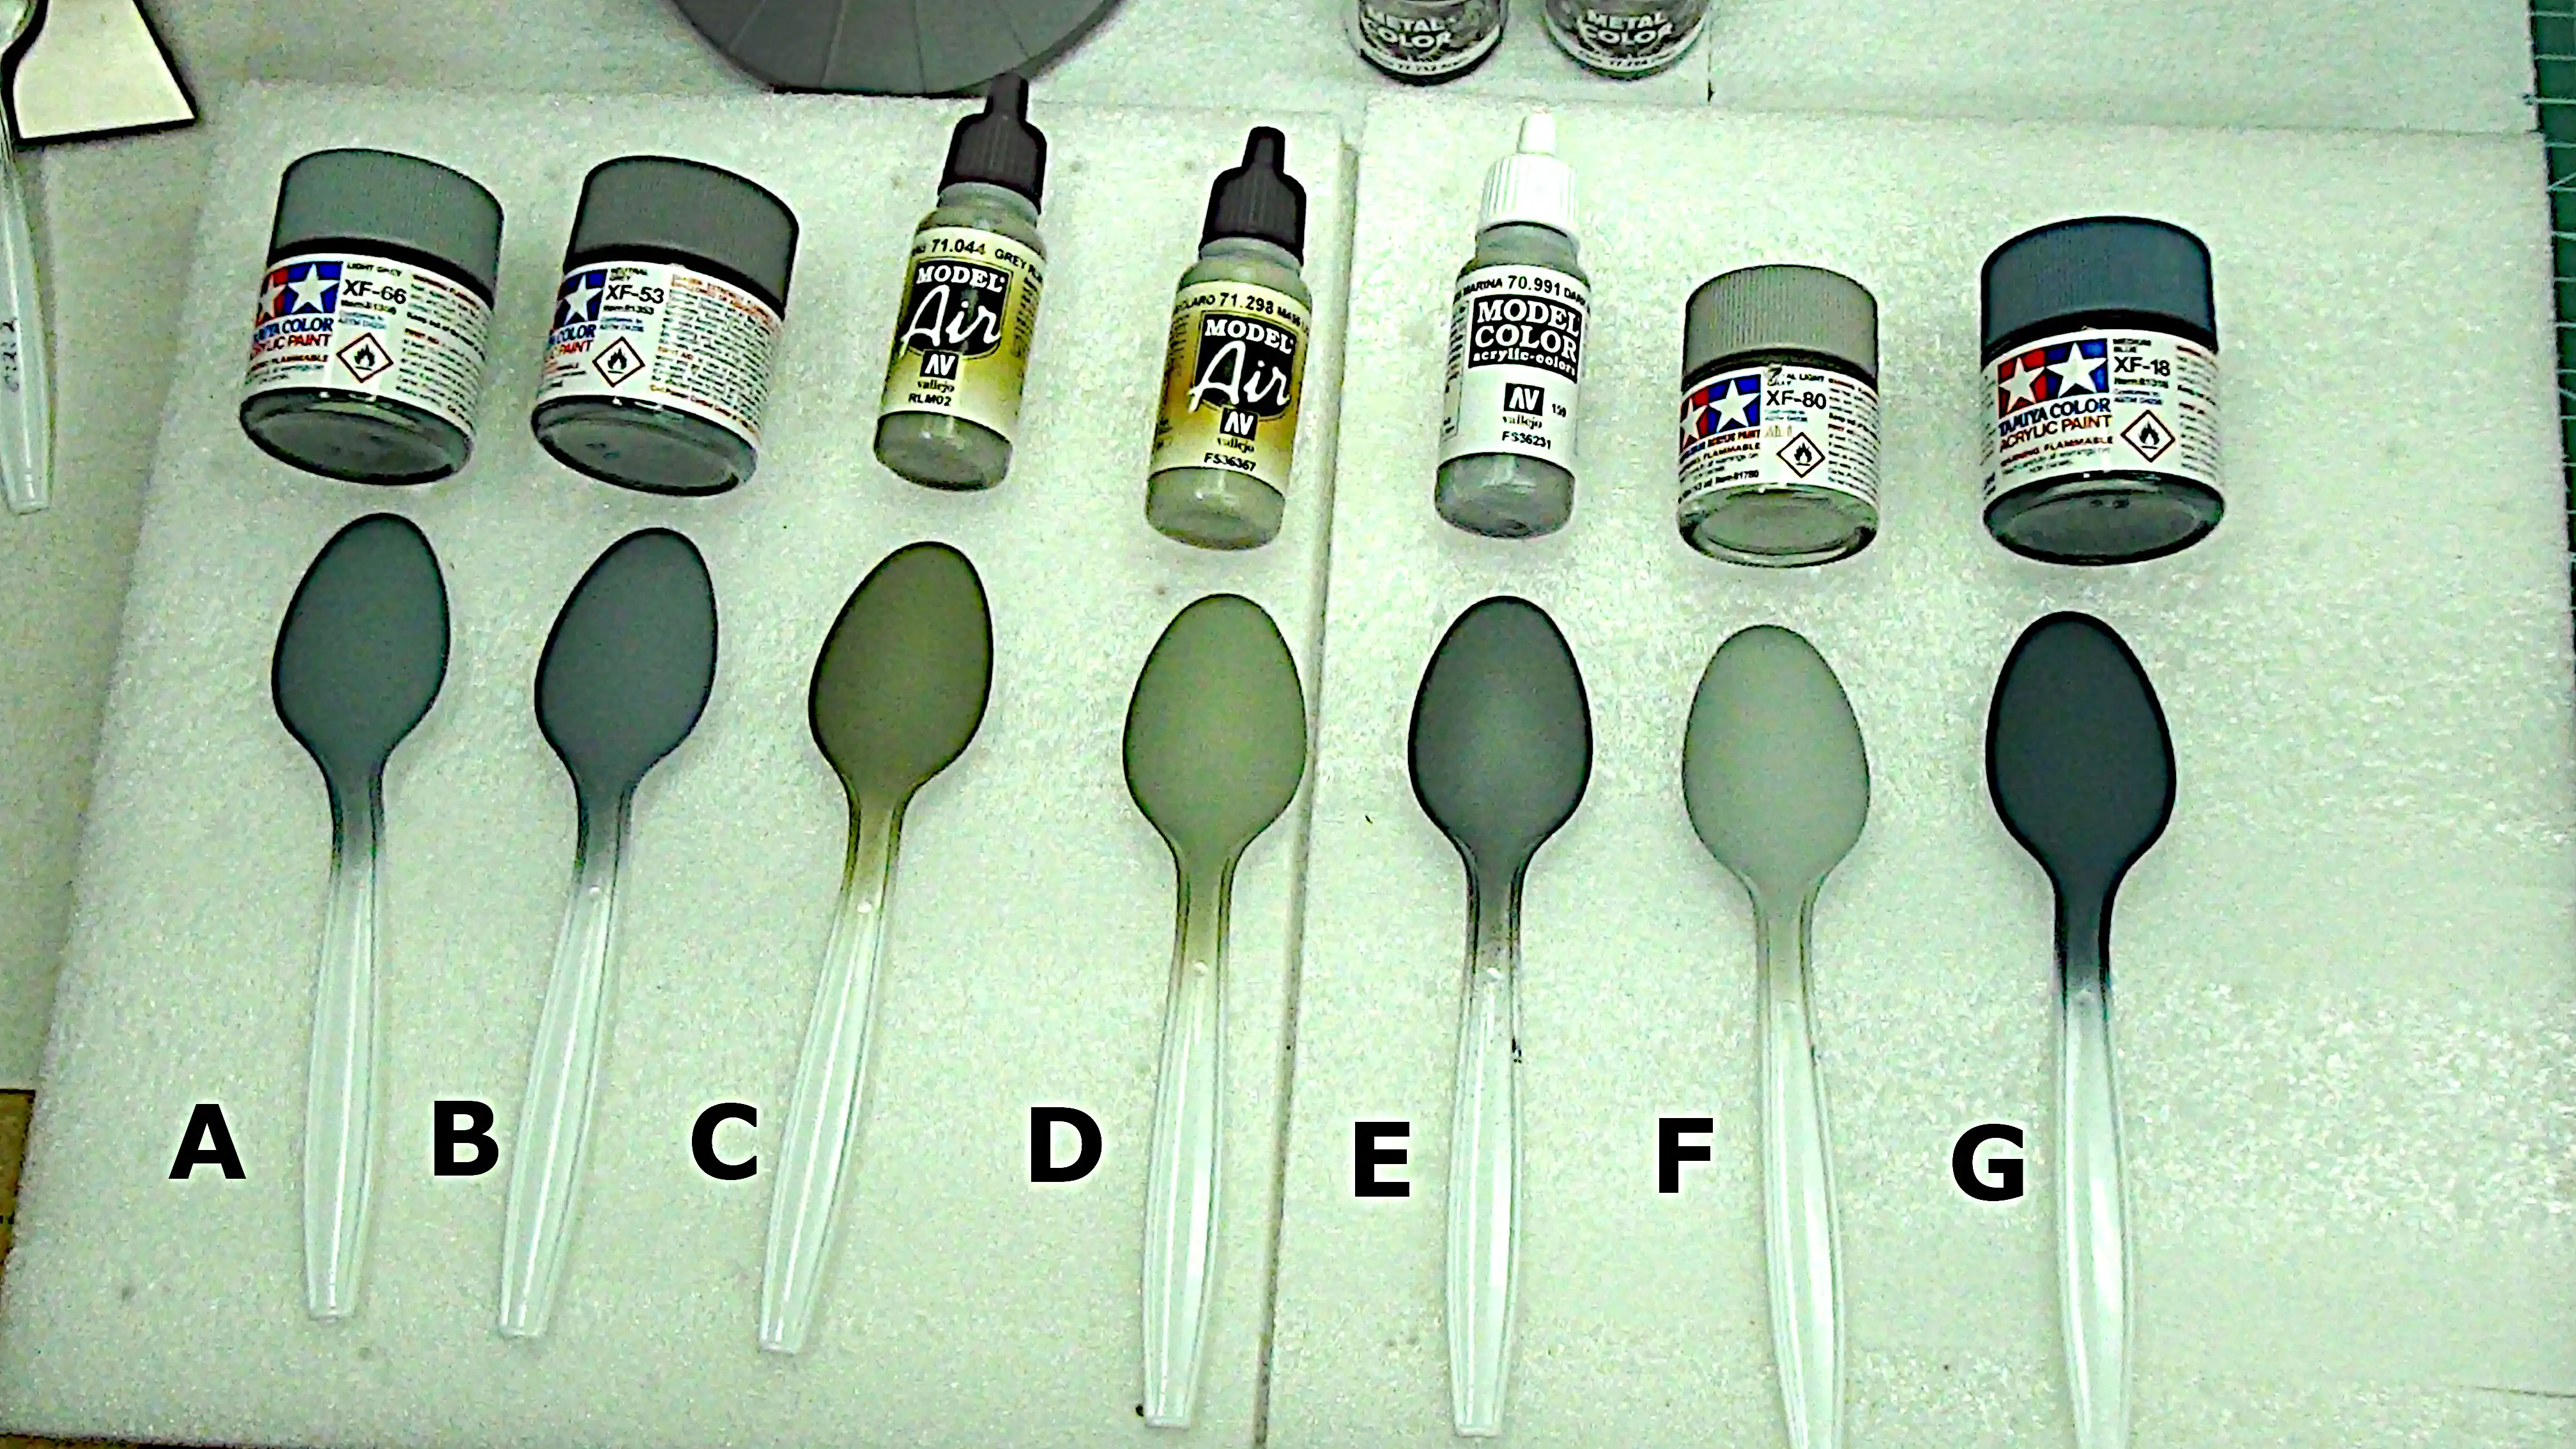
 Misc. test spoons for body color
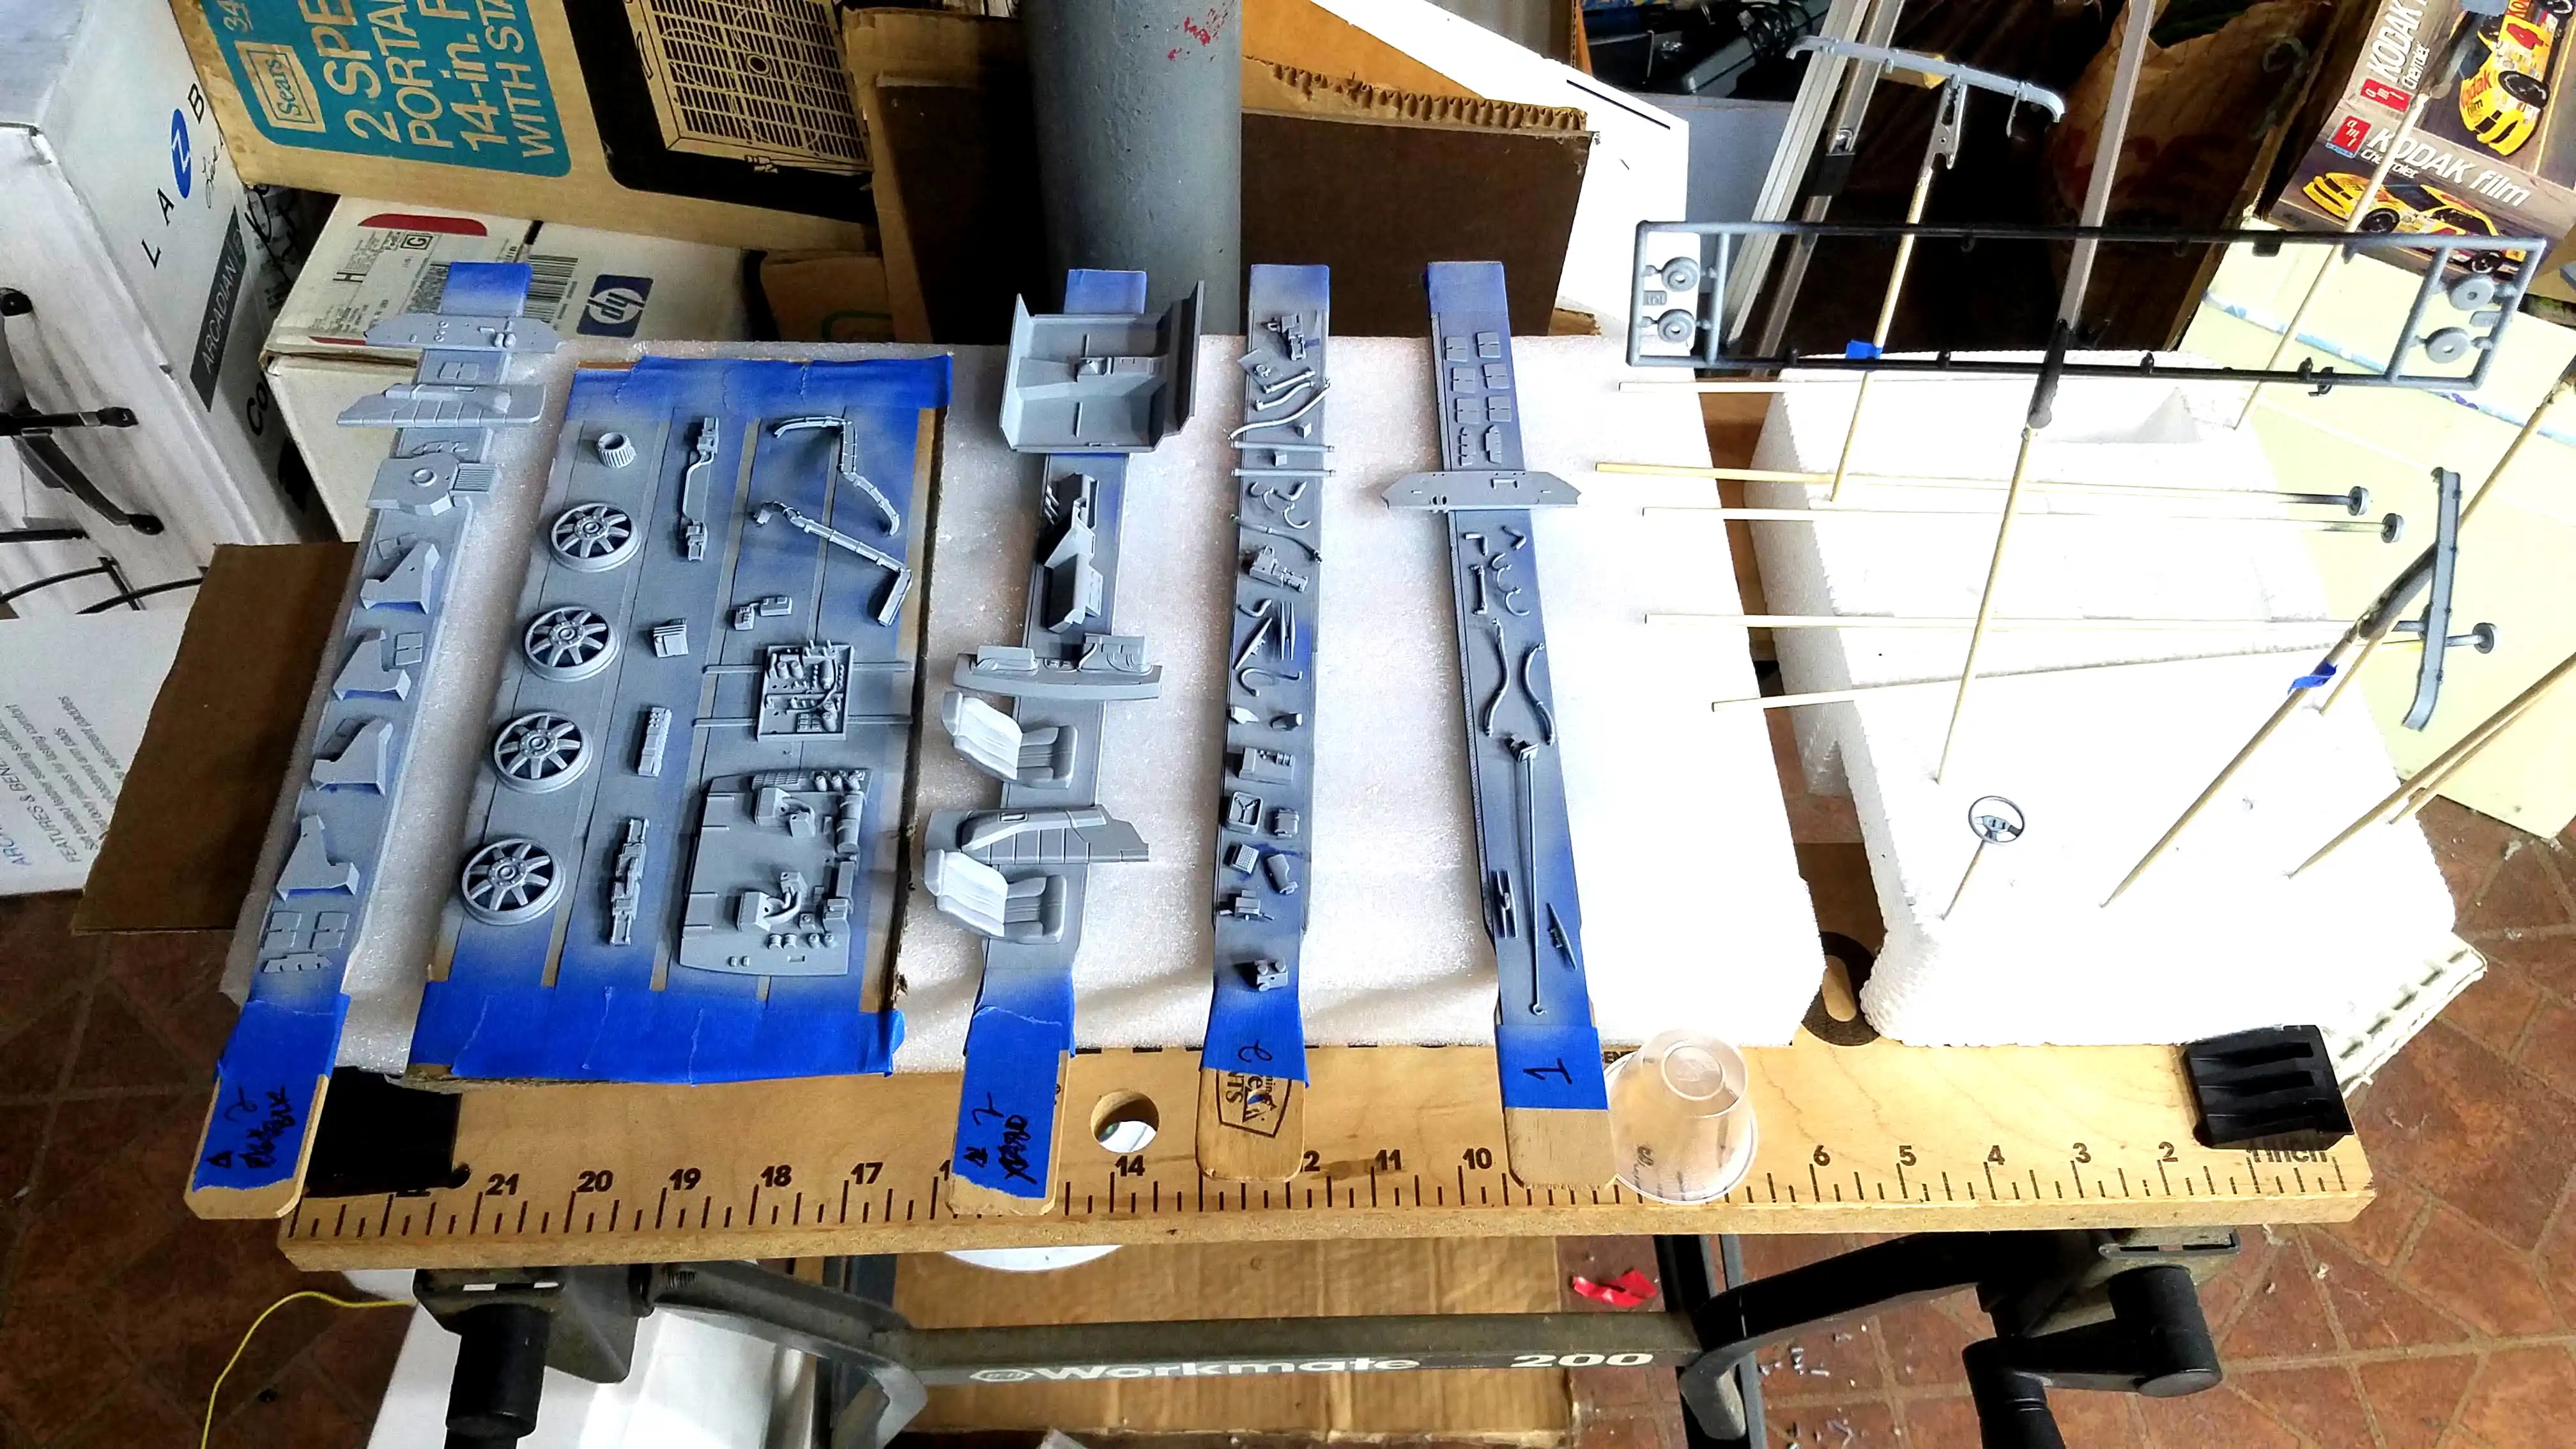
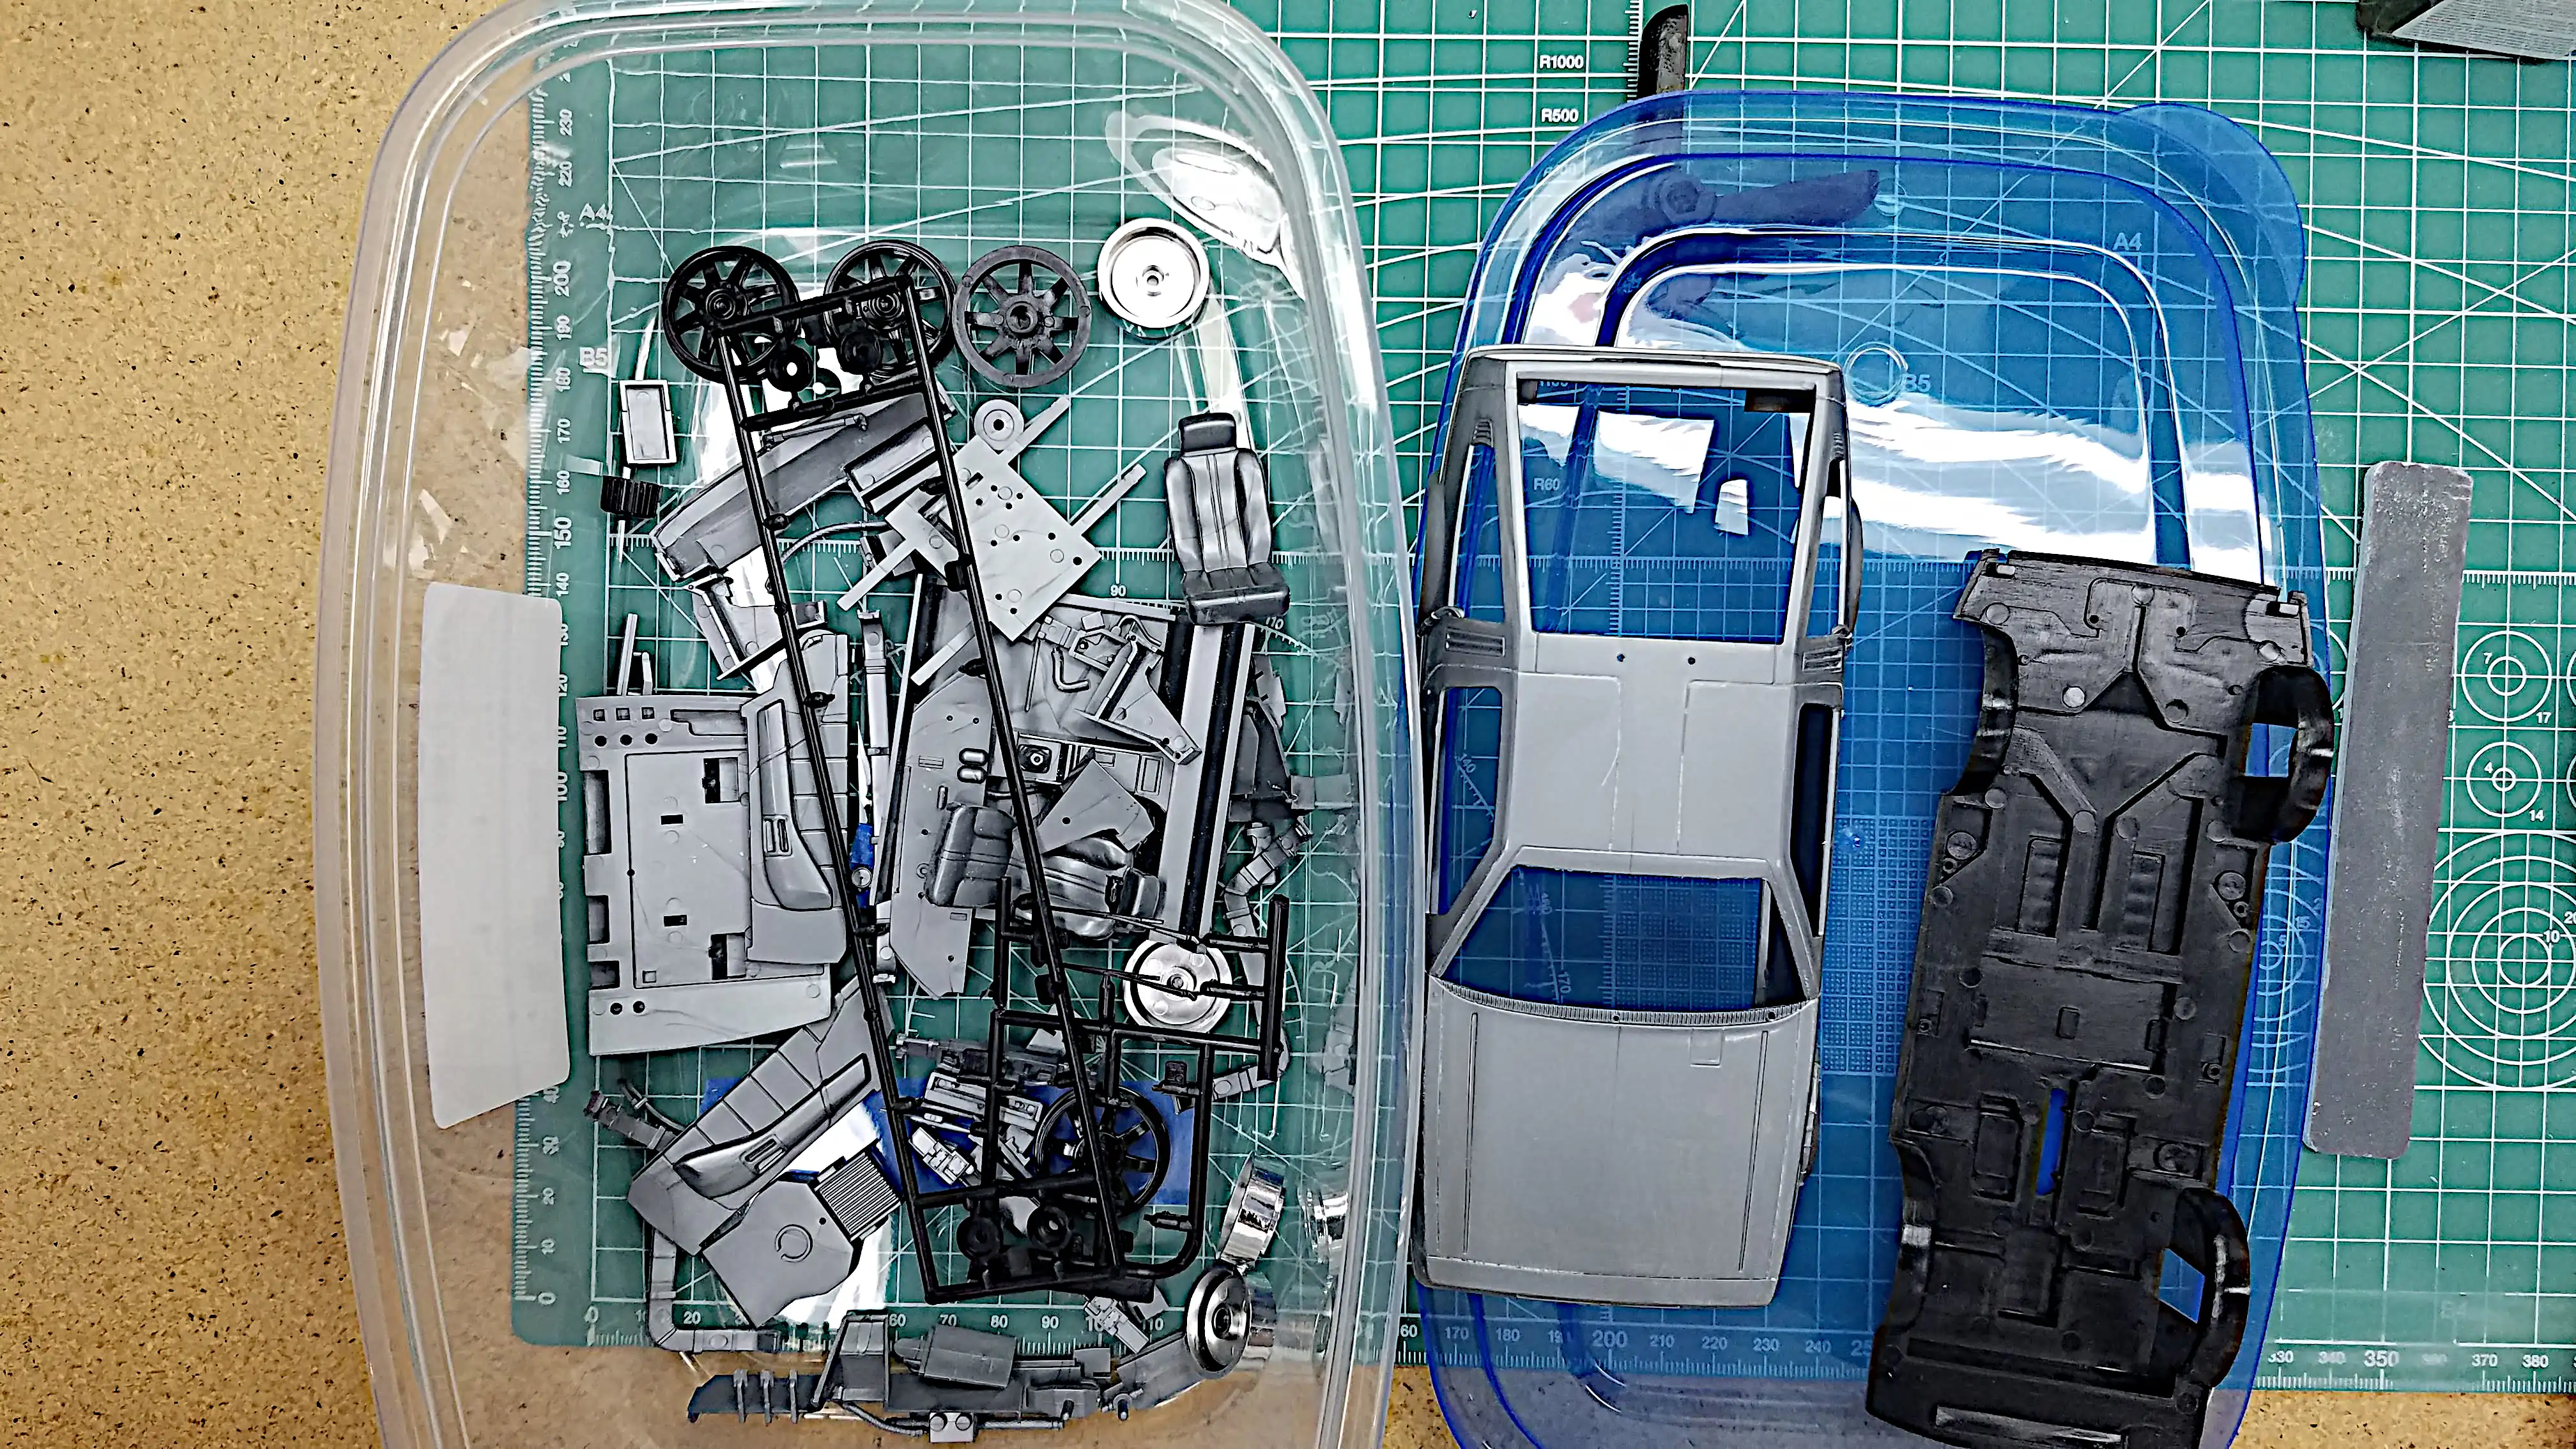 All parts off the sprues
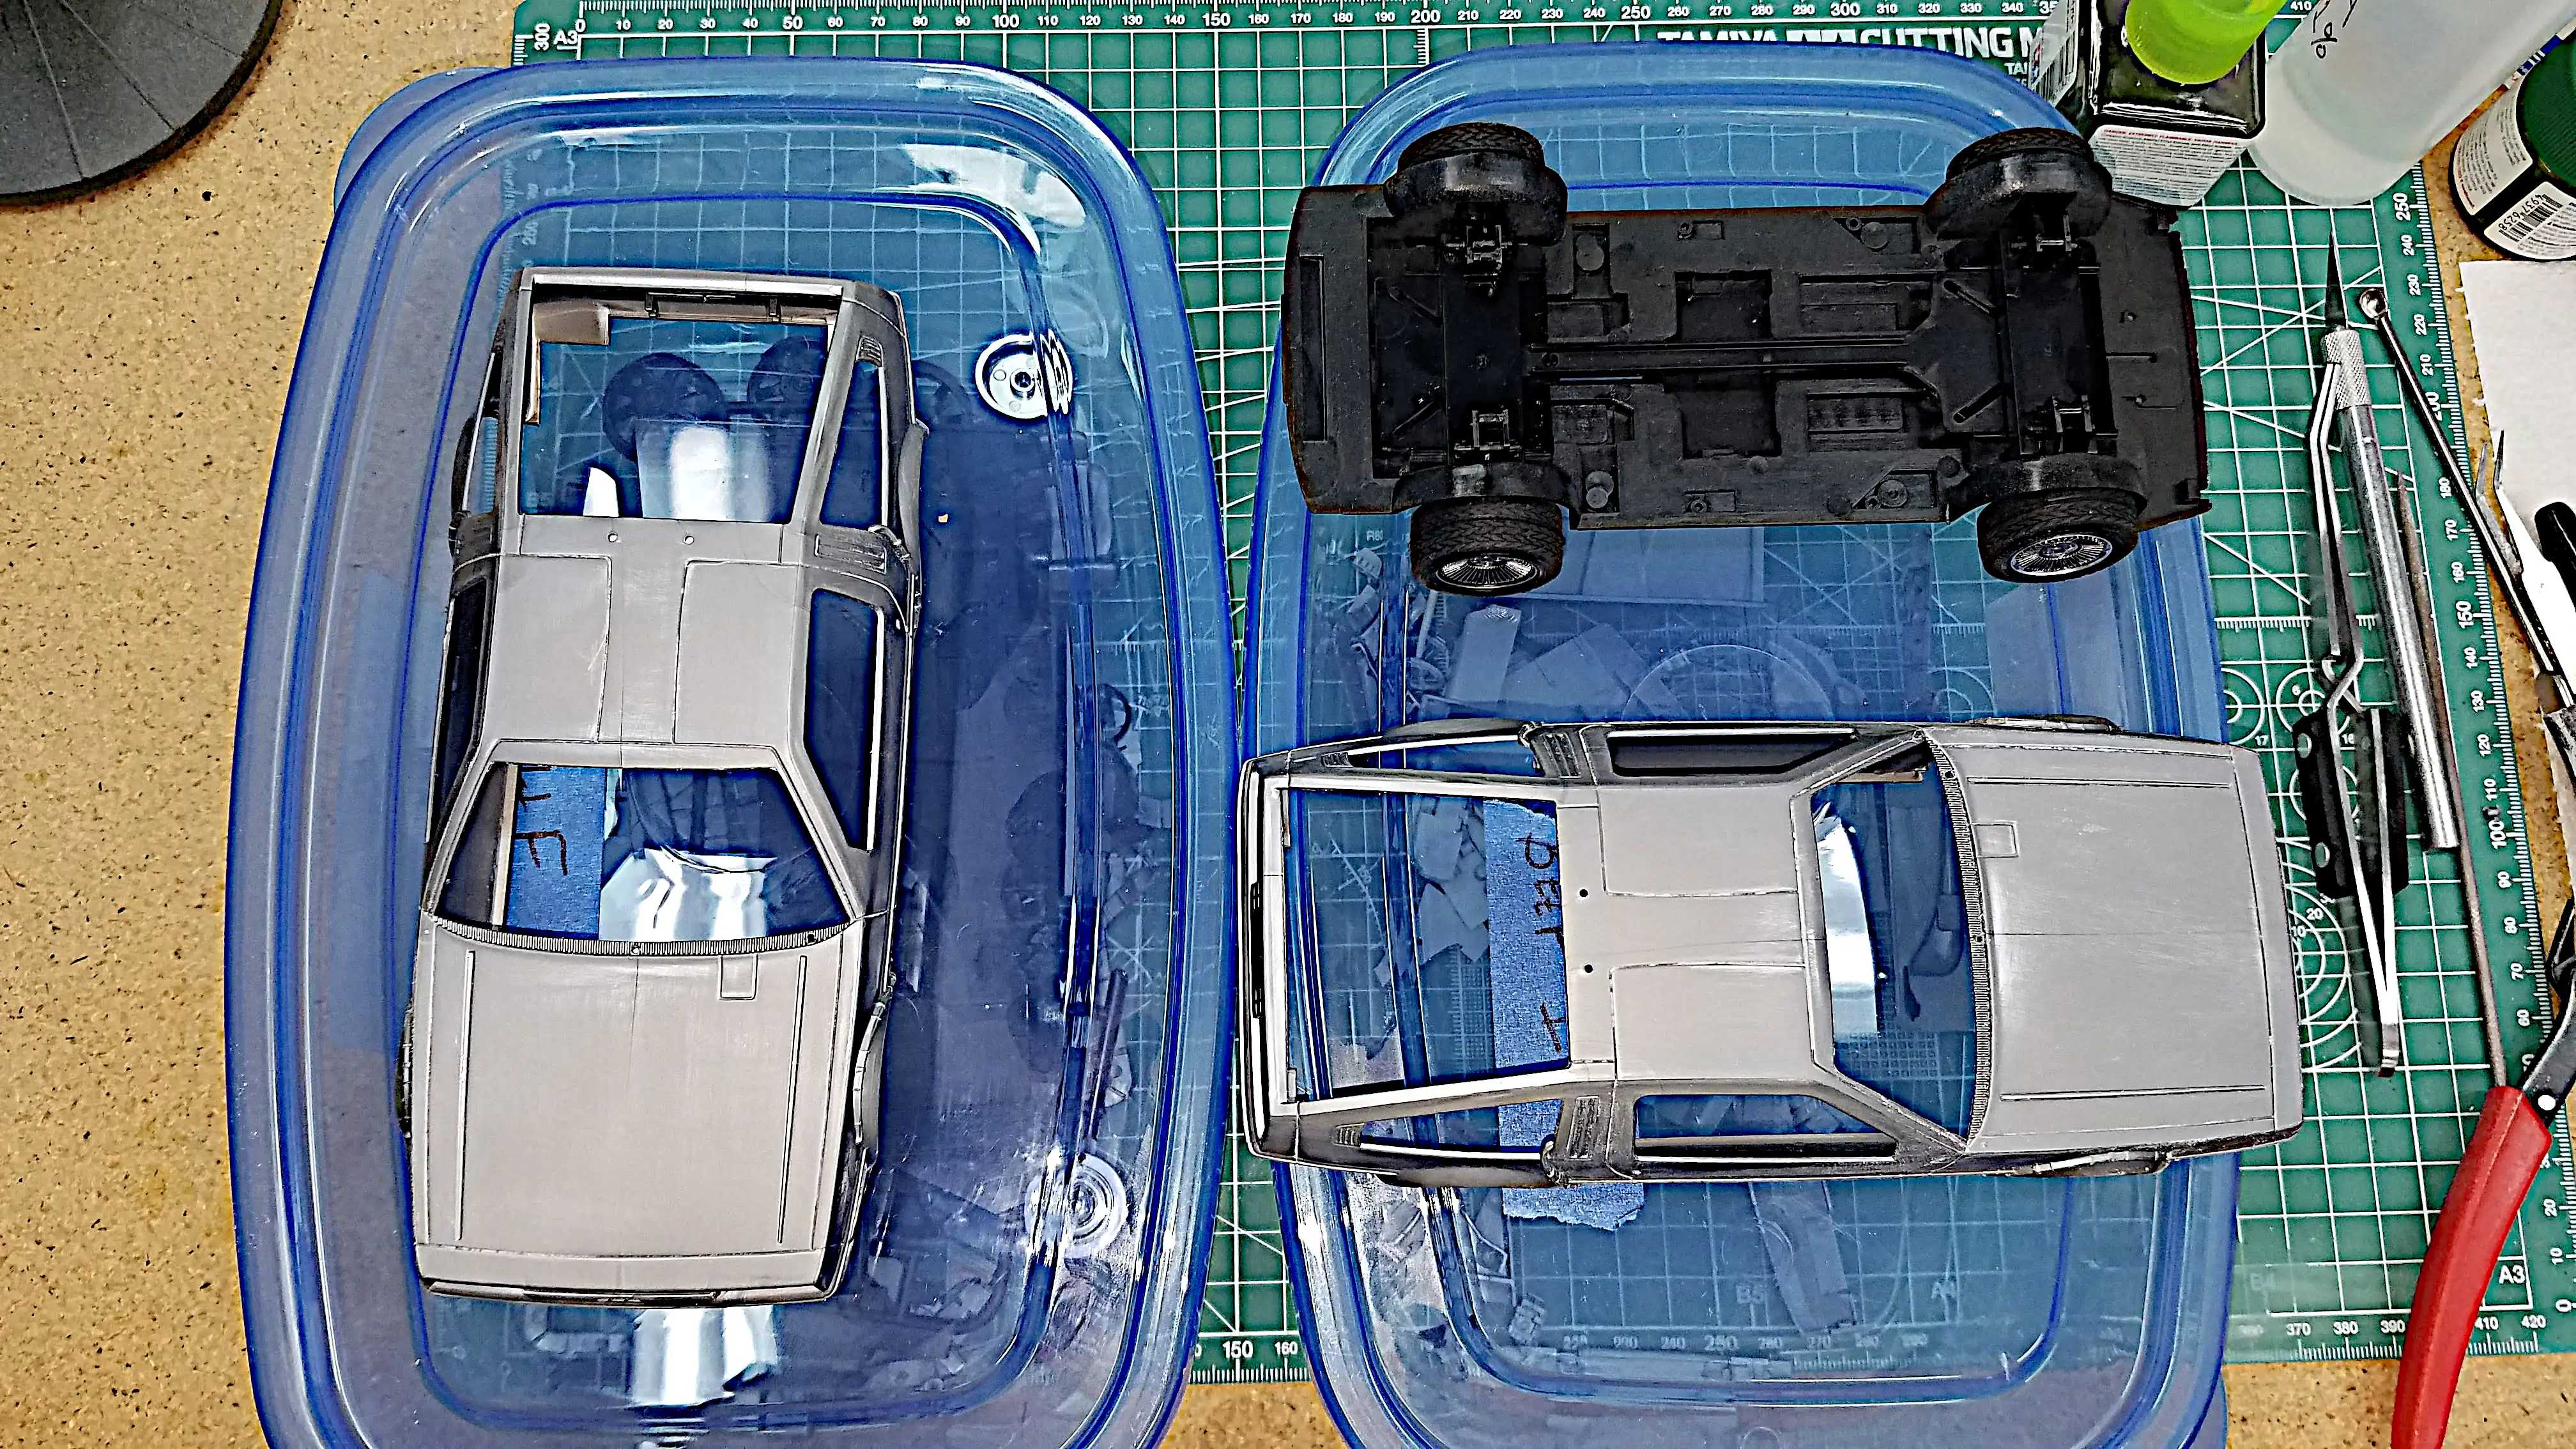 Back to Future I & III kit parts separated
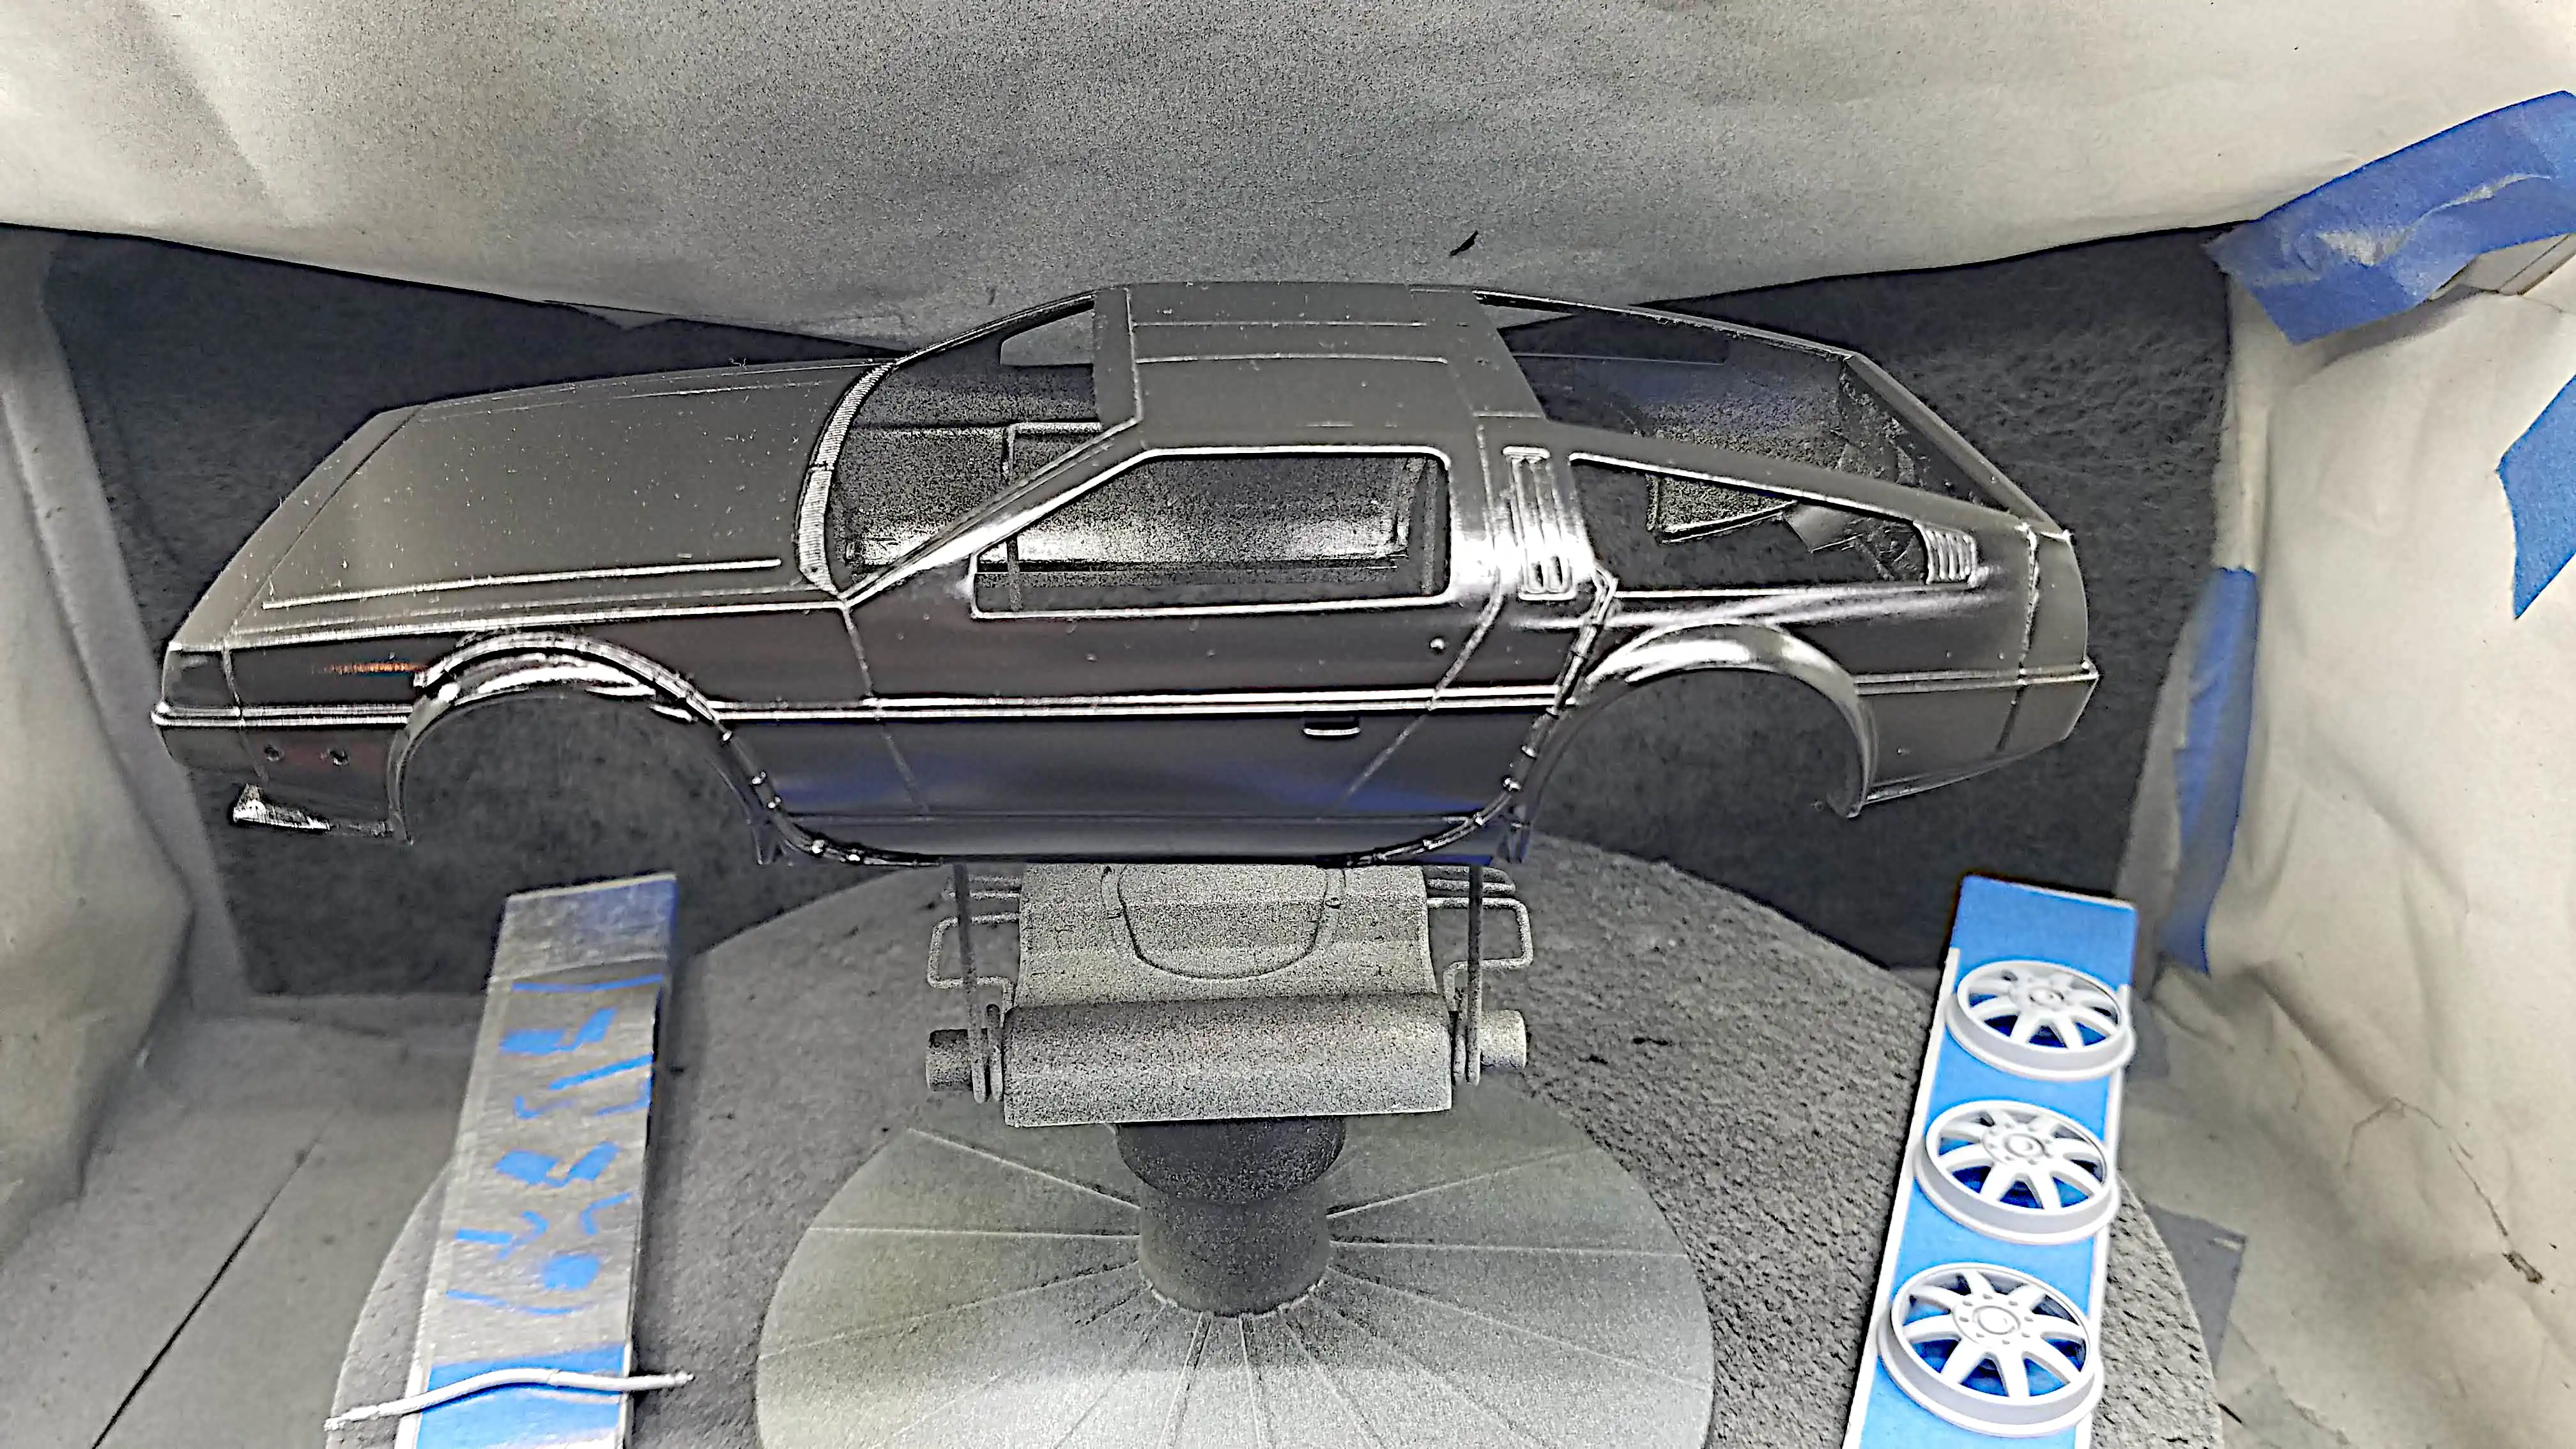
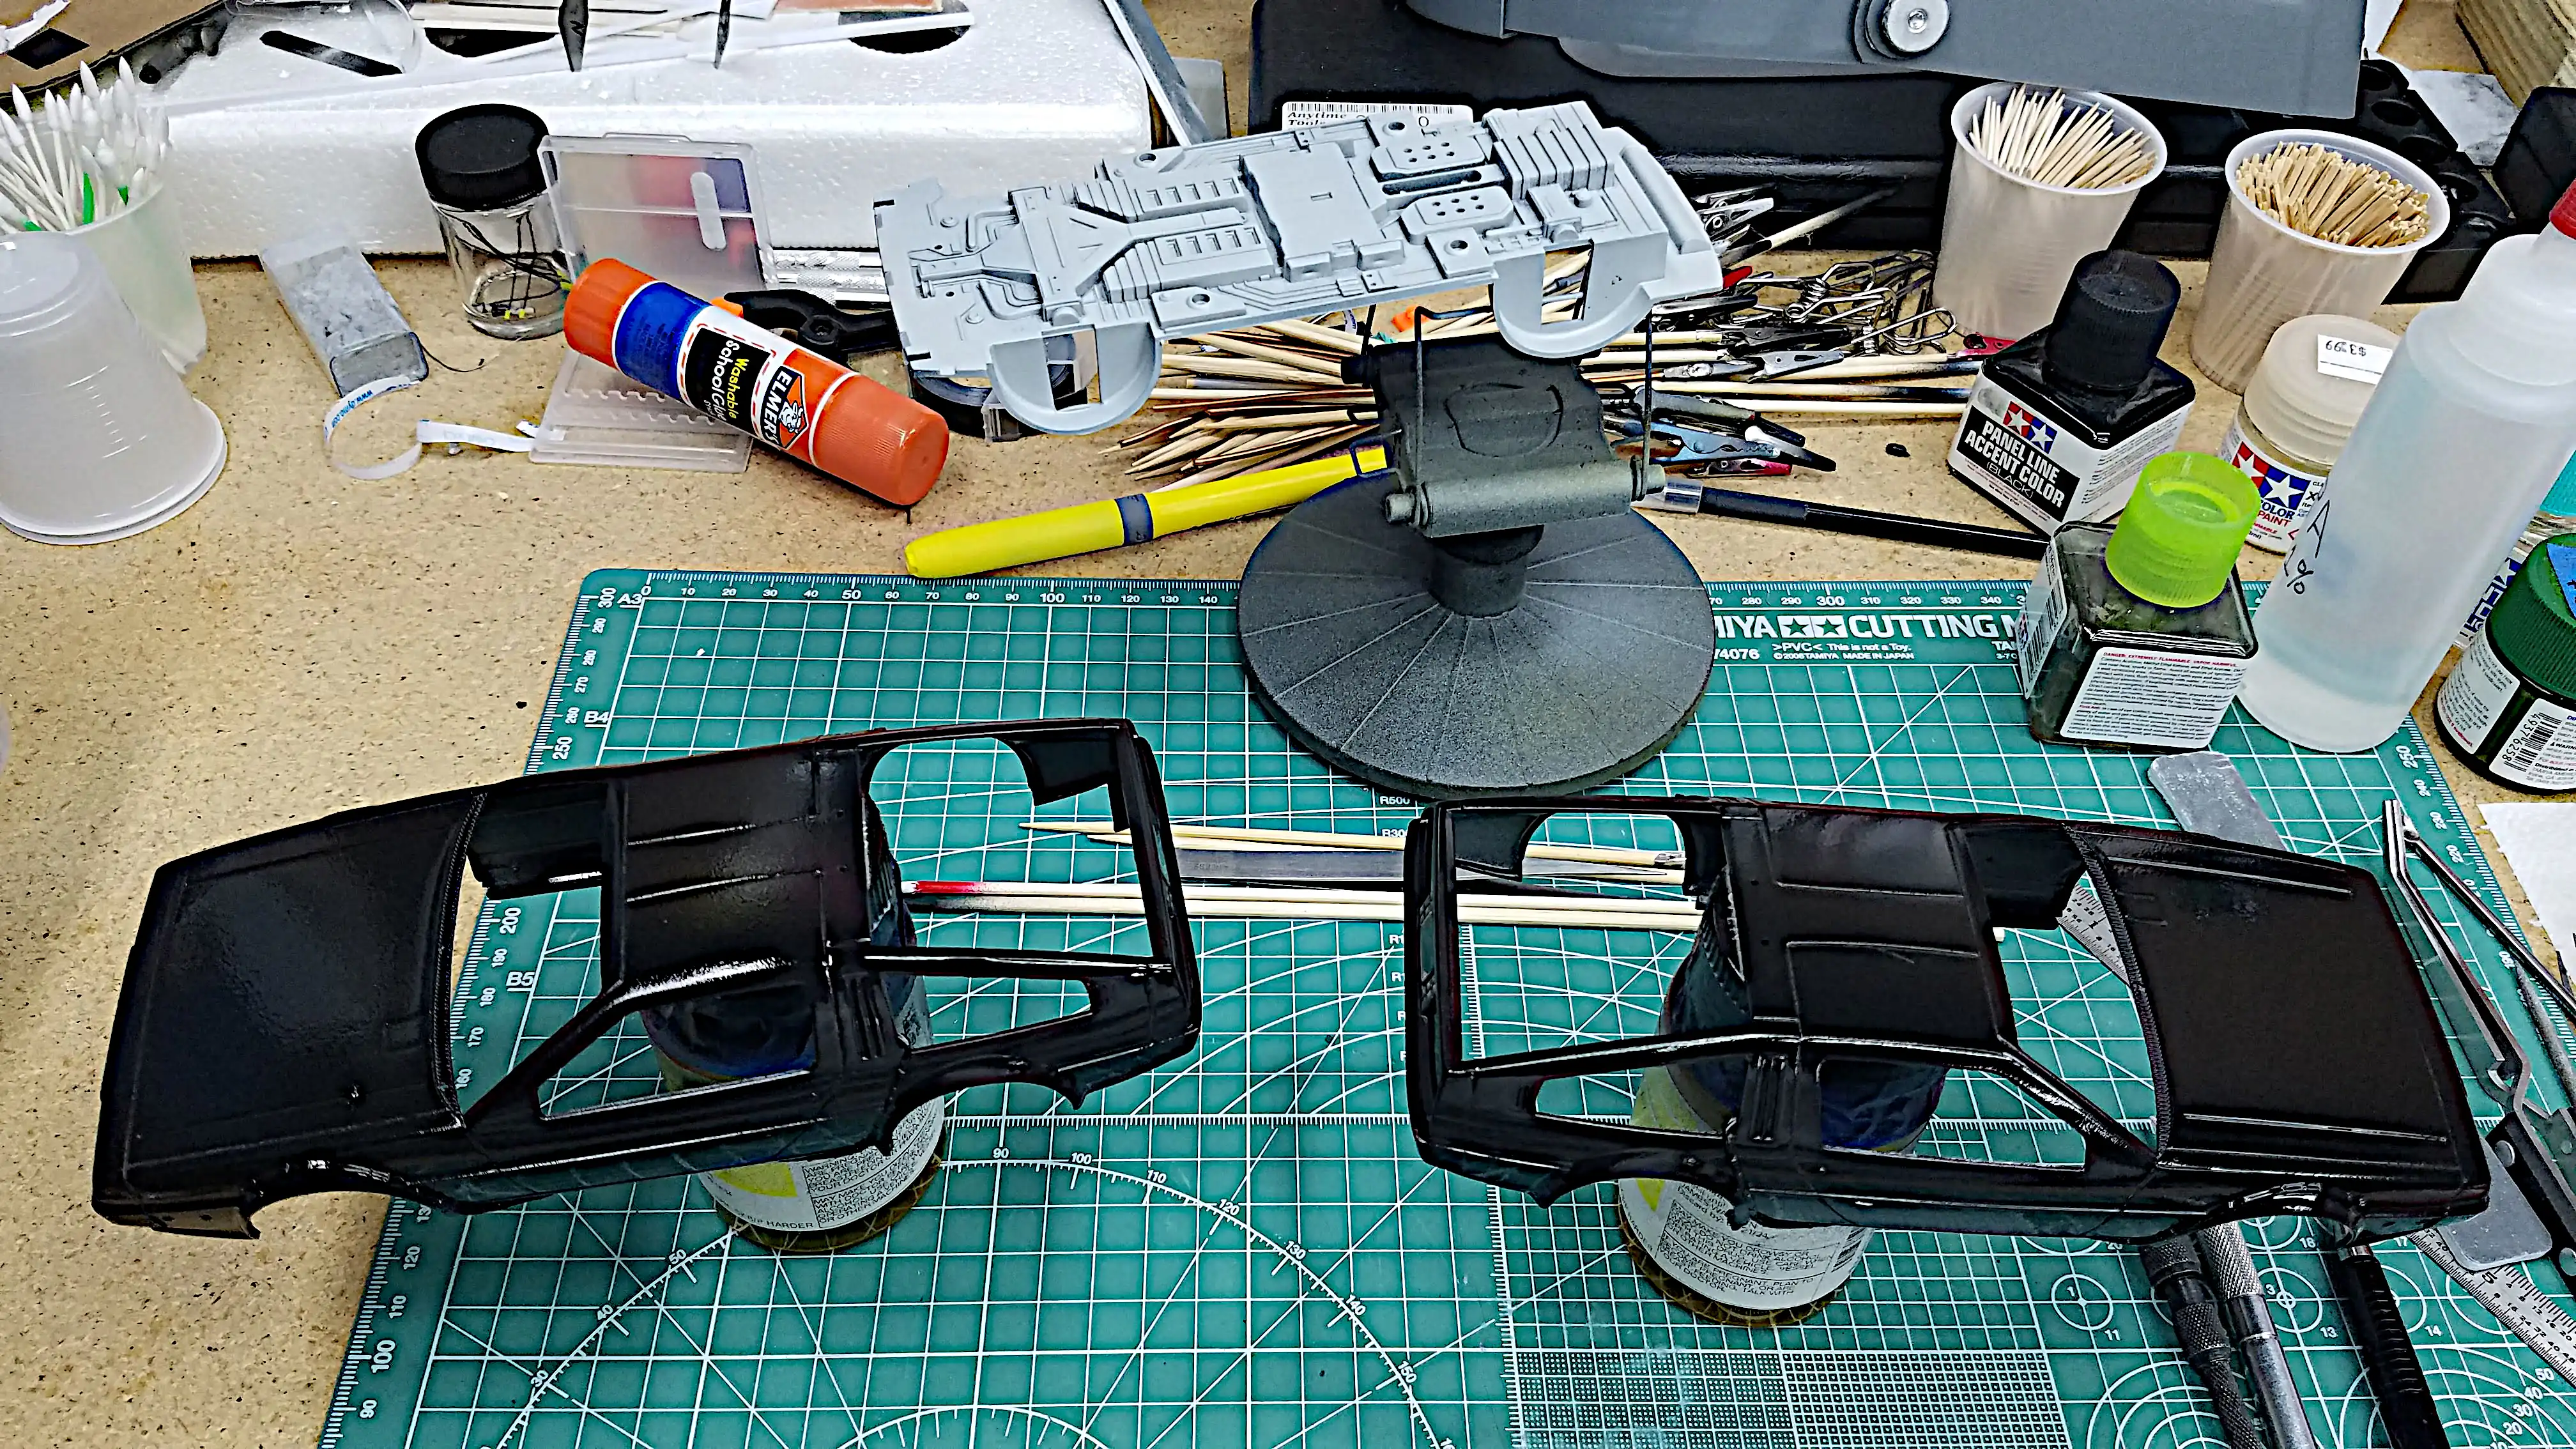 Both bodies in Gloss Block Primer
 All remaining parts in primer
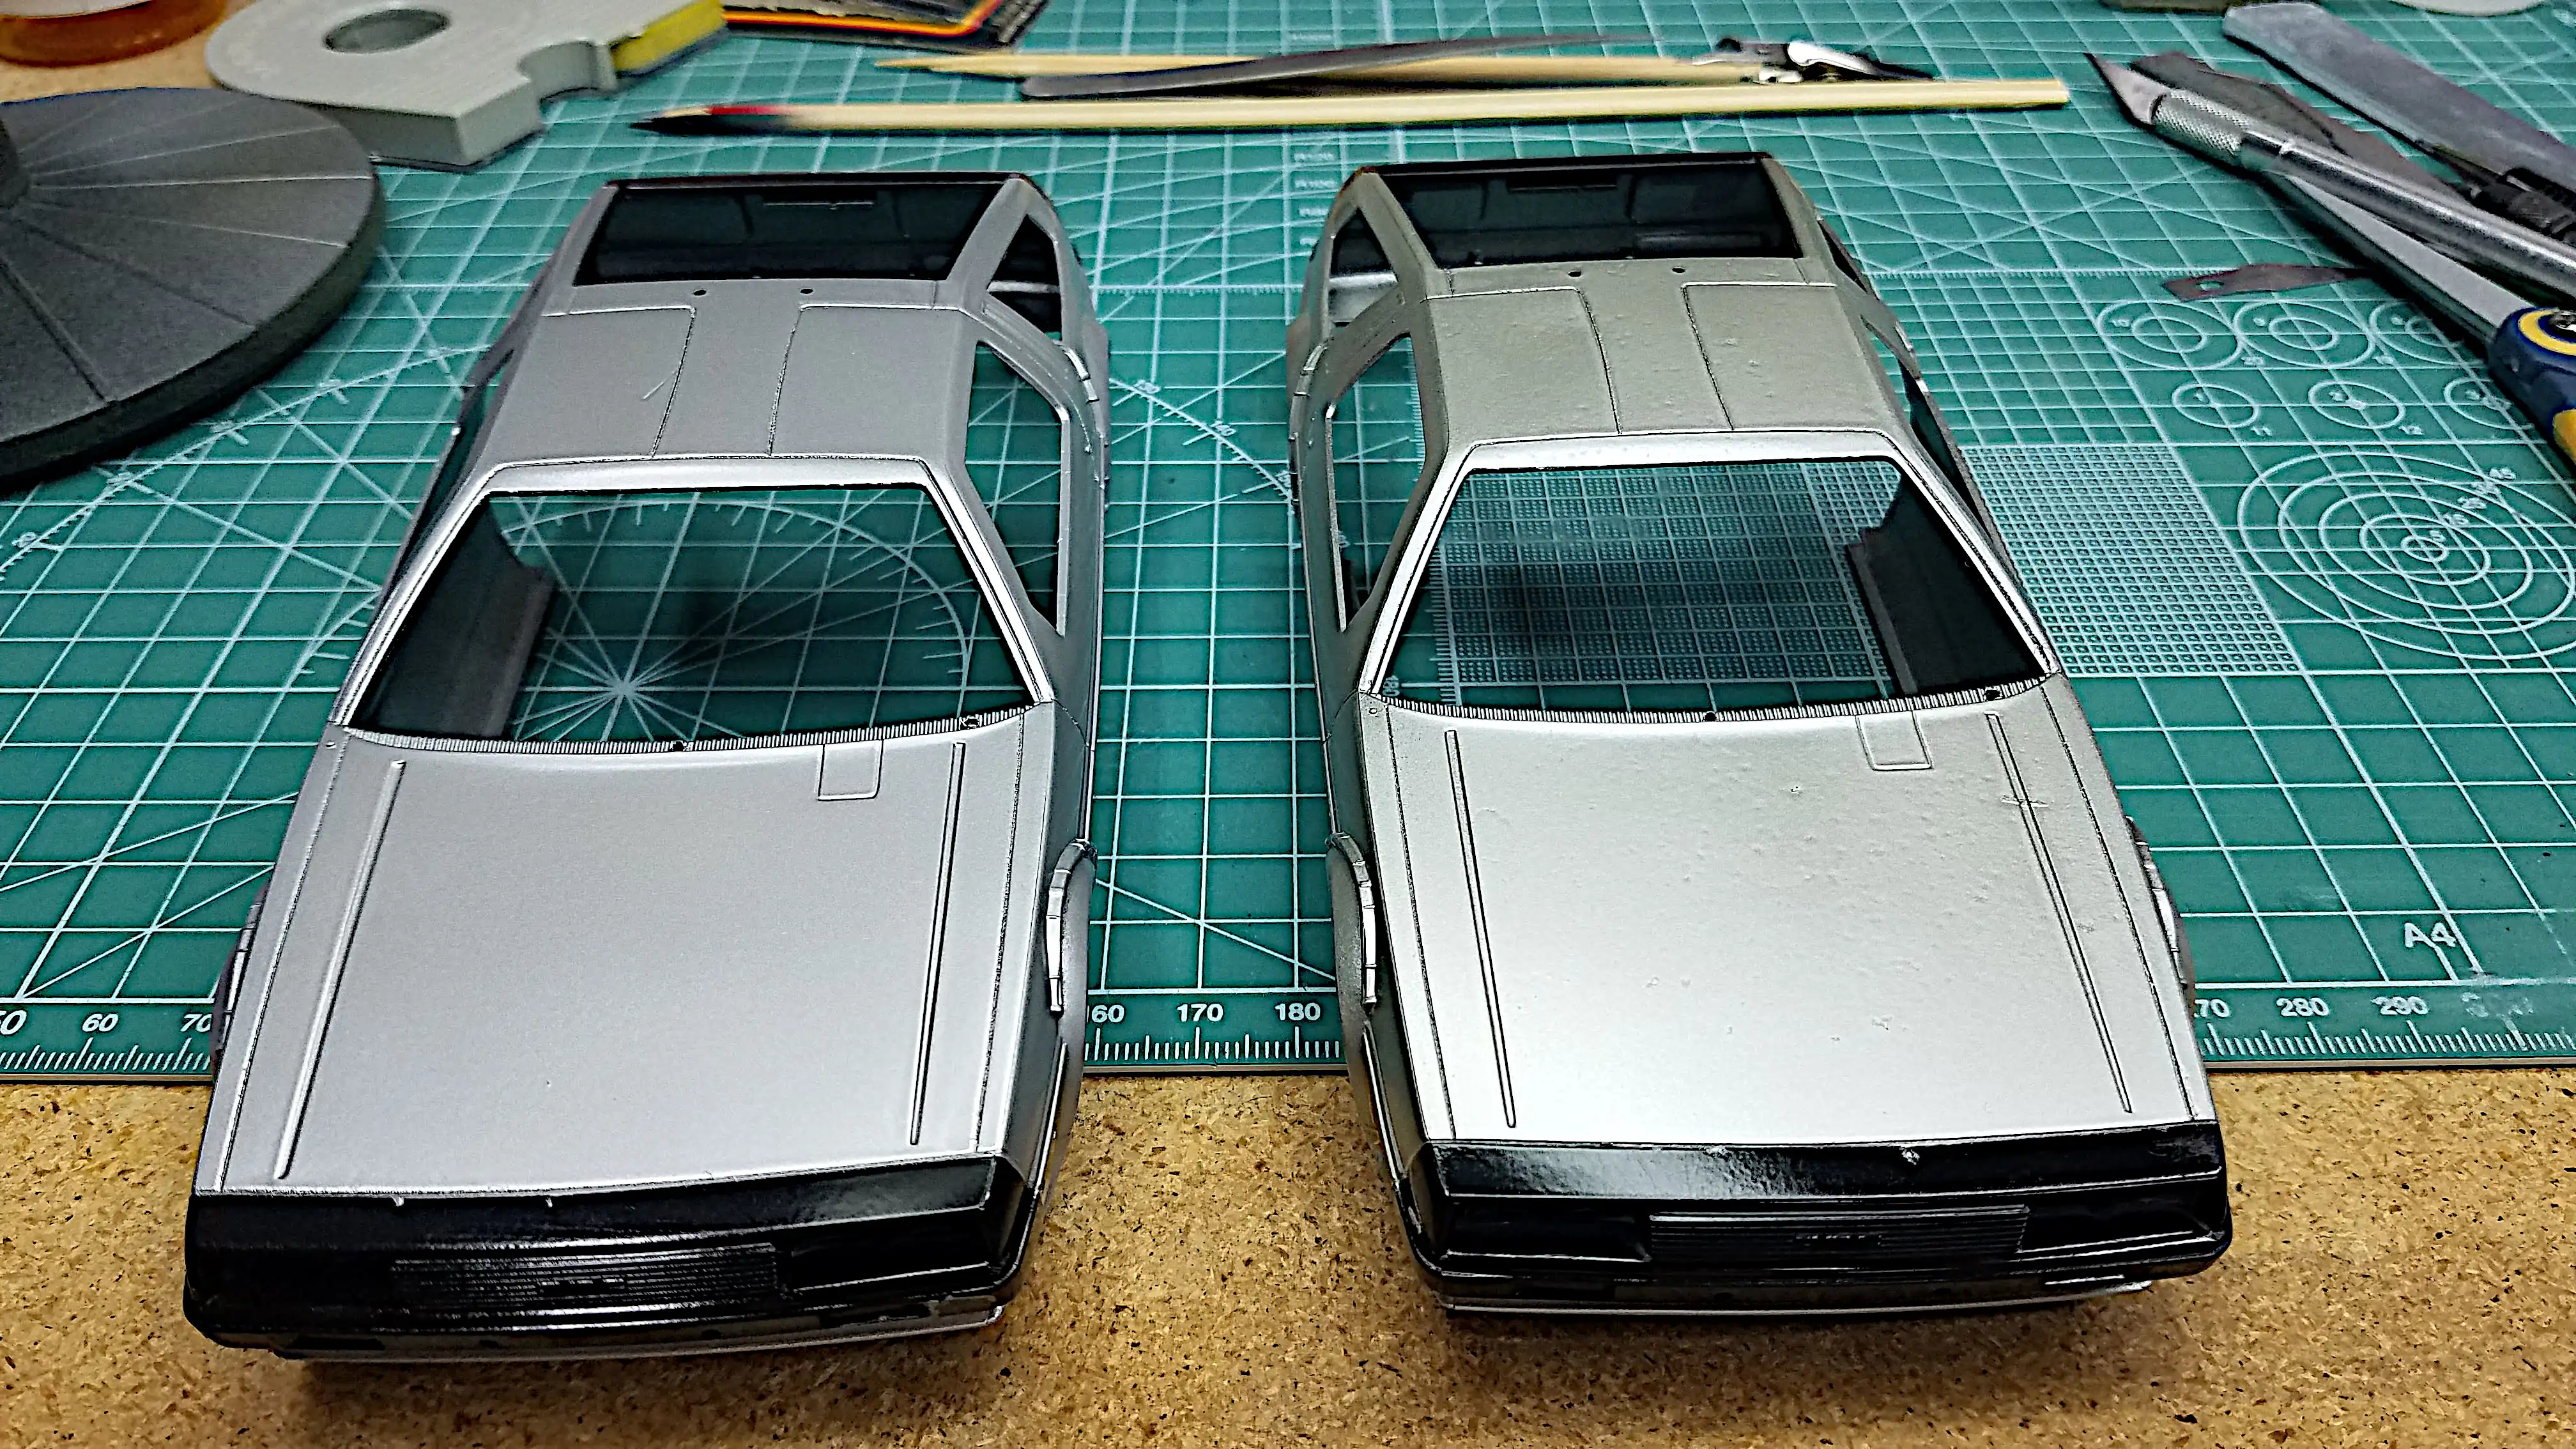 Both bodies are painted different shades
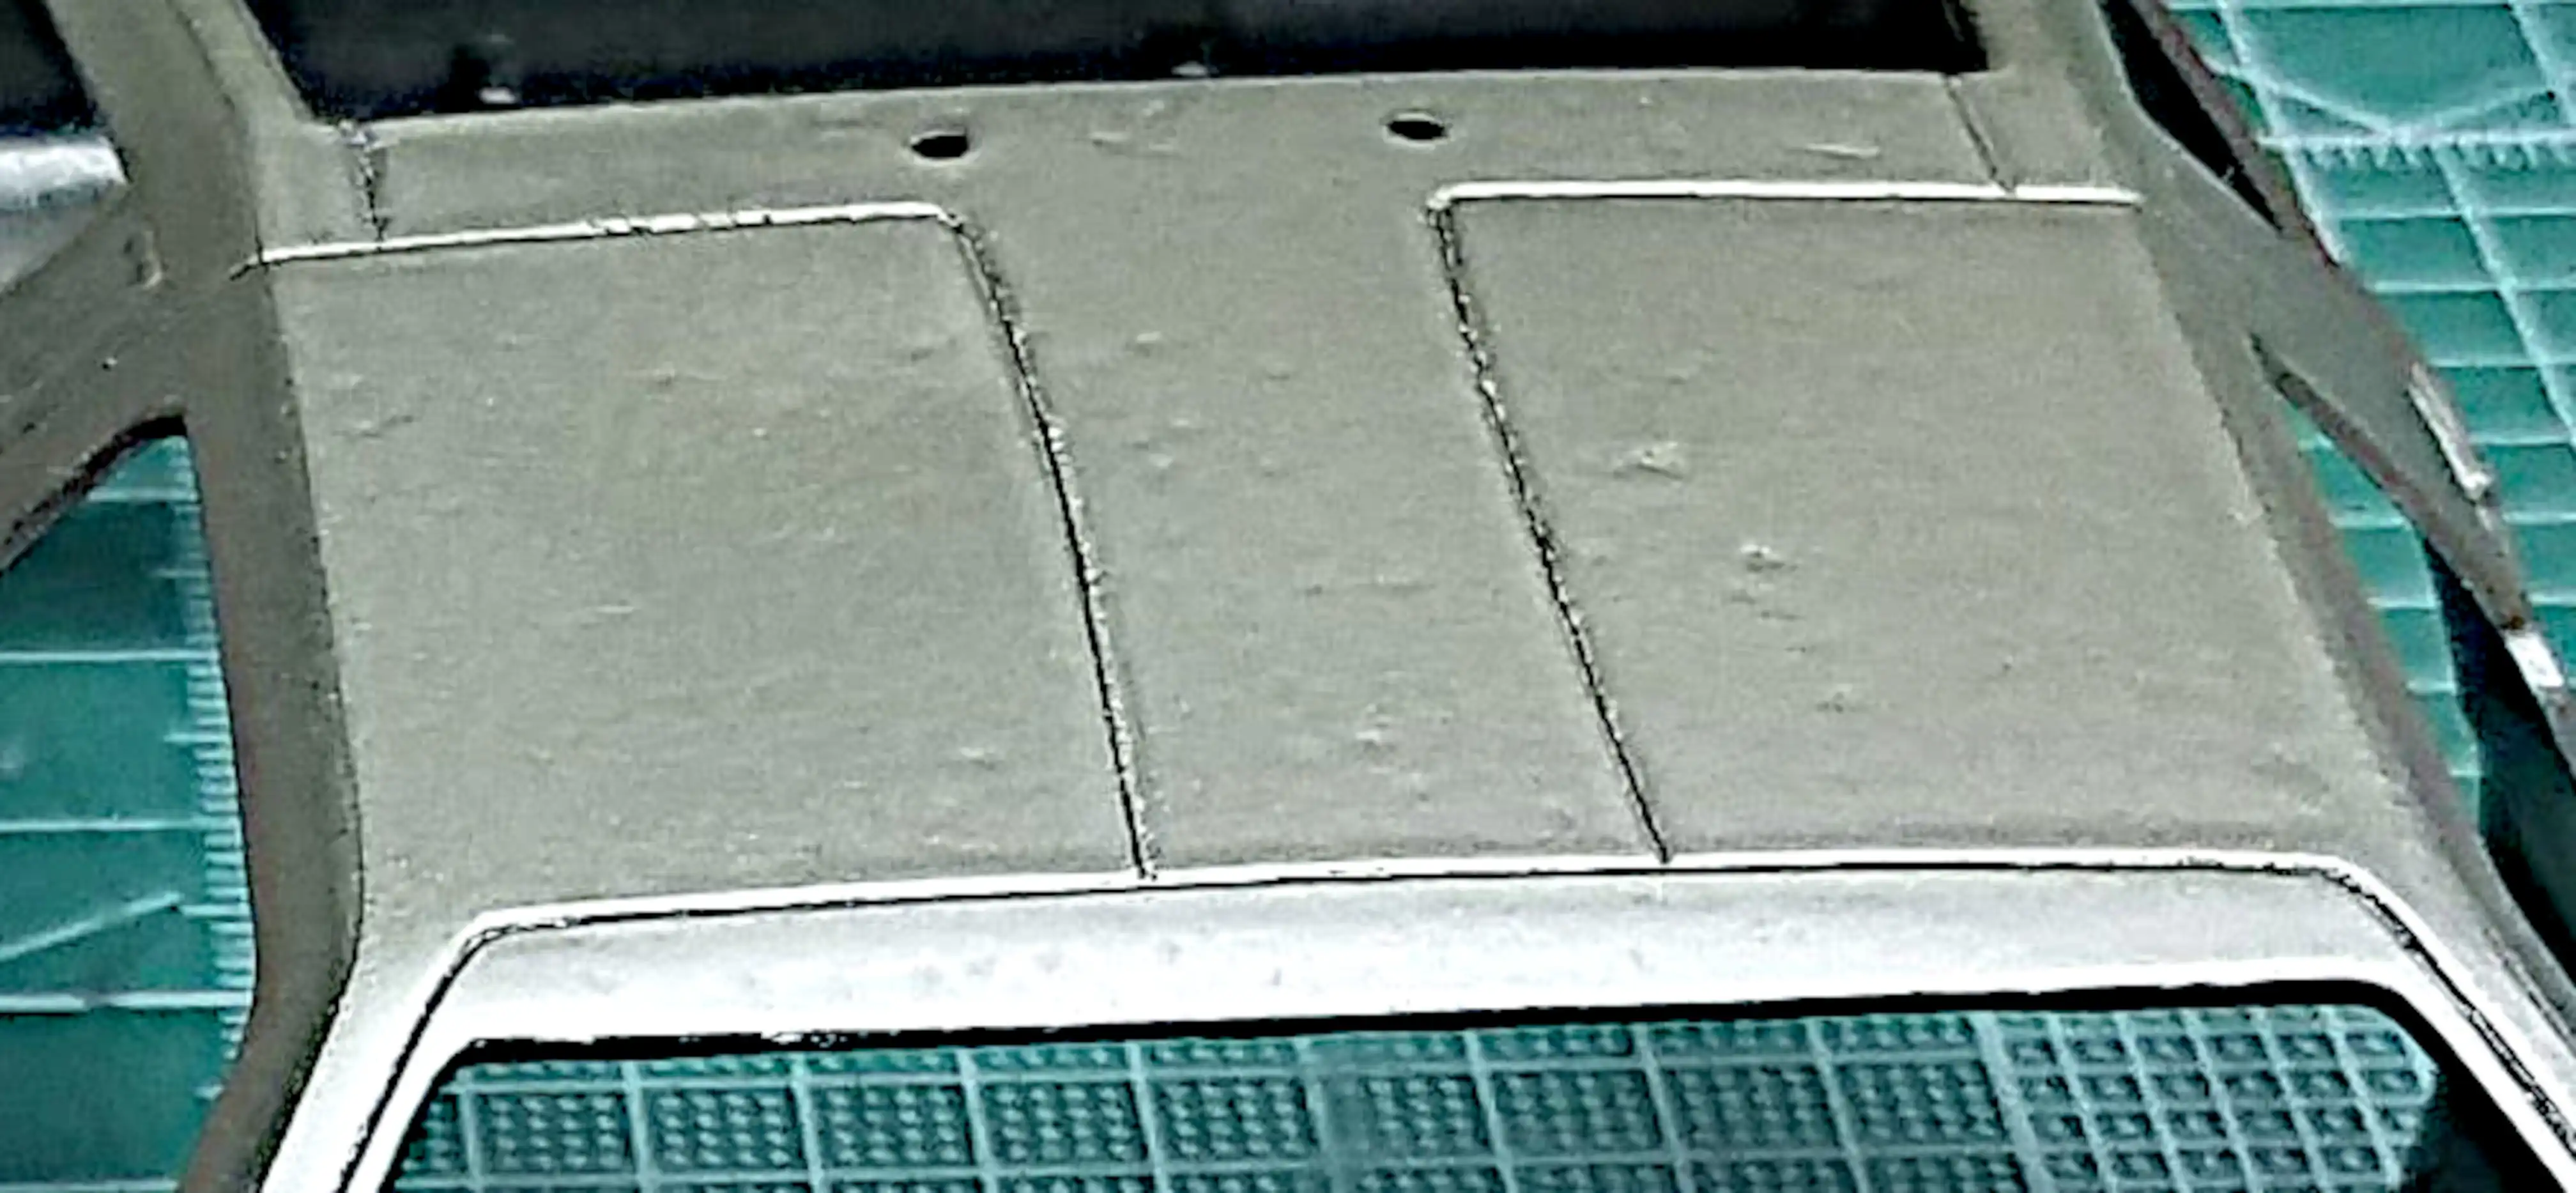 Effect of chemical reaction of different paints when mixed
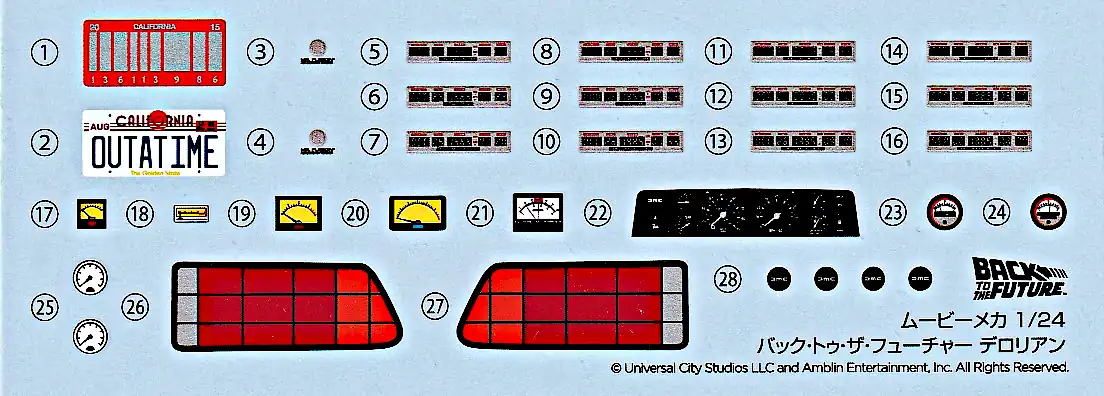 Decal sheet
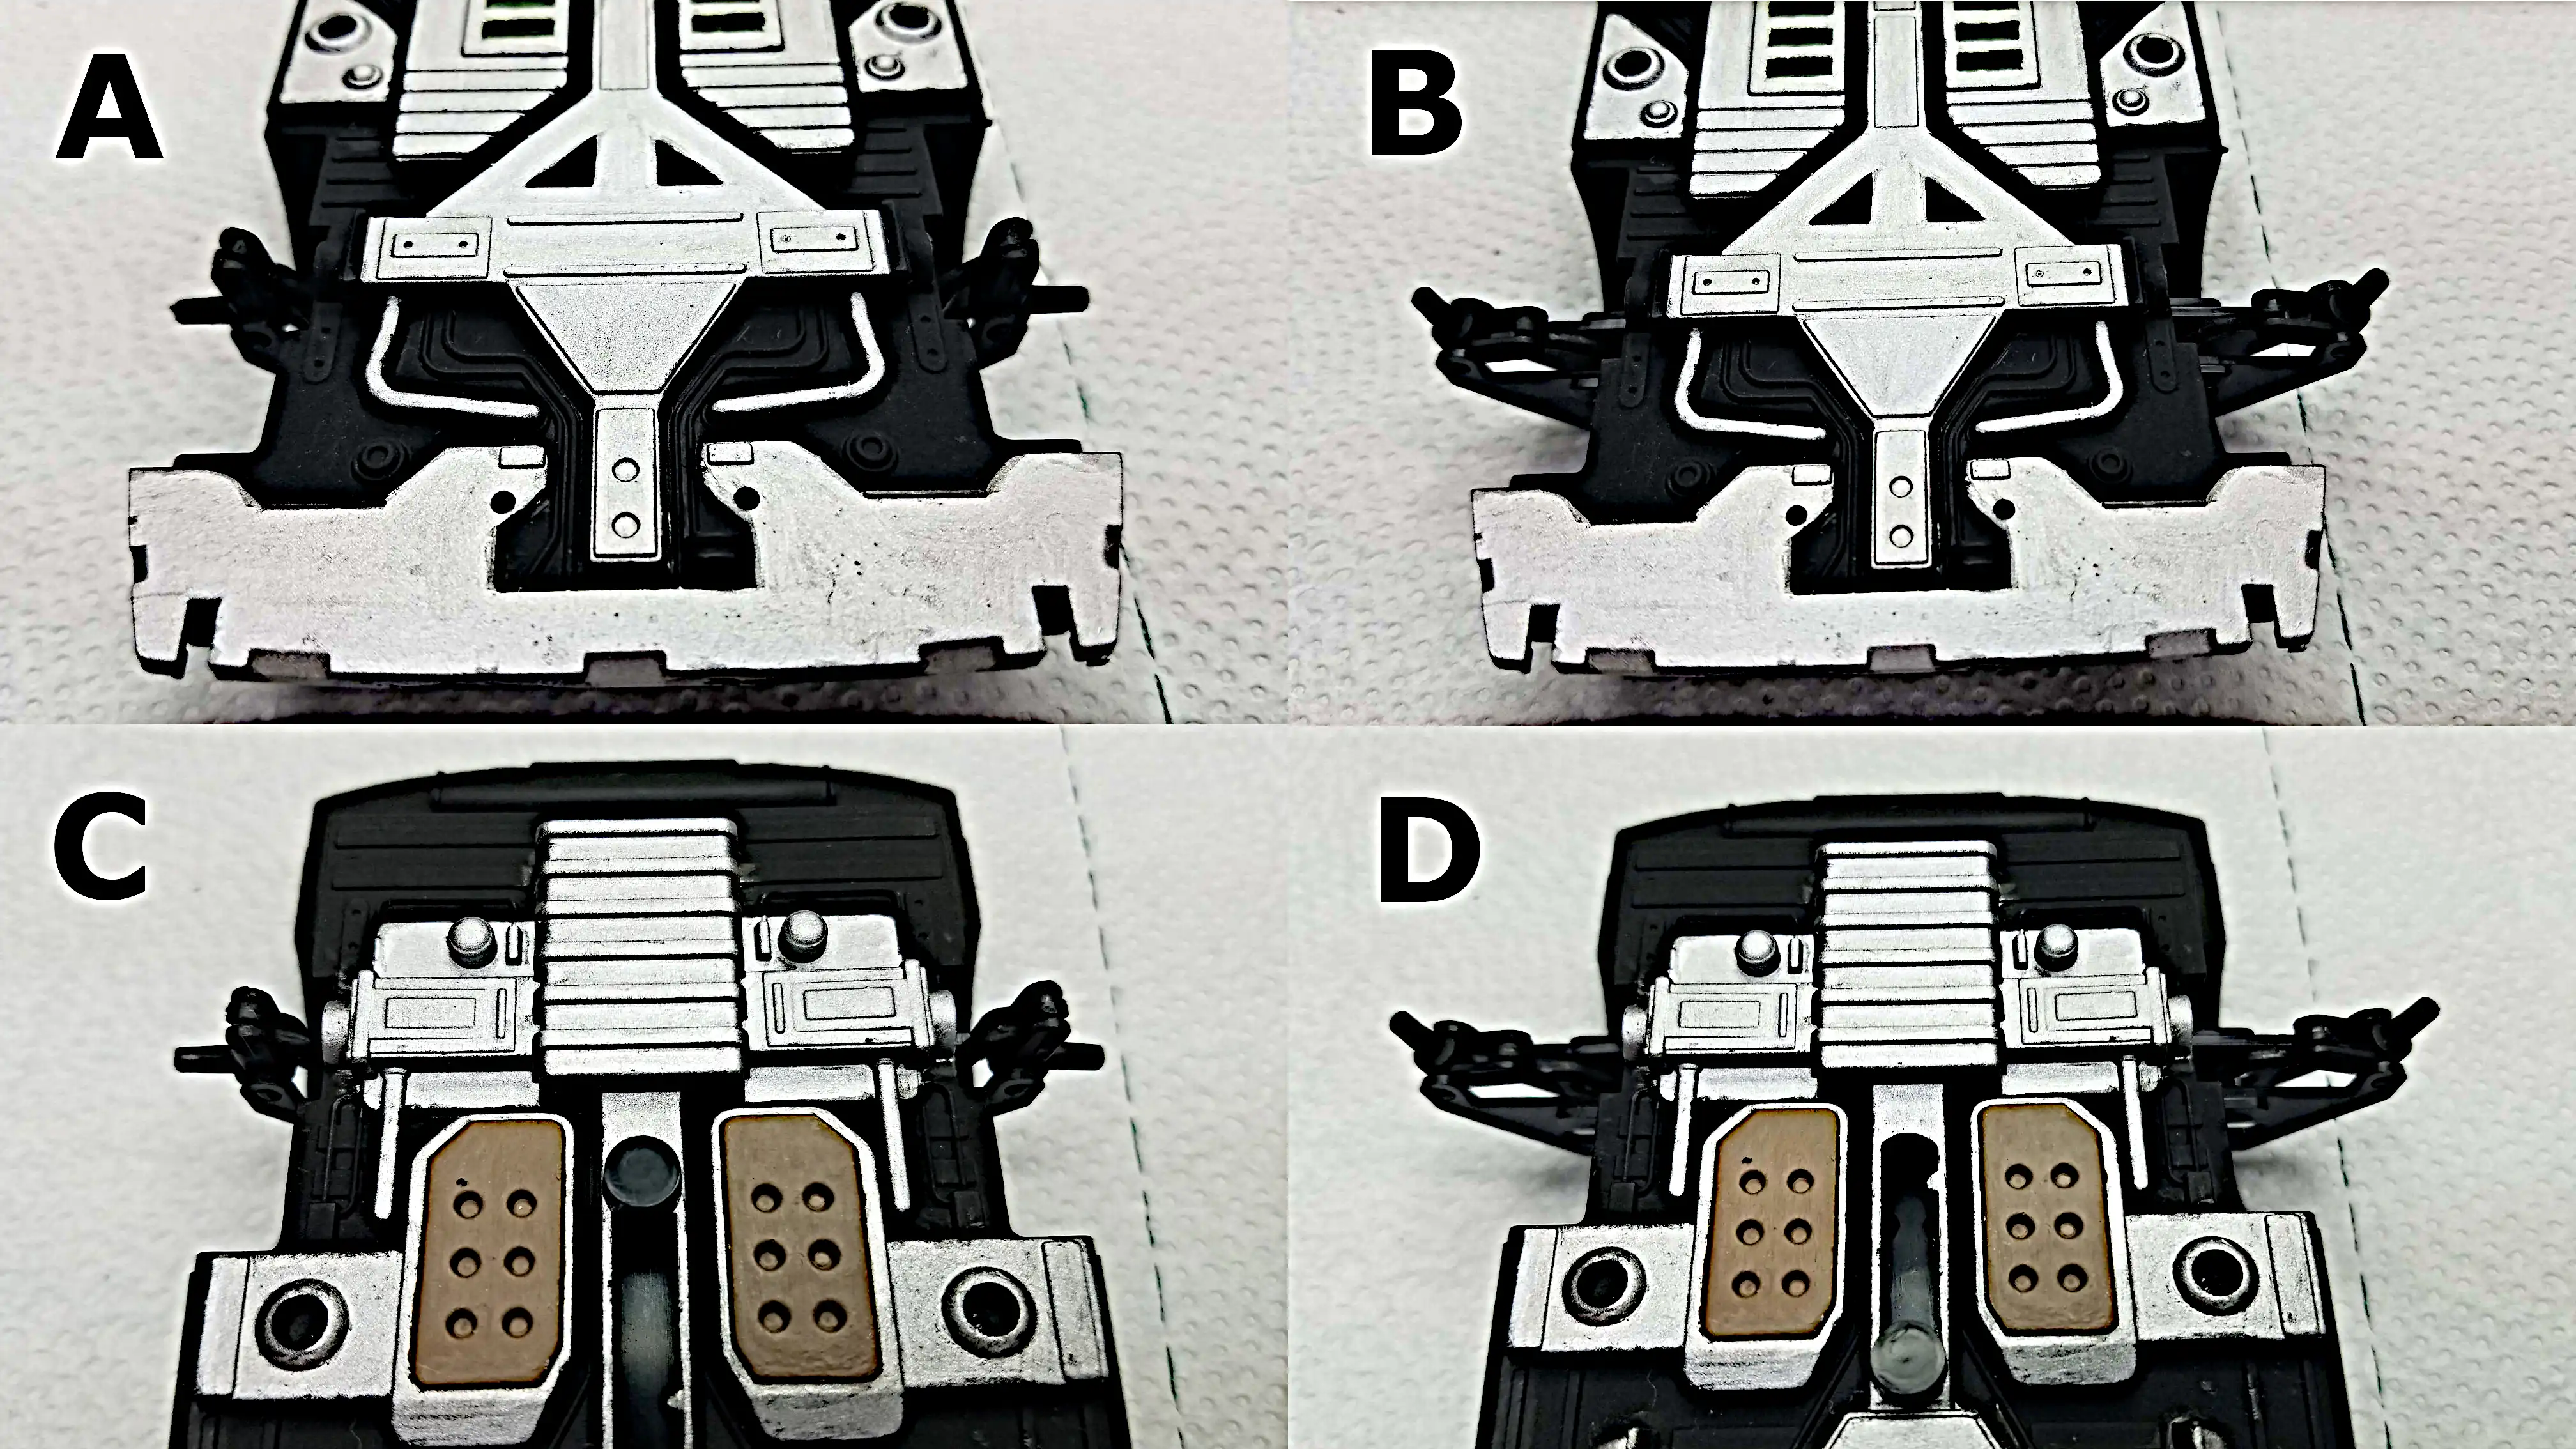
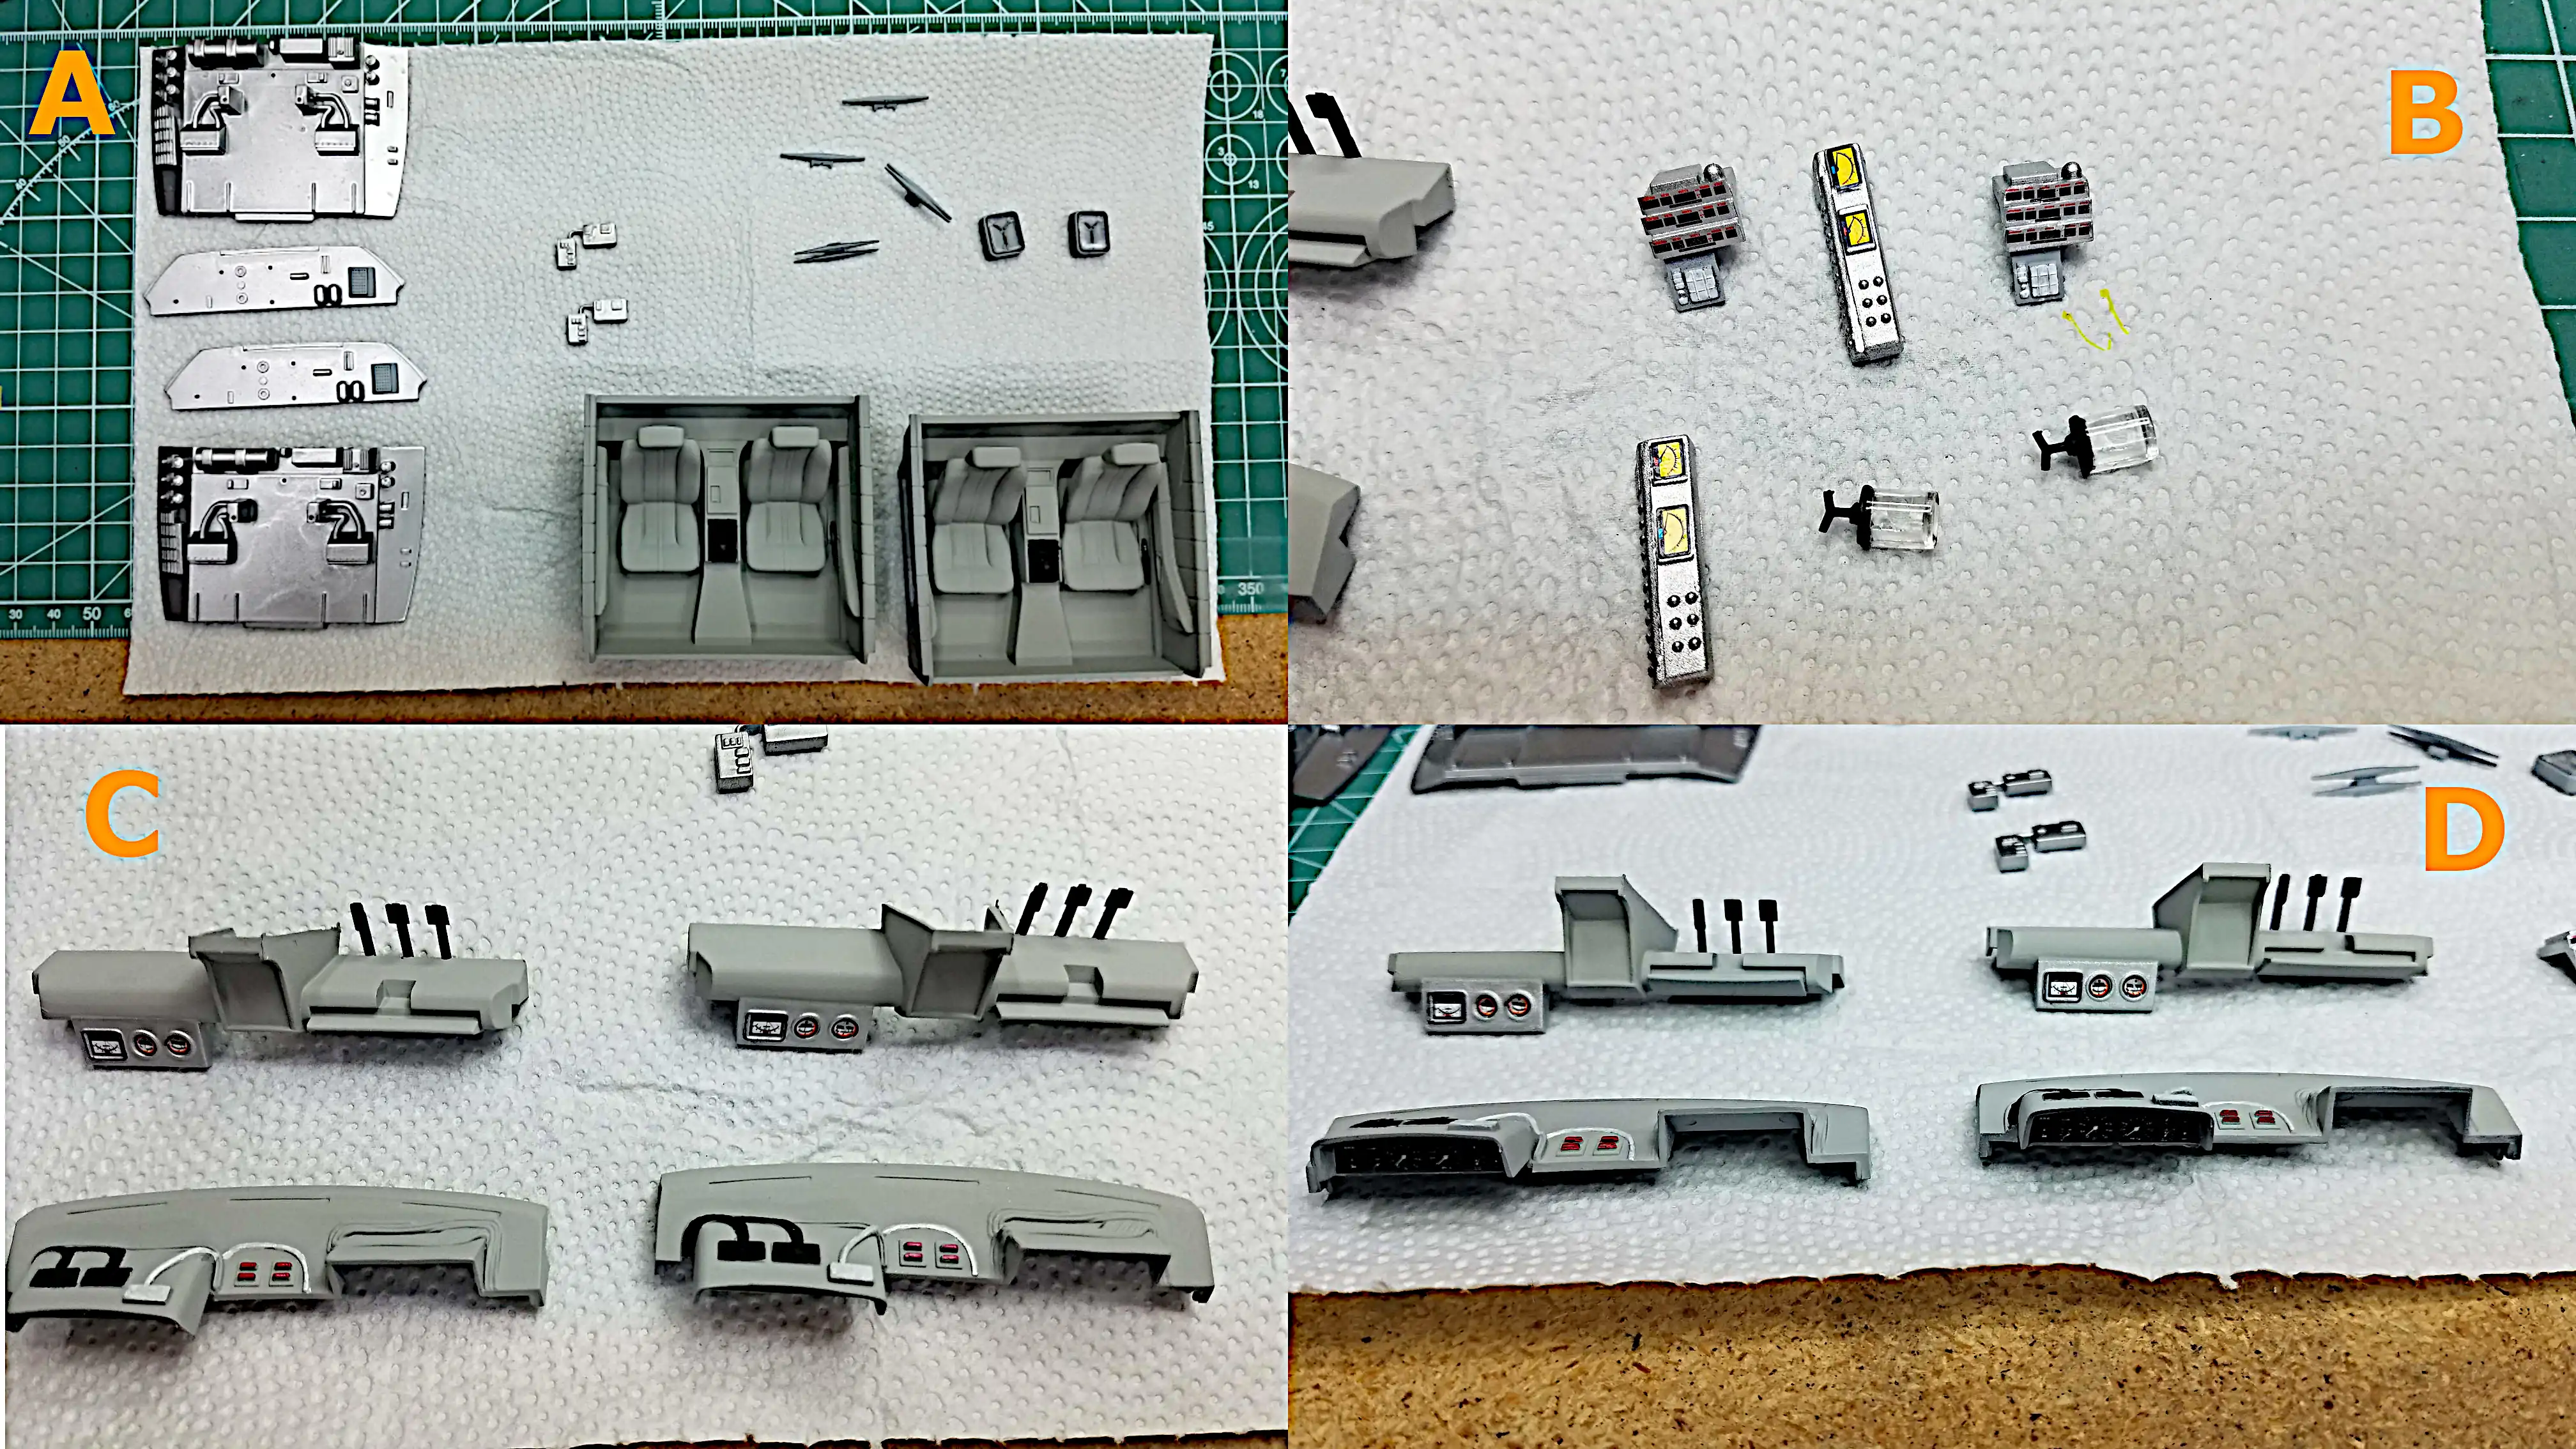 Cluster of some interior components and engine cover.
Photo description has links to enlarge each image
Cluster of some interior components and engine cover.
Photo description has links to enlarge each image
 Engine shroud molded in parts are masked for painting
 Axles and axle chassis mounts are painted
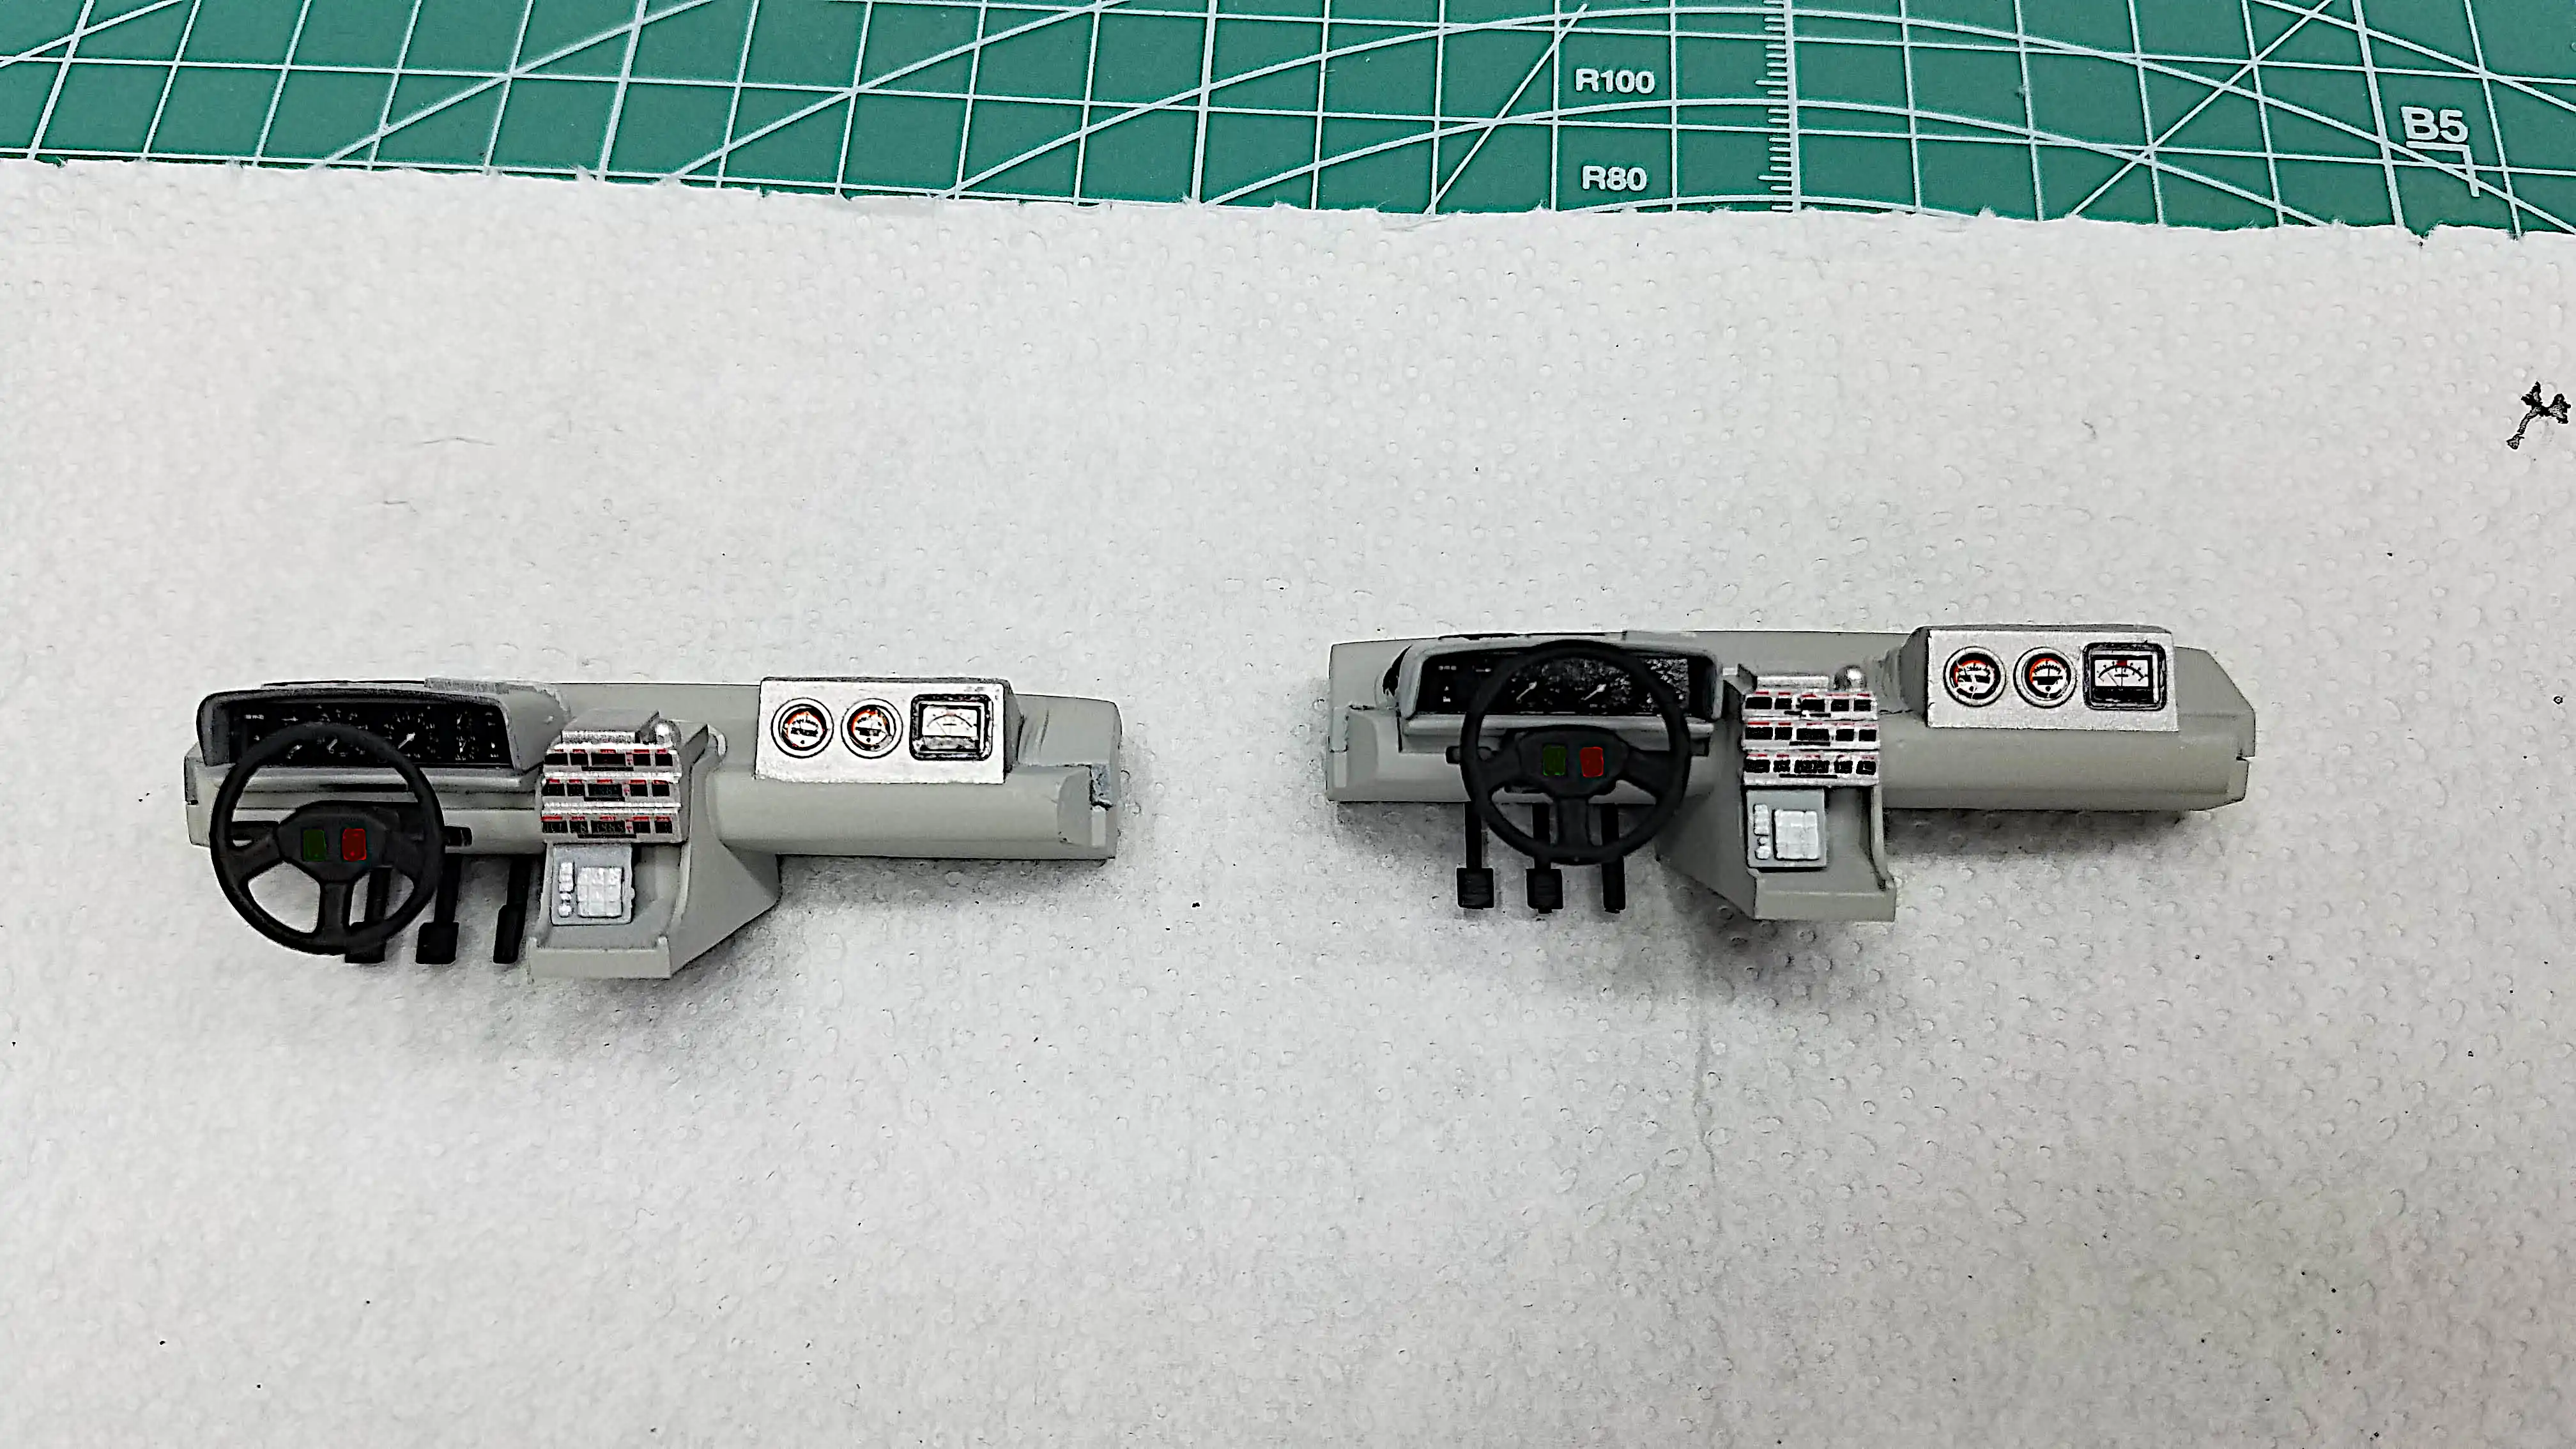
 Upper and lower dashboard halves have decals installed and ready to be glued together
 Body was primed with Vallejo 77.660 Gloss Black Metal Primer
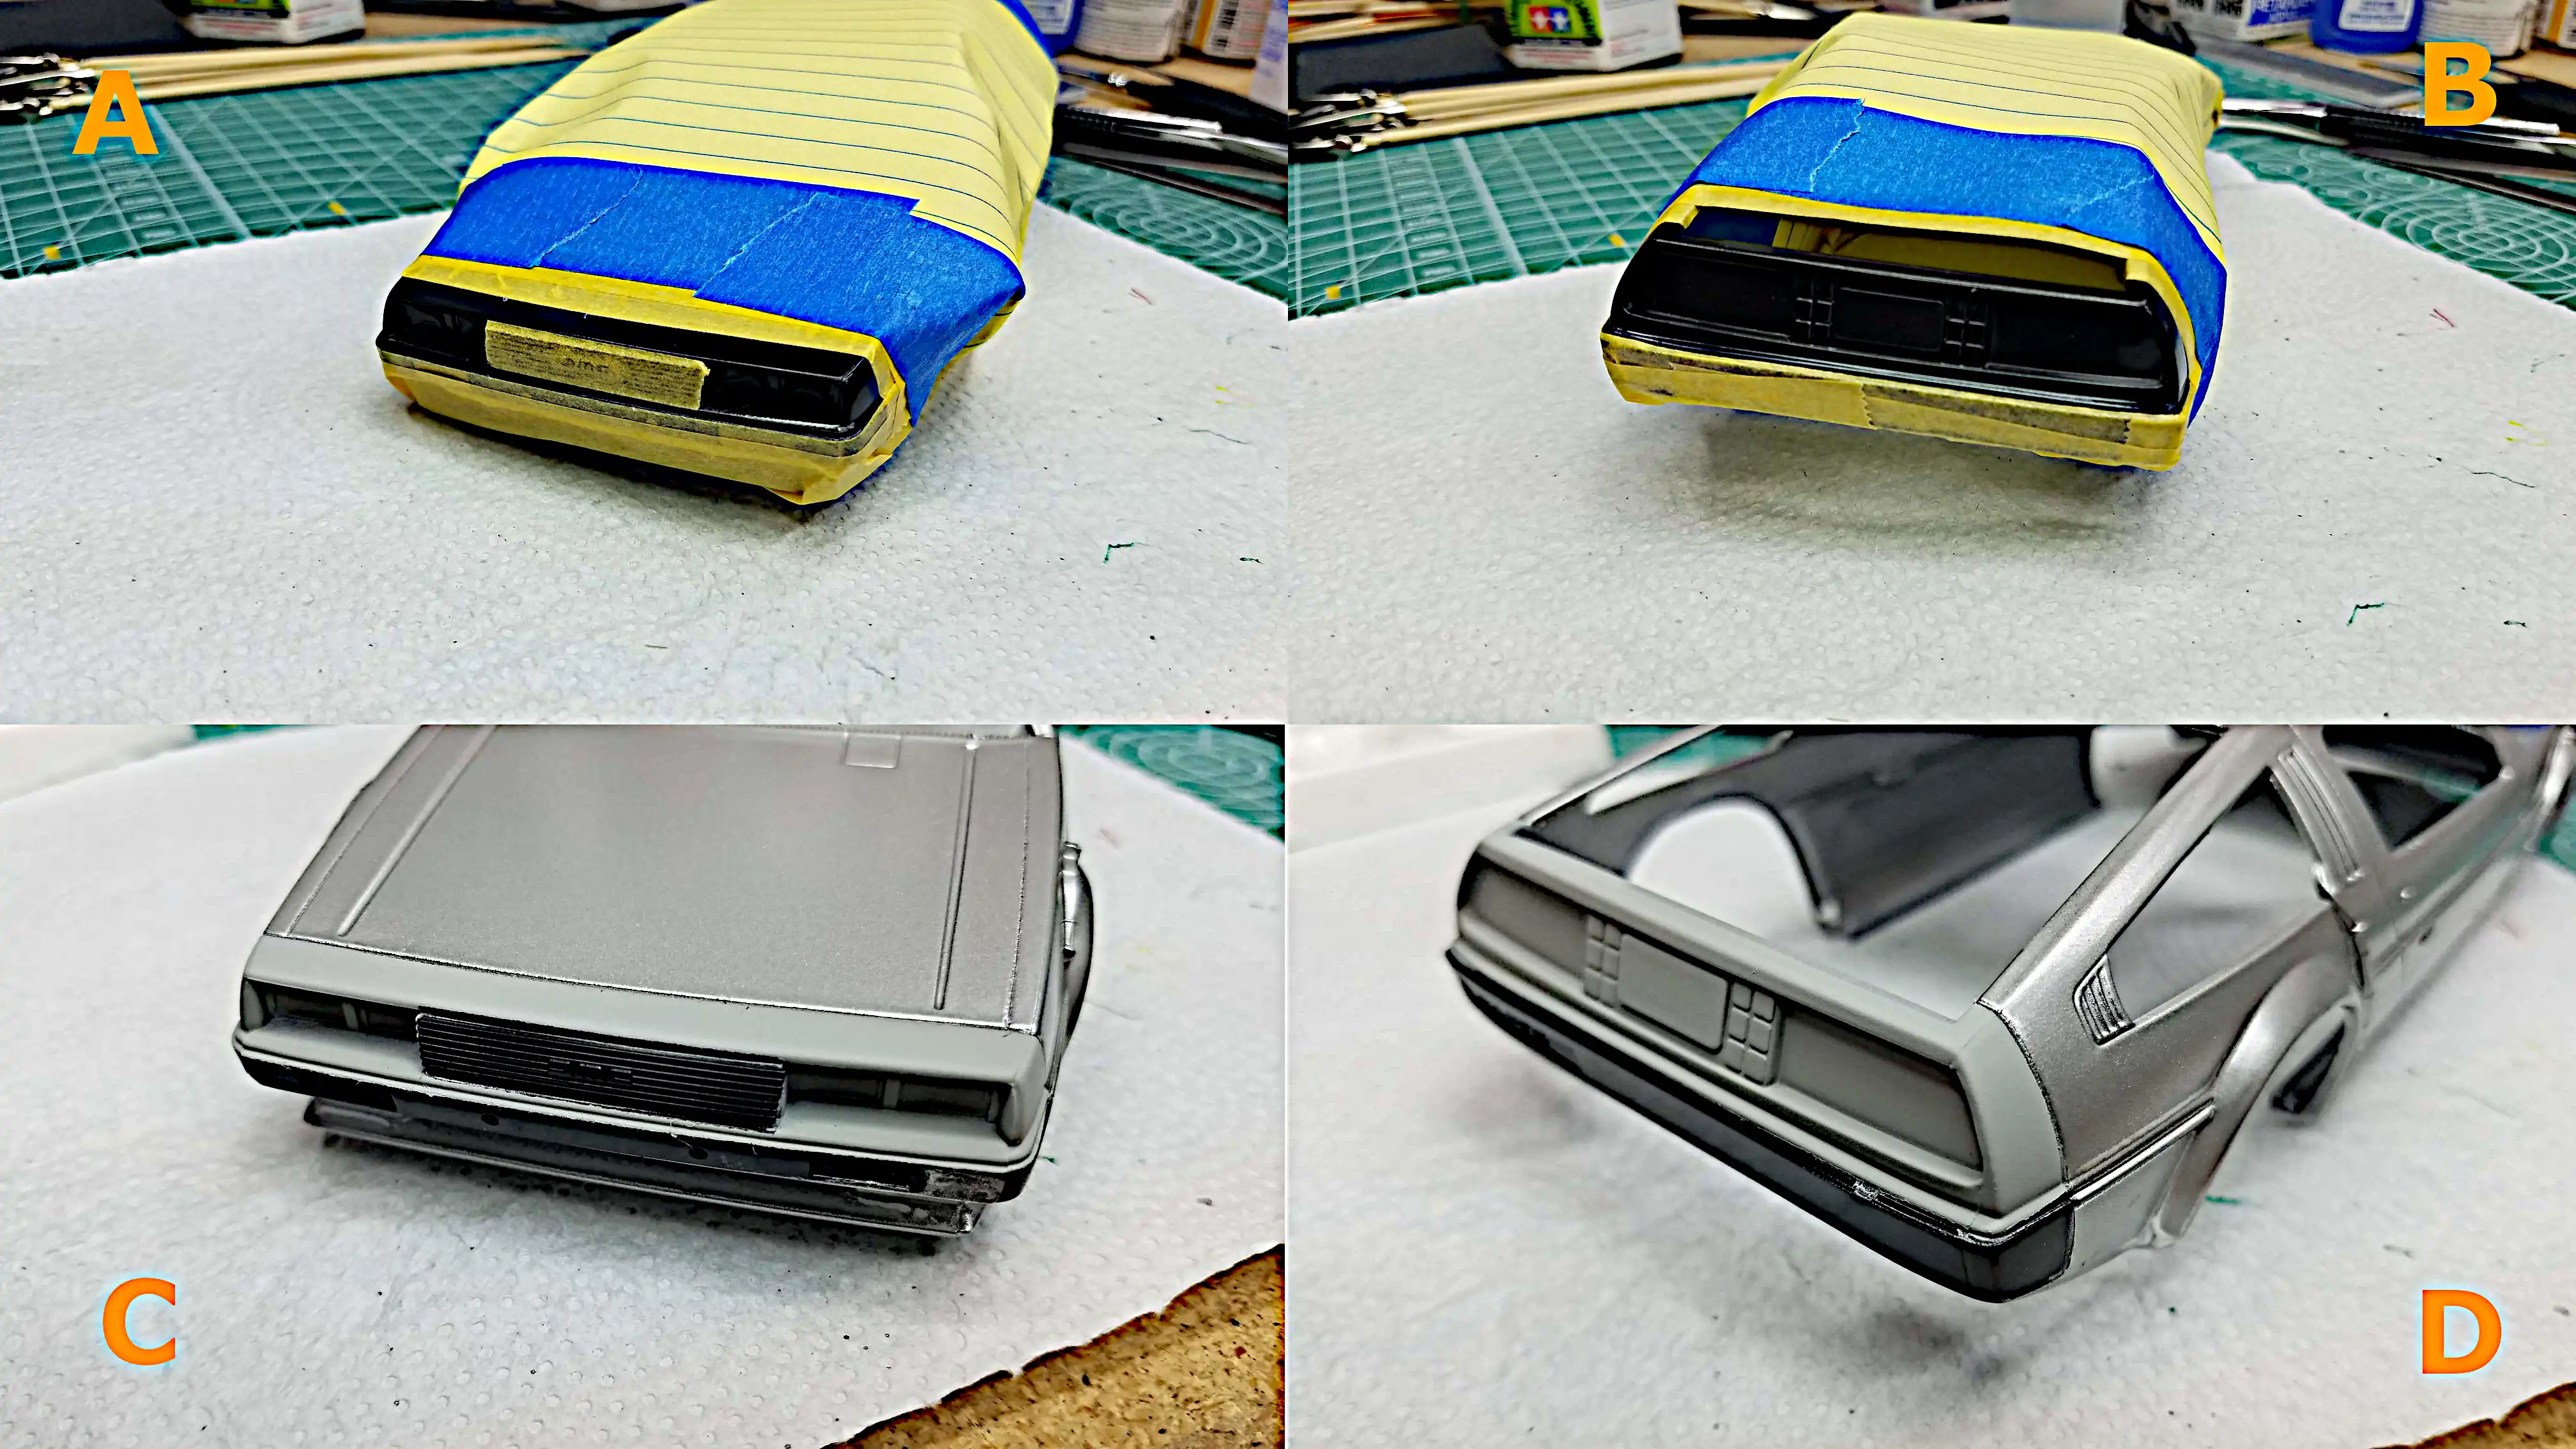
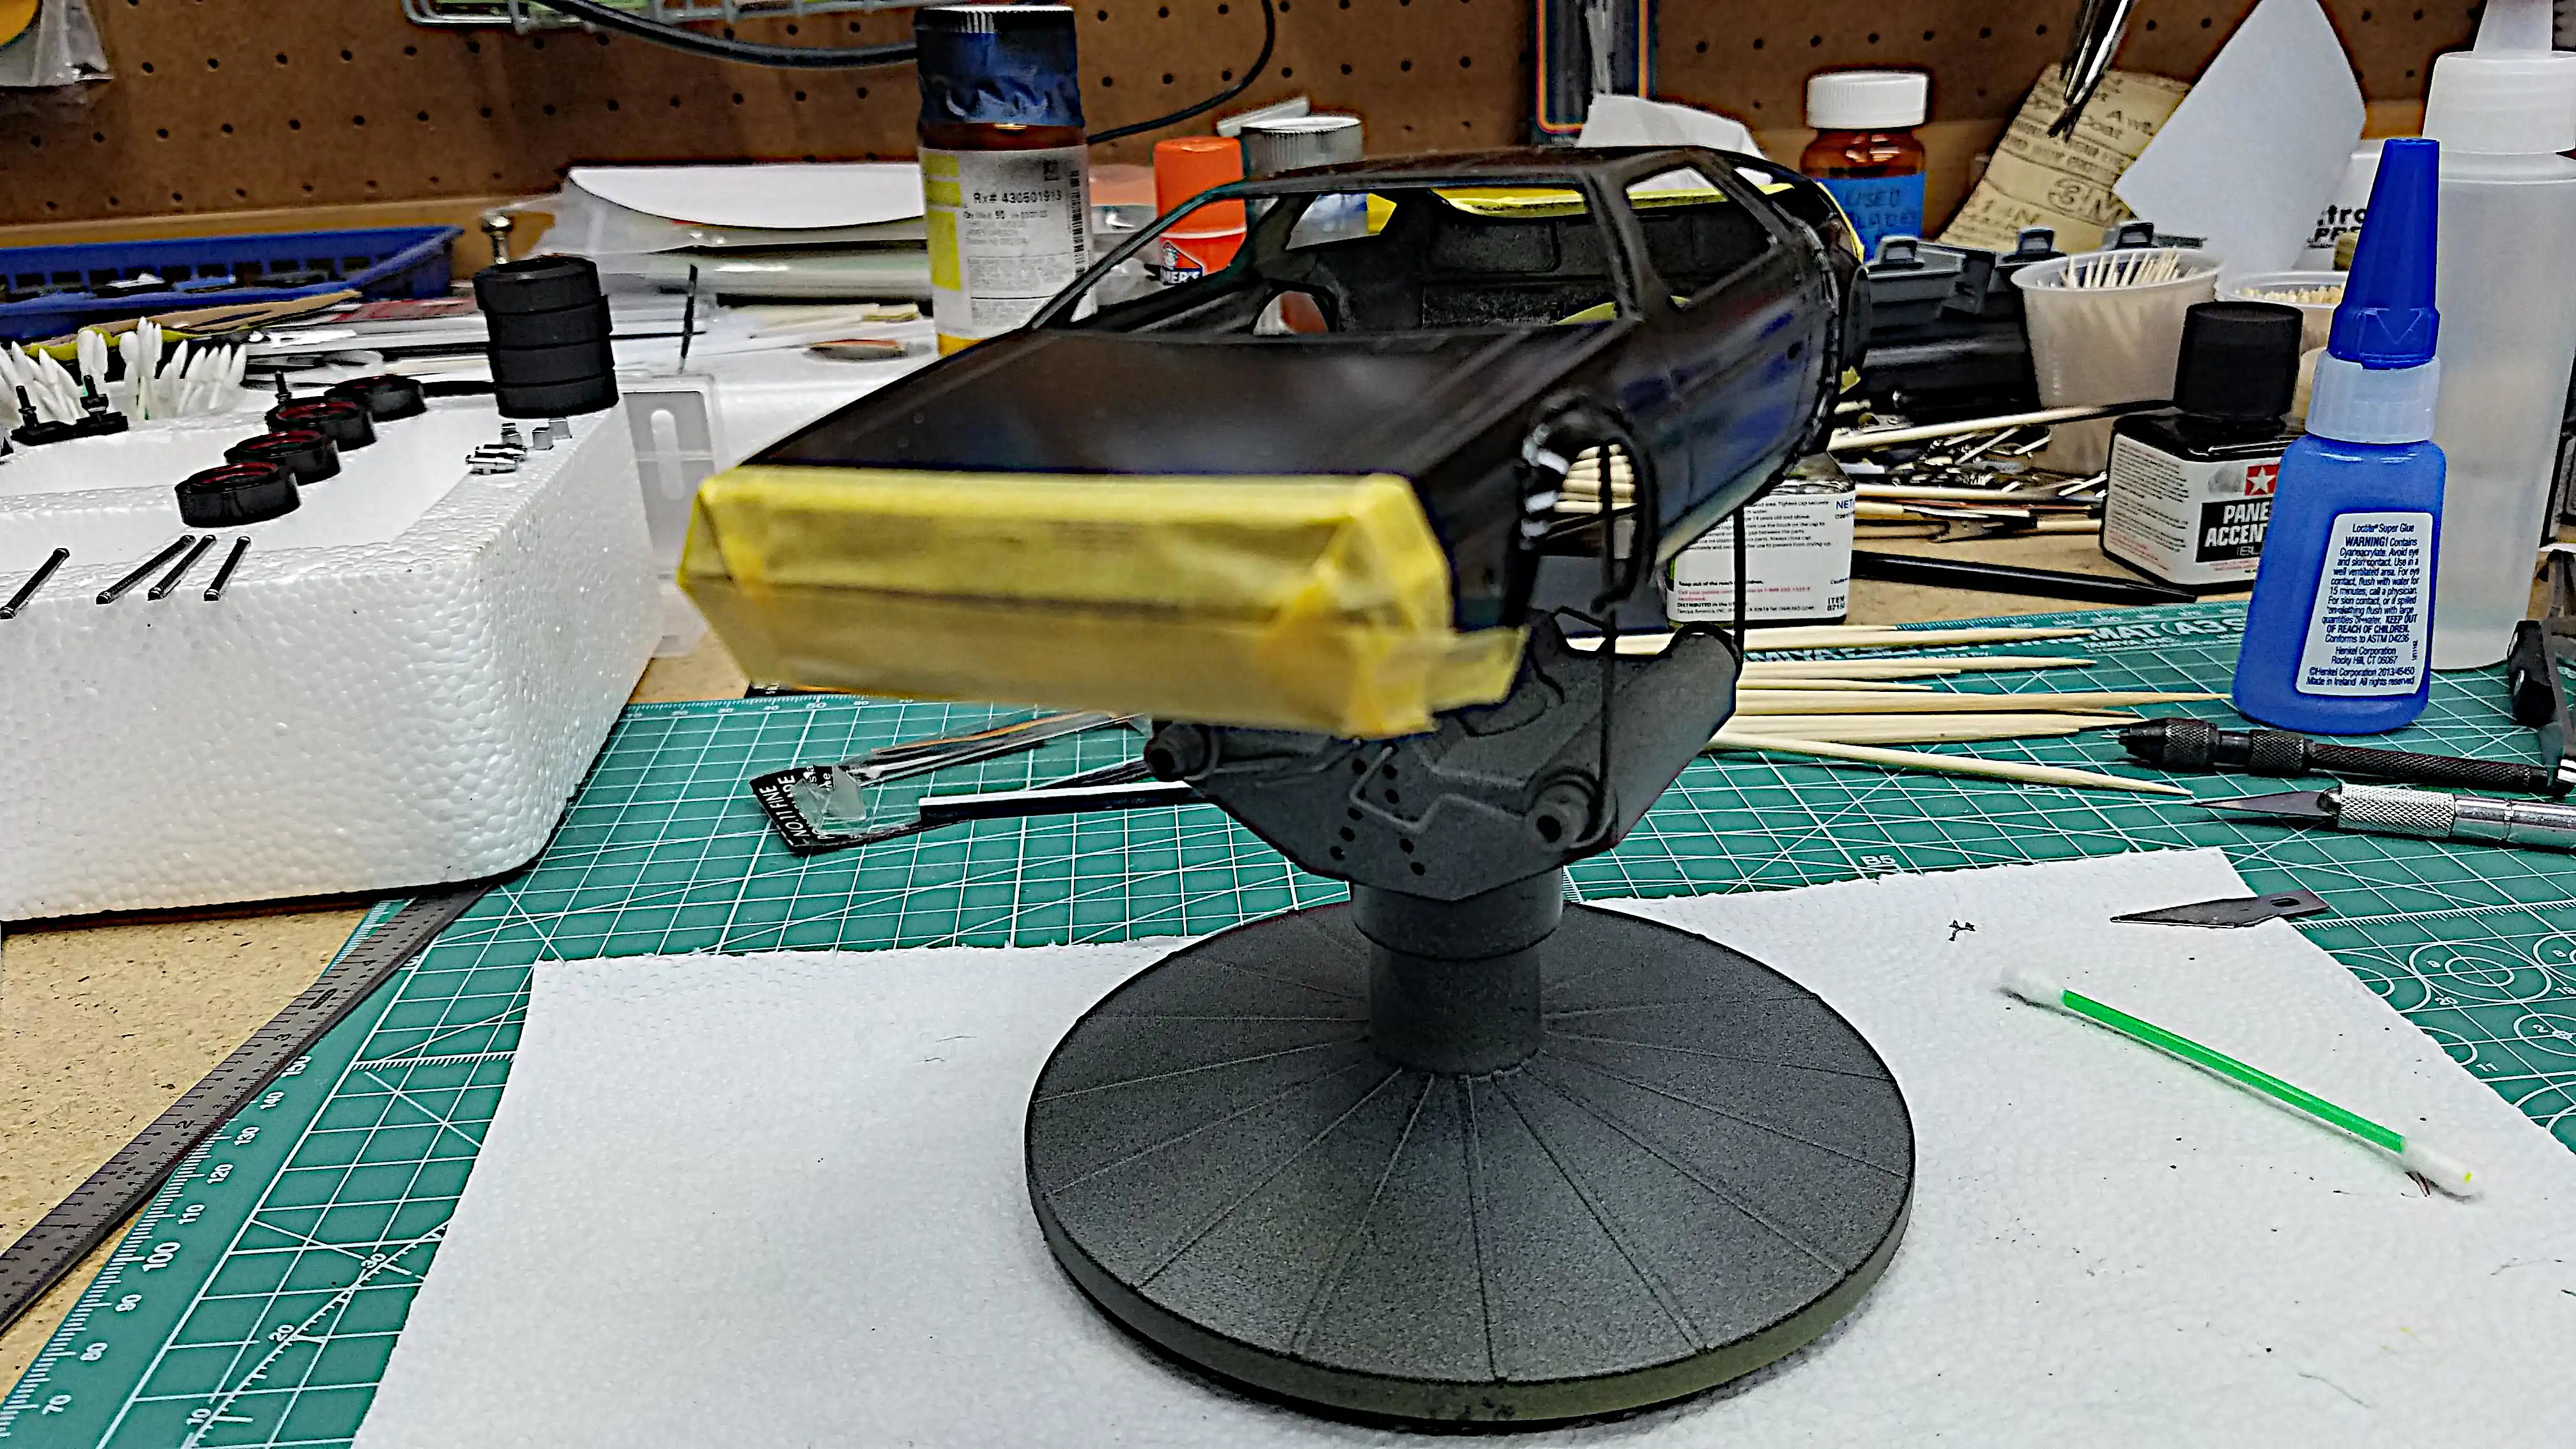 Front nose of the body is masked before painting the body
 Rear of the body is masked before painting the body
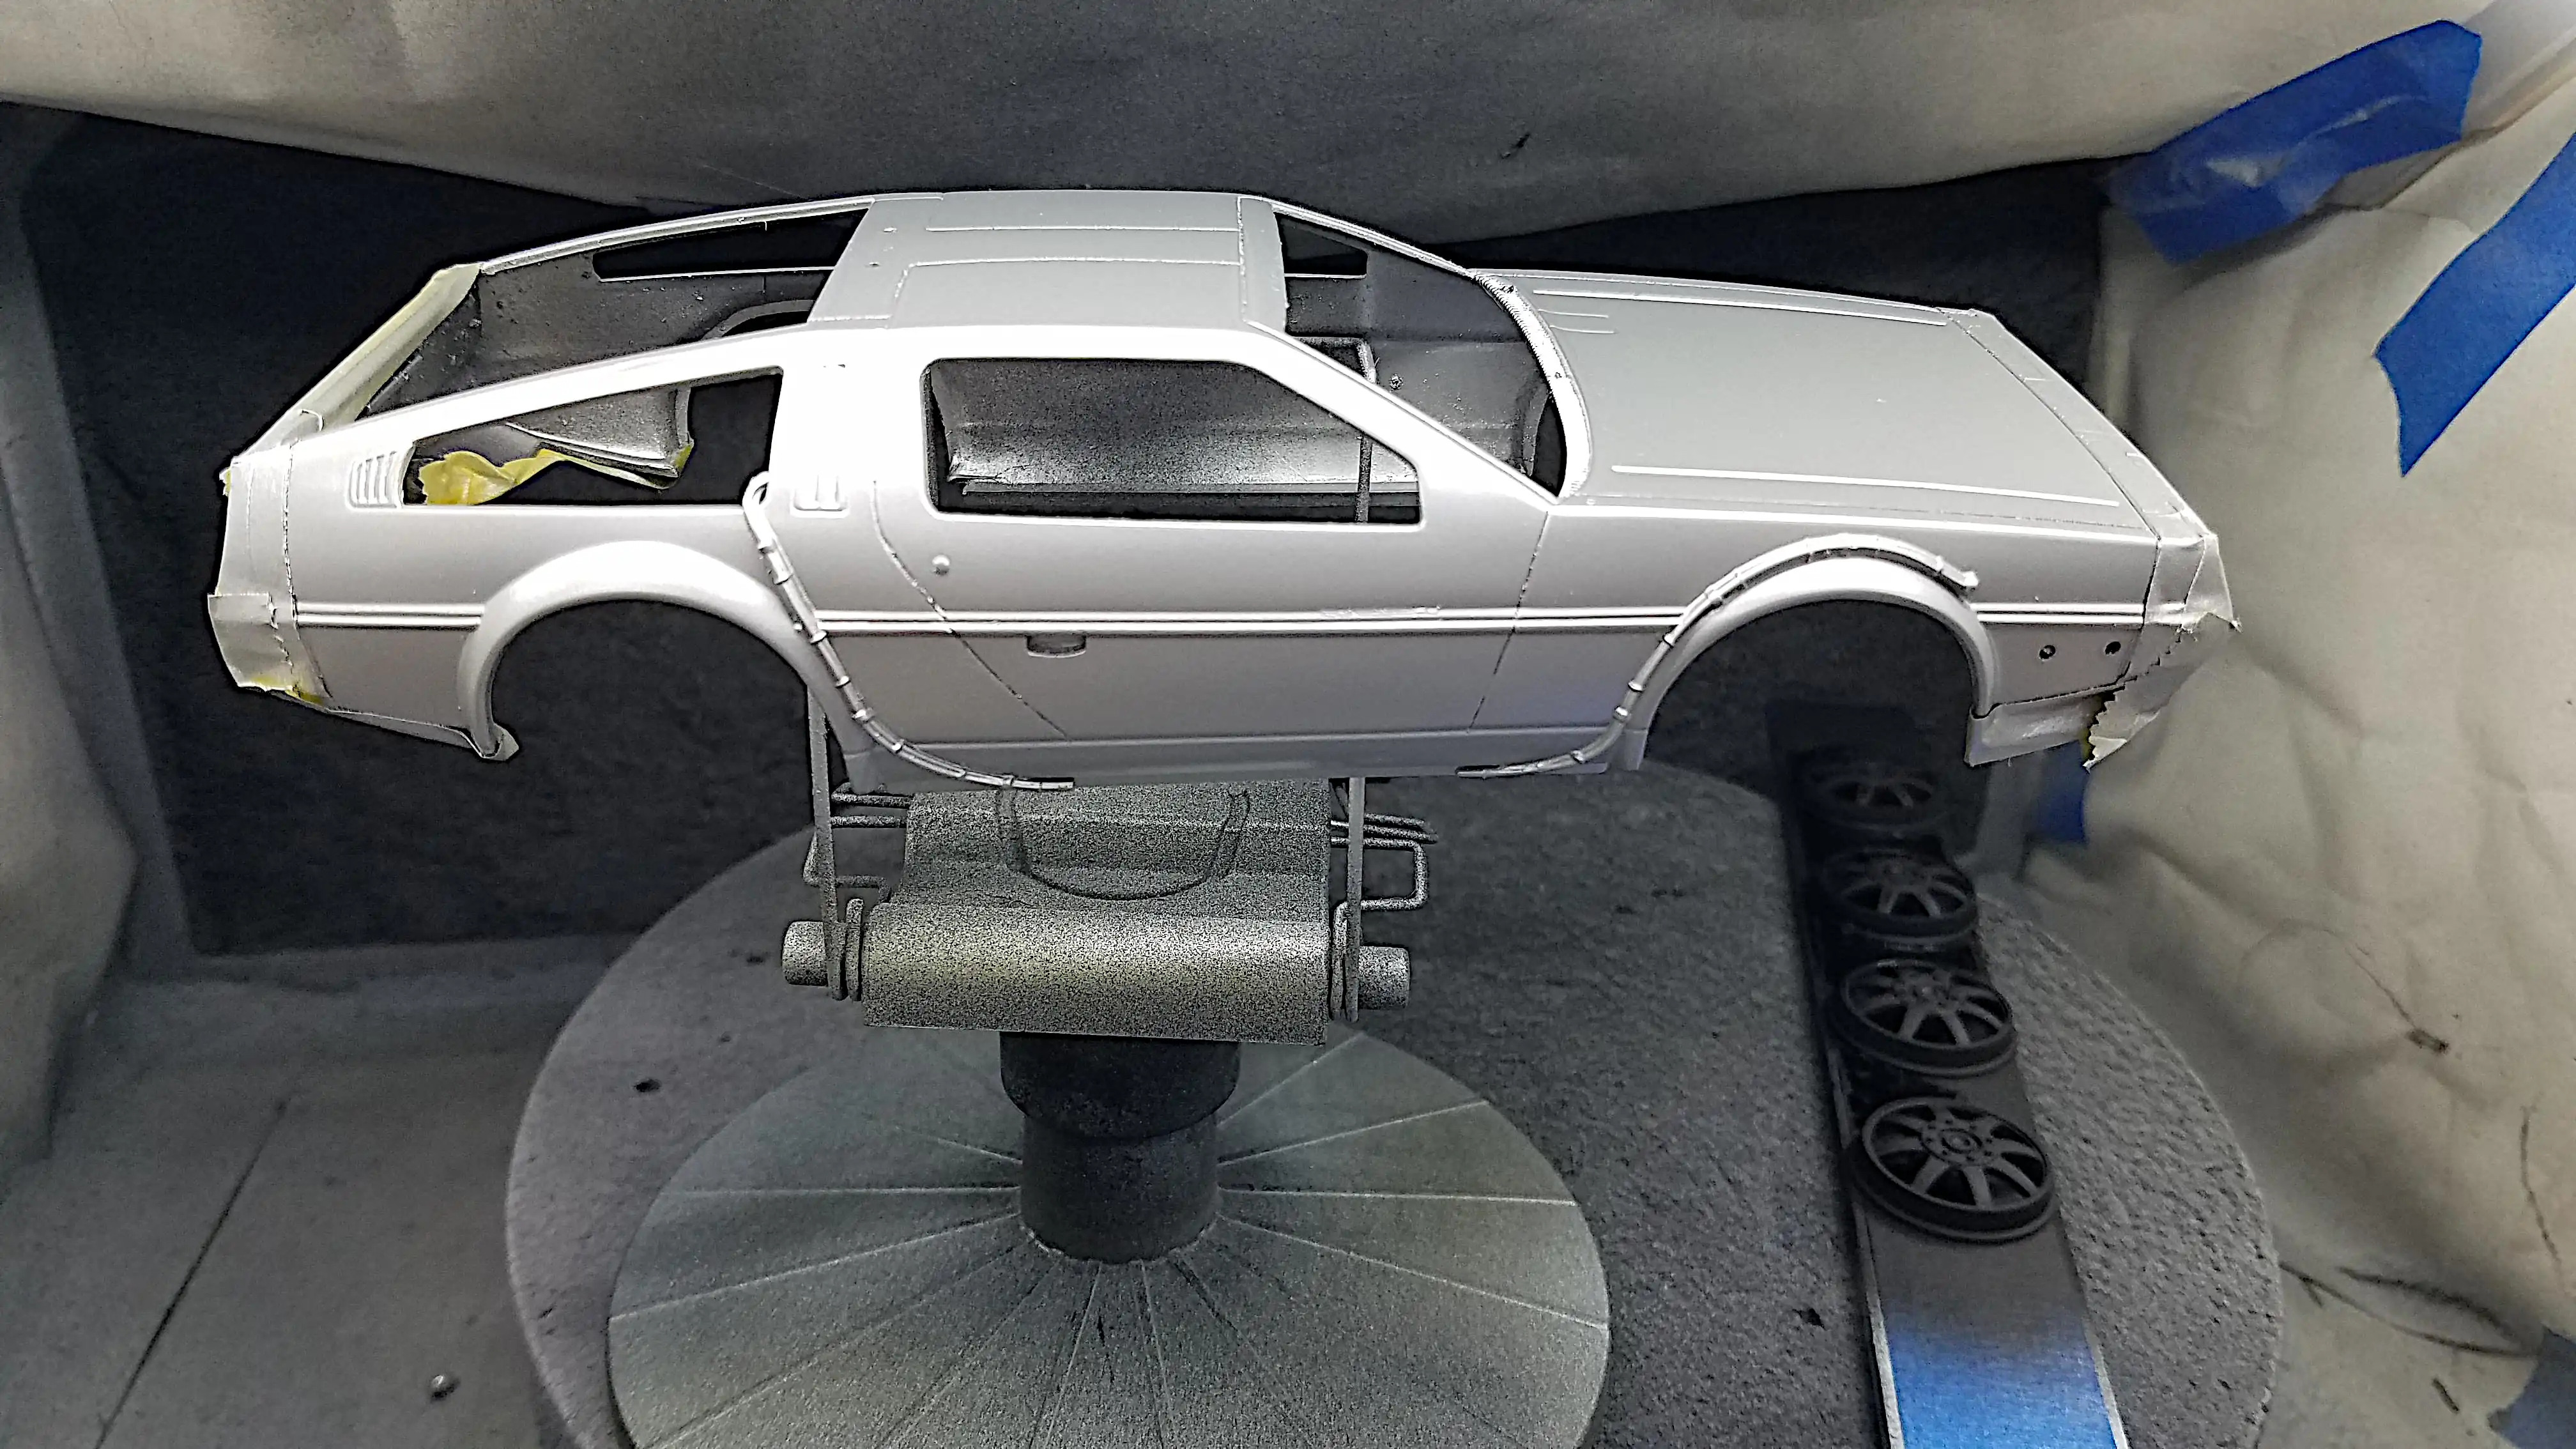 Body gets a coat of Vallejo Semi Matt Aluminum
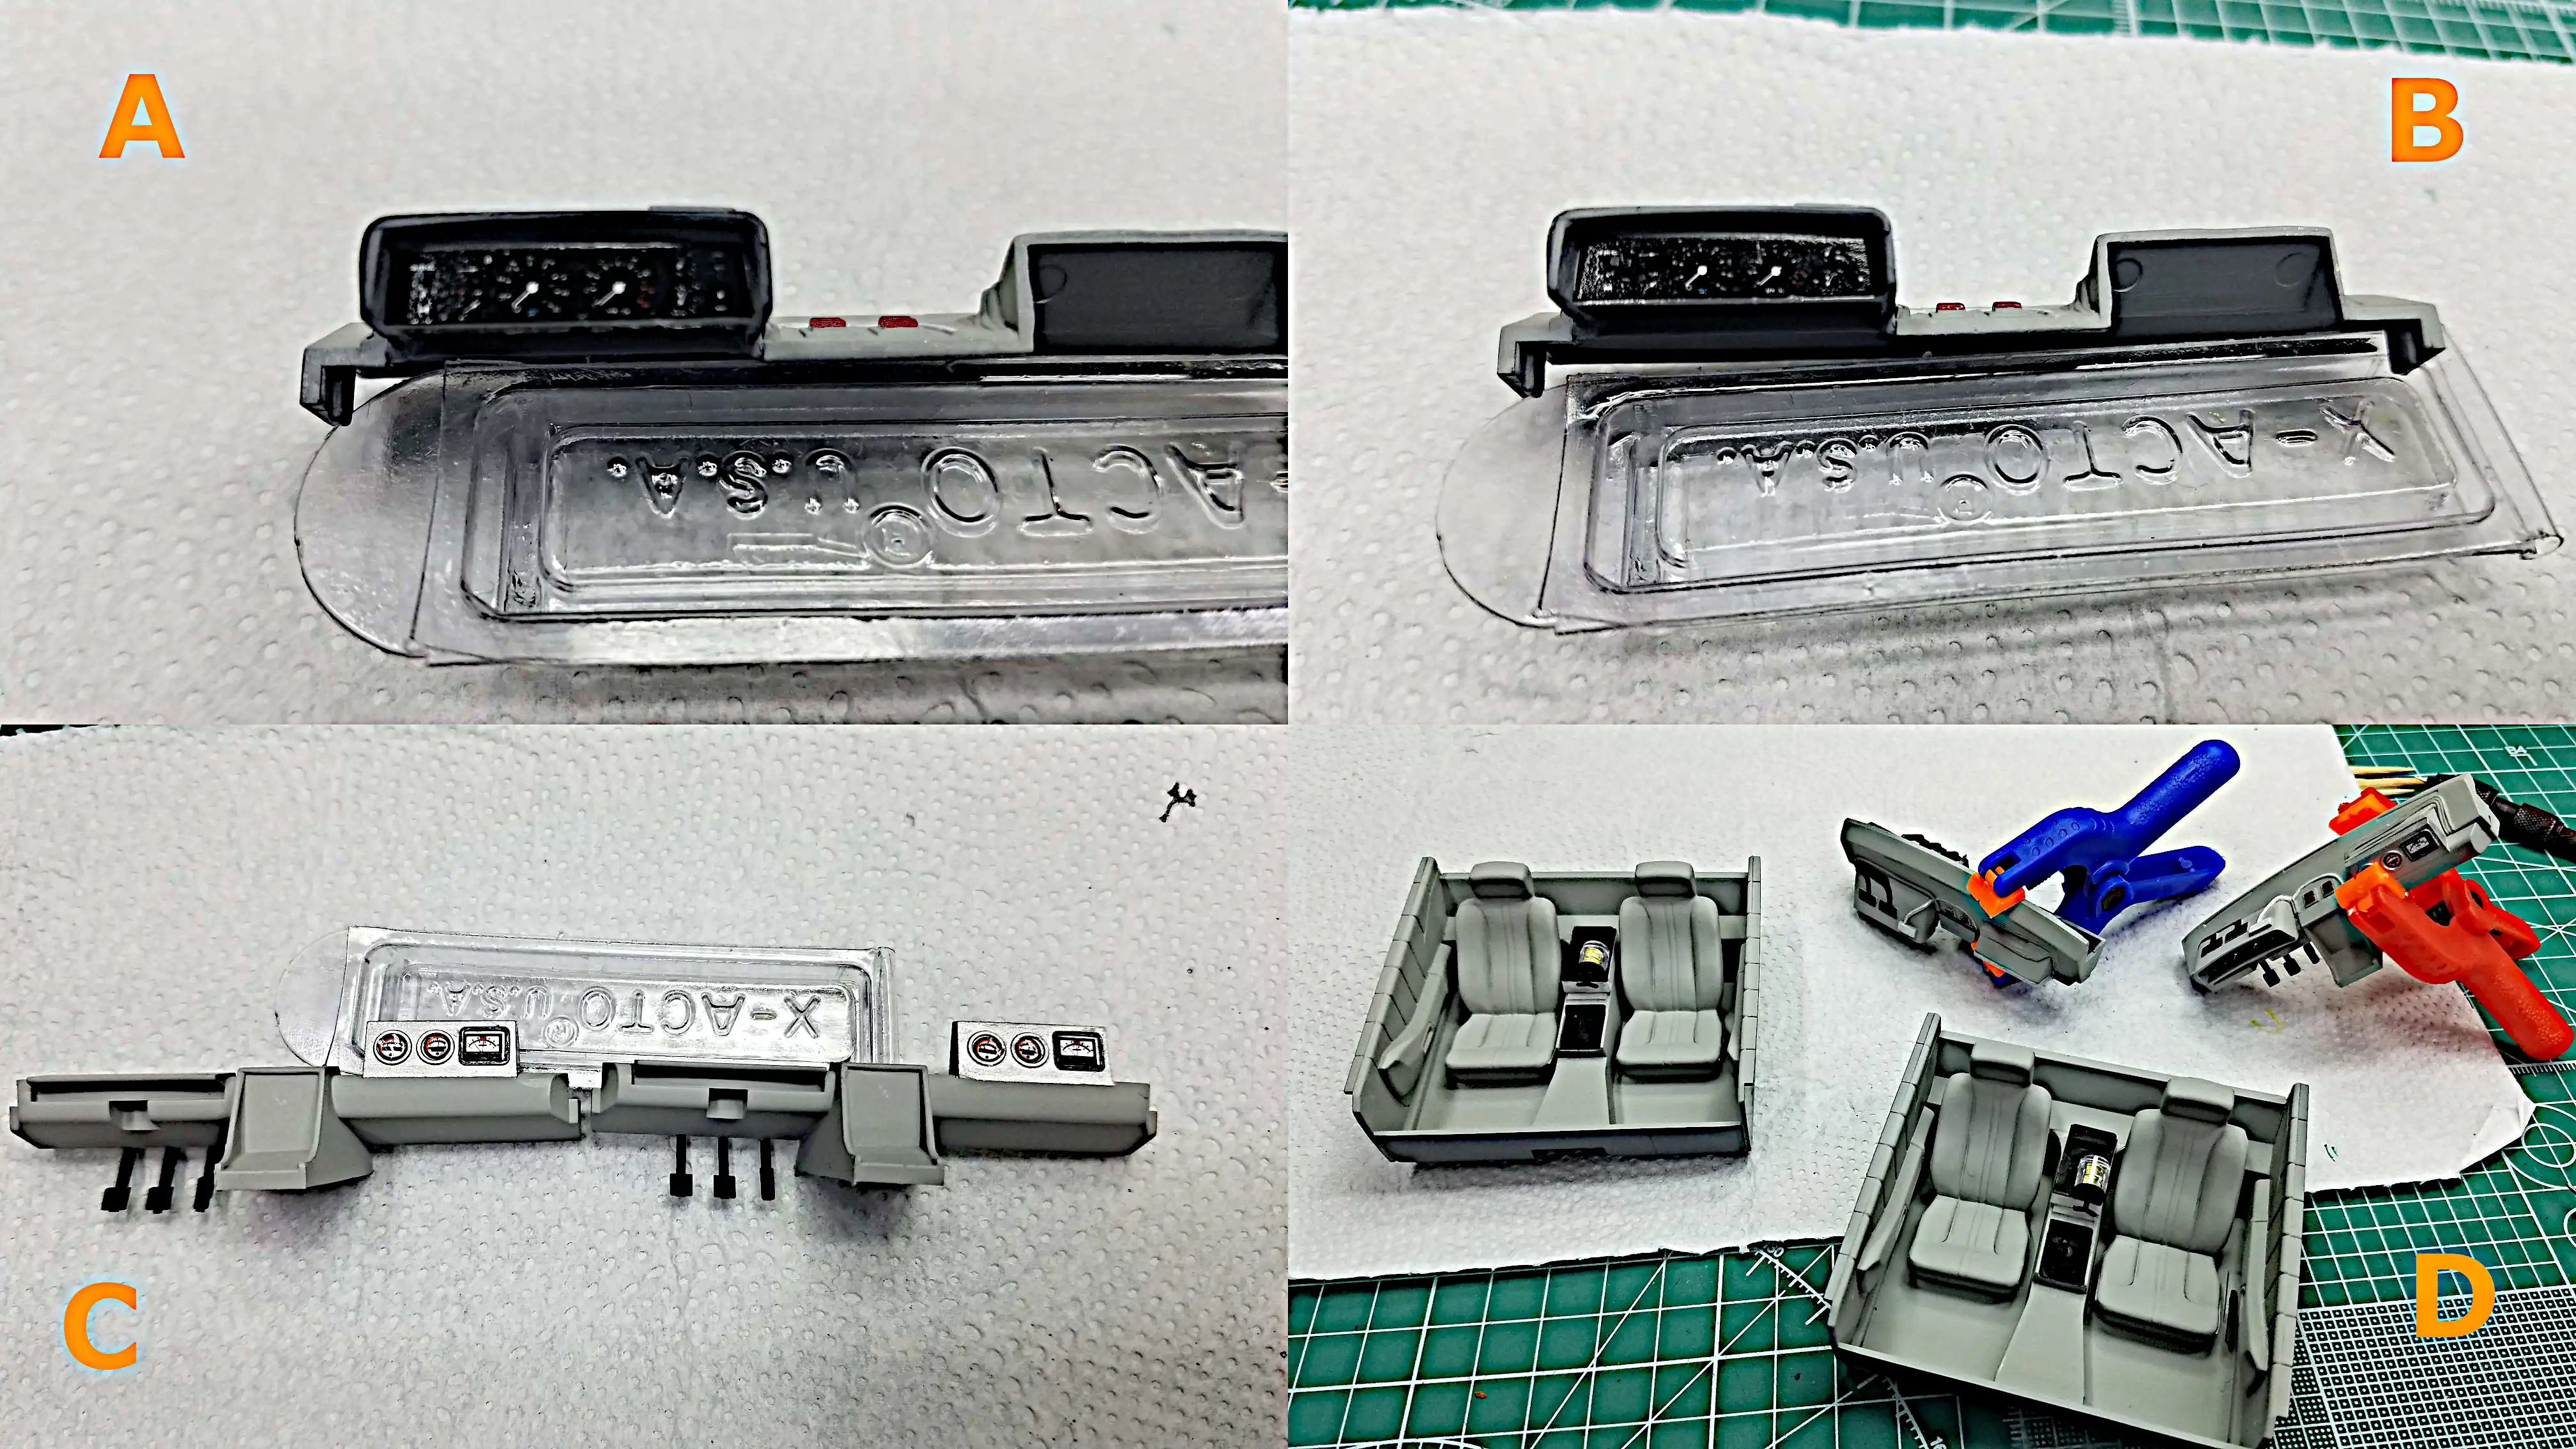
 Window dividers are outlined and instrument roof instrument cluster is installed
 Finished dashboards ready for installation into the tubs
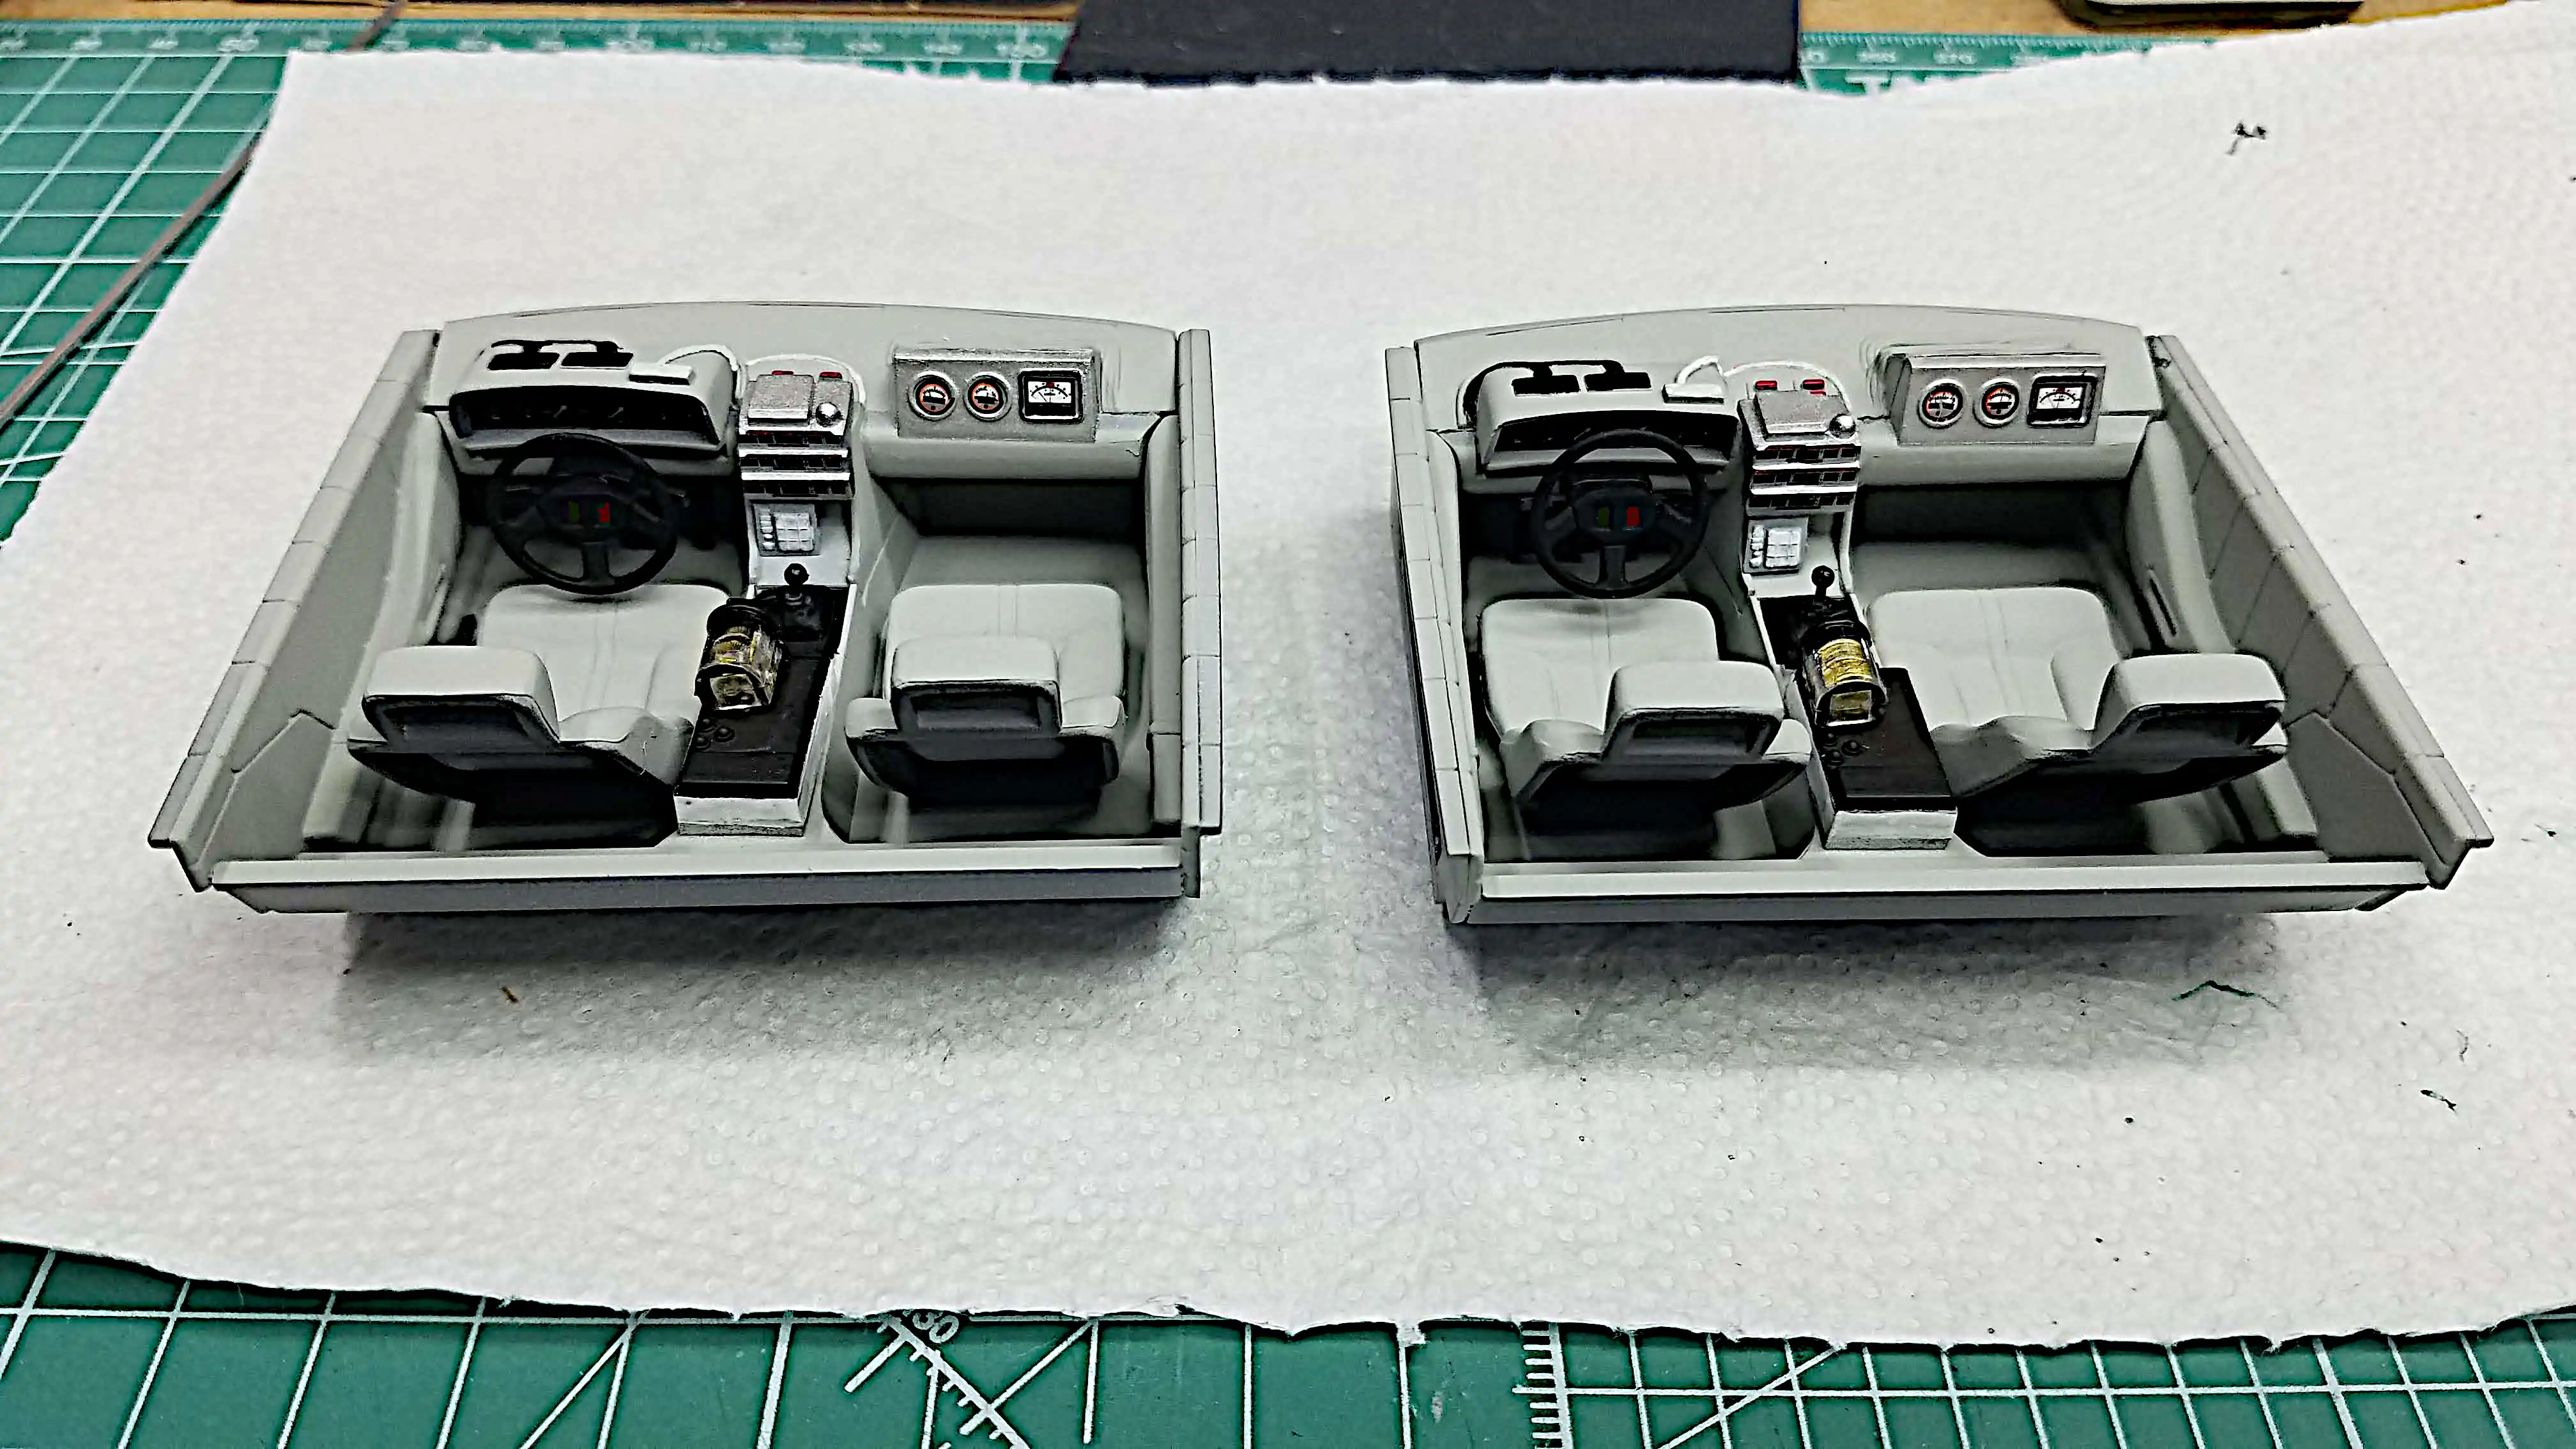 Dashboards are installed in the interior tubs
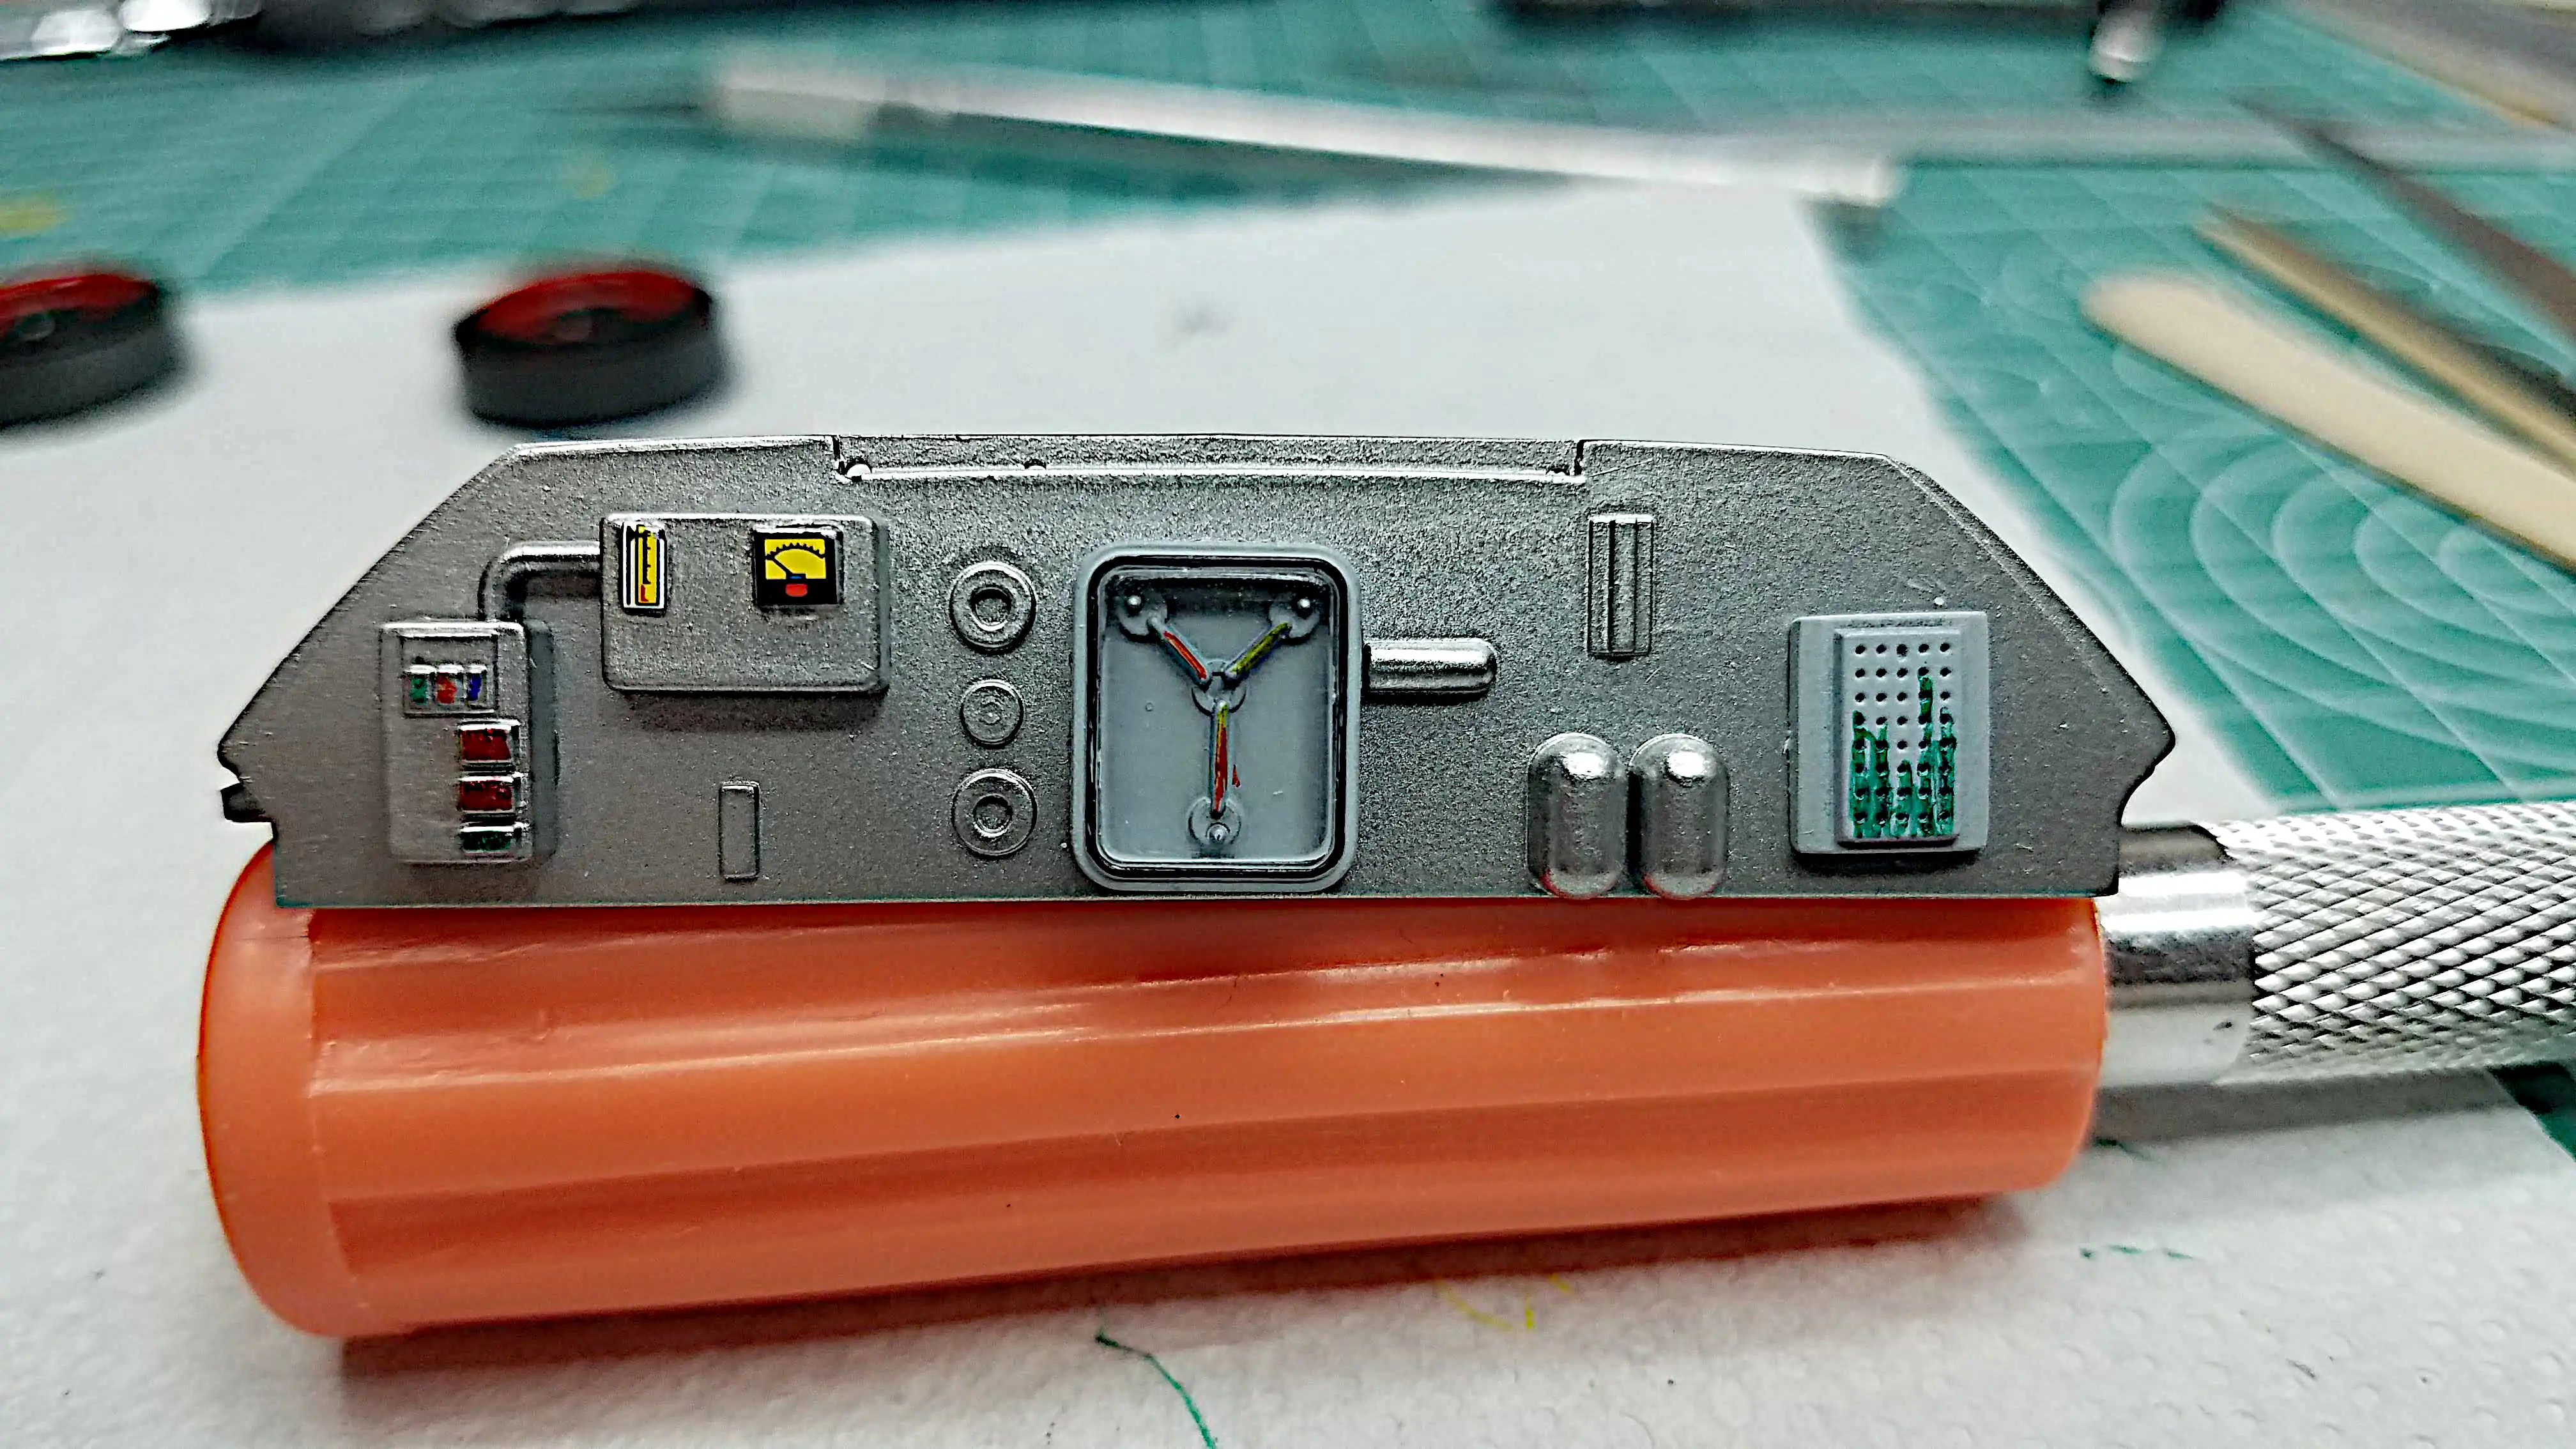
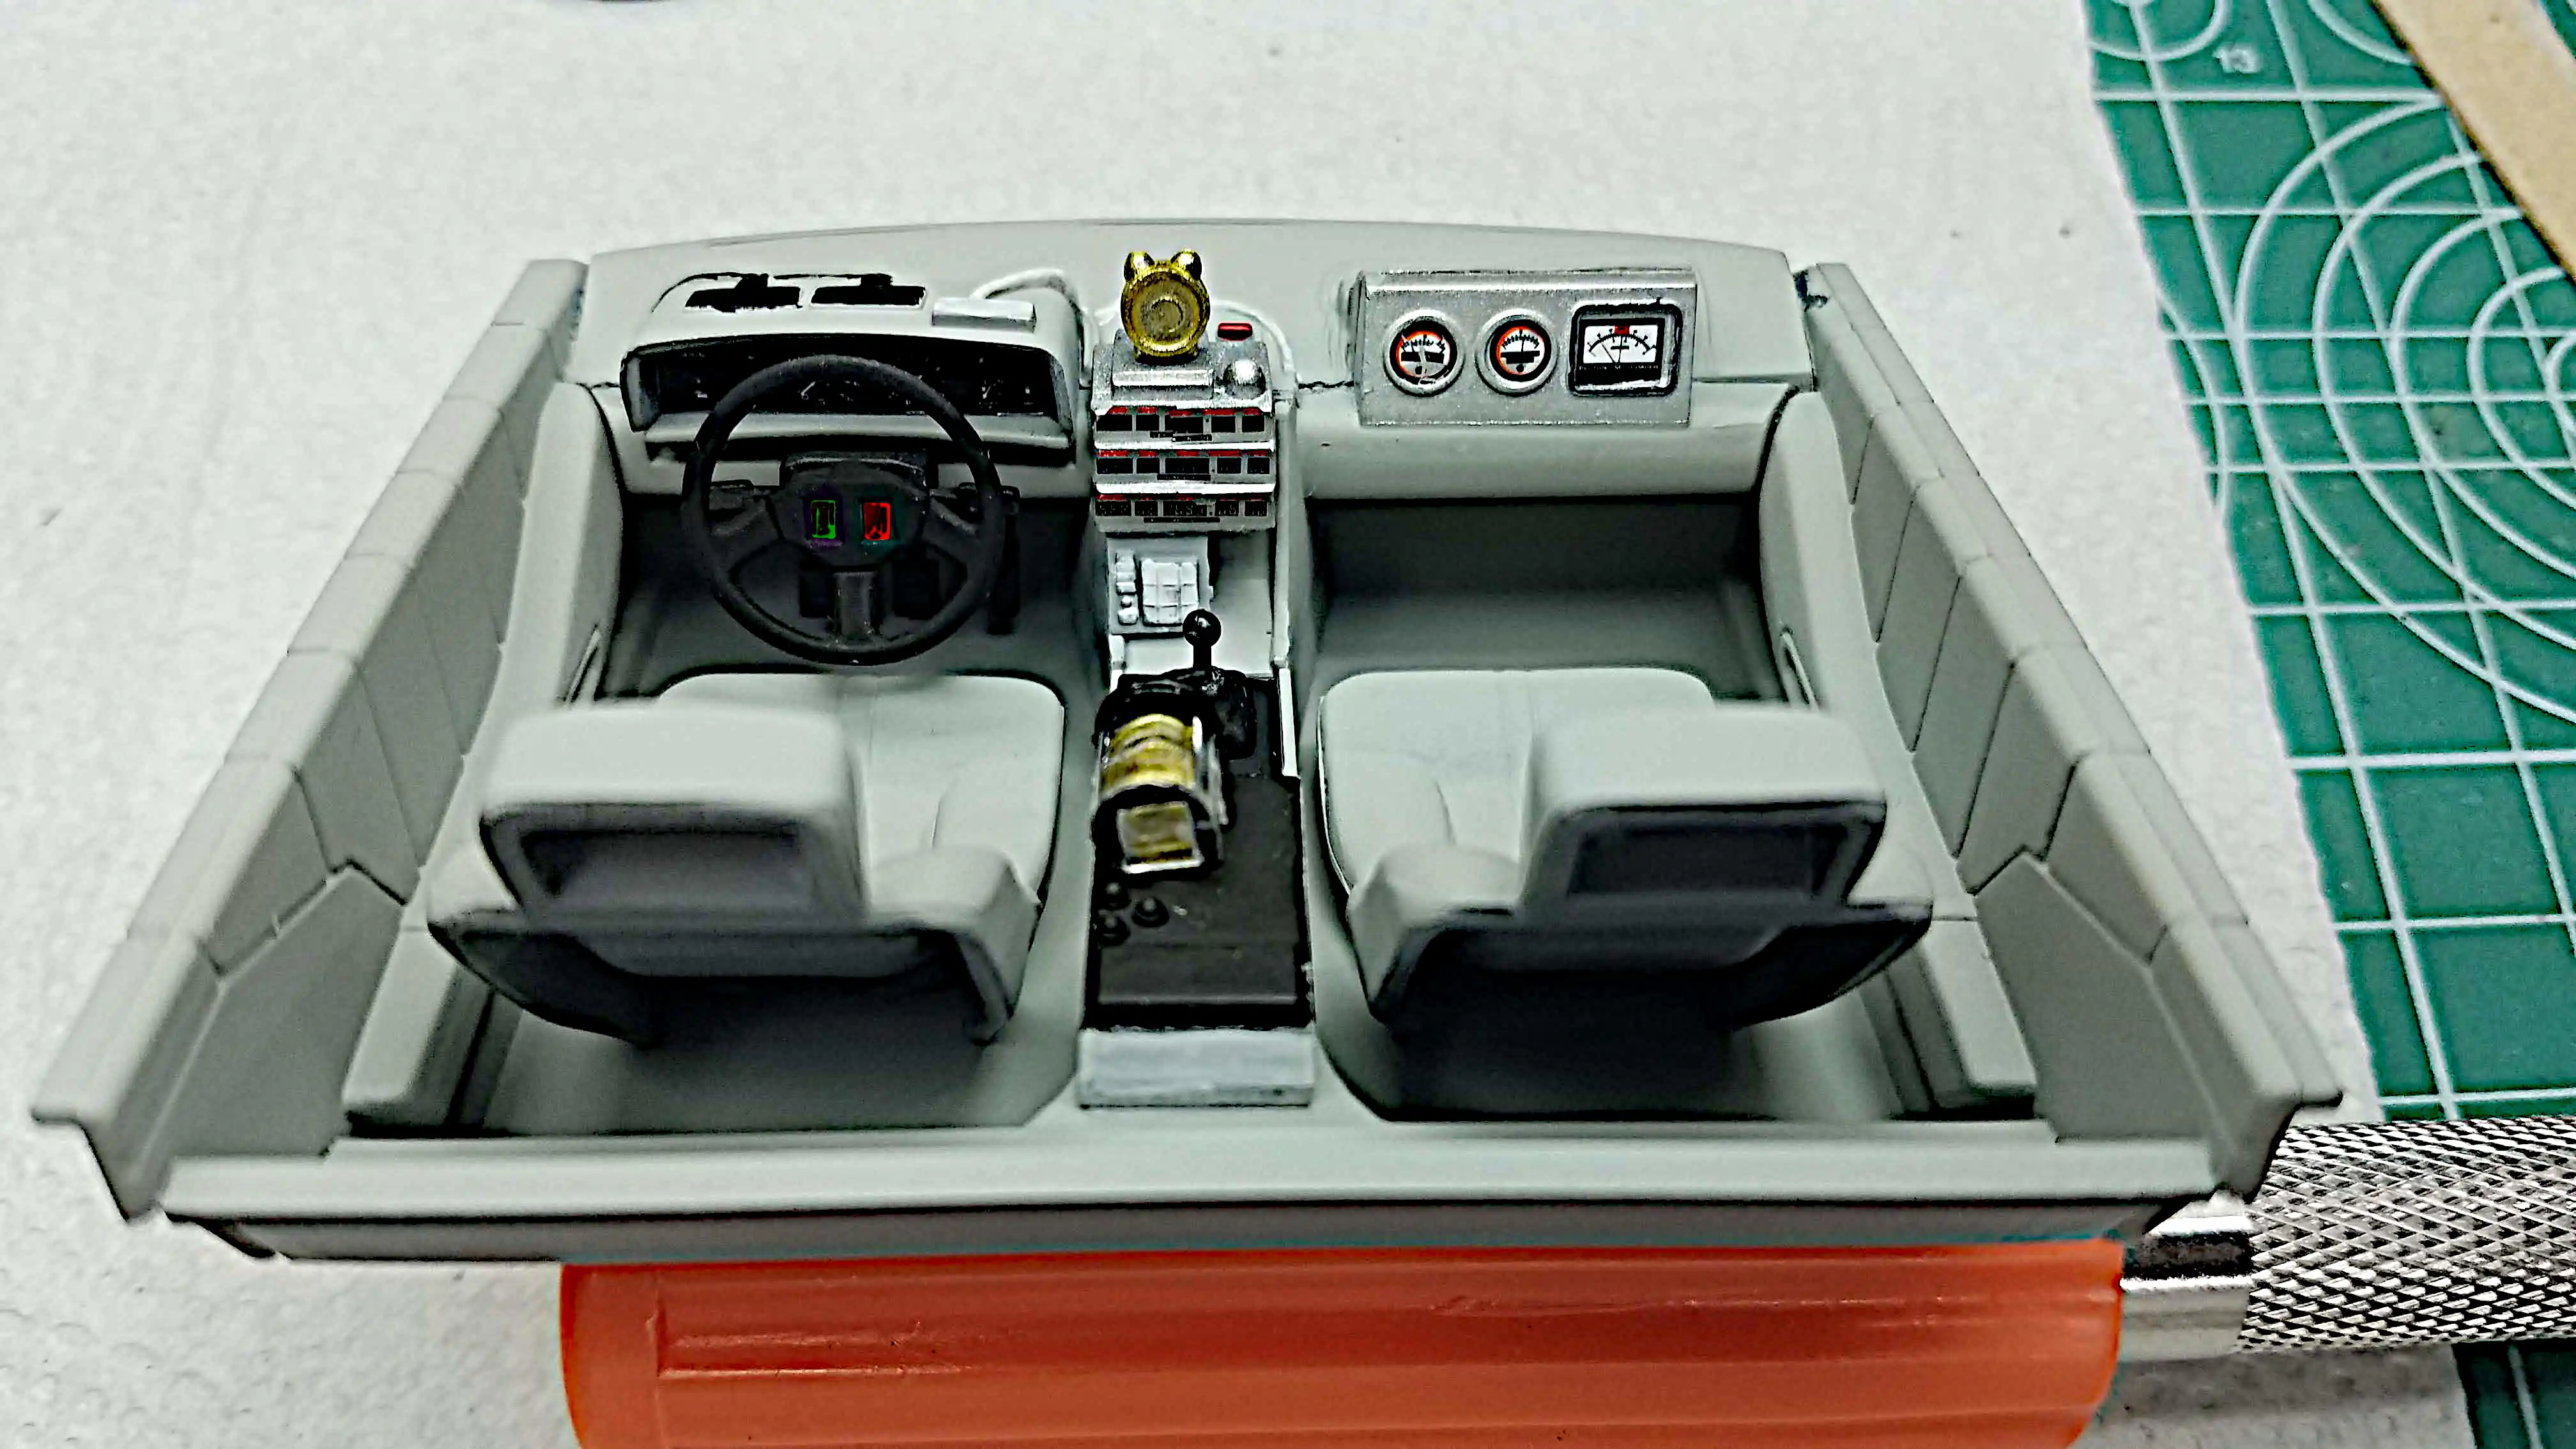 Closeup of dashboard after small alarm clock has been installed
 Painted body is masked so the gray vinyl of the front nose and rear can be painted.
Photo description has links to enlarge each image.
Painted body is masked so the gray vinyl of the front nose and rear can be painted.
Photo description has links to enlarge each image.
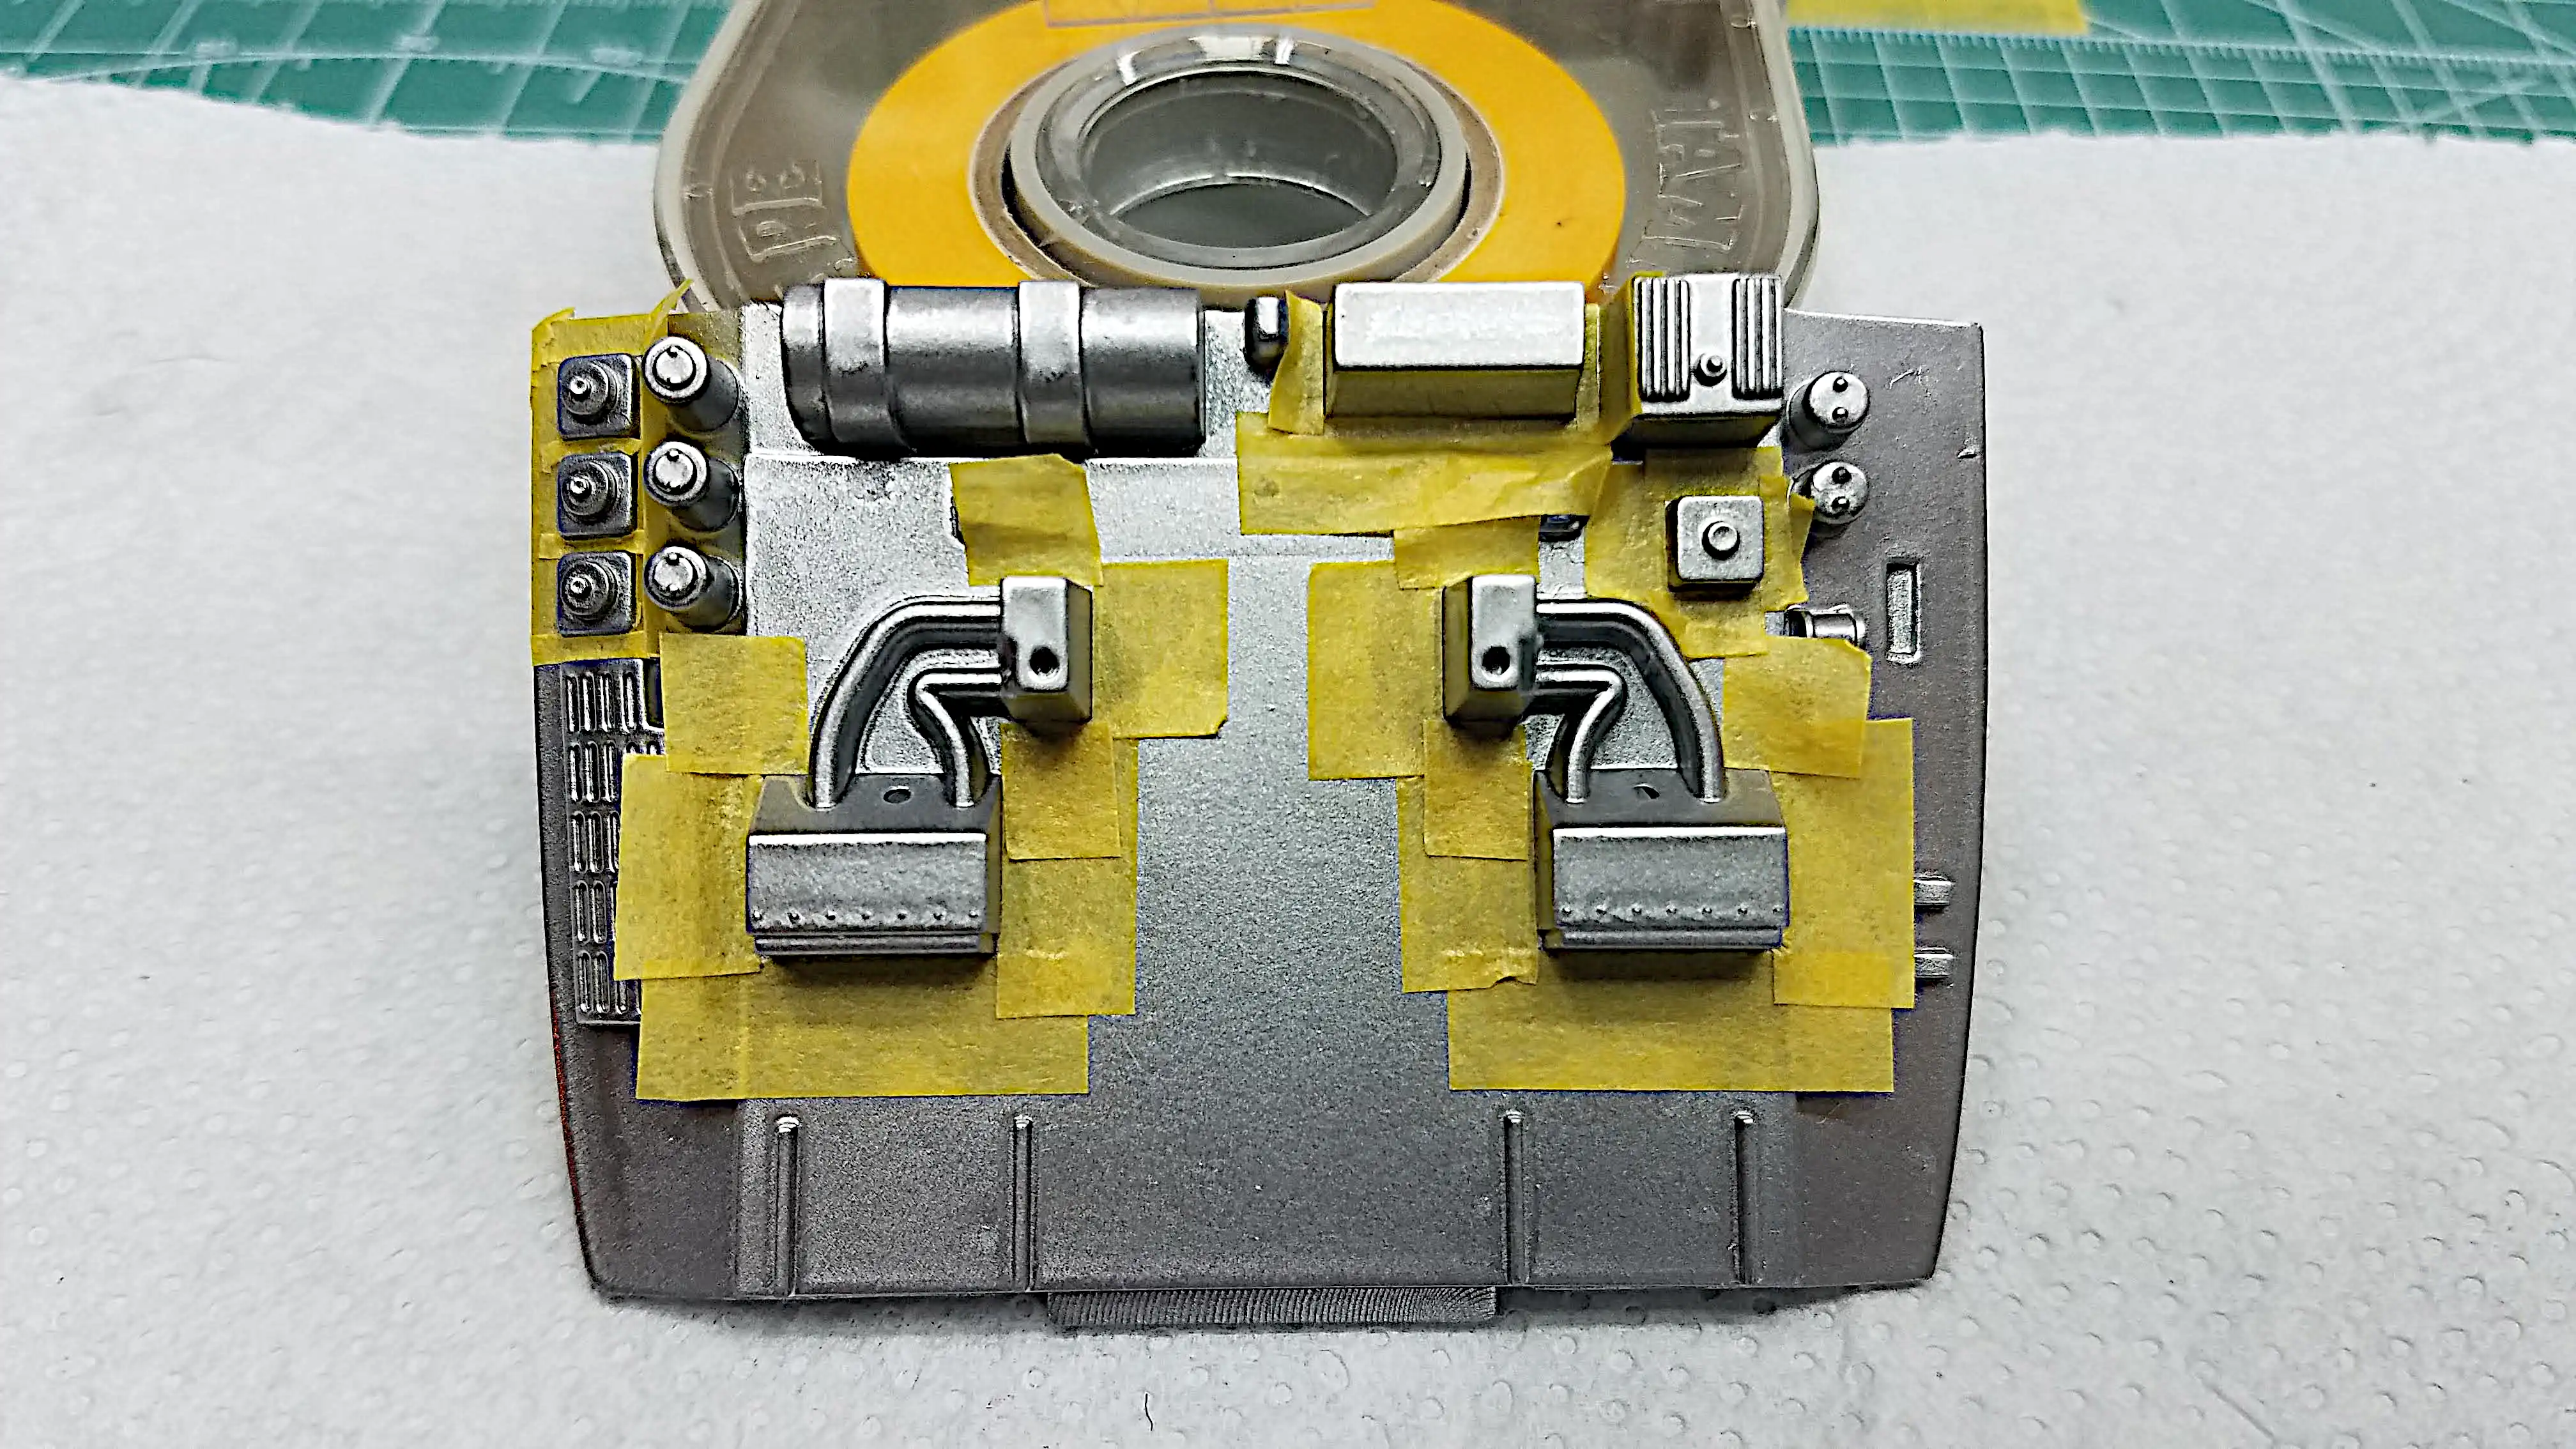
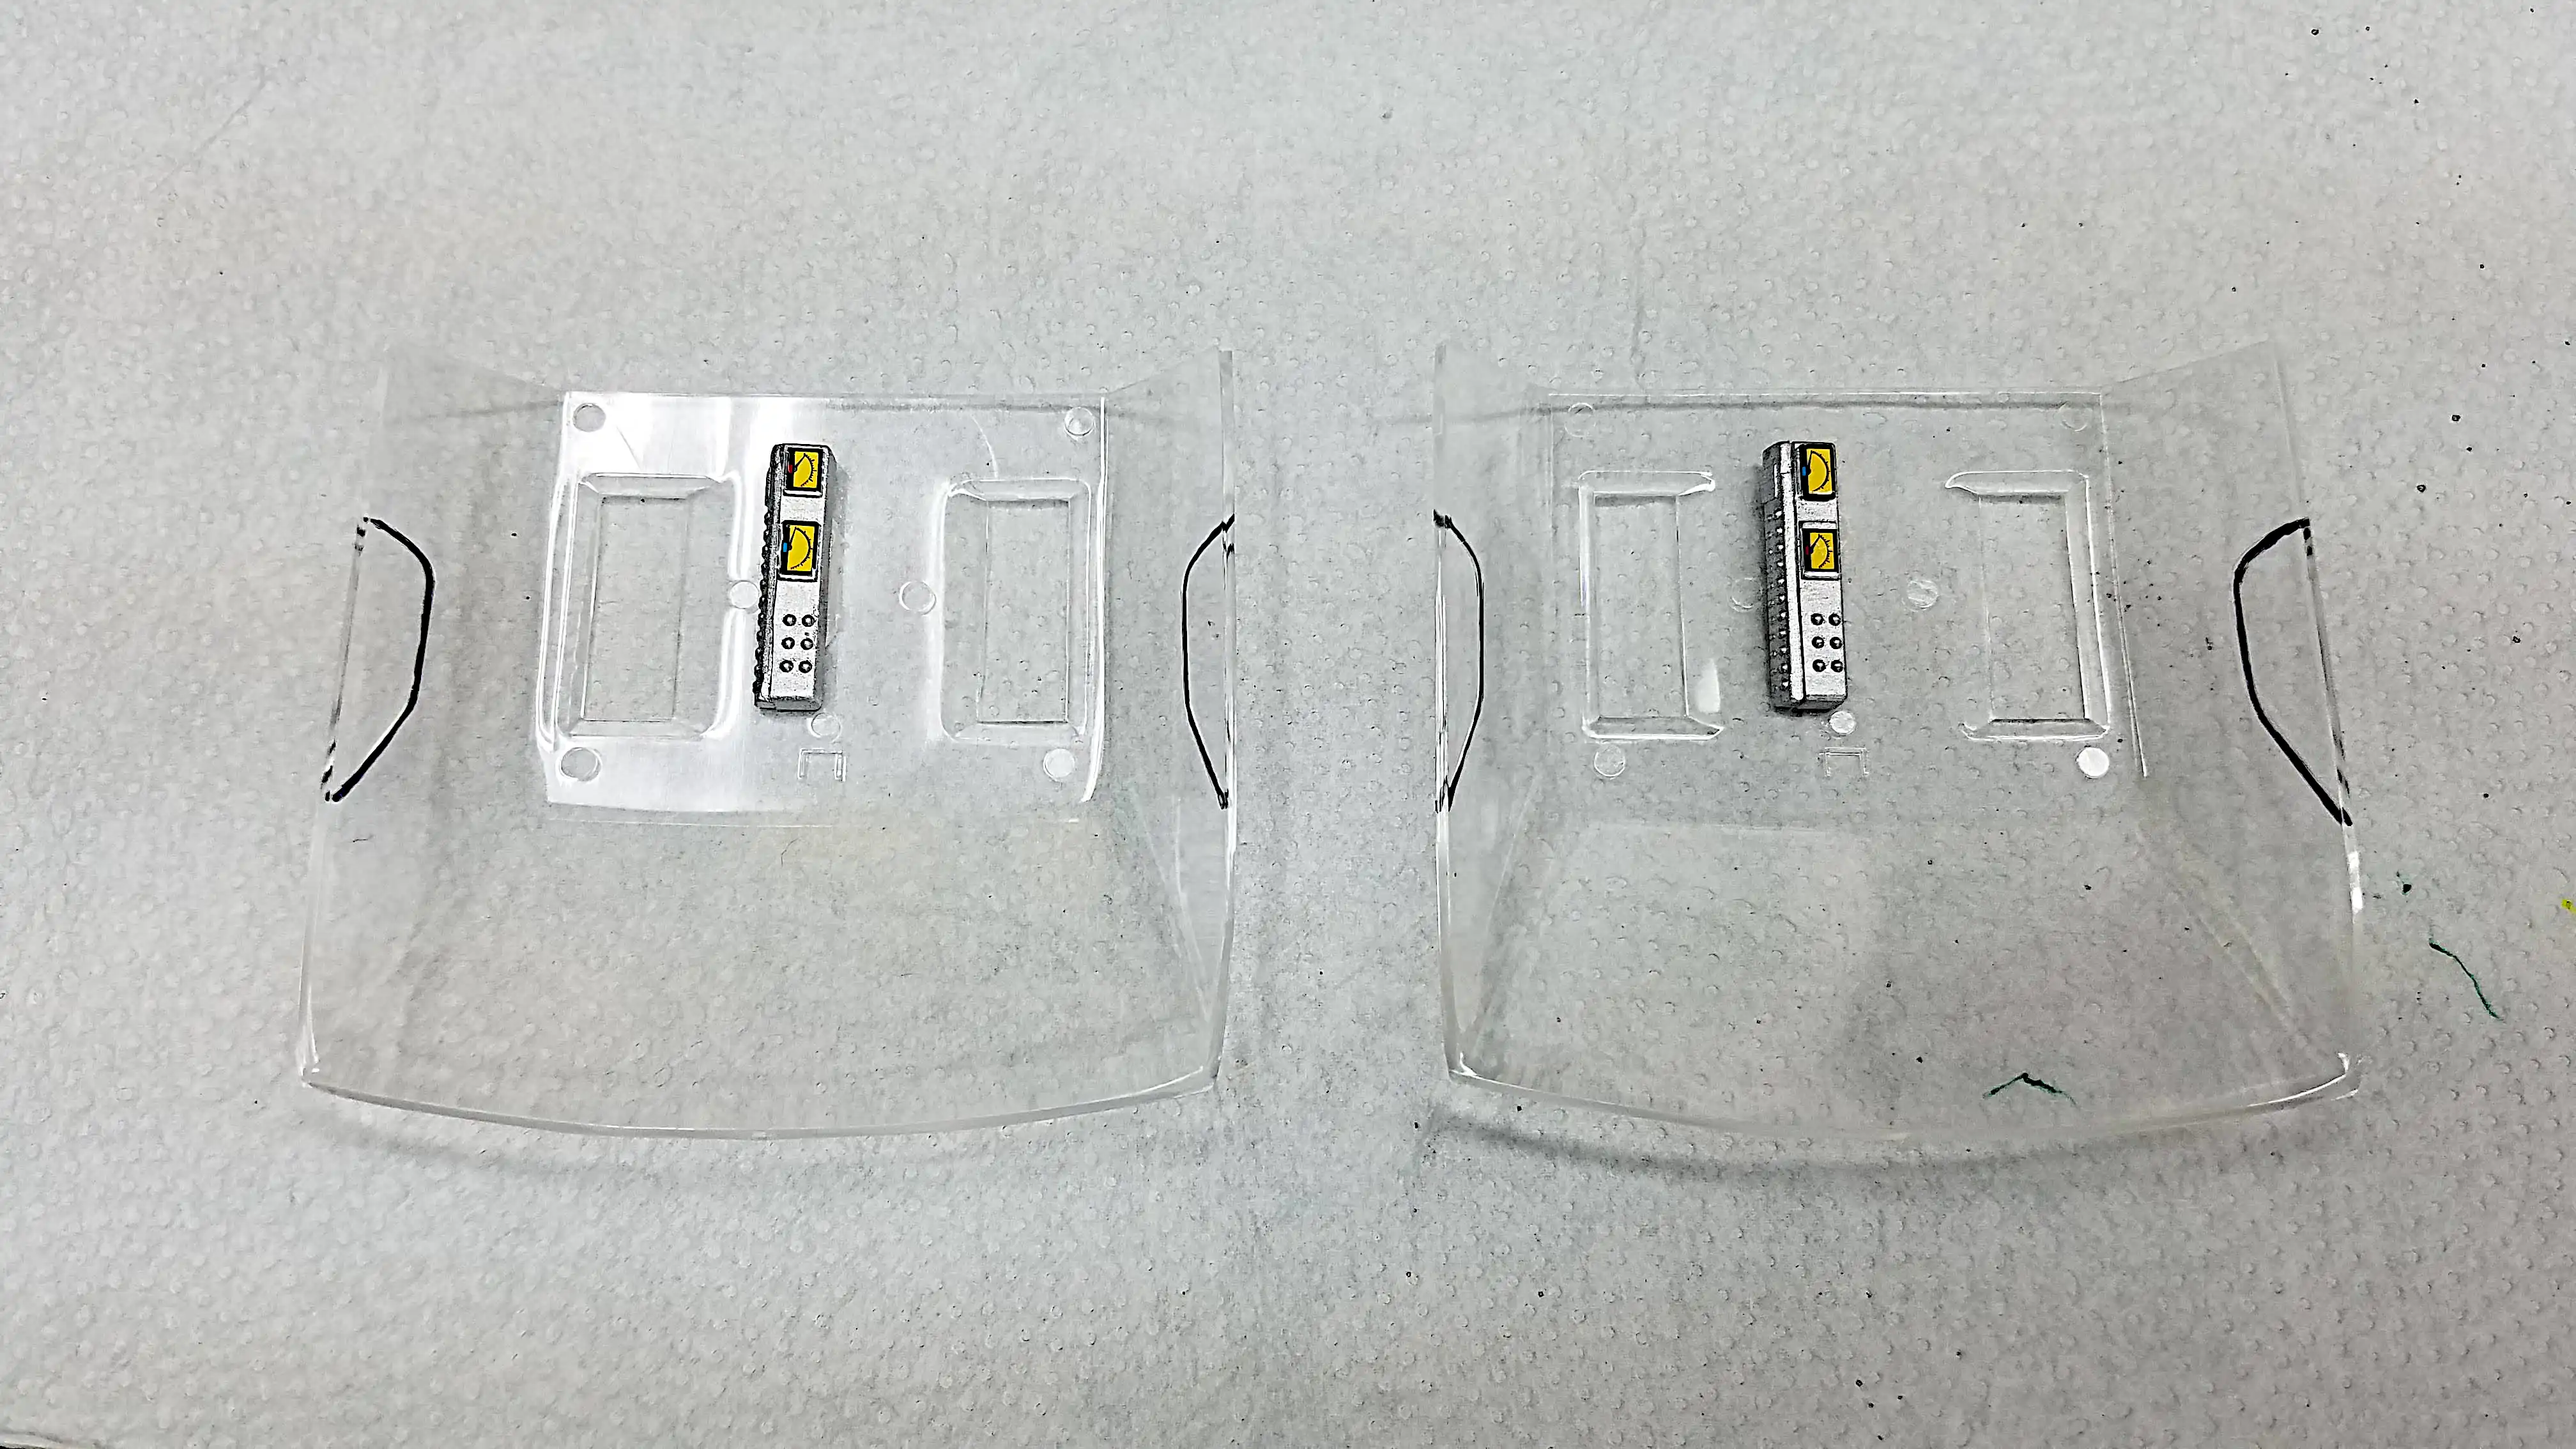
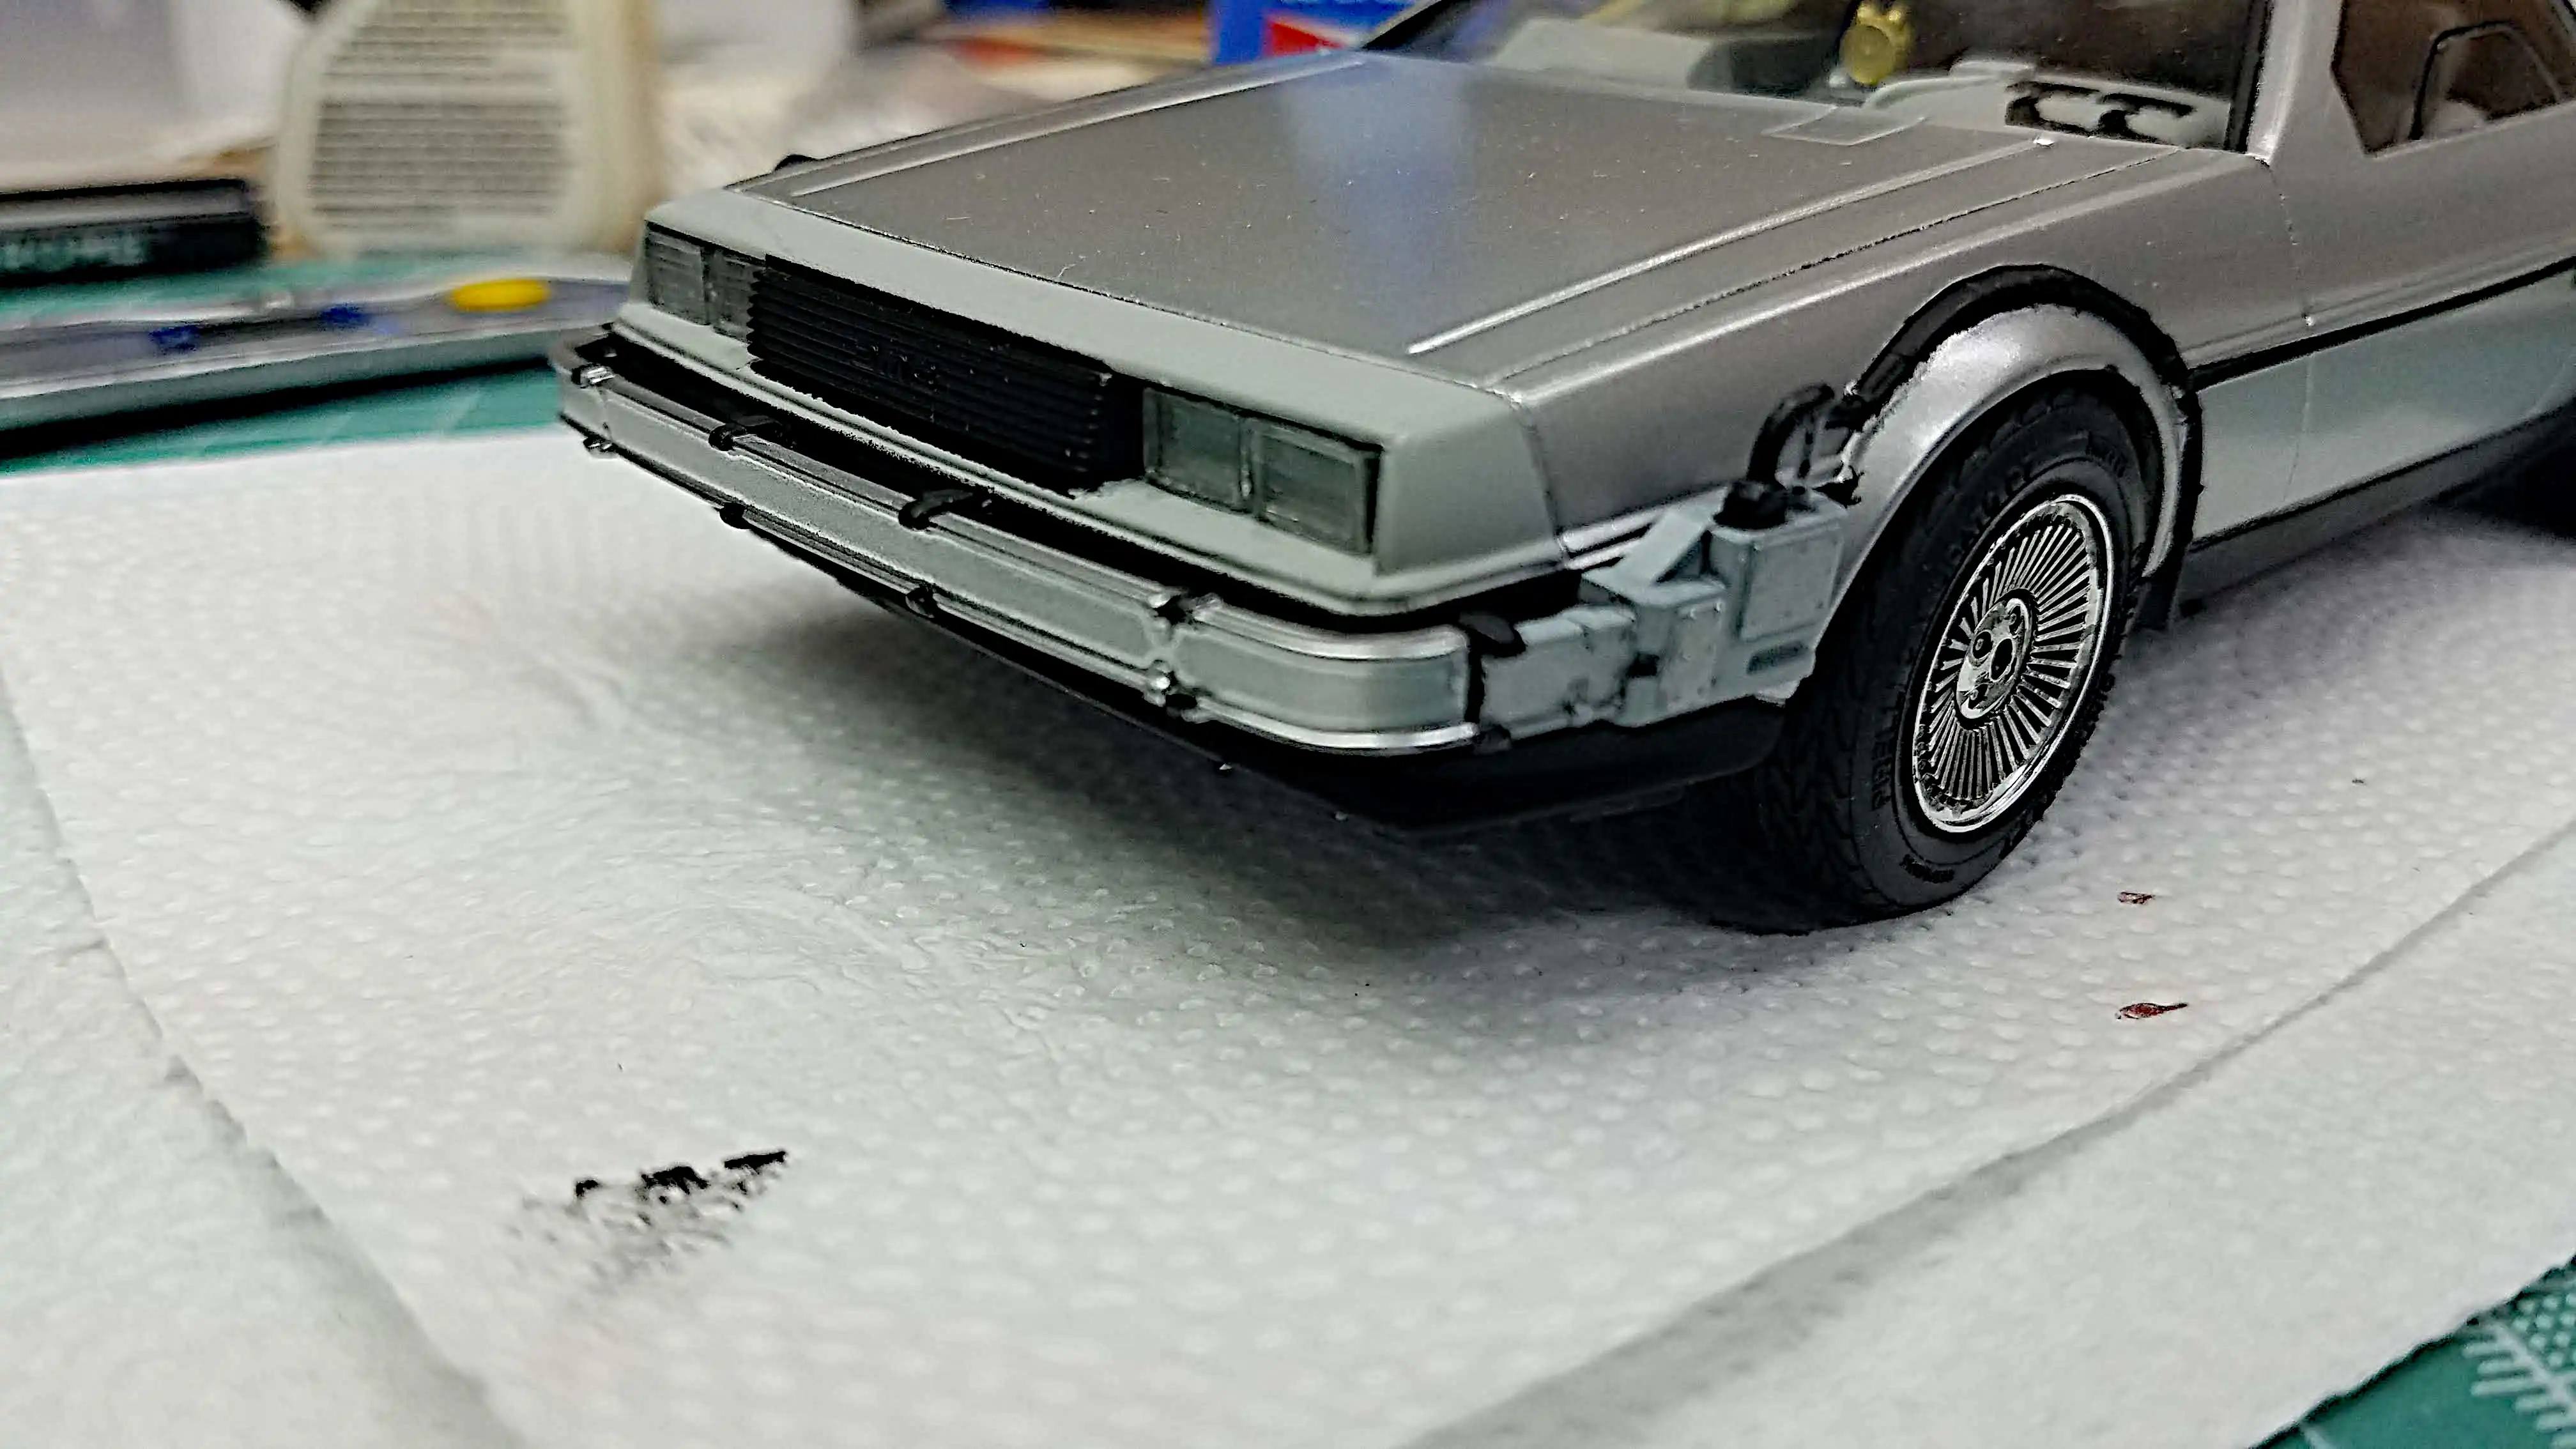
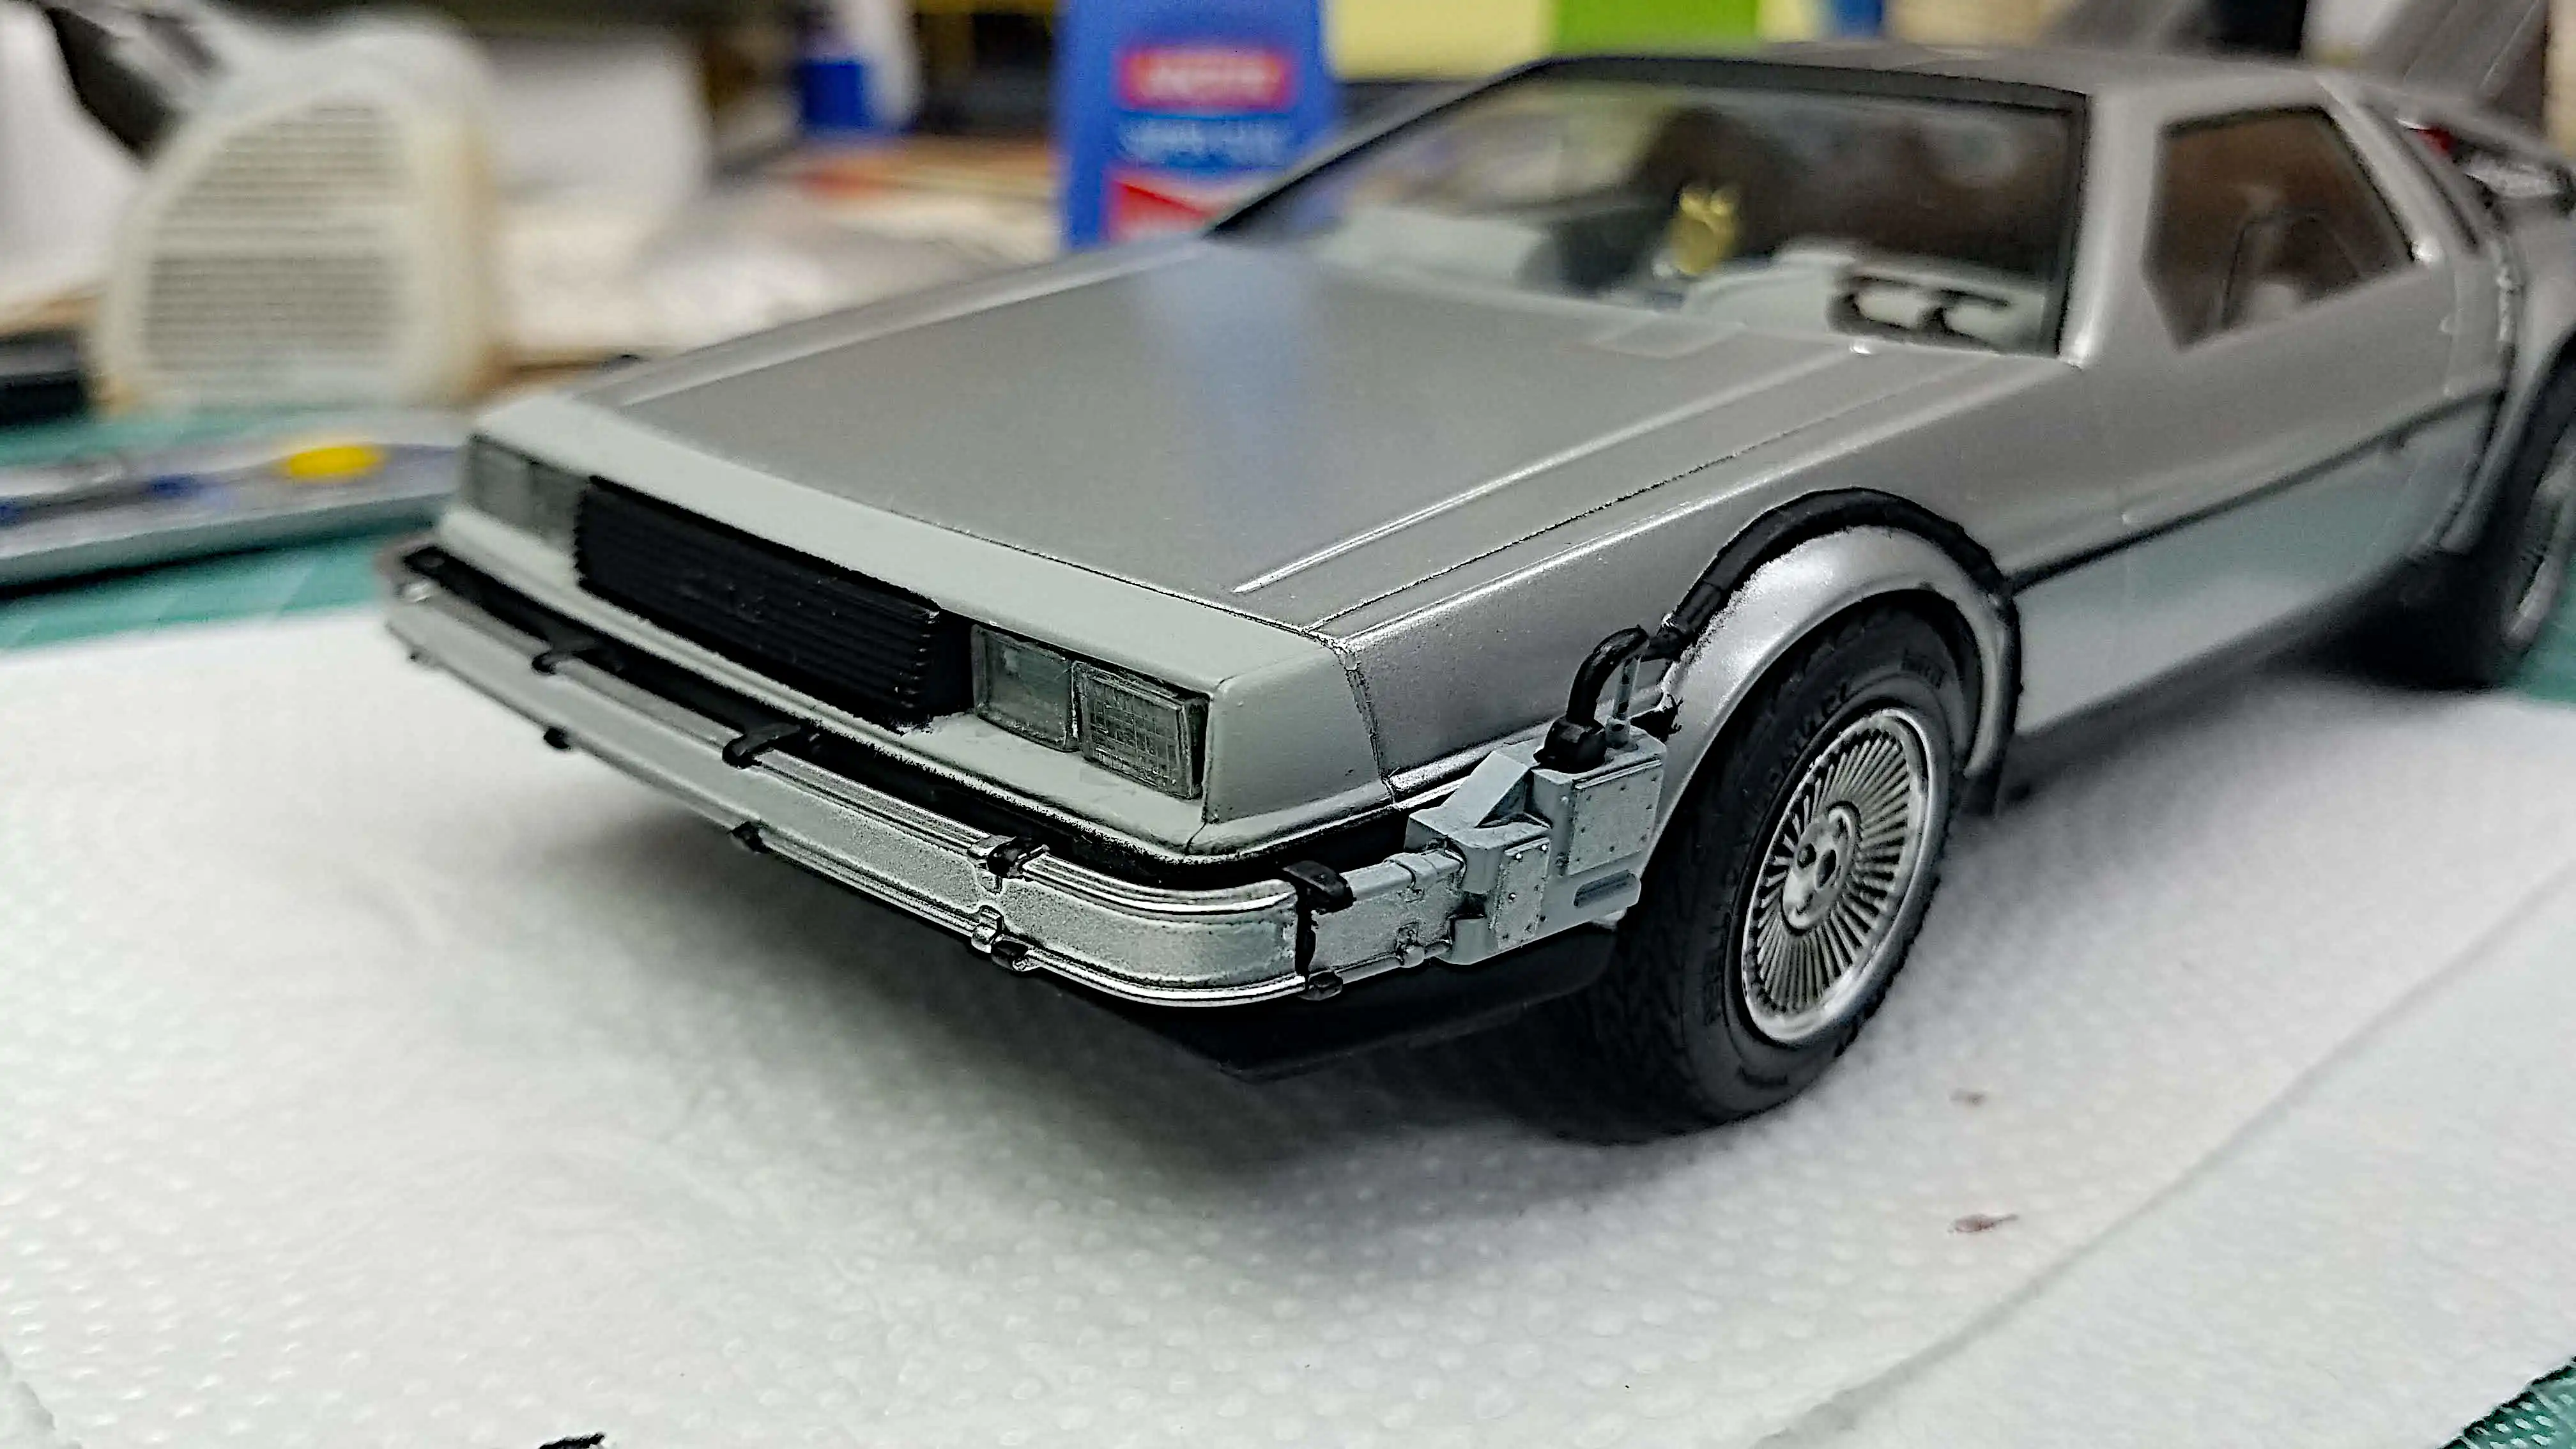
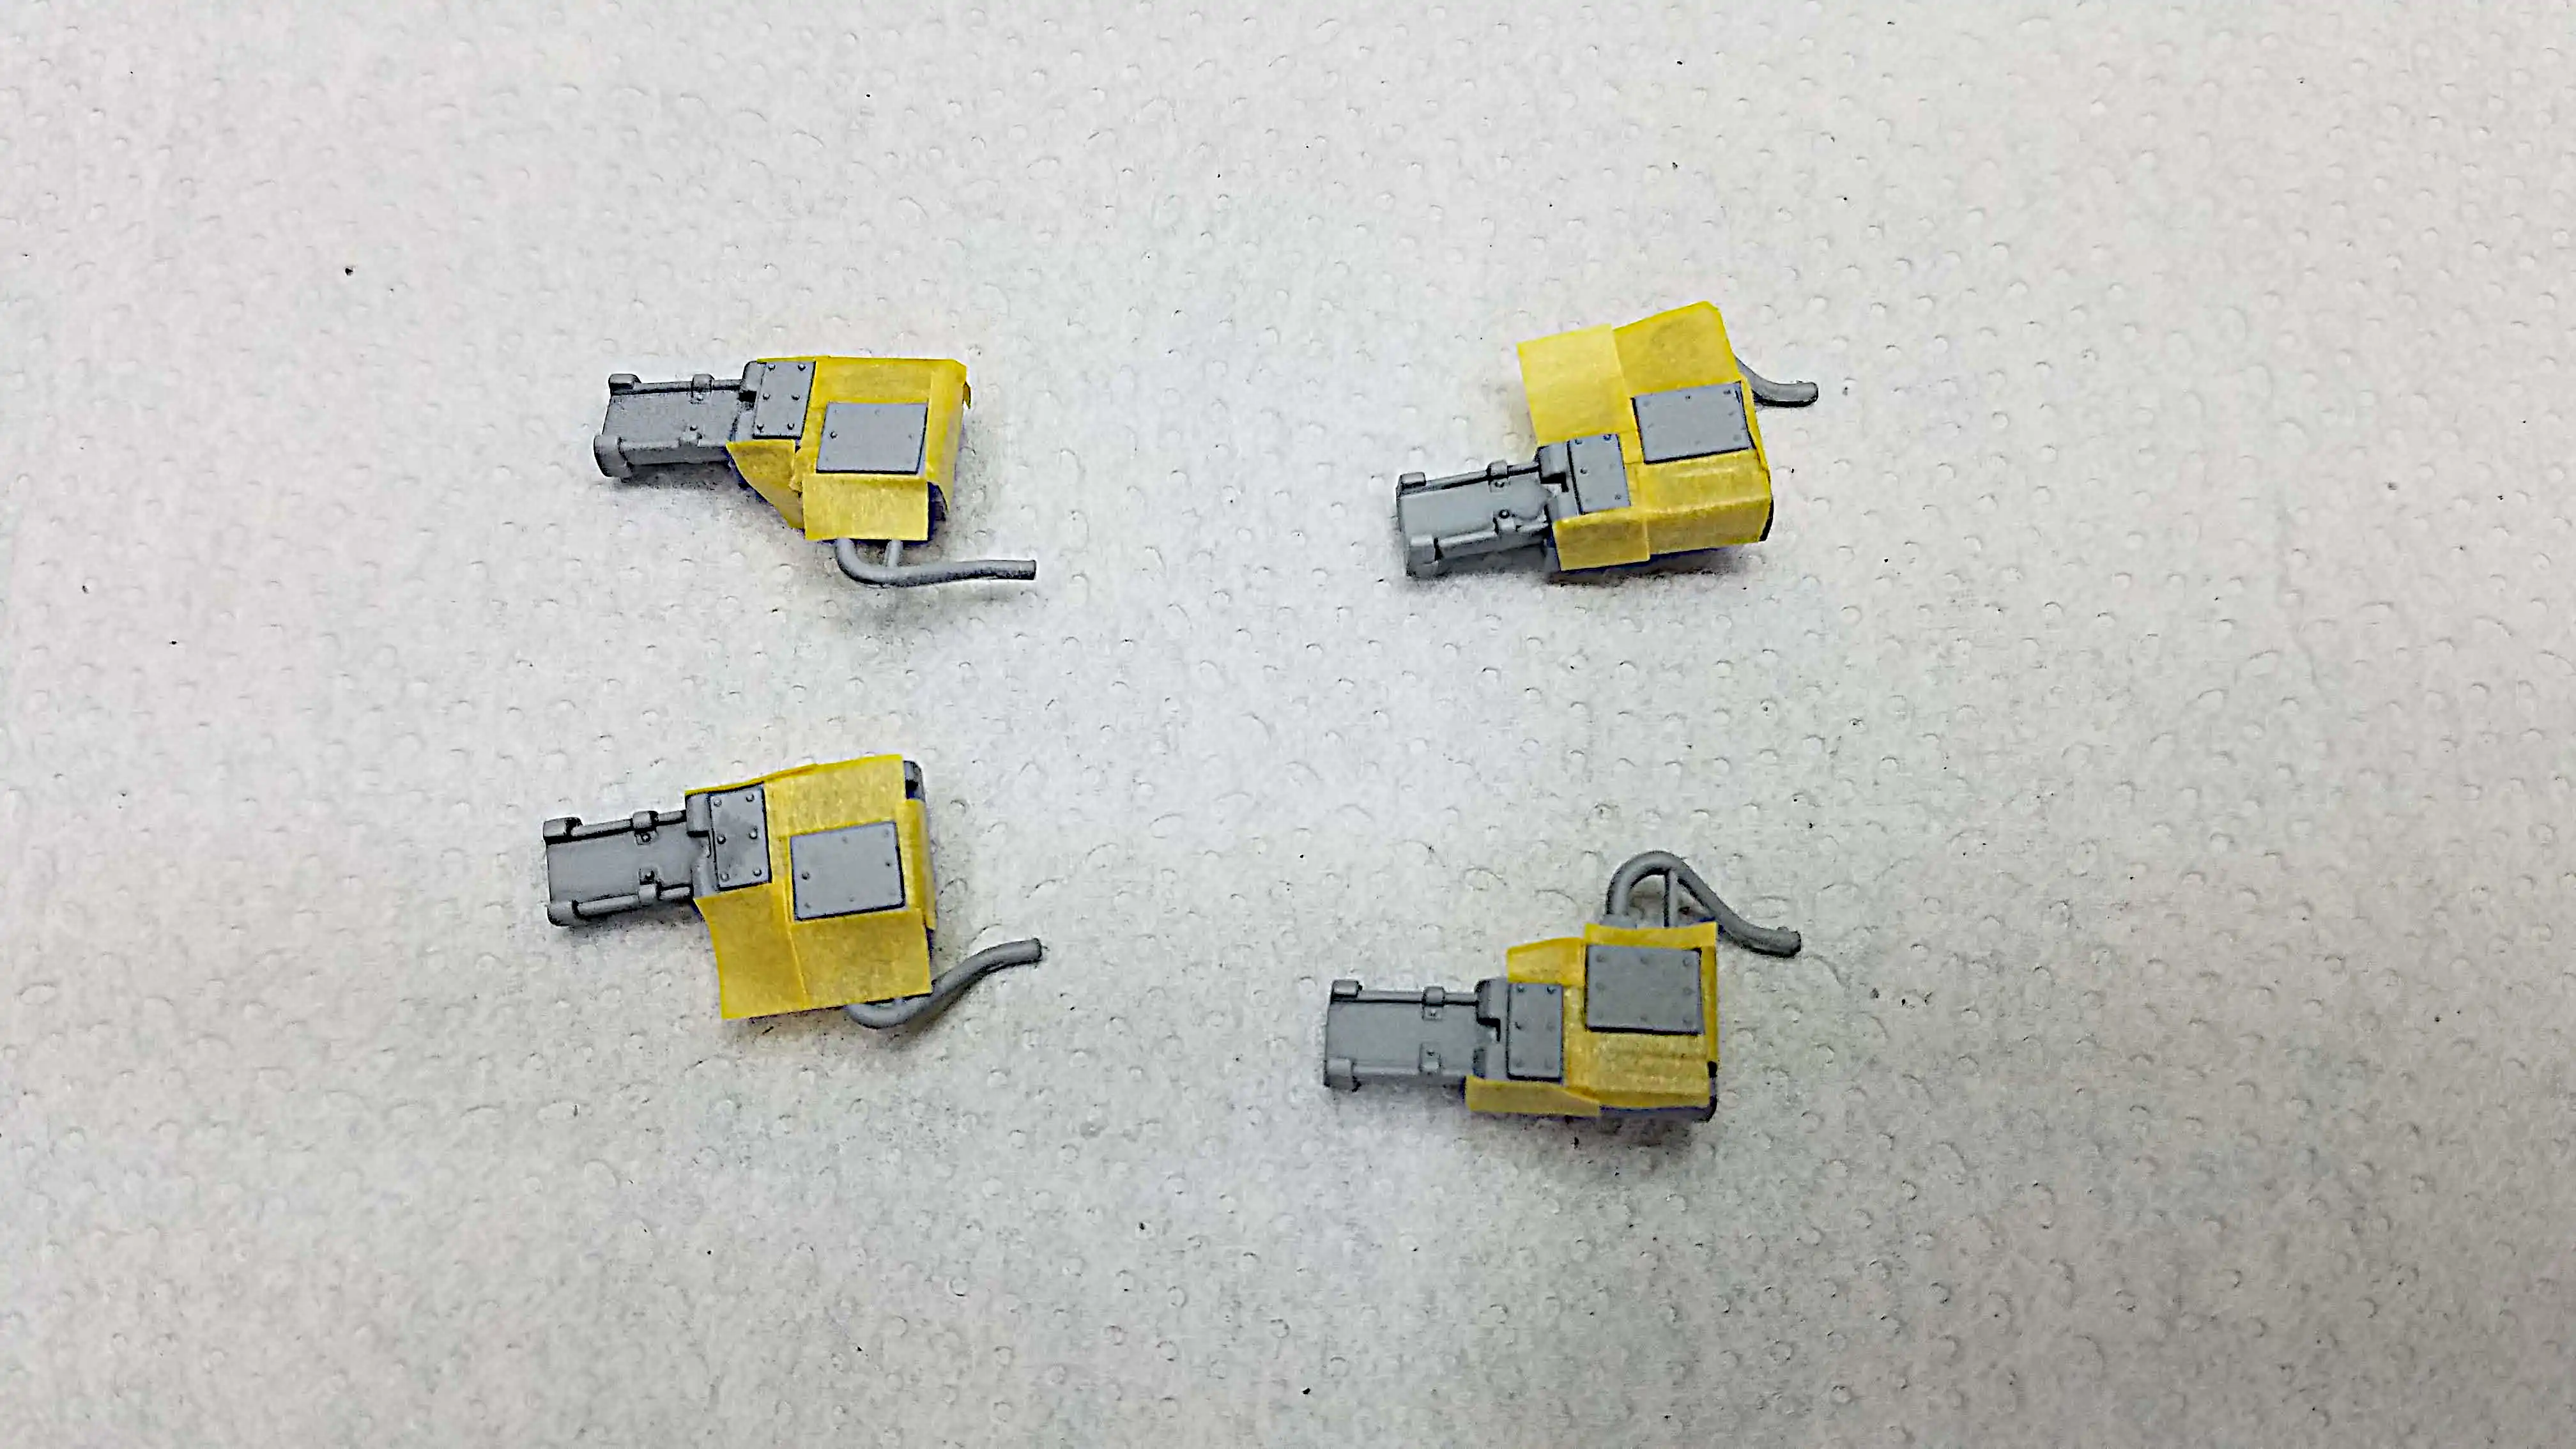 Front fender electrical boxes are masked to allow detail painting
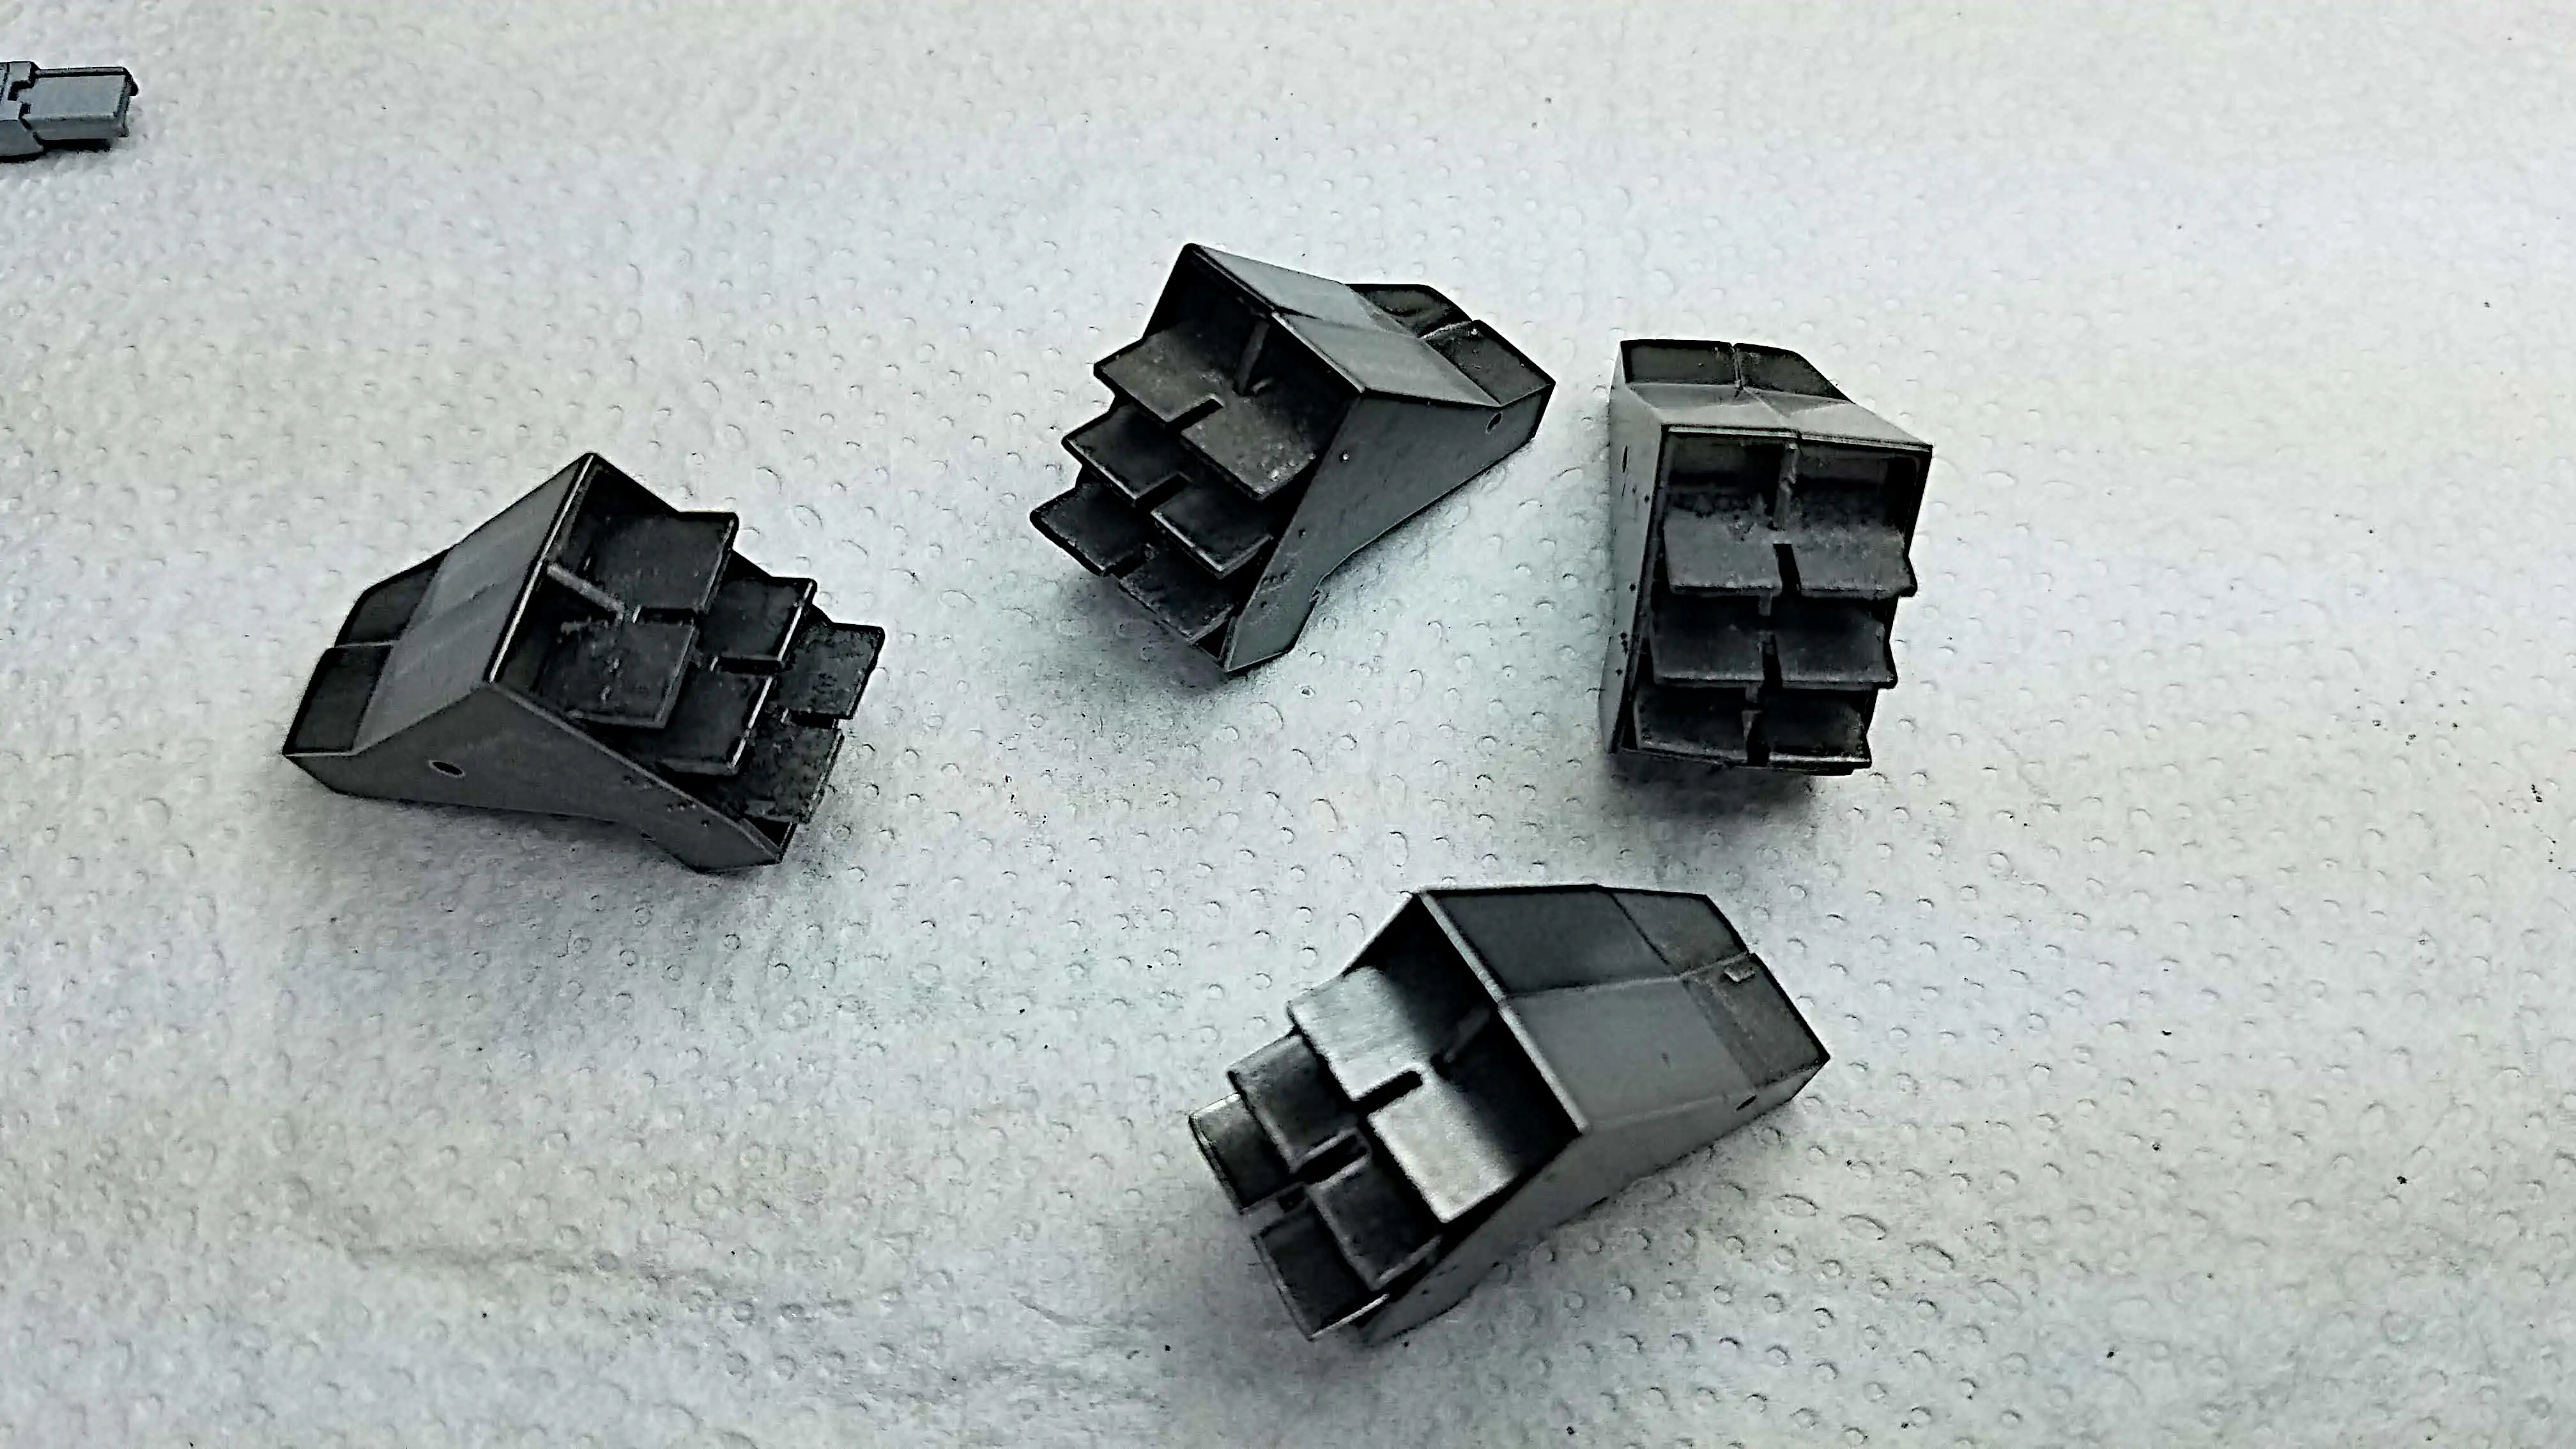
 Front fender electrical boxes have been detailed
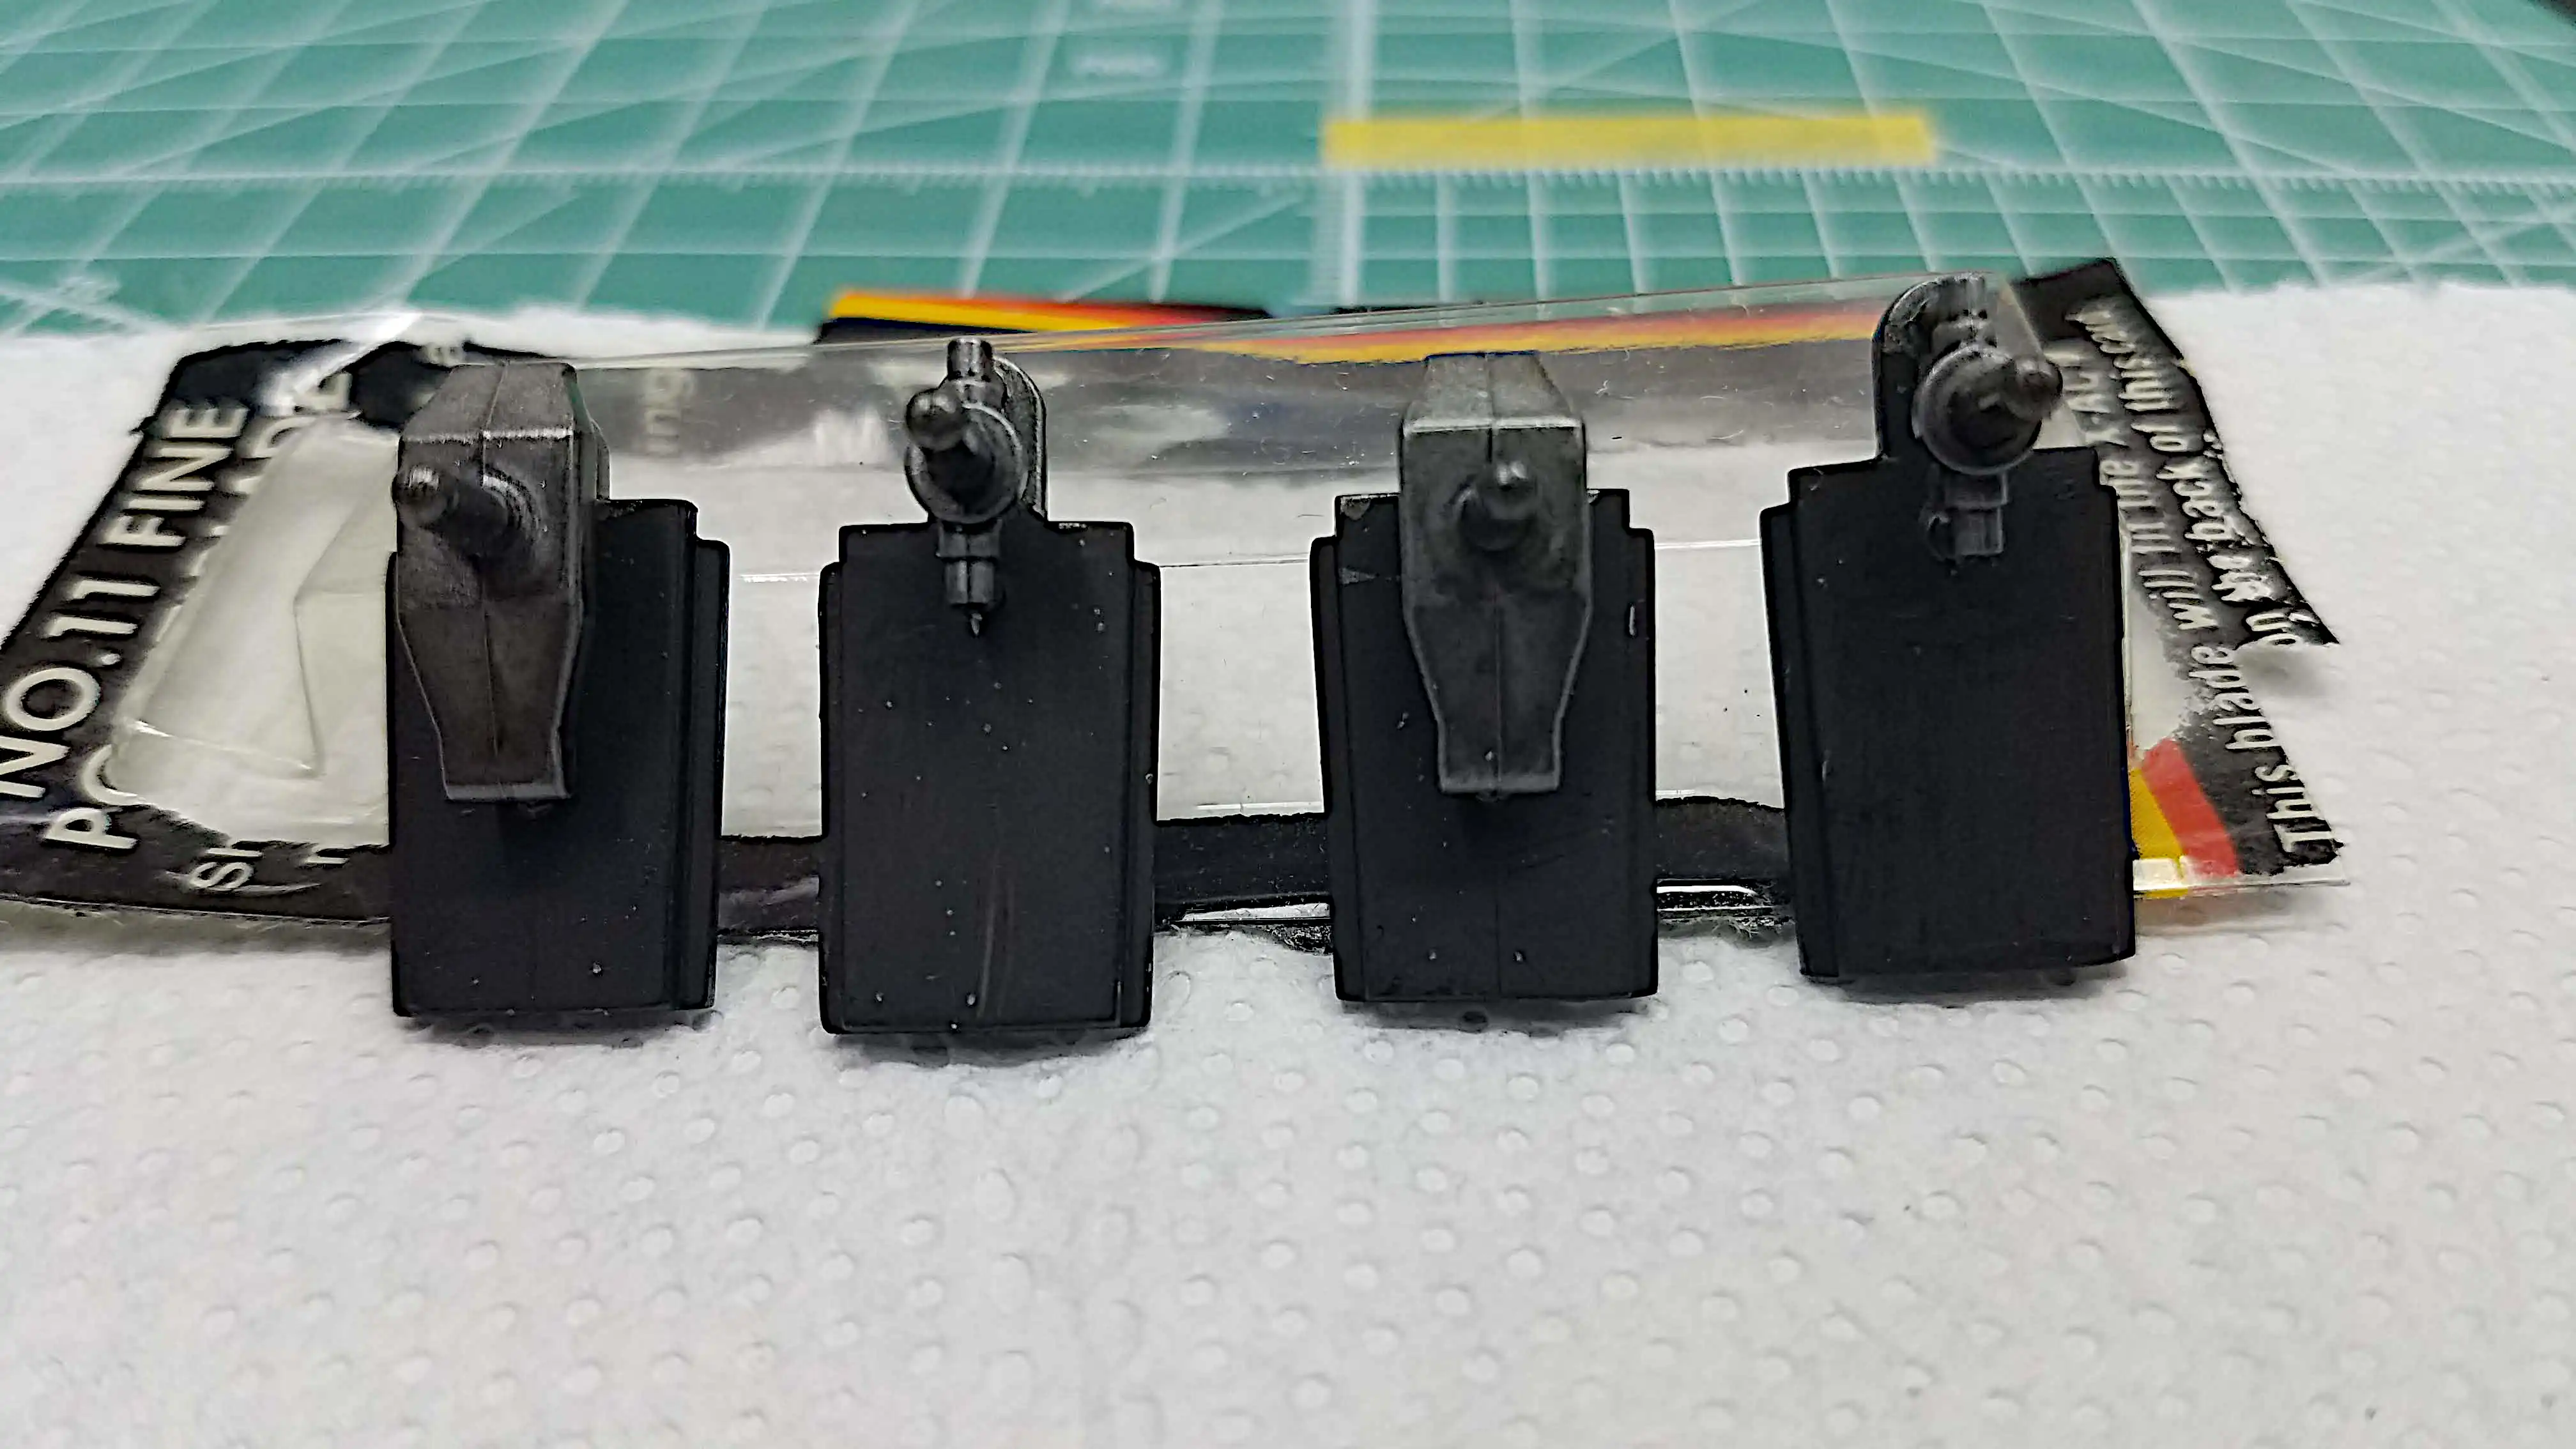
 Exhaust ports are painted, assembled and ready to be installed
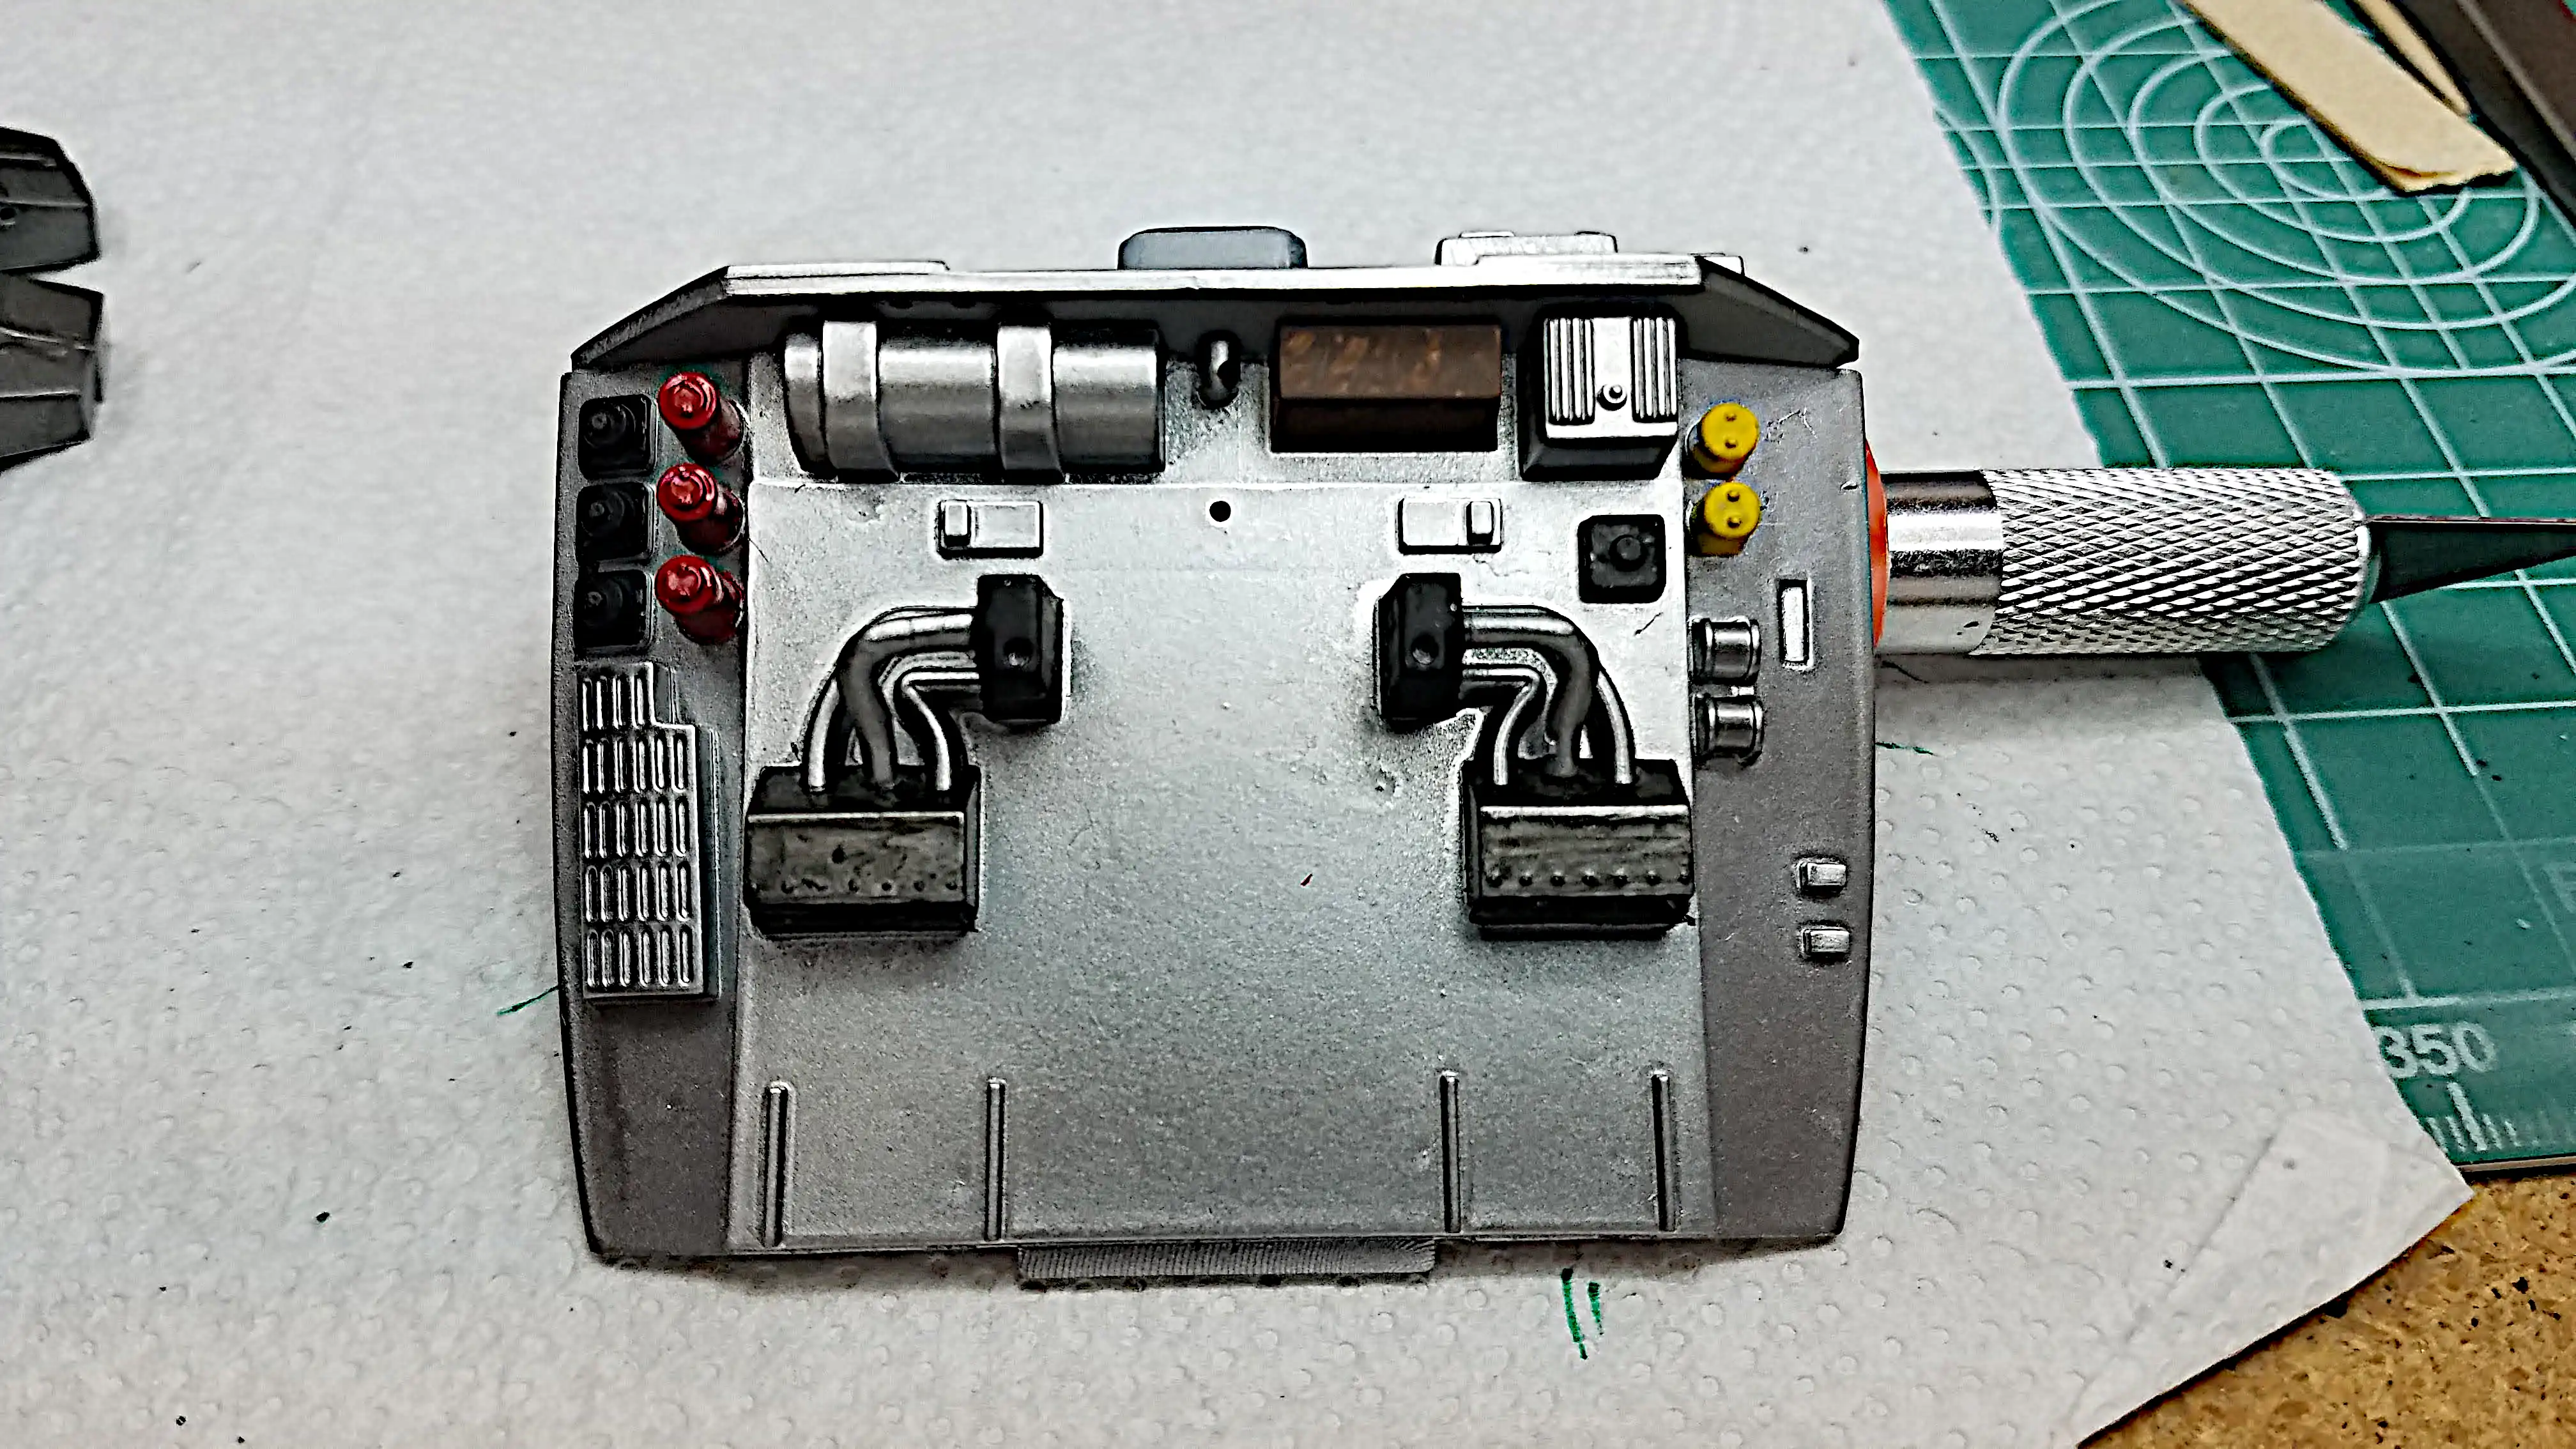
 Panel behind the interior seats that contains the flux capacitor is ready for installation
 Molded parts of the engine shroud have been detailed
 I've started masking some of the body detail
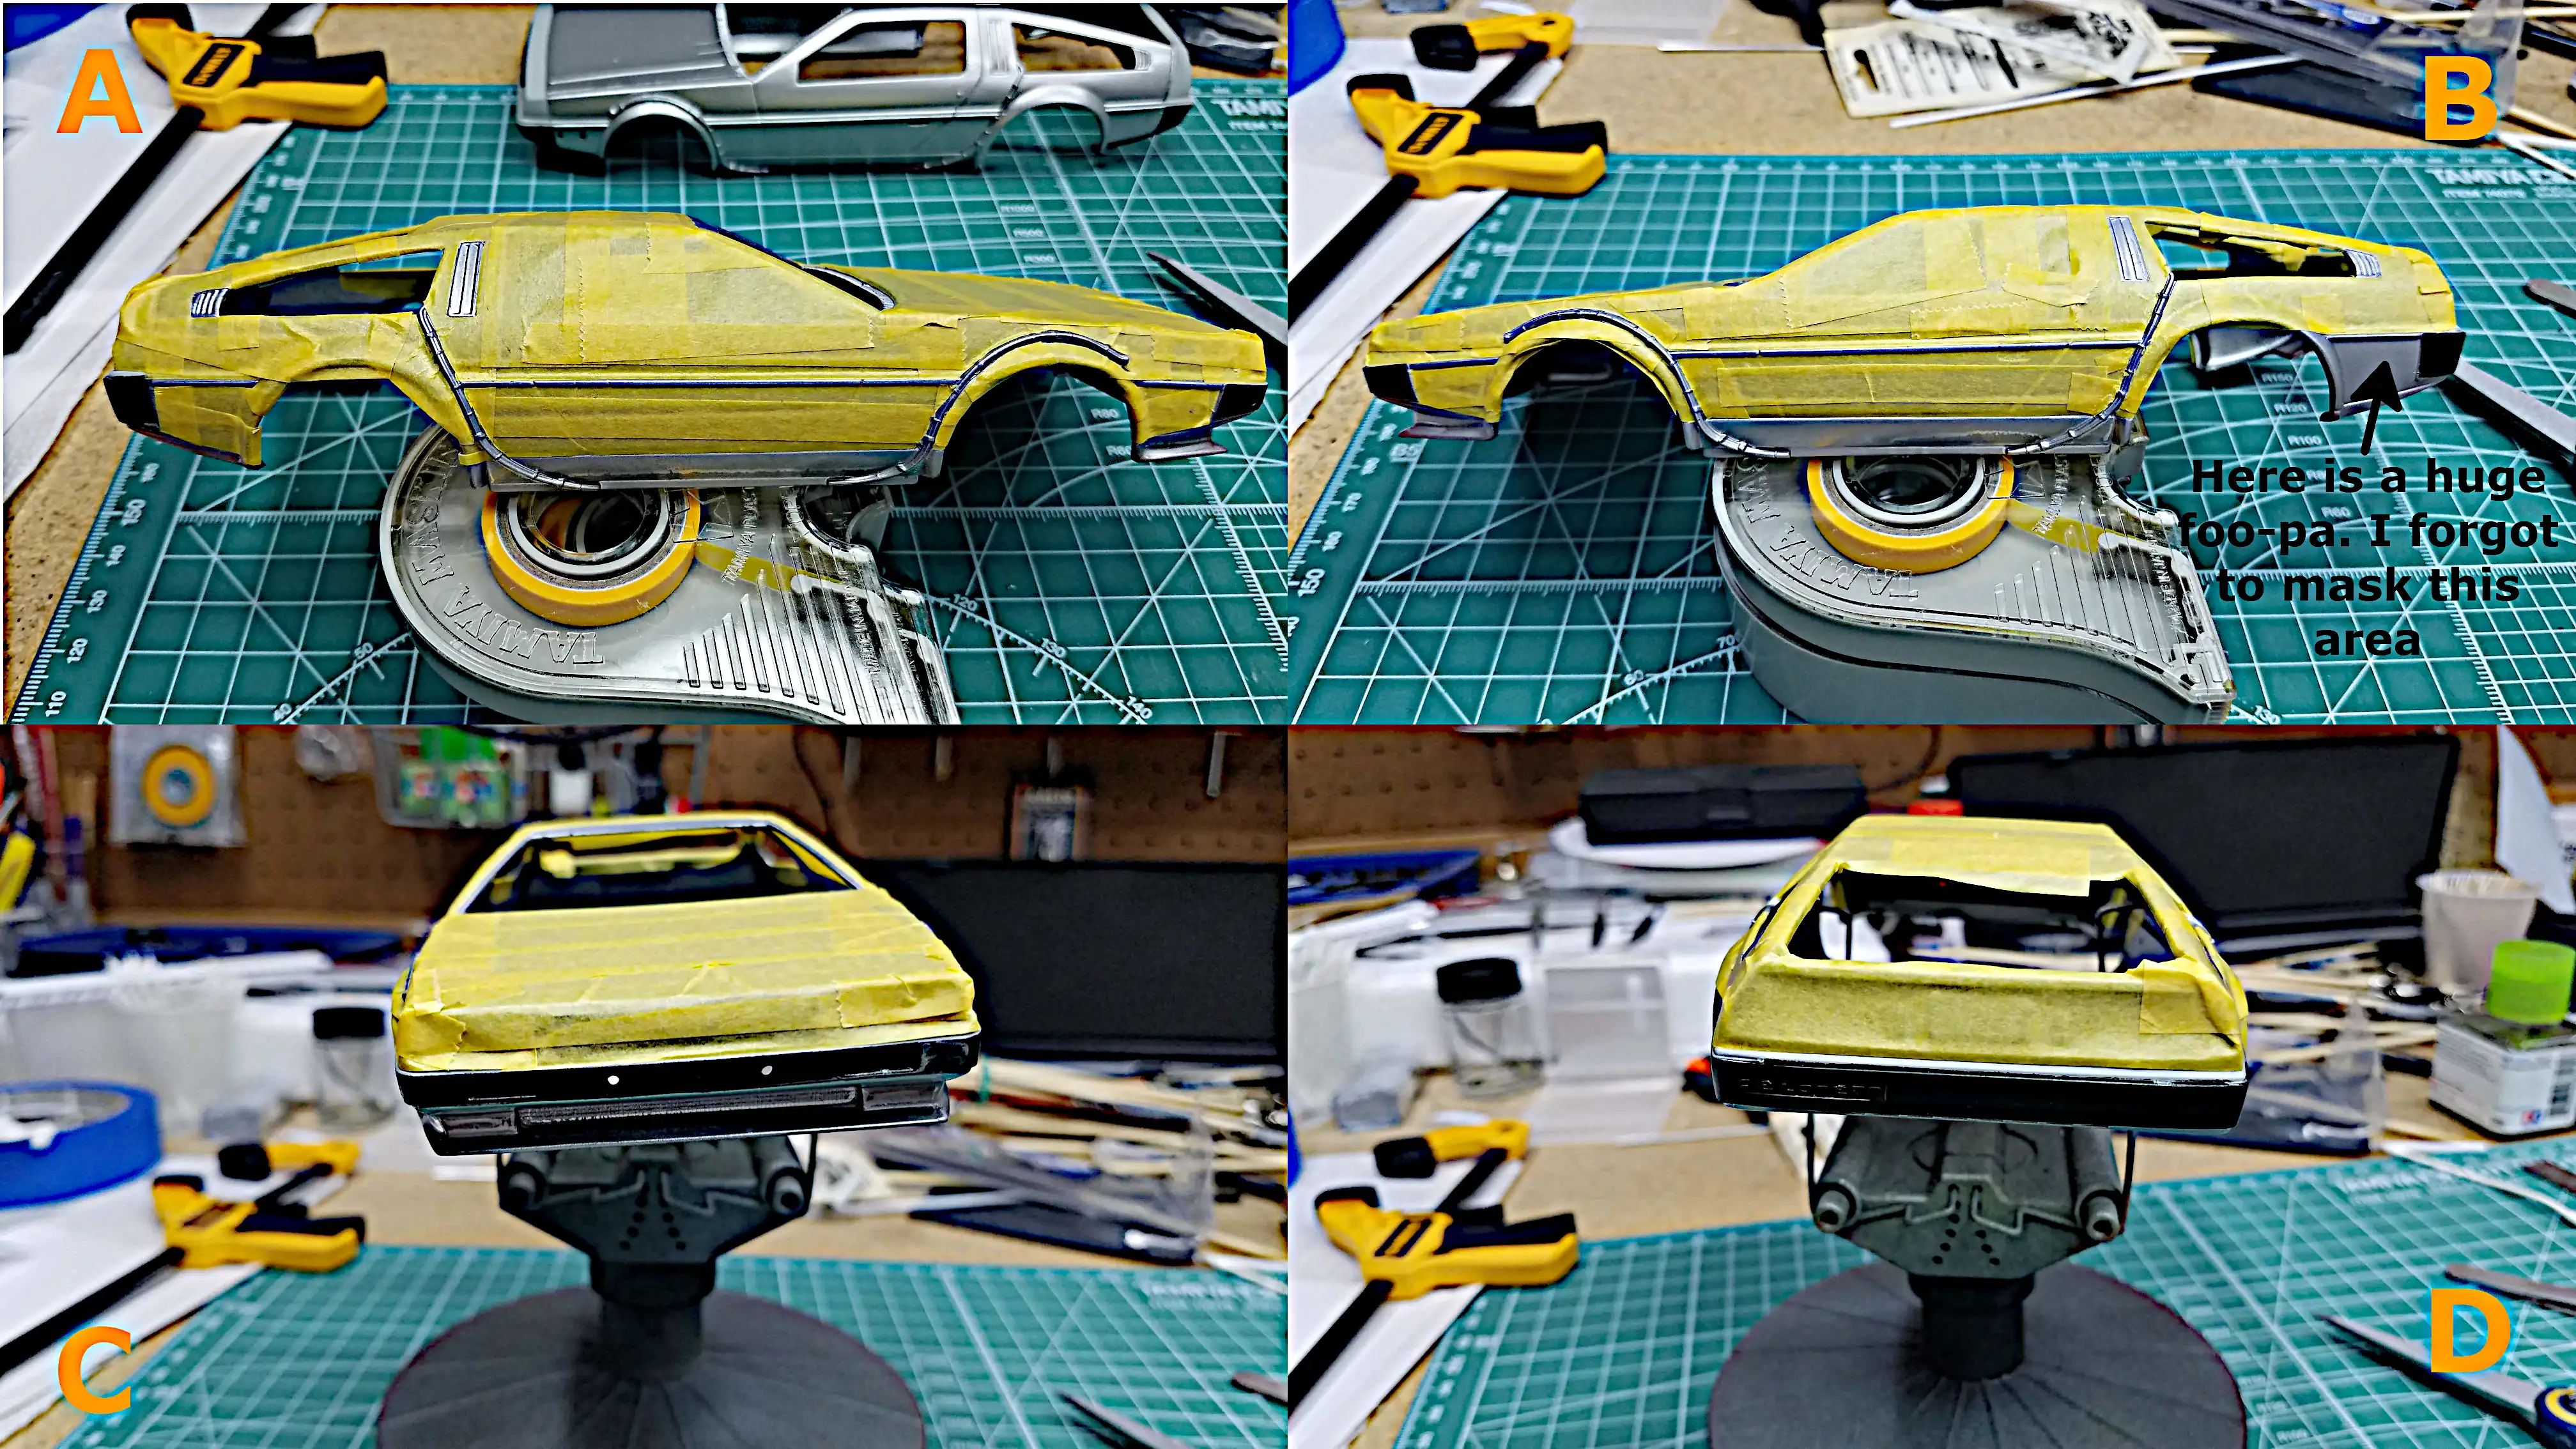 The entire body is masked except I forgot one area...AHH!!! Photo description
has links to enlarge each image.
The entire body is masked except I forgot one area...AHH!!! Photo description
has links to enlarge each image.
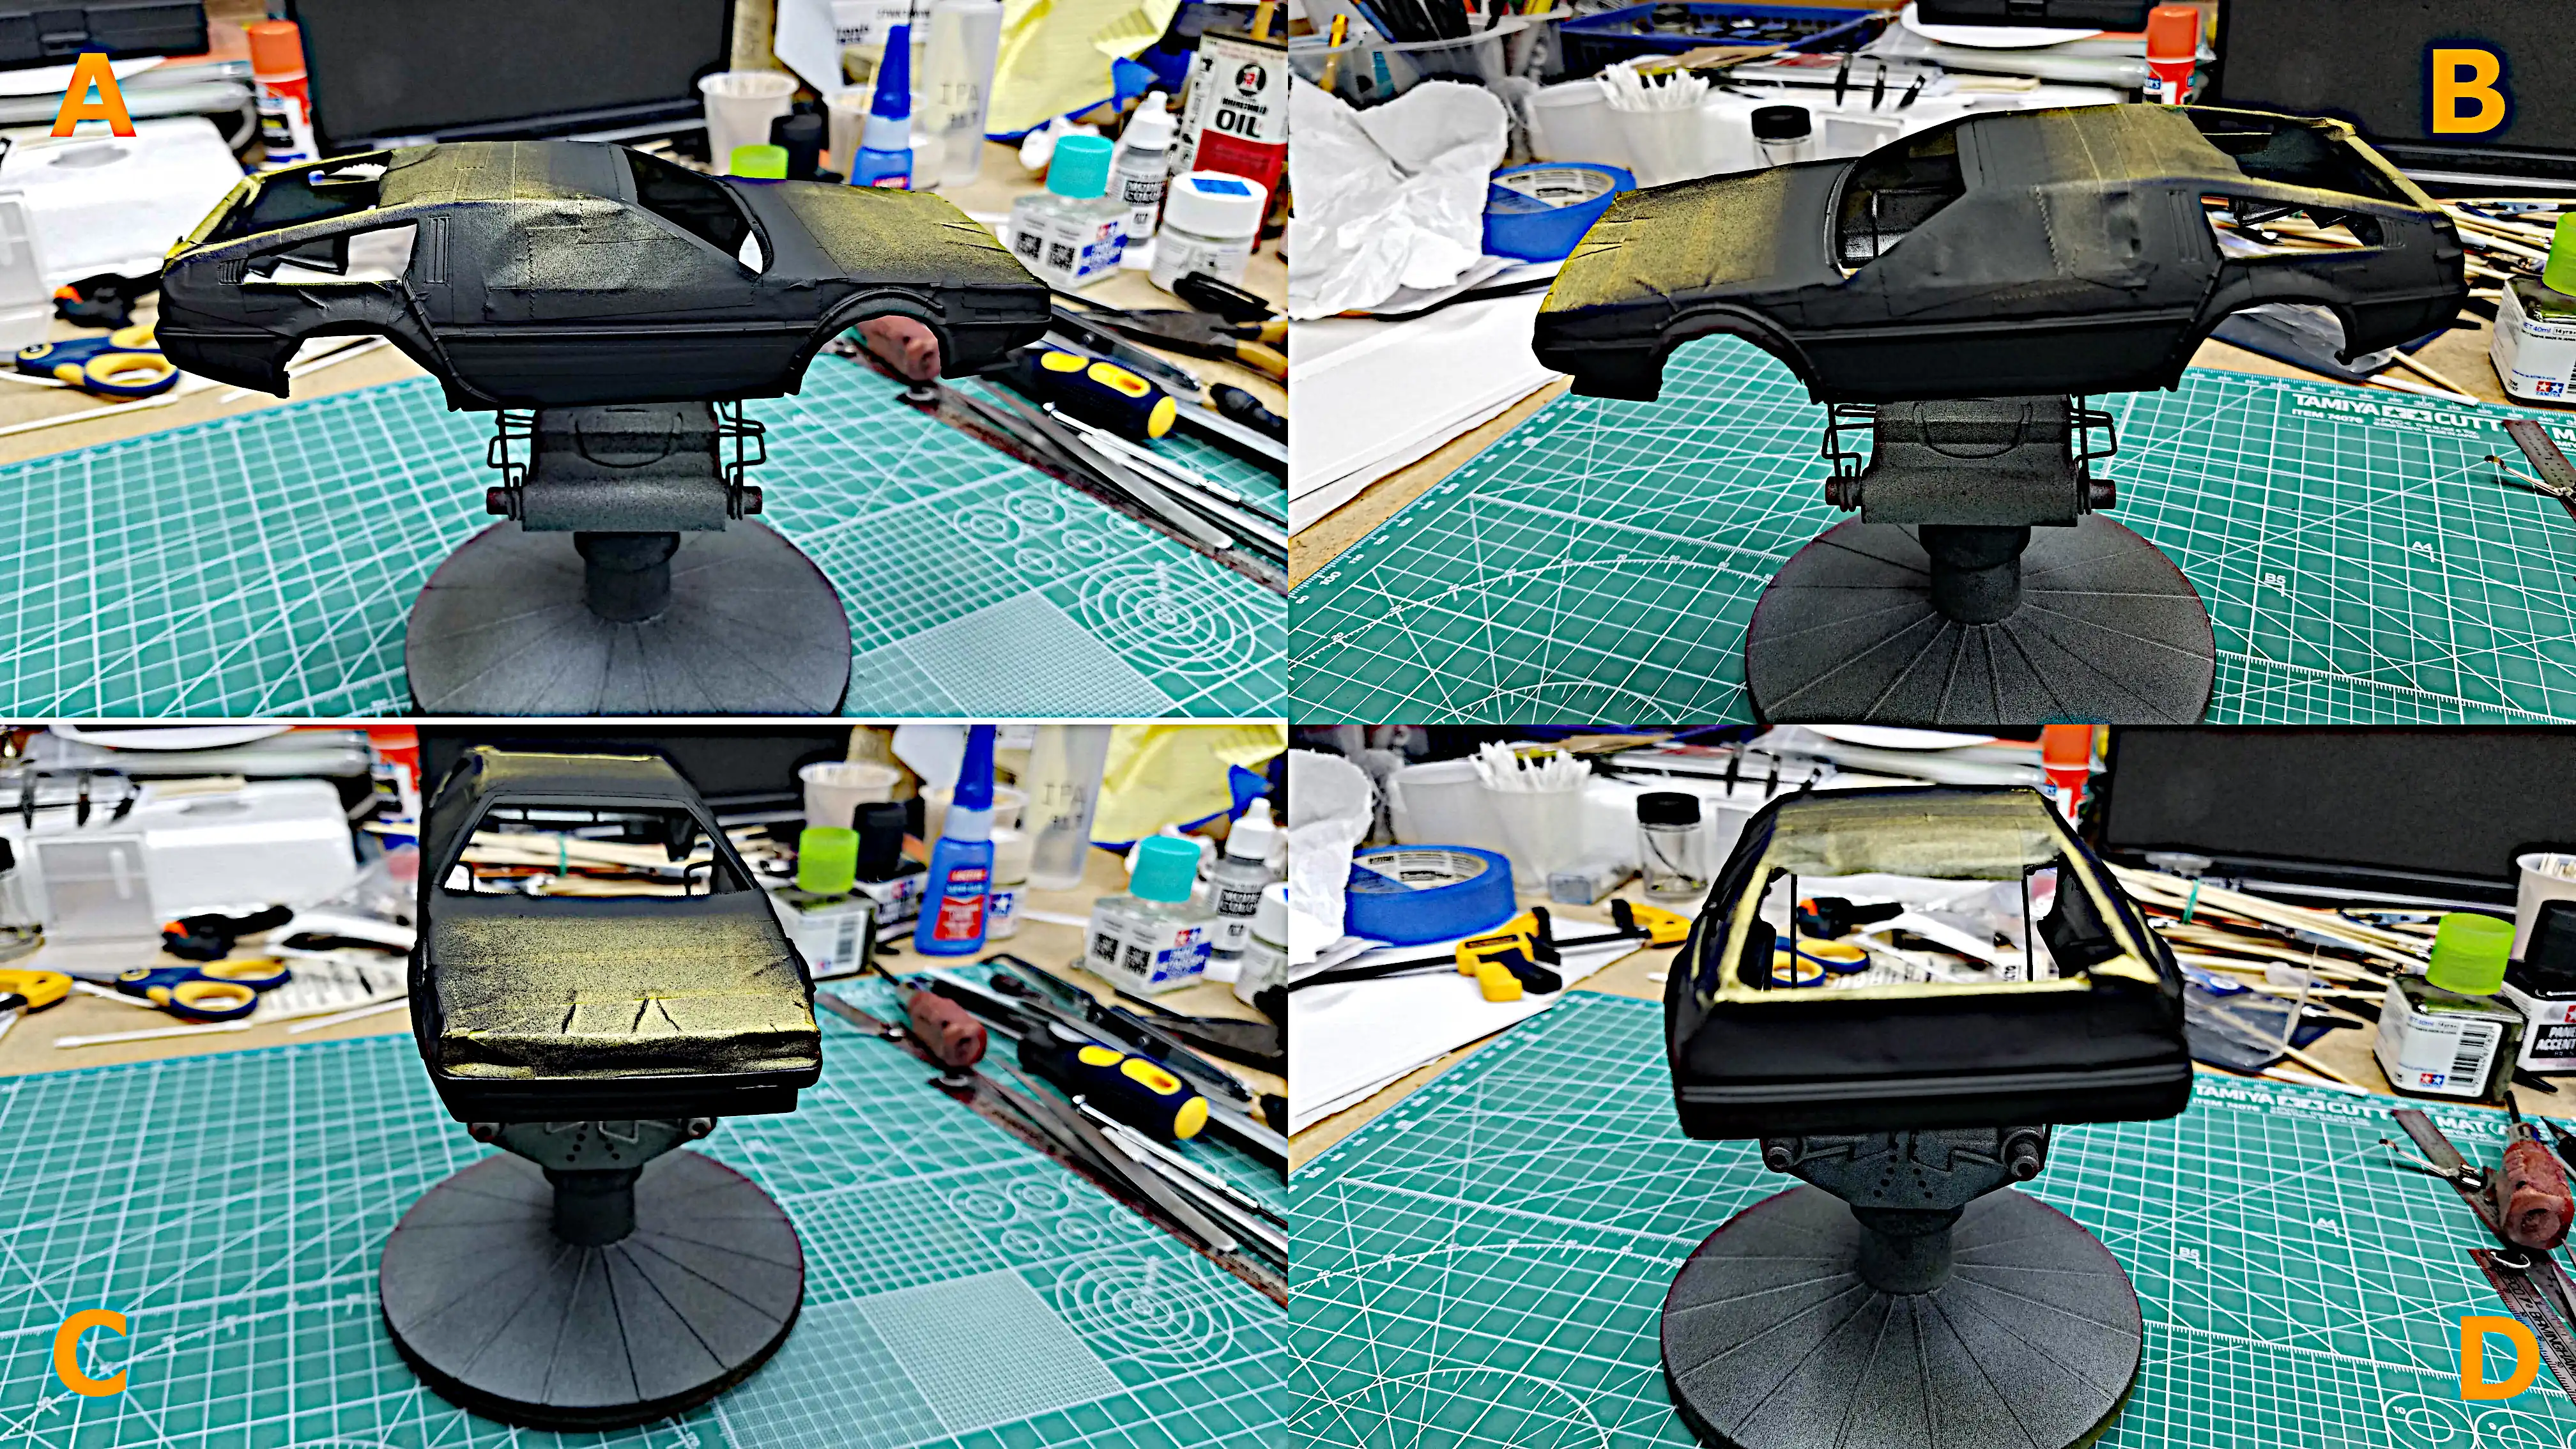 Masked body airbrushed with flat black. Photo description
has links to enlarge each image.
Masked body airbrushed with flat black. Photo description
has links to enlarge each image.
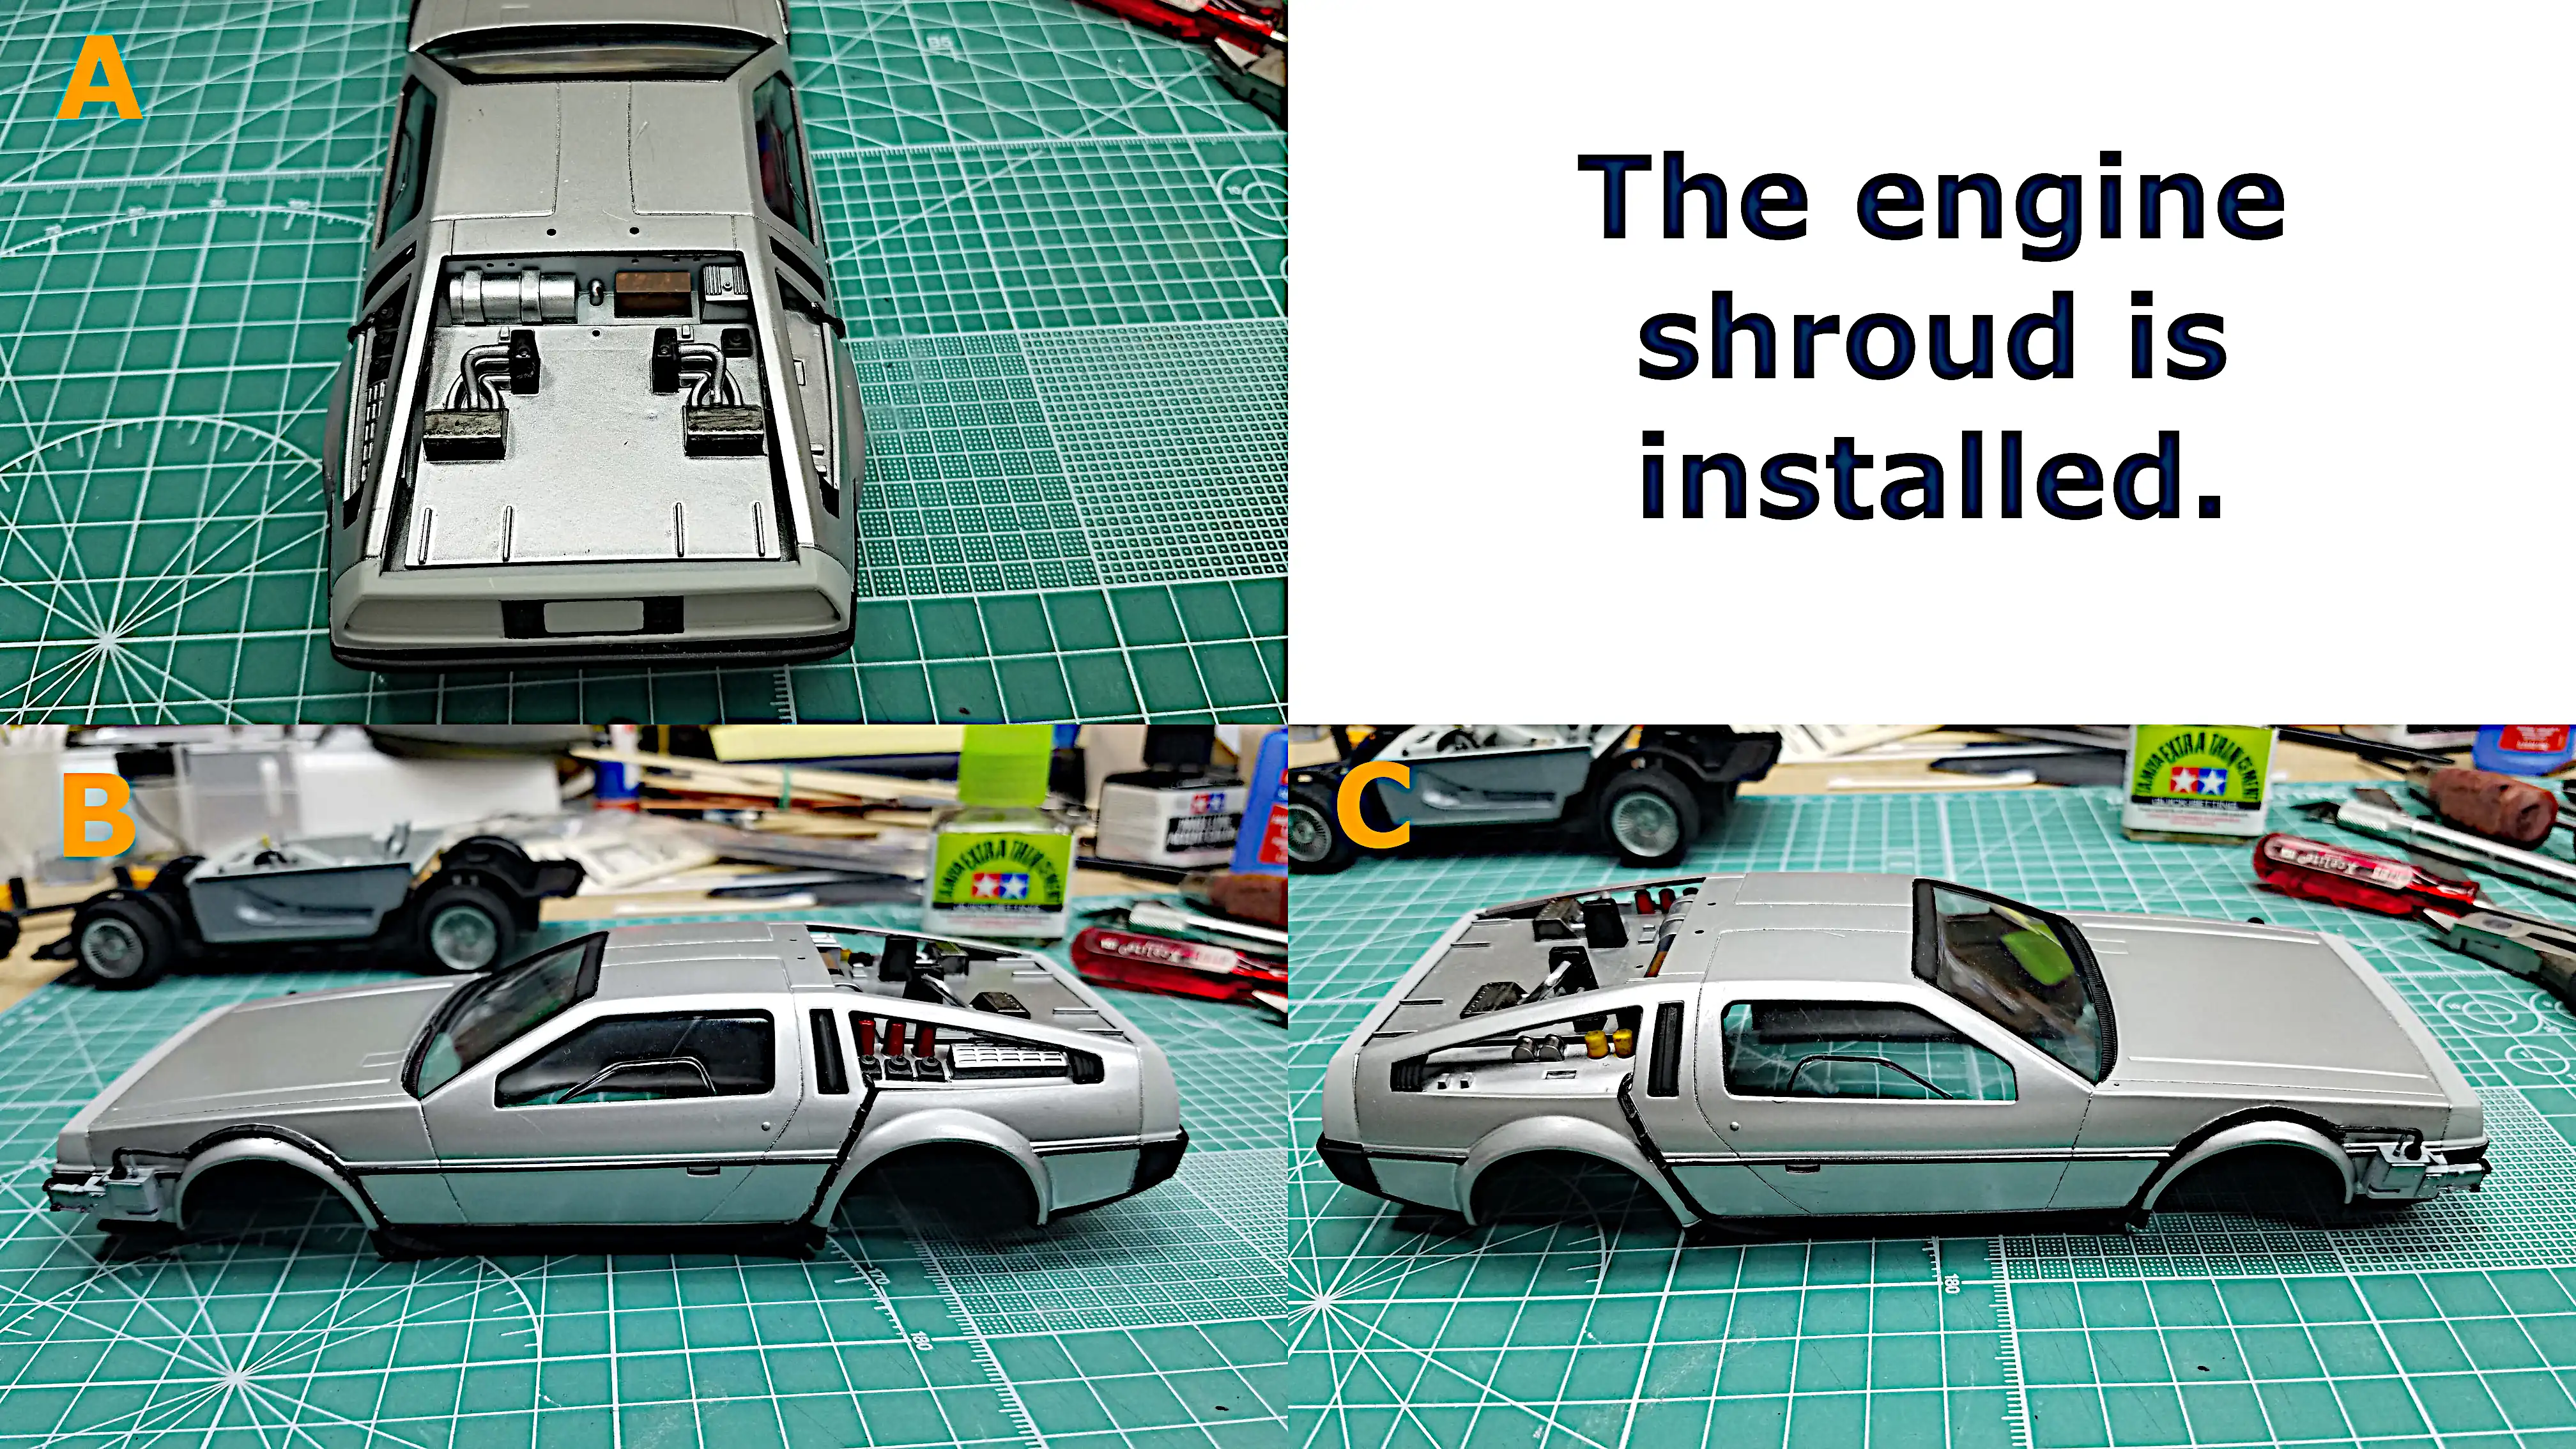 Engine shroud is installed. Photo description has links
to enlarge each image.
Engine shroud is installed. Photo description has links
to enlarge each image.
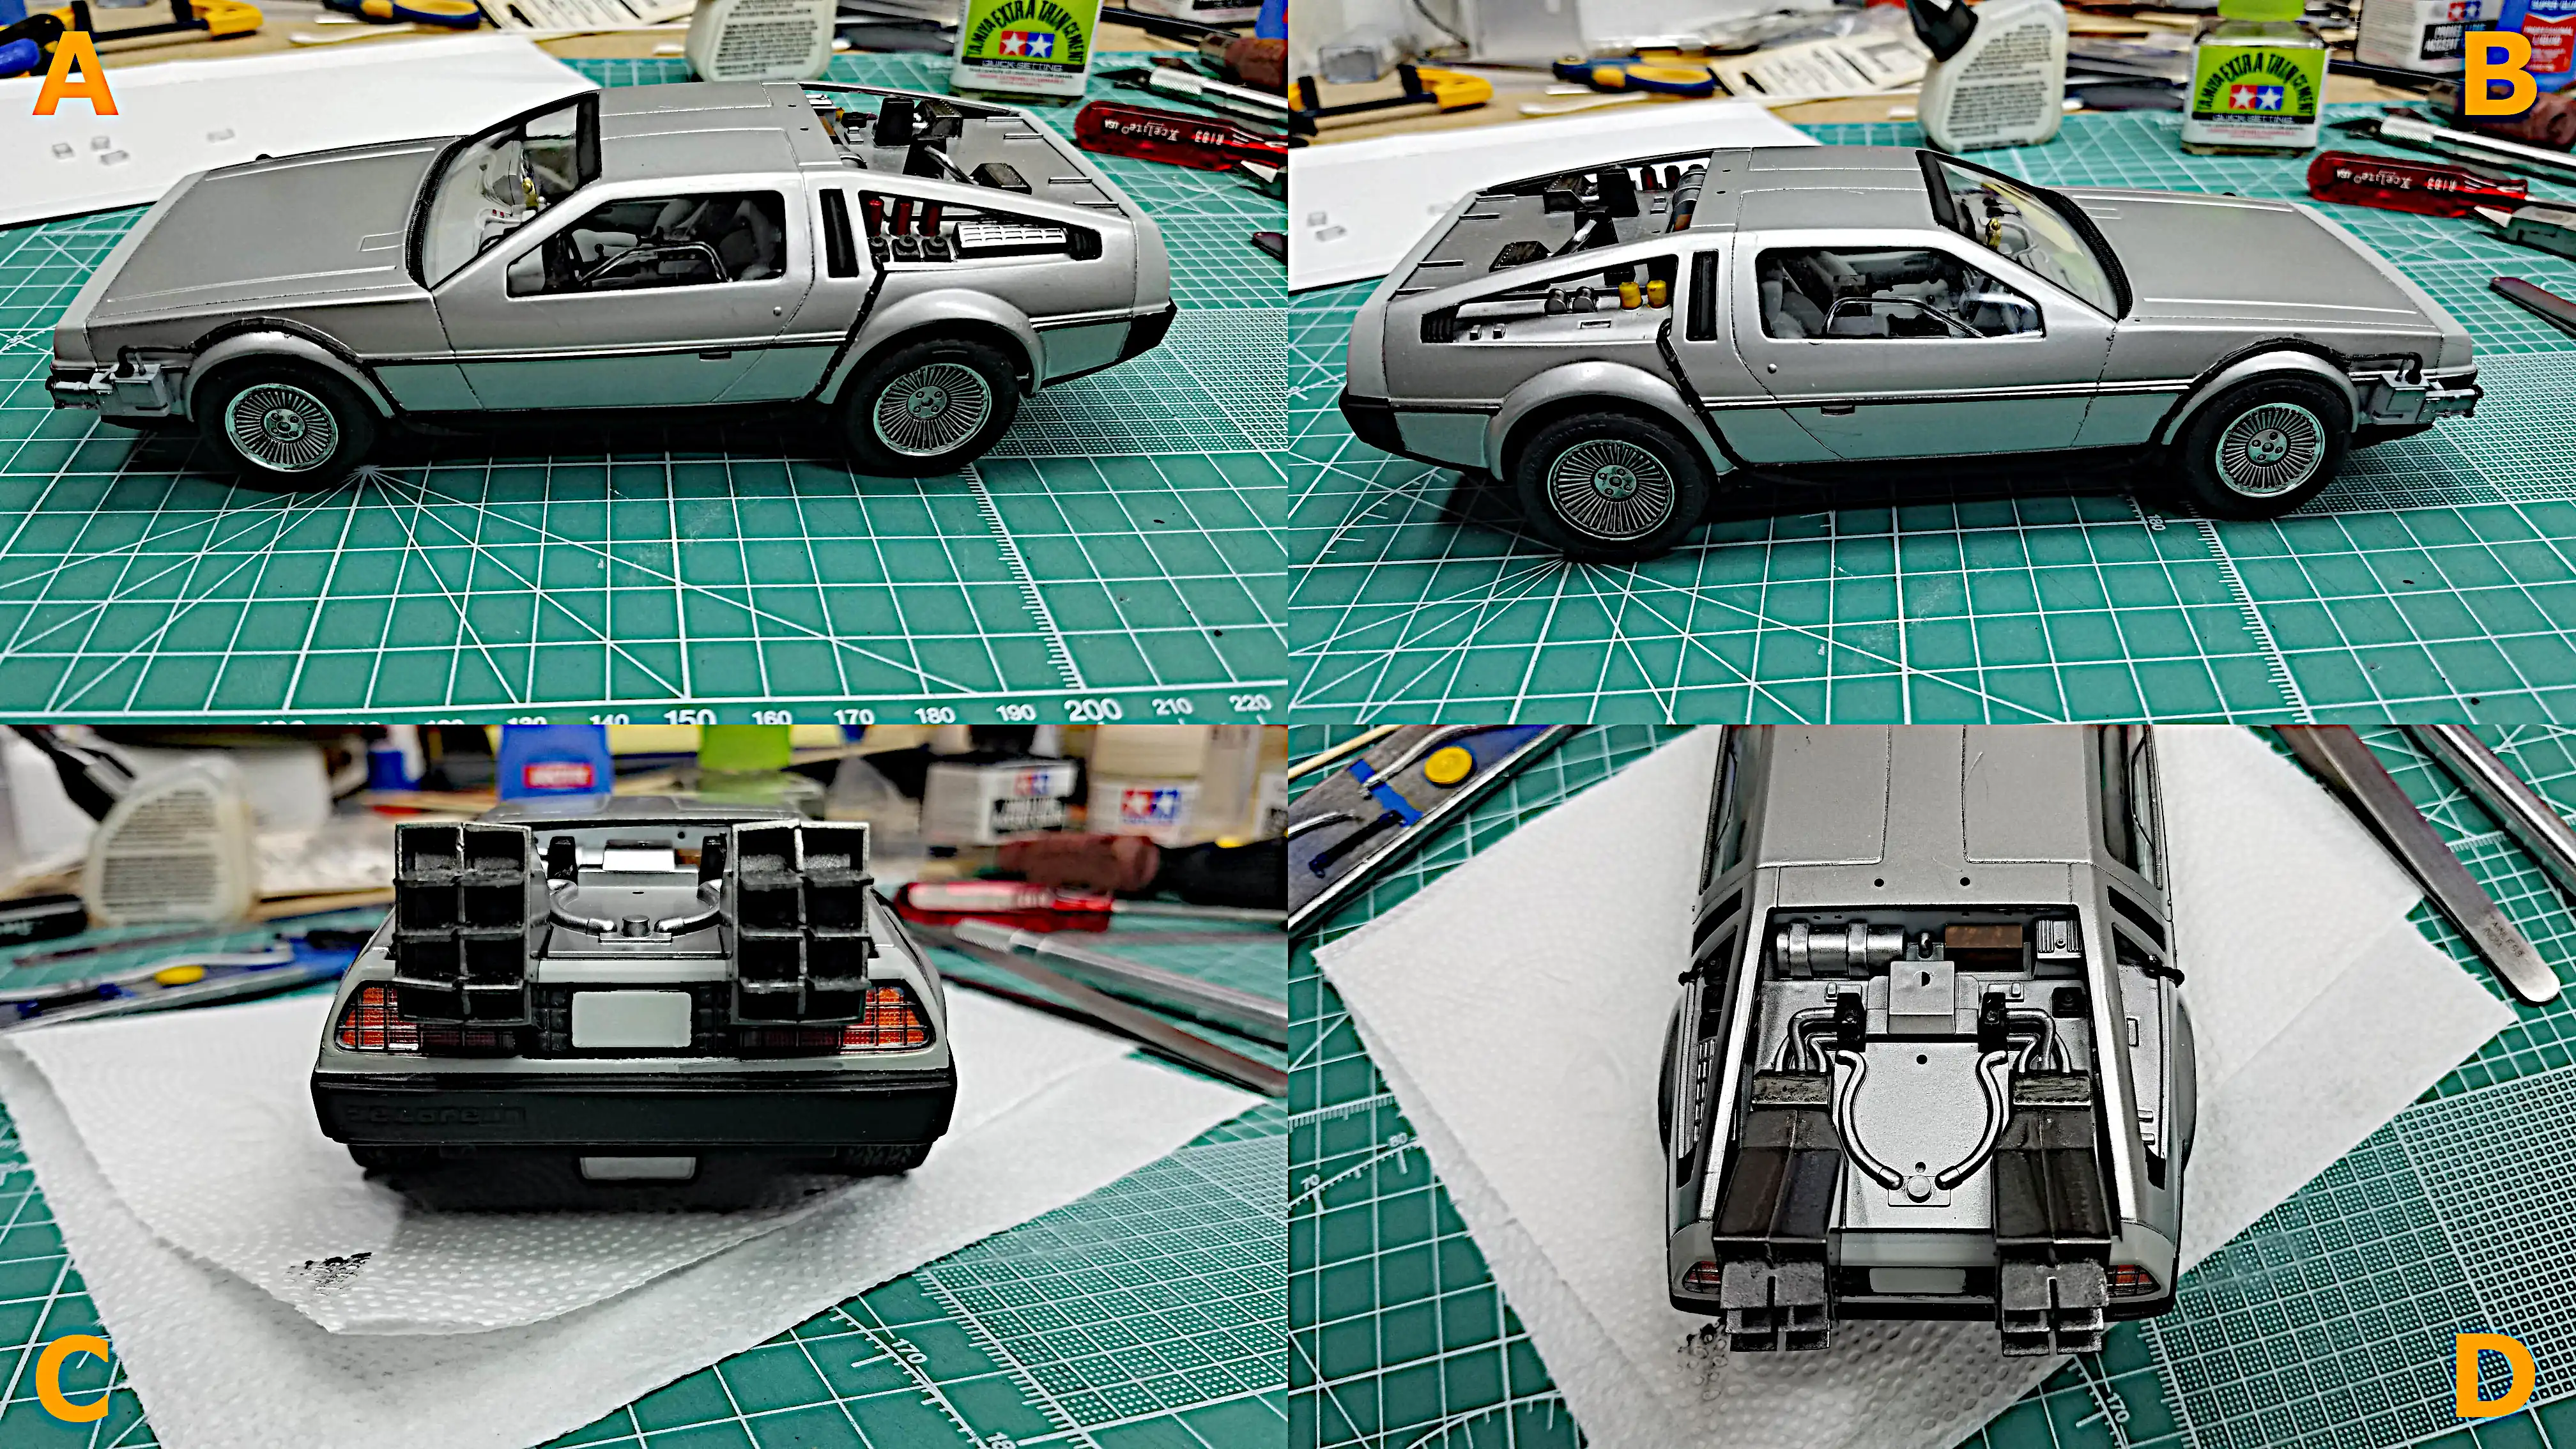 Body is place on the chassis. Photo description has links
to enlarge each image.
Body is place on the chassis. Photo description has links
to enlarge each image.
 Finished model right front
 Finished model from the right front
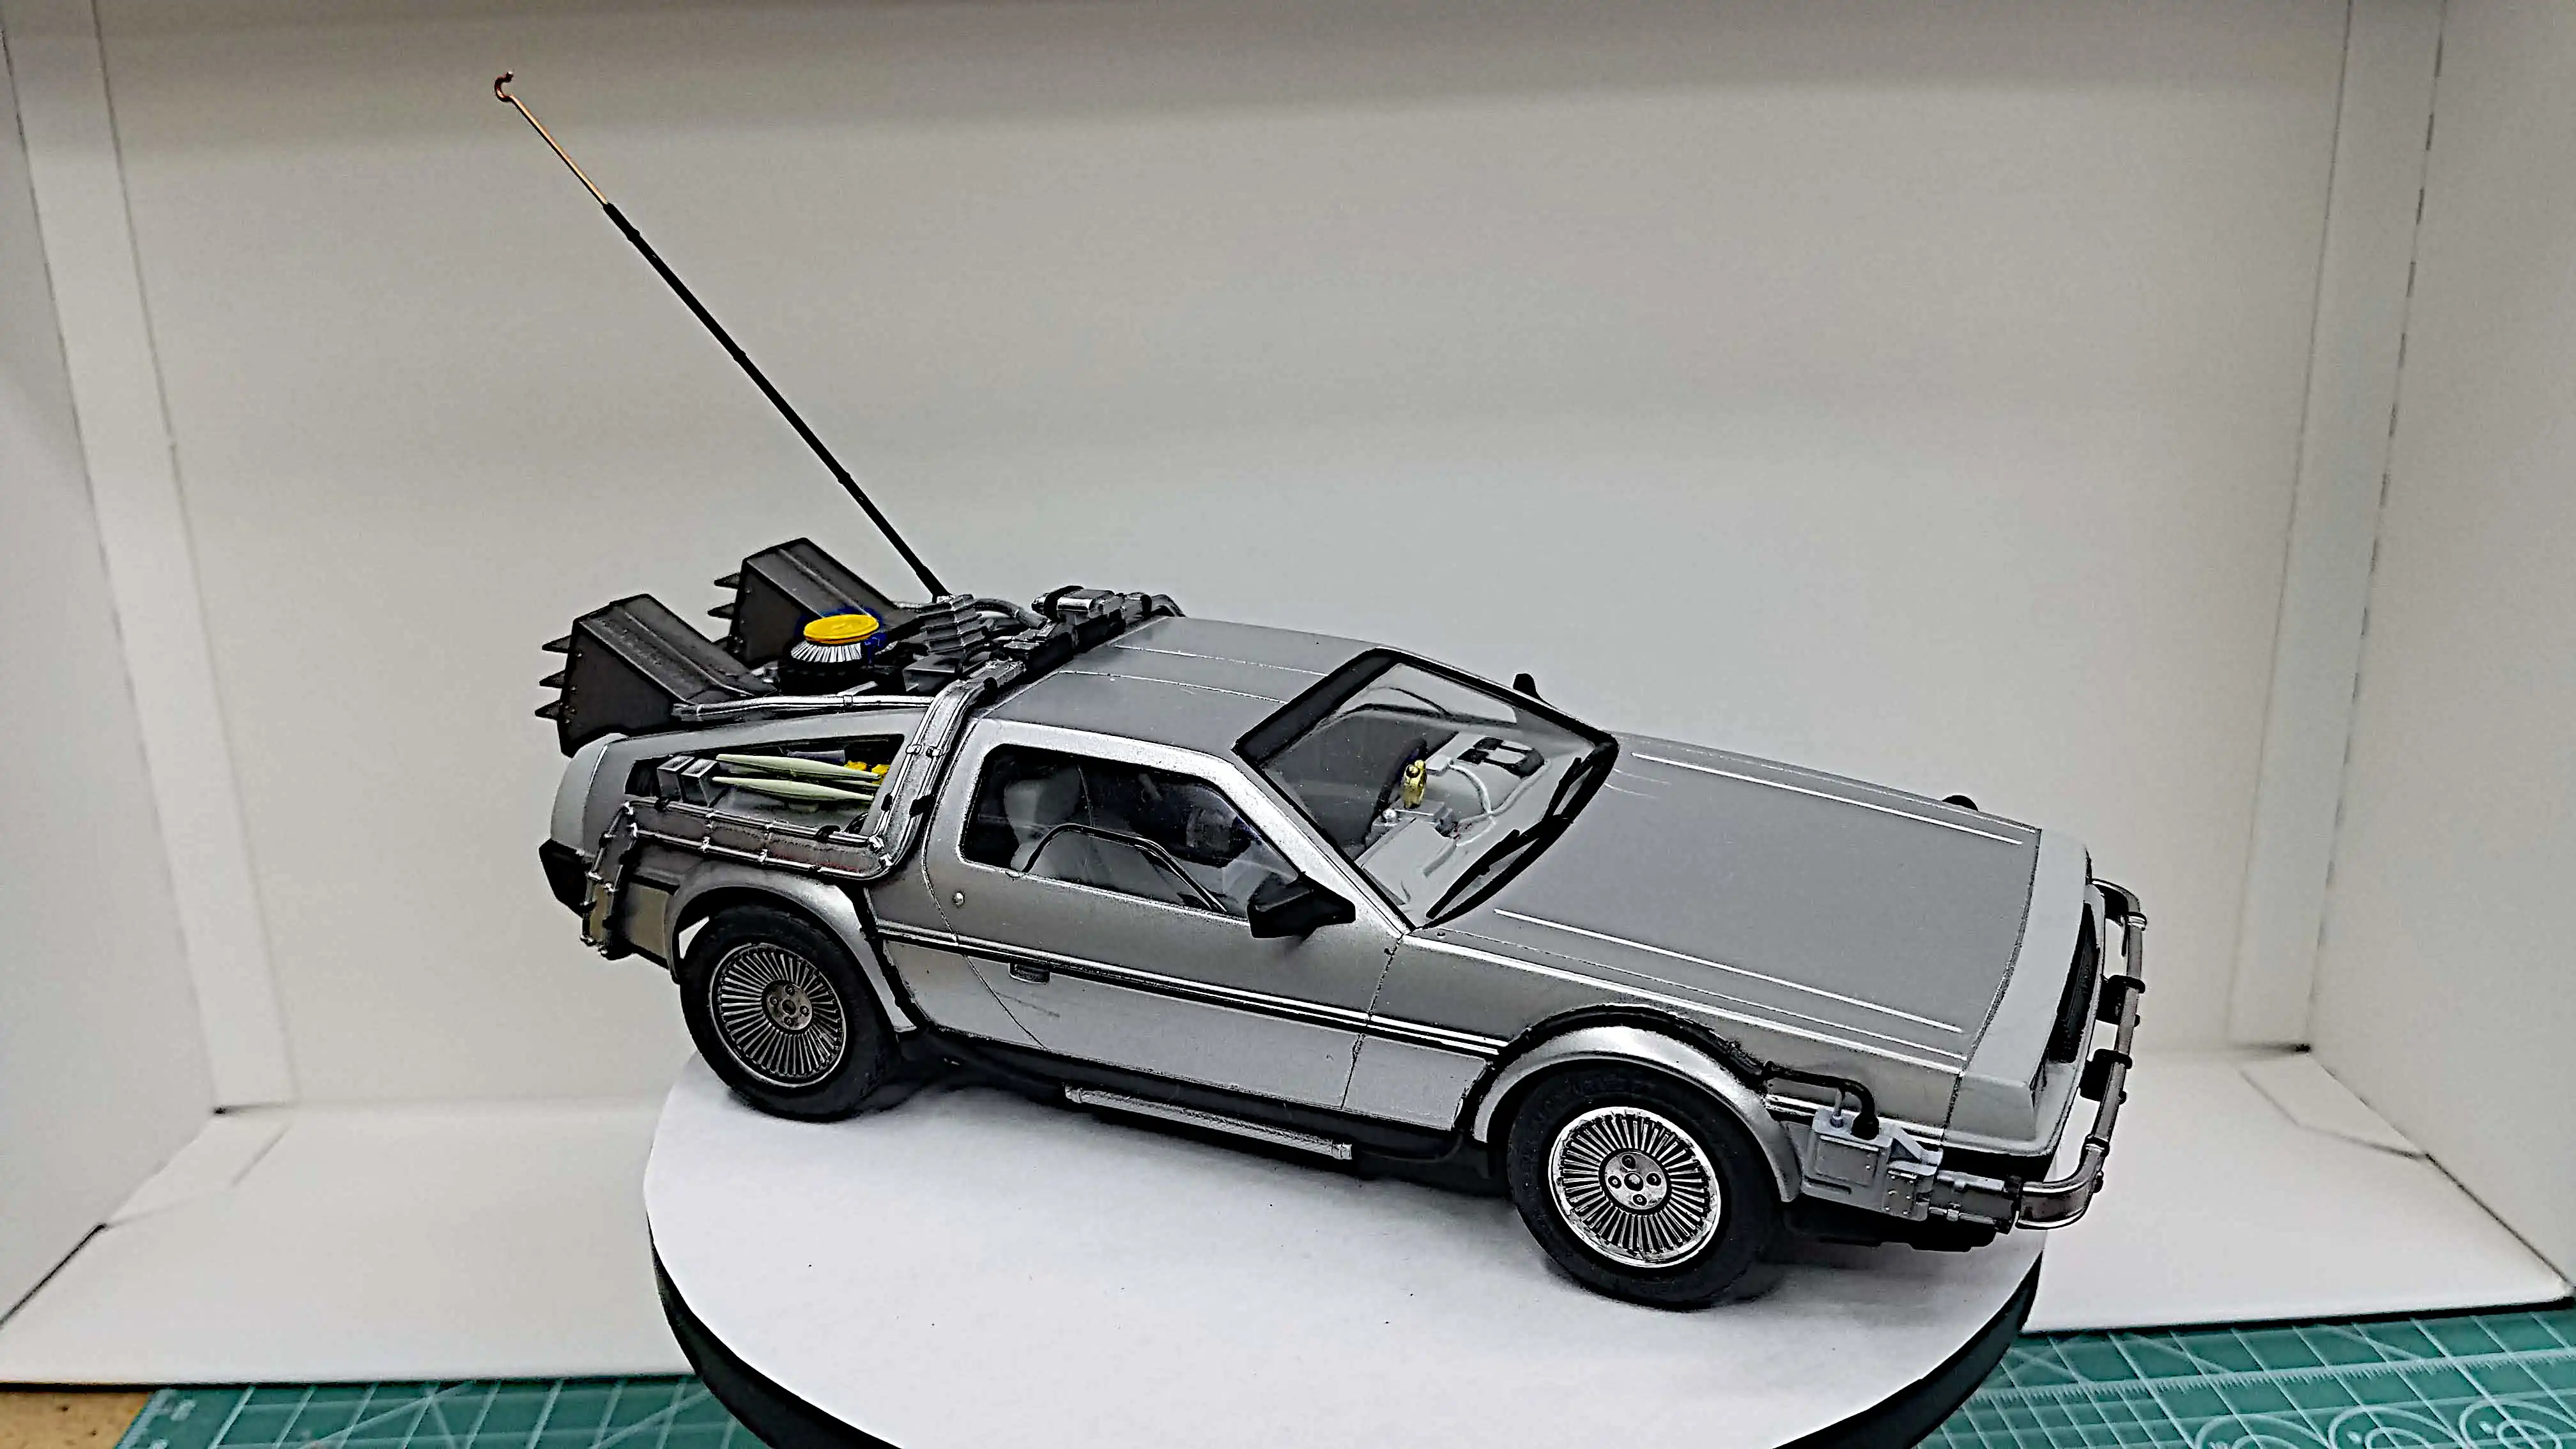
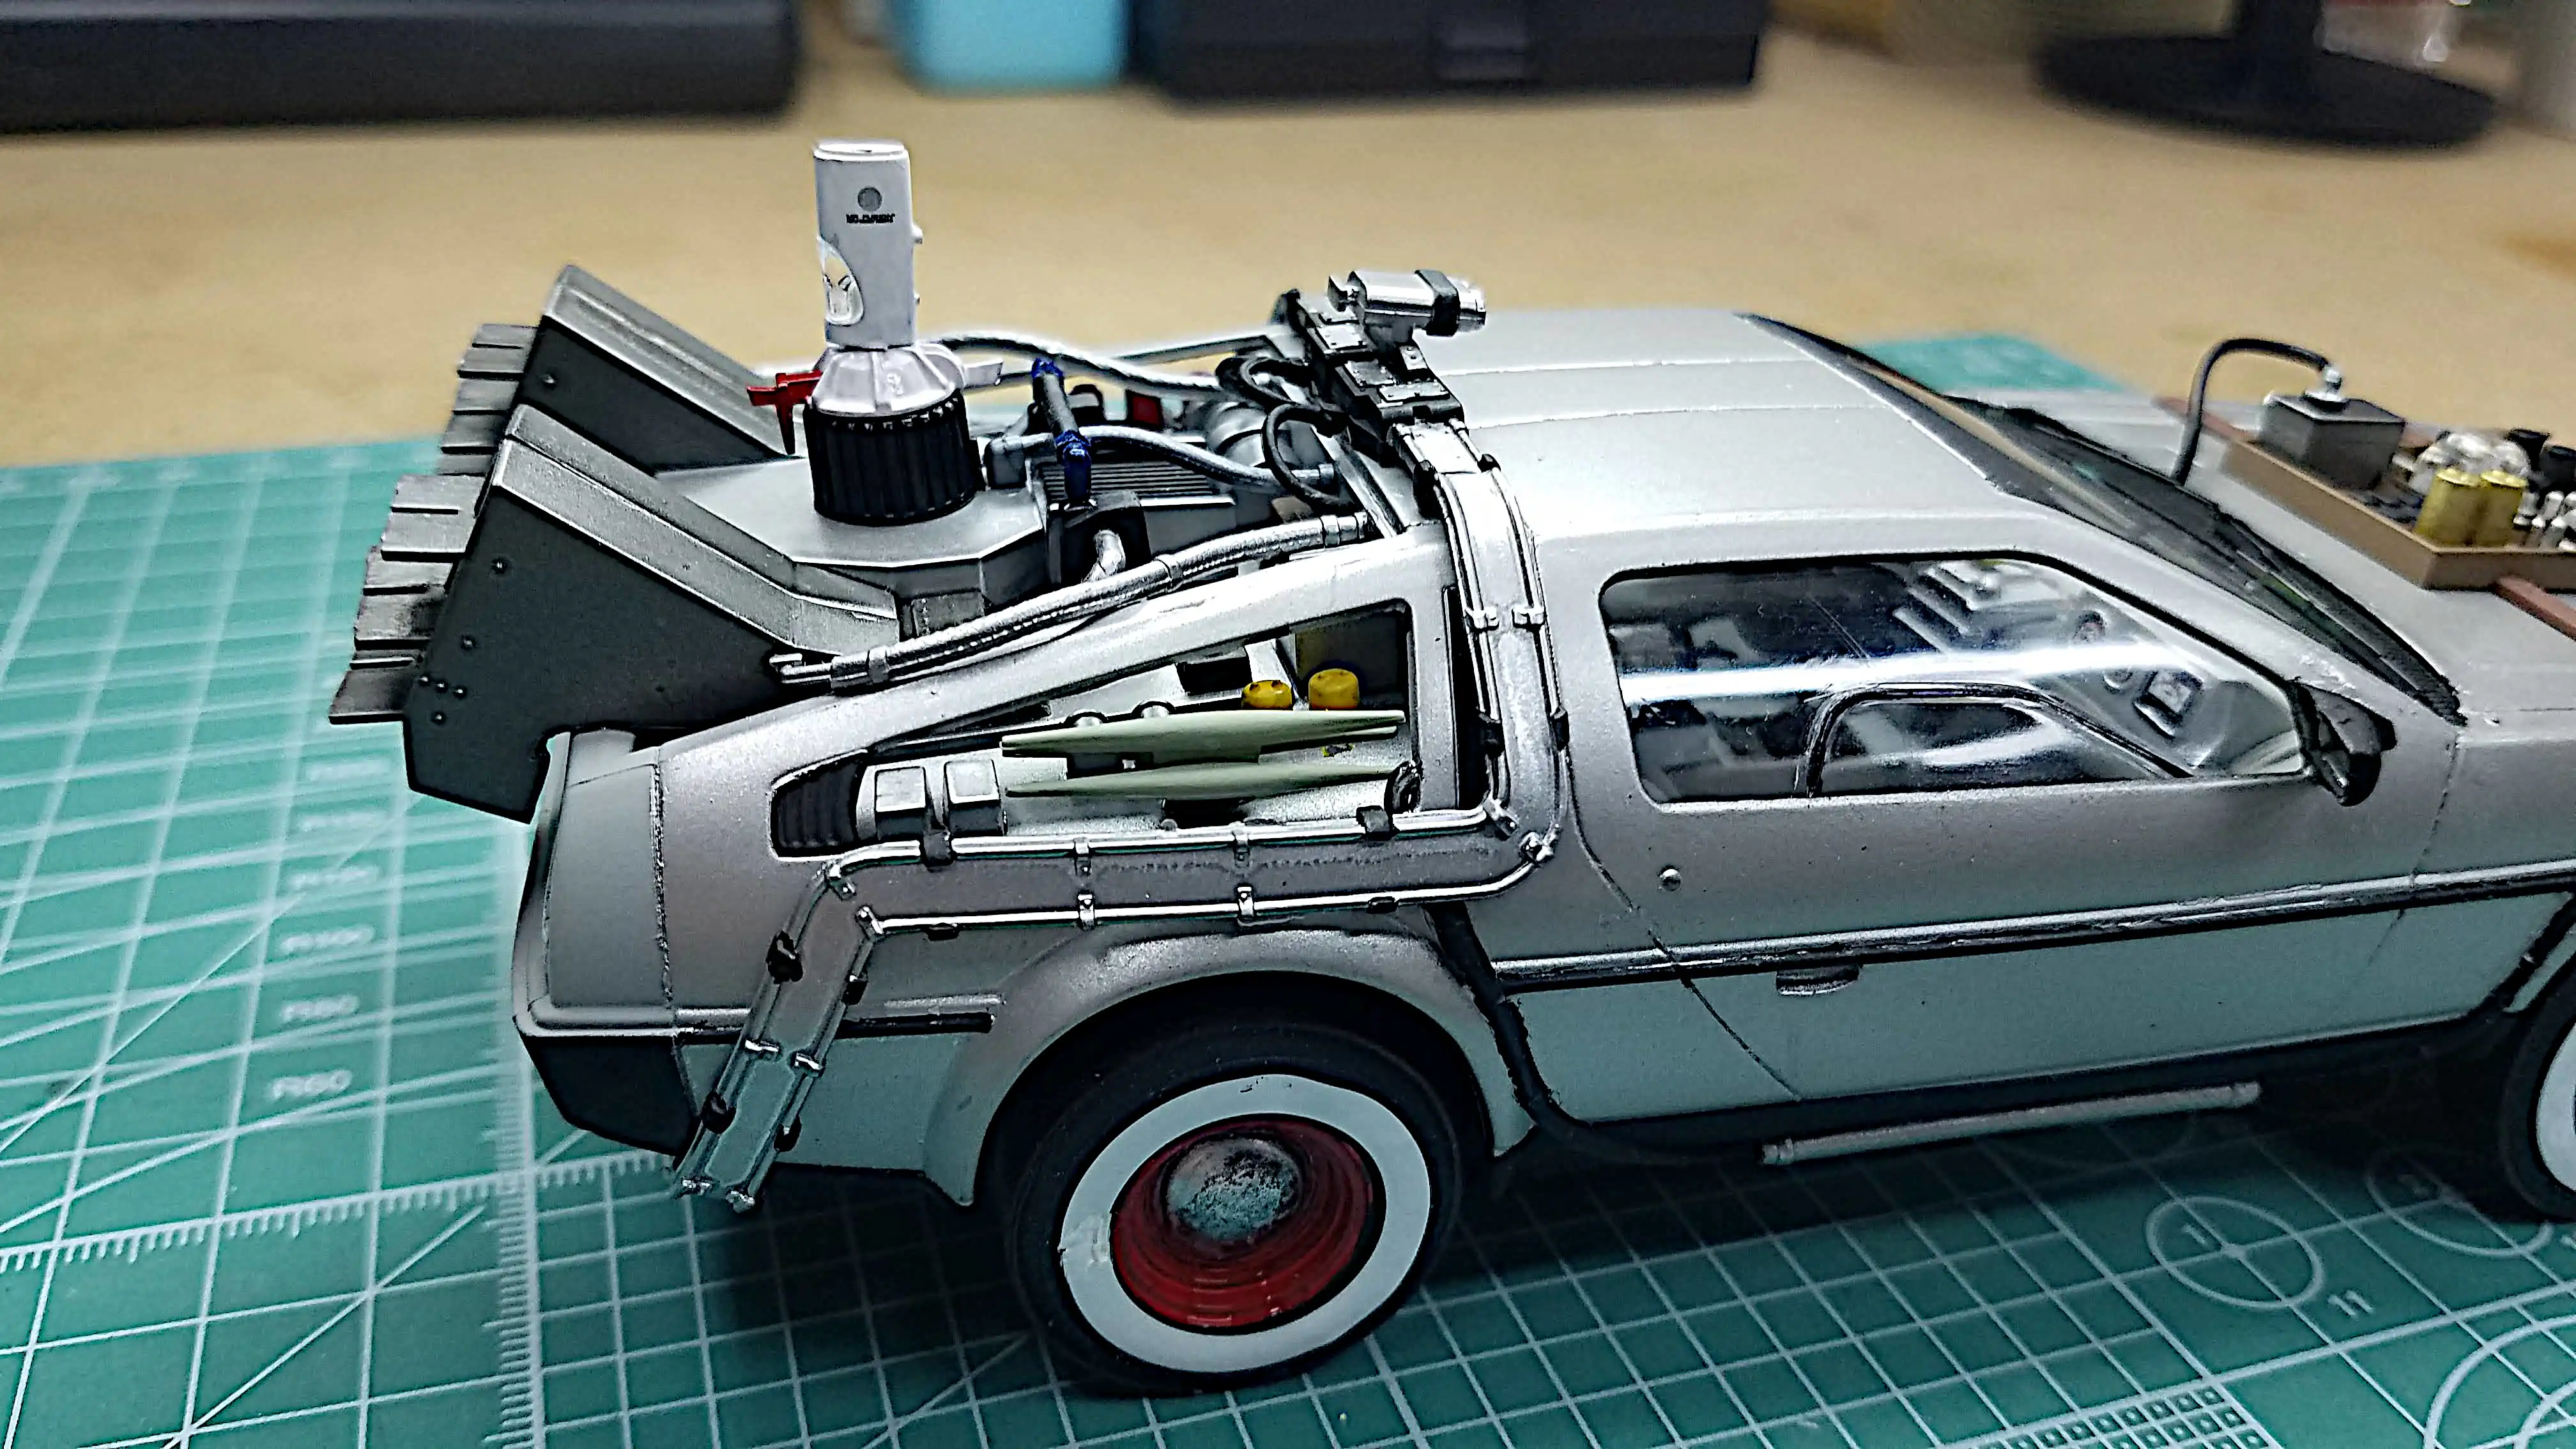
 Finished model right side with electrical hook rod
 Finished model from front
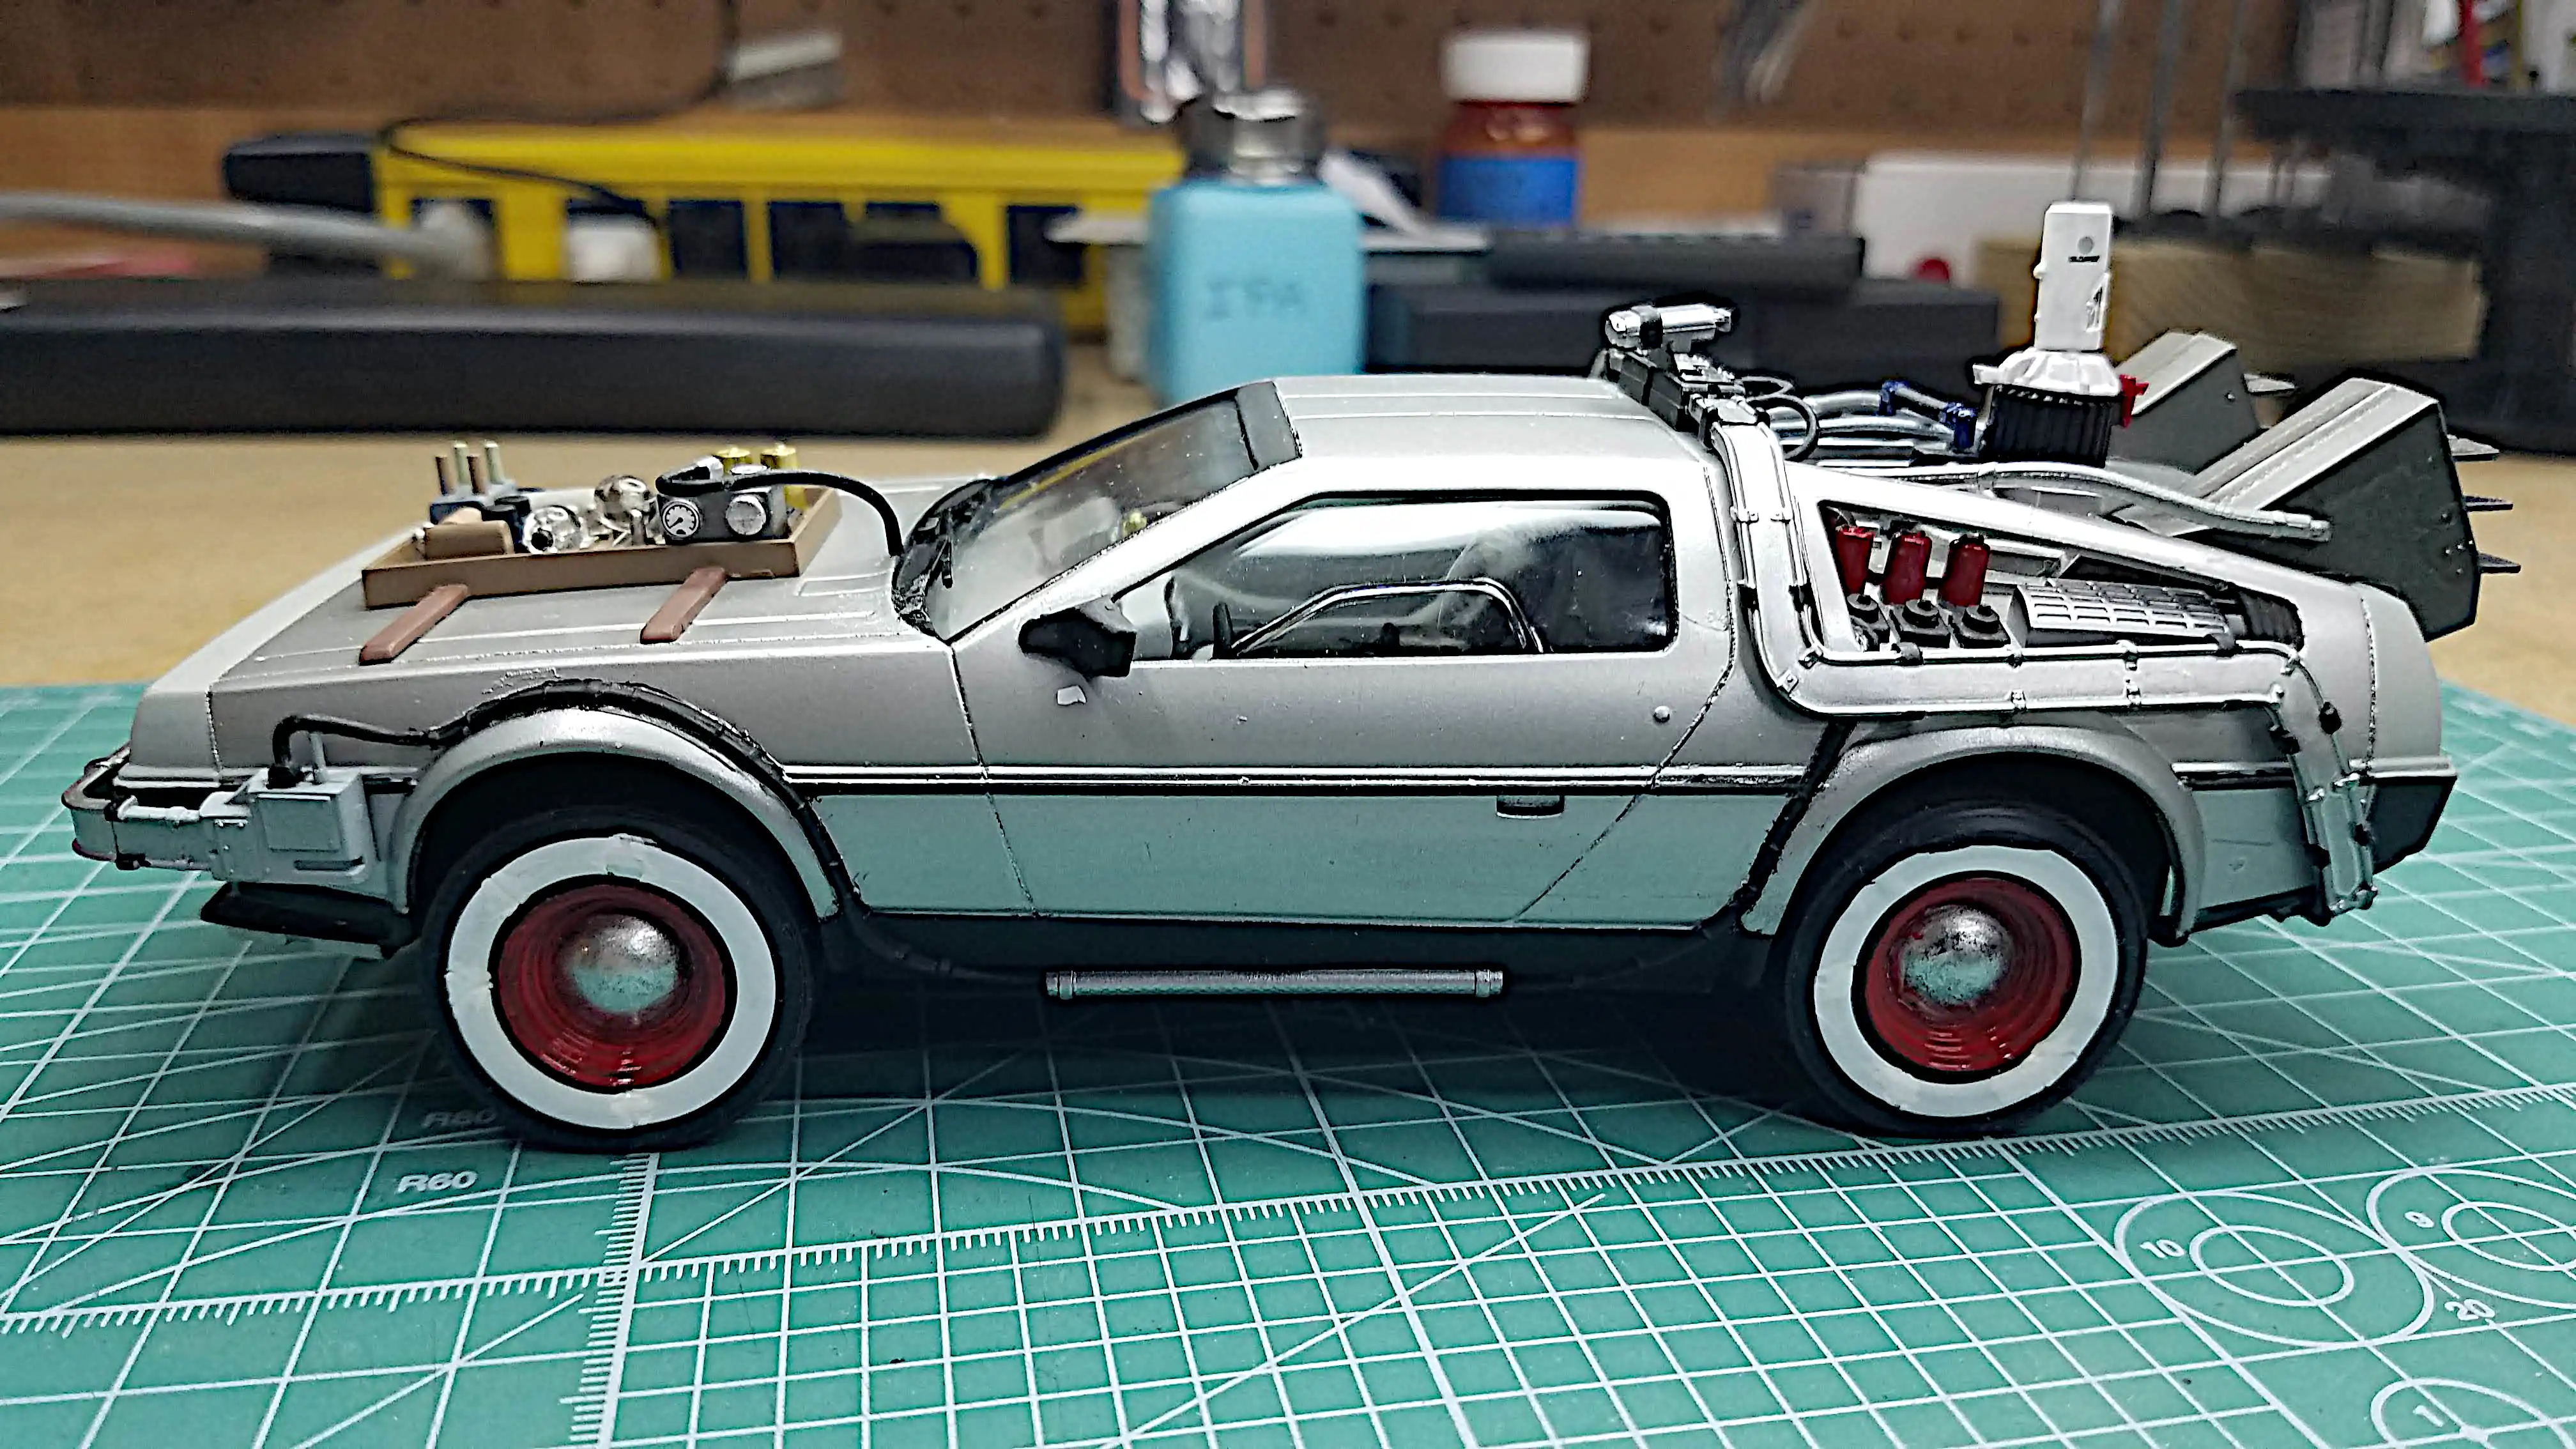
 Finished model left side
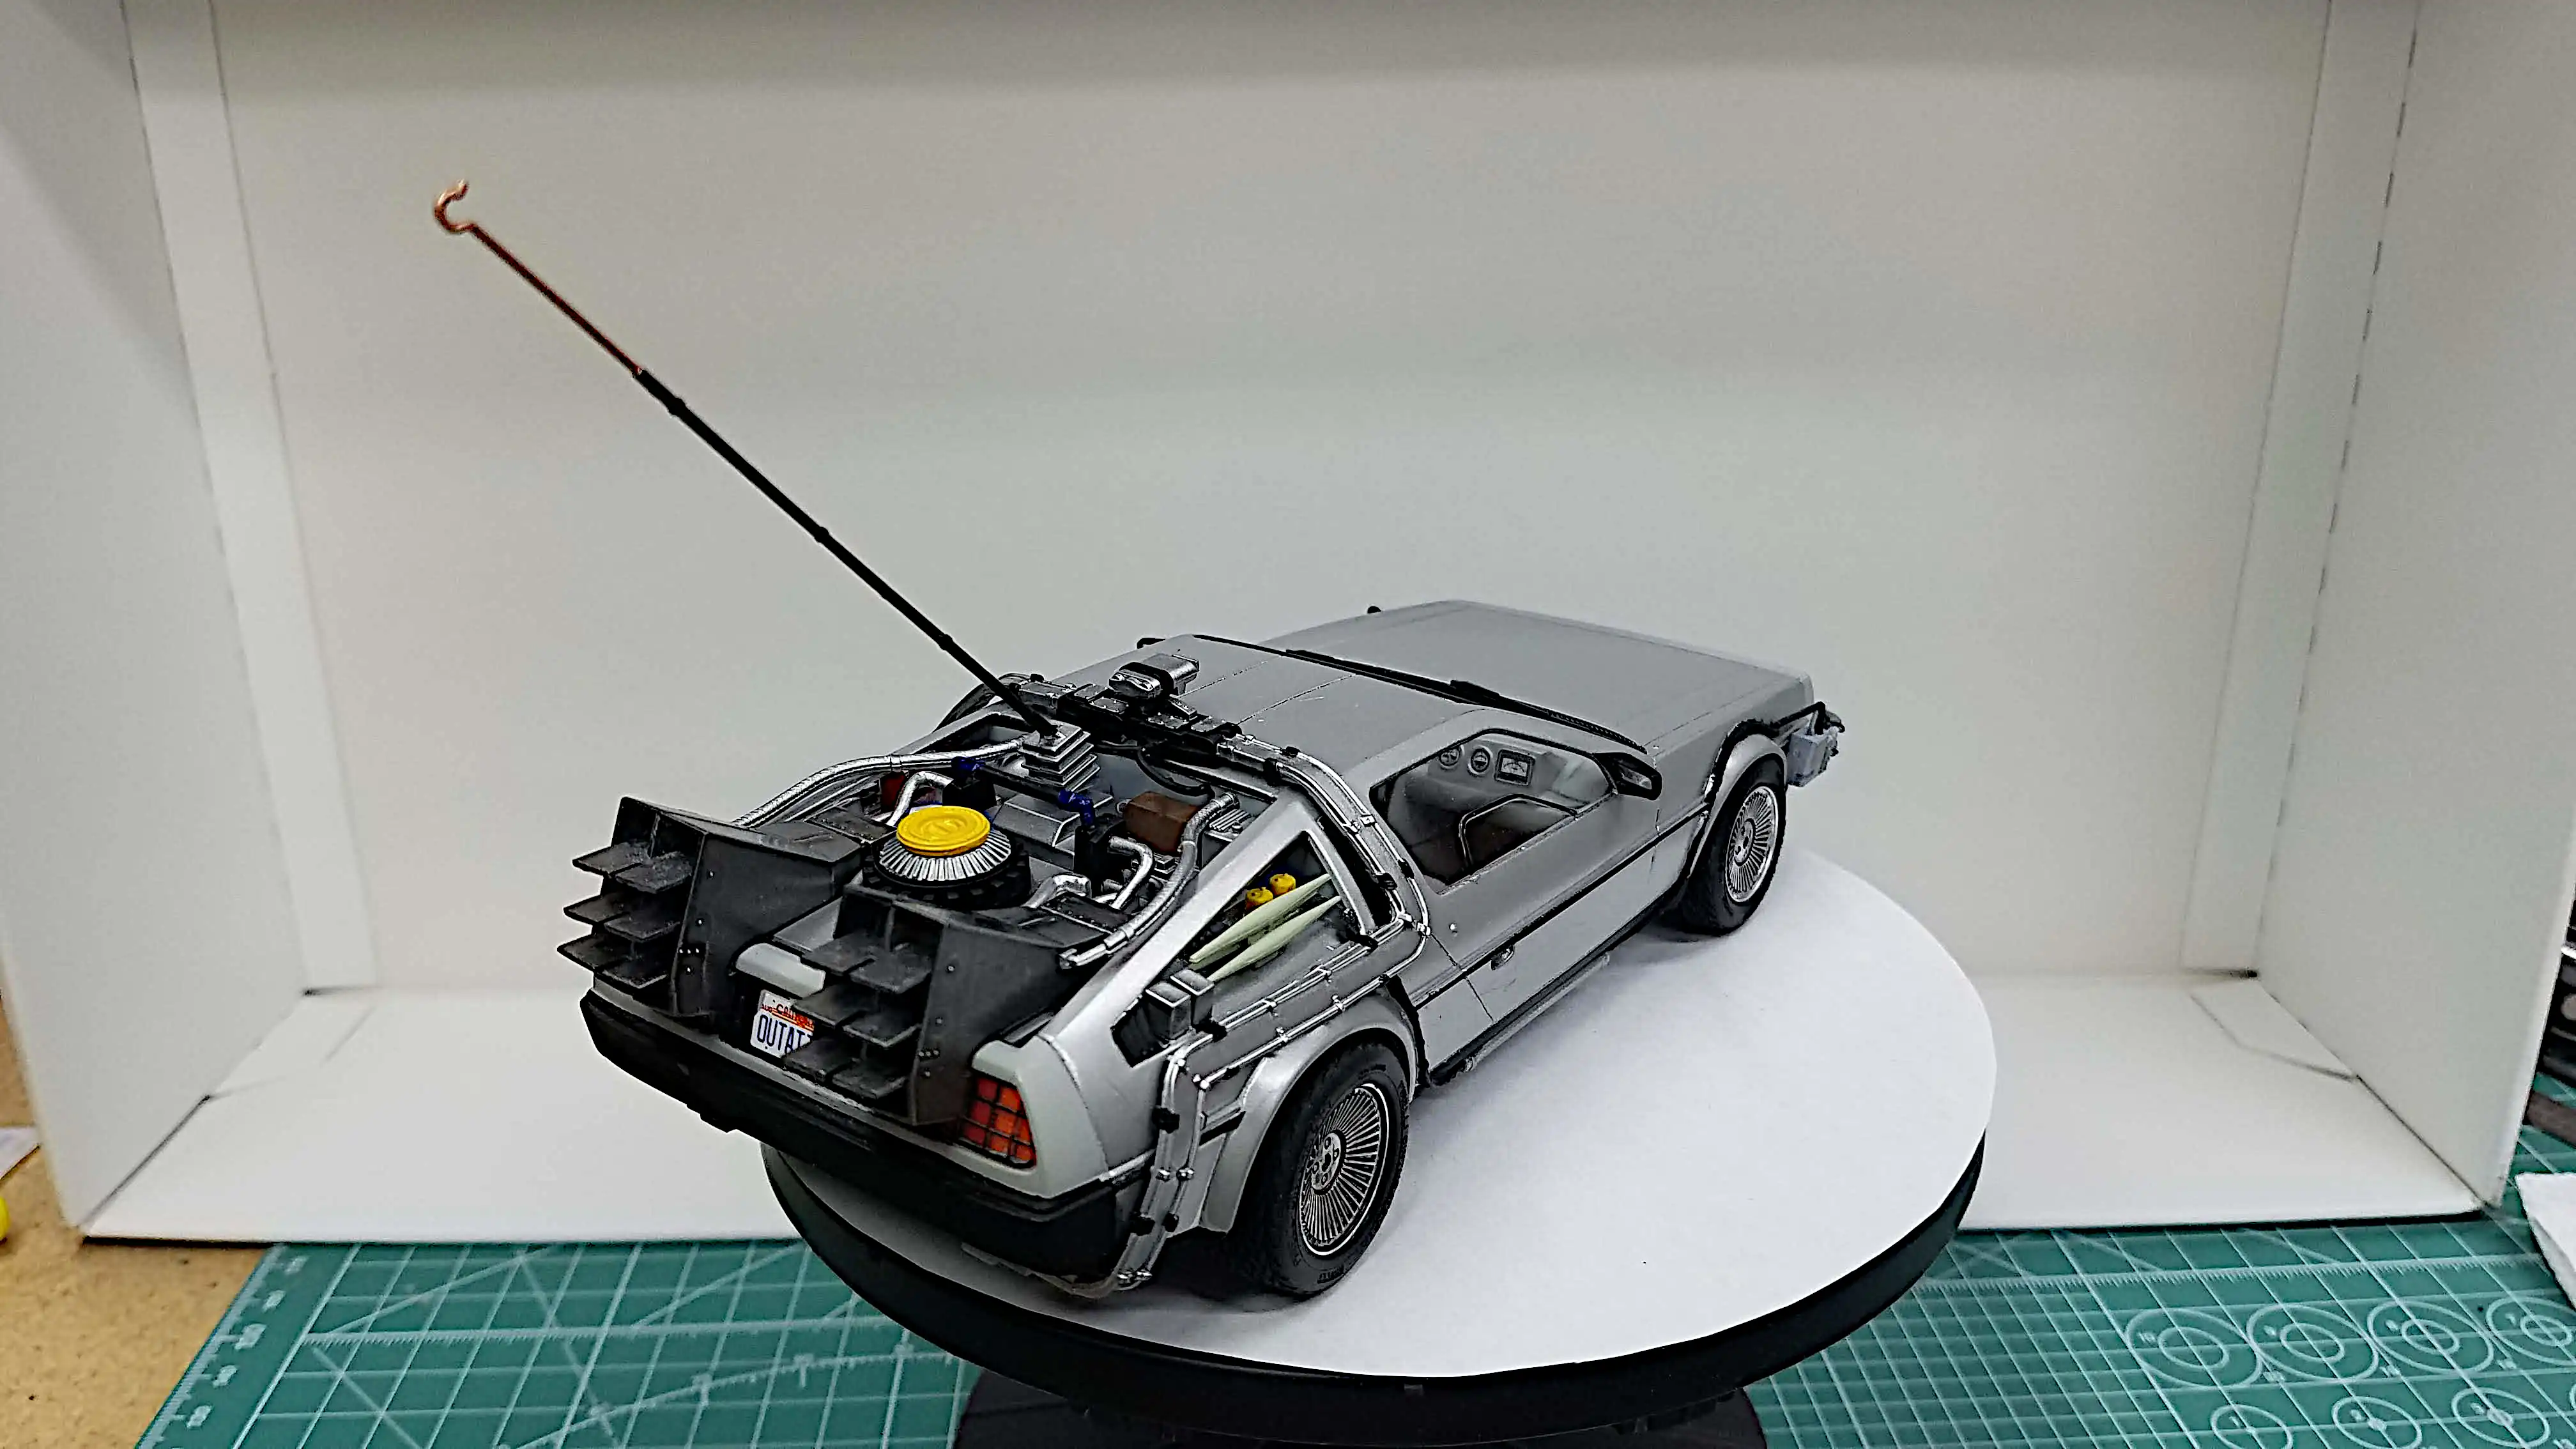 Finished model left rear
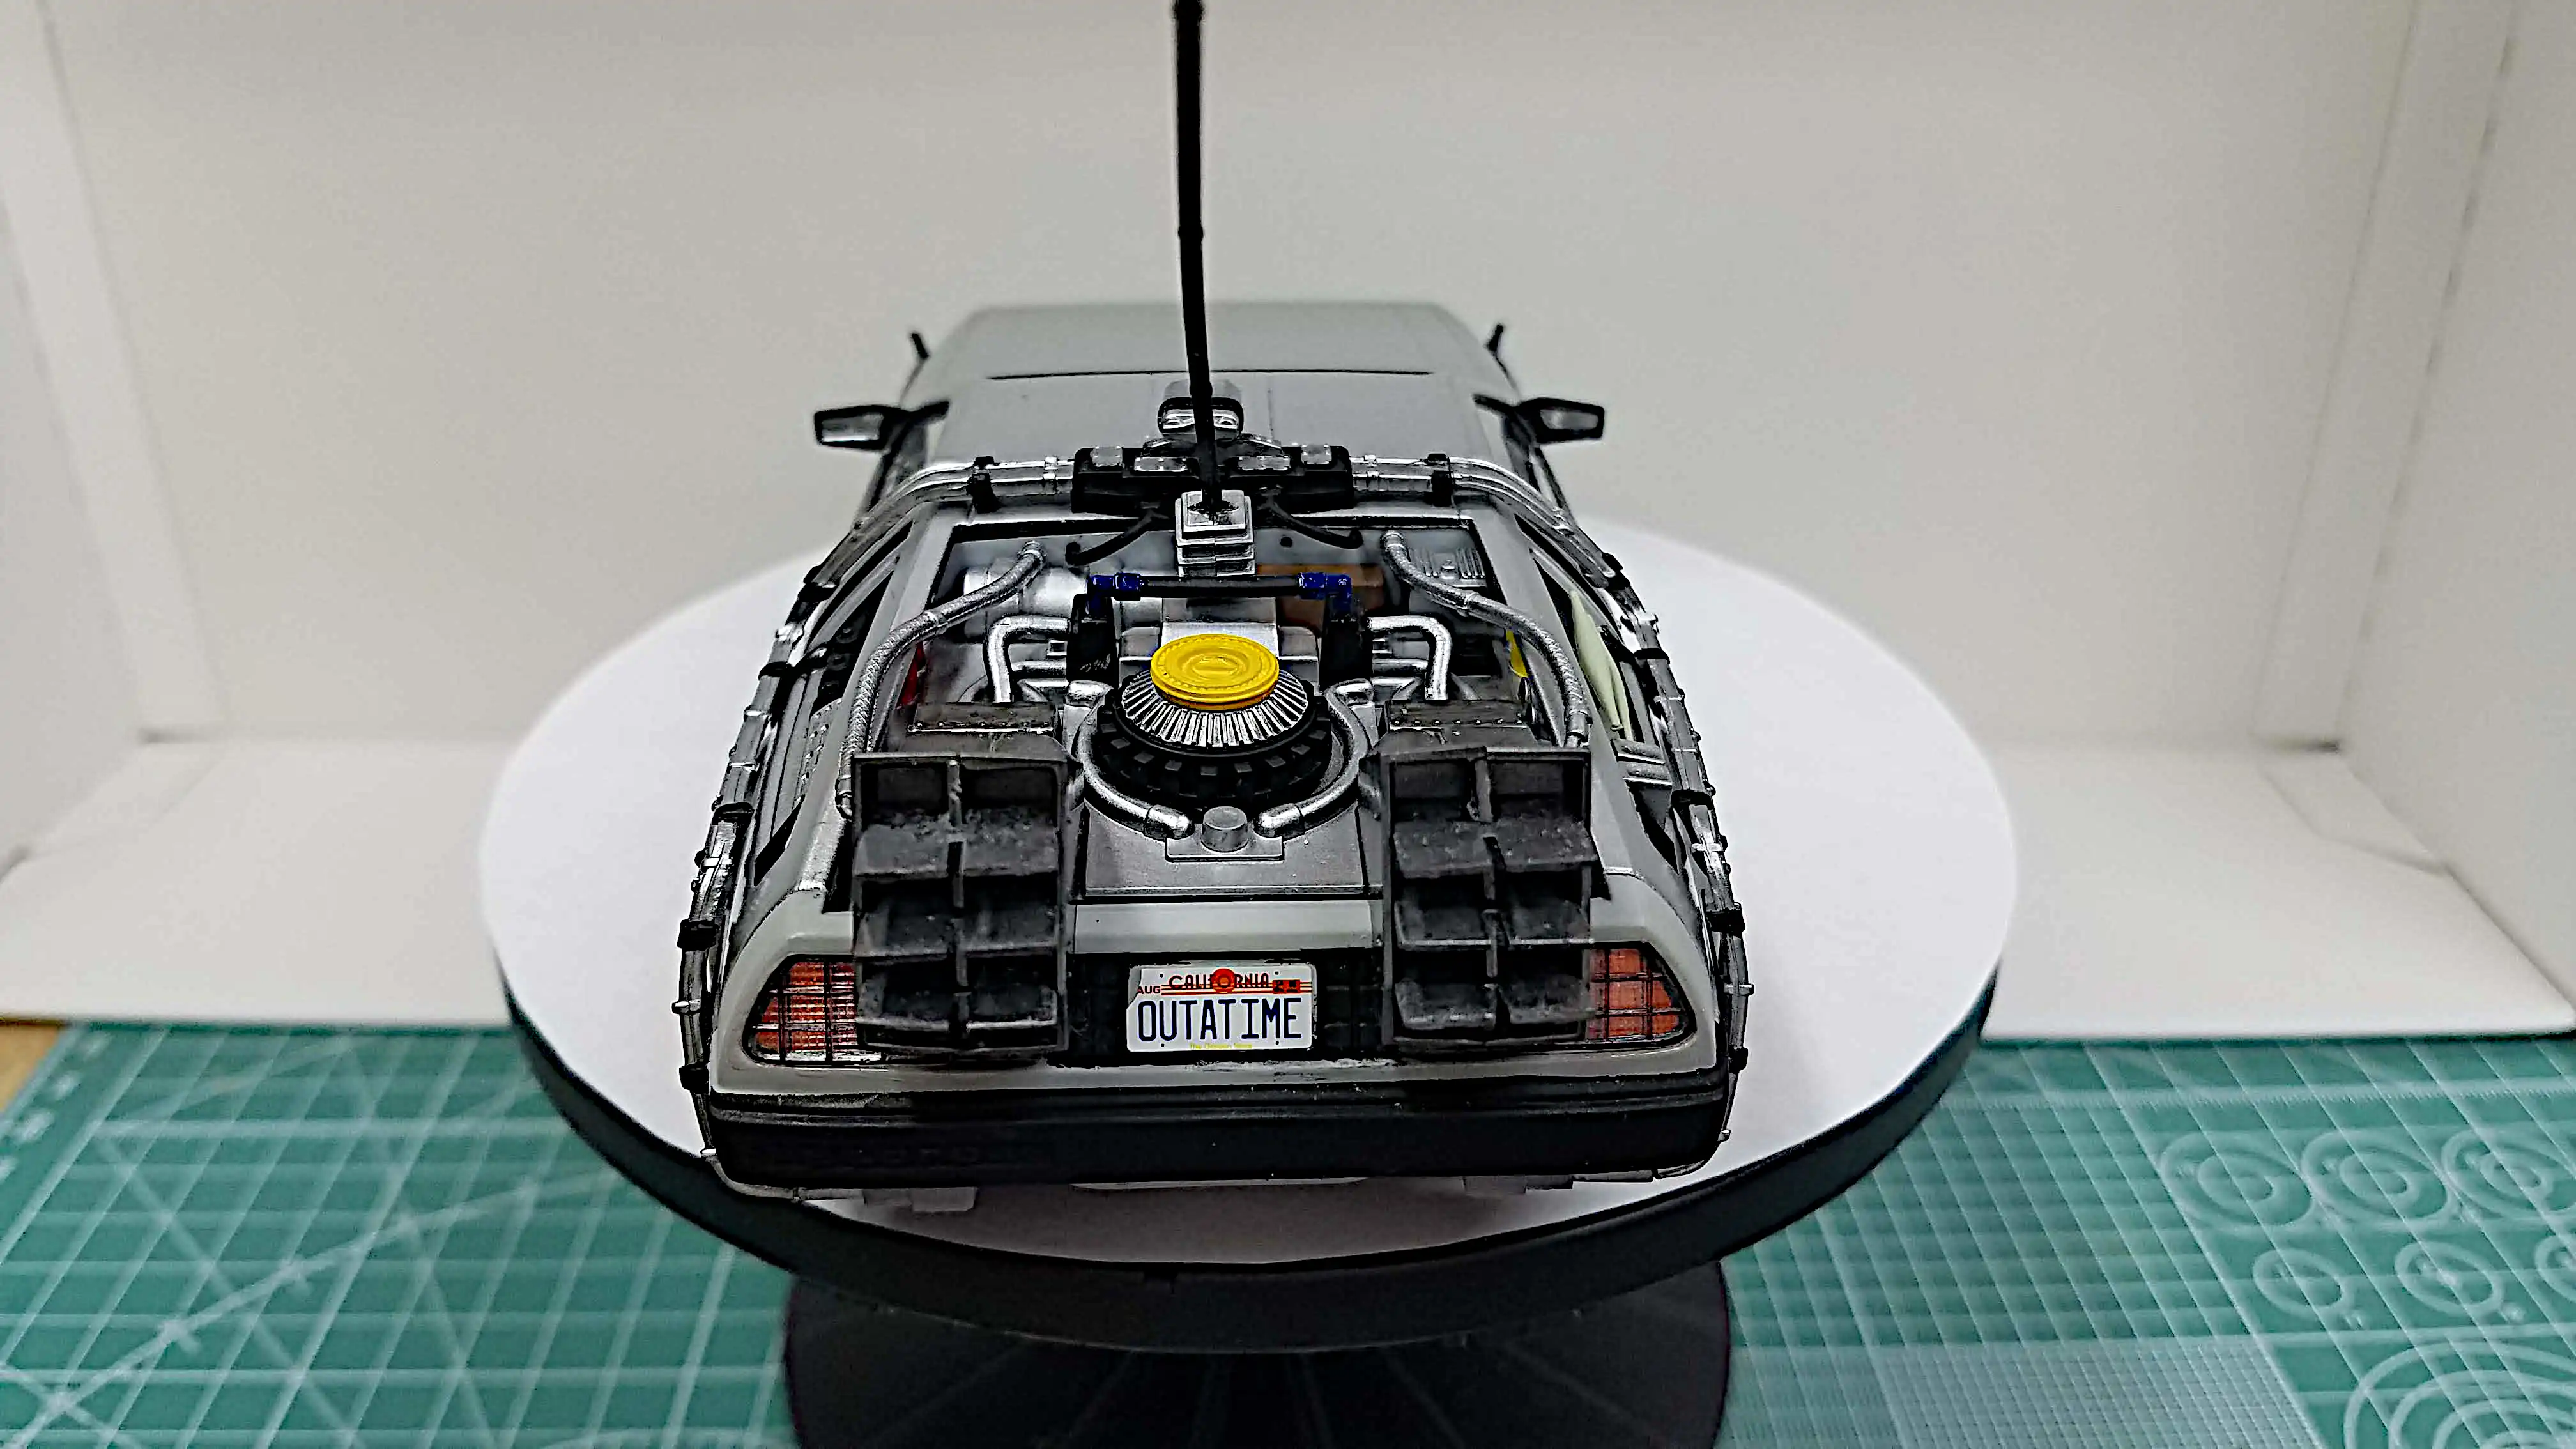 Finished model rear
 Finished model left rear
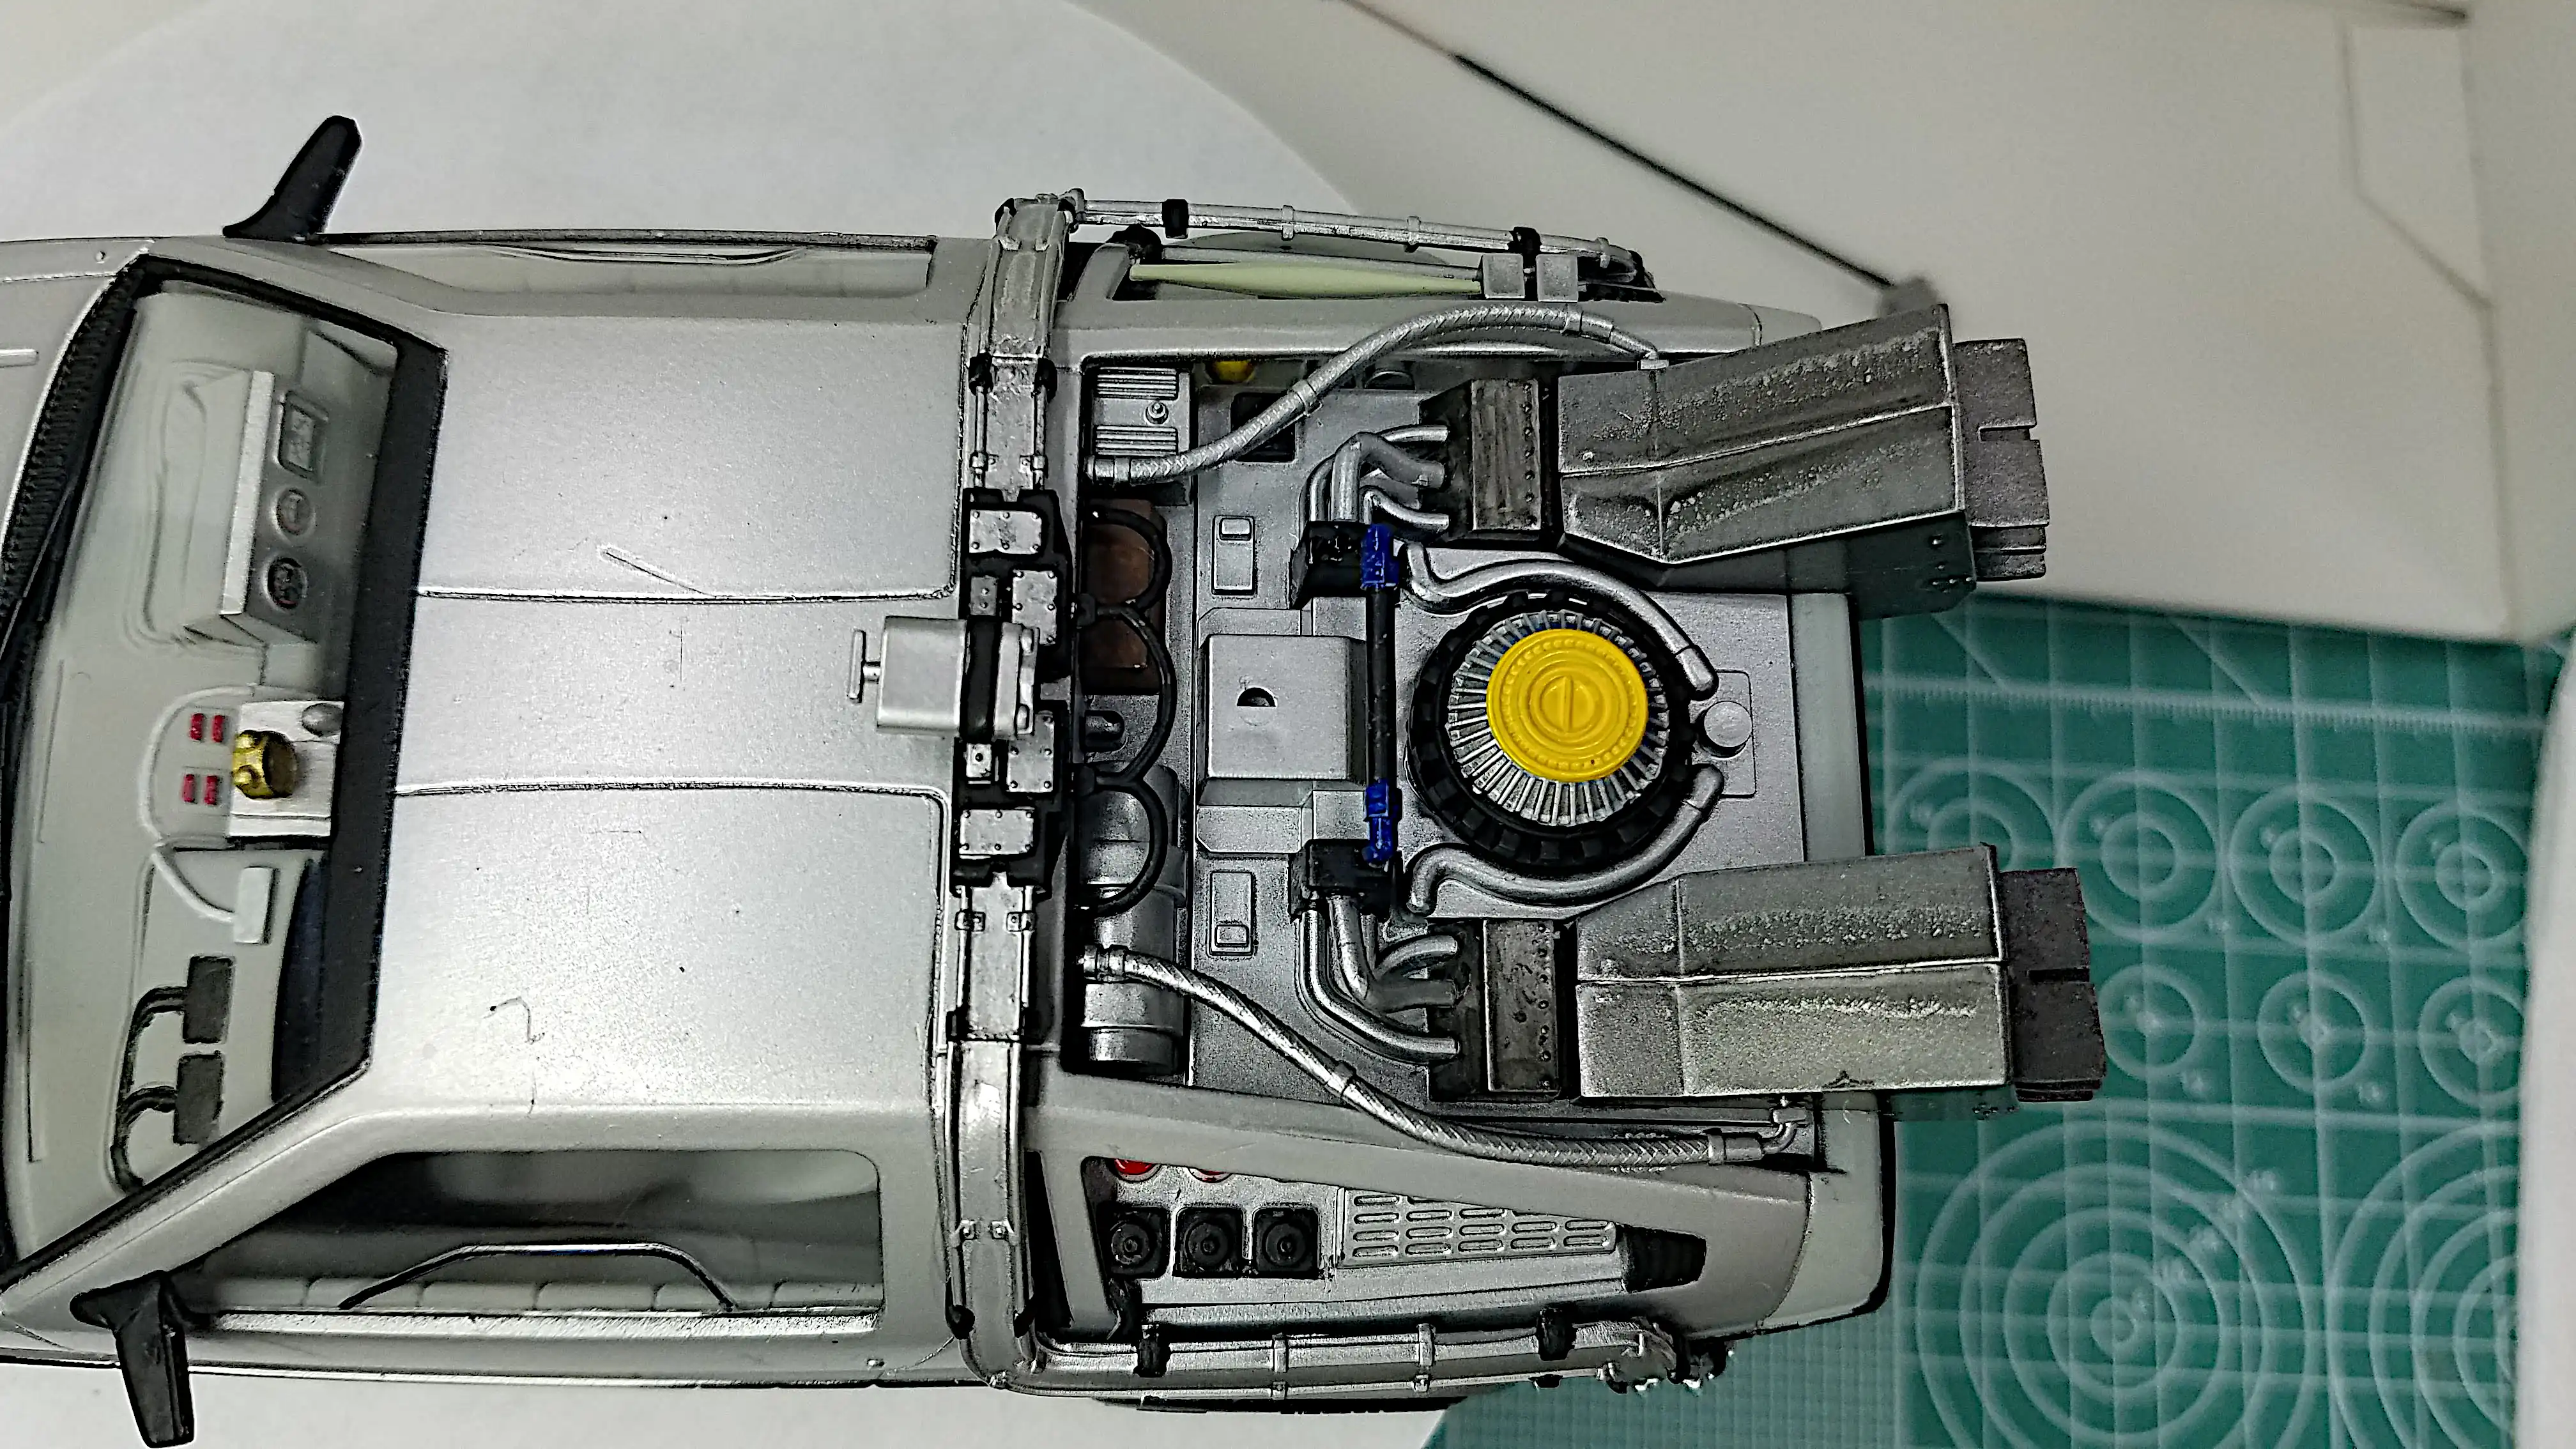
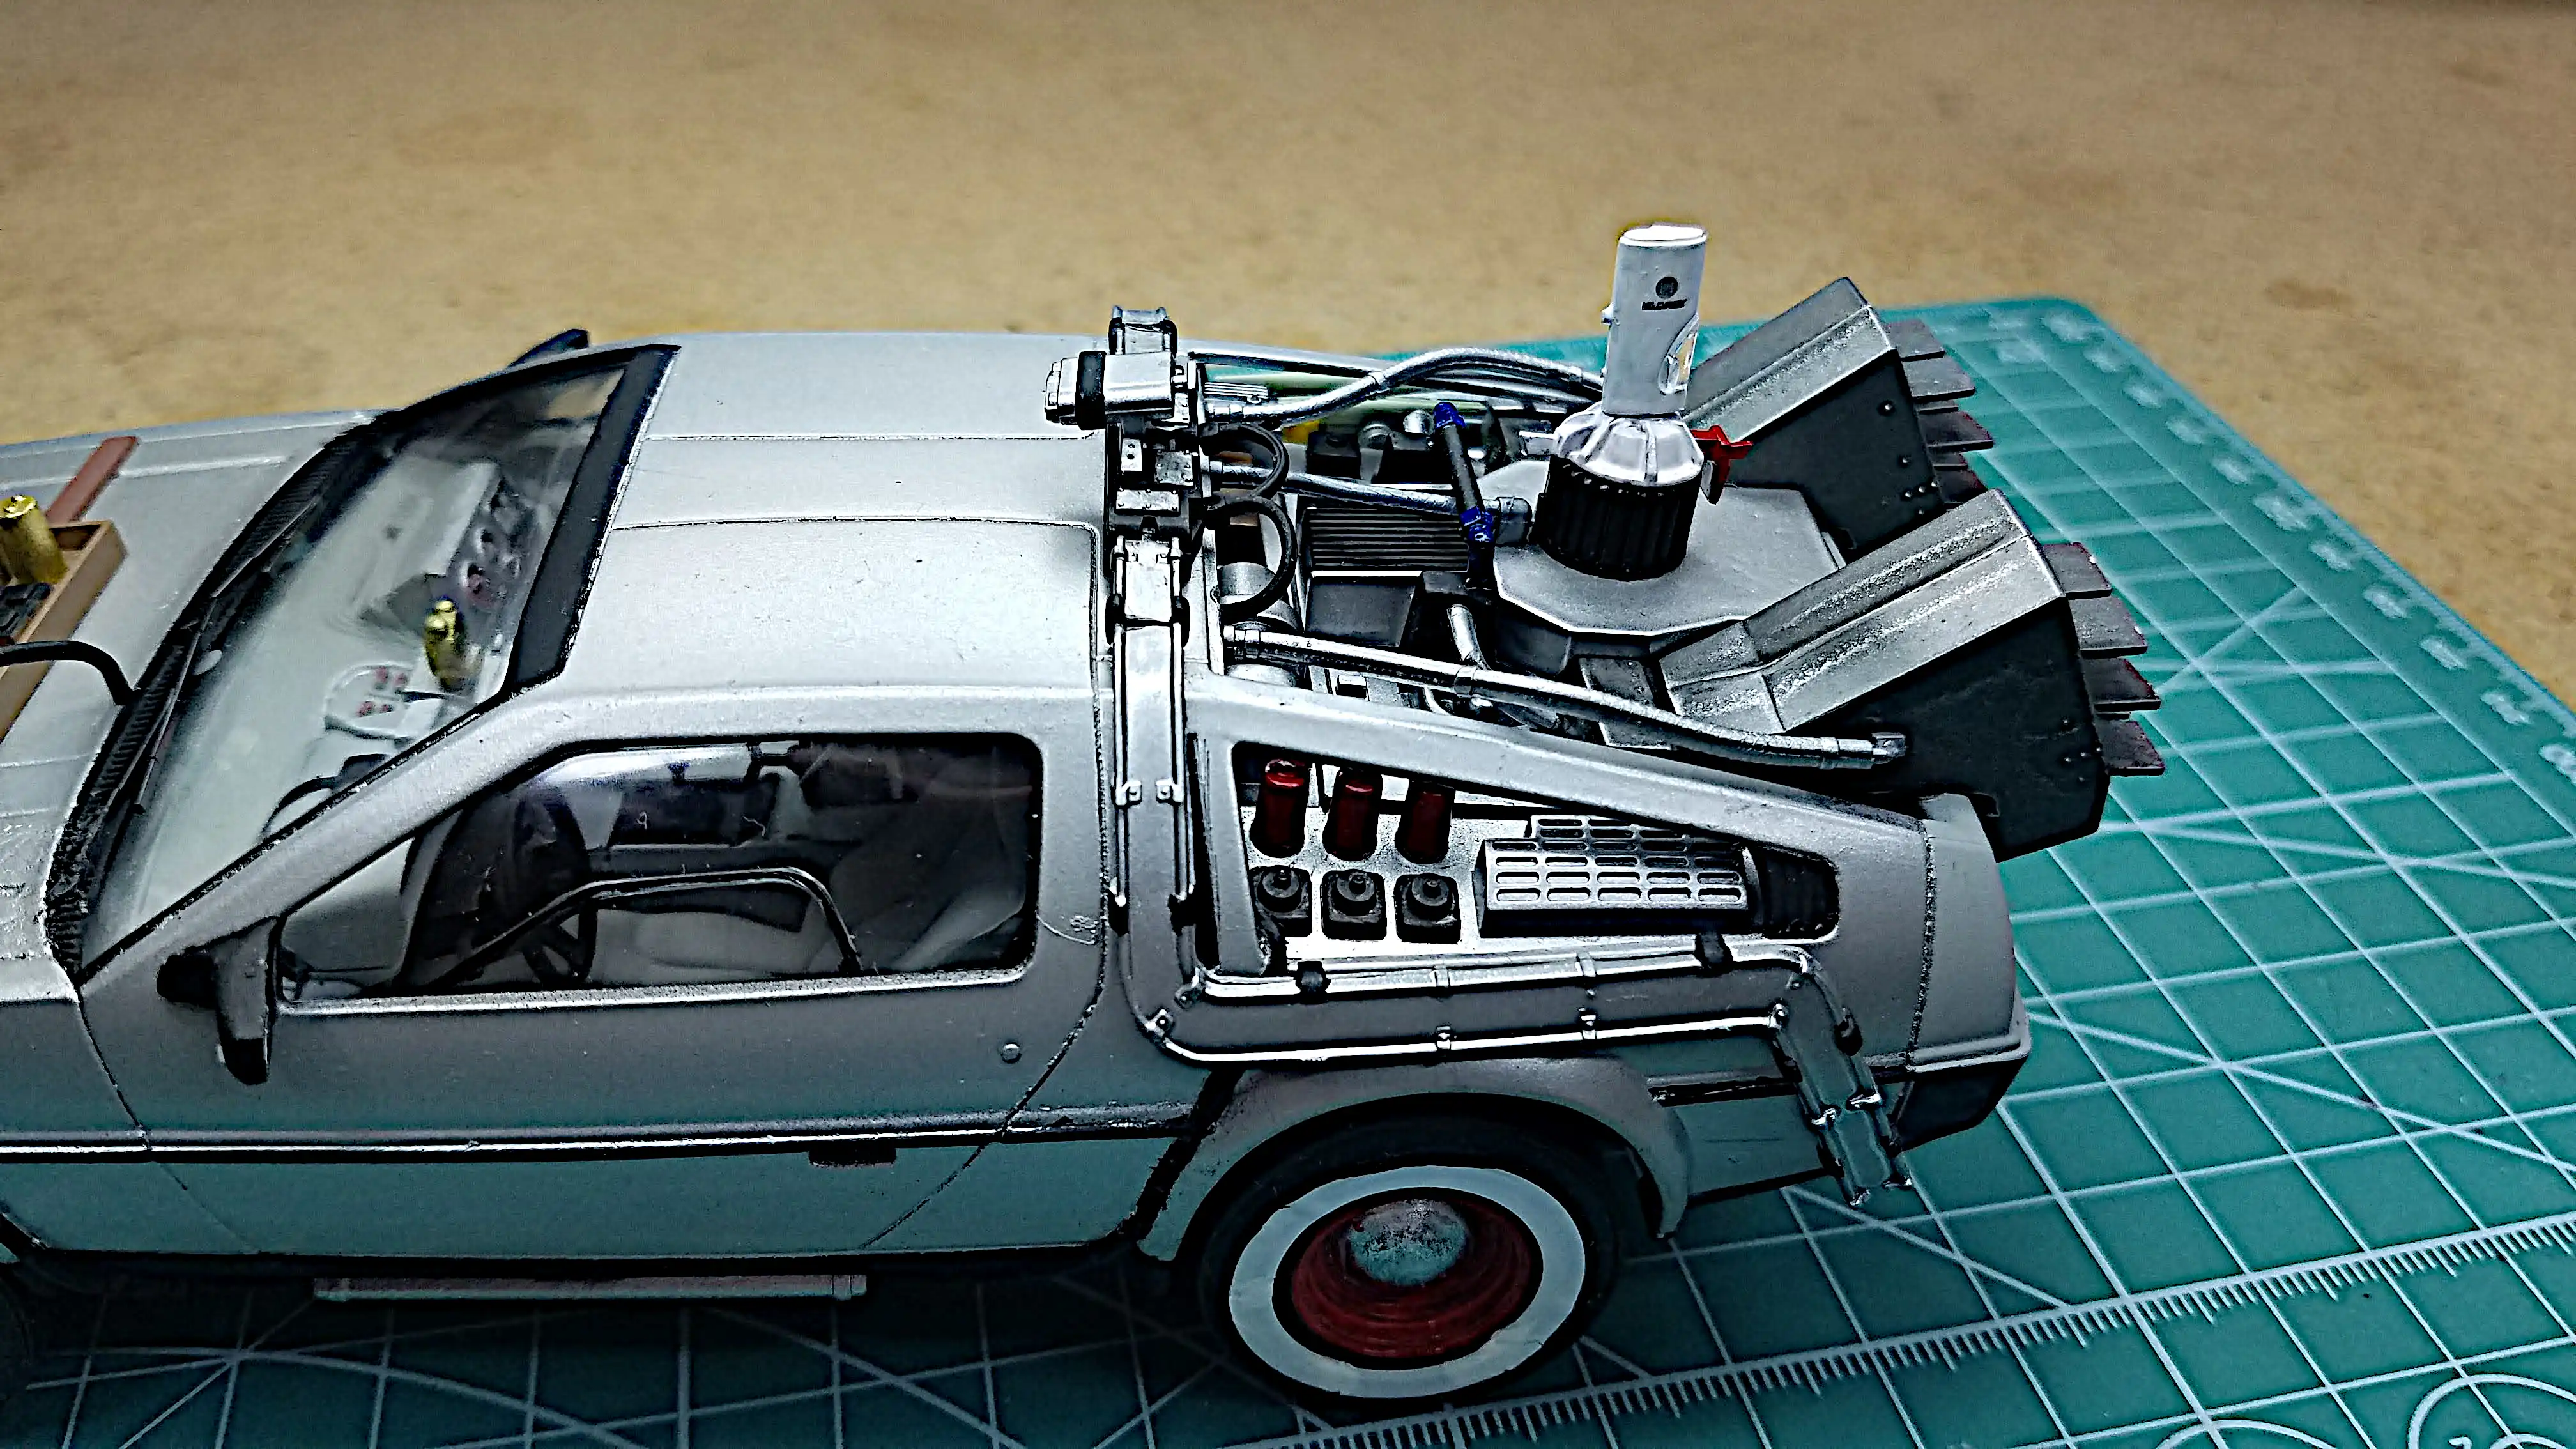
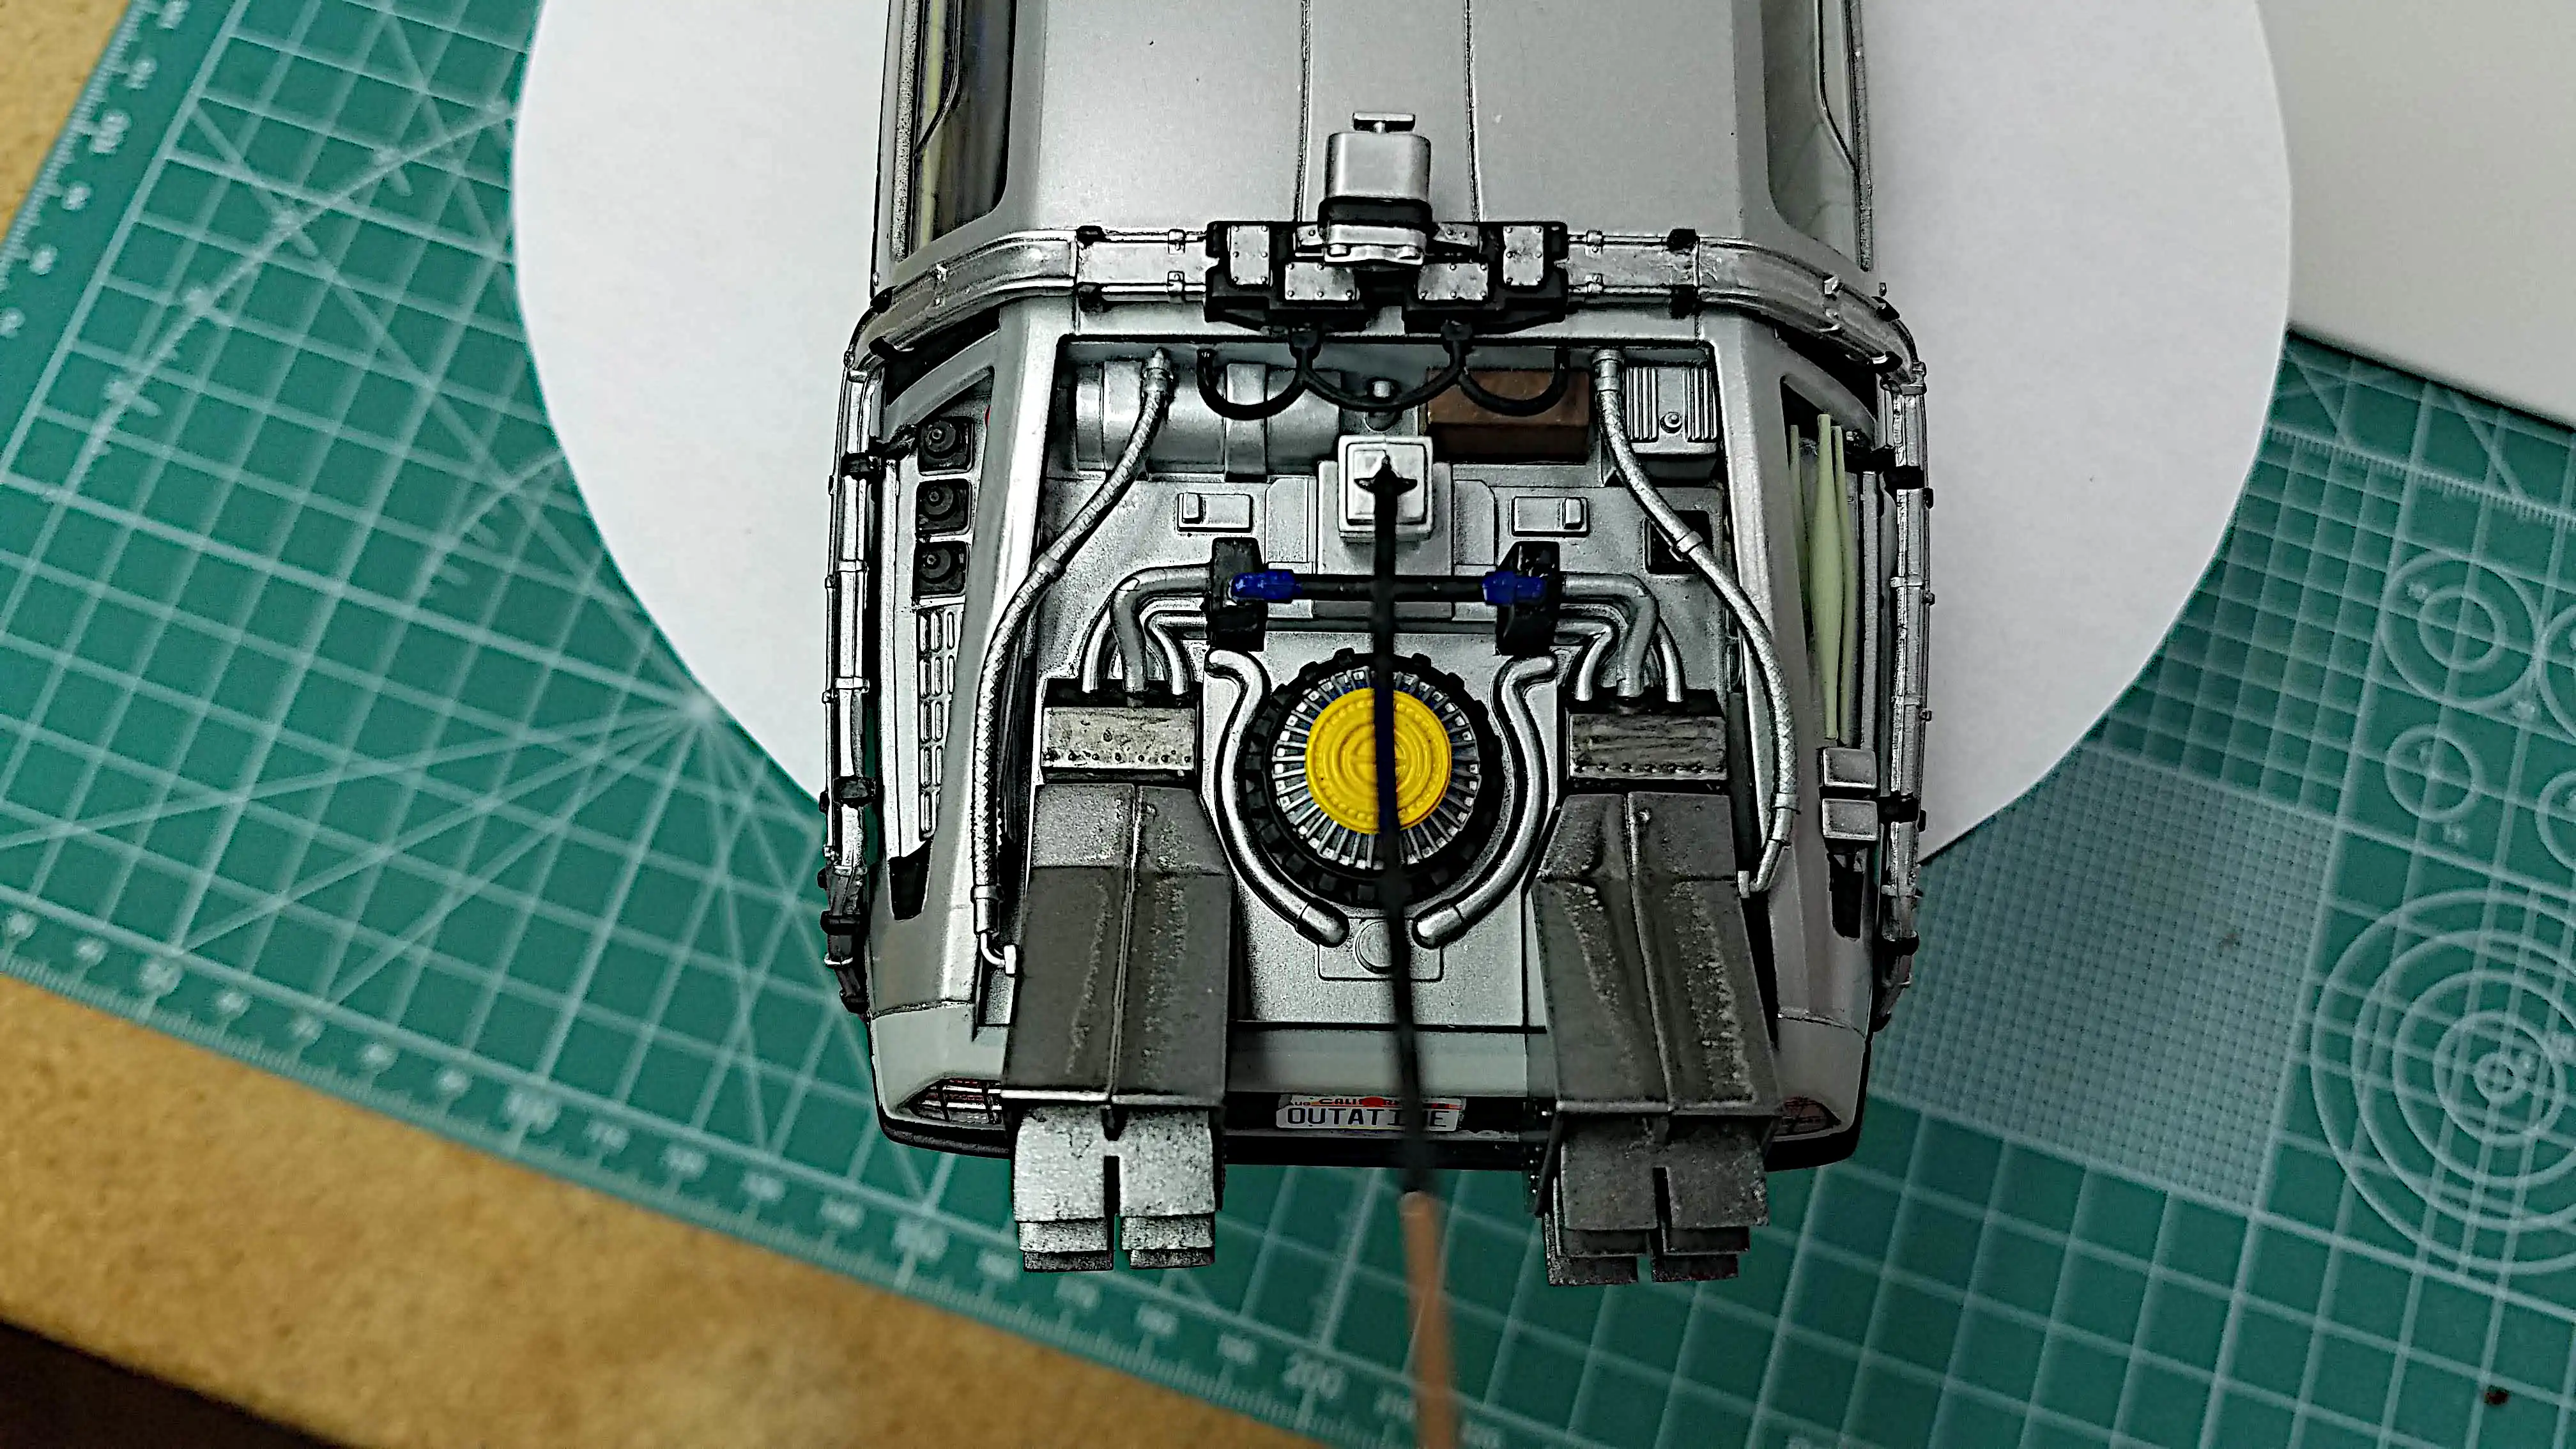 Top view of the finished engine shroud from the back
 Top view of the finished engine shroud from the right
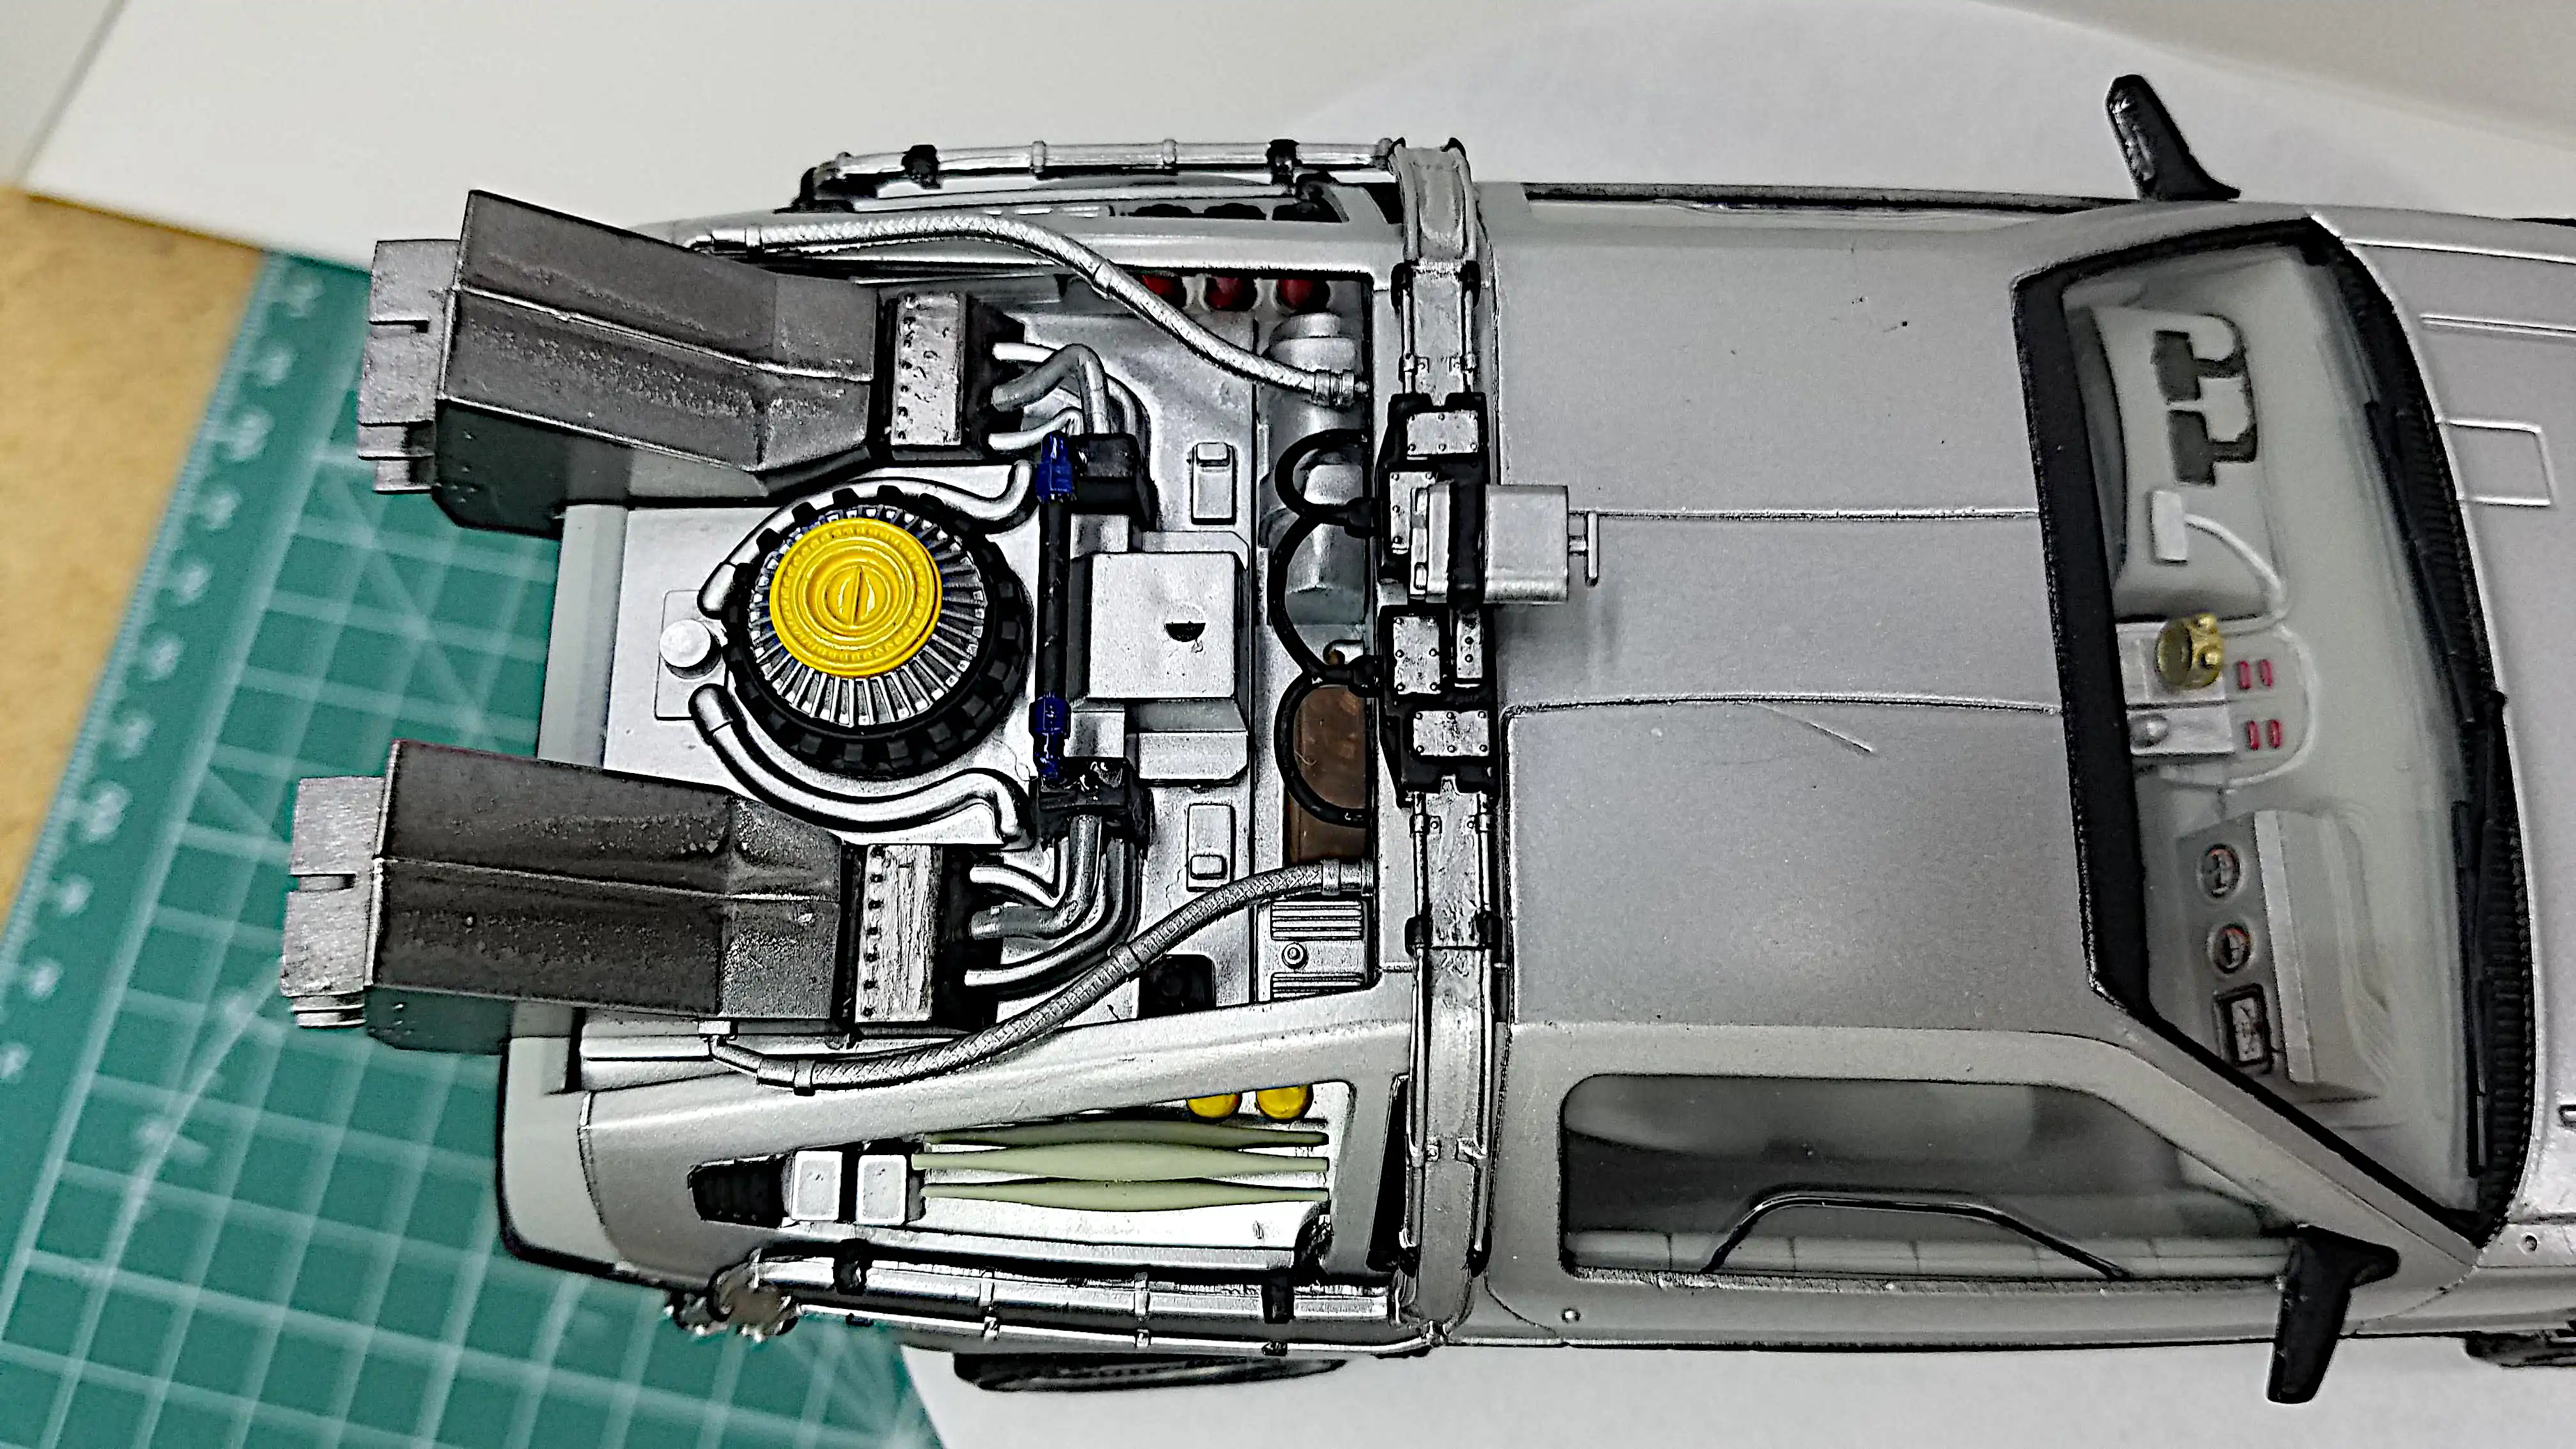 Top view of the finished engine shroud from the right
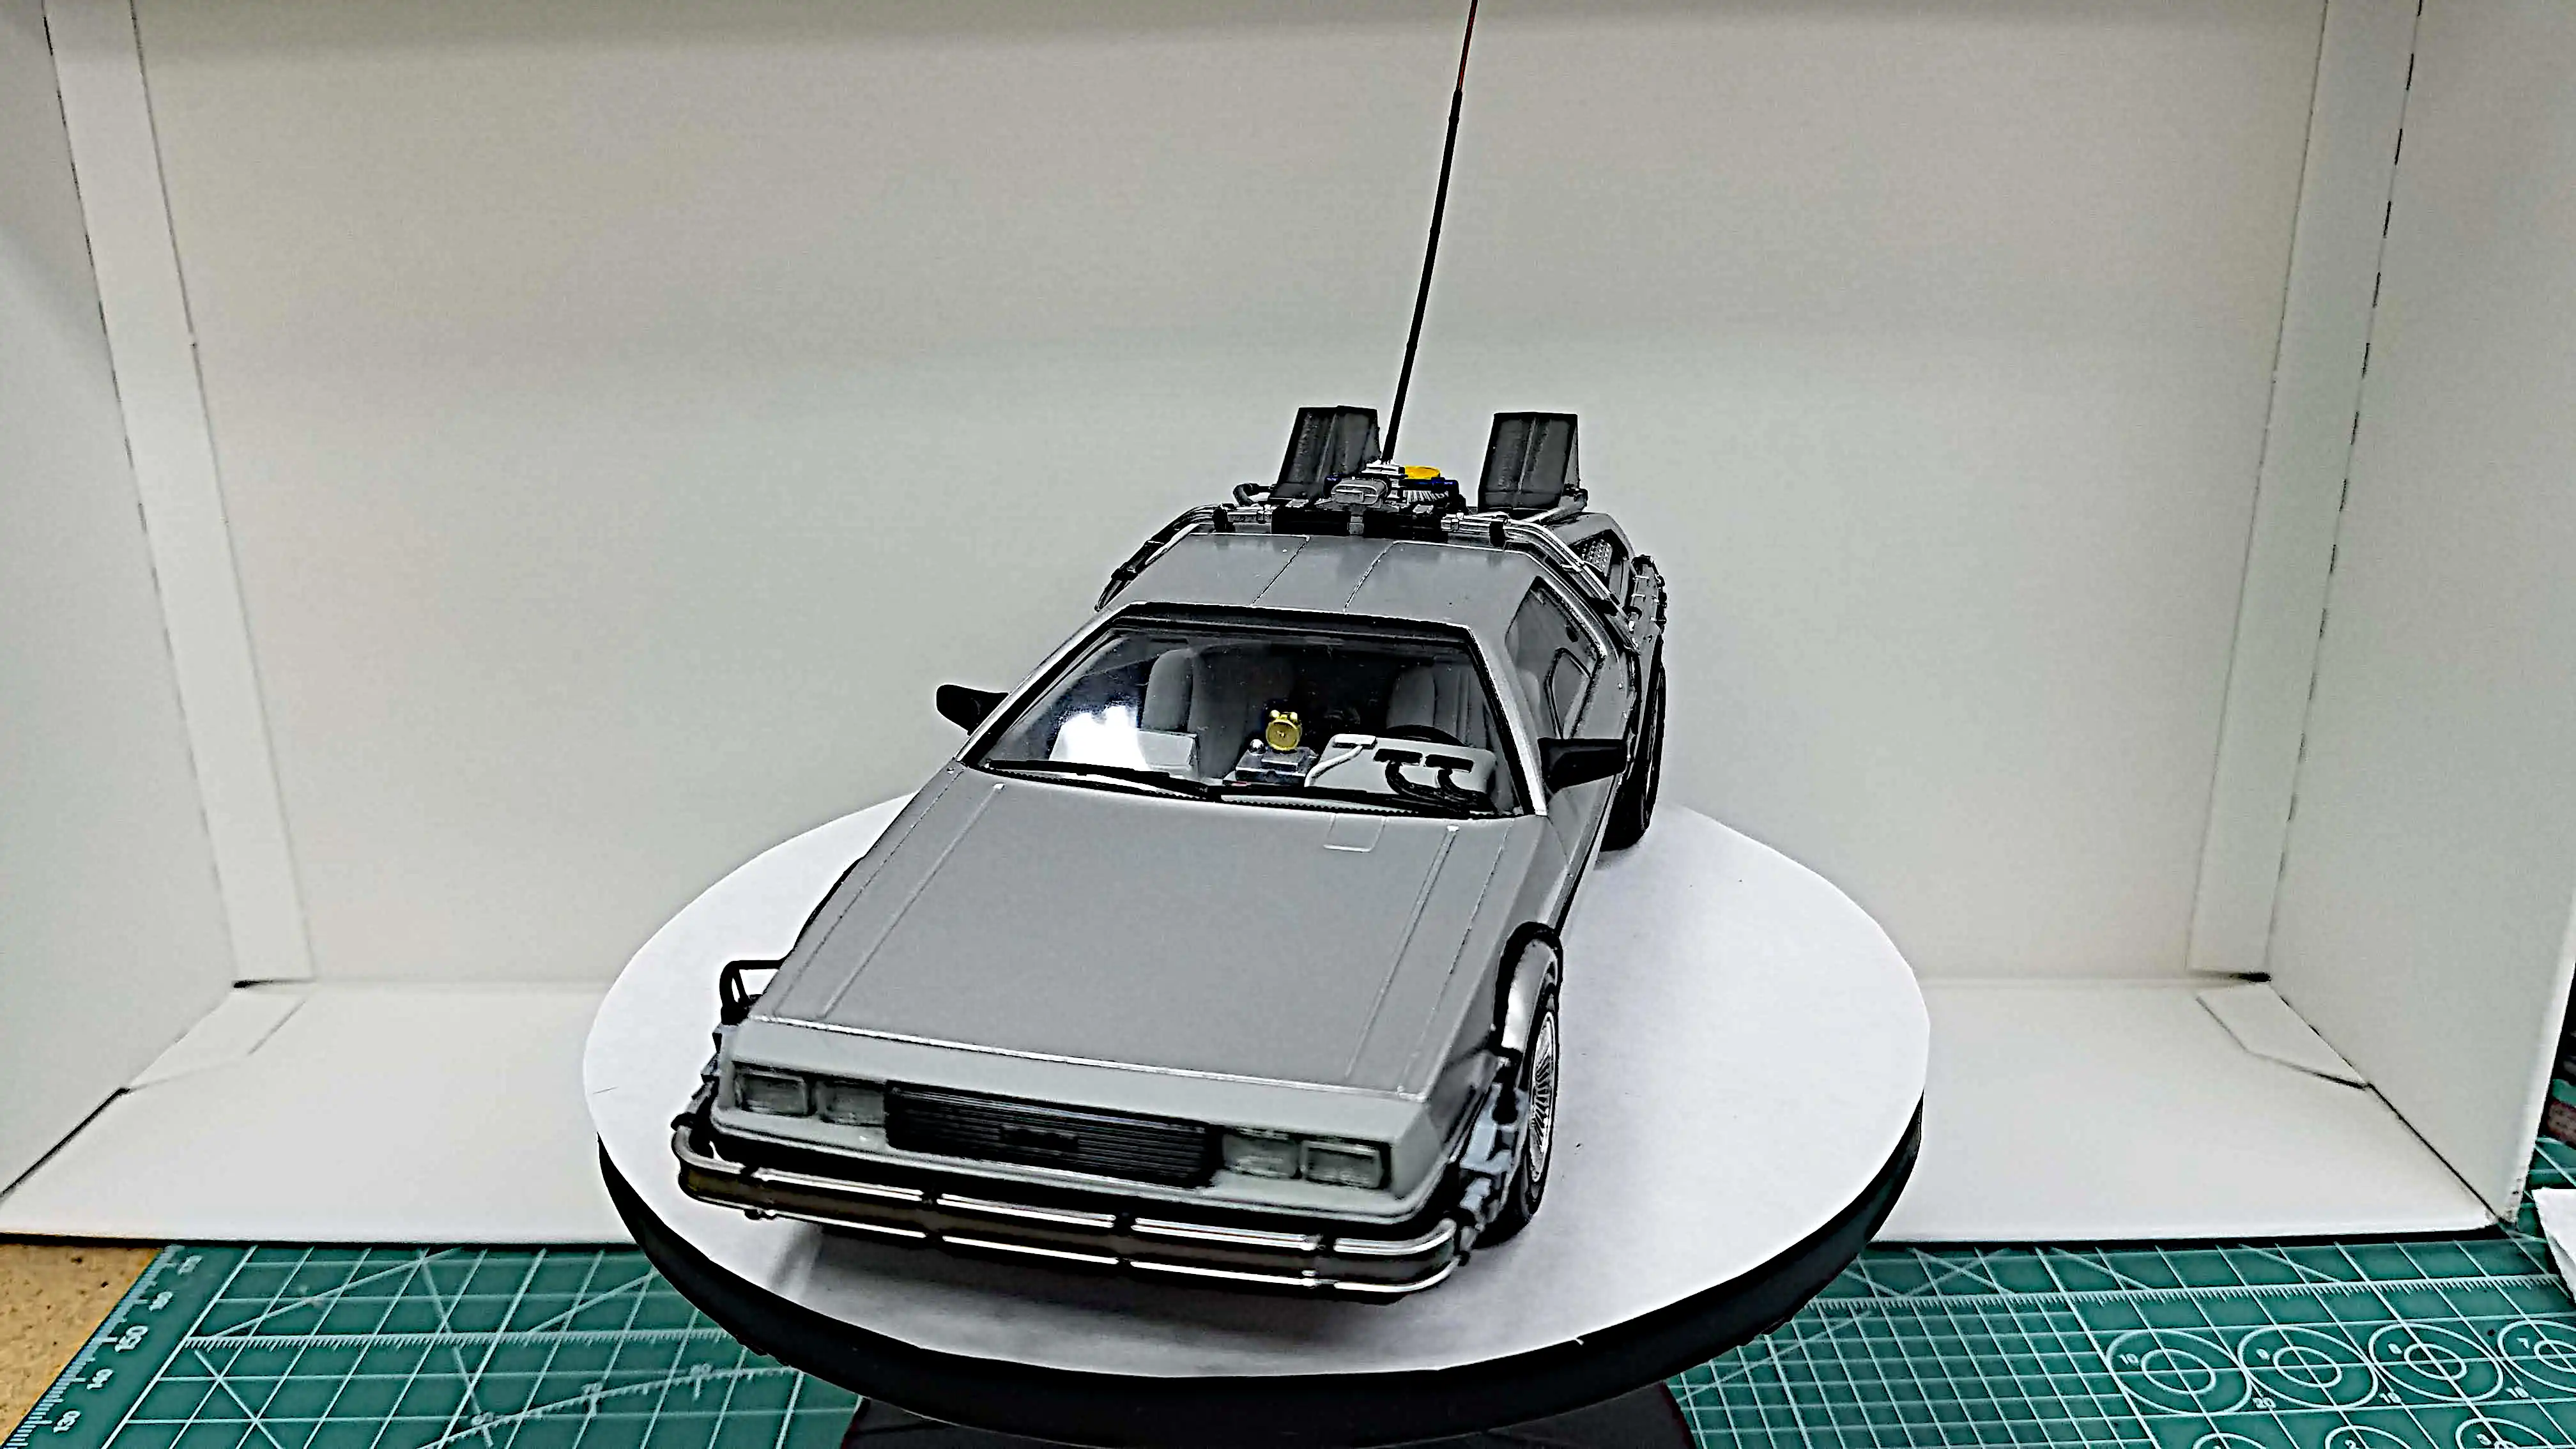
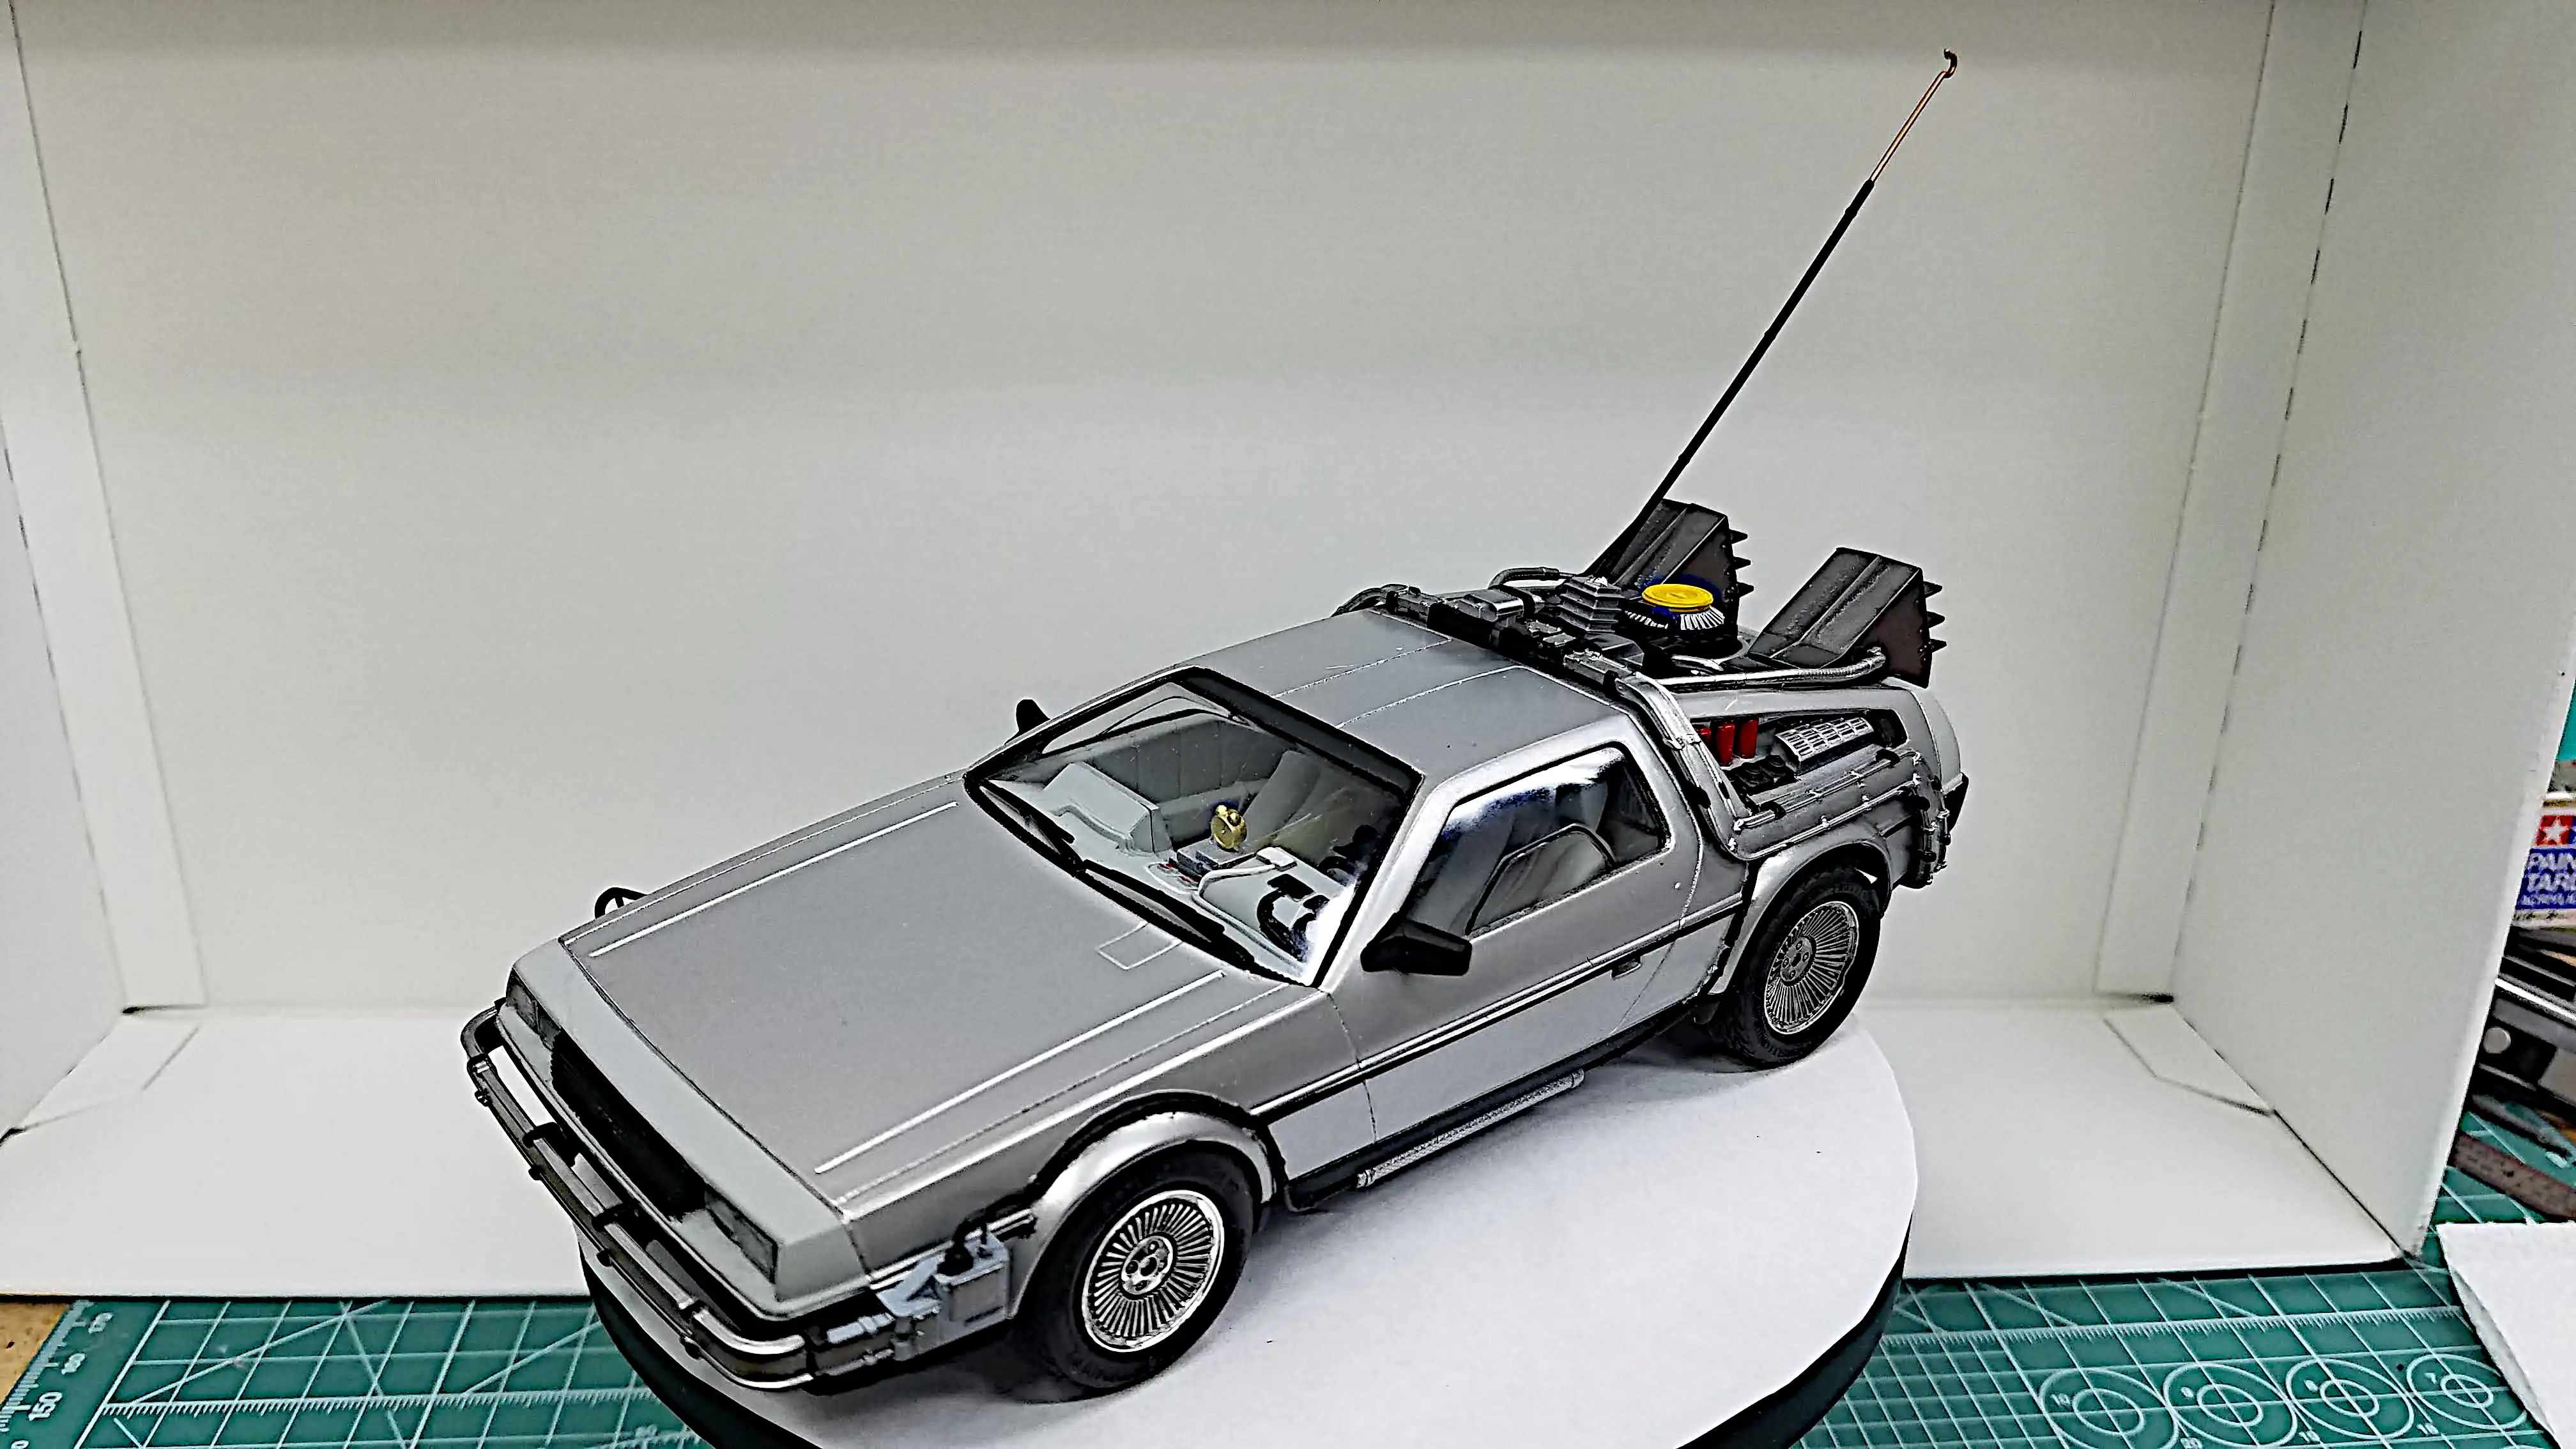 Finished Back to the Future DeLorean from the first film
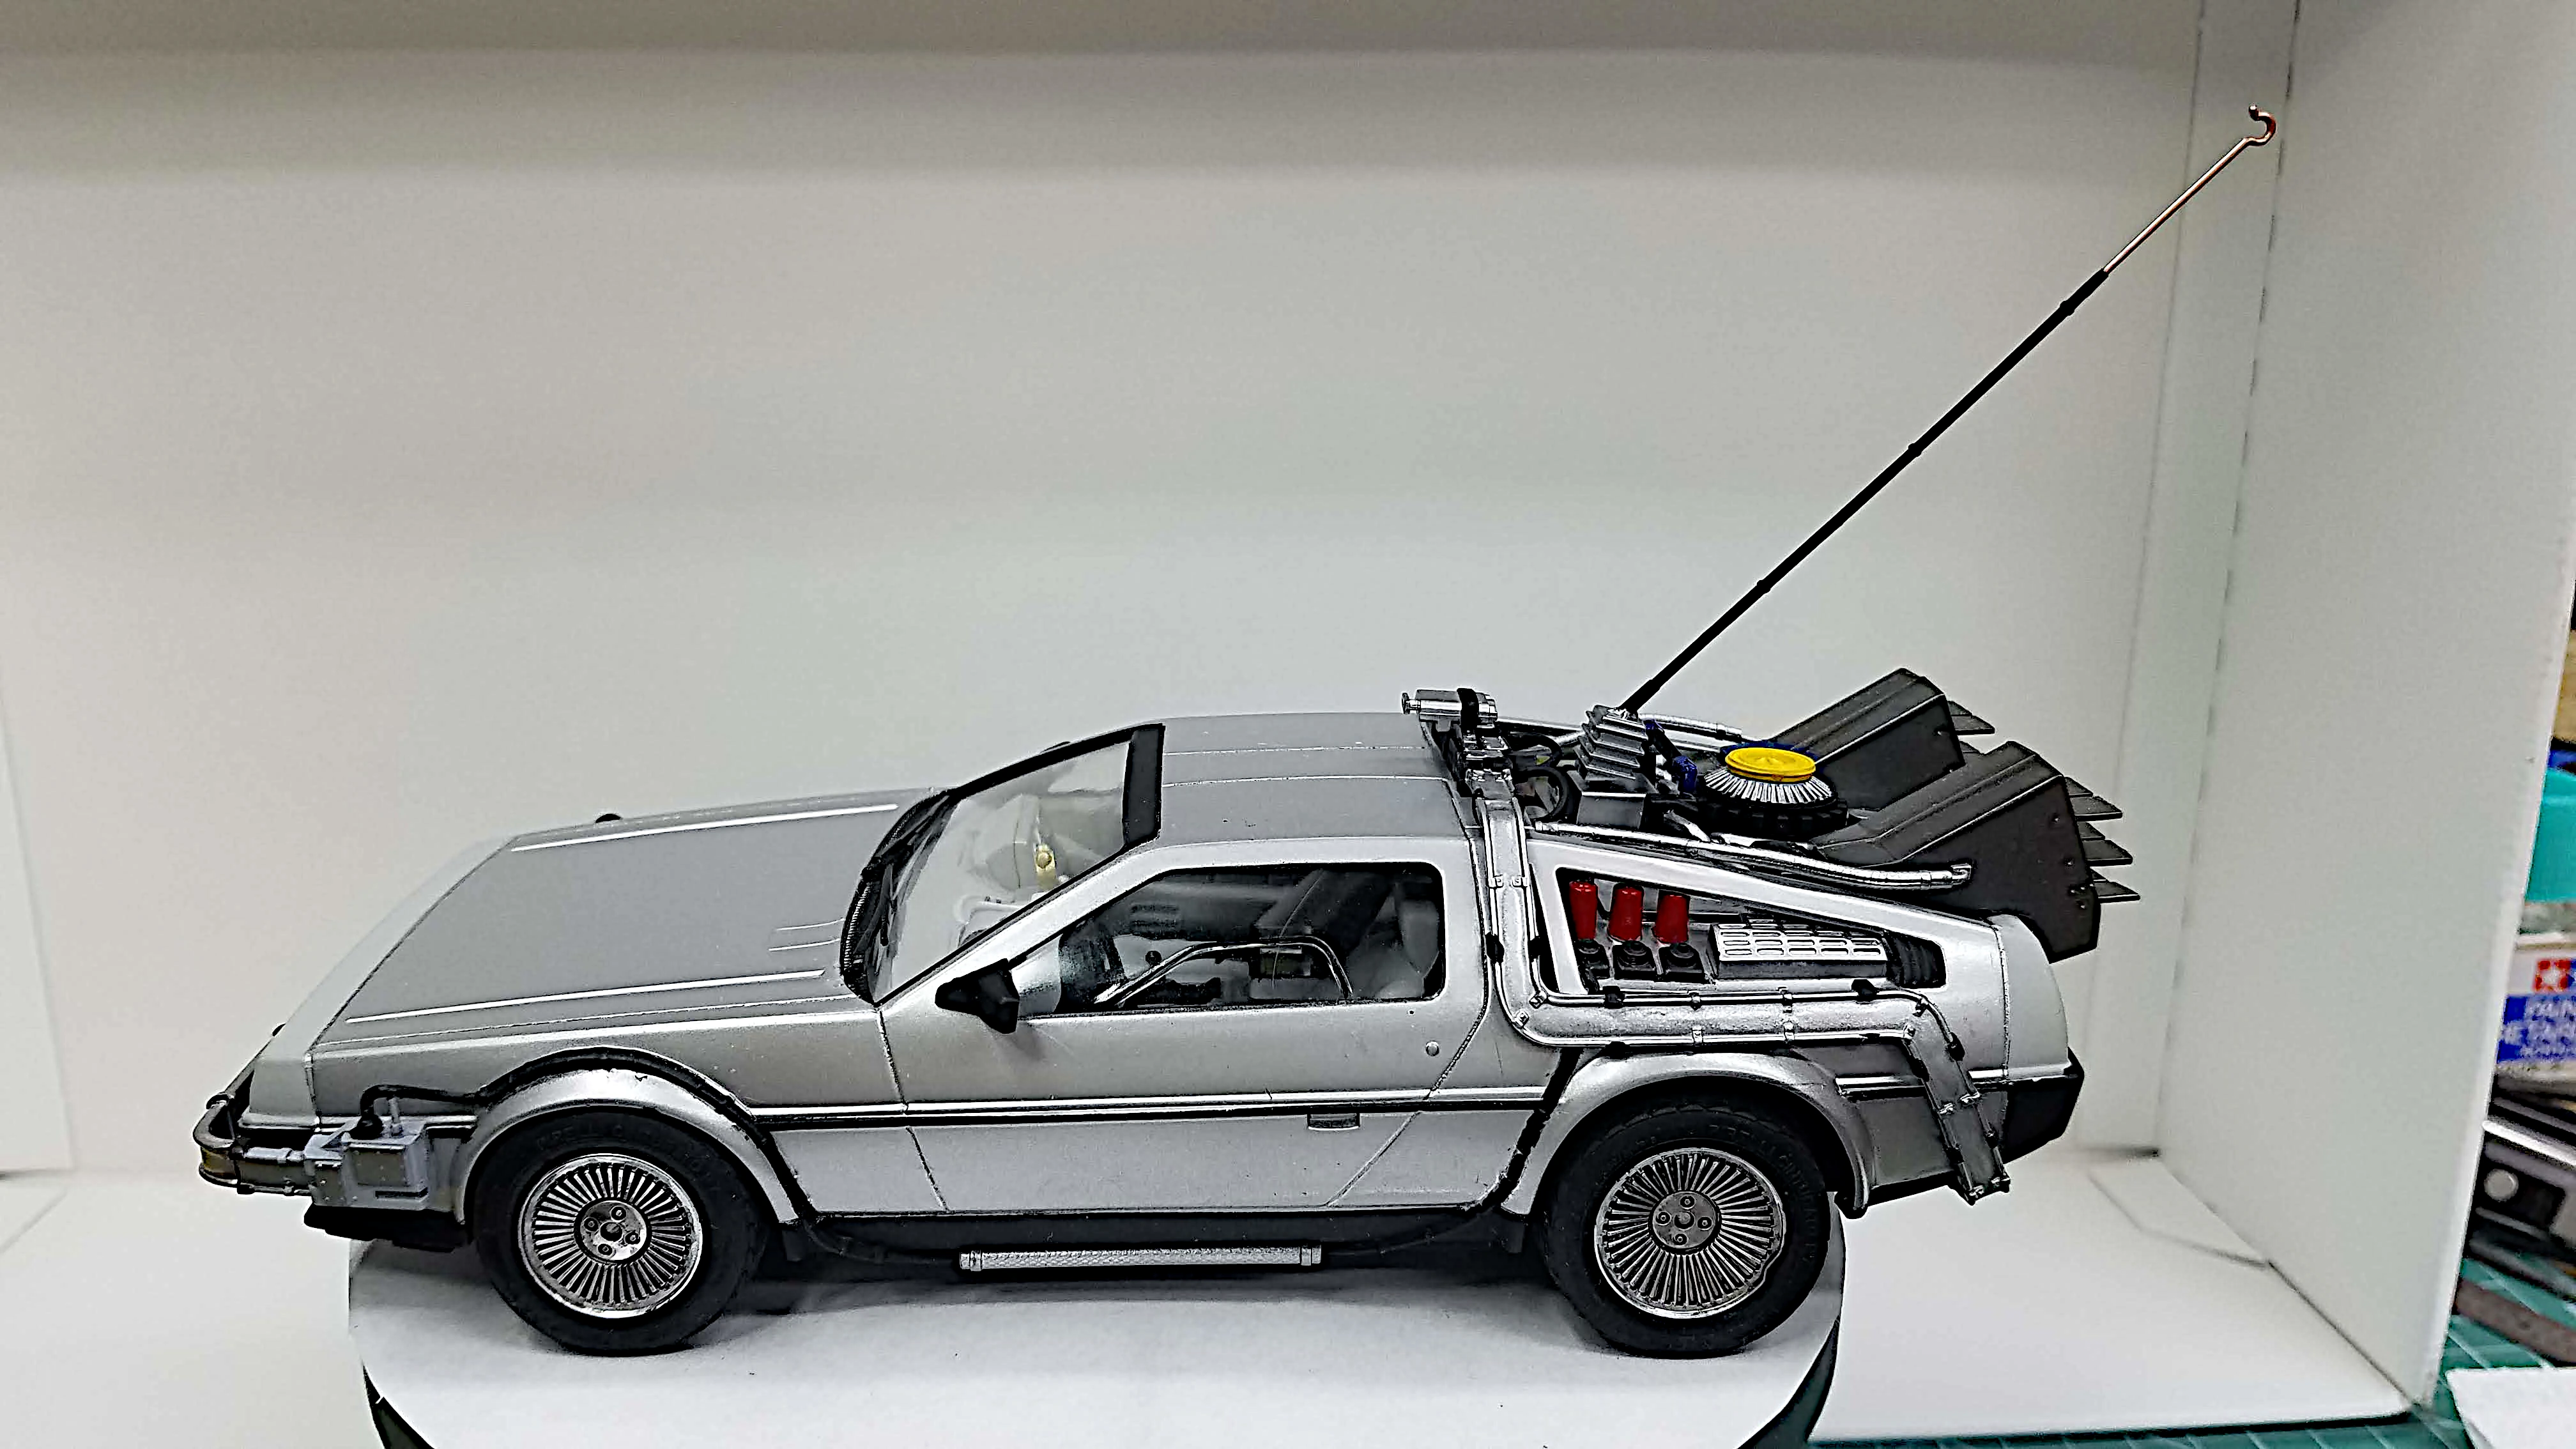
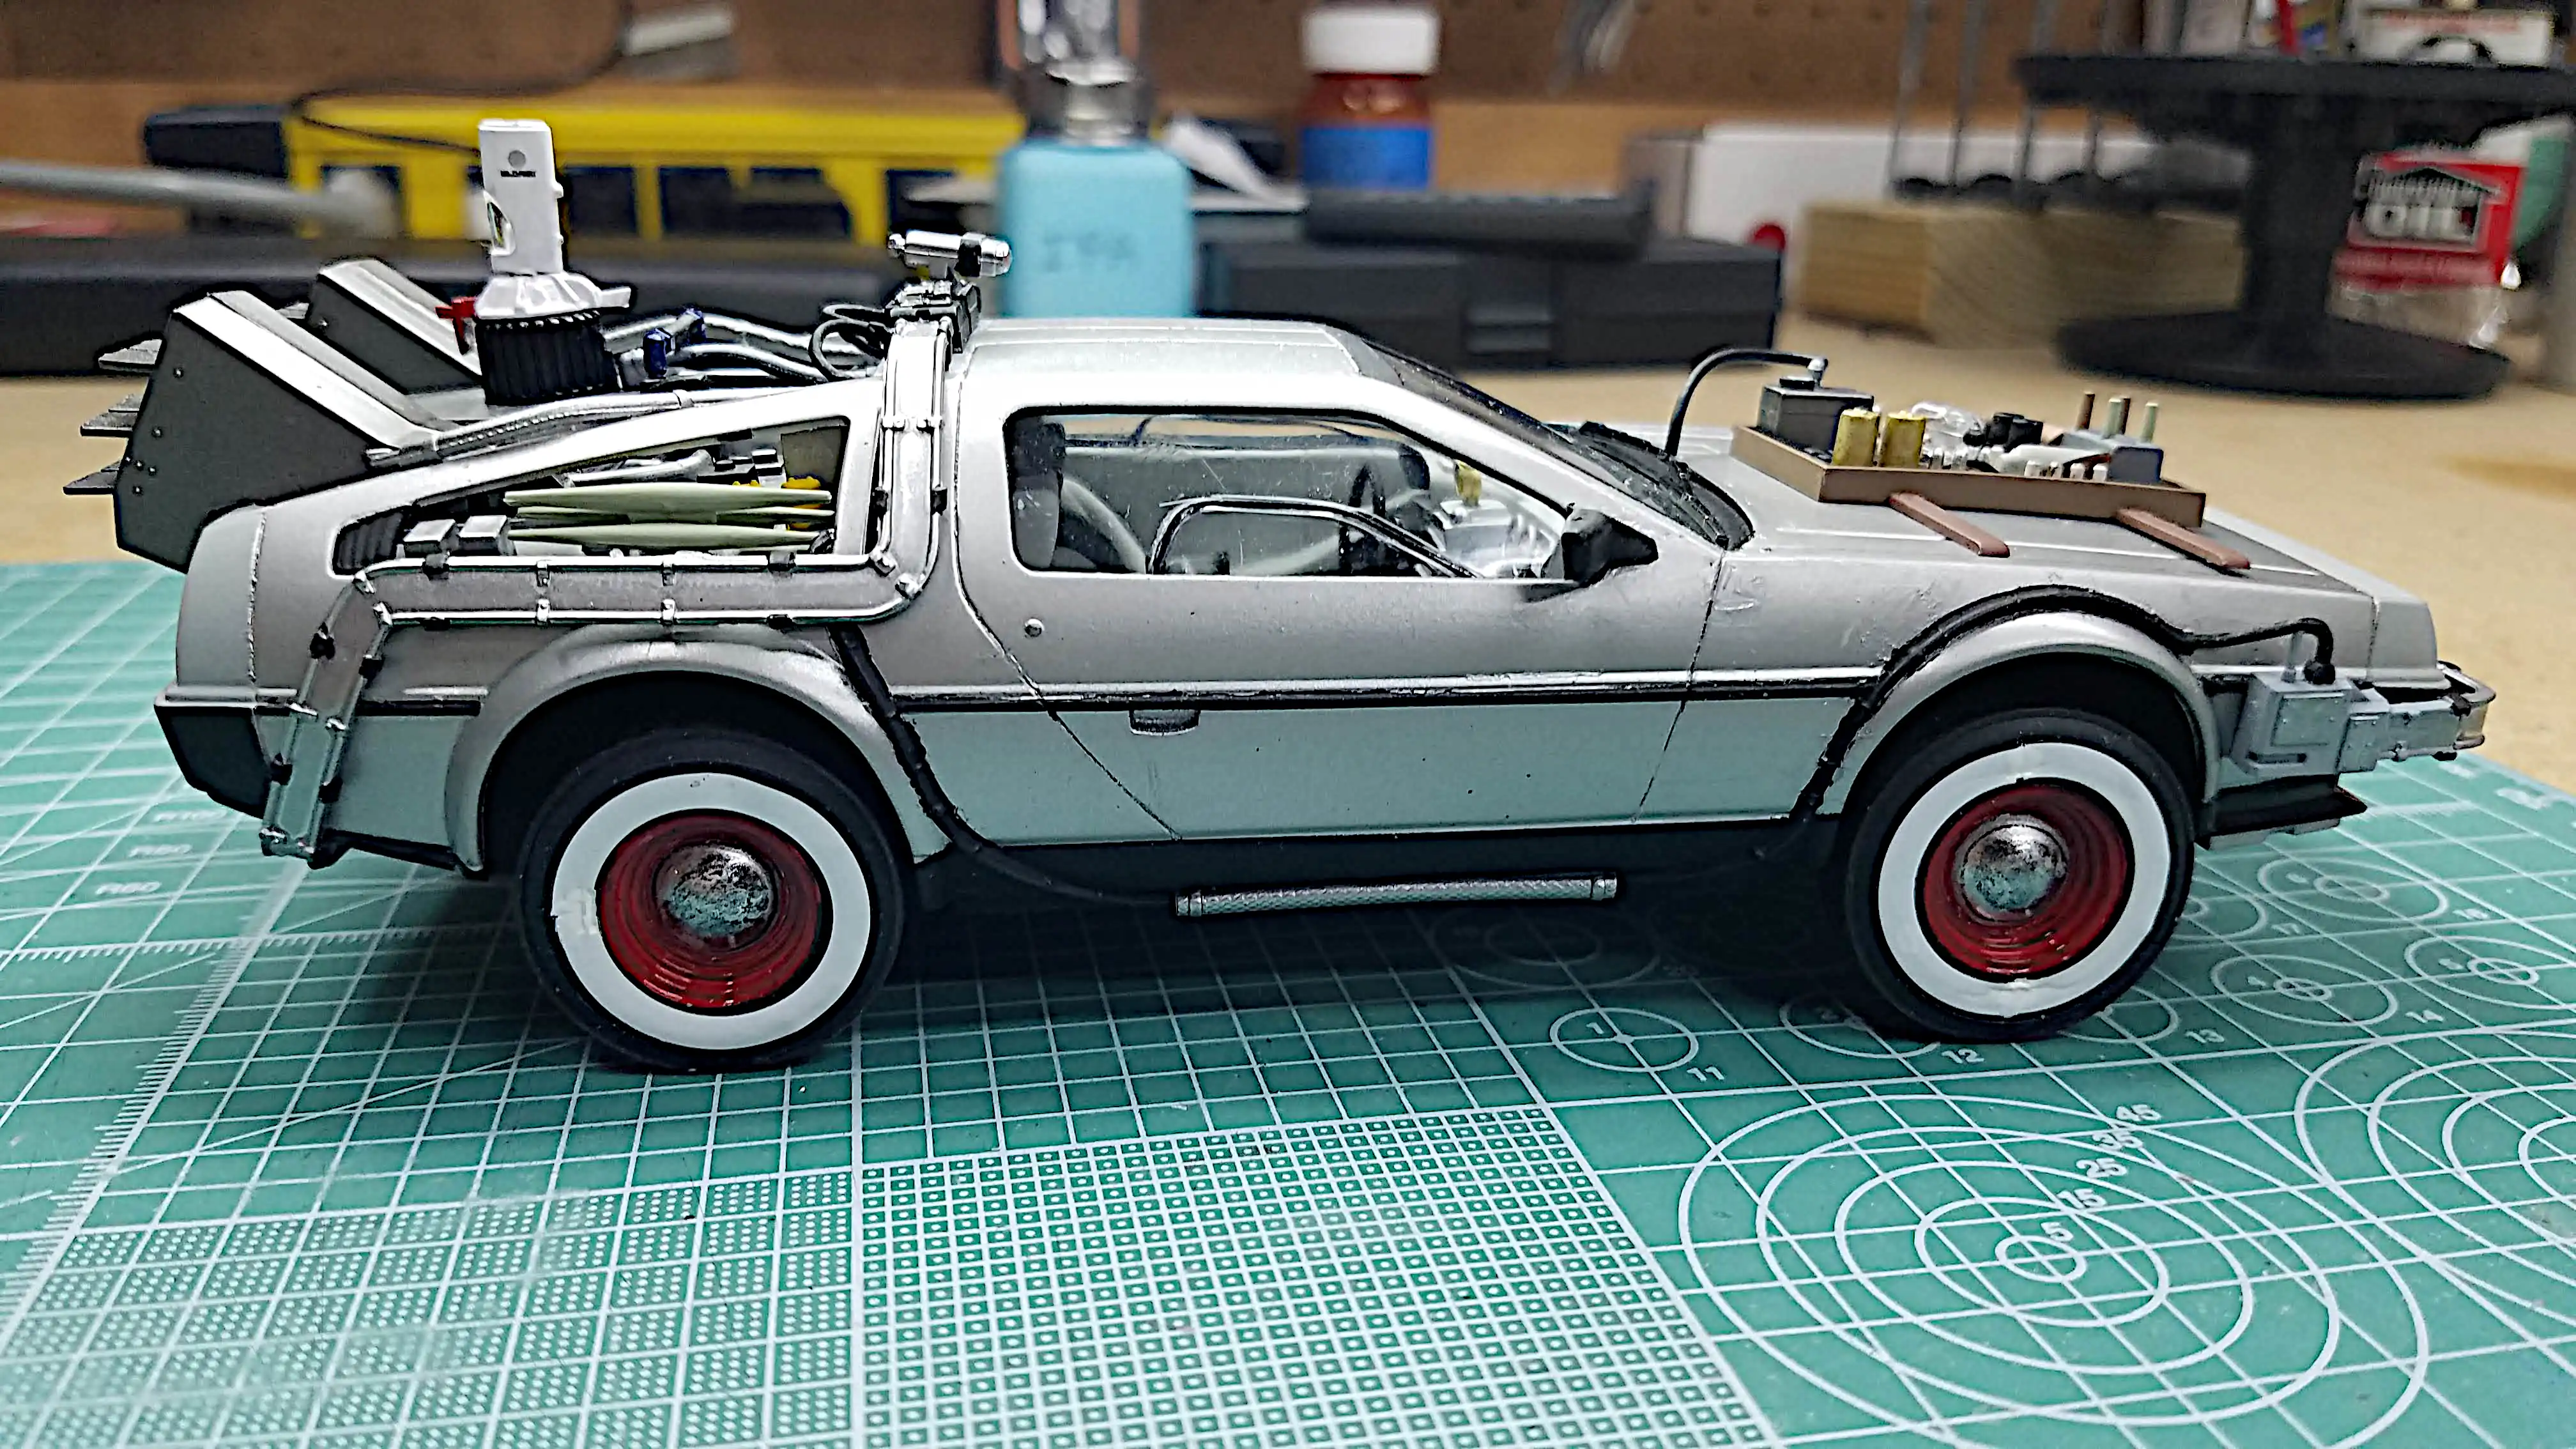 DeLorean from Back to the Future III is finished, right side
 DeLorean from Back to the Future III is finished, left side
 Mr. Fusion is installed
 Mr. Fusion is installed
 Mr. Fusion is installed
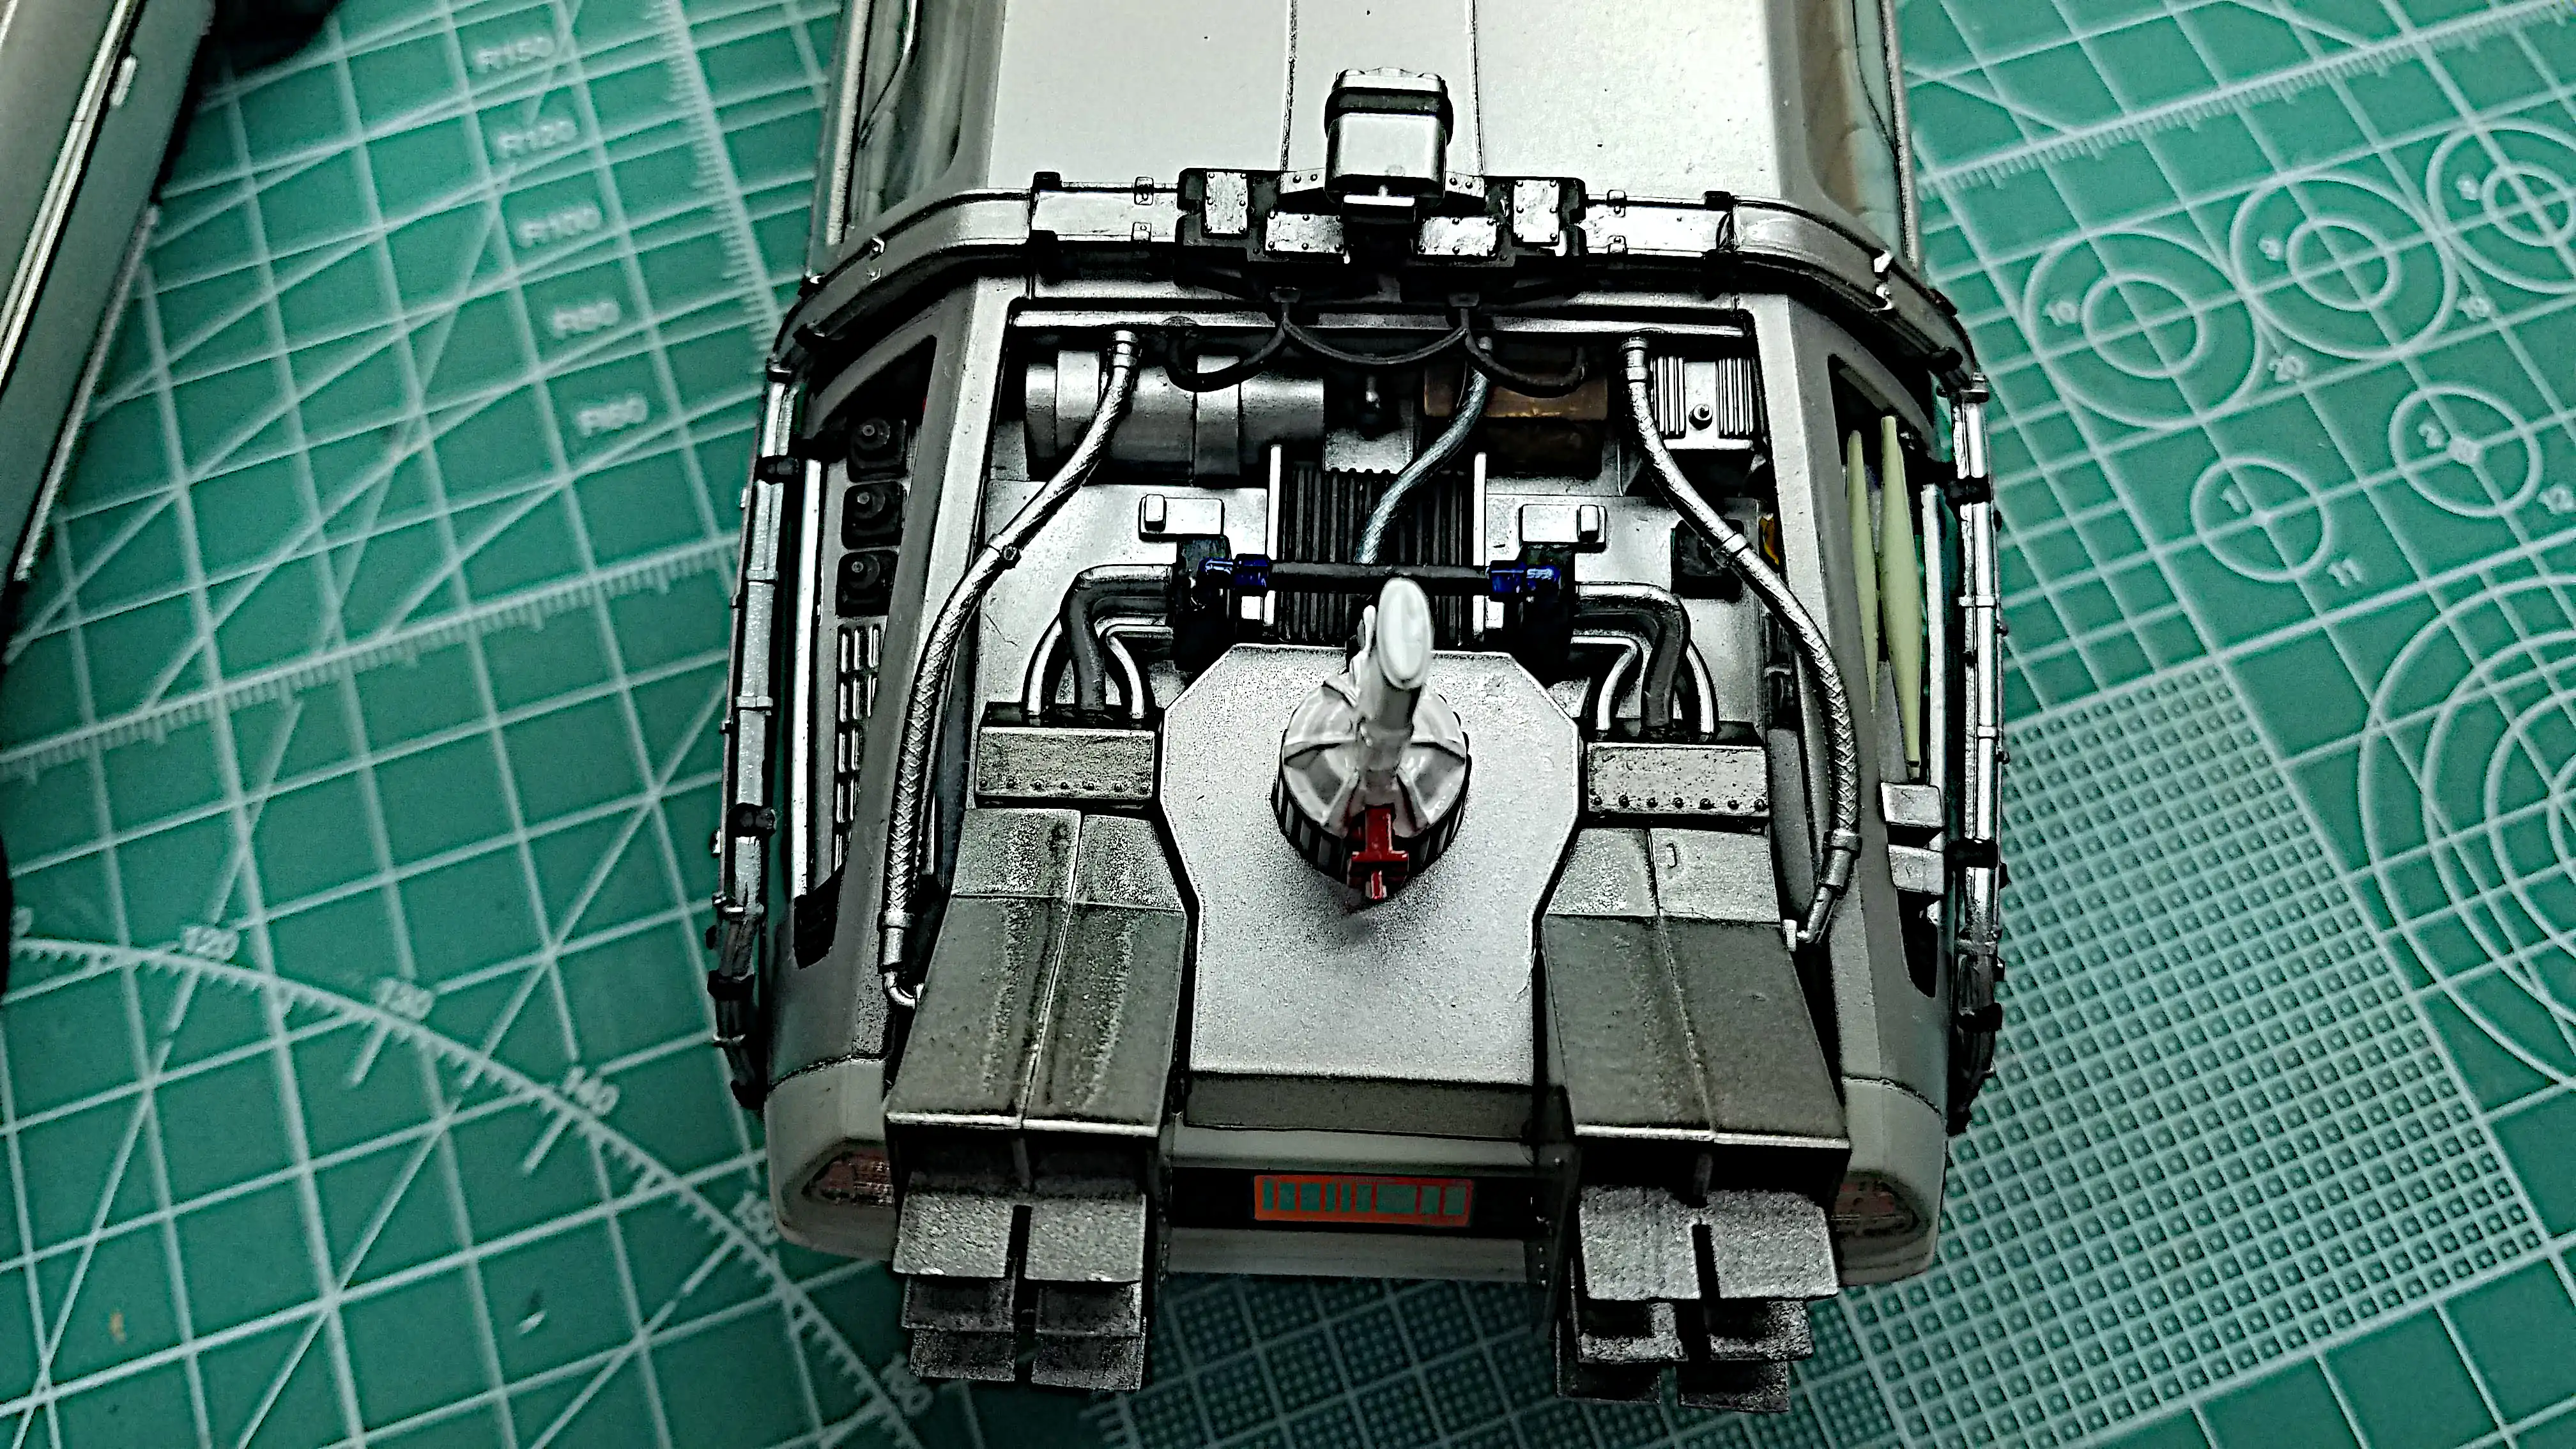
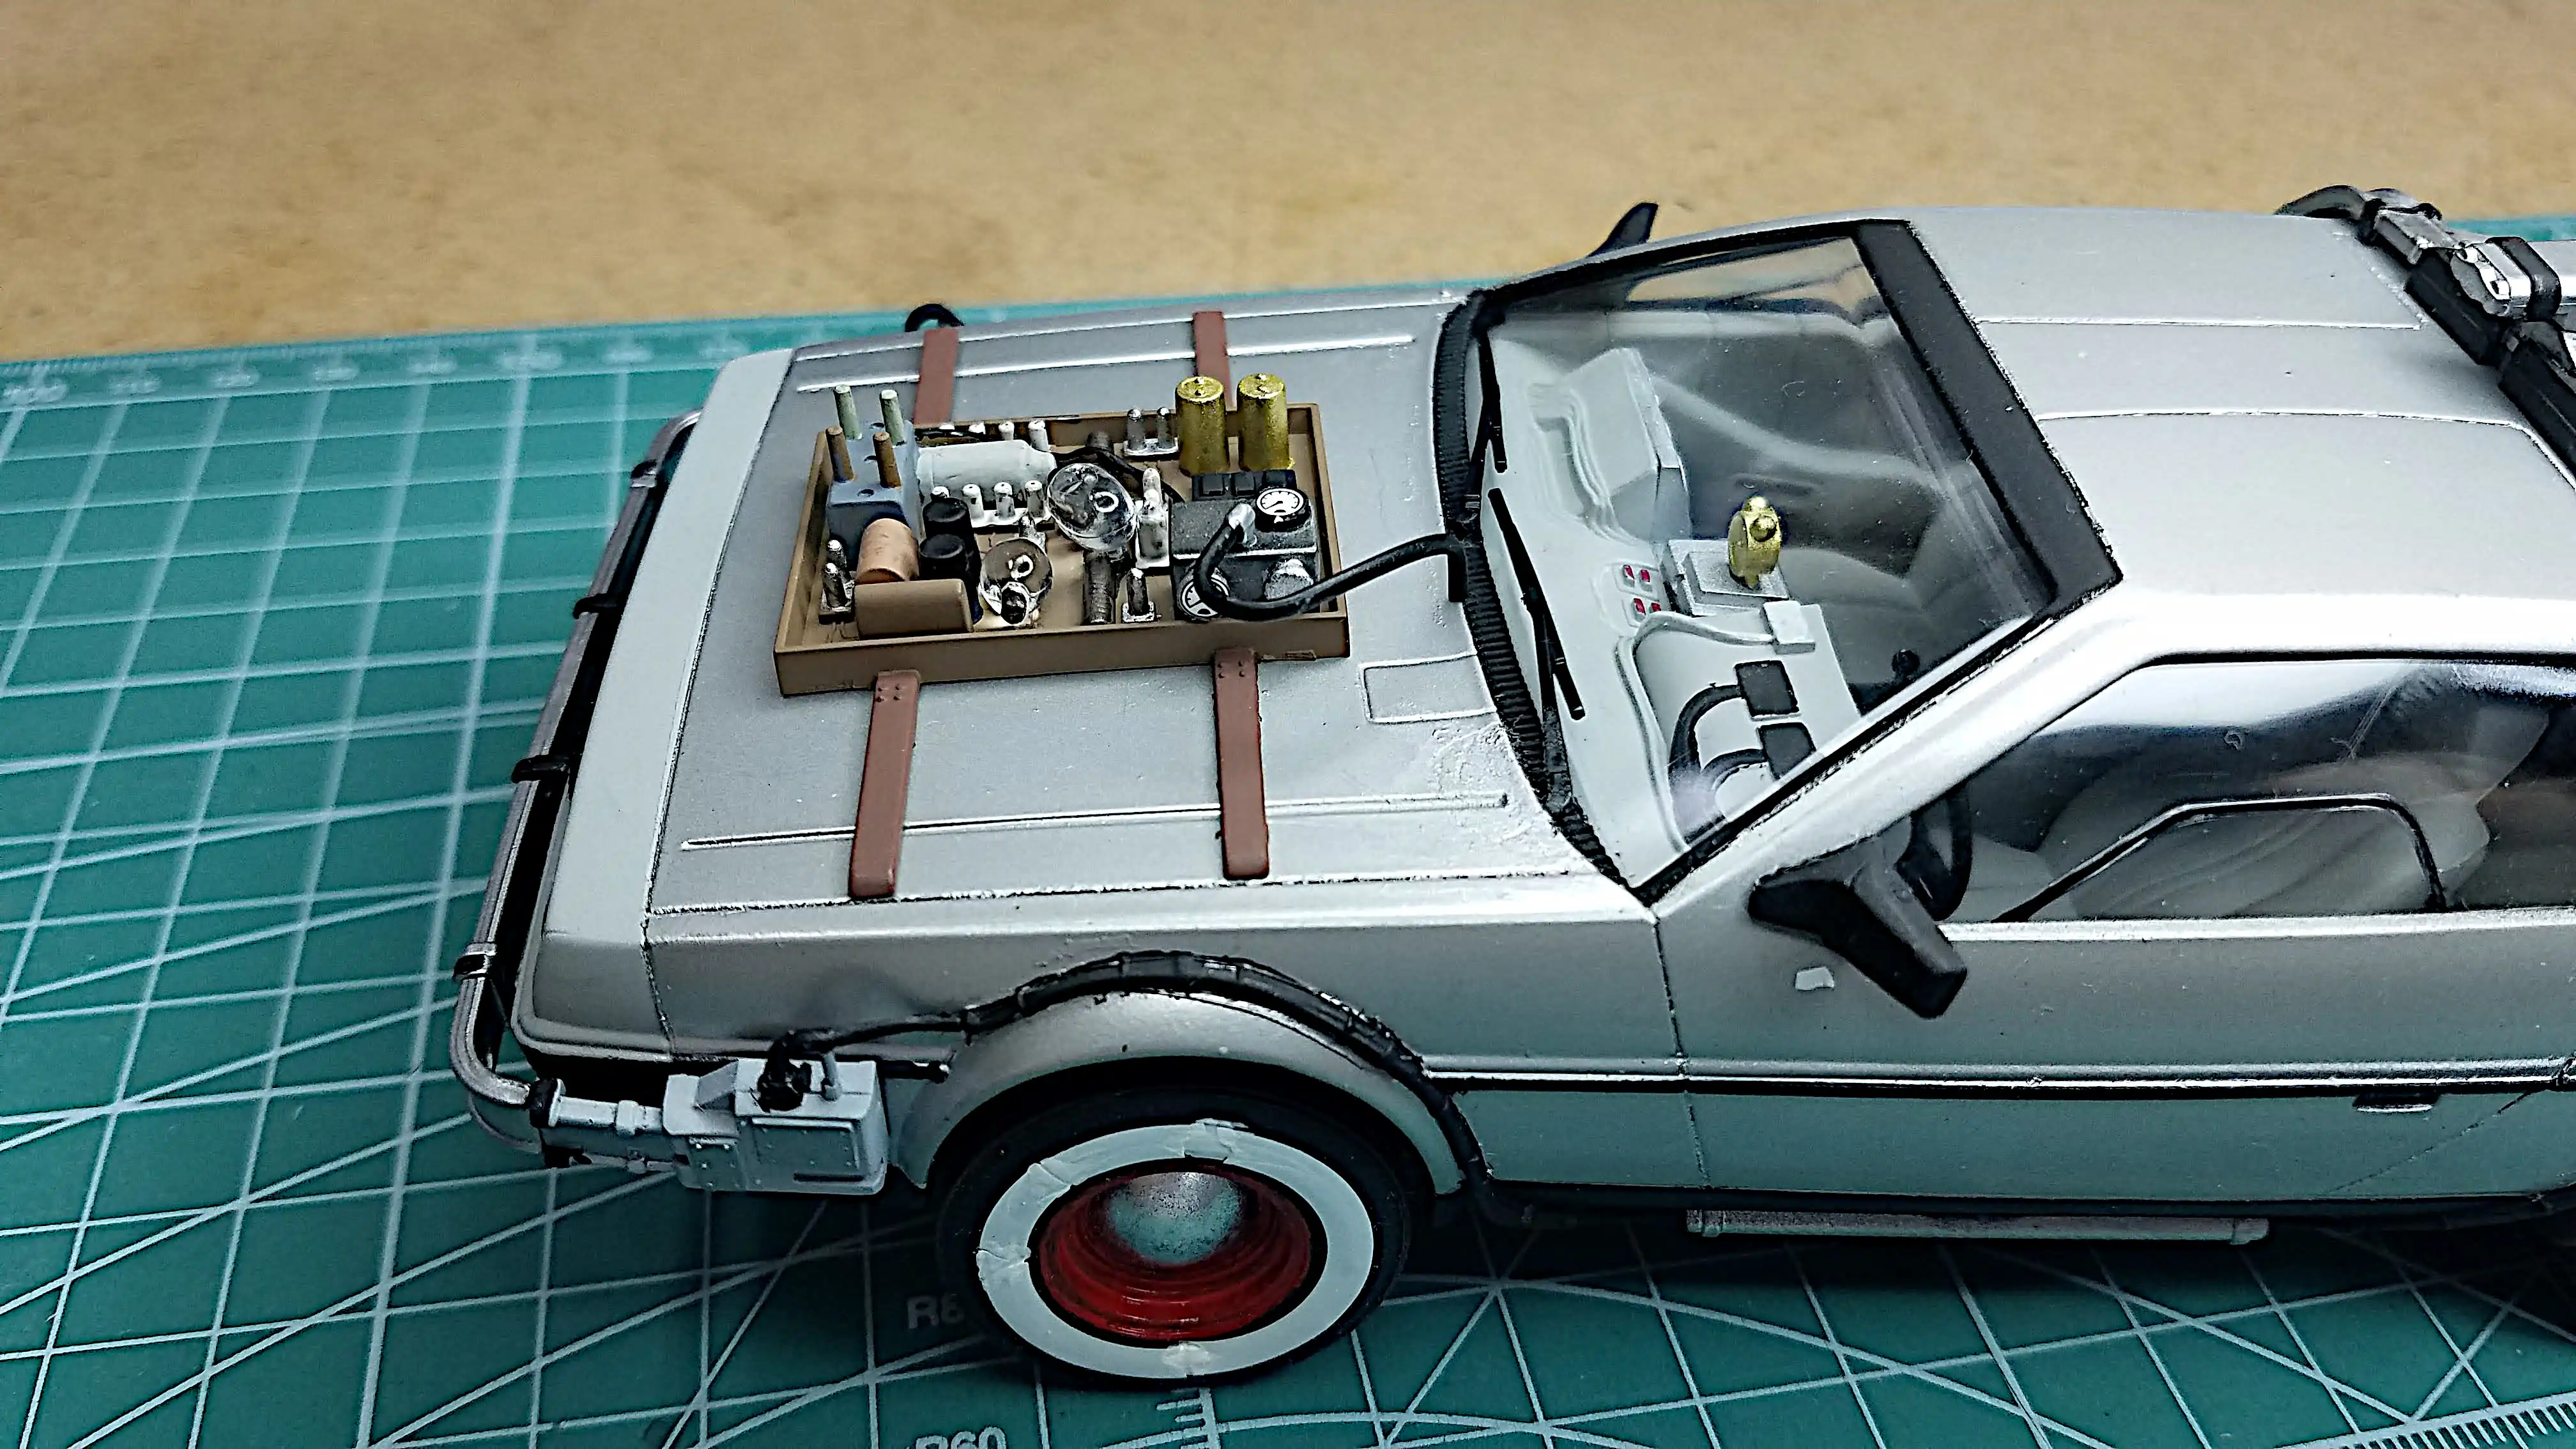 1950's vacuum tube version of the integrated circuit on the hood
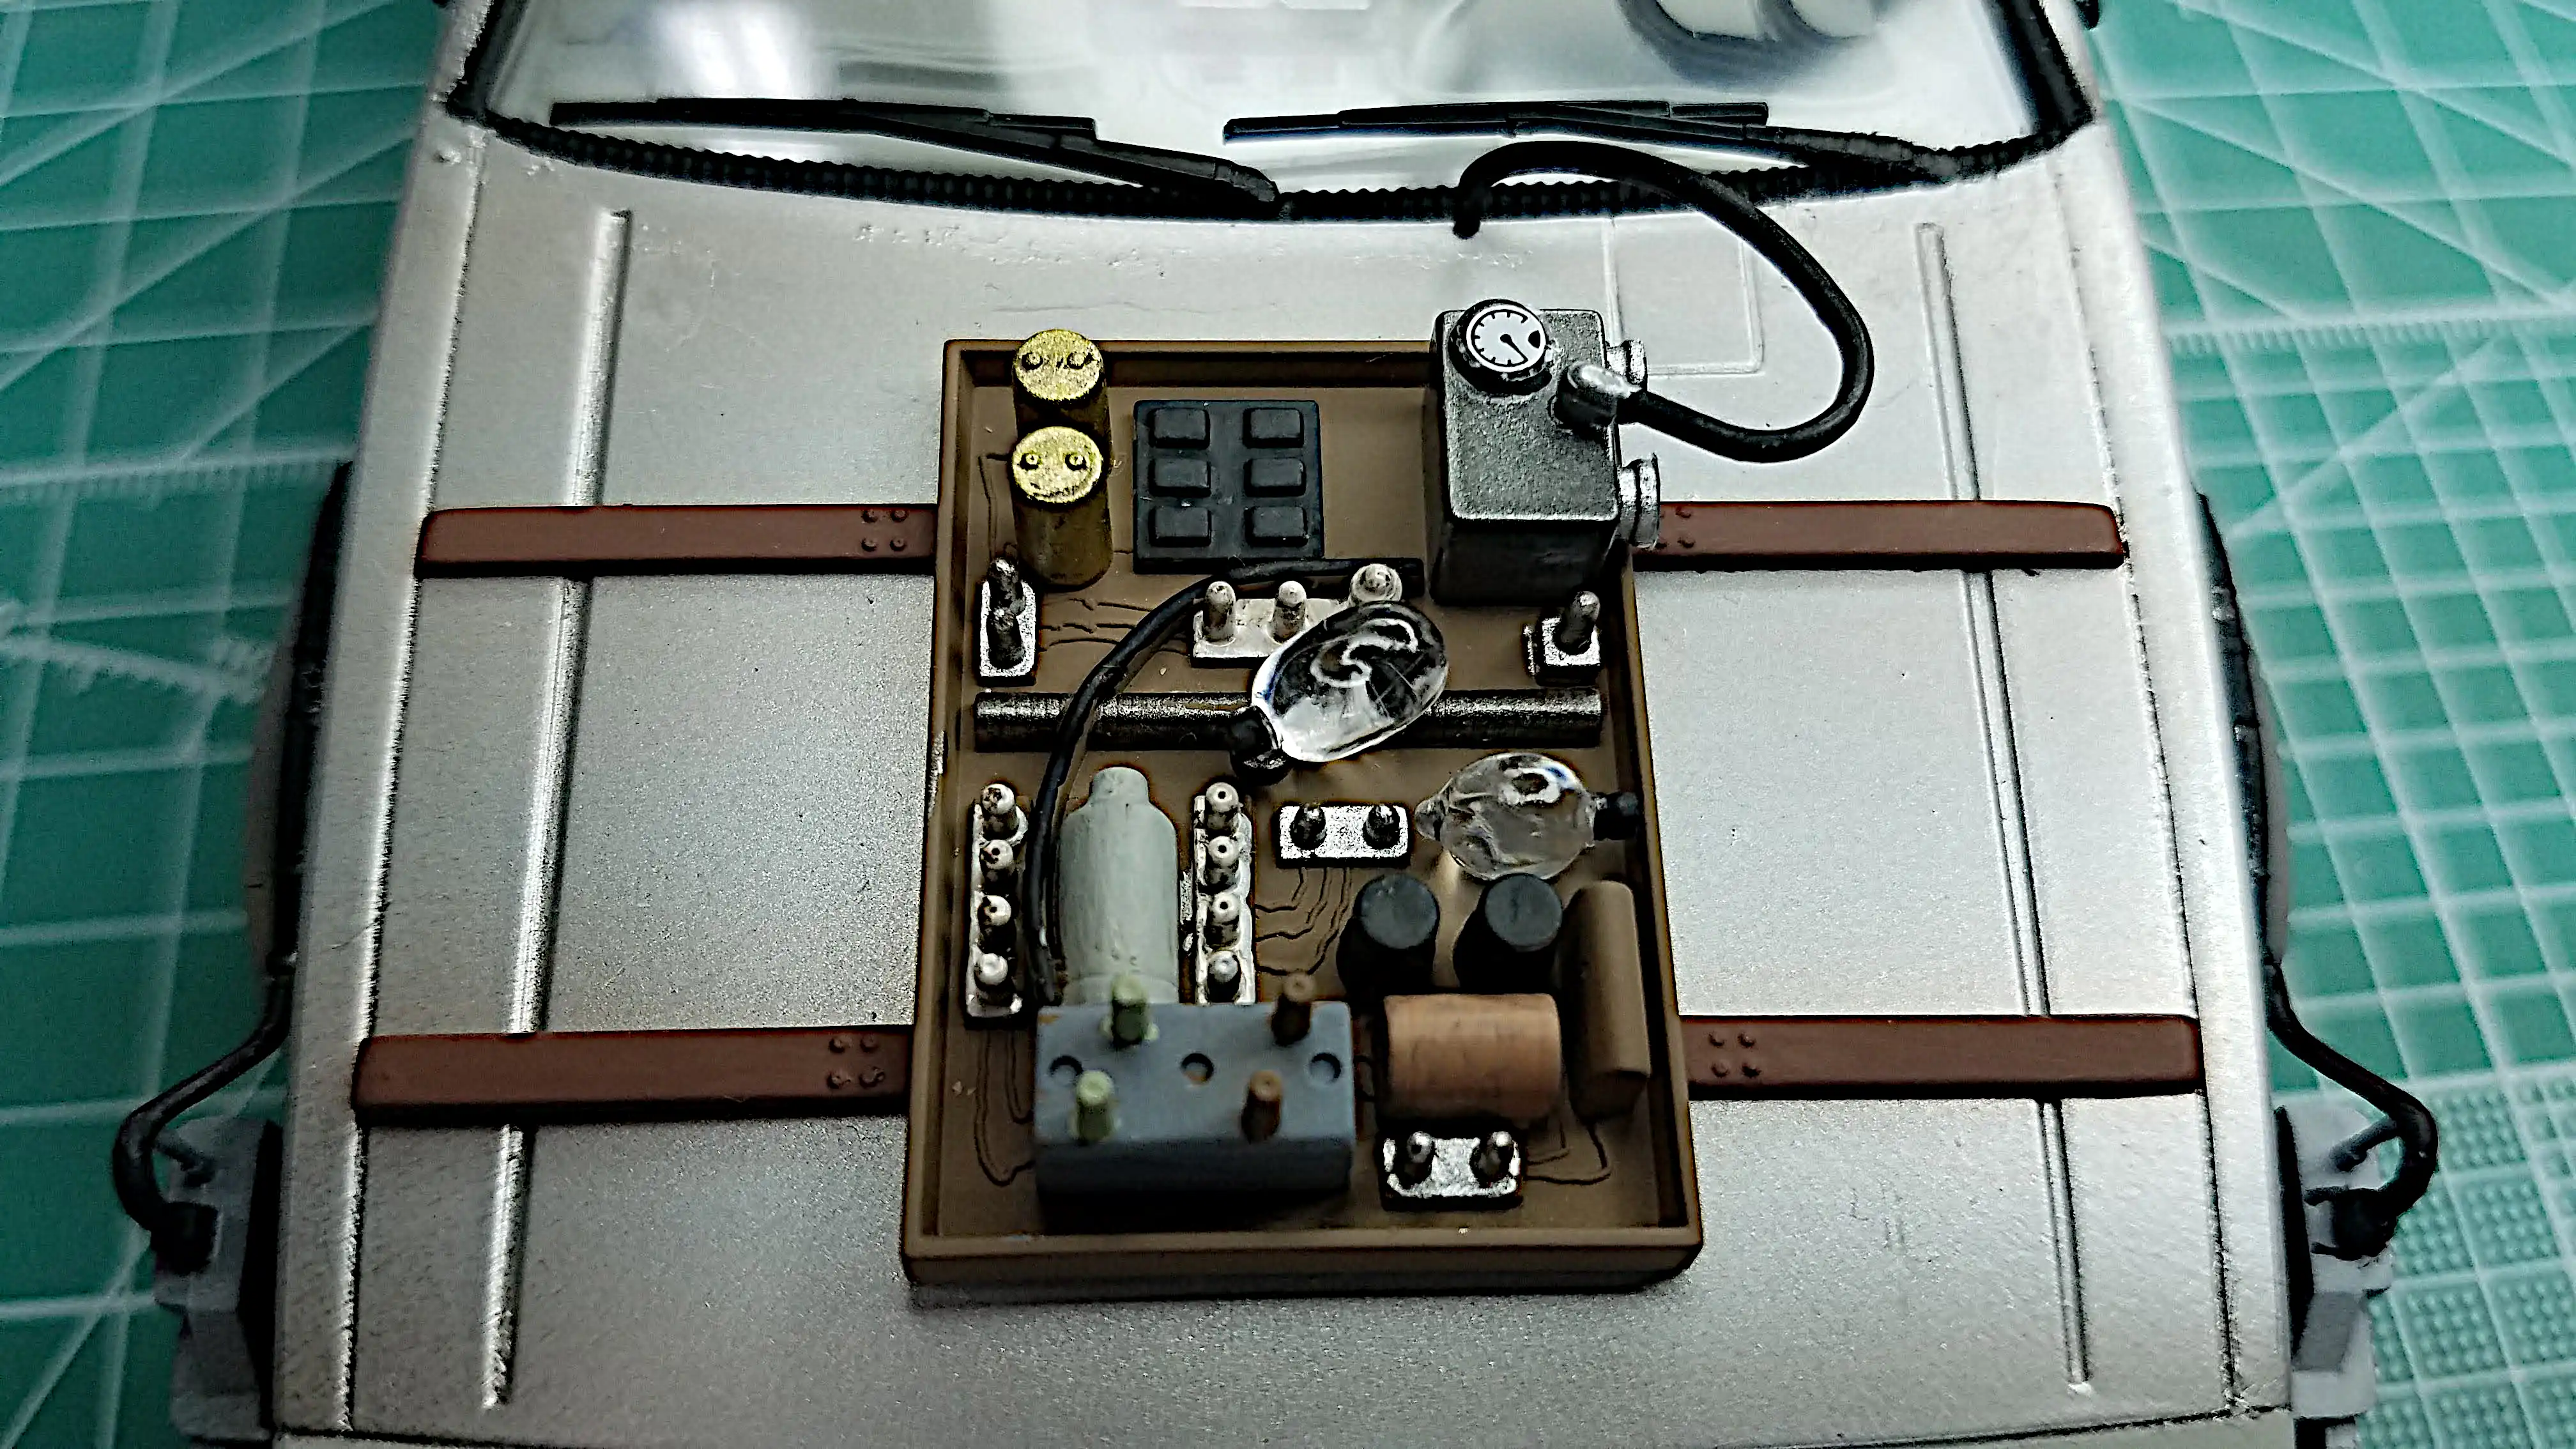 1950's vacuum tube version of the integrated circuit on the hood
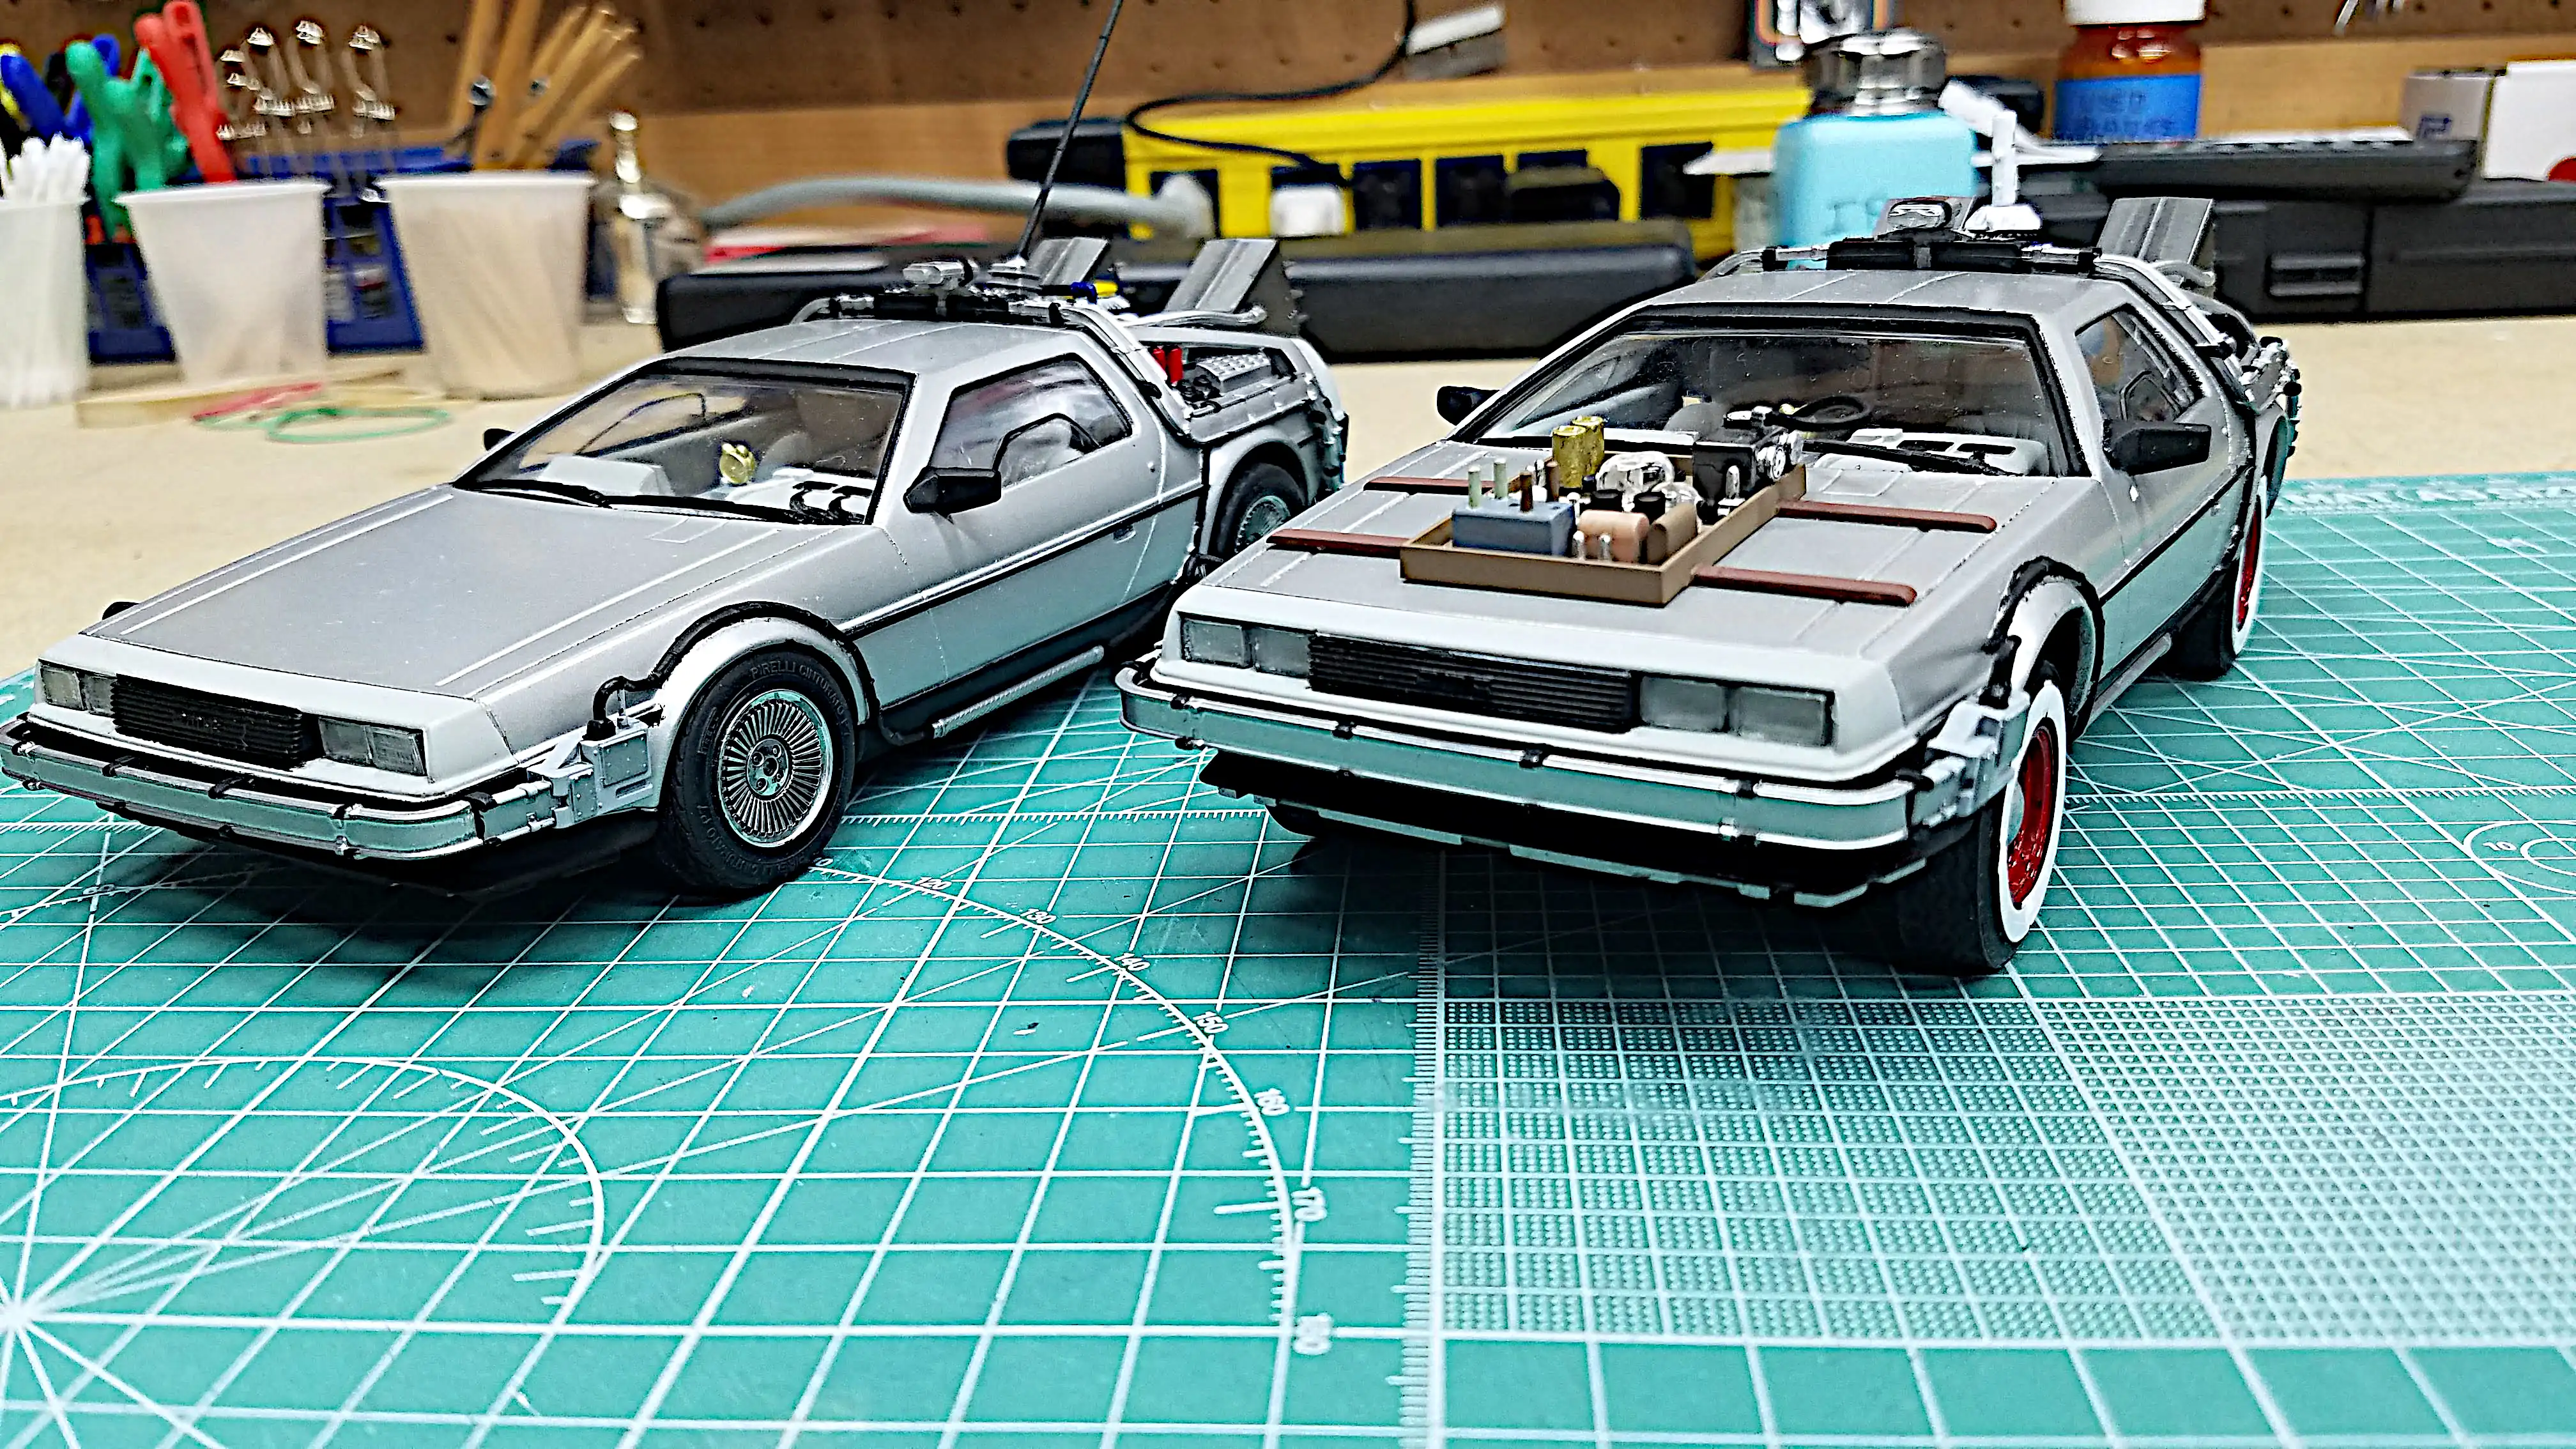 Both DeLoreans sided-by-side
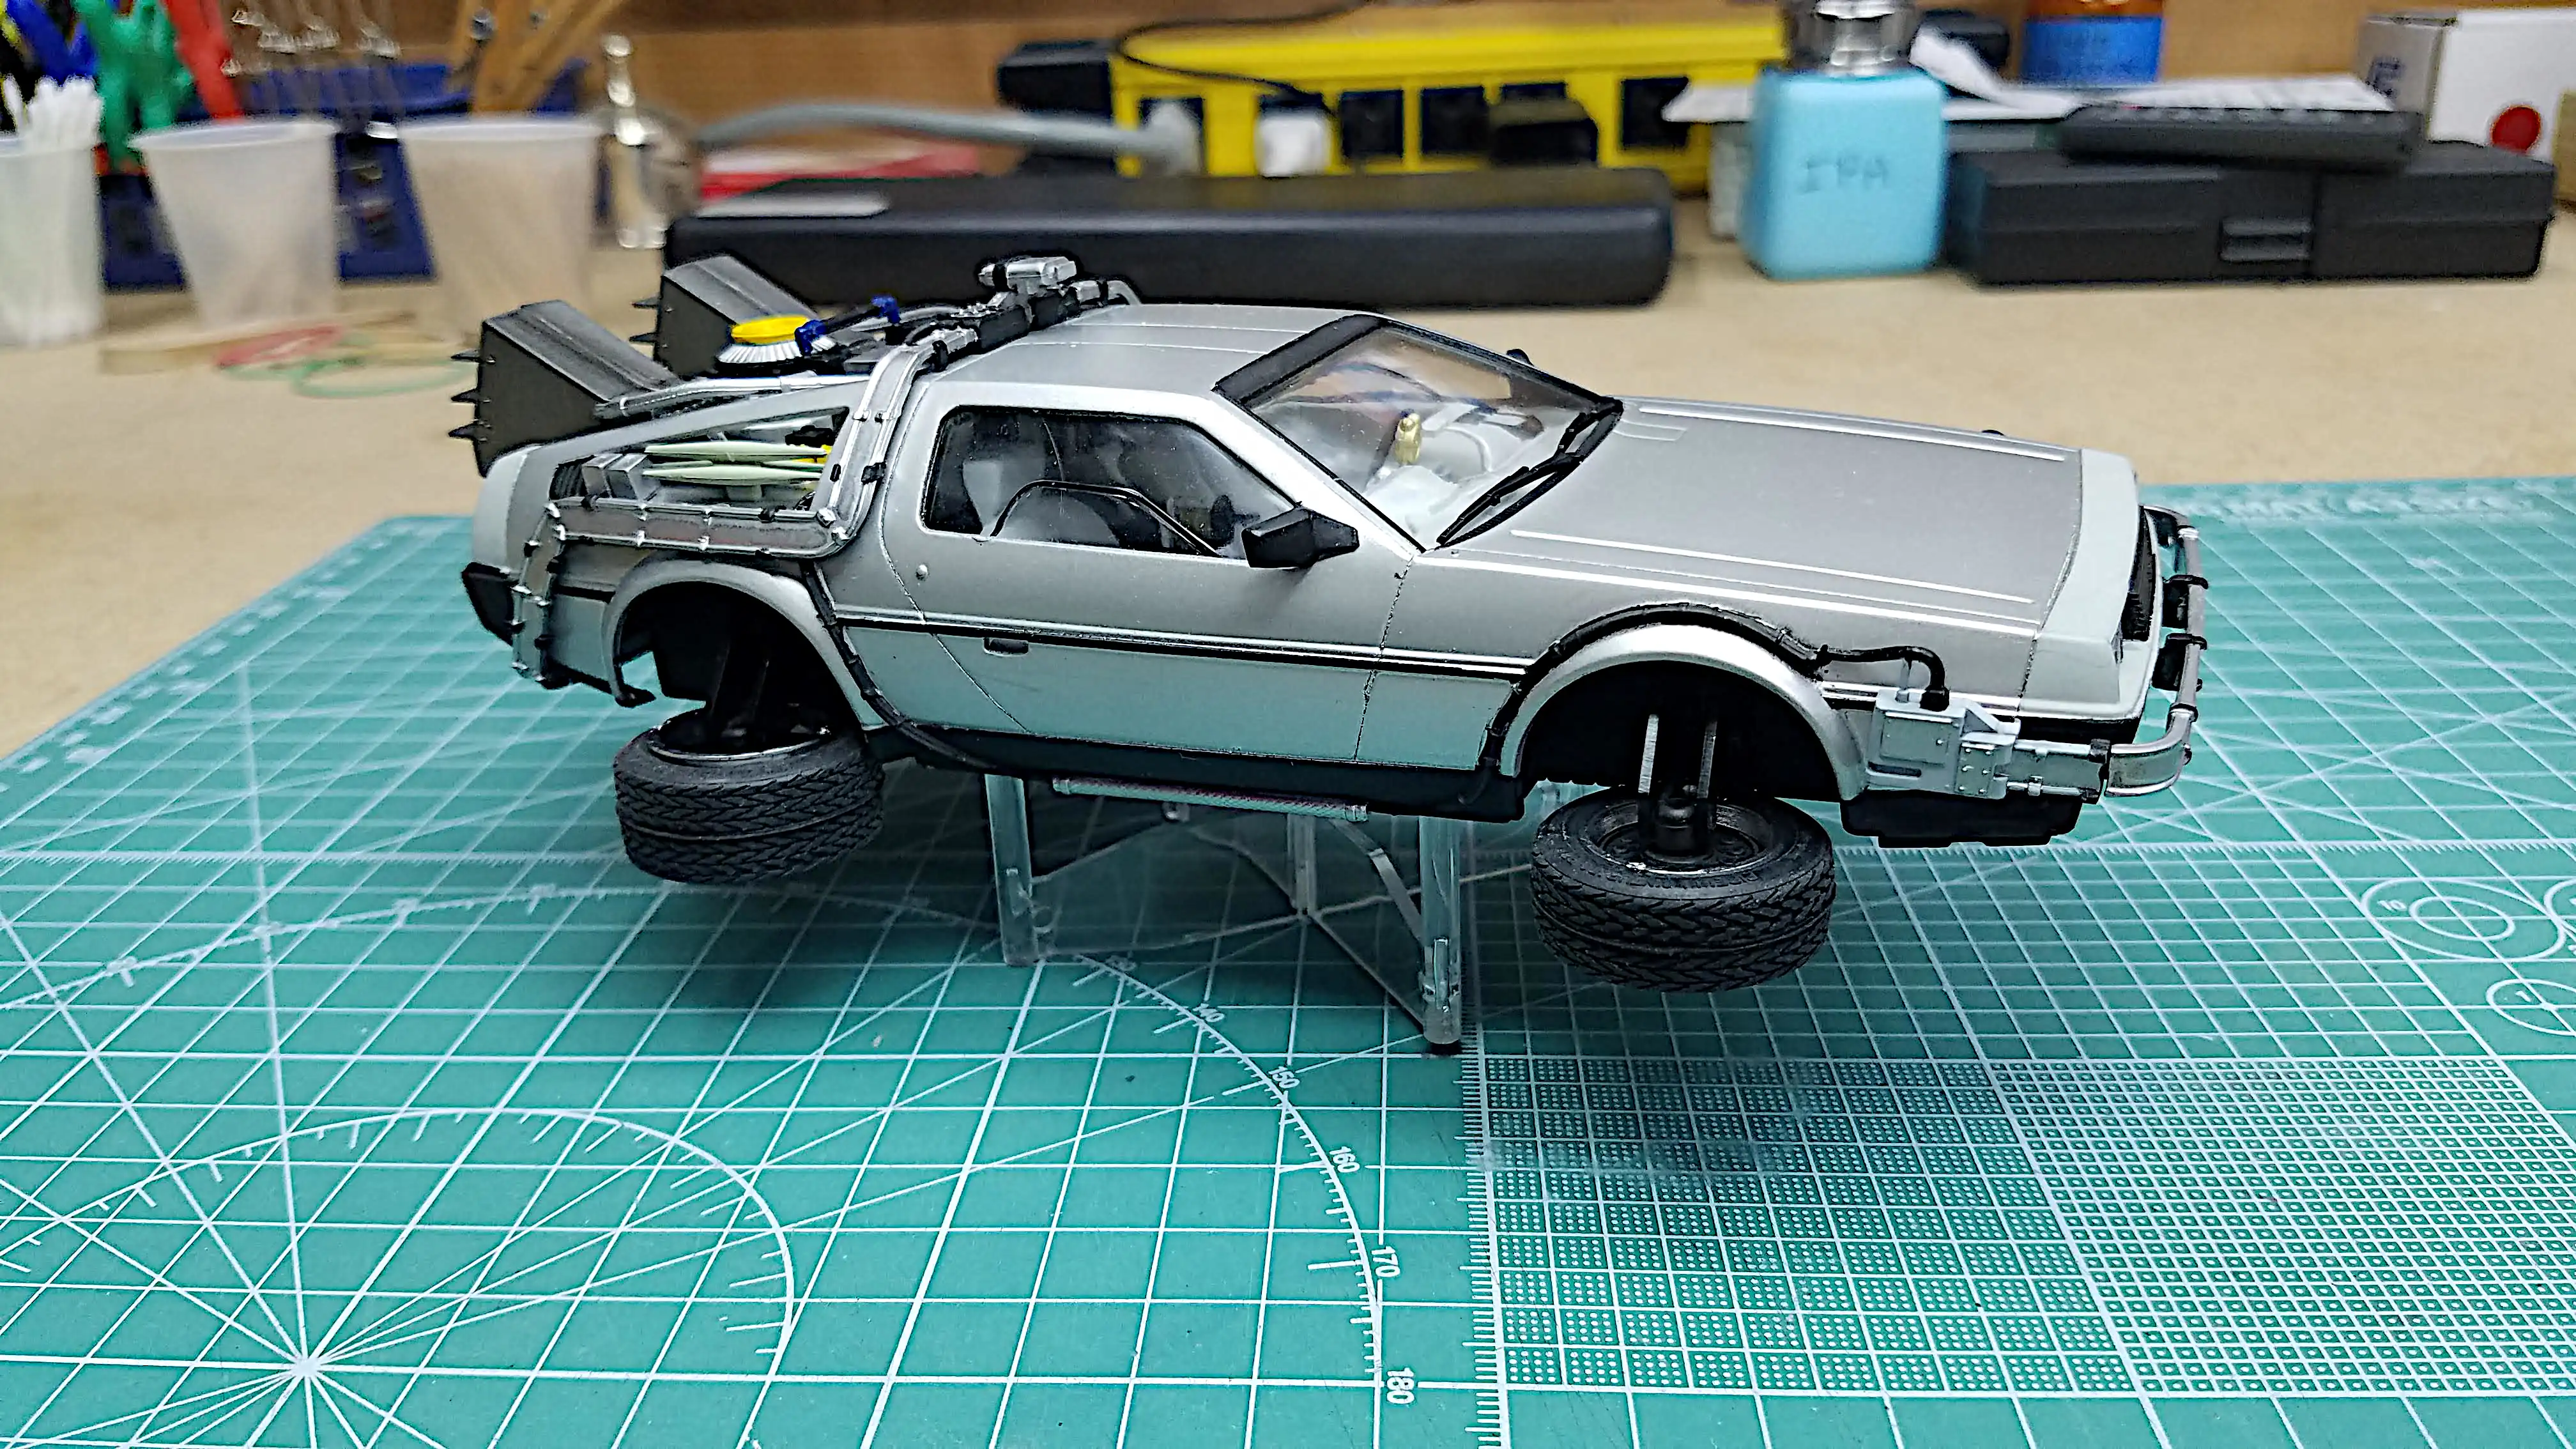
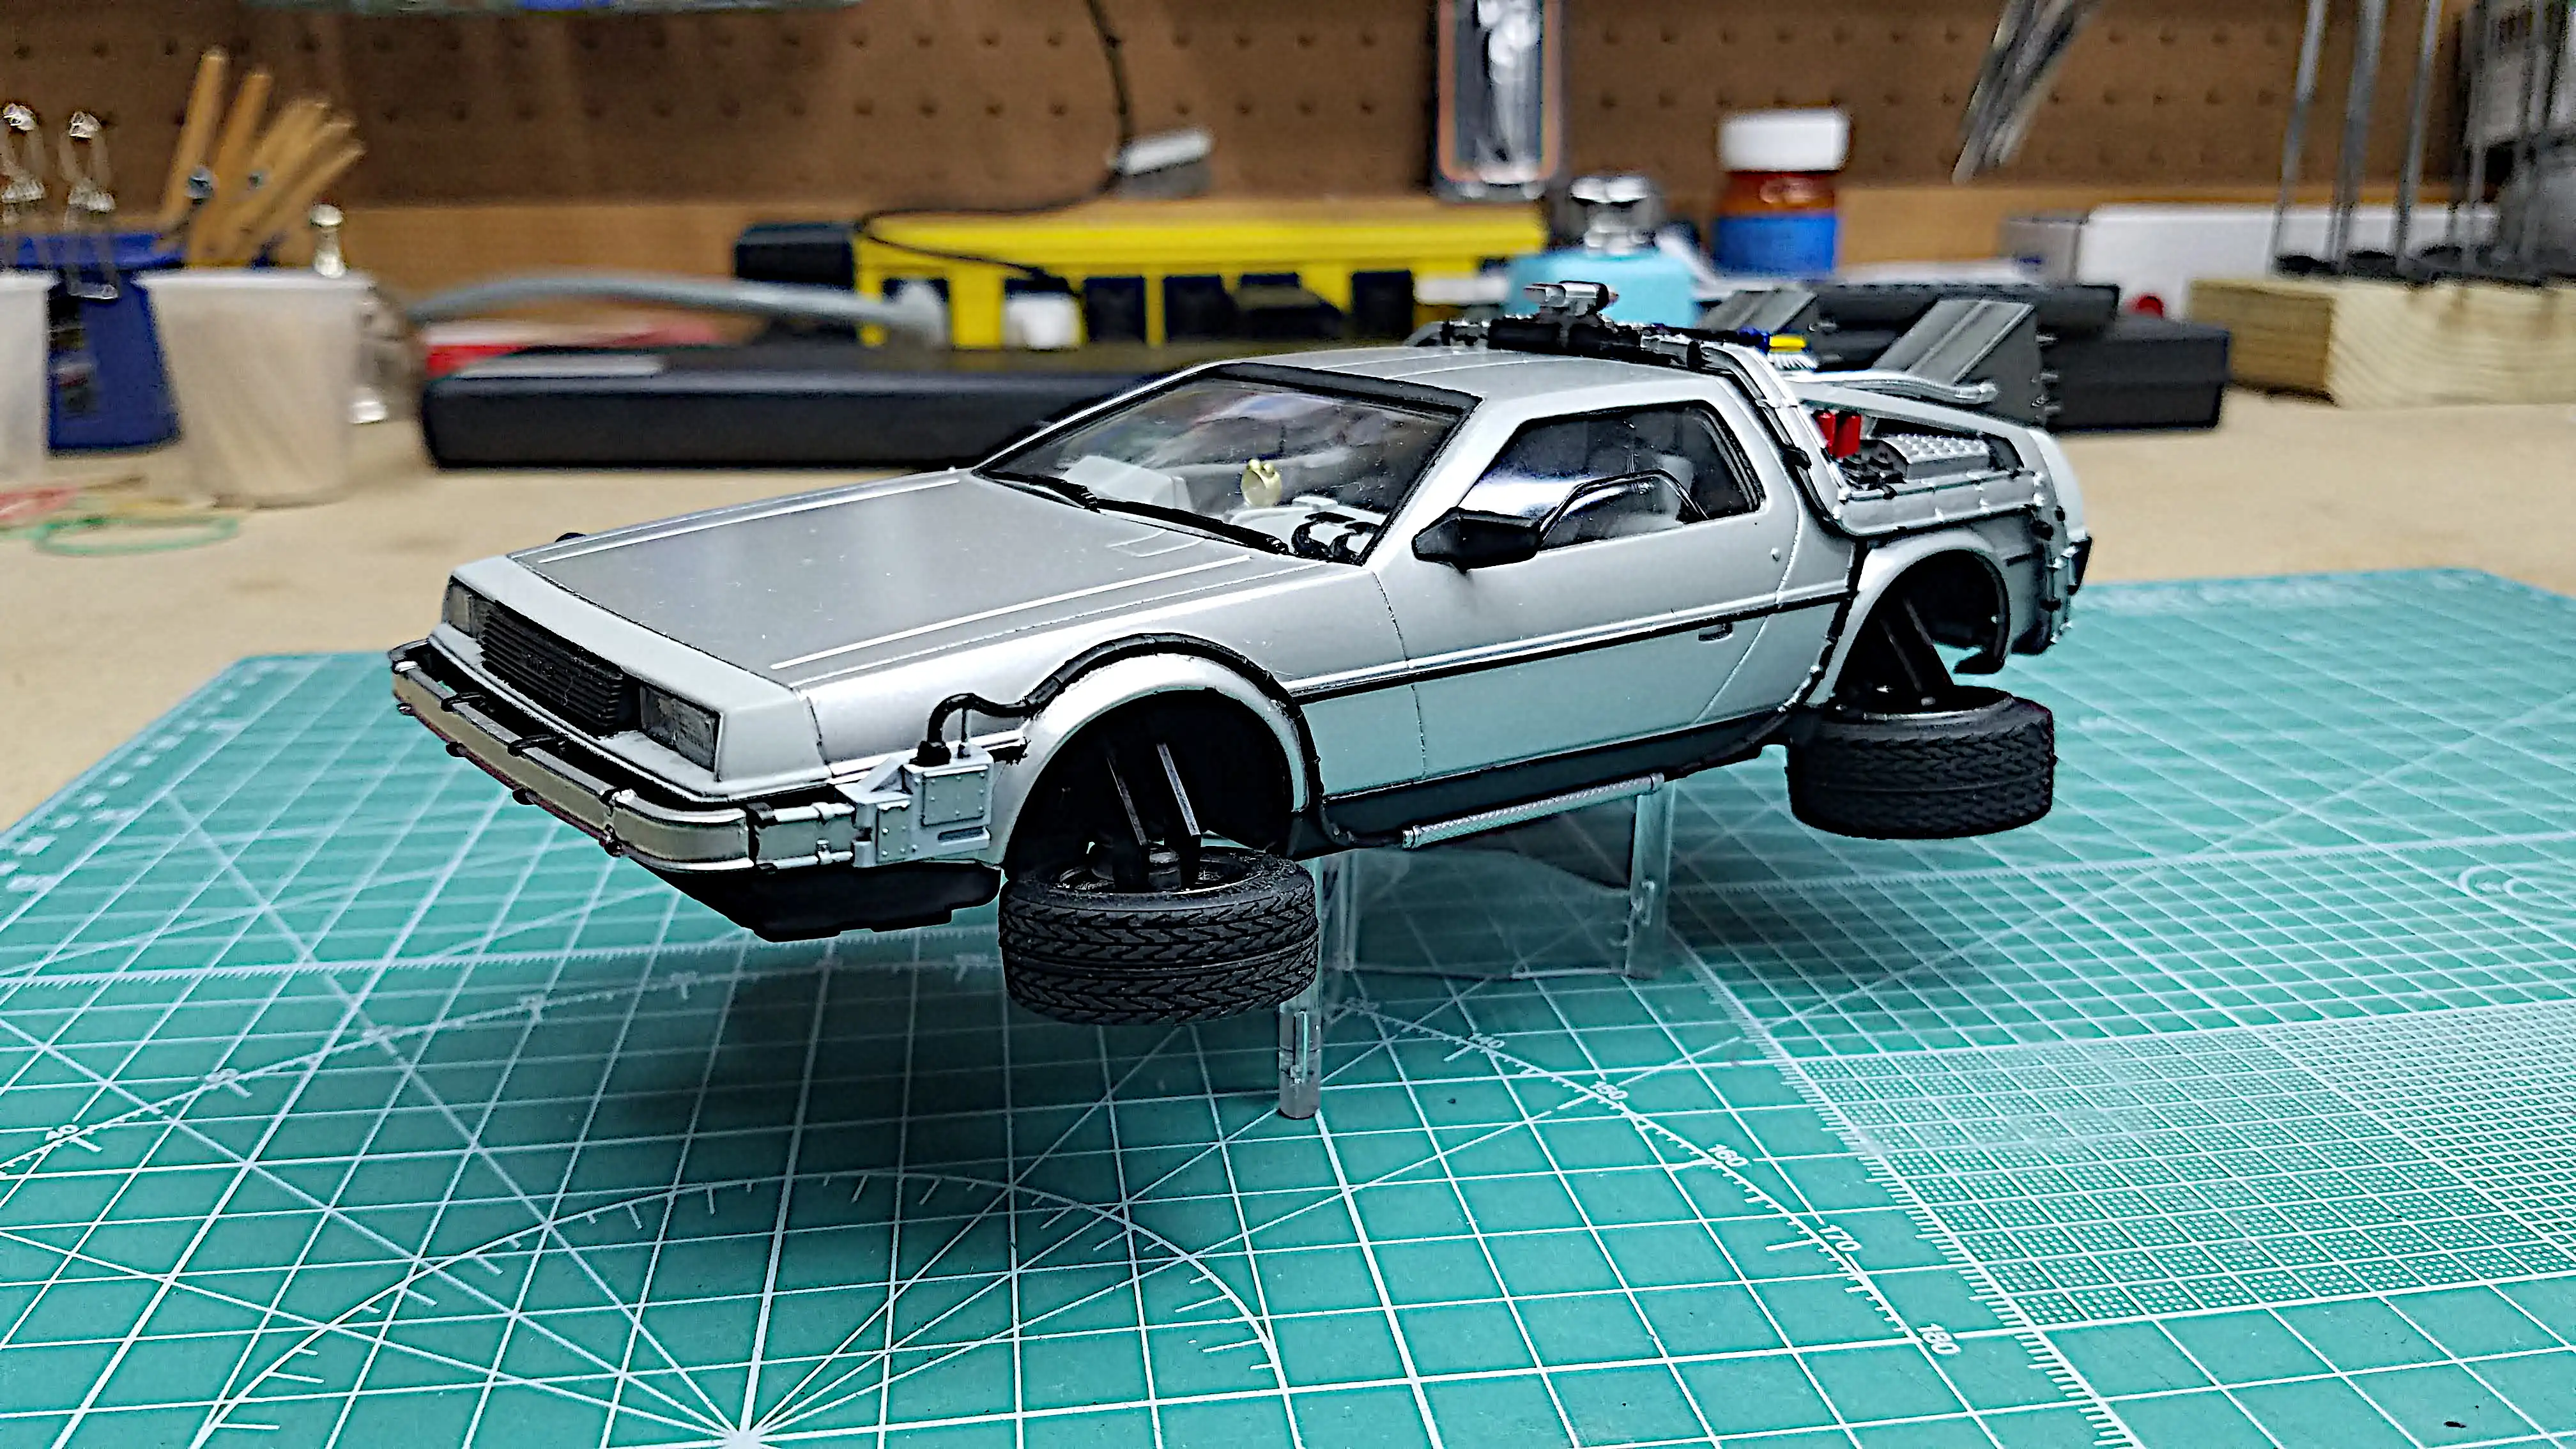 Back to the Future II DeLorean with wheels in flying position, left side
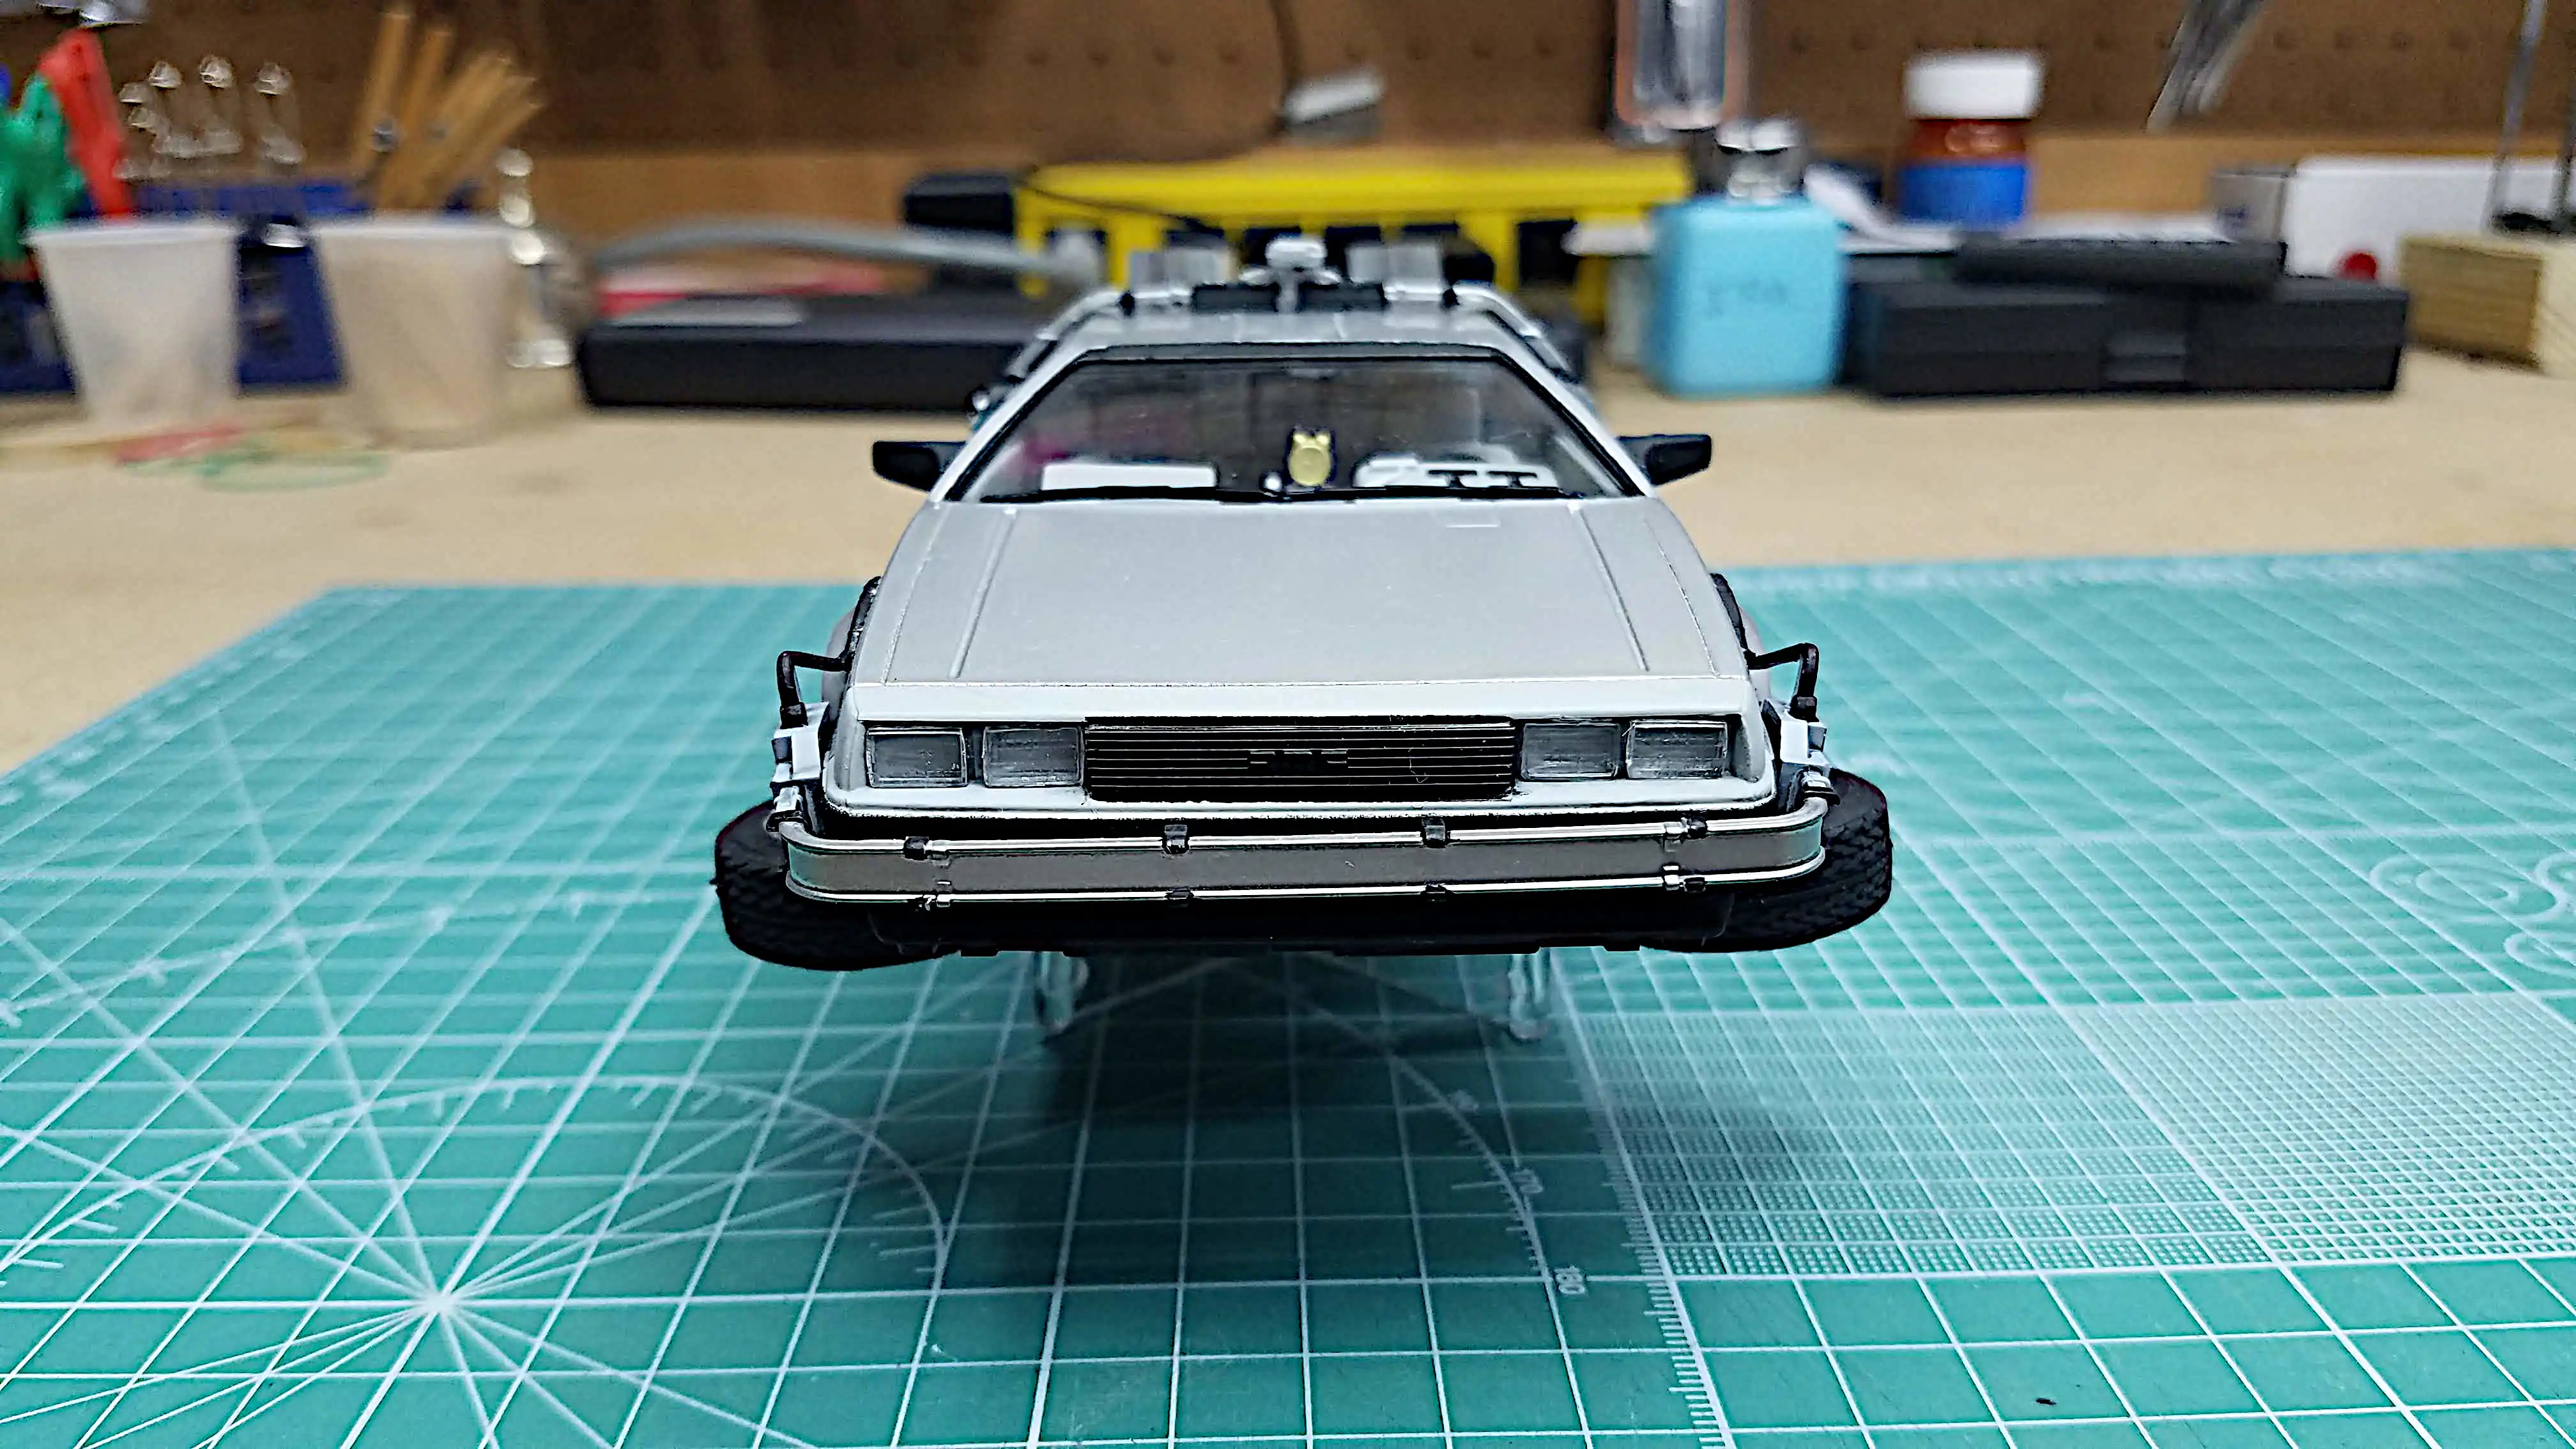 Back to the Future II DeLorean with wheels in flying position, front view
 Back to the Future II DeLorean with wheels in flying position, right side
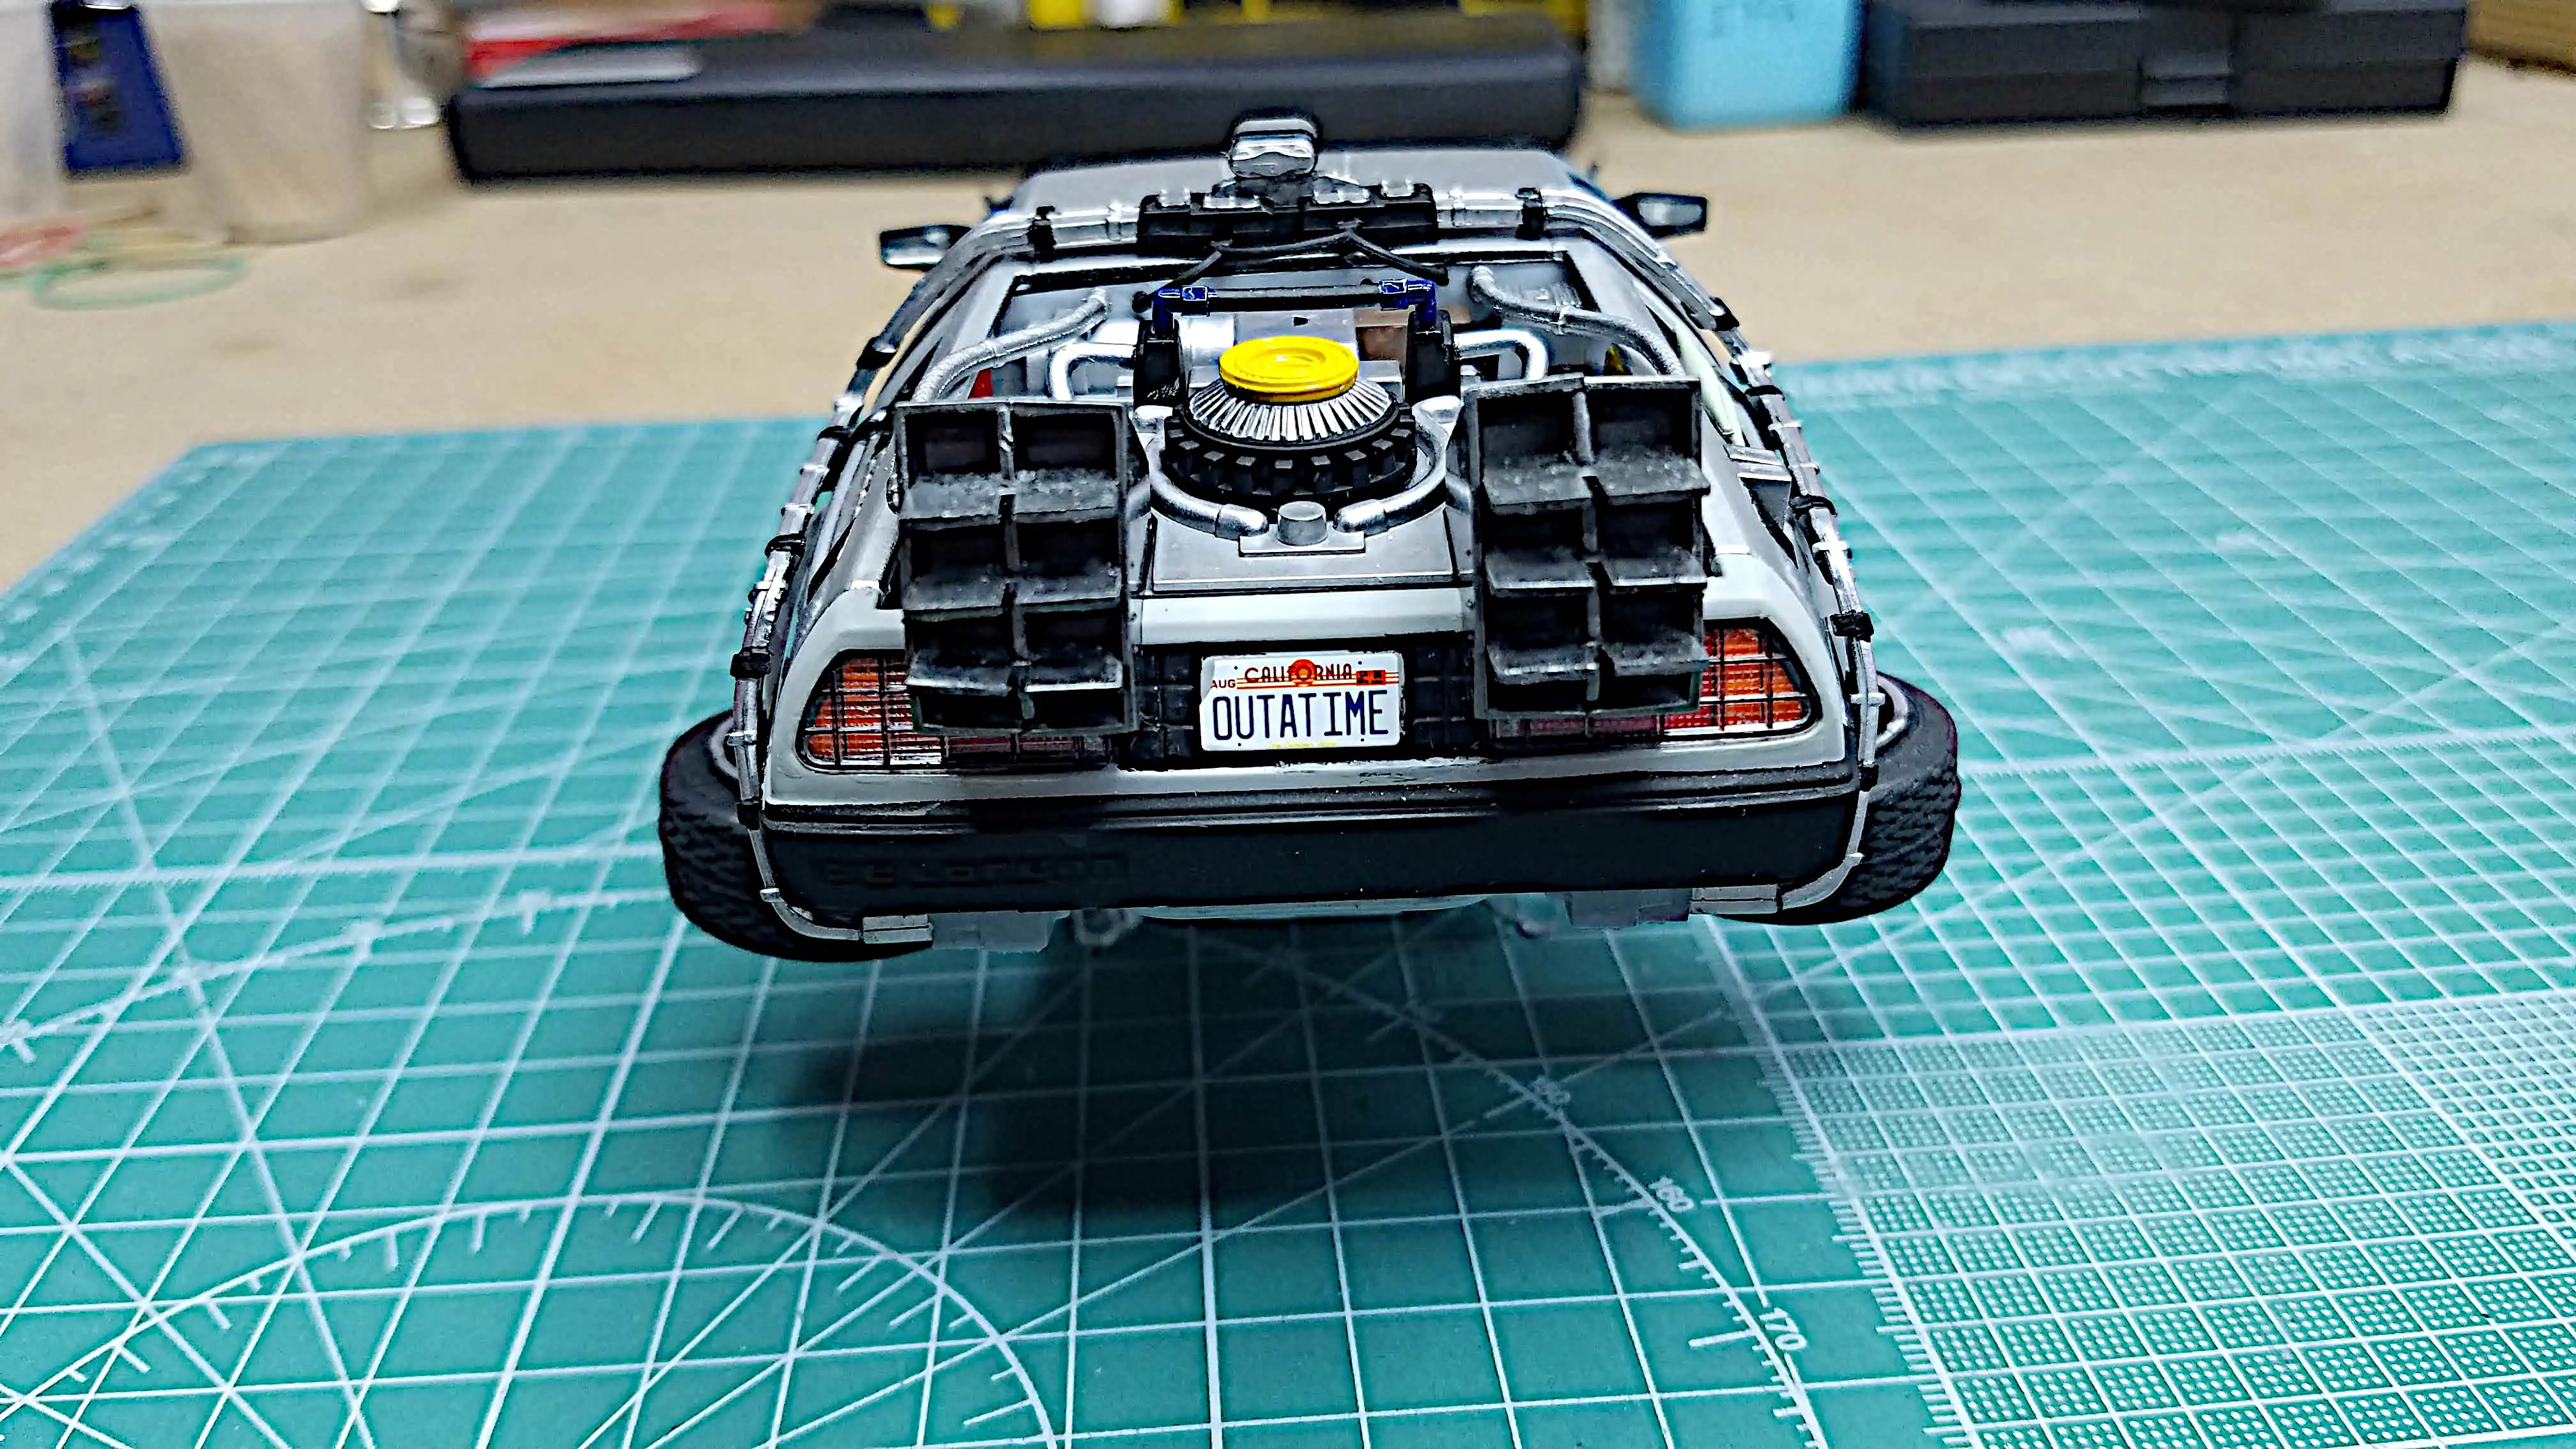 Back to the Future II DeLorean with wheels in flying position, back side
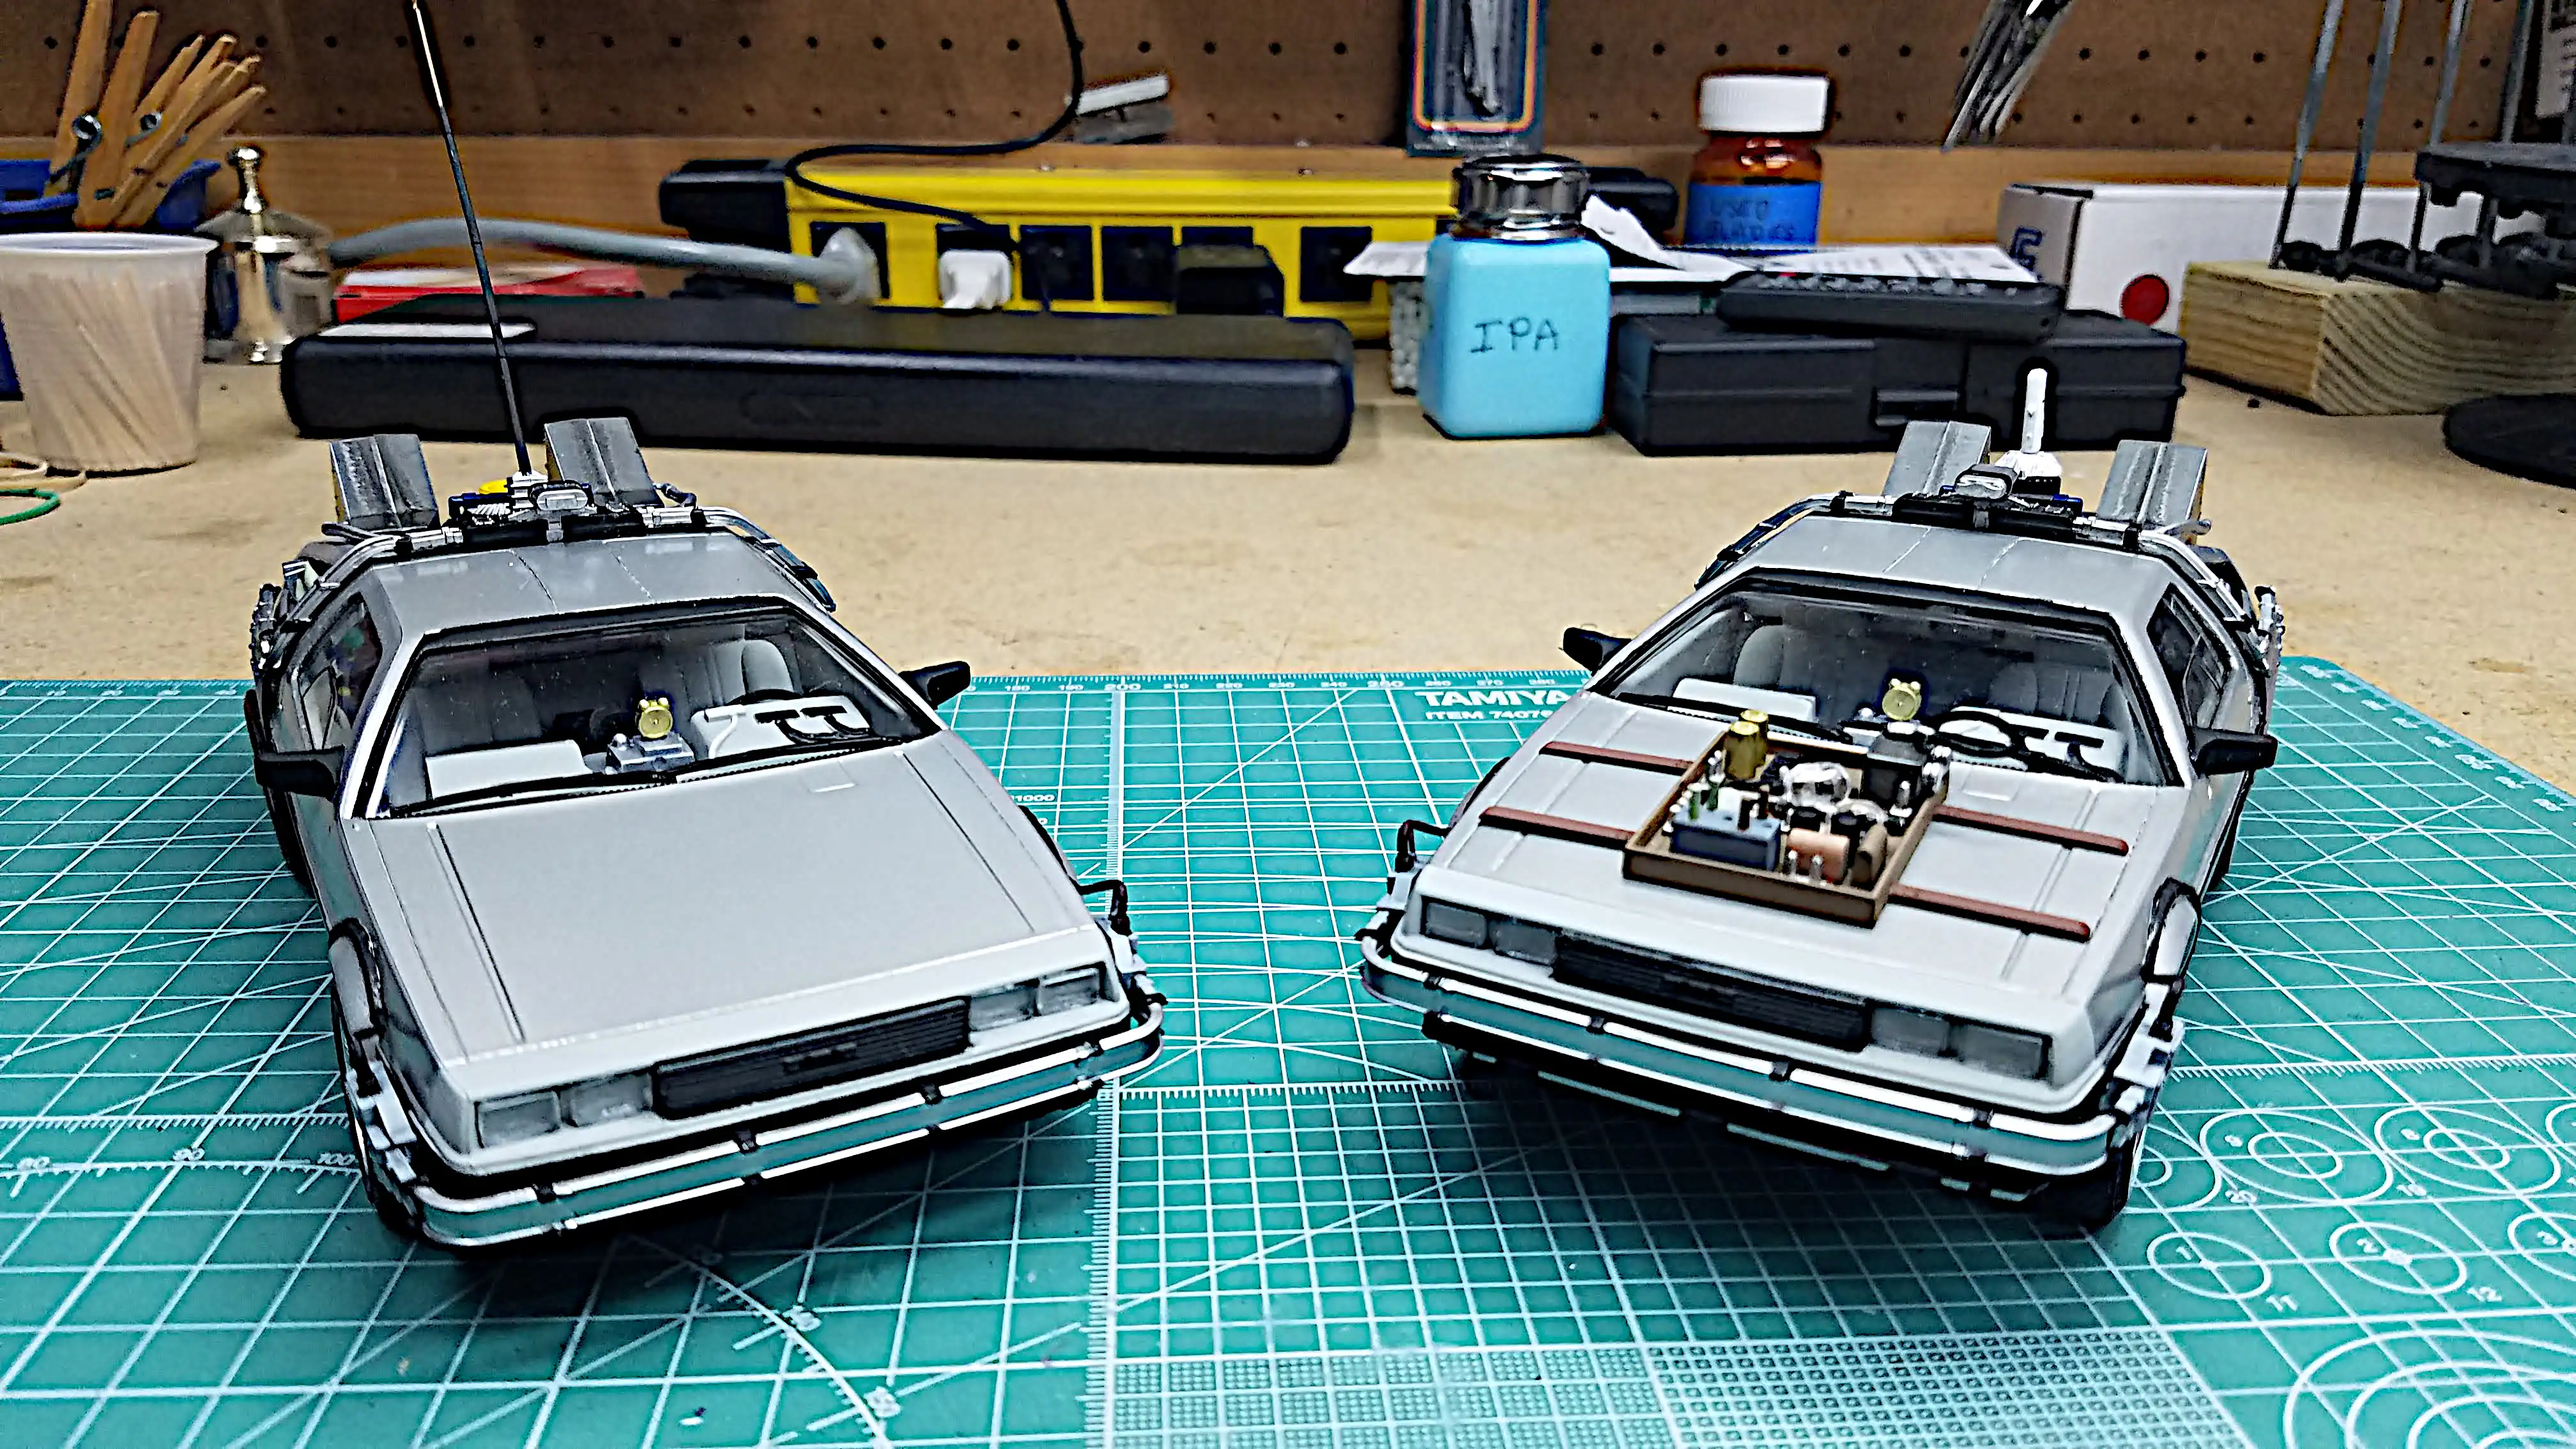 Both DeLoreans side-by-side
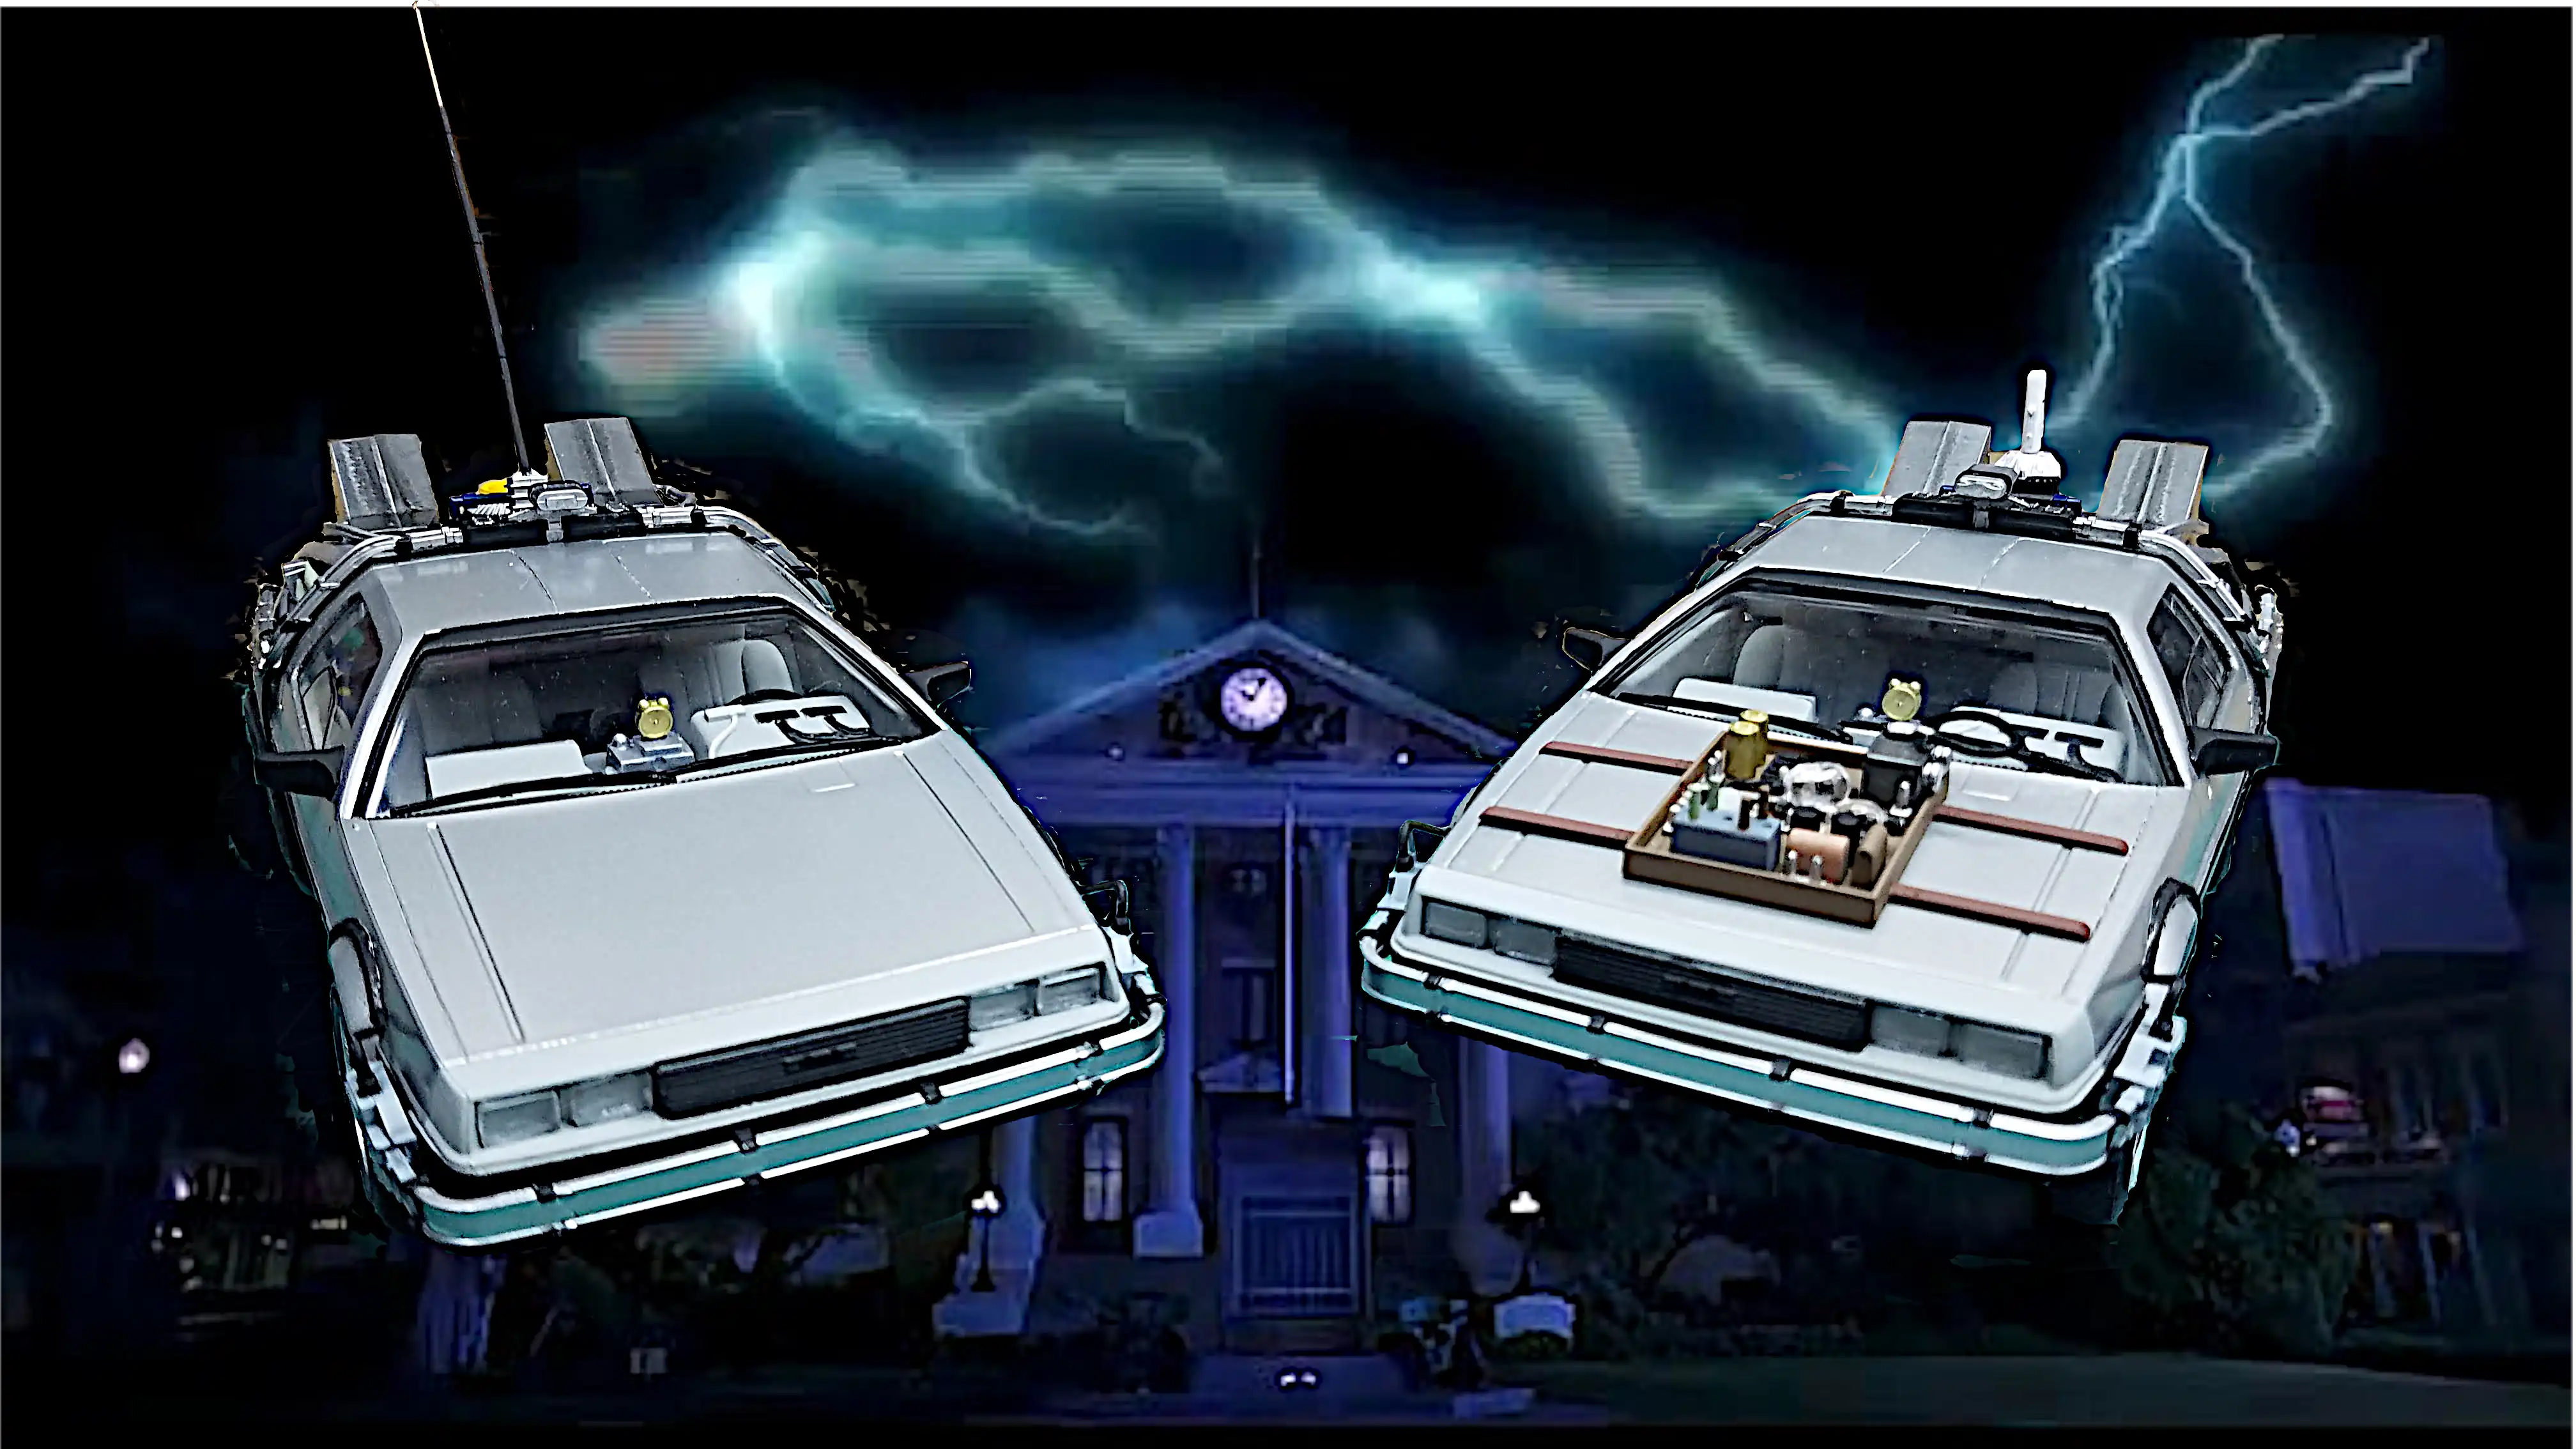 Both DeLoreans side-by-side with lightening bolt in background

